

Most contractors say the vanity goes in last, but install it too late and you’ll box out the electrician who needs to finish outlet connections. Get the timing wrong on either end and you’re either painting around a cabinet or leaving plumbing exposed for weeks. The vanity installation window is narrow, and it’s based on what’s fully cured, not just what looks done. Here’s when the vanity actually goes in, what has to be finished first, and the mistakes that force you to pull it back out and start over.
Optimal Timing for Vanity Installation in Your Bathroom Remodel
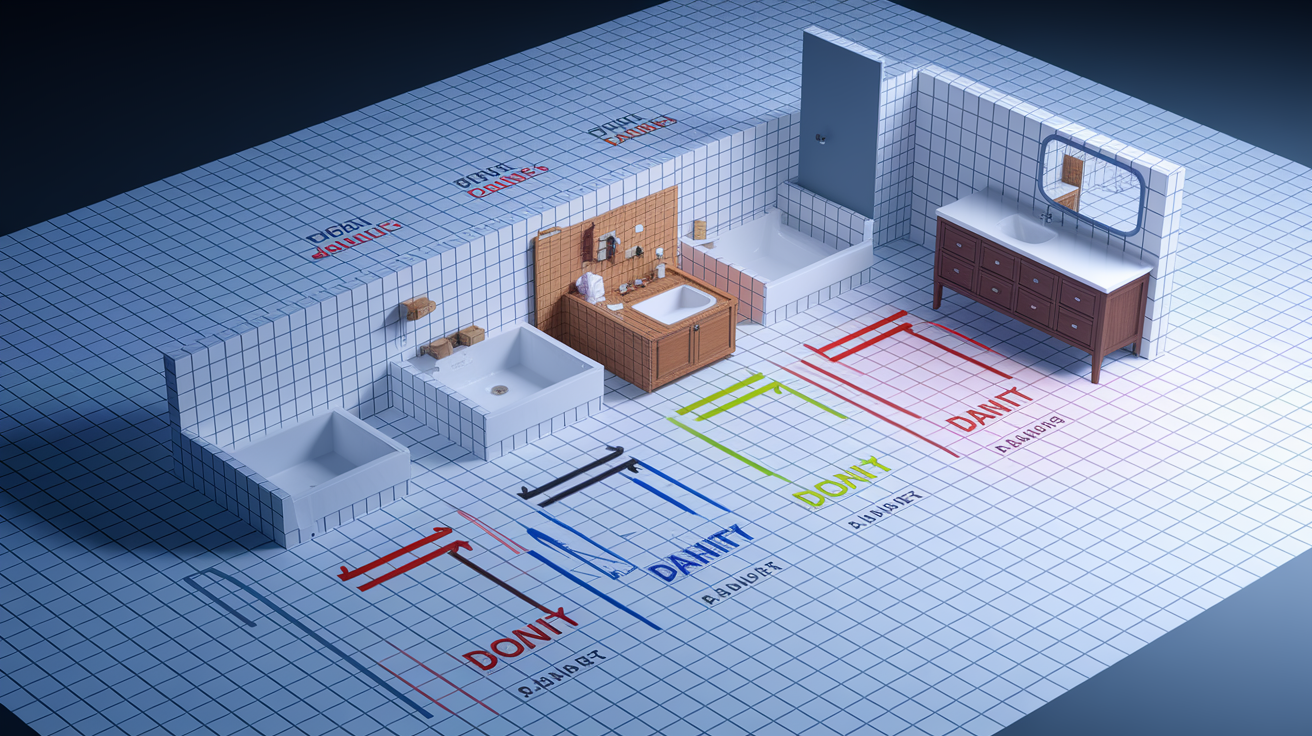
Install your bathroom vanity after plumbing rough-in, drywall, painting, and flooring are complete. Usually that’s the final week of your 2 to 4 week bathroom remodel. This timing protects what you’ve invested and makes sure everything fits correctly the first time.
The vanity goes in near the end of your remodeling sequence, after all major structural and finishing work is done. First comes demo and plumbing rough-in. Then drywall installation and repairs, followed by painting and wall finishing. After that, flooring goes down and cures completely. Only then should the vanity cabinet be placed and secured. This order prevents damage to your new fixture and eliminates measurement errors that happen when walls aren’t finished or floors aren’t level yet. The distinction matters. Rough-in plumbing (running pipes behind walls) happens early, but final connections (hooking up the faucet and drain) happen when the vanity goes in.
Installing at the wrong stage causes real problems. Put the vanity in before painting, and you’ll deal with paint drips on cabinet doors or struggle to cut clean lines around the unit. Install before flooring cures, and you risk cracking tiles or denting vinyl when the vanity settles. Mount it before walls are finished, and your measurements won’t account for drywall thickness or tile, leaving gaps or forcing the unit out of position. Each mistake means either living with poor results or paying to redo work.
Proper timing also protects warranty coverage and prevents water damage. Most vanity manufacturers require installation on stable, level surfaces with properly finished walls. Installing too early can void warranties. If moisture gets behind an improperly installed vanity because wall paint wasn’t cured or flooring wasn’t sealed, you’re looking at mold growth and cabinet damage within months.
Getting the sequence right the first time saves money, protects materials, and keeps your project on schedule. The few days you wait for paint to cure and floors to set are minor compared to the cost of redoing work or replacing a damaged vanity.
Correct Installation Order with Timing:
- Demolition and removal (Days 1 to 2)
- Plumbing and electrical rough-in (Days 3 to 5)
- Drywall installation and repair (Days 6 to 7)
- Painting and wall finishing (Days 8 to 10)
- Flooring installation and curing (Days 11 to 13)
- Vanity installation (Day 14 to 15)
- Final plumbing and electrical connections (Day 15 to 16)
- Finishing touches and cleanup (Day 17 and beyond)
Common Sequencing Mistakes to Avoid:
- Installing vanity before walls are fully painted
- Placing vanity on uncured tile or adhesive
- Skipping the floor installation under the vanity area
- Connecting plumbing before ensuring vanity is level
- Installing before electrical outlets are positioned
- Failing to account for backsplash or wall tile thickness
Plumbing Rough-In vs. Final Vanity Connections
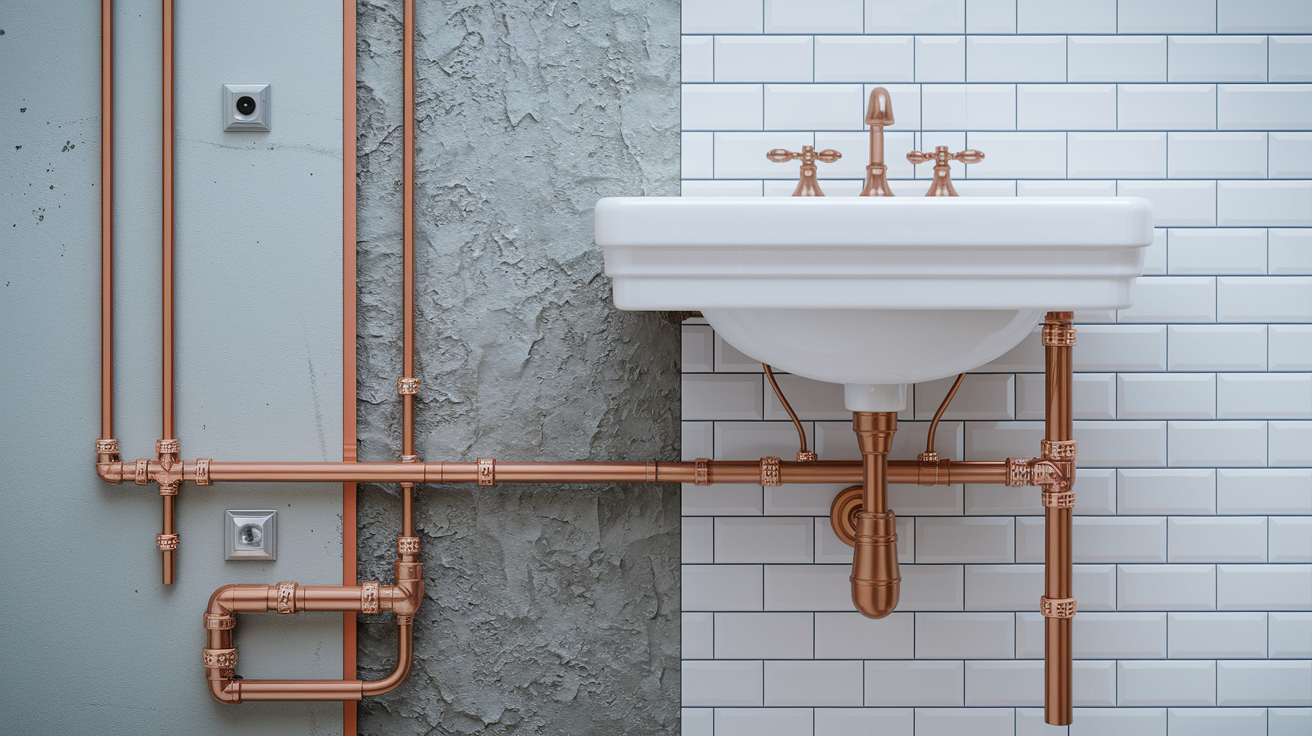
Plumbing work splits into two phases during bathroom remodeling. Understanding when each phase happens prevents scheduling confusion and keeps trades working in the right order.
Rough-In Plumbing Phase
Rough-in plumbing includes positioning supply lines inside walls, installing drain pipes at the correct slope, and setting proper heights and spacing for connections. This work happens during the first week of renovation, before drywall goes up. The plumber runs hot and cold water lines to where the vanity will eventually sit, typically 21 inches above the finished floor for standard vanities. The drain pipe gets positioned to match the sink location, usually centered but sometimes offset depending on your vanity style. After running lines, the plumber caps them for pressure testing and marks locations so the cabinet installer knows where connections will be. This phase also includes any inspections required by local code before walls get closed up.
Final Connection Phase
Final connections happen when the vanity cabinet is in place and secured to the wall. The plumber returns to attach shut-off valves to supply lines, connect flexible supply tubes from the valves to the faucet, install the drain assembly and tailpiece, hook up the P-trap to the drain pipe, and test everything for leaks. This work typically takes 1 to 2 hours and includes checking water pressure at the faucet and running water through the drain to confirm proper flow. If the drain gurgles or drains slowly, the plumber adjusts the P-trap or checks for blockages. Leak testing is critical. The plumber will let water run for several minutes and check all connections before calling the job complete.
What a Professional Plumber Completes During Rough-In:
- Position supply line outlets at correct heights
- Install drain pipe at proper slope
- Cap lines for pressure testing
- Mark locations for installer reference
- Complete inspection requirements
Flooring Considerations Before Vanity Installation During Remodeling
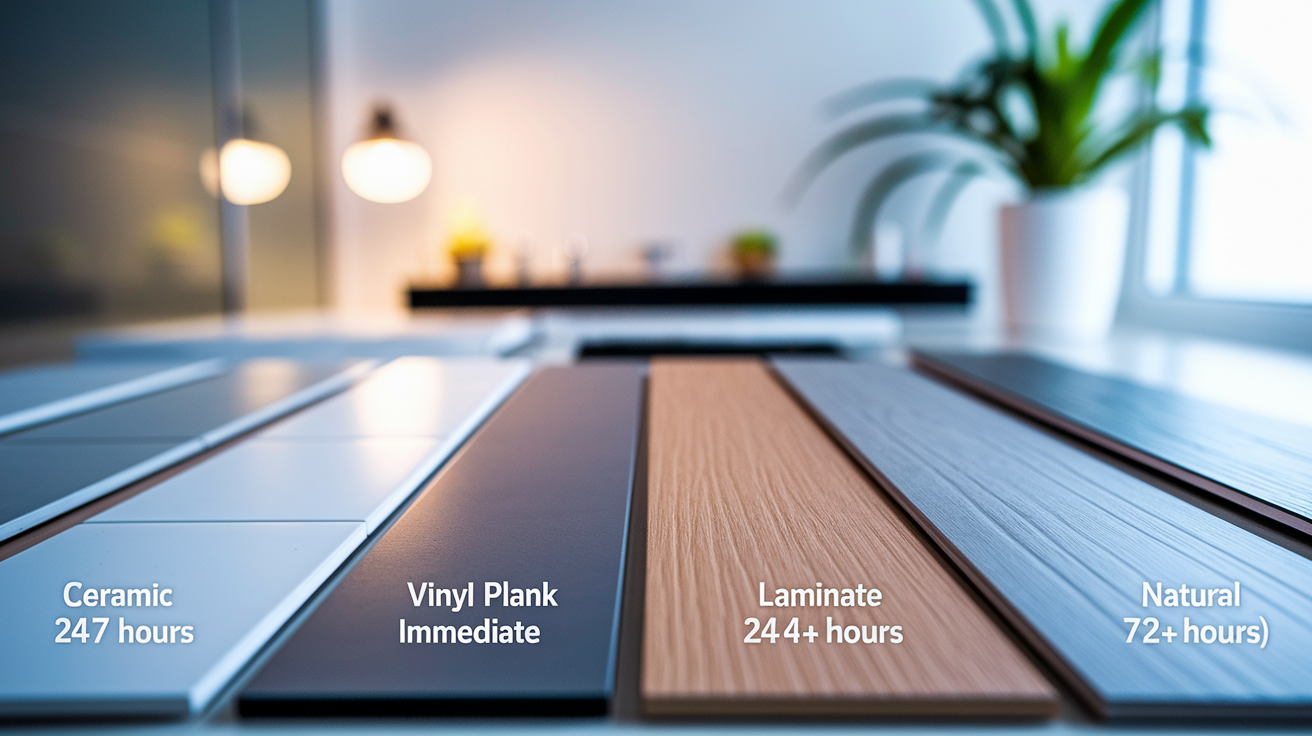
Flooring should be completely installed and cured before you place the vanity. This sequence creates a stable, level surface and protects against moisture damage that can creep under the cabinet edges over time.
Different flooring materials need different completion times before they can support vanity weight. Ceramic or porcelain tile requires 24 to 72 hours for adhesive to set, then another 48 to 72 hours after grouting before you can place heavy objects on it. Vinyl plank flooring can typically handle weight immediately after installation, but some luxury vinyl needs 24 hours to acclimate and settle. Laminate flooring needs 24 to 48 hours to acclimate to bathroom humidity before installation, then it’s ready immediately after clicking into place. Natural stone tile often needs longer cure times due to thicker mortar beds, sometimes up to 5 days before it’s solid enough for vanity installation. Rushing this process risks cracking tiles or causing the vanity to settle unevenly, which throws off level and can stress plumbing connections.
Installing flooring first makes future vanity replacement easier and creates better moisture protection. When flooring runs under the entire vanity area, you can swap vanities later without patching floor gaps or dealing with mismatched materials. The continuous floor surface also blocks water from reaching the subfloor if a leak occurs. Some contractors install the vanity first, then cut flooring around it. This approach is used when subfloor rot is limited to specific areas and you want to avoid removing and replacing extra flooring. However, it creates moisture traps where water can seep under flooring edges and cause damage you can’t see until it’s extensive.
Waiting for proper cure times feels slow but prevents callbacks. If you set a vanity on tile that’s only been down 12 hours, the weight can shift tiles and crack grout lines. Those cracks let water through, and within months you’re dealing with loose tiles and potential subfloor damage.
| Flooring Type | Curing/Wait Time | Ready for Vanity |
|---|---|---|
| Ceramic/Porcelain Tile | 24 to 72 hours (adhesive) plus 48 to 72 hours (grout) | 4 to 6 days after installation |
| Vinyl Plank | Immediate to 24 hours | Same day or next day |
| Laminate | 24 to 48 hours acclimation | Immediately after install |
| Natural Stone | 72 hours (adhesive) plus 72 hours (grout) | 6 to 7 days after installation |
| Concrete | 3 to 7 days depending on thickness | 7 to 10 days after pour |
Wall Preparation and Painting Before Vanity Installation
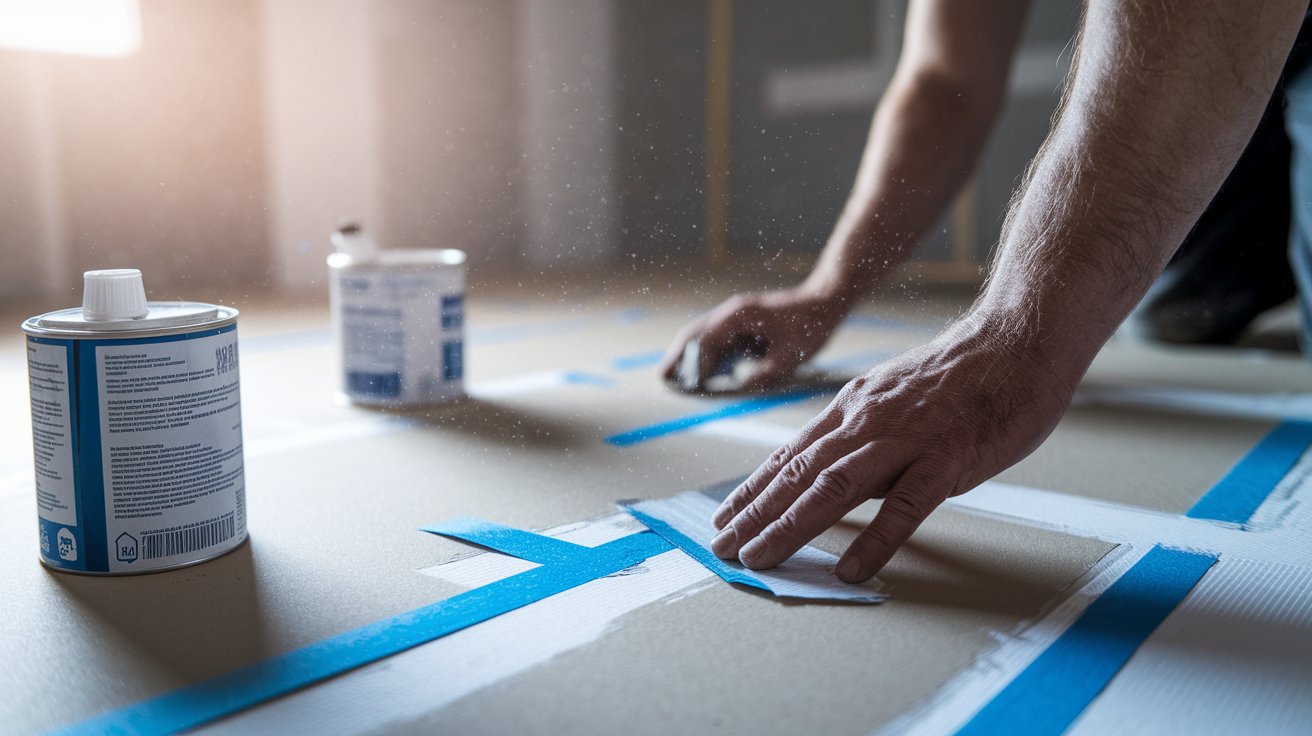
All drywall repairs, primer coats, and finish paint should be fully dry before the vanity goes in. Paint needs at least 48 hours to cure in a bathroom where humidity is high and ventilation is limited. If you try to speed this up, you risk paint that stays soft and marks easily when the cabinet back rubs against it during installation.
Painting around an already installed vanity creates problems you’ll see every day. Cutting in paint lines behind a faucet or along cabinet edges is nearly impossible without getting paint on the vanity finish. Even careful brushwork leaves small drips or smears that damage cabinet surfaces. If you’re painting a dark color over light primer, achieving even coverage in tight spaces behind the vanity is difficult, and you’ll see thin spots or brush marks. The alternative, removing the vanity to paint properly, wastes time and risks damaging plumbing connections you just completed. Backsplash timing depends on your material. Tile backsplashes are typically installed after the vanity is in place because the vanity provides a level reference line and supports the bottom row of tiles. However, the vanity must be secured first so the tile installer can work without the vanity shifting. Waterproofing in wet areas around showers or tubs needs 24 hours minimum to dry before adjacent work continues.
Taking time for proper wall prep prevents headaches later. A vanity that goes in against fully cured walls stays cleaner during installation and looks professional when the job is done.
Wall Preparation Sequence:
- Complete drywall repairs and sanding
- Apply primer (allow 24 hours drying)
- Paint walls with final coat (allow 48 hours curing)
- Install waterproofing/backsplash if required
Electrical Work and Outlet Placement for Bathroom Vanity Remodels
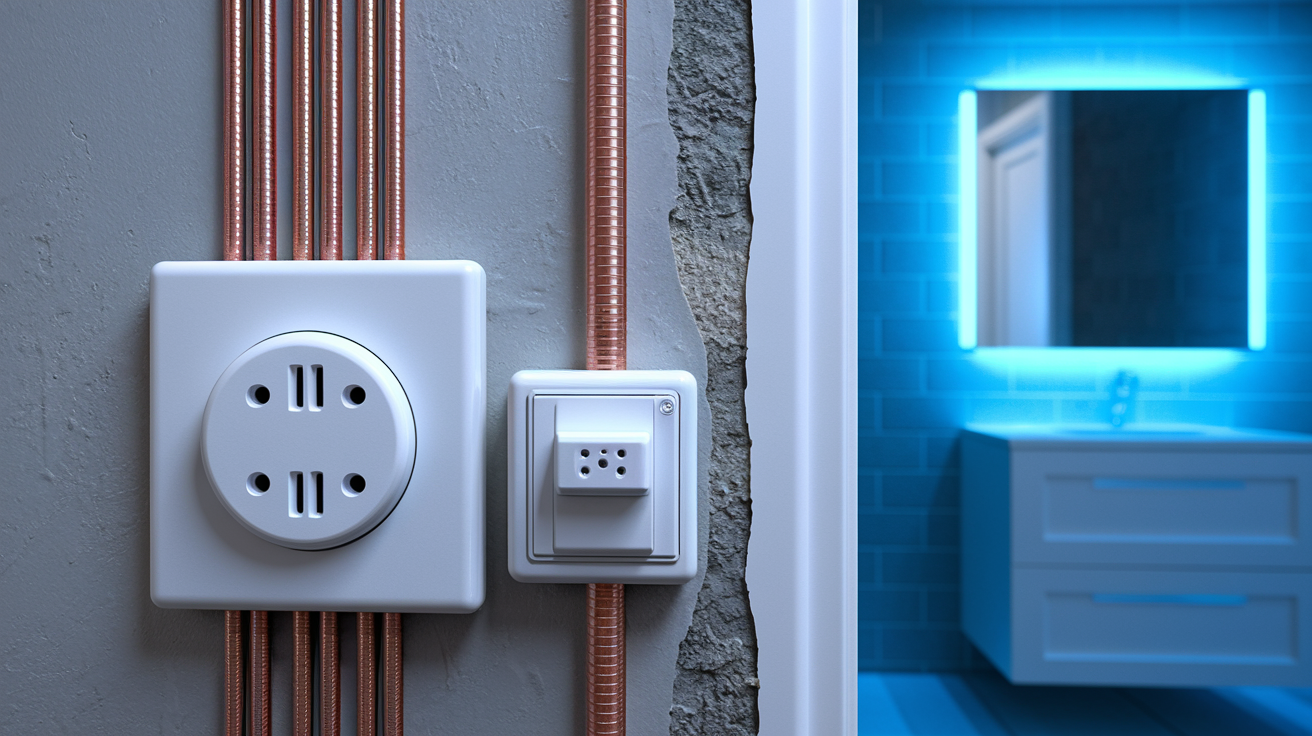
Electrical rough-in happens before drywall, just like plumbing. The electrician runs wire and installs boxes while wall cavities are open, typically during Days 3 to 5 of your remodel.
Outlet height and placement matters more than most people realize. Bathroom code requires GFCI (Ground Fault Circuit Interrupter) outlets near all water sources, including sinks. These outlets should be positioned 4 inches above the countertop, centered on the vanity or offset to one side depending on mirror and medicine cabinet locations. If the outlet is too low, it ends up behind the backsplash or partially blocked by the countertop overhang. Too high, and it looks awkward or interferes with mirror mounting. The electrician needs to know your vanity height and countertop thickness before positioning boxes. Standard vanities are 32 to 36 inches tall with a 1 inch countertop, putting outlets around 37 to 40 inches from the floor. If you’re installing a vessel sink that adds 5 to 6 inches of height, outlets need to be higher to maintain the 4 inch clearance above the counter.
Coordination between the electrician and vanity installer prevents mistakes. Before the electrician closes up walls, confirm vanity dimensions and outlet locations. If you’re using a medicine cabinet with built-in outlets, coordinate that location as well. The electrician typically returns after vanity installation to install outlet covers and connect light fixtures. Sconces or vanity light bars mount to electrical boxes above the mirror, and that work happens after the vanity is secured so the electrician can verify proper height and position relative to the mirror. If your vanity includes electrical outlets built into the cabinet, those must be wired during cabinet installation, requiring the electrician and cabinet installer to work together on the same day.
Planning and Coordination: Custom Vanities, Pre-Fabricated Units, and Contractor Scheduling

Early planning for both vanity selection and contractor scheduling prevents delays and keeps your remodel moving. Know what you’re installing and when it will arrive before demolition starts.
Custom vs. Pre-Fabricated Vanity Timing
Custom built vanities require 4 to 8 weeks lead time from order to delivery. If you want custom cabinetry, start shopping and measuring during the planning phase, before demolition begins. Custom manufacturers need precise measurements, but those initial measurements might change once old fixtures are removed and walls are opened up. Plan for a second measurement after demolition but before drywall goes up to confirm dimensions. Despite the long lead time, custom vanity installation still follows the same sequence. It goes in after walls, paint, and flooring are complete. Coordinate delivery for Day 13 to 14 of your project so the vanity arrives when you need it, not weeks early when it takes up space and risks damage.
Pre-fabricated vanities offer more flexibility. You can purchase a stock unit from a home improvement store and have it delivered within days, sometimes the same day. This flexibility helps if you encounter delays or change your mind about style midproject. However, you still need accurate measurements. Pre-fabricated vanities come in standard widths (24, 30, 36, 48, 60 inches), so measure your space after wall finishing is complete to confirm which size fits. Account for wall thickness, baseboards, and any obstructions like pipes or vents. If your space is 37 inches wide, a 36 inch vanity fits, but a 48 inch won’t. Order or purchase your pre-fabricated unit during the painting phase so it arrives when flooring is curing, giving you time to inspect it and confirm all parts are included before installation day.
Coordinating Multiple Trades
Successful vanity installation requires scheduling plumbers, electricians, tile installers, drywall finishers, painters, flooring installers, and cabinet installers in the correct sequence. Each trade depends on the previous one finishing on time. Share your project timeline with everyone at the start. Confirm completion dates before scheduling the next phase. If the tile installer needs an extra day because material arrived late, push back vanity installation rather than rushing work that isn’t ready. Communication prevents problems. Send a group text or email when one phase completes so the next contractor knows they can start.
Flexibility matters when delays happen. Grout might need 72 hours to cure instead of 48 if humidity is high. Material delivery issues can push flooring back several days. Build buffer time into your schedule so small delays don’t cascade into major problems. If you’re acting as your own general contractor, check each phase before calling it complete. Walk through with a checklist. Are walls smooth? Is paint fully dry? Can you walk on the floor without feeling soft spots?
For DIY project managers, keep a shared calendar that all contractors can access. Mark critical deadlines like inspection dates and material delivery windows. Follow up two days before each contractor is scheduled to confirm they’re still available and ready. Have backup contacts for each trade in case someone cancels last minute. When the vanity installation date arrives, confirm that the cabinet installer, plumber, and electrician can all be on site the same day to complete final connections efficiently.
Final Installation and Finishing Work: Countertop, Fixtures, and Protection

The final installation phase begins once the vanity cabinet is positioned and secured to wall studs. This is when the bathroom starts looking like a finished space.
After the cabinet is level and anchored, the countertop goes on next if it’s a separate piece. Some vanities come with integrated tops, but if you have granite, quartz, or marble, the countertop fabricator arrives to set the slab on the cabinet. The countertop must be level and fully supported before any sink work begins. Once the top is in place, the installer mounts the sink according to its type. Undermount sinks attach from below with clips and adhesive, requiring the countertop to overhang the sink cutout. Vessel sinks sit on top of the counter and connect only through the drain hole. Drop-in or top-mount sinks rest in a cutout with a rim that sits on the counter surface. Each mounting style has specific requirements for caulking and sealing to prevent water from seeping into the cabinet below.
Faucet installation happens after the sink is mounted. The installer feeds supply lines through the faucet body, positions the faucet on the sink or countertop, and tightens mounting nuts from below. Then comes the drain assembly. The pop-up stopper mechanism connects to the faucet handle, and the tailpiece extends down to meet the P-trap. The P-trap connects to the drain pipe that was roughed in during the first week of the remodel. After all plumbing connections are tight, the installer applies caulking around the sink edge, along the backsplash if there is one, and at the wall junction behind the vanity. Silicone sealant prevents water from running behind the vanity and causing mold or rot. Finally, the plumber tests water connections by running water for several minutes and checking every joint for drips or seepage. If a connection leaks, it gets tightened or re-sealed immediately.
Even after vanity installation, other work continues. Mirrors get mounted, hardware and towel bars are attached, and trim pieces are installed. These finishing tasks require care because your new vanity is now exposed to potential damage. Protect countertops with cardboard sheets when drilling into walls for mirror brackets. Use plastic sheeting over the sink if you’re doing drywall repairs or sanding nearby. Don’t set tools or materials directly on the vanity surface. Scratches and dents in new countertops are permanent. Keep the bathroom door closed if construction dust is still being generated in other rooms. Remove protective materials only when all work is complete, and wipe down surfaces with a damp cloth to remove any dust that settled during final tasks.
Allow caulk and sealant 24 to 48 hours to cure fully before using the vanity. Silicone needs time to form a waterproof bond. If you run water before caulk cures, it can break the seal and allow moisture penetration. Wait for the recommended cure time printed on the product label before putting the bathroom into regular use.
Post-Vanity Installation Sequence:
- Secure and level vanity cabinet
- Install countertop (if separate)
- Mount sink (according to type)
- Install faucet and handles
- Connect drain assembly and P-trap
- Apply caulking and sealant
- Test water connections for leaks
Vanity Installation Checklist for Bathroom Remodel Project Planning
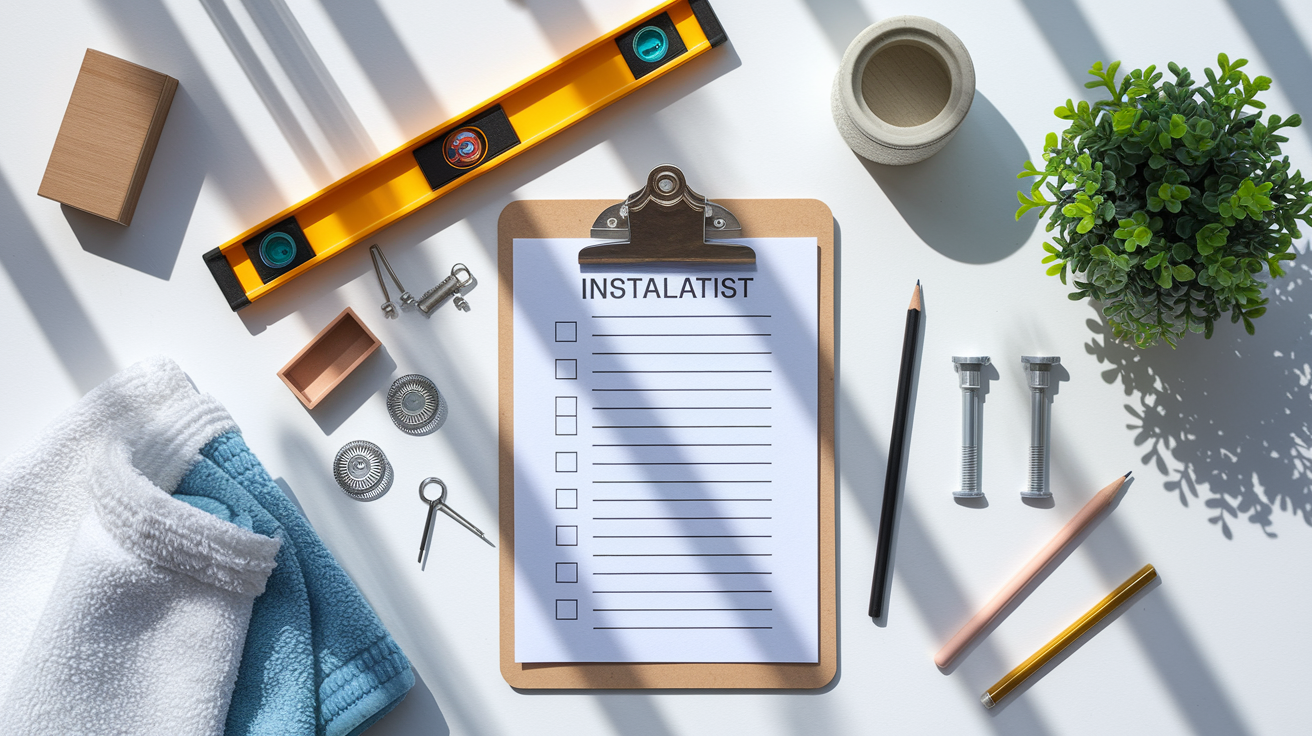
Use this checklist as a planning tool to ensure you’re ready for vanity installation. Each item represents work that must be complete before the cabinet goes in.
Following this checklist prevents common sequencing errors that lead to rework, damage, and delays. Print it out, tape it to your bathroom wall, and check off items as contractors finish each phase. Don’t schedule vanity installation until every pre-installation item is verified.
Pre-Installation Verification:
- Plumbing rough-in inspected and approved
- Electrical rough-in complete with outlets positioned
- Drywall repairs finished and sanded smooth
- Walls primed and painted with 48 hour cure time
- Flooring installed and fully cured
- Backsplash or wall tile complete (if applicable)
Installation Day Requirements:
- Vanity measurements confirmed against space
- Wall studs located and marked for anchoring
- Shut-off valves accessible and functional
- Level and shims available for adjustment
- All components and hardware present
- Proper tools and sealants on hand
Walk through your bathroom with this checklist the day before installation. If anything is incomplete, delay installation until it’s ready. One day of waiting prevents weeks of fixing mistakes.
Final Words
Install your vanity near the end of the remodeling sequence to protect your investment and avoid expensive rework.
Wait until plumbing rough-in, drywall, painting, and flooring are completely finished before setting the cabinet in place. This timing prevents damage, ensures accurate fit, and allows proper anchoring.
When you know when to install vanity during bathroom remodel, you protect the finish, streamline final connections, and keep contractors working efficiently.
Plan the sequence early, coordinate your trades, and give materials time to cure. That’s how you finish once, finish right, and avoid callbacks.
FAQ
When should you install a bathroom vanity during a remodel?
You should install a bathroom vanity after plumbing rough-in, drywall, painting, and flooring are complete—typically in the final week of your 2-4 week bathroom remodel. Installing the vanity near the end of the sequence prevents damage and ensures accurate measurements.
What is the most expensive part of a bathroom remodel?
The most expensive part of a bathroom remodel is typically the plumbing and fixture rough-in work, followed by custom cabinetry and tile installation. Costs increase when structural changes require moving drain lines or supply pipes.
In what order should a bathroom remodel be done?
A bathroom remodel should be done in this order: demolition, plumbing and electrical rough-in, drywall installation, painting, flooring installation, vanity installation, and final fixture connections. This sequence prevents damage and reduces costly rework.
Do you install a vanity before or after tiling?
You install a vanity after tiling is complete and fully cured—wait 24-72 hours for tile adhesive and 48-72 hours for grout before placing the vanity. Installing flooring first provides better moisture protection and easier future vanity replacement.
How long does tile need to cure before vanity installation?
Tile needs to cure for 24-72 hours for adhesive and an additional 48-72 hours for grout before vanity installation. Total wait time is typically 3-5 days to ensure the floor can support vanity weight without cracking.
Can you install a vanity on uncured tile?
You cannot install a vanity on uncured tile because the weight can crack tiles, shift adhesive, or damage grout lines. Wait until both adhesive and grout reach full cure strength before placing any fixtures.
Should walls be painted before vanity installation?
Walls should be painted before vanity installation with at least 48 hours of curing time allowed. Painting after installation creates difficult cutting-in challenges and risks paint drips or brush marks on cabinetry finishes.
When does plumbing rough-in happen in bathroom remodels?
Plumbing rough-in happens in the first week after demolition, before drywall installation. Supply lines and drain pipes are positioned behind walls, while final connections to the vanity occur during fixture installation.
What electrical work is needed before vanity installation?
Electrical work needed before vanity installation includes running wires and installing outlet boxes during rough-in, then mounting GFCI outlets at proper height (typically 4 inches above countertop) after drywall and painting are complete.
How much lead time do custom vanities require?
Custom vanities require 4-8 weeks lead time and must be ordered early in the remodel planning phase. Pre-fabricated units can be purchased and delivered quickly, offering more flexibility in project scheduling.
What happens immediately after vanity installation?
Immediately after vanity installation, countertop placement, sink mounting, faucet installation, and drain assembly connections occur. Final steps include caulking edges, sealing backsplash joints, and testing all water connections for leaks.
How do you protect an installed vanity during remaining work?
You protect an installed vanity during remaining work by covering countertops with cardboard, using plastic sheeting on cabinetry, avoiding tool placement on surfaces, and leaving protective materials until all construction is complete.