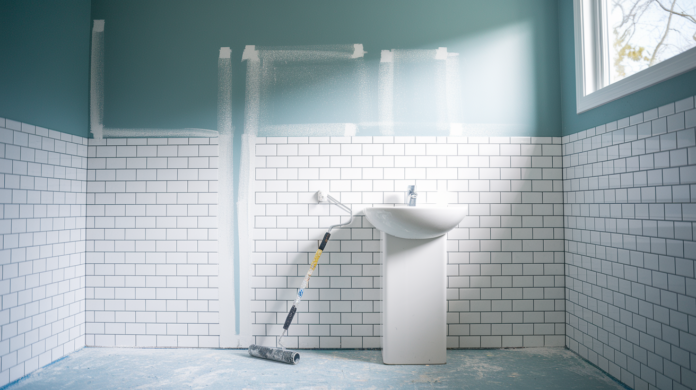

Most contractors will tell you to paint before installing the vanity, but here’s the truth nobody mentions: if you install first, you’ll spend three times as long protecting expensive fixtures and still end up with primer drips on your new countertop. Paint first gives you complete wall coverage, eliminates protection hassle, and prevents the nightmare scenario where you replace your vanity five years later and discover unpainted drywall behind it. The right sequence saves time, protects your investment, and makes the whole project cleaner from start to finish.
Painting Before Vanity Installation: The Recommended Approach
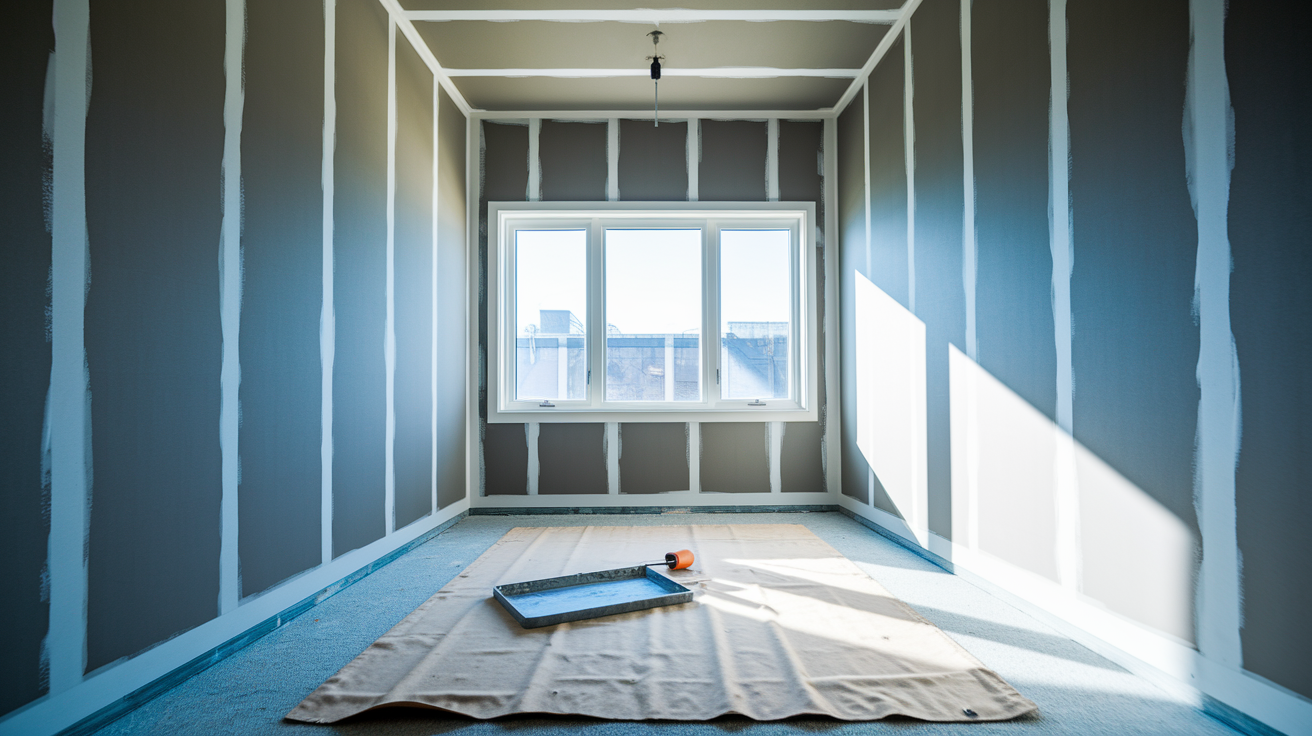
Always paint bathroom walls before installing the vanity for optimal results.
Painting before installation gives you complete wall coverage, including the areas that will sit behind or beside the vanity cabinet. This matters more than most people realize. If you ever need to replace the vanity, move it for plumbing repairs, or decide to upgrade to a different size down the road, you won’t see unpainted drywall or a different wall color peeking out from behind the cabinet. You’re painting those hidden sections anyway if you do it right, so you might as well do it when the wall is wide open and accessible.
The damage prevention factor is straightforward. New vanities, countertops, marble or quartz surfaces, faucets, and mirrors don’t mix well with paint rollers, primer drips, or accidental brush contact. Protecting an installed vanity requires plastic sheeting, painter’s tape, drop cloths, and constant vigilance. Even with all that prep, paint still finds a way onto fixtures. Painting first eliminates the risk entirely. There’s nothing expensive in the room to damage.
Workspace access makes the job faster and cleaner. You can reach every corner, baseboard, and wall section without contorting around a cabinet. Cutting in along the floor is simple when there’s no vanity base in the way. Rolling walls goes faster when you’re not maneuvering around a countertop. The whole project flows better with an empty room.
The main exception is repainting a bathroom that already has an installed vanity you’re keeping. In that case, you’re working around the existing fixture because removing it doesn’t make sense. But for new construction, bathroom remodels, or vanity replacements, paint first every time.
Comparing Paint First and Install First Approaches
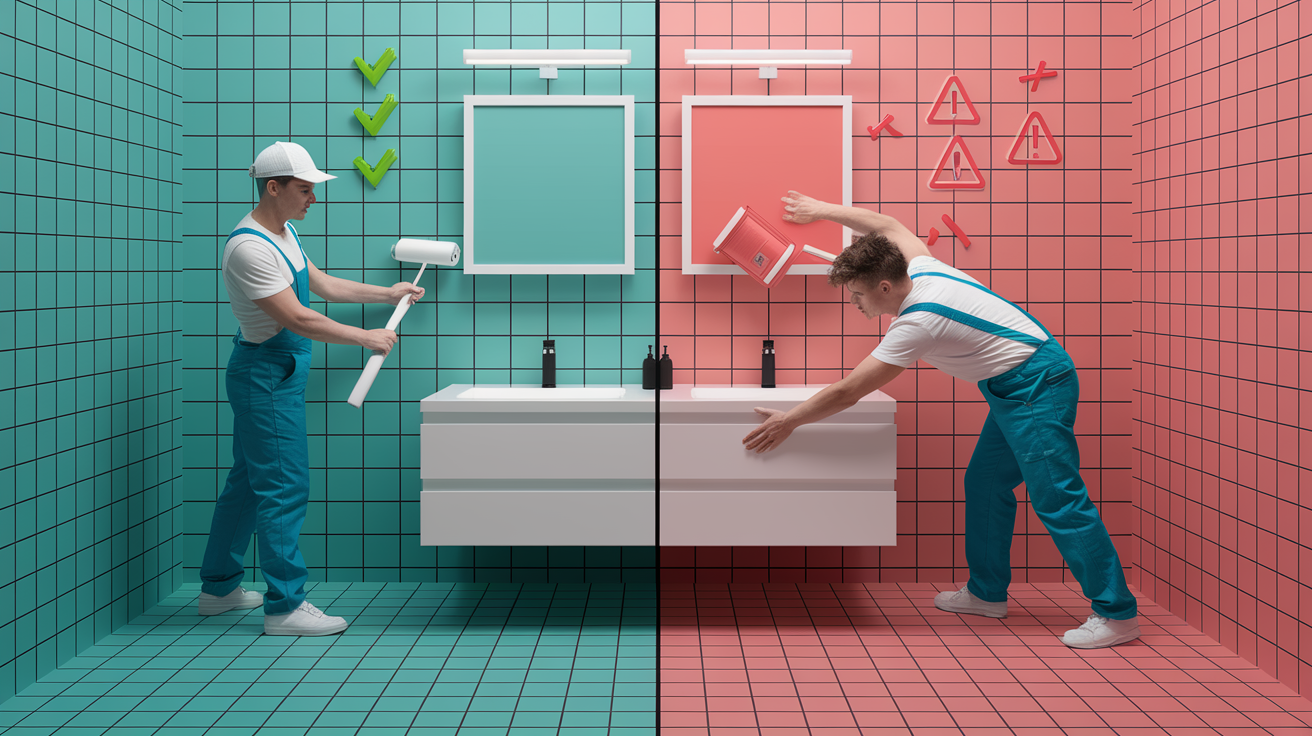
Two approaches exist for bathroom painting and vanity installation, and they produce very different experiences.
| Approach | Advantages | Drawbacks |
|---|---|---|
| Paint First Method | Complete wall coverage including hidden areas; no protection needed for expensive fixtures; better workspace access for rolling and cutting in; professional quality finish; faster project completion; paint fully cures before installation contact | Requires accurate vanity measurements before painting; potential for minor scuffs during installation that need touch up |
| Install First Method | See exact paint to fixture junction while painting; easier to visualize final color against installed vanity and countertop | Awkward cutting in around cabinet edges; extensive protection required with plastic sheeting and tape; high risk of paint damage to new vanity and countertop; longer project timeline due to protection setup; difficult access to wall areas behind and beside vanity |
Professional contractors choose paint first sequencing in nearly every bathroom project. The efficiency gain is obvious when you watch someone paint an empty bathroom versus one with an installed vanity. What takes two hours in an empty room stretches to four or five hours when working around fixtures, and the finish quality still isn’t as good.
Paint first is the clear recommendation for both DIY and professional projects unless you’re working with an existing installed vanity that’s staying in place. The minor risk of installation scuffs is manageable with careful handling and easy to touch up. The alternative creates problems that aren’t worth avoiding a few touch up dabs.
Tools and Materials for Bathroom Painting Before Vanity Installation
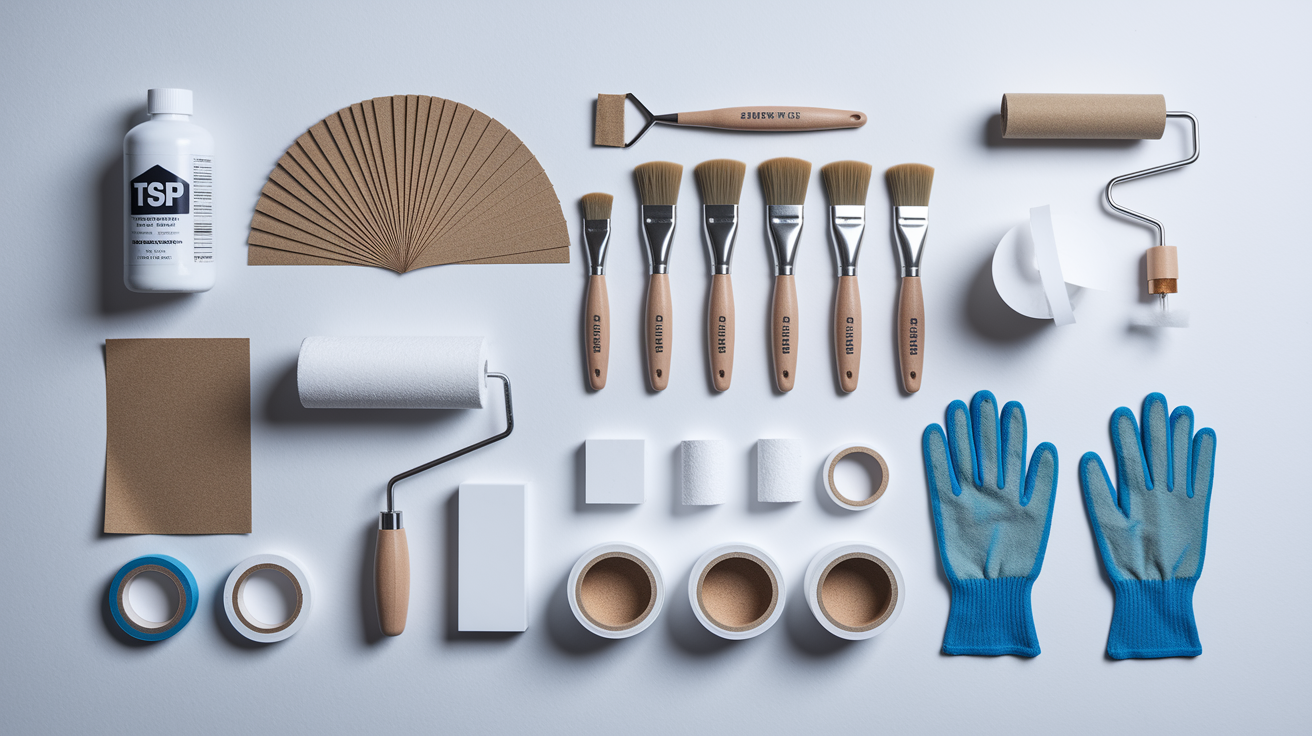
Having all materials ready before starting prevents mid project delays when you’re on a timeline to get the bathroom functional again.
Surface prep supplies determine whether your paint job lasts two years or twenty. You need TSP cleaner (trisodium phosphate) for degreasing bathroom walls. Regular household cleaners don’t cut through the soap residue, moisture, and product buildup that coat bathroom surfaces. Get a couple sponges dedicated to TSP work, spackling compound or wood filler for patching holes and cracks, 150 grit and 220 grit sandpaper, a sanding block or orbital sander, microfiber cleaning cloths, and rubber gloves for the chemical cleaning work.
Painting supplies should prioritize quality over economy because the difference shows in the final finish. You need moisture resistant primer rated for bathrooms, bathroom grade paint in satin or semi gloss sheen, a 2 inch angled brush for cutting in edges and corners, a 4 inch mini roller with woven covers (not foam rollers which leave a weird texture), a paint tray, an extension pole if you’re painting the ceiling, and painter’s tape for protecting edges you don’t want painted.
Protection and ventilation keep the mess contained and the air breathable. Canvas drop cloths work better than plastic for floors because they absorb drips instead of creating slippery puddles. Painter’s tape protects trim, door frames, and ceiling edges. A box fan or window exhaust fan moves humid air out while paint cures, especially important with primer fumes. If you’re using oil based products, a respirator mask beats a dust mask for actual protection.
One gallon of paint typically covers 250 to 300 square feet, which handles two coats in an average bathroom with room to spare. Most bathrooms need one gallon of primer and one gallon of finish paint unless you’re painting the ceiling too.
| Item Category | Specific Items | Purpose |
|---|---|---|
| Surface Prep | TSP cleaner, sponges, spackling compound, 150 grit and 220 grit sandpaper, sanding block, microfiber cloths, rubber gloves | Clean grease and residue, patch holes, sand surfaces smooth, remove dust |
| Painting Application | Bathroom primer, moisture resistant paint, 2 inch angled brush, 4 inch woven roller covers, paint tray, extension pole, painter’s tape | Prime and paint walls with proper adhesion and smooth finish |
| Protection & Safety | Canvas drop cloths, plastic sheeting, painter’s tape, box fan, respirator mask | Protect floors, maintain ventilation, filter paint fumes |
Wall Preparation Steps Before Bathroom Painting
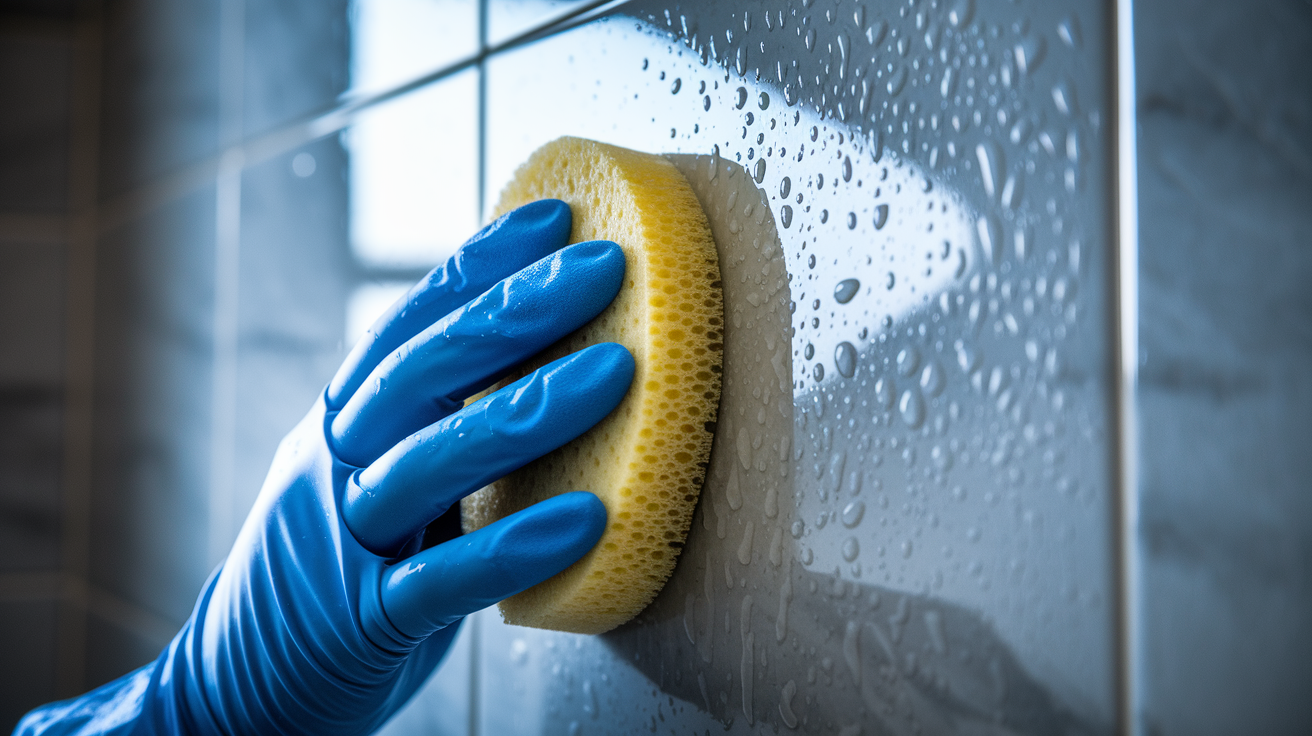
Proper preparation determines whether paint adhesion lasts two years or twenty, and whether the finish looks professional or rushed.
If you’re replacing an old vanity, removal comes first. Disconnect water supply lines, remove the P trap, take out drawers and doors, unscrew the vanity from the wall, and pull it out. Cap the water lines and cover the drain pipe to keep sewer gas out of the workspace. Remove any fixtures, towel bars, toilet paper holders, and cabinet hardware from walls you’re painting.
Bathroom walls need degreasing with TSP because moisture, soap residue, hairspray, and product buildup create an invisible film that paint won’t stick to properly. Mix TSP according to package directions (usually 1/4 cup per gallon of warm water) and wipe down all wall surfaces with a sponge. The water will look dirty even if the walls appear clean. Rinse with clean water after degreasing, then let walls dry completely. Skipping this step is the number one reason bathroom paint fails within a year.
Patching and sanding come after the walls are clean and dry. Fill nail holes, old hardware mounting holes, and any drywall damage with spackling compound or wood filler. Let patches dry completely, usually 2 to 4 hours. Sand the entire wall surface with 150 grit sandpaper to remove any existing clear coat or glossy finish that would prevent primer adhesion. If the wall has previous paint, you’re not sanding down to bare drywall. Just dulling the surface enough for the new primer to grab. Switch to 220 grit sandpaper for a second pass to create a smooth, dull appearance.
Wipe walls clean with a damp microfiber cloth after sanding to remove all dust. Any dust left on the wall creates bumps under the primer. Let the walls dry completely before priming.
Paint and Primer Selection for Bathroom Walls
Bathrooms require specialized primers and paints because high humidity and moisture exposure destroy standard wall paints within a year or two.
Primer Selection and Application
Three primer types work for bathroom walls, each solving different problems. Shellac based primers like Zinsser BIN block stains from previous water damage, mildew, or smoke, and they dry fast, usually 45 minutes. They also minimize brush marks better than water based primers and let you top coat with either oil based or water based paint. Adhesion primers like KILZ Adhesion grab onto difficult surfaces including glossy existing paint, tile, or paneling. Bonding primers like INSL X Stix provide maximum adhesion on glossy surfaces and work when you’re painting over a darker color that might bleed through.
Application technique matters as much as primer choice. Use a roller for main wall surfaces and a brush for corners, edges, ceiling lines, and around fixtures. Work from top to bottom in 3 foot sections. Primer typically dries enough for recoat in 2 to 4 hours, but check the can. Some shellac primers dry faster. After primer dries completely, lightly sand with 220 grit sandpaper to knock down any rough spots or drips, then wipe clean with a damp cloth before painting.
Paint Selection and Application
Bathrooms need moisture resistant paint formulations, which means semi gloss or satin sheens that repel water and resist mildew growth. Flat and eggshell finishes absorb moisture and fail fast in bathrooms.
Benjamin Moore Advance Waterborne Alkyd produces a smooth, furniture like finish that’s hard enough to clean repeatedly without wearing through. It flows well enough to minimize brush marks and roller texture. Behr Urethane Alkyd Enamel delivers similar durability at a lower price point and holds up to bathroom moisture and cleaning. Sherwin Williams Emerald Urethane Enamel is the premium option that doesn’t yellow over time like traditional oil based paints. It’s a water based urethane modified alkyd that cures to a hard, easy to clean surface.
Application technique affects the final appearance. Use a tapered brush for cutting in along edges, corners, ceiling lines, and baseboards. Load the brush about halfway up the bristles and work in smooth, steady strokes. For main wall surfaces, use a small woven roller. 4 inches works better than 9 inches in bathrooms because you have better control around fixtures and in tight spaces. Work from top to bottom in overlapping W patterns to avoid visible roller lines.
Apply at least two coats of paint for proper coverage and durability. Most bathroom paints need 2 to 4 hours between coats. Check the can for recoat time. After the first coat dries, lightly sand with 220 grit sandpaper to eliminate any rough specks, dust nibs, or imperfections. Wipe clean with a damp cloth, let dry, then apply the second coat. Don’t sand after the final coat. You want that top layer smooth and intact.
Painting Behind the Vanity: Coverage Considerations
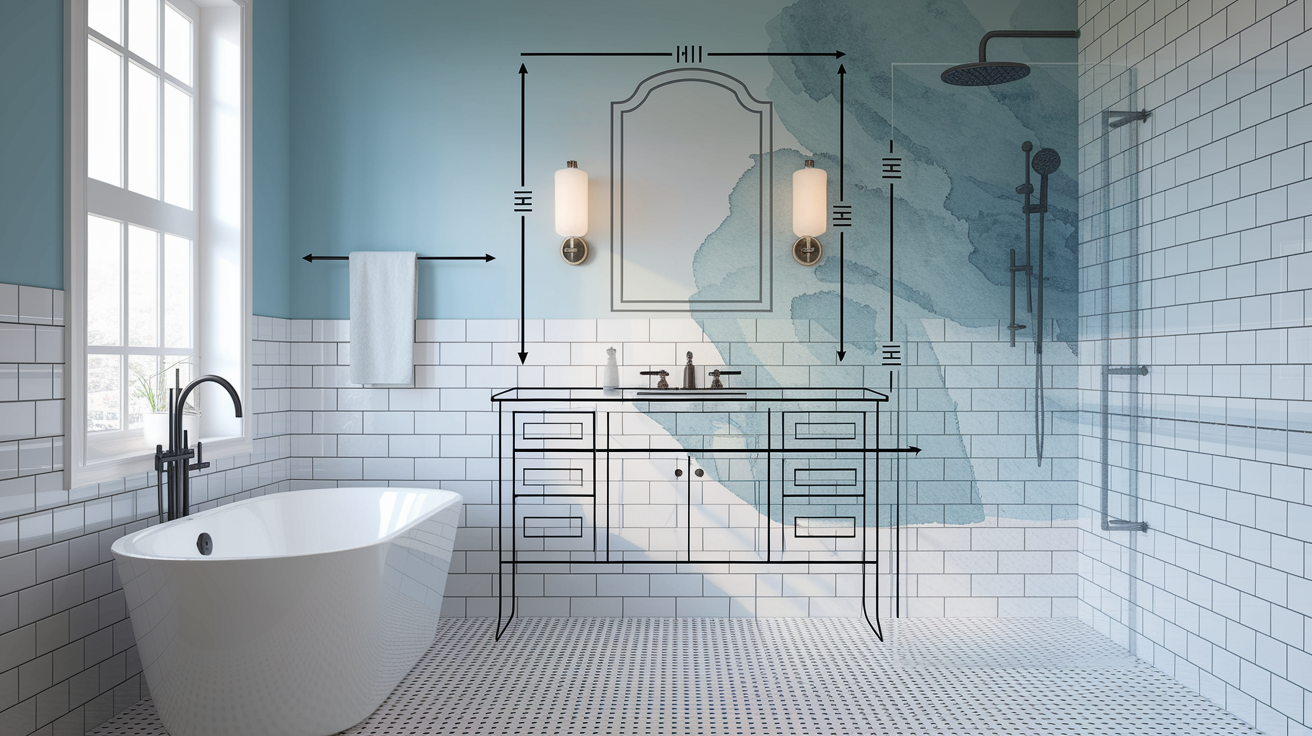
Always paint the full wall including areas that will be hidden behind the vanity cabinet.
Three reasons make complete coverage worth the minimal extra effort. First, future vanity replacement or repositioning will expose any unpainted areas, leaving visible lines or color differences that look unfinished. Vanities get replaced during remodels, after water damage, or when homeowners want to update the space. Second, plumbing repairs often require temporary vanity removal to access shutoff valves, replace supply lines, or fix leaks. You don’t want the plumber pulling the vanity to reveal bare drywall while the rest of the room is painted. Third, complete paint coverage prevents moisture from being trapped against bare drywall, which creates conditions for mold growth even in areas you can’t see.
How far should coverage extend? Paint at least 6 inches beyond the vanity footprint on all sides. Left, right, and top. If the vanity reaches the floor, still paint down to the baseboard or floor surface. If there’s a gap between the vanity base and floor, paint the full wall height. For vanities installed between two walls (common in small bathrooms), paint the full wall surface on both sides even though most of it will be hidden. The extra 15 minutes of painting time prevents problems that could last years.
Painting hidden areas adds minimal time and material cost. You’re already priming and painting the visible sections, so extending coverage into areas that will be concealed uses paint you already bought and adds maybe 20 to 30 minutes to the total project. That’s cheap insurance against future headaches.
Paint Cure Time and Installation Protection Methods
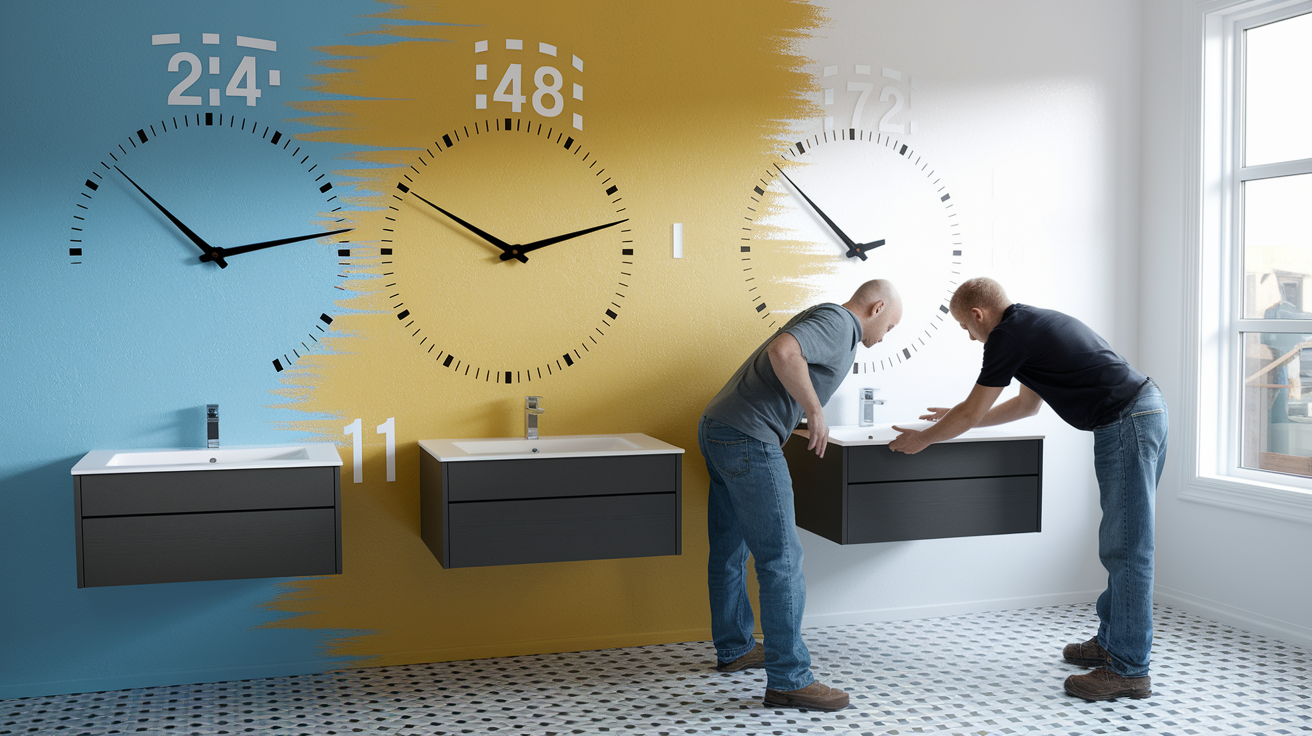
Paint becomes touch dry within 2 to 4 hours, but that doesn’t mean it’s ready for vanity installation.
Touch dry means you can lightly touch the surface without leaving a fingerprint, but the paint underneath is still soft and vulnerable. Full cure takes longer. 24 to 48 hours minimum before installation, with 3 to 7 days ideal for maximum hardness and durability. During cure time, the paint continues to harden as solvents evaporate and the coating crosslinks into its final tough surface. Installing a vanity before paint fully cures can leave permanent marks, scuffs, and adhesion failures where the cabinet contacts the wall.
Plan for minimum 1 to 2 day dry time before vanity installation, longer if possible. If you’re painting on a Friday, plan to install the vanity the following Monday or Tuesday. High humidity or cold temperatures extend cure time, so add extra days if conditions aren’t ideal.
Protection methods during installation prevent damage to cured paint. Cut cardboard edge guards from empty boxes and tape them to the back and sides of the vanity where it might contact walls during positioning. Apply painter’s tape to wall edges where the vanity will sit. It protects the paint and peels off cleanly after installation. Lay drop cloths to catch any dropped hardware, tools, or cabinet parts.
Careful positioning requires a helper to support vanity weight while you guide it into place. Use shims under the vanity base for gradual positioning adjustments instead of dragging the cabinet against walls. Lift and place rather than slide. Take your time with final positioning. Rushing this step causes most installation damage to fresh paint.
If you do accidentally scuff the paint, touch it up immediately with a small brush and the paint you reserved from the original job. Dab paint onto the mark, feather the edges, and let it dry. Touch ups blend better while the surrounding paint is relatively new.
Trim Work and Caulking After Vanity Installation
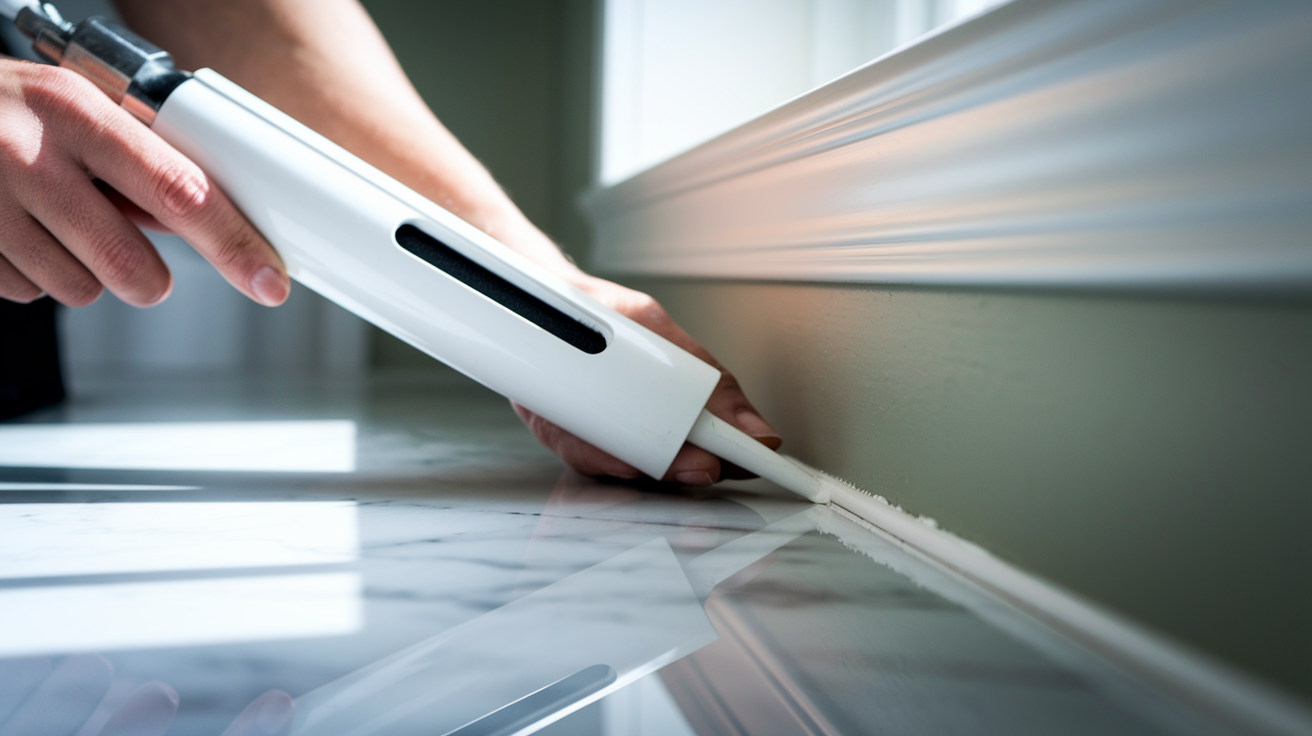
The optimal finishing sequence runs: main wall painting first, vanity installation second, trim painting third, caulking last.
Baseboard painting timing depends on whether your vanity reaches the floor or sits on legs. If the vanity covers the baseboard completely, you can skip painting that section (though painting it anyway only takes a few extra minutes and ensures coverage if you ever change vanity styles). If the vanity has legs or a toe kick with visible baseboard below, paint the baseboards after the vanity is installed. This sequence gives you precise color matching and eliminates concerns about protecting wet baseboard paint during vanity installation.
Caulking creates a water seal along the vanity to wall junction and covers any small gaps from wall irregularities. After the vanity is secured to the wall and you’ve confirmed it’s level and positioned correctly, apply a bead of paintable acrylic latex or silicone caulk along the seam where the backsplash or countertop meets the wall. Smooth the bead with a wet finger or caulking tool, wiping excess onto a damp rag. If the caulk beads up, the surface is still dirty. Wipe it with rubbing alcohol and try again.
Allow 24 hour caulk cure time before painting over it if you want the caulk to match the wall color. Not all caulk needs painting. Clear or white caulk often works as is. But painting it makes the joint less visible.
Final touch ups handle tight corners where vanity edges meet walls. Use a small artist brush or 1 inch angled brush to carefully paint any spots you couldn’t reach during main wall painting. These areas become visible once the vanity is installed and you see the final layout.
Common Painting Mistakes When Sequencing Bathroom Renovation
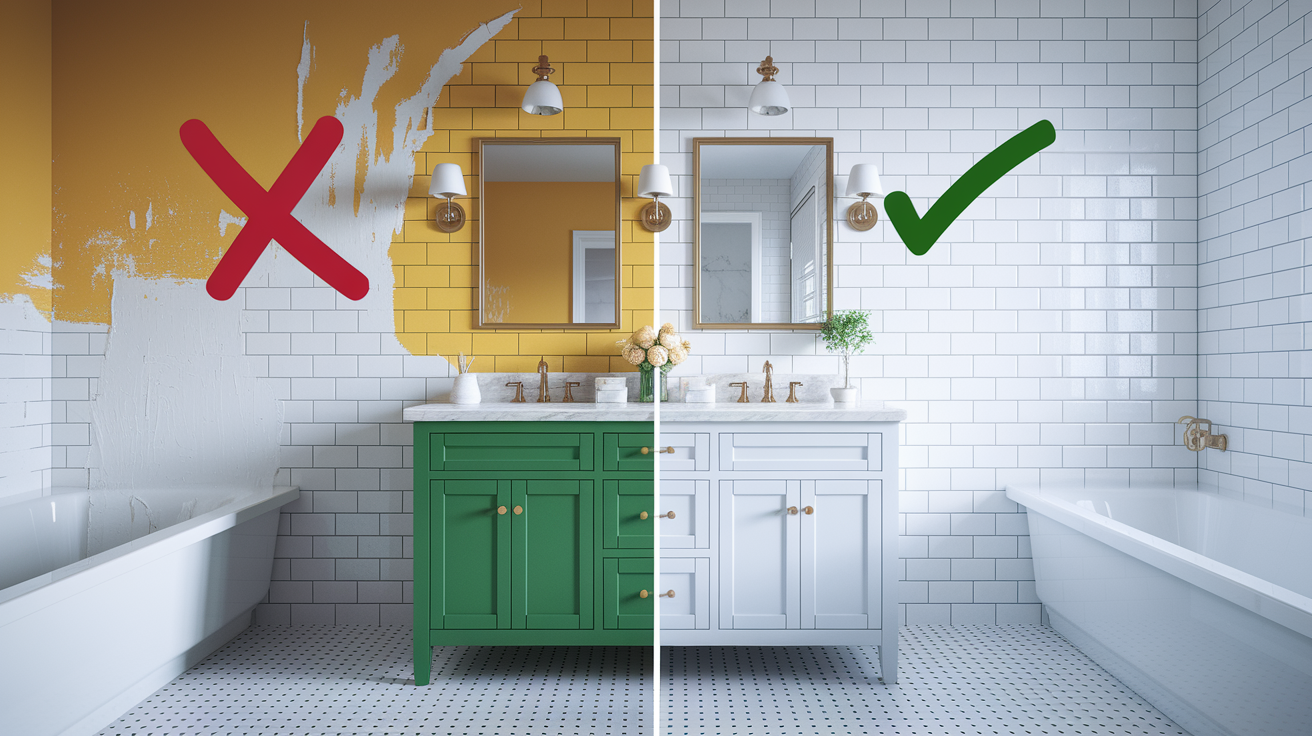
Five critical mistakes compromise bathroom painting results and create problems that show up weeks or months later.
Mistake number one is installing the vanity before paint fully cures. Touch dry paint at 2 to 4 hours feels dry to a light touch, but it’s not installation ready. The coating is still soft underneath. Installing a heavy vanity against paint that’s only been drying for a few hours creates permanent scuff marks, adhesion failures, and marks that won’t polish out. Wait the full 24 to 48 hours minimum. If you’re impatient, you’ll see why patience mattered when you notice the damage.
Mistake number two is skipping the wall area behind the vanity to save time. This creates visible unpainted strips if the vanity is ever moved, and it leaves bare drywall exposed to moisture that migrates through small gaps in the vanity wall junction. Paint is a moisture barrier. Leaving sections unpainted invites problems.
Mistake number three is using flat or eggshell paint instead of satin or semi gloss in moisture prone areas. Flat paint absorbs water. In bathrooms, this leads to paint failure within months. Blistering, peeling, and mildew growth on the paint surface. Higher gloss sheens repel water instead of absorbing it.
Mistake number four is inadequate surface preparation. Skipping the TSP cleaning, not sanding glossy surfaces, or failing to patch holes properly. Paint adheres to the layer below it. If that layer is greasy, dusty, or glossy, the new paint peels off in sheets. Surface prep isn’t optional in bathrooms where moisture attacks weak adhesion constantly.
Mistake number five is not providing proper ventilation during painting. Paint fumes accumulate in closed bathrooms, extending cure times and creating health issues. Run a box fan in the window or door to move humid air out and fresh air in. This speeds drying and makes the workspace safer.
Professional Installation Versus DIY Bathroom Painting Sequence
Painting before vanity installation is manageable for DIY skill levels, but it requires attention to detail and proper sequencing to get professional results.
DIY makes sense in several scenarios. Simple bathroom layouts without complex tile work or waterproofing requirements work well for homeowners with basic painting experience. Standard vanity sizes that don’t require custom installation or plumbing modifications reduce complexity. Timeline flexibility that allows proper cure times between prep, priming, painting, and installation removes the pressure that causes rushed work and mistakes. If you have a second bathroom to use during the project, DIY becomes more practical.
Professional help makes more sense when the project includes complex tile work requiring waterproofing membranes, expensive custom vanities where installation errors cost thousands to fix, plumbing modifications like moving supply lines or drain locations, or tight project deadlines where the bathroom must be functional by a specific date. Professionals complete in days what takes DIYers weeks, and they carry insurance for mistakes.
Cost considerations: DIY saves 40 to 60 percent on labor costs but requires tool investment if you don’t already own quality brushes, rollers, sanders, and drop cloths. DIY also takes 3 to 5 times longer than professional work because you’re learning as you go and working around other commitments. A professional painter finishes an average bathroom in 6 to 8 hours of actual work time. A DIYer typically spreads the same job across 4 to 7 days of partial day sessions.
Hybrid approaches split the work based on skill confidence. Hire a painter for the walls, then DIY the vanity installation if you’re comfortable with basic plumbing and carpentry. Or reverse it. DIY the painting, then hire a plumber or handyman for vanity installation if you’re not confident with the plumbing connections. Get installation quotes even if you’re planning DIY. Knowing the professional cost helps you decide if the DIY time investment is worth the savings.
Timeline Planning for Bathroom Painting and Vanity Installation
Total project duration runs 4 to 7 days from start to functional bathroom, depending on paint cure requirements and installation complexity.
Day by day schedule for a typical bathroom renovation: Day 1 involves demo and prep work, 4 to 6 hours to remove the old vanity, disconnect plumbing, clean walls with TSP, patch holes, and complete the first sanding pass. Day 2 is prime day, 3 to 4 hours to apply primer to all wall surfaces, plus drying time. Day 3 brings the first paint coat, 2 to 3 hours of actual painting, plus dry time before the second coat. Day 4 is the second paint coat, another 2 to 3 hours of work. Days 5 and 6 are cure time with no work required, just waiting for paint to reach full hardness. Day 7 is vanity installation, 3 to 5 hours depending on plumbing complexity and whether you’re installing new fixtures.
Several factors extend this timeline beyond the basic schedule. Additional paint coats for full color coverage add a day each time. Painting over dark colors or switching from dark to light often needs three coats instead of two. Oil based paint requires longer cure time than water based products, sometimes 3 to 4 days instead of 1 to 2. Complex vanity installation with plumbing modifications, new shutoff valves, or supply line relocation adds 2 to 4 hours. Tile backsplash or wall tile work adds multiple days for setting, grouting, and curing.
If this is your only bathroom, plan the sequence to minimize unusable time. You can still use the toilet and shower during the painting phase, just protect them with plastic sheeting. The bathroom becomes mostly unusable during vanity installation when water is shut off. Consider painting in stages if needed: paint the vanity wall area first, install the vanity, then paint remaining walls around the installed fixture.
Optimal seasonal timing avoids high humidity months that extend paint cure times. Summer humidity in some regions can double the cure time, especially for oil based products. Paint cures fastest in moderate temperature (65 to 75 degrees) and moderate humidity (40 to 60 percent). Winter heating or summer air conditioning helps maintain these conditions indoors.
Build buffer time into your schedule. If you need the bathroom functional by a specific date, work backward from that deadline and add 2 to 3 extra days for unexpected delays, additional coats, or cure time extensions due to weather.
Final Words
Paint your bathroom walls before installing the vanity. It’s the clear winner for complete coverage, easier workspace access, and zero risk of damaging your new fixtures.
The sequence is straightforward: prep and repair walls, prime, apply two coats of moisture-resistant paint, wait 24-48 hours for cure, then install your vanity.
Skip the shortcuts on surface prep or cure time. Those decisions come back as peeling paint or scuffed finishes within months.
Should you paint bathroom before installing vanity? Always. Your future self will appreciate the clean edges and full wall protection when it’s time for the next upgrade.
FAQ
Do you have to prime a bathroom vanity before painting?
You have to prime bathroom walls before painting to ensure proper paint adhesion and durability in high-moisture environments. Primer creates a bonding layer between the wall surface and topcoat, blocks stains, and prevents moisture from compromising paint adhesion. Use shellac-based or adhesion primers designed for bathroom conditions.
Is $10,000 enough for a bathroom remodel?
$10,000 is enough for a mid-range bathroom remodel that includes vanity replacement, painting, new fixtures, and basic tile work in a standard-sized bathroom. This budget allows quality materials and professional installation for essential updates. Complex plumbing relocations or custom tile work may require additional funds.
What is the correct order to remodel a bathroom?
The correct order to remodel a bathroom starts with demolition and removal of old fixtures, followed by plumbing and electrical rough-in, then wall repair and painting, and finally installation of vanity, toilet, and accessories. Always paint walls before installing the vanity to ensure complete coverage and prevent fixture damage.
What makes a bathroom look outdated?
Outdated bathrooms typically show worn or peeling paint, builder-grade fixtures with outdated finishes, visible water stains or mildew, laminate countertops with visible seams, and outdated color schemes from previous decades. Chipped caulking, poor lighting, and mismatched hardware also contribute to an aged appearance requiring renovation.
How long should paint cure before installing a bathroom vanity?
Paint should cure for 24 to 48 hours minimum before installing a bathroom vanity to prevent scuffs and damage. While paint becomes touch-dry within 2 to 4 hours, full cure takes 3 to 7 days for maximum hardness. Installing too early risks permanent marks on fresh paint.
Should you paint the wall behind the bathroom vanity?
You should paint the wall behind the bathroom vanity to ensure complete coverage if the vanity is ever moved or replaced. Painting hidden areas prevents visible unpainted gaps during future renovations, protects drywall from moisture, and requires minimal additional time or materials during initial painting.
What type of paint is best for bathroom walls?
Semi-gloss or satin finish paint is best for bathroom walls because these sheens resist moisture, repel water, and clean easily compared to flat finishes. Use moisture-resistant formulations like Benjamin Moore Advance, Behr Urethane Alkyd, or Sherwin Williams Emerald Urethane designed specifically for high-humidity bathroom environments.
Can you install a vanity on freshly painted walls?
You can install a vanity on freshly painted walls after allowing 24 to 48 hours minimum cure time, though 3 to 7 days is ideal for full hardness. Use cardboard edge guards and painter’s tape to protect walls during installation. Touch-dry paint is not installation-ready despite feeling dry.
Do you paint trim before or after vanity installation?
You paint baseboards and trim after vanity installation for cleaner edges and easier access to tight areas where vanity meets walls. Main walls get painted first, vanity installs second, then trim work follows. This sequence eliminates awkward cutting-in around installed fixtures and reduces protection requirements.
What happens if you skip primer on bathroom walls?
Skipping primer on bathroom walls leads to poor paint adhesion, early peeling within months, and uneven color coverage requiring extra topcoats. Primer blocks stains, seals porous surfaces, and creates the bonding layer necessary for paint durability in high-moisture bathroom environments where regular paint alone fails.