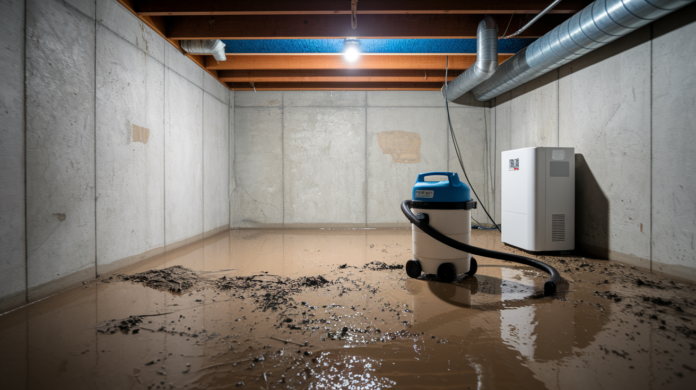

Most people think basement floodwater just sits on top of concrete, but it doesn’t. Concrete acts like a sponge, sucking contaminated water deep into its pores where bacteria and mold colonies establish in 24 to 48 hours. Surface mopping won’t touch them. This guide walks through the extraction, debris removal, deep cleaning, and disinfection sequence that actually reaches embedded contamination before it becomes a permanent problem. You’ll learn what equipment handles different water depths, which cleaning solutions penetrate concrete pores, and how to verify the floor is safe and dry enough to prevent mold growth.
Immediate Actions Within the Critical 24-48 Hour Window

When basement flooding hits concrete floors, every hour counts. Concrete isn’t solid. It’s full of tiny pores that suck up contaminated water like a sponge. The longer that water sits, the deeper it penetrates, carrying bacteria, sewage particles, and mold spores into the slab where they’ll colonize and multiply.
Your immediate priority is damage control within the first 24 hours. Here’s what to do right now:
-
Safety assessment and power shutoff – Before stepping into standing water, shut off power at the main breaker box. Never assume circuits are safe. Flip the main breaker, then the individual basement circuits. If the breaker box is in the flooded area or you’re uncertain, call an electrician before entering.
-
Water extraction using sump pump or wet-dry vacuum – Remove standing water within the first 24 hours using a submersible sump pump for deep water or a wet-dry shop vac for shallow flooding. Standard household vacuums will electrocute you. Don’t use them.
-
Begin drying process immediately – Position fans and dehumidifiers as soon as standing water is gone. Air movement prevents mold from taking hold in the concrete pores.
The 24 to 48 hour window isn’t a suggestion. It’s the deadline before mold growth shifts from surface nuisance to embedded structural problem. After 48 hours, mold colonies establish deep in the concrete where surface cleaning won’t reach them. You’re not just cleaning up water. You’re racing against biology.
Safety Equipment and Electrical Precautions Before Entering Flooded Basements

Stop before you step into that water.
Flooded basements create two immediate threats: electrical shock from energized circuits and contamination exposure from whatever that water carried in. You need to address both before cleanup starts.
Shut off power at the main breaker box before entering standing water. If the panel is in the flooded area, call an electrician to disconnect service at the meter. Live electrical current traveling through floodwater doesn’t give warnings. It kills instantly. Even after you’ve shut off breakers, treat all outlets, fixtures, and appliances as potentially energized until an electrician confirms otherwise. Water contact with electrical systems means professional inspection, not DIY guesswork.
Contamination risks require full protective equipment. Basement floodwater isn’t clean. It’s a bacterial soup containing sewage backup from overwhelmed municipal systems, lawn chemicals, heating oil, dead animals, and decomposing organic matter. Skin contact causes infections. Inhalation causes respiratory illness. Ingestion causes serious gastrointestinal disease. This isn’t the time to tough it out in shorts and sneakers.
Essential safety equipment before entering:
• Rubber boots – Waterproof, insulated, and knee high minimum. Steel toe if you’re moving debris.
• Heavy duty waterproof gloves – Nitrile or rubber rated for chemical resistance, not dishwashing gloves.
• N95 or respirator face mask – Filters airborne mold spores, bacteria, and sewage particles. Surgical masks don’t provide adequate protection.
• Safety goggles – Sealed eye protection prevents splashes during pumping and scrubbing.
• Long sleeves and pants – Full coverage clothing you’ll discard after cleanup. No exposed skin.
• Headlamp or battery powered lighting – Hands free visibility without relying on potentially compromised electrical lighting.
Water Extraction Methods for Flooded Concrete Basement Floors
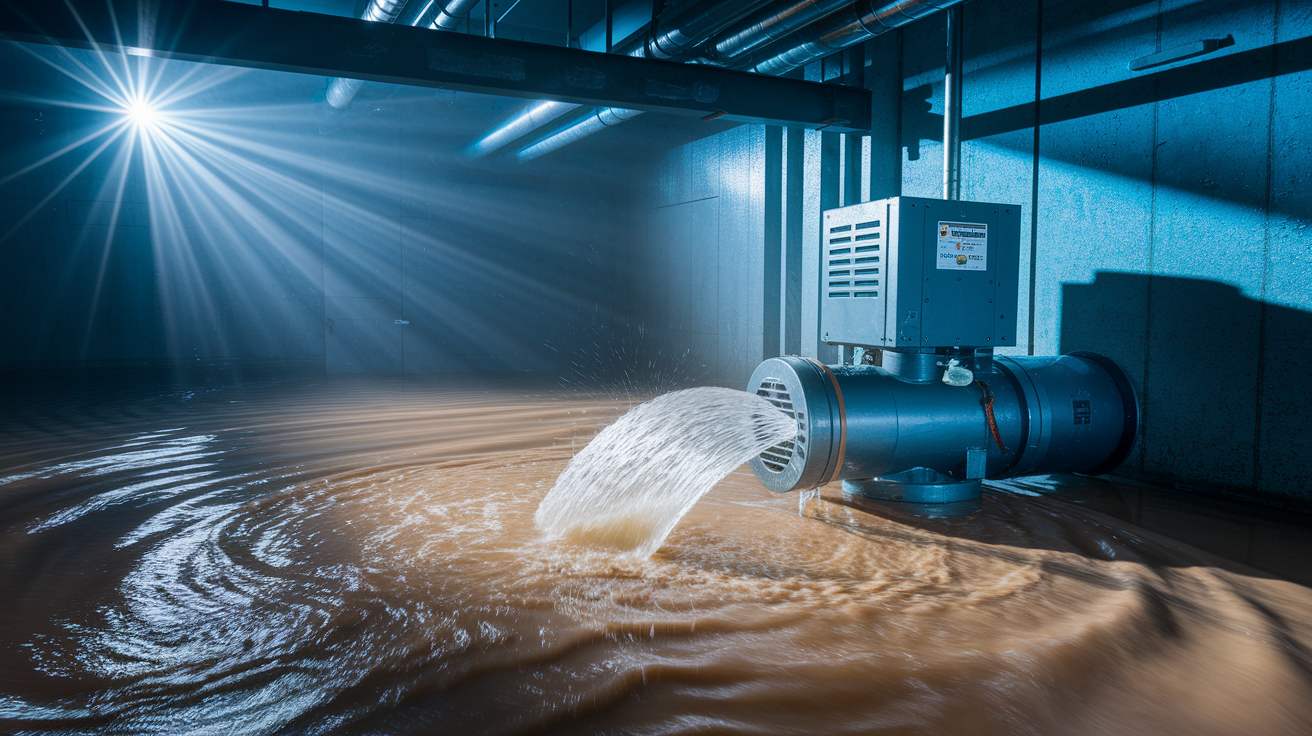
Water depth determines your extraction method. Measure the depth at the deepest point, then choose equipment accordingly.
For water deeper than 2 inches, rent or buy a submersible sump pump with a 1/2 horsepower motor minimum. Position the pump at the lowest point, run the discharge hose outside away from the foundation, and let it run until water drops below 1 inch. Sump pumps handle large volumes fast. A good unit moves 2,000 gallons per hour, clearing most residential basements in 2 to 4 hours. For shallower water under 2 inches, a wet-dry shop vac works better for controlled extraction in corners and around obstacles. You’ll empty the tank repeatedly, but you can maneuver into tight spaces the pump can’t reach.
Check your discharge water regulations before pumping. If floodwater contains sewage, chemicals, or heating oil, you can’t just dump it in the yard or storm drain. Contaminated water disposal follows local waste management rules, usually requiring collection by a licensed hauling service or approval from your municipal water authority. Call your town’s public works department and ask specifically about contaminated floodwater disposal. If they approve yard discharge, direct the hose at least 20 feet from your foundation toward a natural drainage path away from neighbors’ properties.
For minimal flooding under an inch, manual methods work fine. Use a floor squeegee to push water toward existing floor drains, then mop up residual moisture with old towels you’ll discard. Some basements have perimeter drains or sump pits. If yours does, squeegee directly toward them and let the system handle drainage. If you’re dealing with small puddles in isolated areas, absorbent materials like old blankets or contractor grade absorbent pads soak up standing water you can then wring out into buckets.
Timeline matters. Major water removal should happen within the first 24 hours. The longer water sits, the deeper it penetrates concrete pores and the faster mold colonizes. If you’re dealing with extensive flooding and don’t own equipment, rent it immediately. Waiting until tomorrow costs you the critical early hours when extraction is easiest and most effective.
Removing Debris, Mud and Silt from Wet Concrete Surfaces
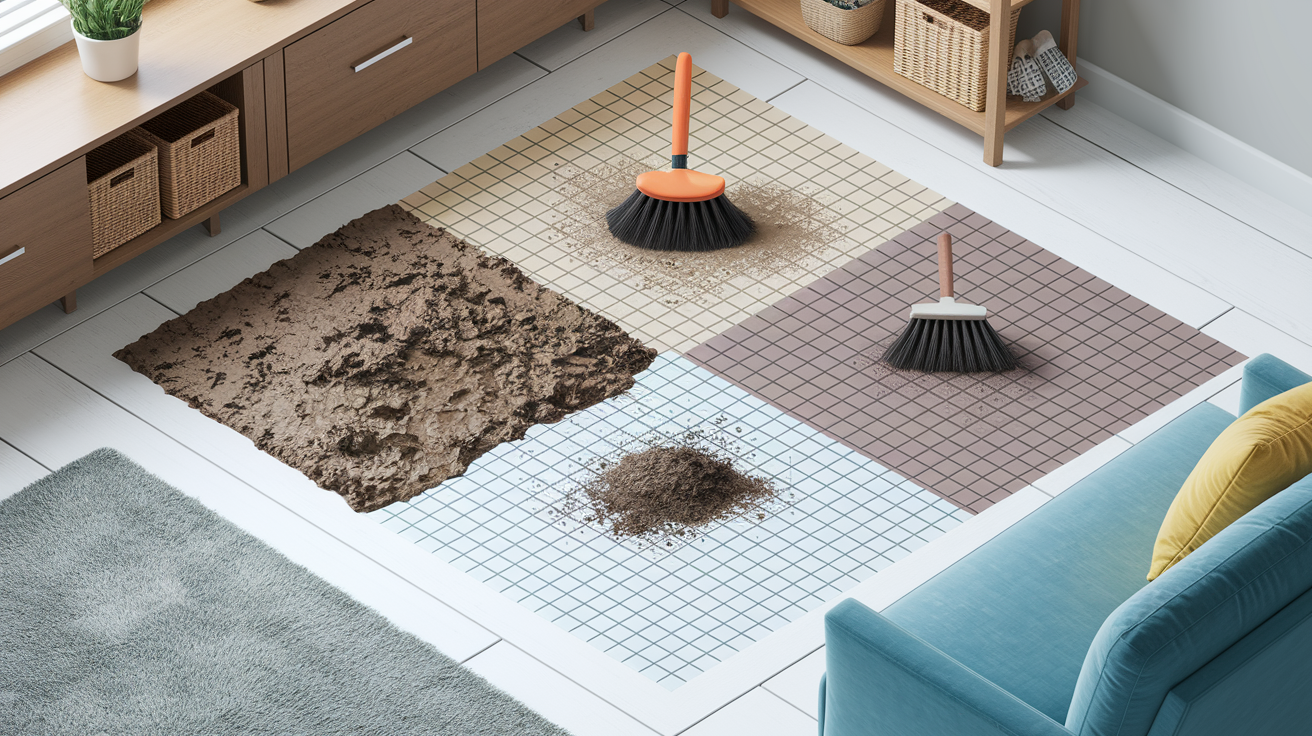
Once standing water is gone, you’re left with whatever the flood deposited: mud, silt, organic debris, and contaminated sediment packed into concrete’s textured surface.
This physical removal phase happens before any chemical cleaning. Scrubbing disinfectant into mud just creates toxic sludge. You need a clean surface for disinfectants to contact concrete pores directly. Start with a stiff bristled push broom and sweep all loose material toward one corner or a floor drain. Work in overlapping passes, pushing debris into piles you can shovel into contractor bags. Dried mud is easier to remove than wet. If you have time and ventilation allows it, let the floor air dry for a few hours before sweeping.
Stubborn deposits require scrubbing. Switch to a heavy duty scrub brush with stiff bristles and work the surface using firm circular motions. Focus on corners where sediment accumulates, cracks where material gets packed in, and textured areas that trap debris. For thick dried mud layers, use a plastic or metal scraper to break up the deposit before brushing. Work methodically in 4×4 foot sections so you don’t miss spots or waste effort re-cleaning areas you already covered.
Pay extra attention to cracks and control joints in the concrete. These recessed lines collect concentrated debris and become mold highways if you don’t clean them thoroughly. A smaller scrub brush or an old stiff paintbrush works better than the push broom for getting into cracks.
Essential tools for debris removal:
• Stiff bristled push broom – 24 inch minimum width for efficient sweeping of large areas
• Heavy duty scrub brush – Stiff synthetic bristles for aggressive scrubbing without scratching concrete
• Plastic or metal scraper – Breaks up dried mud deposits before brushing
• Shovel – Scoops heavy sediment piles into disposal bags
• Contractor grade trash bags – Heavy mil thickness prevents tearing from sharp debris and wet material
Deep Cleaning and Disinfecting Flooded Concrete Floors

Concrete’s porous structure means contaminated floodwater doesn’t just sit on the surface. It soaks deep into the slab, carrying bacteria, viruses, and mold spores with it. You need a two phase approach: deep cleaning solutions that penetrate pores to remove absorbed contaminants, followed by disinfection that kills pathogens and prevents mold colonization in the critical 24 to 48 hour window.
Deep Cleaning Solutions for Penetrating Concrete
Three cleaning solutions handle different contamination levels. For heavy contamination from sewage or chemical exposure, mix trisodium phosphate (TSP) at 1/2 cup per gallon of hot water. TSP is an aggressive cleaner that breaks down organic matter, cuts through oil films, and neutralizes odors trapped in concrete pores. It’s caustic. Gloves are mandatory. For moderate contamination with strong odors, mix 1 cup of baking soda plus 1/2 cup white vinegar per gallon of warm water. This combination neutralizes acidic and alkaline odors while breaking down organic residue without harsh fumes. For general cleaning of lightly contaminated concrete, standard mild detergent at 2 tablespoons per gallon works fine.
Application technique matters as much as the cleaning solution. Pour your chosen solution onto the floor in 4×4 foot sections. Don’t try to clean the entire basement at once. Use a stiff bristled brush and scrub in circular motions, applying firm pressure to force the solution into concrete pores. You’re not just cleaning the surface. You’re trying to flush contaminants out of the porous structure. Work the solution into cracks, corners, and textured areas where contamination concentrates. Let the solution sit for 10 to 15 minutes before rinsing to give it time to penetrate and break down absorbed material.
For severely contaminated floors where scrubbing isn’t enough, a pressure washer delivers deep cleaning power. Rent a unit with at least 2,000 PSI and use a wide angle nozzle to avoid etching the concrete surface. Work in systematic passes, overlapping each stroke by 50% to ensure complete coverage. You’ll need a plan for the huge volume of rinse water, either a working floor drain or a wet-dry vac running continuously to extract water as you spray. Pressure washing creates a mess, but it’s the most effective way to remove contaminants embedded deep in rough or deteriorated concrete.
Disinfection Protocols to Kill Pathogens and Prevent Mold
Floodwater carries sewage bacteria like E. coli and Salmonella, viruses including Hepatitis A, and mold spores that colonize within 24 to 48 hours of water exposure. EPA approved disinfectants kill these pathogens, but only if you apply them correctly within that critical window.
Choose a disinfectant designed for concrete. Household cleaners don’t cut it for porous surfaces. Apply disinfectant immediately after deep cleaning while the concrete is still damp. Work in 4×4 foot sections using a pump sprayer for even application, or mop the solution on generously without wringing out the mop head. The goal is saturation. You want disinfectant solution sitting in visible puddles on the concrete surface. Don’t walk on treated areas during the 10 to 15 minute dwell time. That waiting period is when disinfectants actually kill pathogens. Wiping it up immediately or walking through it before the dwell time completes wastes your effort.
Focus extra attention on high risk mold zones: cracks where water pooled longest, corners with poor air circulation, areas under stairs or behind utilities, and anywhere concrete stays damp. These spots need heavier disinfectant application and potentially a second treatment after the first dries. Use a stiff brush to work disinfectant into cracks and crevices where mold spores hide.
When to call professionals instead: visible mold growth covering more than 10 square feet, strong persistent musty odors indicating hidden mold colonies behind walls or under floor coatings, or any situation where you’re uncertain about contamination severity. Small scale DIY disinfection works for surface protection. Established mold requires professional remediation with containment barriers and specialized equipment.
| Disinfectant Type | Mixing Ratio | Dwell Time |
|---|---|---|
| Bleach solution | 1 cup per gallon water | 10 to 15 minutes |
| Quaternary ammonium | Per manufacturer instructions | 10 minutes |
| Hydrogen peroxide | 3% solution undiluted | 10 to 15 minutes |
| Commercial antimicrobial | Per product label | Follow label directions |
Drying Process and Dehumidification for Basement Concrete Floors
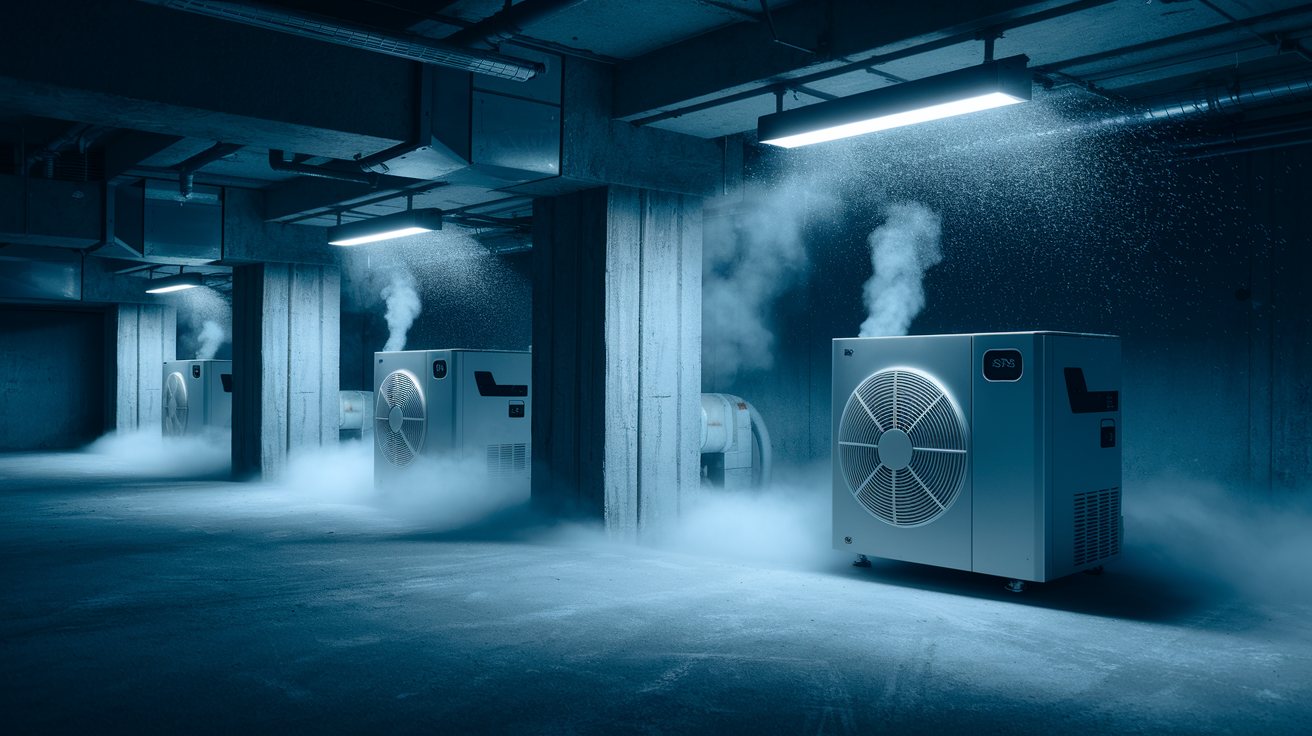
Concrete’s porous structure traps moisture deep in the slab, sometimes 2 to 4 inches below the surface. A floor that feels dry to the touch still holds gallons of water in its internal pore structure. That trapped moisture creates ideal conditions for mold growth and prevents effective sealing. You need mechanical drying, not just time.
Position industrial fans aimed directly at the floor, not the walls or ceiling. Air movement across the concrete surface pulls moisture from pores through evaporation. Space fans every 10 feet for overlapping airflow coverage. One fan doesn’t cut it in a full basement. Run them continuously, not intermittently. Place at least one commercial dehumidifier in the center of the space, more if the basement exceeds 500 square feet. Dehumidifiers extract moisture from the air itself, lowering humidity levels so concrete can release trapped water. Empty collection buckets every 6 to 12 hours or run a discharge hose to a floor drain. Residential grade dehumidifiers don’t have the capacity for flood drying. Rent commercial units rated for 50+ pints per day.
Check moisture levels with actual instruments, not guesswork. Buy or rent a concrete moisture meter with pins that penetrate the surface to test moisture content at depth. Test multiple locations across the floor every day. Concrete is dry enough for sealing when moisture readings drop below 12% at depth. A hygrometer measures relative humidity in the basement air. Keep humidity below 50% during the drying process to prevent mold growth while concrete releases moisture.
Timeline expectations: minimum 3 to 5 days of continuous mechanical drying for thin slabs in dry weather, up to 2 weeks for thick slabs or humid conditions. Don’t rush this phase. Sealing damp concrete traps moisture inside where it will cause mold growth, delamination, and coating failure. Temperature matters too. Concrete dries faster in warm conditions. If you’re drying in winter, supplemental heat from electric heaters speeds the process.
Weather determines ventilation strategy. In low humidity conditions below 60% outside relative humidity, open windows and doors to create cross ventilation that helps moisture escape. In humid conditions above 60% outside humidity, keep the space sealed and rely entirely on mechanical dehumidification. Opening windows in humid weather just pumps more moisture into the space, working against your drying efforts.
Treating Efflorescence and Salt Deposits on Flooded Concrete
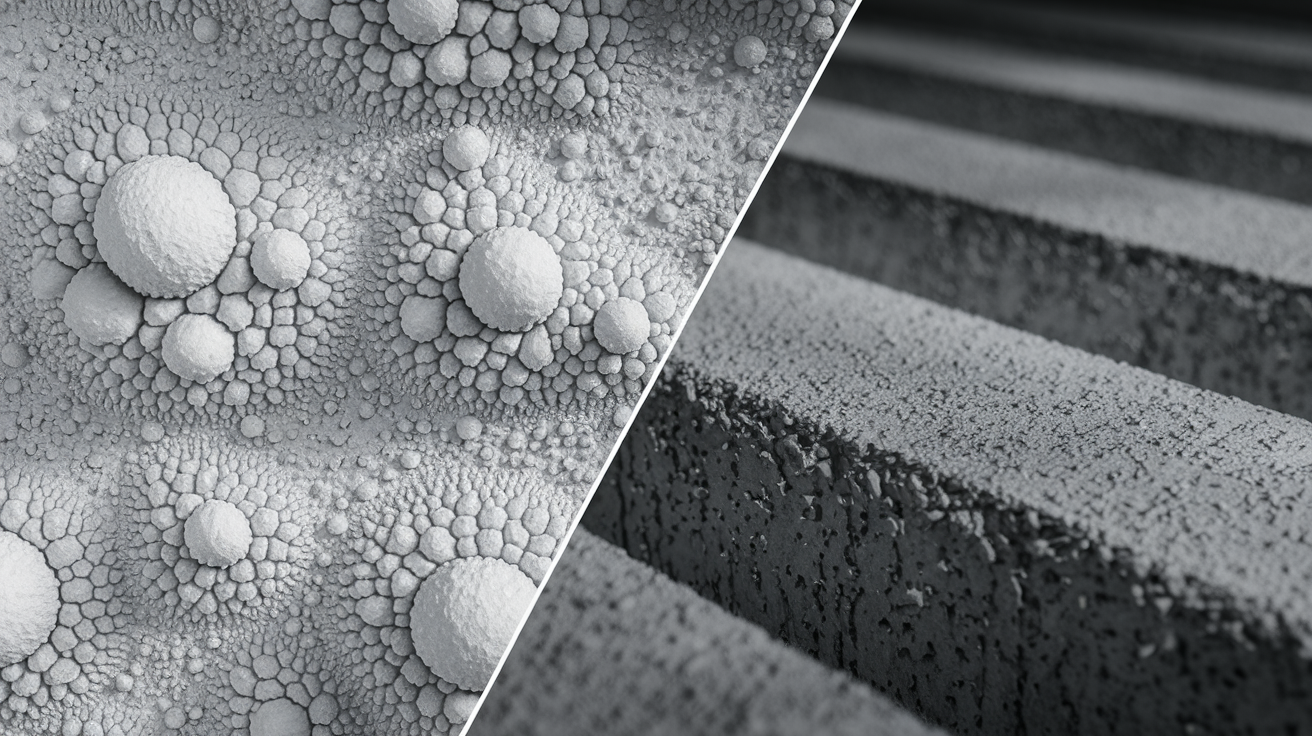
Efflorescence shows up as white chalky powder or crusty deposits on concrete surfaces after flooding. It’s not mold. It’s salt and mineral deposits that dissolved in floodwater, migrated through concrete pores, and crystallized on the surface as water evaporated. Those white deposits tell you water penetrated deep into your slab.
Remove efflorescence with dry brushing first. Use a stiff brush and sweep away loose white powder. No water yet. For light deposits that remain, spray white vinegar directly on the efflorescence and let it sit for 5 minutes. The mild acid dissolves salt crystals. Scrub with a stiff brush, then rinse and wipe up the dissolved material. For heavy buildup that won’t respond to vinegar, muriatic acid works, but it’s aggressive. Mix 1 part muriatic acid to 10 parts water in a plastic bucket (never add water to acid, always add acid to water slowly). Apply with a brush, let sit for 2 to 3 minutes while it bubbles, then rinse thoroughly with clean water. Muriatic acid requires rubber gloves, eye protection, and good ventilation. The fumes are harsh.
Efflorescence indicates deeper moisture movement through your concrete. It’s not just a cosmetic issue. It’s evidence that water penetrated the slab and the concrete is still releasing moisture. That’s why efflorescence often reappears days or weeks after you remove it. Each time you see new white deposits, that’s another cycle of internal moisture coming to the surface and evaporating. Don’t seal concrete until efflorescence stops appearing, which signals the slab has finished drying internally.
Prevention requires addressing why water penetrated your concrete in the first place. Efflorescence after flooding means your concrete lacks waterproofing protection. After you’ve completed drying and before you reseal, this is your signal that penetrating sealers or exterior waterproofing are necessary to prevent future water intrusion and the resulting salt deposits.
Inspecting for Structural Damage and Cracks in Concrete Slabs

Wait until the floor is completely dry before you assess structural damage. Wet concrete hides problems. Darkness from moisture masks cracks, and saturated areas look uniformly discolored. You need a dry surface to accurately identify damage patterns.
Walk the entire floor looking for three categories of damage. Hairline cracks under 1/8 inch wide are normal concrete shrinkage cracks. They don’t indicate structural problems. Wider cracks from 1/4 inch to 1/2 inch suggest settlement or minor foundation movement, potentially worsened by flooding. Cracks exceeding 1/2 inch, especially if they run continuously across large sections of floor or radiate from corners, indicate serious structural movement requiring immediate professional evaluation. Also look for spalling, surface concrete that’s flaking, chipping, or peeling away in layers. Spalling shows freeze thaw damage or concrete deterioration from prolonged water exposure.
Pay attention to changes in floor level. Flooding can undermine foundation support, causing concrete slabs to settle unevenly or develop new slopes. Place a 4 foot level across different areas of the floor and check for gaps under the level edges. Small variations under 1/4 inch across 4 feet are normal. Slopes exceeding 1/2 inch across 4 feet or sudden drop offs at crack locations indicate foundation movement. Mark concerning areas with chalk and monitor them over the next week. If cracks widen or floor slopes increase, your foundation is actively moving.
Warning signs that require immediate professional structural evaluation: cracks wider than 1/4 inch that you can fit a coin into, vertical displacement where one side of a crack is higher than the other, new cracks that appear or grow after the floor dries, water seeping up through cracks when dry weather eliminates groundwater as a source, and bowing or leaning basement walls. Foundation movement during flooding can cause serious structural issues that get worse over time. Catching them early prevents catastrophic failure and much higher repair costs.
Inspect foundation walls at the same time. Look for horizontal cracks, inward bowing, stair step cracks in block walls, and gaps where walls meet the floor. These problems aren’t DIY repairs. A structural engineer needs to evaluate load bearing capacity and recommend repair methods before you proceed with floor sealing or finishing.
Sealing and Waterproofing Concrete Floors After Flood Cleanup

Apply concrete sealer only after your moisture meter confirms the slab is completely dry, below 12% internal moisture content. Sealing damp concrete traps moisture inside where it causes mold growth, coating delamination, and future flood damage. This is where patience pays off.
Three sealer types provide different protection levels. Penetrating silane/siloxane sealers soak into concrete pores and create a water repellent barrier without changing surface appearance. They’re the best choice for unfinished basements where you want water protection without a glossy finish. Application is simple: roll or spray onto clean, dry concrete, let it penetrate for 30 minutes, then wipe up excess. Acrylic coatings create a thin protective film on the concrete surface with a slight sheen. They provide moderate water resistance and make future cleaning easier, but they wear off in high traffic areas. Epoxy coatings deliver maximum protection by creating a thick, impermeable barrier bonded to the concrete surface. They’re the right choice for basements with recurring flood risk, but they require careful surface prep and precise mixing and application.
Application process: Clean the surface one final time, removing all dust, efflorescence, and residue. Let it dry for 24 hours. Check moisture readings again. Mix sealer according to manufacturer directions. Don’t guess ratios. Apply with a 3/8 inch nap roller for even coverage, or use a pump sprayer for penetrating sealers. Work in 4 foot sections, maintaining a wet edge to prevent lap marks. One coat provides basic protection; two coats are standard for basements prone to moisture. Allow proper cure time before foot traffic, typically 24 hours for penetrating sealers, 48 hours for acrylics, and 5 to 7 days for epoxy systems.
Reapplication schedule depends on basement conditions. Penetrating sealers last 3 to 5 years in dry basements, 1 to 2 years in damp basements with periodic moisture exposure. Acrylic coatings need reapplication every 1 to 2 years as they wear from foot traffic and moisture cycles. Epoxy coatings last 5 to 10 years when properly applied, but require complete removal and reapplication when they fail. You can’t just coat over old epoxy.
| Sealer Type | Protection Level | Best For |
|---|---|---|
| Penetrating silane/siloxane | Good water repellency, no surface film | Unfinished basements, minimal moisture exposure |
| Acrylic coating | Moderate barrier, slight sheen | Light traffic, periodic moisture, easy maintenance |
| Epoxy coating | Maximum waterproof barrier | High flood risk, finished basement conversions |
| Polyurethane | Strong barrier with flexibility | Heavy traffic, chemical exposure, garages |
DIY Cleanup vs. Professional Flood Restoration Services
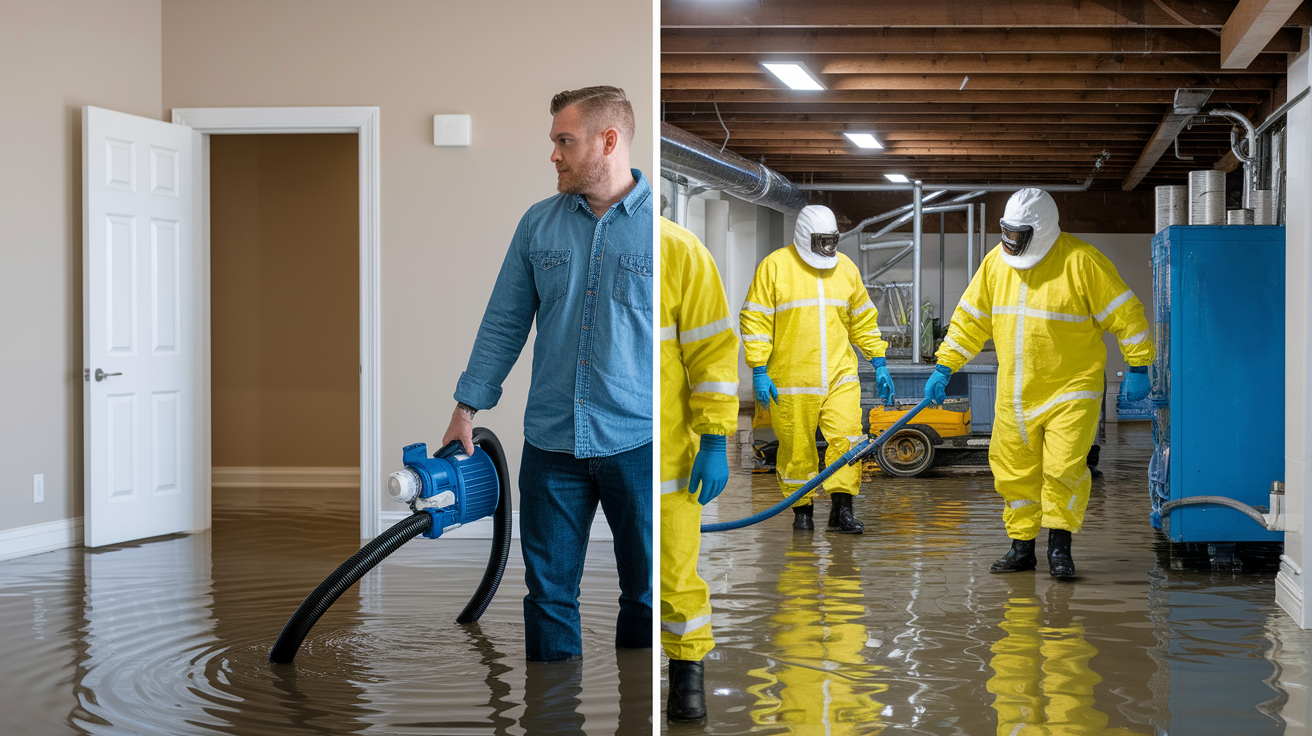
Simple flooding on unfinished concrete can be DIY. Contaminated water, extensive damage, or anything involving electrical systems or structural concerns requires professionals. Your decision point is safety and scope, not just cost.
DIY is appropriate when:
• Water depth was under 2 inches of clean water from a known source like a broken pipe or appliance leak
• Your basement is unfinished with only concrete exposed, no drywall, insulation, or finished materials
• Floodwater never contacted electrical outlets, panels, or appliances
• No sewage backup or contaminated water was involved
• Affected area is under 200 square feet and you have time to handle cleanup over several days
Professional restoration is required when:
• Sewage backup or contaminated water from ground flooding, sewer lines, or unknown sources
• Water contacted electrical systems, outlets, appliances, or HVAC equipment
• Flooding exceeded 6 inches deep or remained standing for more than 24 hours
• Finished basement with drywall, insulation, or carpeting sustained water damage
• Visible mold growth covering more than 10 square feet of surface area
• Structural cracks, foundation concerns, or bowing walls are present after flooding
Cost considerations matter. Professional flood cleanup and restoration typically costs $3,000 to $10,000 for an average residential basement, depending on contamination level, affected square footage, and necessary structural repairs. That includes water extraction, debris removal, antimicrobial treatment, industrial drying, and basic repairs. DIY cleanup costs $200 to $500 in equipment rental and materials, but requires 3 to 7 days of your labor.
The hidden cost of DIY is risk. If you miss mold growth, skip proper disinfection, or seal the floor before it’s dry, you create bigger problems that cost more to fix later. If contaminated water makes you sick or electrical hazards cause injury, your medical bills dwarf cleanup costs. Professionals carry insurance, use commercial equipment, and guarantee their work. When the situation is borderline, professionals are the safer choice.
Insurance Claims and Documentation for Basement Flood Damage
Document everything before you touch anything. Your insurance claim depends on photographic evidence of damage extent and contamination severity before cleanup begins.
Take photos and video of every damaged area from multiple angles. Capture water level marks on walls showing flood depth, standing water still present, all affected items, electrical systems exposed to water, HVAC equipment condition, and structural elements like floor cracks or wall damage. Take wide shots showing overall basement condition and close ups showing specific damage. If floodwater was contaminated with sewage or chemicals, document the contamination source and the extent of exposure. Time stamp photos if your phone allows it. Insurance adjusters use timestamps to verify damage occurred during the claimed event.
Contact your insurance company within 24 to 48 hours of flooding. Most policies require prompt notification. Waiting weeks hurts your claim. Ask specifically if your policy covers the flooding type you experienced. Standard homeowner’s insurance covers water damage from burst pipes, water heater failures, and appliance leaks. It excludes damage from rising groundwater, surface water intrusion, and sewer backup unless you purchased separate endorsements. Federal flood insurance through NFIP covers rising water from natural disasters but requires separate policies purchased before flooding occurs.
Get approval before major work begins. Insurance adjusters want to inspect damage before you start demolition or disposal. Emergency water extraction and safety measures like power shutoff are fine. You don’t need permission to stop ongoing damage. But don’t rip out drywall, dispose of damaged belongings, or hire restoration contractors until the adjuster completes their inspection. Document temporary repairs and emergency expenses with receipts. Most policies reimburse reasonable costs to prevent additional damage.
Keep every receipt. Save documentation for water extraction equipment rental, cleaning supplies, disinfectants, PPE, dehumidifier rental, concrete sealer, and professional services. Insurance reimbursement requires proof of expenses. Create a simple spreadsheet listing dates, items, costs, and vendors. Include rental agreement copies showing daily rates and rental duration. If you hire professionals, get itemized invoices showing labor and materials separately.
Final Words
Concrete floors absorb contaminated water fast, so your first 48 hours determine whether you’re dealing with a cleanup or a mold problem.
Work through the safety checks, pump out standing water, scrub away debris, disinfect thoroughly, and run dehumidifiers until a moisture meter confirms the slab is actually dry.
Don’t skip the sealer once everything’s bone-dry. It’s your best defense against the next round of water finding its way back in.
If you caught it early and followed the steps on how to clean concrete floor after basement flood, you’ve given yourself a real shot at a basement that stays usable instead of becoming a recurring nightmare.
FAQ
How does flooding affect a cement basement floor?
Flooding affects a cement basement floor by causing the porous concrete to absorb contaminated water rapidly, which can lead to structural damage, mold growth within 24-48 hours, and deep penetration of bacteria and chemicals that require immediate extraction and disinfection to prevent permanent problems.
What’s the first thing to do when a basement floods?
The first thing to do when a basement floods is shut off electrical power at the breaker box before entering any standing water to prevent electrocution, then assess safety hazards like structural damage or sewage contamination before beginning water removal within the critical 24-hour window.
How do I remove standing water from a flooded basement?
You remove standing water from a flooded basement using a sump pump or submersible pump for deep water over 2 inches, or a wet-dry shop vac for shallow water, directing contaminated water to approved disposal locations according to local waste management regulations.
How long does it take for a concrete floor to dry out after a flood?
A concrete floor takes a minimum of 3 to 5 days to dry out after a flood with proper ventilation and dehumidification, but thick slabs or humid conditions may require up to 2 weeks before a moisture meter confirms the concrete is completely dry below the surface.
What to spray in a basement after flooding?
After flooding, spray EPA-approved disinfectant or a bleach solution (1 cup bleach per gallon of water) on basement concrete, letting it sit for 10 to 15 minutes to kill bacteria, viruses, and mold spores before rinsing, focusing on cracks and corners where water pooled longest.
Can I use Dawn dish soap to clean concrete?
You can use Dawn dish soap diluted in warm water to clean concrete as a mild detergent option for general cleaning, but heavily contaminated flood-damaged concrete requires stronger solutions like trisodium phosphate or degreasing cleaners followed by proper disinfection to eliminate pathogens.
What cleaning solution works best for flooded concrete?
The best cleaning solution for flooded concrete depends on contamination level: trisodium phosphate for heavy contamination, baking soda and white vinegar mixture for odor neutralization, or mild detergent for general cleaning, always followed by EPA-approved disinfectant to kill pathogens and prevent mold.
How do I know if my concrete floor is completely dry?
You know your concrete floor is completely dry by using a moisture meter to test both the surface and depth of the slab, confirming readings are back to normal levels, not just relying on how the floor feels since moisture remains trapped in porous concrete below the surface.
What is the white chalky residue on my concrete after flooding?
The white chalky residue on concrete after flooding is efflorescence, which forms when water carries dissolved salts through the porous concrete and deposits them on the surface as it evaporates, indicating moisture penetration that may require waterproofing after removal with stiff brushing or vinegar solution.
When should I call a professional for basement flood cleanup?
You should call a professional for basement flood cleanup when sewage backup or contaminated water is present, water contacted electrical systems, flooding exceeded 6 inches deep, visible mold exceeds 10 square feet, or structural cracks and foundation concerns appear after water removal.
Do I need to seal concrete after flood cleanup?
You need to seal concrete after flood cleanup once the floor is completely dry according to moisture meter readings, using penetrating sealers or epoxy coatings to prevent future water absorption and simplify cleanup, reapplying every 1 to 3 years depending on basement moisture exposure.
What safety equipment do I need for basement flood cleanup?
For basement flood cleanup, you need waterproof rubber boots, heavy-duty waterproof gloves, N95 respirator or face mask, safety goggles, long sleeves and pants, and battery-powered lighting to protect against contaminated water, electrical hazards, and airborne bacteria before entering the flooded area.