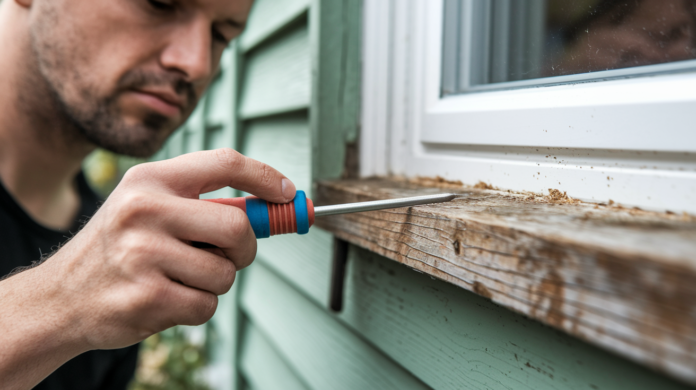

Most homeowners waste money replacing entire window sills when targeted epoxy repairs would fix them for one fifth the cost. But there’s a catch. Standard wood fillers and cheap auto body compounds crack out within months because they can’t handle outdoor moisture cycles. A proper two part epoxy system, on the other hand, strengthens compromised wood from the inside and rebuilds missing material with waterproof marine grade formulation that lasts decades. This guide walks through complete exterior window sill restoration, from assessing damage and deciding repair versus replacement, through consolidant application, epoxy filling, and weatherproof finishing that prevents callbacks.
Step-by-Step Window Sill Repair Guide
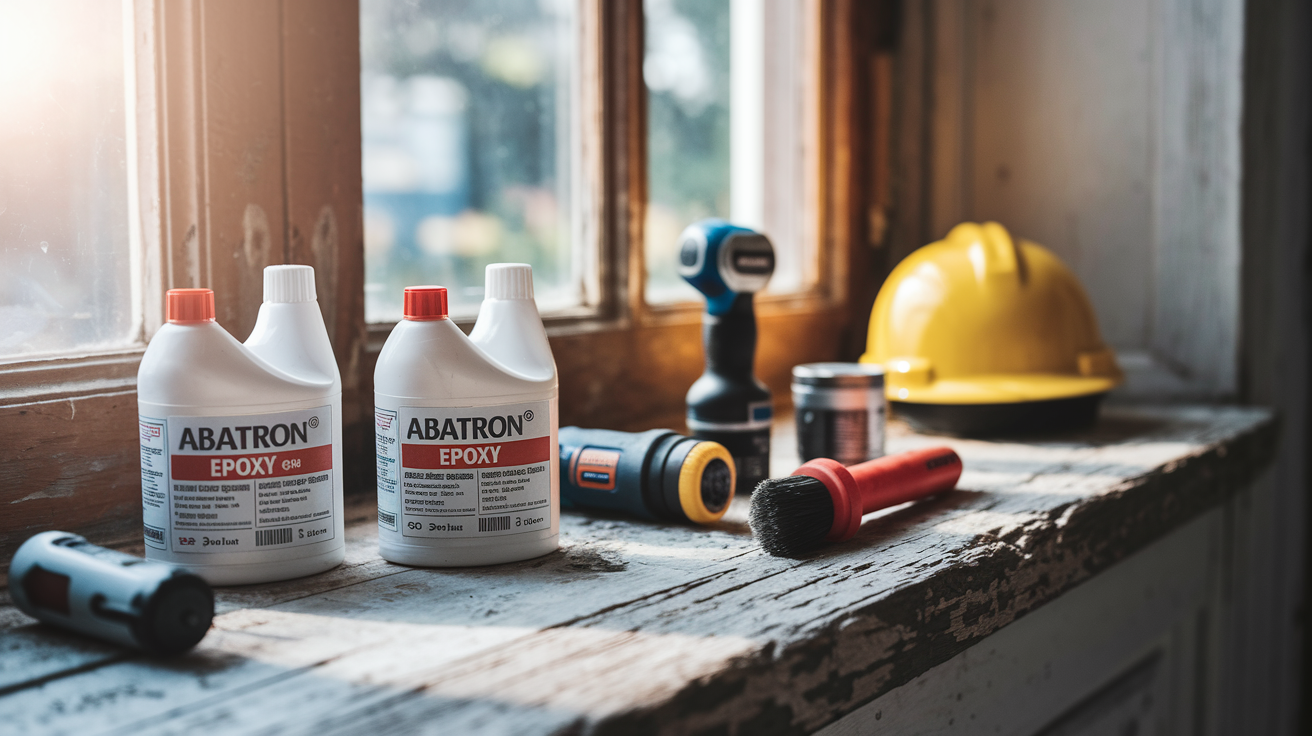
Most exterior window sill repairs wrap up in a few hours when you’re using a two-part epoxy system built for structural wood restoration. This approach gives you waterproof, long lasting results that blow past what you’d get from standard wood putty or auto body fillers.
You’ll need Abatron LiquidWood (liquid consolidant), Abatron WoodEpox (paste filler), TSP cleaner, acetone, scraper, oscillating multi-tool, glue brush, plastic putty knife, NIOSH approved respirator, gloves, and safety goggles.
- Clean the sill with TSP cleaner to strip away dirt and mildew
- Cut out all damaged wood plus 1 inch past visible rot using your oscillating multi-tool
- Check that wood moisture sits at 12 to 15% or lower with a moisture meter
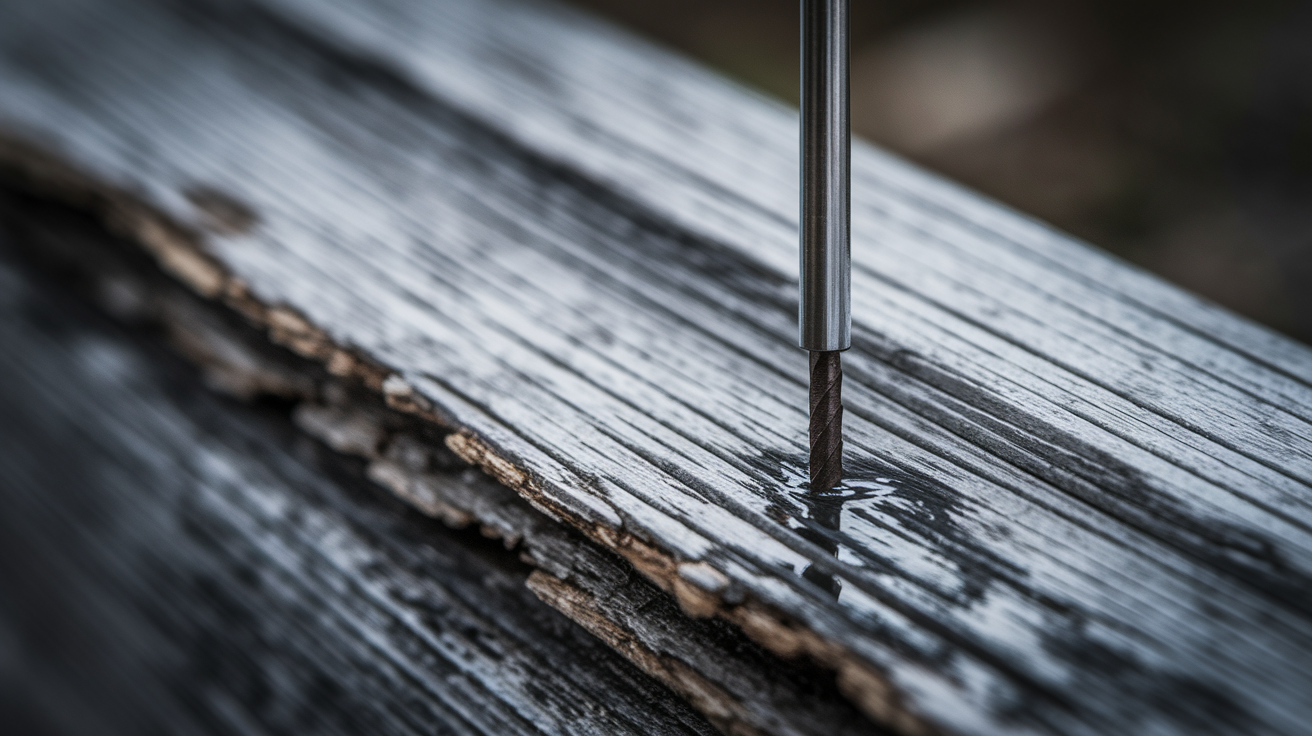
- Drill 1/8 inch holes spaced 1 inch apart at downward angles
- Mix LiquidWood at 1:1 ratio and brush it on liberally with glue brush (you get 15 minutes after mixing before it starts setting up)
- Let consolidant cure for 24 hours
- Mix WoodEpox equal parts until you get uniform color, work in small batches within 5 to 10 minutes
- Press epoxy into voids, overfill just slightly, smooth with plastic putty knife
- Give it 24 hours to cure, then sand through 80 grit, 120 grit, and 220 grit progressively
- Prime with exterior primer and finish with two coats of premium acrylic latex exterior paint
This system works because LiquidWood soaks deep into compromised wood fibers, strengthening the cellular structure from the inside. WoodEpox rebuilds structural mass with play doh consistency that molds to match original profiles. The marine grade formulation creates waterproof bonds way superior to standard fillers that crack, shrink, or pop out after a season or two. Don’t skim coat the whole surface. Only fill voids and cracks where wood is actually missing, or trapped moisture will shove your repairs right back out.
Assessing Damage and Deciding Between Repair or Replacement
Physical inspection with a screwdriver or awl shows you hidden damage beneath paint. Press the tip into suspicious spots around the sill perimeter, especially corners and anywhere water pools. Soft spots mean rot has eaten away the wood structure. Best time to inspect is after rainy season when water damage shows up clearly and materials have been stressed by repeated wet dry cycles.
The 50% rule tells you which path to take. When rot affects more than half the structural wood or spreads into the main window frame, you need full replacement rather than epoxy repair. At that point, the remaining sound wood can’t provide adequate support even after you strengthen it with consolidant. Frame involvement means removing and reinstalling the entire window assembly, which pushes the project past DIY territory into professional carpentry.
For borderline cases, the splice technique extends what you can repair. Cut out the compromised section, then lock in pressure treated wood, cedar, or redwood with exterior construction adhesive and galvanized screws. This works when damage is extensive but hasn’t hit the 50% mark. You’re creating a hybrid that keeps most of the original sill while replacing only the destroyed portions.
Visual and physical warning signs:
- Discoloration or dark streaks from water penetration
- Cracked or peeling paint that won’t stick
- Failed caulk with gaps or pulled away edges
- Soft spots when you poke with screwdriver or awl
- Wet sills that stay damp long after rain quits
- Visible mold or mildew growth, especially in corners
- Swollen material with size changes from moisture
- Gaps between sill and wall letting air through
- Loose or wobbly sills that move when pressed
- Uneven surfaces with dips where water sits
- Musty smells near the window pointing to hidden moisture
- Stained walls or floor beneath windows from water running down
Complete Repair Process: Surface Preparation Through Epoxy Application
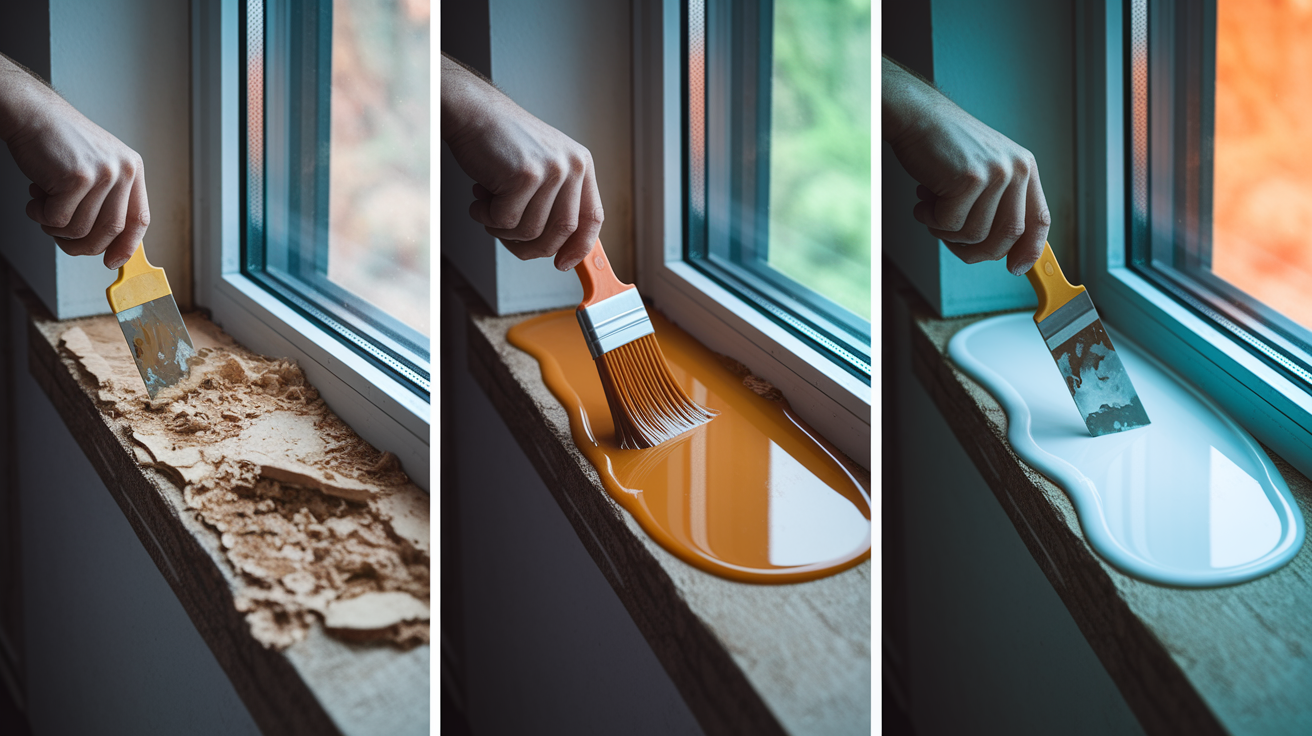
Proper repair breaks into three phases: preparing the surface by cutting out all compromised material, stabilizing what’s left with liquid consolidant, and rebuilding structural mass with paste epoxy.
Surface Preparation and Moisture Management
Start with TSP cleaner to strip dirt, mildew, old wax, and surface junk that blocks adhesion. Scrub the whole sill, rinse with clean water, let it dry completely. Use an oscillating multi-tool with a wood cutting blade to dig out damaged sections plus 1 inch beyond visible rot. The tool’s precision cutting removes deteriorated wood without shaking the surrounding structure. A scraper and 5 in 1 tool help pry loose material and clean between healthy wood layers.
Wood moisture content needs to hit 12 to 15% or lower before you apply epoxy. Below 10% in dry climates, below 14% in humid ones. Use a pin type moisture meter to verify it’s ready. If rain or heavy dew is coming, cover the repair area with plastic sheeting anchored tight. Working on damp wood traps moisture under the epoxy, creating perfect conditions for hidden rot to keep spreading beneath what looks like solid repair.
Consolidant Application for Structural Stabilization
Drill 1/8 inch diameter holes spaced 1 inch apart throughout the remaining wood, angling downward so liquid can flow deep into the grain structure. These holes create pathways for consolidant to reach weakened fibers that would otherwise stay untreated. The drilling pattern should extend past obviously soft areas into wood that feels marginally firm, because rot goes further than what you can see.
Mix LiquidWood at 1:1 ratio in a disposable container, stir until fully blended. Let the mixture sit for 15 minutes. This setup time lets chemical components activate before application. Use a glue brush to apply liberally, flooding the drilled holes and brushing onto all exposed end grain. The syrup consistency flows into wood pores and hardens compromised fibers from inside out. Keep acetone nearby to immediately wipe spills on glass or painted surfaces before the consolidant cures.
Epoxy Filling and Shaping Techniques
Mix WoodEpox by kneading equal amounts of Part A and Part B between your gloved hands until you get uniform color with no streaks. The play doh consistency means you’ve mixed it right. Work in small batches you can apply within 5 to 10 minutes, because the material starts setting up and gets harder to shape.
Press the paste filler firmly into voids, cracks, and missing sections. Pack it in to eliminate air pockets that create weak spots. Overfill slightly, about 1/8 inch above the final surface, to make up for minor shrinkage during cure. Use a plastic putty knife to smooth and contour the epoxy to match the sill’s original profile. For fine cracks that won’t take paste consistency, thin small amounts of WoodEpox with acetone or LiquidWood to create something pourable.
Hot humid weather speeds curing while cold slows it down. Larger patches cure faster than small repairs because the chemical reaction generates more heat in bigger masses. Here’s what you can’t do: never skim coat the entire window sill surface with thin epoxy layer. Only fill actual voids, checks, and cracks where wood is missing. Skim coating traps moisture between wood and epoxy, and when that moisture expands with temperature swings, it pushes the whole repair layer off the sill. You’re filling damage, not resurfacing.
Temperature affects working time and cure speed. Cold weather gives you more time to work but needs longer cure periods. Keep all materials and containers at room temperature before mixing in cold conditions. Hot weather means faster curing but shorter working time, so mix smaller batches more often.
Give it a full 24 hours to cure before you sand or stress the repair. Trying to shape partially cured material tears the surface and creates uneven texture that’s harder to smooth later.
Finishing and Weatherproofing Window Sill Repairs
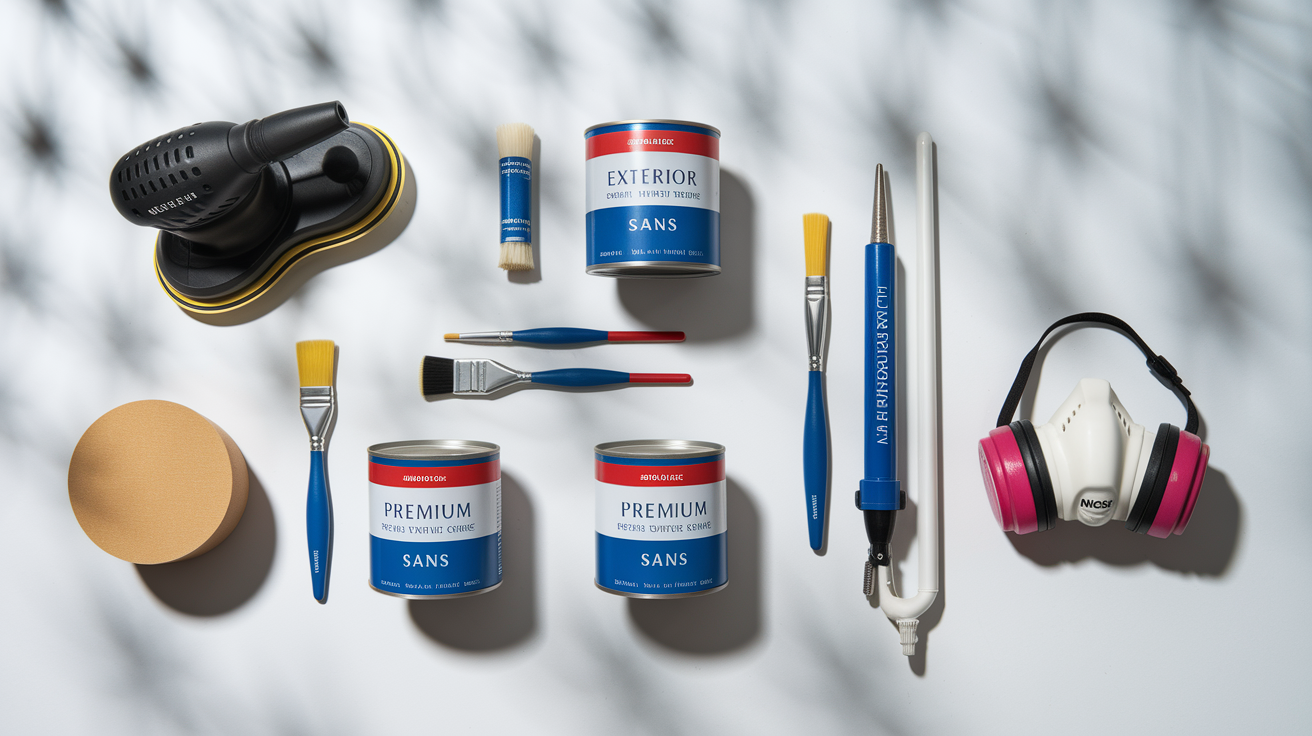
After the 24 hour cure, start shaping with wood rasps to remove bulk material and establish basic contour. Move through sandpaper grits systematically. 80 grit for initial shaping and removing rasp marks, 120 grit for smoothing the surface, 220 grit for the final seamless blend between epoxy and original wood. Epoxy sands easier than wood, so use light pressure to avoid creating dips. Wear a NIOSH approved respirator rated for dust. Epoxy and old paint particles are hazardous when airborne.
Apply exterior grade primer before any paint goes on. Pick oil based or acrylic primer formulated for exterior wood and porous surfaces. The primer seals both the epoxy and surrounding wood, creating a uniform base that stops the topcoat from being absorbed unevenly. Porous epoxy will soak up paint without proper priming, leaving you with patchy coverage and wasted material.
Finish with at least two coats of premium acrylic latex exterior paint designed to expand and contract with temperature changes. These formulations stay flexible through freeze thaw cycles without cracking, and they’ve got UV inhibitors that prevent chalking and color fade. Apply thin, even coats rather than one thick layer. Thick paint traps solvents that prevent proper curing and creates a surface that wants to peel. Let each coat dry completely before applying the next.
Skipping final caulking causes paint failure and lets water get in at every joint. Even perfect primer and paint can’t bridge gaps or seal moving joints. Water enters these unsealed connections, gets behind the paint film, and lifts it off in sheets. The three critical caulking spots are:
- Sill to window frame joint where the sill meets the bottom of the window
- Sill to vertical trim edges on both sides
- Sill to siding joint underneath where the sill meets the wall surface
Use 100% silicone or advanced polymer caulk at all three locations. These materials stay flexible permanently and keep waterproof seals through decades of thermal expansion and contraction.
Preventing Future Window Sill Deterioration

Annual inspections after rainy season catch small problems before they turn into structural failures. Walk around with a screwdriver and probe the sills while they’re still damp from seasonal weather. Small cracks that seem insignificant when dry become obvious water entry points when wet. Early detection means a $20 tube of caulk and an hour of touch up paint instead of a $300 epoxy rebuild.
Proper drainage design protects sills better than any coating. The sill surface should slope outward at least 15 degrees so water runs off instead of pooling. Drip edges, small grooves cut into the underside of the sill’s outer edge, break the surface tension that causes water to wrap underneath and wick back toward the wall. Metal or vinyl flashing above the sill directs water out and over rather than letting it run down the face. If your sills don’t have these features, adding them during repair stops the same damage from coming back.
Paint and caulk are your primary weatherproofing layers, and both break down over time. Refresh these protective barriers every 3 to 5 years even if they still look okay. Waiting for visible failure means moisture has already gotten in. The maintenance cycle costs way less than repairs. One afternoon of caulking and touch up painting protects the entire window assembly and keeps water from reaching vulnerable wood.
Preventative maintenance tasks that stretch window sill lifespan:
- Annual post rainy season inspections with physical probing for soft spots
- Recaulking deteriorated joints before gaps widen and let water in
- Repainting when finish shows wear, chalking, or loses gloss
- Cleaning with mild soap and water, staying away from harsh chemicals that strip protective coatings
- Checking drainage and clearing debris that blocks water flow off sill surface
- Inspecting for insect activity, especially carpenter ants and termites in wood sills
- Verifying proper window operation so frames don’t stress and crack sill connections
- Maintaining surrounding trim and flashing that direct water away from vulnerable areas
Cost Analysis and When to Hire Professionals

DIY material costs for a typical single sill repair break down to $40 to 80 for the epoxy system, $30 to 60 for primer and paint, $10 to 20 for caulk, and $50 to 150 for tools if you don’t already own an oscillating multi-tool, moisture meter, and quality brushes. Total material investment typically runs $130 to 310. That’s just materials. Your time and the learning curve are additional costs to think about.
Professional service pricing depends on damage extent, accessibility (ground floor work costs less than second story), material selection, regional labor rates, and whether frame carpentry is needed. A contractor evaluates these factors during assessment rather than quoting flat rates sight unseen. Complex repairs involving frame damage, structural concerns about bearing loads, or uncertainty about rot extent justify professional expertise. Historical homes requiring period appropriate techniques and materials need specialists familiar with traditional joinery and restoration methods. Multi window projects benefit from professional efficiency. A crew completes in one day what takes a homeowner several weekends.
When your screwdriver probe punches through into the frame, when the sill wobbles indicating compromised support structure, or when you’re uncertain whether rot extends beyond what you can see, professional assessment provides clarity. Contractors carry liability insurance covering structural work and code compliance. They understand local requirements for flashing details, drainage planes, and weather barriers that aren’t obvious to DIYers.
| Repair Scope | DIY Material Cost | Professional Total Cost | Timeline | Best For |
|---|---|---|---|---|
| Minor surface repair | $130 to 180 | $200 to 400 | 3 to 4 hours DIY / 1 to 2 hours pro | Small cracks, shallow rot, accessible locations |
| Moderate restoration | $180 to 250 | $400 to 700 | 6 to 8 hours DIY / 2 to 4 hours pro | Significant rot confined to sill, solid frame |
| Extensive repair with splice | $250 to 310 | $700 to 1200 | 10 to 14 hours DIY / 4 to 6 hours pro | Borderline replacement cases, 40 to 50% damage |
| Full sill replacement | $200 to 400 | $800 to 2000 | 1 to 2 days DIY / 4 to 8 hours pro | Frame damage, over 50% rot, structural concerns |
The value calculation balances labor cost savings against time investment and learning curve. DIY makes sense when damage is straightforward, you’ve got time to work carefully, and you’re confident about the scope. Professional service delivers expertise, warranty coverage protecting against repair failure, code compliance for permitted work, and efficiency for complex or multi window projects. On a single ground floor window with moderate damage, DIY saves $250 to 450 in labor. On six second story windows with frame concerns, professional service saves weeks of weekends and eliminates the risk of missing structural problems that worsen while you’re learning on the job.
Final Words
Exterior window sill repair saves you from full replacement costs when damage hasn’t spread into the frame structure. The two-part epoxy system restores strength and weather resistance in a weekend, but only if you excavate all compromised wood and verify proper moisture levels before you start.
Skip the prep work or rush the cure time, and you’ll redo the repair in a year.
Most repairs hold up for decades when you follow the consolidant-then-filler sequence, finish with proper caulking at all joints, and maintain the paint every few years. Catch damage during annual post-rainy-season inspections, and you’ll handle it with hours of work instead of days.
FAQ
Can you replace an exterior window sill?
A: You can replace an exterior window sill when rot affects more than 50% of the structural wood or spreads into the main window frame. Full replacement involves removing the damaged sill, installing pressure-treated wood or rot-resistant material, and properly sealing all joints.
Can you repair a rotted window sill?
A: You can repair a rotted window sill using a two-part marine-grade epoxy system when rot affects less than 50% of the structural wood. The repair process involves removing damaged wood plus 1 inch beyond visible rot, applying liquid consolidant to strengthen remaining fibers, and rebuilding with paste epoxy filler.
Can you replace an exterior window sill without removing the window?
A: You can replace an exterior window sill without removing the window by using the splice technique, which involves cutting out the damaged section and securing new rot-resistant wood with construction adhesive and galvanized screws. This method works when damage hasn’t spread into the window frame itself.
How much does it cost to replace an exterior window sill?
A: Replacing an exterior window sill costs $130-310 for DIY materials including epoxy system, primer, paint, and caulk. Professional replacement costs vary based on damage extent, accessibility, material selection, and regional labor rates, with multi-window projects benefiting from professional efficiency and warranty coverage.
What causes exterior window sills to rot?
A: Exterior window sills rot when water infiltrates through failing caulk joints, cracked paint, or improper drainage design that traps moisture against wood surfaces. Poor flashing, inadequate slope, missing drip edges, and skipped maintenance allow water to penetrate wood fibers, creating conditions for decay and structural failure.
How long does epoxy window sill repair last?
A: Epoxy window sill repairs last 10-20 years when properly executed with marine-grade products, adequate surface preparation, and complete weatherproofing. Longevity depends on maintaining protective paint and caulk layers every 3-5 years, proper drainage design, and catching minor deterioration during annual post-rainy-season inspections.
What moisture content is safe for epoxy application?
A: Wood moisture content must reach 12-15% or lower before epoxy application to ensure proper adhesion and curing. Arid climates require below 10% moisture content while humid climates need below 14%, verified with a moisture meter after excavating damaged wood and allowing adequate drying time.
Should you skim coat window sills with epoxy?
A: You should never skim coat window sills with epoxy because trapped moisture will push the coating away from the wood surface, causing repair failure. Only fill voids, cracks, and excavated areas where rot was removed, leaving solid wood surfaces exposed for proper moisture management and breathing.
How often should window sills be inspected?
A: Window sills should be inspected annually after the rainy season when water damage is most evident. Early detection during post-rainy-season inspections catches small cracks and failing caulk before they become structural failures, preventing minor issues from escalating into costly major repairs requiring replacement.
What’s the difference between LiquidWood and WoodEpox?
A: LiquidWood is a thin liquid consolidant mixed 1:1 ratio that penetrates deep into rotted wood to strengthen compromised fibers, while WoodEpox is a thicker paste filler that rebuilds structural mass in voids and excavated areas. Both products work together as a complete restoration system.