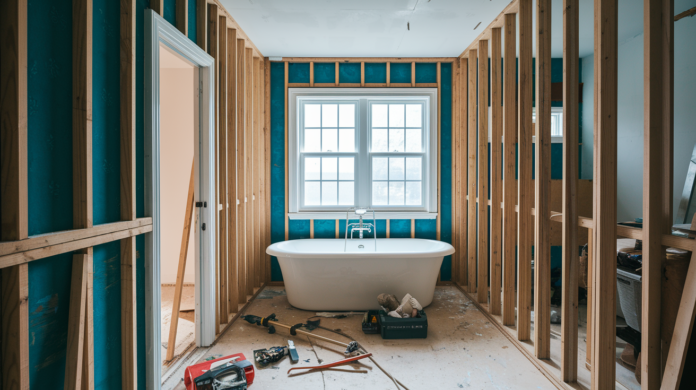

Most bathroom remodels fail because someone tried to save time by skipping ahead in the sequence. You can’t tile before waterproofing, can’t drywall before rough-in inspections, and you definitely can’t set a toilet before the floor tile goes down. The bathroom remodel order of operations isn’t a suggestion. It’s a rigid chain where each step creates the foundation for what follows. Get it wrong and a straightforward 4 week job stretches into 8 weeks of rework, wasted materials, and callbacks. This guide walks through the actual construction sequence that prevents expensive do-overs.
The Complete Bathroom Remodel Workflow: From Start to Finish
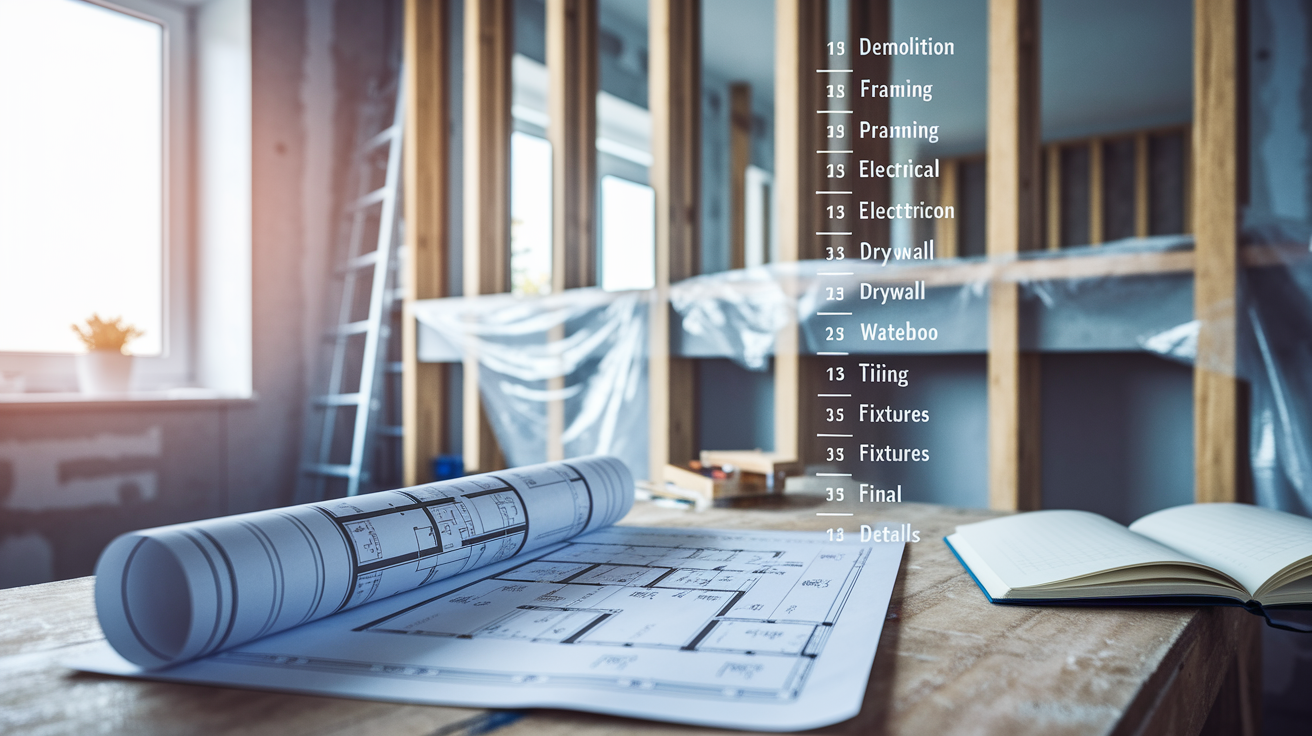
Bathroom remodeling follows a rigid sequence where each phase depends on what came before. Skip a step or work out of order and you’re looking at expensive rework that can stretch a 4 week job into 8 weeks. The workflow isn’t flexible. Framing has to happen before electrical, electrical before insulation, waterproofing before tile. Each phase creates the foundation for what comes next.
| Phase Order | Task | Dependencies | Typical Timeline | Critical Notes |
|---|---|---|---|---|
| 1 | Demolition | Inspector approval, material delivery | 1-2 days | Arrange alternative bathroom access during this phase |
| 2 | Framing modifications | Demolition complete, subfloor assessed | 2-3 days | Includes wall relocations, niche framing, blocking for grab bars |
| 3 | Plumbing rough-in | Framing complete | 2-3 days | Brand-specific valve systems must match purchased fixtures |
| 4 | Electrical rough-in | Plumbing rough-in complete | 1-2 days | GFCI outlets required near water sources |
| 5 | Inspection approvals | All rough-in work complete | 1-3 days | Cannot proceed to insulation until electrical inspector signs off |
| 6 | Insulation and vapor barriers | Inspection approval received | 1 day | Vapor barrier goes on warm side of walls |
| 7 | Drywall/cement board installation | Insulation complete | 2-3 days | Cement board in wet zones, older homes may need double layers for leveling |
| 8 | Waterproofing membranes | Cement board installed | 1-2 days | PVC pan liner first, then graded cement, then RedGard on walls |
| 9 | First paint coat | Drywall finished, waterproofing complete | 1 day | Protects walls during subsequent installation work |
| 10 | Tub/shower pan placement | Waterproofing complete, first paint applied | 1 day | Must install before wall tile so tile overlaps tub flange |
| 11 | Tile installation (walls then floors) | Tub/pan installed, waterproofing cured | 4-7 days | Laser lines and spacing tabs required for precision, large tiles need 2 workers |
| 12 | Vanity and countertop installation | Floor tile complete | 1 day + 3-4 week fabrication | Templating occurs mid-project, installation after tile work |
| 13 | Plumbing fixture mounting | Countertop installed, tile grouted | 1 day | Handles often sold separately from controls |
| 14 | Final paint, lighting, mirrors, hardware | All fixtures installed | 2-3 days | Addresses touch-ups from fixture installation |
This sequence keeps inspections at proper checkpoints before work gets buried and prevents trades from stepping on each other’s completed work. A plumber can’t set a toilet until the tile installer finishes the floor. The painter can’t apply final coats until the trim carpenter installs baseboards. Each phase builds the platform for what follows, and flipping any two steps creates problems that cost time and money to fix.
Pre-Construction Critical Decisions: Planning, Permits, and Material Ordering
Successful bathroom remodels start weeks before demolition with decisions that control project cost, duration, and how smoothly the work flows.
Layout gets locked in first. Moving a toilet 3 feet doesn’t sound like much until you see the invoice for breaking up concrete, rerouting drain lines, and bringing everything up to current code. Relocating plumbing and electrical systems can double both costs and timelines. Same goes for wall modifications. Once you nail down fixture placement, wall locations, and whether you’re keeping or changing the basic room shape, every other decision flows from there. That elevated bathtub sitting 3/4 of a foot high? Decide now if it’s getting replaced with a walk-in shower, because that choice determines drain line work, waterproofing approach, and tile quantities. Layout decisions affect vanity water line placement (wall mounted faucets need different rough-in locations than countertop faucets), electrical box positioning, and whether you need blocking in walls for grab bars or wall hung fixtures.
Building permits and inspection scheduling happen before demolition starts. Your local building department needs to approve the work and schedule inspection checkpoints, typically at rough-in, framing, and final completion. Skipping permits creates problems when you try to sell the house or file an insurance claim after water damage. Inspections follow the construction sequence. The electrical inspector has to sign off on plumbing and electrical rough-in work before insulation and wall closure can proceed. That checkpoint prevents having to tear out finished walls later to correct code violations, making it the most important quality gate in the project. Schedule these inspections when you pull permits so you know when to pause work and wait for approval.
Material ordering requires thinking through the whole project because contractors typically need everything on site before starting work to avoid wasting time on return trips. Special order items take 6 to 8 weeks or longer to arrive after ordering. Glass shower enclosures routinely take longer. One project quoted 6 weeks but actually took 8.5 weeks. Custom countertops require 3 to 4 weeks between templating and installation in most areas. Fixture selection has to happen before rough-in because each plumbing brand requires specific valve systems installed behind walls. Order a Kohler faucet but install a Delta valve and nothing works. Shower controls and faucets are often sold without handles, which you have to order separately. Get everything confirmed, ordered, and delivered. Fixtures, tile, vanity, countertop, waterproofing materials, cement board, grout, trim, lighting, mirrors, and hardware.
Starting material ordering 8 to 10 weeks before planned demolition prevents the most common cause of project delays. Contractors standing around waiting for backordered tile costs you money. Materials sitting in your garage 2 months early doesn’t cost anything except storage space.
Rough-In Phase and Critical Inspections: Framing, Plumbing, Electrical, and Waterproofing
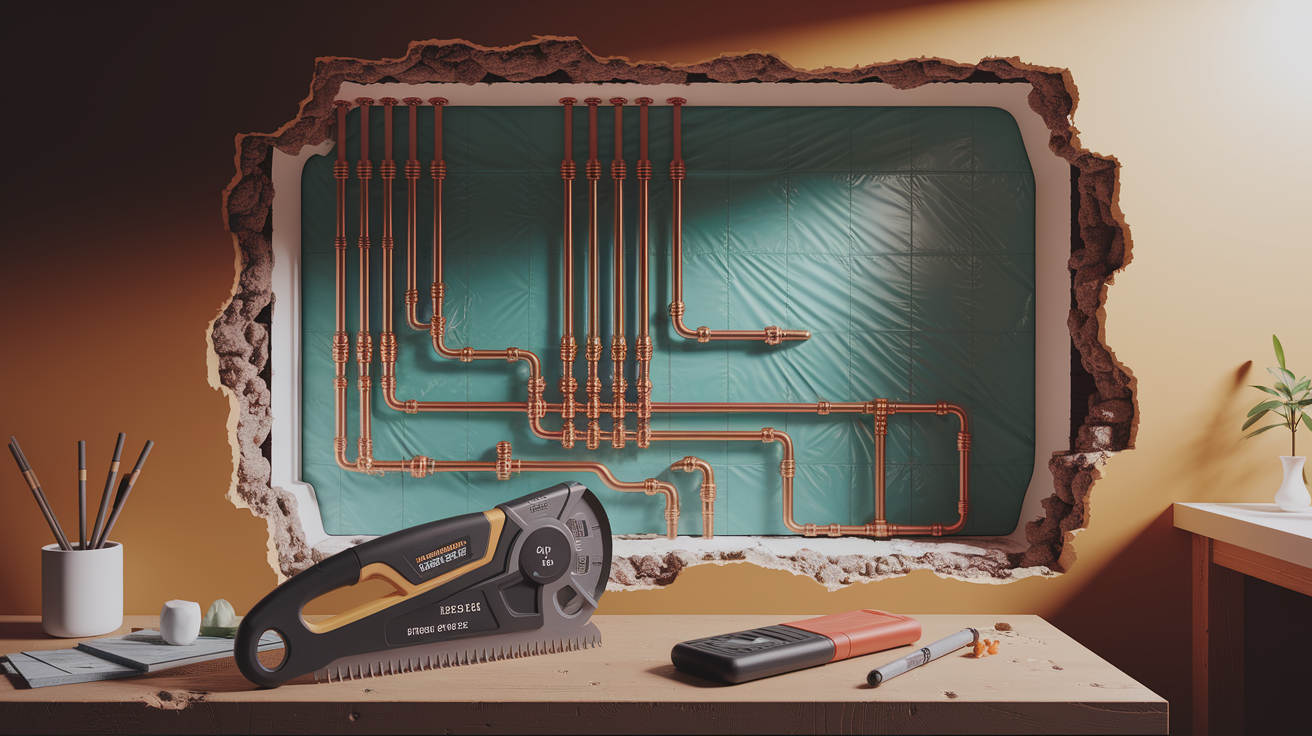
The rough-in phase covers all behind the walls work from demolition through waterproofing. This is the foundation of the entire remodel where sequencing errors create the most expensive rework.
Demolition starts only after inspector approval and all materials are delivered. Fixture removal comes first. Toilet, vanity, cabinet, medicine cabinet, and towel bars. Then tile demolition using hammer and chisel or small jackhammer, followed by drywall removal down to studs. Old plumbing gets extracted and subfloor gets checked out. During demolition, arrange alternative shower and bathroom facilities because this room won’t be usable for weeks. Protect adjacent rooms with plastic sheeting and figure out debris disposal. Older homes sometimes reveal surprises. Sagged ceilings from previous water exposure mean unexpected wall replacement that adds multiple days to the schedule. If you find rot, soft spots, or water damage during tear-out, that gets addressed now before anything else happens.
Framing modifications happen right after demolition. Wall relocations, niche framing for shower shelving, and blocking installation for grab bars and wall mounted fixtures like floating vanities. Subfloor evaluation matters here. In older homes (1930s houses), water damage or settling creates unlevel surfaces. Unlevel floors may require 2 cement boards instead of one for leveling, or may need subfloor replacement entirely. Frame access panels for plumbing shutoff valves and future maintenance needs. You don’t want to cut into tile later when a valve needs service. If you’re building a partial wall above a washer and dryer to reclaim wasted space, framing happens now.
Plumbing rough-in follows framing completion. Drain lines get installed first. Toilet flange positioned exactly where the toilet will sit, shower pan drain placement coordinated with the PVC pan liner and manually graded cement that makes water flow toward the drain, and vanity drain rough-in locations based on fixture selections made during planning. Then supply lines get routed and valves placed. This is where brand specific valve systems matter. Each manufacturer uses different rough-in valves that only work with their fixtures. Order Moen fixtures, install Moen valves. Smart toilets and bidets require both hot and cold water lines plus electrical access. Plan routing for all of these during rough-in.
Electrical rough-in and ventilation work happens after plumbing is done. Electrical boxes go in for vanity lighting, recessed ceiling lights, switches, and GFCI protected outlets near water sources. Specialty electrical needs get addressed now. Heated floor wiring if you’re adding that, smart toilet electrical connections, mirror defogger circuits. Exhaust fan positioning matters for getting moisture out effectively. It should sit near or over the shower, with proper ducting to exterior (not into the attic) and ventilation capacity calculated based on bathroom square footage. After all electrical rough-in is complete, the electrical inspector must sign off before any insulation or wall closure can proceed.
Insulation and waterproofing barriers only proceed after plumbing and electrical inspections pass. Insulation goes into exterior walls with proper vapor barrier placement on the warm side to prevent condensation issues. Then cement board gets installed in all wet zones. Around the tub, throughout the shower area, behind the toilet. Older homes may need double layers for leveling where floors aren’t flat. After cement board installation, waterproofing membrane application happens over all cement board surfaces before any tile work. This typically means PVC pan liner in the shower base first, followed by manually graded cement that slopes toward the drain, then RedGard waterproofing and crack prevention membrane on all shower walls. Some installers use Schluter systems instead of RedGard, but the goal is the same. Create a water tight barrier before tile installation begins.
Plumbing and electrical inspections must occur and pass before insulation and wall closure can proceed. This inspection checkpoint prevents having to tear out finished walls to correct code violations, making it the most important quality gate in the project. Schedule the inspector, wait for approval, then move forward. Rushing past this step to save a day costs weeks when you have to open walls back up.
Finish Work Sequence: Drywall, Tile, Fixtures, and Final Details
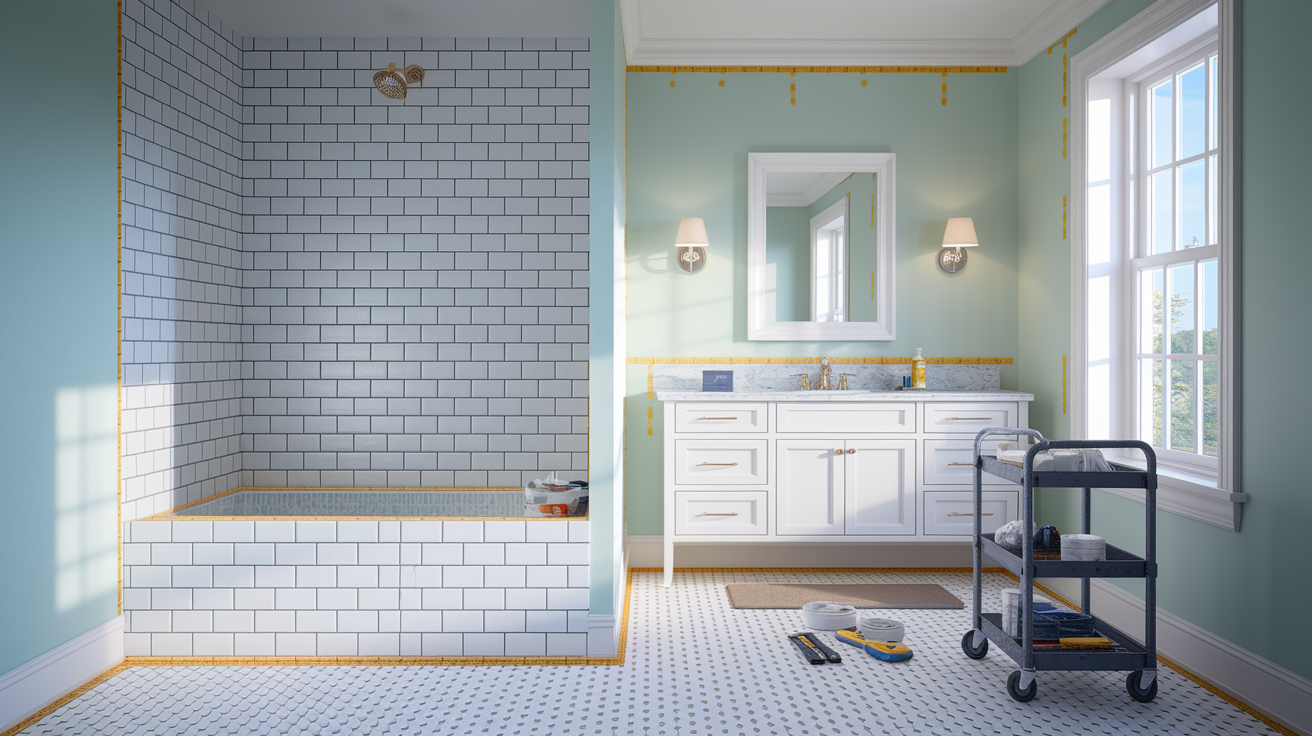
Finish work transforms the rough construction into a working bathroom, following a precise sequence where each phase depends on proper completion of the previous work and creates the surface for the next installation.
Drywall installation happens on non-wet areas while wet zones already have cement board from the waterproofing phase. Taping, mudding, and sanding require multiple coats for smooth finish, typically three coats with sanding between each. After drywall finishing, the first paint coat happens at this stage, before vanity installation. This protects walls during later work and means you’re not trying to cut in around a mounted vanity. The shower and tub surround areas don’t get painted because they’re already covered with cement board and waterproofing membrane, ready for tile.
Tubs install after waterproofing prep but before wall tile, allowing tile to overlap the tub flange and prevent water getting in. If you’re using a pre-formed shower base instead of a custom built pan, it installs now for the same reason. Tubs need proper support. Mortar bed under the tub base prevents flexing and cracking. Shower pans built during the waterproofing phase are already in place, but pre-fab bases go in now. Level everything carefully and verify drain connections are solid and sealed before moving to tile work.
Tile installation moves from shower walls to shower floor to bathroom floor, with each area fully completed before moving to the next. Start at the bottom of shower walls and work up, using thin-set mortar over the RedGard waterproofing membrane. Laser level guides and spacing clips keep things precise. Tiles with vertical grooves require extra attention to alignment. Large format floor tiles require two workers for maneuvering and cutting. If you’re tiling a niche, do that as part of the shower wall process. The shower threshold gets installed with proper inward slope to prevent water standing and stone etching. This phase typically eats up the most project time, taking 4 to 7 days because of setting and curing requirements between steps. You can’t grout until tile adhesive cures, which takes 24 to 48 hours. After grouting, sealing requirements depend on materials. Natural stone and grout lines both need sealer. Silicone caulk goes at tile to fixture interfaces like where tile meets the tub flange.
Vanity, countertop, and trim installation follows a multi-stage process. Vanity cabinet placement and securing to wall studs occurs first. Then countertop templating happens, which starts a 3 to 4 week fabrication wait for stone counters. While waiting for countertop fabrication, trim work gets completed. Baseboards or quarter round installation around the room perimeter and transition strips at doorways. Finally, countertop installation happens after tile floor completion, once the fabrication wait period is over.
Plumbing fixture and hardware mounting begins after countertop placement. Sink faucet and drain assembly installation requires proper sealant and shutoff valve connections. Check for leaks by running water and inspecting connections under pressure. Toilet installation includes wax ring placement, flange connection, and securing to the floor with closet bolts. Tighten carefully to avoid cracking the porcelain base. Shower control trim installation comes next, and this is where you discover if you ordered handles separately because they’re often not included with the valve trim kit. Showerhead mounting and any additional body sprays or hand showers get connected. Glass shower door or enclosure installation timing is tricky because long lead times (6 to 8 weeks or more) mean this often happens weeks after other fixtures are working. If you’re waiting on glass, a temporary shower solution using extendable poles and a curtain keeps the bathroom usable.
Second paint coat addresses nail holes in trim, caulk lines, and areas disturbed during fixture installation. Then vanity lighting, recessed lights, and exhaust fan trim installation happen with proper electrical connections. Turn off power at the breaker before wiring. Mirror mounting uses appropriate anchors for the wall type and mirror weight. Medicine cabinets either recess into the wall (requiring framing during rough-in phase) or surface mount. Final hardware includes towel bars positioned 42 to 48 inches from floor, toilet paper holder within easy reach from seated position, robe hooks near shower exit, cabinet knobs and pulls on vanity doors and drawers, shower caddy or built-in shelving, towel rings for hand towel near sink, and decorative accessories like soap dispensers and toothbrush holders.
Final inspection verifies all work meets local building codes, covers punch list items addressing any minor issues, and results in obtaining certificate of completion.
Timeline Expectations and Common Sequencing Mistakes to Avoid
Bathroom remodel timelines vary based on scope, but typical full renovations take 3 to 6 weeks of construction time plus material lead times. Understanding realistic durations prevents frustration and helps with planning alternative bathroom arrangements for your household.
| Phase | Typical Duration | Key Timing Notes |
|---|---|---|
| Demolition | 1-2 days | Faster for gut remodels, slower when salvaging fixtures |
| Rough-in framing | 2-3 days | Extends if structural surprises found during demo |
| Plumbing rough-in | 2-3 days | Layout changes add time, same-location replacements faster |
| Electrical rough-in | 1-2 days | Heated floors and specialty circuits add complexity |
| Inspections | 1-3 days | Schedule early, inspector availability varies by jurisdiction |
| Drywall/cement board | 2-3 days | Includes taping, mudding, and sanding multiple coats |
| Waterproofing and tub | 1-2 days | Membrane application and curing time required |
| Tile installation | 4-7 days | Setting time between steps, most time-consuming phase |
| Vanity/countertop | 1 day install + 3-4 week fabrication wait | Templating mid-project, installation after floor tile complete |
| Fixtures and final details | 3-4 days | Glass enclosure may arrive weeks late, plan accordingly |
Several factors push timelines beyond these baseline estimates. Special order items take 6 to 8 weeks or longer for fixtures and sometimes more. Glass enclosures routinely quote 6 weeks but deliver in 8.5 weeks. Structural surprises discovered during demolition add days or weeks depending on severity. Inspection delays happen when inspectors are backlogged or when work fails initial inspection and needs correction. Weather impacts material delivery, especially for stone countertops and glass panels. Material ordering should begin 8 to 10 weeks before planned start date to account for these delays. Moving plumbing, electrical systems, or walls significantly increases both cost and project duration, sometimes adding 2 to 3 weeks to the schedule and $5,000 to $15,000 to budgets that originally ranged from $25,000 to $60,000.
Certain sequencing mistakes show up repeatedly in bathroom remodels, each creating delays and added costs that proper planning prevents.
Painting before tile work requires constant touch-ups and wastes labor hours correcting paint splatter and scuffs from tile installation. Painting after tiling avoids this problem entirely.
Installing vanity before flooring prevents proper tile run underneath the vanity and creates visible gaps that collect moisture and look unprofessional. Floor tile should extend under the vanity footprint.
Tiling before waterproofing invites moisture infiltration behind tiles, leading to mold growth and future damage requiring complete tear-out and rebuild of the shower enclosure.
Fixture ordering after rough-in means wrong valve systems require tearing out walls to install correct brand specific valves that match fixtures. Each plumbing manufacturer uses different rough-in components.
Skipping inspection approvals forces demolition of closed walls to allow inspector access to rough-in work, wasting materials, labor, and time while adding zero value to the project.
Installing toilet before floor tile leaves visible gaps around the toilet base and creates an unprofessional appearance. Tile should run under the toilet flange for a clean finish.
Hanging drywall in wet zones instead of cement board creates future mold issues requiring complete tear-out when moisture penetrates the paper faced drywall. Cement board is required in wet areas.
Installing glass enclosure before grouting results in grout splatter on glass requiring difficult removal with razor blades or harsh chemicals that risk scratching the glass surface.
Following the proven sequence prevents these mistakes. Working with experienced contractors who understand trade dependencies eliminates most sequencing errors. The small additional time spent planning the correct order saves significant money and frustration compared to correcting sequencing mistakes after they occur. A project delayed by material ordering issues costs maybe an extra week of temporary bathroom arrangements. A project derailed by installing the toilet before tile costs tile removal, reinstallation, new materials, and added labor that doubles the flooring budget.
Final Words
Stick to the bathroom remodel order of operations, and you’ll avoid most of the expensive mistakes that derail projects.
Start by locking in your layout and ordering materials 8-10 weeks before demolition. Follow the rough-in sequence exactly—framing, plumbing, electrical, then inspections before closing walls. Let tile cure before grouting, install the vanity after flooring, and save final paint for last.
Each phase builds the foundation for what comes next. Skip a step or work out of order, and you’re tearing out finished work to fix what should’ve been right the first time.
FAQ
Q: In what order should you remodel a bathroom?
A: A bathroom remodel should follow this order: demolition, framing modifications, plumbing rough-in, electrical rough-in, inspections, insulation and cement board, waterproofing, first paint coat, tub/shower installation, tile work (walls then floors), vanity and countertop installation, plumbing fixtures, trim work, second paint coat, and finally lighting, mirrors, and hardware.
Q: What is the 30% rule in remodeling?
A: The 30% rule in remodeling suggests allocating roughly 30% of your total budget as contingency for unexpected issues discovered during demolition, such as water damage, unlevel floors, structural modifications, and material price changes. This buffer prevents project delays when unforeseen repairs become necessary during the renovation process.
Q: What are the steps of a bathroom renovation?
A: Bathroom renovation steps include planning and permits, material ordering (8-10 weeks before start), demolition, framing and structural work, plumbing and electrical rough-ins with inspections, waterproofing and cement board installation, tile work, vanity and countertop placement, fixture installation, trim and paint, and final details like lighting and hardware.
Q: What order should renovations be done in?
A: Renovations should be done in this order: planning and layout finalization first, then permit acquisition, material ordering, demolition, structural framing, behind-the-walls work (plumbing, electrical), inspections and approvals, insulation and waterproofing, surface finishes (tile, paint), fixture installation, and final trim details. Each phase creates the foundation for subsequent work.
Q: Why does bathroom remodel sequencing matter?
A: Bathroom remodel sequencing matters because each construction phase depends on proper completion of previous work. Working out of order creates expensive rework, such as tearing out walls to correct rough-in mistakes or constant paint touch-ups when painting happens before tiling. Proper sequencing ensures inspections occur at correct checkpoints and prevents trades from damaging completed work.
Q: How long does a typical bathroom remodel take?
A: A typical bathroom remodel takes 3-6 weeks of active construction time plus material lead times. Special order fixtures require 6-8+ weeks, countertop fabrication needs 3-4 weeks after templating, and glass enclosures often take 8-9 weeks. Material ordering should begin 8-10 weeks before planned demolition to prevent workflow delays.
Q: What decisions must be finalized before demolition begins?
A: Before demolition begins, you must finalize bathroom layout and fixture placement, obtain building permits, order all materials including fixtures and specialty items, and schedule inspection checkpoints. Layout decisions determine plumbing and electrical needs, which significantly impact project costs. All materials should be on-site before contractor start date.
Q: When do inspections happen during bathroom remodels?
A: Inspections happen at critical checkpoints during bathroom remodels: after rough-in plumbing and electrical work is completed but before insulation and wall closure, after framing modifications if walls were moved, and at final completion. The electrical inspector must sign off before insulation and walling can proceed, preventing code violations hidden behind finished walls.
Q: What is the most time-consuming phase of bathroom remodeling?
A: Tile installation is the most time-consuming phase of bathroom remodeling, typically requiring 4-7 days due to setting and curing requirements between steps. Large format tiles require two workers, precise laser-guided alignment, and careful sequencing from shower walls to shower floor to bathroom floor with proper drying time between areas.
Q: What are common bathroom remodel sequencing mistakes?
A: Common sequencing mistakes include painting before tile work (requiring constant touch-ups), installing vanity before flooring (creating visible gaps), tiling before waterproofing (inviting moisture damage), ordering fixtures after rough-in (wrong valve systems requiring wall tear-out), skipping inspection approvals, and installing toilet before floor tile (leaving unprofessional gaps around base).
Q: Why should all materials be ordered before demolition?
A: All materials should be ordered before demolition because contractors require materials on-site to avoid inefficient return trips, and special order items have long lead times (6-8+ weeks for fixtures, 8+ weeks for glass enclosures). Missing materials halt workflow, delay inspections, and create expensive contractor downtime while waiting for deliveries.
Q: What waterproofing work happens before tile installation?
A: Before tile installation, cement board gets installed in wet zones, PVC waterproof pan liner goes in the shower with manually graded cement for proper drainage, and waterproofing membrane (like RedGard) gets applied to all shower walls. This waterproofing phase occurs after inspections pass and before any tile work begins.