
Want to know the real cost of skipping cabinet blocking? It’s not the cabinets that fail. It’s the drywall anchors that rip out, taking chunks of wall with them when a cabinet full of dishes finally lets go. Cabinet blocking is simple insurance, but only if you install it at the right time in the construction sequence. Get the timing wrong and you’re stuck cutting into finished walls, patching drywall, and matching paint. This guide covers exactly when to install blocking during framing, how different cabinet types change your blocking strategy, and what to do if you’re working on a retrofit where the walls are already closed.
Optimal Installation Timing: The Rough Framing Stage

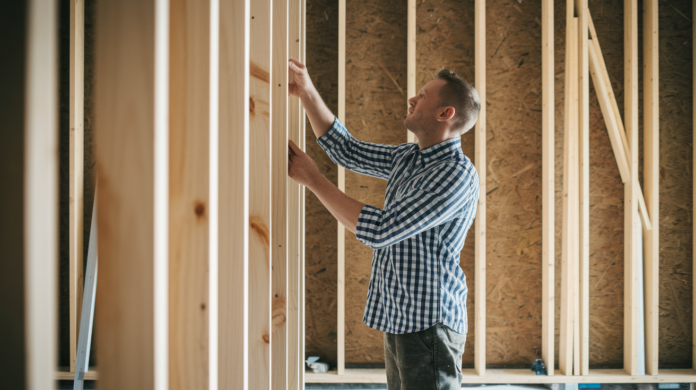
Install cabinet blocking during rough framing, after wall studs go up but before drywall. This is your best window. The walls are open, stud bays are right there, and you can position blocking exactly where cabinets will mount. You skip retrofit work later, which means cutting into finished walls and patching drywall.
Why this timing matters: open walls give you clear visibility of the entire stud structure. You can measure between studs, confirm your blocking sits level, and adjust placement if you spot conflicts with planned outlets or plumbing runs. Once drywall covers the framing, you lose that access. Any mistakes become expensive to fix.
The construction sequence follows a specific order for good reason. Rough framing comes first. Studs go up and the wall structure takes shape. Next, install blocking at planned cabinet heights. After blocking is secured, electrical and plumbing trades run their rough in work through the wall cavities. Finally, drywall installation covers everything. This sequence lets each trade work efficiently without interfering with the others.
New construction projects let you plan blocking from the start, coordinating placement with cabinet layouts before any walls close up. Remodel scenarios differ. If you’re replacing cabinets in the same locations and the original builder installed blocking, you’re set. If the wall is staying closed and there’s no blocking, you’ll need to open the wall, install blocking, then patch. Gut renovations where walls are already opened treat blocking like new construction.
Cabinet Blocking Requirements for Different Cabinet Types

Blocking placement varies based on cabinet type and location. Kitchen base cabinets mount differently than upper cabinets, bathroom vanities sit at different heights than kitchen cabinets, and tall pantry units need blocking that spans a much greater vertical distance. Getting these measurements wrong means your blocking won’t align with the cabinet’s mounting rails. You’re forced to use less secure fastening methods or tear out drywall to add more blocking.
Proper measurements during planning prevent installation problems later. Before you cut a single piece of blocking lumber, confirm the actual dimensions of the cabinets that will be installed. Cabinet specifications tell you exactly where the mounting rails sit, which tells you exactly where blocking needs to be.
Standard blocking heights for different cabinet types:
Kitchen base cabinets: Center blocking at 34.5 inches from the floor, which aligns with the mounting rail on most standard base cabinets that sit 36 inches tall with a countertop.
Kitchen upper cabinets: Two rows required. Lower row centered at 54 inches from the floor (18 inches above standard base cabinets), upper row centered at approximately 90 inches from the floor for standard 36 inch tall upper cabinets.
Bathroom vanities: Center blocking at 30 inches from the floor for standard vanity heights, though custom vanities may require different heights.
Tall pantry cabinets: Install blocking at multiple heights. Bottom rail typically 12 inches from floor, middle rail at 48 inches, top rail at 84 inches or higher depending on cabinet height.
Island or peninsula cabinets: If island cabinets attach to a wall or half wall, install blocking at 34.5 inches to match base cabinet mounting rails.
Confirming actual cabinet dimensions before installing blocking is critical because custom and semi-custom cabinets frequently deviate from standard dimensions. A 42 inch tall upper cabinet needs the top blocking row placed higher than a 36 inch tall cabinet. European style cabinets often use different mounting systems than American face frame cabinets, which can shift where the mounting rails sit. If you’re working with a cabinet installer or homeowner who’s already purchased cabinets, get the cut sheets that show mounting rail locations. If cabinets haven’t been selected yet, plan blocking for standard dimensions. Understand that you might need to add supplementary blocking later if the actual cabinets differ.
Blocking Material Selection and Structural Support Specifications
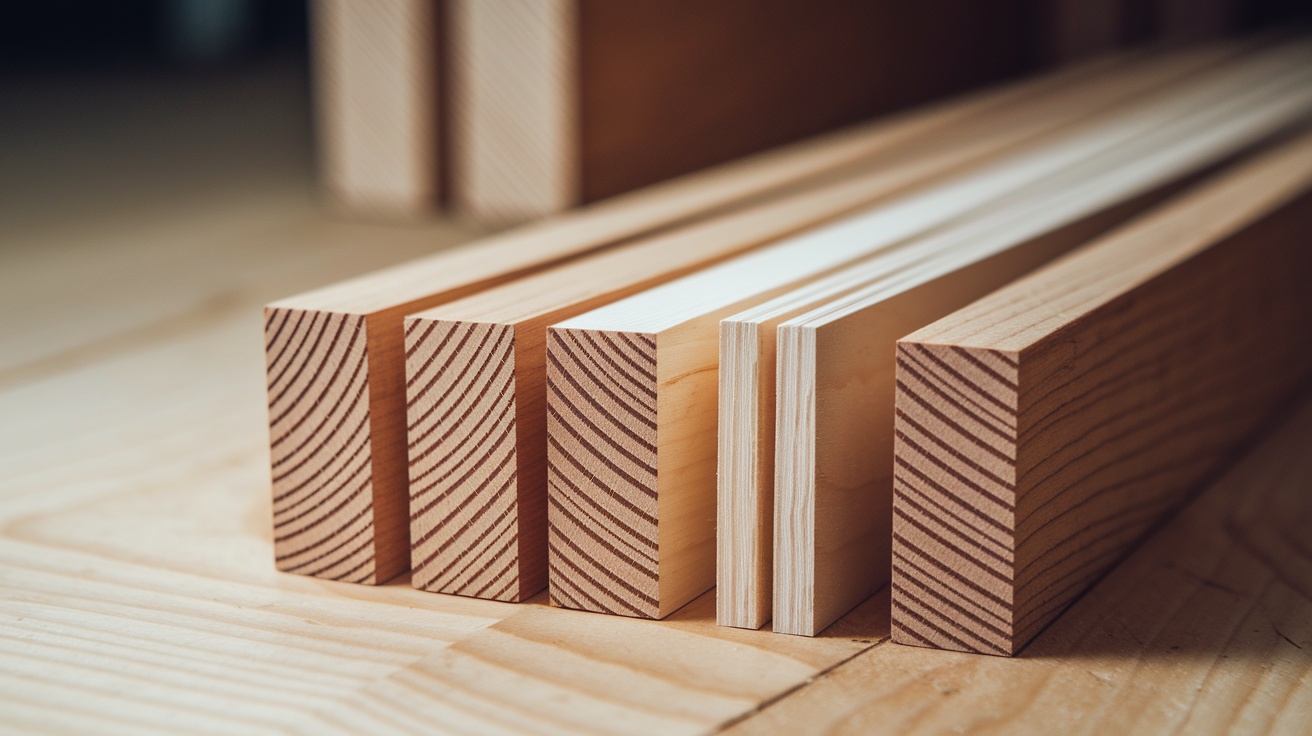
Minimum blocking material requirements start at 2×6 lumber, though 2×8 or larger scrap framing lumber is preferred for heavier cabinet installations. The 2×6 minimum provides enough depth for cabinet mounting screws to penetrate at least 1.5 inches into solid wood while leaving enough material to support the cabinet’s weight over time. Undersized blocking, like 2×4 material, doesn’t provide adequate screw penetration depth. It can split when multiple screws are driven into the same piece.
Material thickness matters for three reasons. It must match the wall stud depth so the blocking sits flush with stud faces. It must provide adequate screw penetration for the cabinet mounting hardware. And it must distribute the cabinet’s weight across the stud connections without bowing or deflecting. Standard wall framing uses 2×4 studs (actual dimensions 1.5 inches by 3.5 inches), but many builders install blocking that’s deeper than the studs because it provides better support. When blocking is thicker than the stud depth, set it back from the stud face by the difference so drywall sits flat. If your studs are 2×6 material in exterior walls, use 2×6 or larger blocking.
The plywood alternative method skips individual blocking pieces and instead runs 1/2 inch plywood sheets behind the entire cabinet run, essentially replacing drywall with a continuous structural backer. This approach is preferred when you’re installing cabinets wall to wall, when cabinets are exceptionally heavy (like floor to ceiling pantry units), or when the cabinet layout might change in the future. Instead of guessing where blocking should go, the plywood sheet provides secure attachment anywhere along its surface. The tradeoff is cost. Plywood costs more than drywall and individual blocking pieces, but it eliminates any chance of missing a mounting point.
The layered plywood approach works for extensive installations with both upper and lower cabinets plus a tile backsplash. Install plywood for the lower 28 inches to back the base cabinets, run standard drywall for the middle section where tile backsplash will be installed, then install another plywood section behind the upper cabinet zone. This method is optimal for full wall cabinet runs in kitchens where you want maximum flexibility for cabinet mounting, secure backing for heavy tile, and you’re willing to invest in the additional material cost. The plywood sections create a structure that distributes weight across a larger area than individual blocking pieces, which matters when you’re mounting multiple cabinets that collectively weigh several hundred pounds when loaded with dishes, cookware, and food.
Coordinating Cabinet Blocking Installation with Other Trades
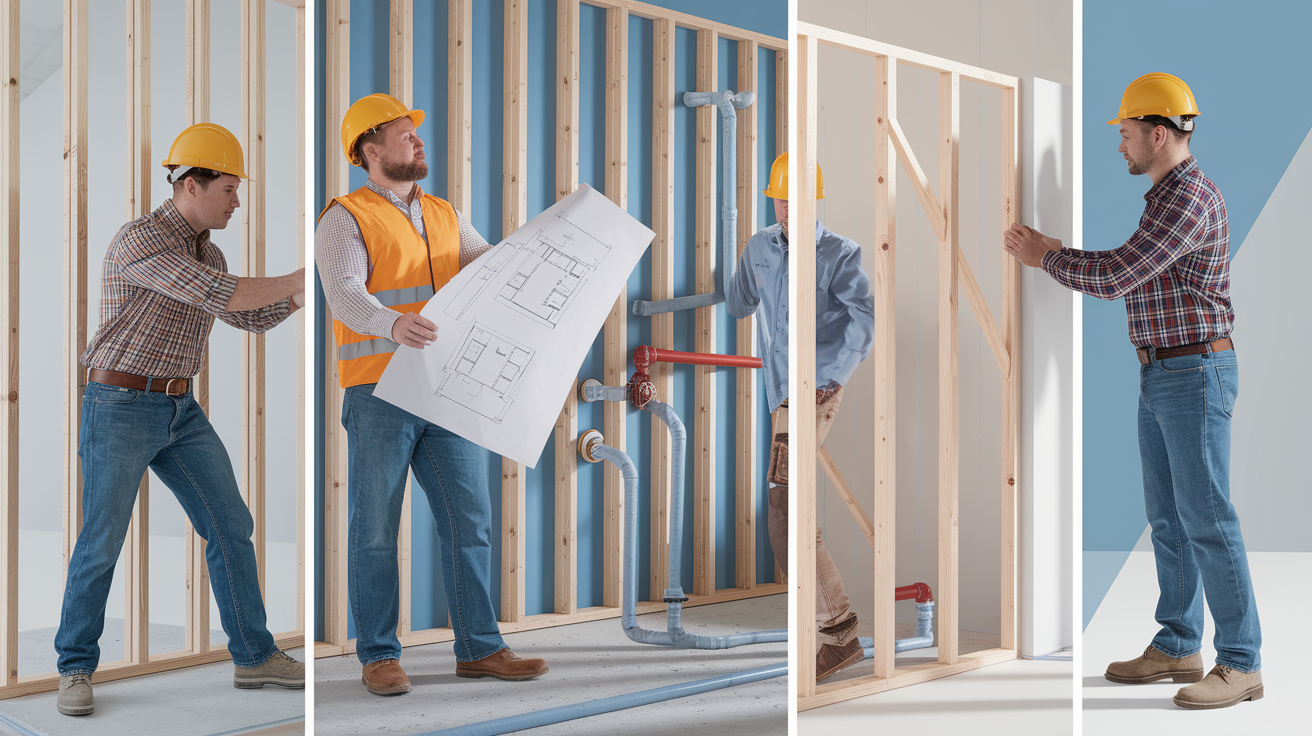
The coordination sequence follows a specific order. Framing and blocking installation happen first, then electrical and plumbing rough in work follows. This sequence prevents conflicts where blocking interferes with wire runs or plumbing lines, though coordination problems still happen if trades don’t communicate. Before you install blocking, review the electrical and plumbing plans if they exist. Or at minimum discuss the cabinet layout with the electrician and plumber so everyone knows where fixtures will be installed.
Electrical outlet placement creates conflicts when outlets sit within blocking zones. Standard kitchen design places outlets 18 inches above the countertop, which puts them right in the zone where base cabinet blocking gets installed. The solution is to notch the blocking around the outlet box or shift the blocking slightly higher or lower so the outlet box fits between blocking pieces. Mark all outlet and switch locations on the studs before cutting blocking. Cut blocking pieces to fit around boxes rather than forcing boxes to move.
Plumbing considerations require even more attention than electrical because supply lines and drain vents can’t be easily relocated once walls close up. A sink cabinet needs a large opening in blocking for the drain line and supply risers. Dishwasher locations need supply line access. Icemaker lines for refrigerators often run through the wall behind the refrigerator cabinet. Before installing blocking, confirm where plumbing penetrations will occur and leave those bays open or install blocking high and low with a gap in the middle for plumbing access.
Nail plates over blocking become critical where utilities pass through blocking or run close behind it. Cabinet mounting screws typically penetrate 2 to 3 inches into the wall, which is deep enough to hit electrical wires or plumbing lines if they’re routed behind the drywall. Install metal nail plates over any blocking section where wires or pipes run within 1.5 inches of the front face. The nail plates prevent screws from penetrating through to the utilities, though they make cabinet mounting slightly more difficult because screws hit the plate and stop, requiring you to shift the screw location slightly.
Complete Installation Process: New Construction and Retrofit Methods
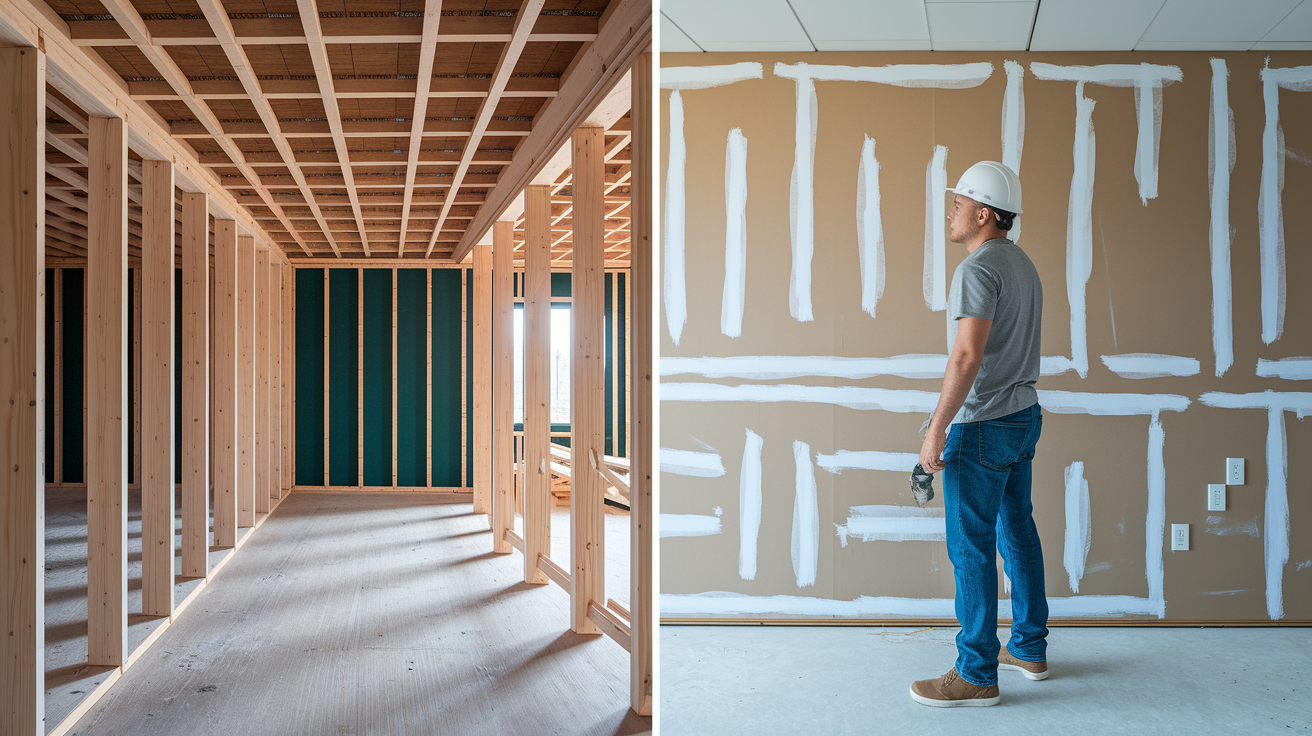
Blocking installation techniques differ based on whether walls are open during new construction or closed in a retrofit scenario, but both require precision with measurements, level installation, and proper fastening to the studs. The open wall method is faster and more forgiving because you can see and access the entire stud bay, while retrofit work requires careful planning to minimize drywall damage and finish work.
New Construction Installation Steps
-
Measure and mark cabinet mounting heights on the face of each stud, using a level and tape measure to ensure consistency across all studs in the cabinet run. Mark the centerline where blocking will sit, then mark the top and bottom edges so you can position blocking precisely.
-
Measure the distance between stud centers (typically 16 inches on center, but confirm by measuring because framing variations happen), then subtract 3 inches (1.5 inches per stud face) to get the blocking length.
-
Cut blocking lumber to fit snugly between studs. The blocking should fit tight enough that it doesn’t rattle, but not so tight that you have to hammer it into place and risk knocking studs out of alignment.
-
Position blocking horizontally at the marked heights, setting it so the blocking centerline aligns with your marks and the blocking face sits flush with the stud faces.
-
Check for level before fastening. Set a 4 foot level on top of the blocking and adjust until the bubble centers, because even slight slopes cause cabinet installation problems.
-
Secure blocking by driving three screws through each stud face into the blocking ends. Position screws in a triangular pattern to prevent the blocking from twisting, and use 3 inch structural screws that penetrate through the stud and at least 1.5 inches into the blocking.
-
Verify blocking is flush with stud faces by running your hand across the stud blocking connection. Any blocking that protrudes will create a bump under the drywall, while blocking set too deep creates a weak spot.
Measure low on the wall where lumber is least likely to distort, typically within the first two feet above the floor where temperature and humidity variations are minimal. Use a 4 foot level at each blocking piece rather than relying on measurements alone, because stud height variations and foundation settling can throw off measurements over a long cabinet run. Ensure blocking sits flush with stud faces so drywall lays flat without bumps or depressions. If blocking protrudes, it creates a visible wave in the drywall. If it’s recessed, the drywall can flex and crack over time.
Retrofit Installation in Existing Walls
Retrofit blocking becomes necessary when cabinet layouts change during a remodel, when blocking was missed during original construction, or when renovating older homes that were built before cabinet blocking was standard practice. The original builder might have installed blocking for the existing cabinets, but new cabinets in different locations or at different heights won’t align with that blocking, requiring new blocking at the correct heights.
The retrofit process requires careful drywall work to minimize damage and finish labor. First, locate studs with a stud finder, marking each stud location with a vertical pencil line. Next, mark horizontal lines at the blocking heights where cabinets will mount. Cut the drywall along these lines using a utility knife or oscillating multi-tool, creating a horizontal strip of access between studs. Remove the drywall strip carefully to avoid damaging the surrounding wall. Measure, cut, and install blocking pieces between studs using the same fastening methods as new construction. Finally, patch the drywall opening with a new strip of drywall, tape and mud the joints, then sand and paint to match the existing wall.
Alternative retrofit solutions include toggle bolts and heavy duty wall anchors, but these have significant weight capacity limitations compared to blocking. A toggle bolt in drywall might hold 50 pounds under ideal conditions, while blocking secured to studs can support several hundred pounds per linear foot. The cost difference between planned blocking and retrofit installation is substantial. Planned blocking costs $20 to $40 in materials and 1 to 2 hours of labor, while retrofit blocking adds drywall cutting, patching, taping, mudding, sanding, and painting, pushing labor time to 4 to 6 hours per wall section. If you’re planning a future remodel, installing blocking during the current construction phase is cheap insurance against expensive retrofit work later.
Tools and Fastening Methods
Essential tools for blocking installation include a 25 foot measuring tape, a 4 foot level, a circular saw or miter saw for cutting blocking to length, a drill or driver with bits for pilot holes and driving screws, and safety equipment including eye protection and work gloves. A speed square helps mark square cut lines on blocking lumber, and a stud finder is critical for retrofit work in closed walls.
Fastening methods determine how well blocking stays in place under the weight of loaded cabinets. Proper fasteners matter because undersized or incorrectly placed fasteners allow blocking to shift or pull loose over time, which causes cabinets to sag, doors to misalign, and mounting screws to loosen.
| Fastener Type | Application | Minimum Penetration |
|---|---|---|
| 3 inch structural screws | Wood studs to blocking ends | 1.5 inches into blocking after penetrating stud face |
| 1.25 inch self tapping screws | Metal studs to wood blocking | 1 inch into blocking after penetrating metal stud |
| 16d framing nails | Alternative for wood stud connections | 2 inches into blocking, minimum 3 nails per connection |
| Structural screws, 2.5 inch | Toenail style angled installation through blocking into stud | 2 inches into stud, two screws per side at 45 degree angles |
Fastener placement follows a minimum standard. Install at least two fasteners per stud blocking connection, positioning them in different locations to prevent splitting and provide resistance against twisting. Three fasteners per connection is better for heavy cabinet installations. Fasteners should penetrate the stud face and extend at least 1.5 inches into the blocking end. Shorter penetration doesn’t provide enough holding power, especially when the wood dries and shrinks slightly over time. Drive fasteners flush with the stud face without overdriving, because overdriven screws pull through the wood and reduce holding strength. If a screw spins without tightening, back it out and move to a new location rather than continuing to drive a stripped hole.
Building Code Requirements and Inspection Considerations for Cabinet Blocking
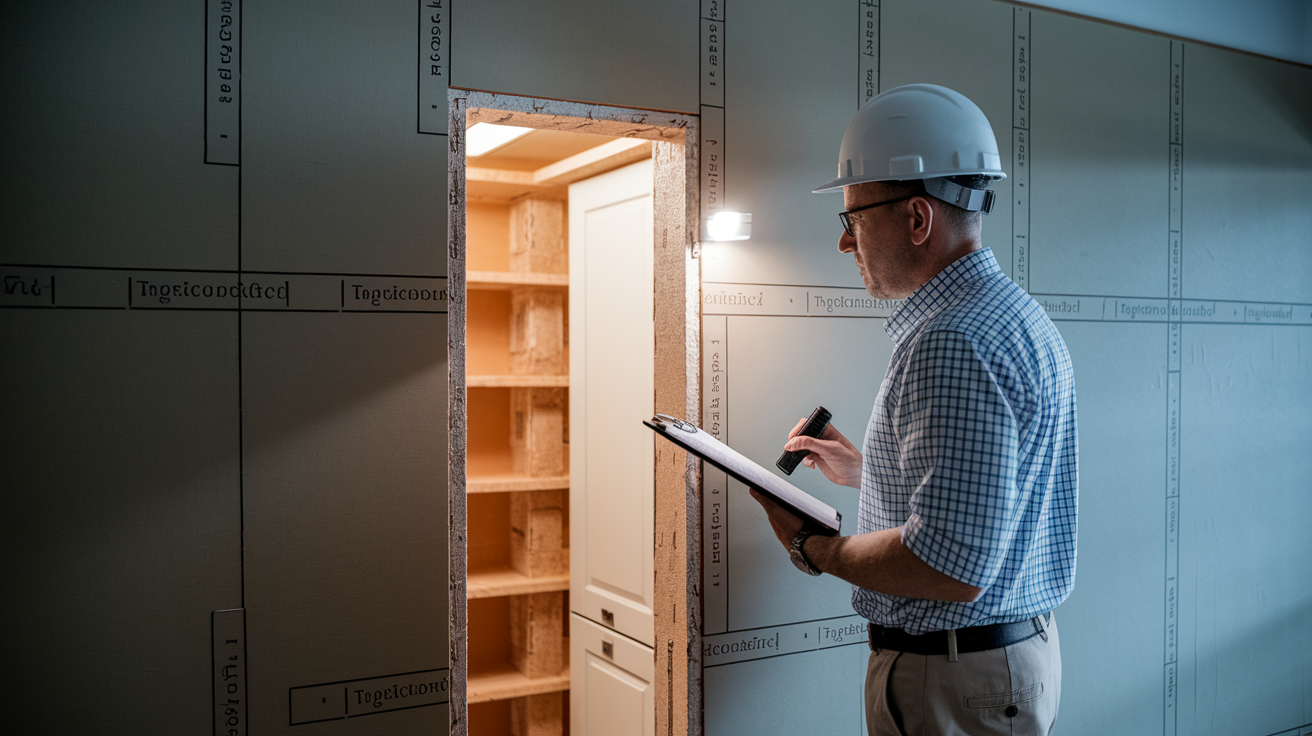
Building codes distinguish between code required blocking that’s mandatory for structural purposes and best practice blocking that experienced tradesmen recommend but code doesn’t explicitly require. Code required blocking typically addresses structural support for specific elements like grab bars in accessible bathrooms or backing for handrails, while cabinet blocking falls into a gray area where it’s not always explicitly mandated but represents good construction practice.
Cabinet blocking itself may not be explicitly code required in all jurisdictions, but the ability to properly anchor cabinets meets the implicit structural requirement that finish elements be securely attached to the building structure. Some jurisdictions require backing for wall mounted elements that exceed certain weight thresholds, which captures kitchen cabinets filled with dishes and cookware. Other jurisdictions leave cabinet attachment methods to the builder’s discretion as long as the installation is structurally sound. The practical reality is that proper blocking is the standard method for securing cabinets. Building inspectors expect to see it during framing inspections even if it’s not spelled out in code. Inspectors look for blocking at appropriate heights, properly sized lumber, secure fastening to studs, and coordination with other trades so utilities aren’t compromised.
Consult local building codes and discuss blocking plans during the permit application and framing inspection phases. Most building departments provide plan review comments that identify where additional structural support is needed, which might include blocking specifications. During the framing inspection, point out installed blocking to the inspector and confirm it meets requirements before drywall covers the work. If the inspector identifies missing blocking or incorrect placement, it’s far easier to correct during the framing phase than after walls are closed.
Common Cabinet Blocking Installation Mistakes and How to Avoid Them

Even experienced builders occasionally make blocking mistakes that complicate cabinet installation or reduce the structural integrity of the mounting system. Most errors happen during the planning and measurement phase rather than during the physical installation, which means careful preparation prevents the majority of problems.
Common blocking mistakes to avoid:
Installing blocking at wrong heights due to not confirming actual cabinet dimensions. Relying on “standard” cabinet heights without verifying the specific cabinets being installed leads to blocking that doesn’t align with mounting rails, forcing the installer to use supplemental anchors or add blocking later.
Failing to check level during installation, resulting in sloped mounting surfaces. Cabinets installed on out of level blocking look wrong even if they’re individually leveled, and door gaps become uneven as the cabinet follows the slope of the blocking.
Ignoring electrical outlet and switch locations that conflict with blocking zones. Installing blocking over outlet boxes forces expensive rework to relocate boxes or notch blocking, and creates potential code violations if boxes become inaccessible.
Not accounting for plumbing lines running through blocking zones. Installing blocking across a drain vent or water supply line requires cutting out the blocking and reinstalling it, wasting time and materials.
Using undersized lumber that doesn’t provide adequate support. 2×4 blocking in a 2×4 wall provides minimal screw penetration depth and can split when multiple mounting screws are driven close together.
Installing blocking that’s not flush with stud faces, creating drywall installation problems. Proud blocking creates bumps visible through paint, while recessed blocking creates weak spots where drywall can flex and crack.
Most mistakes are preventable with careful planning, accurate measurements, and coordination with cabinet layout plans. Before cutting any blocking, review cabinet specifications or confirm with the cabinet installer where mounting rails will be located. Mark stud faces clearly at the correct heights, accounting for any adjustments needed if cabinets deviate from standard dimensions. Check for level at each blocking piece, not just at the ends of a cabinet run. Inspect for utility conflicts before installing blocking, and adjust blocking placement or height to avoid existing boxes and lines. Use properly sized lumber that matches or exceeds stud thickness, and fasten with enough screws to prevent movement under load.
Professional Installation Versus DIY Cabinet Blocking
Blocking installation is straightforward for anyone comfortable with basic carpentry skills and familiar with using a circular saw, drill, level, and measuring tape. The work doesn’t require specialized tools or advanced techniques, and the materials are inexpensive and available at any building supply retailer. A typical room with base and upper cabinets might require 8 to 12 blocking pieces, taking 1 to 2 hours to measure, cut, install, and verify for someone working at a careful pace.
Scenarios that warrant professional help include complex situations where mistakes carry higher consequences. Load bearing wall modifications require structural knowledge to ensure blocking installation doesn’t compromise the wall’s structural function or that additional support is provided if studs are cut. Complex cabinet layouts with multiple heights, angles, or custom features benefit from a carpenter who can visualize the finished installation and plan blocking accordingly. Projects requiring coordination with multiple trades (electrician, plumber, HVAC, cabinet installer) run smoother when a general contractor or lead carpenter manages the schedule and ensures blocking doesn’t conflict with other work. Older homes with unknown wall conditions, outdated framing methods, or previous modifications create situations where opening walls can reveal surprises that require professional judgment to address correctly.
Cost considerations favor DIY when you’re comfortable with the work and already own the necessary tools. Blocking lumber costs $3 to $8 per piece depending on size and grade, and a room typically needs $30 to $60 in materials. Professional labor costs vary by region but typically run $50 to $100 per hour, with blocking installation taking 1 to 3 hours depending on complexity, bringing total installed cost to $80 to $360 for a typical room. DIY saves the labor cost but requires your time and assumes you have the skills to measure accurately, cut lumber square, and install blocking level and flush with studs.
Improper blocking can lead to cabinet failure, particularly when heavy cabinets are loaded with dishes, cookware, or pantry items that collectively weigh several hundred pounds. Blocking that’s undersized, incorrectly placed, not level, or poorly fastened won’t support this weight long term. Cabinets will sag, pull away from the wall, or in worst cases, detach completely. For expensive cabinet systems (custom or semi-custom installations costing $10,000 to $50,000 or more), professional blocking installation is worthwhile insurance against installation problems. The cost of hiring a carpenter for a few hours of blocking work is minimal compared to the risk of cabinet damage or the expense of retrofit blocking after cabinets are installed and walls are finished.
Final Words
Install cabinet blocking during the rough framing stage, before drywall goes up. That’s when walls are open and you can measure, cut, and secure blocking without cutting into finished surfaces.
Match your blocking height to your actual cabinet dimensions. Kitchen uppers need two rows, base cabinets sit at 34.5 inches, and bathroom vanities land at 30 inches.
Use 2×6 minimum lumber or run plywood sheets behind the entire cabinet run for full support. Coordinate with electrical and plumbing before drywall closes everything in.
When you know when to install cabinet blocking and follow the measurements, your cabinets mount solid and stay that way.
FAQ
Should I install blocking for cabinets?
You should install blocking for cabinets whenever you’re mounting wall cabinets, especially upper kitchen cabinets, bathroom vanities, or heavy storage units. Blocking provides solid wood attachment points inside walls that prevent cabinets from pulling away from drywall, distribute weight properly across wall studs, and eliminate the need for less-reliable hollow wall anchors. Without blocking, cabinet mounting screws have only drywall and intermittent studs for support, which creates safety hazards and leads to loosening over time.
What is the 1 3 rule for cabinets?
The 1 3 rule for cabinets refers to fastener placement: install at least one-third of cabinet mounting screws into solid blocking or studs rather than relying entirely on drywall anchors. This distribution ensures adequate weight support and prevents cabinet failure. For upper cabinets holding dishes and cookware, hitting solid backing with most screws rather than minimal stud contact provides the structural integrity needed for long-term durability and safety.
What height to put blocking for kitchen cabinets?
Kitchen cabinet blocking height depends on cabinet type: base cabinets require blocking centered at 34.5 inches from the floor, while upper cabinets need two rows of blocking. The lower row for upper cabinets centers at 54 inches from the floor (18 inches above standard base cabinets), and the upper row centers near 90 inches where the cabinet tops mount. Confirm your actual cabinet dimensions before installing blocking since custom cabinets may vary from these standard measurements.
Where should blocking be placed?
Blocking should be placed horizontally between wall studs at heights that align with cabinet mounting rails and heavy load points. Position blocking to match where cabinet backs have structural rails or hanging hardware, typically at upper and lower cabinet edges. Check your cabinet specifications before installation, coordinate blocking locations with electrical outlets and plumbing lines, and ensure blocking sits flush with stud faces so drywall installs flat without interference or future wall damage.