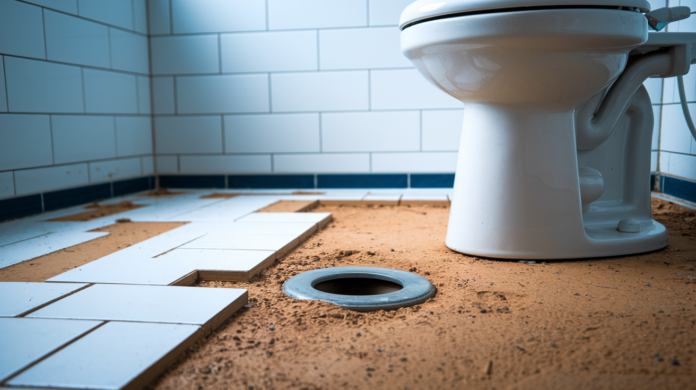

Most contractors will tell you flooring goes first, but walk onto enough job sites and you’ll see toilets sitting on bare subfloor with vinyl or tile cut around the base. So what’s actually right? The answer affects whether your bathroom develops leaks, looks professional, and holds up when you replace fixtures years from now. Install flooring first in nearly every situation. The toilet sits on top of finished flooring, creating a continuous moisture barrier and a clean appearance without awkward cuts or future patching headaches.
The Correct Installation Order: Flooring Before Toilet
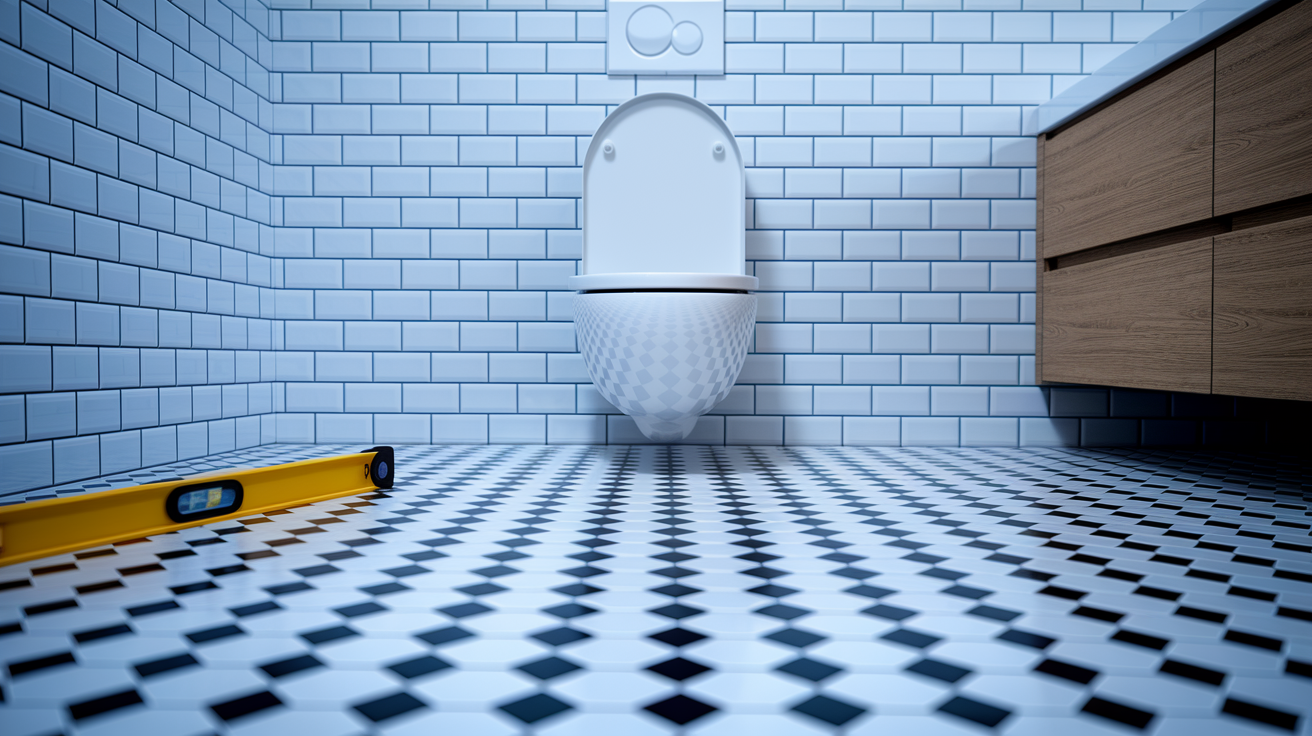
Flooring goes in before the toilet in most bathroom renovations. Professional contractors stick to this sequence because it delivers better results on every measure that matters: appearance, durability, leak prevention, and future maintenance.
The technical reasoning centers on how the toilet flange connects to your plumbing and floor. The flange is what connects the toilet to the floor and drain pipe. It needs proper sealing on a level surface. When you install flooring first, the flange sits on an even, finished surface that lets the wax ring compress uniformly and create a reliable seal. This works across all flooring types: tile, marble, laminate, vinyl. The flooring becomes part of the substrate that supports proper flange attachment.
Installing flooring before the toilet gives you:
Seamless appearance. The flooring runs wall to wall without visible cuts or gaps around the toilet base, creating a polished finish.
Reduced leak risks. You eliminate joints and seams around the toilet base that give water a path to infiltrate and damage your subfloor.
Subfloor protection from water damage. Continuous flooring acts as a barrier against moisture from cleaning, condensation, and spills.
Easier future toilet replacements. Years from now when the toilet needs replacing, you can swap it without disturbing flooring or dealing with mismatched patches.
No awkward tile cutting. You avoid scribing tile or other rigid materials around curved toilet bases, which rarely looks clean even with careful work.
Most bathroom projects benefit from this flooring first approach. That said, specific situations involving flange height, subfloor condition, or unusual plumbing may need you to understand additional factors before you commit to the sequence.
Technical Factors and Flooring Material Considerations
Your specific project conditions and material characteristics determine whether the standard flooring first sequence works or needs modification. The relationship between floor thickness and flange positioning drives most of these decisions.
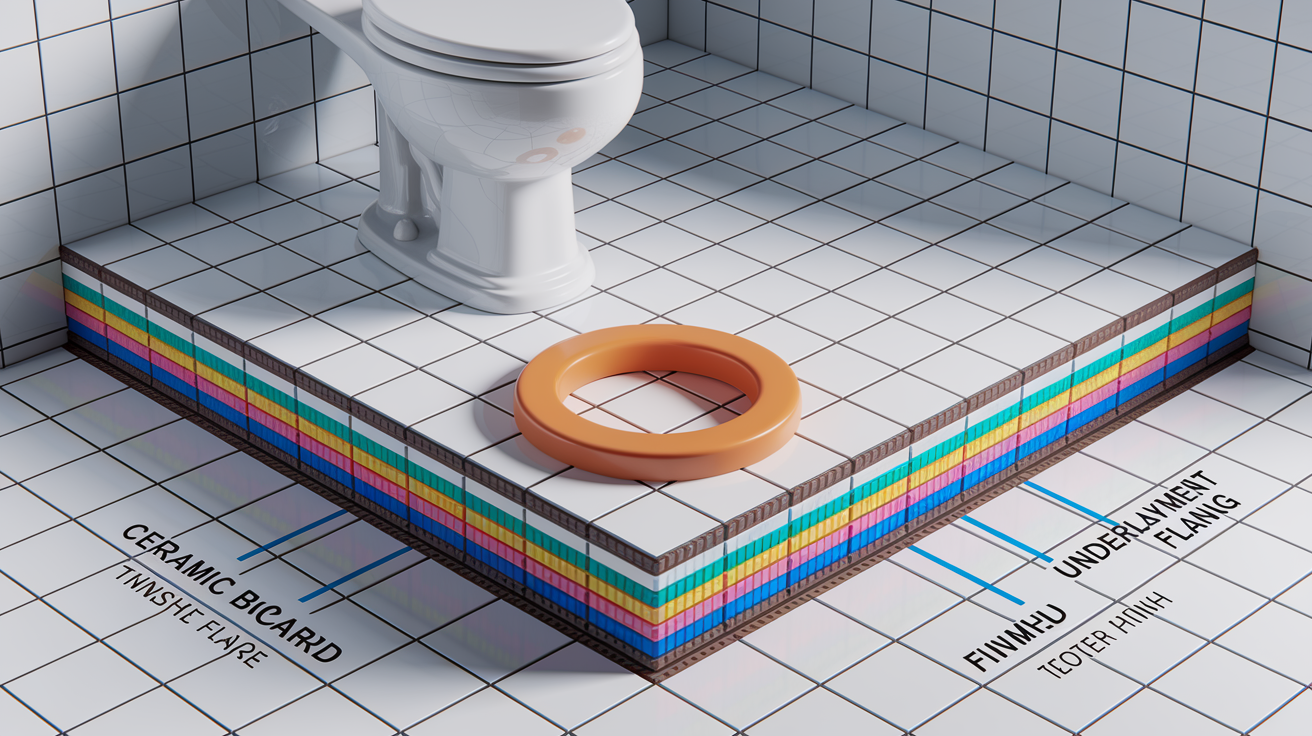
Floor height variations from different flooring materials affect how the toilet flange sits relative to the finished floor level. The toilet flange (also called a closet flange) connects the toilet to the drain pipe and must be positioned correctly for the wax ring to seal properly. Ideally, the flange sits flush with or slightly above the finished floor surface. About 1/4 inch above works well. When you add flooring that raises the finished floor by 1/2 inch or more, the flange ends up recessed below the surface. That creates sealing problems. The wax ring has to span a gap instead of compressing evenly, which leaves paths for sewer gases and water to escape. Your drain pipe location is fixed by the rough in plumbing, so the flange must align perfectly with that drain connection. If your flooring raises the floor height significantly, plan for flange adjustments before you start.
Subfloor structural integrity and plumbing alignment determine whether you can proceed with flooring installation at all. The subfloor must be sound. No soft spots, rot, delamination, or deflection when you walk on it. If the existing subfloor shows water damage or structural weakness around the toilet area, replacement comes first, before any flooring discussion. Check the drain pipe alignment while the toilet is removed. The drain should run straight and the flange should bolt securely to the subfloor without wobbling. Plumbing rough in measurements (typically 12 inches from the wall to the drain center) affect whether your chosen toilet model will fit correctly after flooring installation. Measure from the wall to the flange center, then add your flooring thickness. Confirm your toilet rough in dimension matches.
Flange height misalignment has straightforward solutions when you identify the problem before reinstalling the toilet. Flange extenders (also called spacer rings or offset flanges) raise the flange to match the new floor level. These plastic or metal rings stack on top of the existing flange and bolt through to the subfloor. For minor height differences under 1/2 inch, an extra thick wax ring with a flange sometimes handles the offset, though this isn’t ideal for long term reliability. For major raises over 1 inch, a full flange replacement with a longer drain connection may be necessary. The goal is getting the flange positioned so the wax ring compresses about 30% when you set the toilet. Not so recessed that the wax has to stretch, and not so high that the toilet rocks.
Tile flooring including ceramic and porcelain creates the most dramatic floor height changes and demands careful planning. Total thickness adds up quickly. Cement backer board (1/4 to 1/2 inch), thinset mortar under the tile (1/8 to 1/4 inch), tile itself (1/4 to 1/2 inch for most floor tiles), and grout (negligible height). You’re looking at 3/4 to 1 1/4 inches of total build up in many installations. This material offers excellent water resistance and durability, but the height change almost always requires flange extenders. Install a waterproof membrane over the backer board in wet areas before laying tile. Don’t reinstall the toilet until the thinset has fully cured. Typically 24 to 48 hours minimum, longer for thick applications or humid conditions.
Vinyl options including luxury vinyl plank and sheet vinyl create minimal floor height issues, making them forgiving for flange positioning. LVP typically runs 4 to 8 millimeters thick with underlayment, adding roughly 1/4 to 3/8 inch to floor height. Sheet vinyl installs even thinner, sometimes with no underlayment at all over smooth subfloors. Both materials need a moisture barrier if you’re installing over concrete or in basements where ground moisture rises. The thin profile means existing flange heights often work without adjustment, though you should still verify the flange sits at or slightly above the finished surface. These materials offer good water resistance and install quickly with minimal mess, though the seams around cuts can be vulnerable if water sits for extended periods.
Laminate flooring presents water resistance limitations that make it questionable for full bathroom installations. You’ll see it in powder rooms and half baths though. This is a floating floor system that needs expansion gaps at all walls and penetrations, including around the toilet flange. Total thickness typically runs 7 to 12 millimeters (about 1/4 to 1/2 inch) including attached underlayment. The floating installation method means you cannot secure the toilet directly through the laminate into the subfloor. The toilet must be positioned over the flange without pinning the flooring underneath. Laminate swells and delaminates when it gets wet repeatedly, so any installation requires you to wipe up water immediately.
Account for total floor thickness when planning flange adjustments, and inspect the flange condition during renovation while the toilet is removed. Corroded metal flanges or cracked plastic flanges should be replaced regardless of height considerations. You’ll save yourself a callback if you handle flange issues up front rather than discovering a broken flange after the new flooring is down and you’re trying to set the toilet.
| Flooring Type | Typical Thickness | Water Resistance | Installation Complexity |
|---|---|---|---|
| Ceramic/Porcelain Tile | 3/4″ to 1 1/4″ total build | Excellent when properly sealed | High. Requires backer board, thinset, extended cure time |
| Luxury Vinyl Plank | 1/4″ to 3/8″ with underlayment | Very good for sheet goods | Moderate. Needs smooth substrate, cuts easily |
| Sheet Vinyl | 1/8″ to 1/4″ typical | Good with sealed seams | Moderate. Pattern scribing required |
| Laminate | 1/4″ to 1/2″ with underlayment | Poor. Swells when wet | Moderate. Floating installation needs expansion gaps |
Complete Installation Workflow From Start to Finish
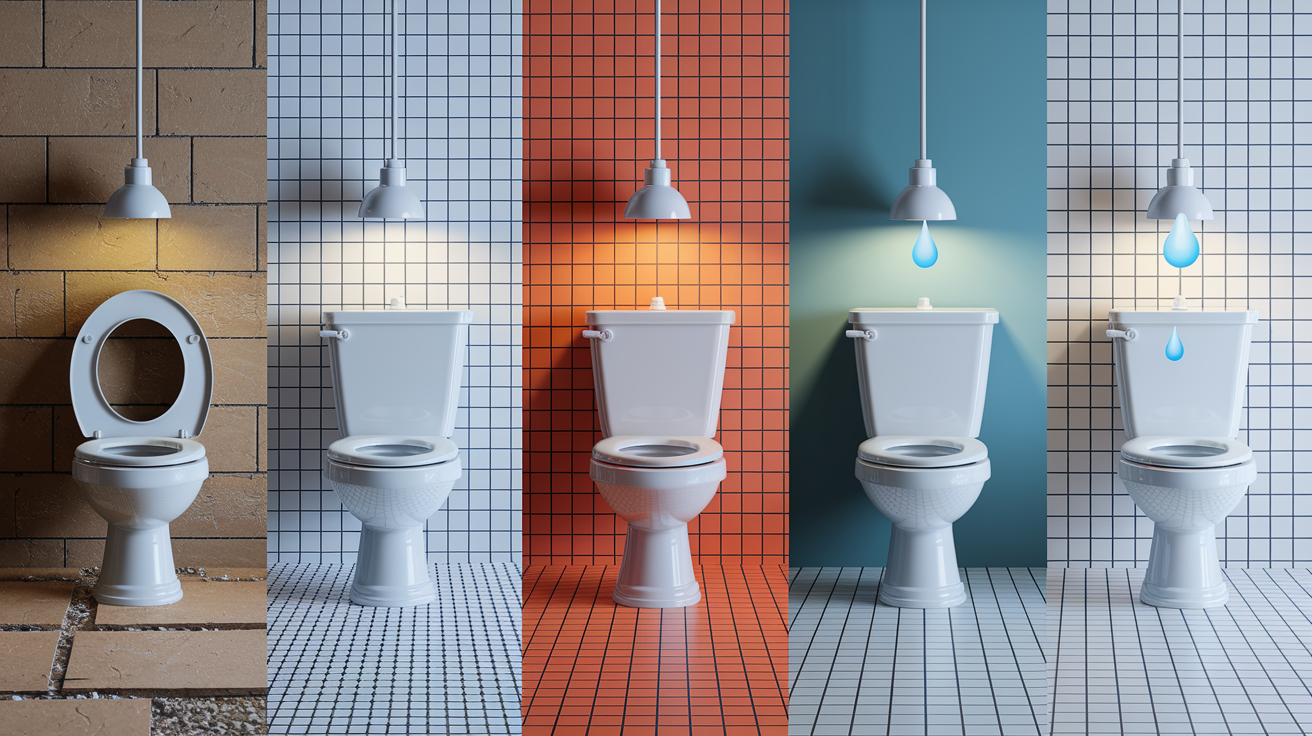
Following proper installation sequence from toilet removal through final testing prevents mistakes that create leaks, unstable fixtures, or callbacks. Each step builds on the previous one. Skipping or rushing stages leads to problems you’ll see within weeks.
Bathroom flooring installation typically takes 1 to 3 days including prep and drying time. The timeline stretches when you factor in material curing requirements. Tile installations need 24 to 48 hours of thinset cure time before you can walk on the floor, and another 24 hours after grouting before exposing it to moisture. Adhesive backed vinyl products and click together planks install faster but still benefit from 12 to 24 hours of settling time before you load them with a toilet’s weight. Don’t rush the curing process. The material hasn’t developed full strength until the manufacturer’s specified cure time passes. Setting a toilet on uncured flooring can crack tiles, shift vinyl, or compress adhesive in ways that create uneven surfaces and leak paths.
This complete workflow takes you from tearout through final leak testing:
- Remove the old toilet and disconnect the water supply line at the shutoff valve.
- Inspect the subfloor for damage including soft spots, staining, rot, or looseness that indicates failed fasteners.
- Install underlayment or cement backer board if needed based on your flooring material requirements.
- Lay the flooring material extending to wall edges and under future fixture locations including where the toilet and vanity will sit.
- Allow proper drying and curing time according to the flooring manufacturer’s instructions before proceeding.
- Verify the flooring is fully cured by testing hardness and checking that adhesives no longer feel tacky.
- Install or adjust the toilet flange to finished floor height using risers or extensions if the flooring raised the surface more than 1/4 inch.
- Confirm flange height positions the mounting surface flush with or slightly above (about 1/4 inch) the finished floor.
- Install a new wax ring on the flange. Press it firmly onto the flange, not onto the toilet.
- Position the toilet carefully over the flange bolts and press down with firm, even pressure while rocking slightly to compress the wax ring.
- Secure the toilet base with new nuts and bolts, tightening evenly in small increments to avoid cracking the porcelain base.
- Attach the tank (if separate), connect the water supply line, turn on the water, and fill the tank.
- Test for leaks by flushing multiple times while checking the base, tank bolts, and supply connection for moisture.
- Apply a bead of caulk around the toilet base where it meets the floor, leaving a small gap at the back for leak detection.
Test thoroughly before considering the job complete. Flush the toilet at least three times while inspecting the base from all angles with a flashlight. Look for water seeping out, which indicates a wax ring seal failure. Check the flange bolts. If they’re loose after tightening, the toilet is rocking and the seal isn’t compressing evenly. Press on the toilet from different angles. It shouldn’t move or wobble at all.
Waterproofing Techniques and Common Installation Mistakes

Proper waterproofing and avoiding common mistakes prevents costly water damage and remediation that can run into thousands of dollars for subfloor replacement and mold cleanup. The margin for error in bathroom installations is thin because water finds every imperfection.
Installing flooring before the toilet eliminates leak paths that form when flooring is cut around pre installed fixtures. When someone installs a toilet first and then tries to fit flooring around it, they create irregular gaps at the base. Those gaps act as direct water pathways to the subfloor. Every time someone mops, every time condensation drips down the toilet tank, every small splash from the bowl sends water underneath the flooring. Critical waterproofing steps include installing a moisture barrier over the subfloor before laying flooring in areas prone to water exposure. Use a polyethylene sheet or a liquid applied membrane product. For tile installations, add a waterproof membrane (such as RedGard or Kerdi membrane) over the cement backer board, extending it up the walls 6 inches in shower areas. This creates a pan that directs water toward the drain rather than into the wall cavity. These barriers install in sequence: subfloor first, then moisture barrier, then backer board and waterproof membrane for tile, then the finish flooring material.
Proper sealing techniques around the toilet flange and base create watertight connections that prevent sewer gases and water from escaping. The wax ring remains the most reliable seal between flange and toilet. It’s been used for decades because it works. Press the wax ring onto the flange, not onto the toilet horn. Position it so the tapered end faces up toward the toilet. Some installers prefer waxless gasket rings made from rubber and foam, which can be reused if you need to reset the toilet. These work well when installed correctly but don’t conform to minor irregularities the way wax does. After securing the toilet, apply a continuous bead of silicone sealant or waterproof caulk around the base where the toilet meets the floor. Leave a small gap (about 1 inch) at the back of the toilet. This gap lets you see water if the wax ring fails, rather than trapping it underneath the base where it causes hidden damage. Let sealants and adhesives dry according to the manufacturer’s timeline. Typically 24 hours for caulk before water exposure, longer for structural adhesives.
Measurement and cutting errors plague DIY installations, particularly when someone attempts to cut flooring around a pre installed toilet. The toilet base is curved and often has an irregular shape where it meets the floor. Scribing that profile into rigid tile or even flexible vinyl rarely produces clean results. You end up with visible gaps that collect dirt and water, or you overcut and create large spaces that look unprofessional. Small measurement mistakes in flange positioning compound when you add up subfloor thickness, underlayment, flooring material, and adhesive layers. A toilet that sits 1/4 inch too high or too low changes how the wax ring seals. Too high and the toilet rocks because it’s perched on the flange. Too low and the wax ring can’t compress enough to seal properly.
Leveling issues create unstable toilet installations that fail quickly. An uneven subfloor causes the toilet to rock, which breaks the wax ring seal and allows leaks. Check the subfloor with a long level before installing flooring. High spots need sanding or grinding. Low spots need filling with floor leveling compound. Toilet shims can correct minor unevenness (1/8 inch or less) under the toilet base after installation, but they’re a bandaid, not a solution for badly uneven floors. Shims should be plastic, not wood, which rots when exposed to moisture. Use leveling compound for anything more than minor adjustments. It creates a stable, permanent base. If you skip subfloor leveling, you end up with a toilet that shifts every time someone sits down, progressively loosening the seal until water appears on the floor.
Avoid these installation mistakes that consistently cause problems:
Installing the toilet before flooring, which creates cutting challenges and leak paths at the base.
Skipping subfloor inspection and repairing damaged areas, allowing rot and weakness to spread under new materials.
Incorrect flange height adjustment or ignoring height changes from new flooring thickness.
Inadequate waterproofing and moisture barriers, especially in tile installations and below grade bathrooms.
Improper wax ring installation including reusing old wax rings or positioning them on the toilet instead of the flange.
Rushing curing and drying times because the bathroom needs to be functional, which prevents adhesives and sealants from developing full strength.
Attempting to cut flooring around pre installed fixtures, creating irregular gaps and unprofessional appearance.
DIY installations frequently result in these errors because the installer lacks experience seeing how mistakes manifest months later. The toilet seems fine at first. Then leaks develop. By the time you notice water damage, the subfloor needs replacement and the job costs triple what professional installation would have cost originally.
Professional Installation Versus DIY Approach
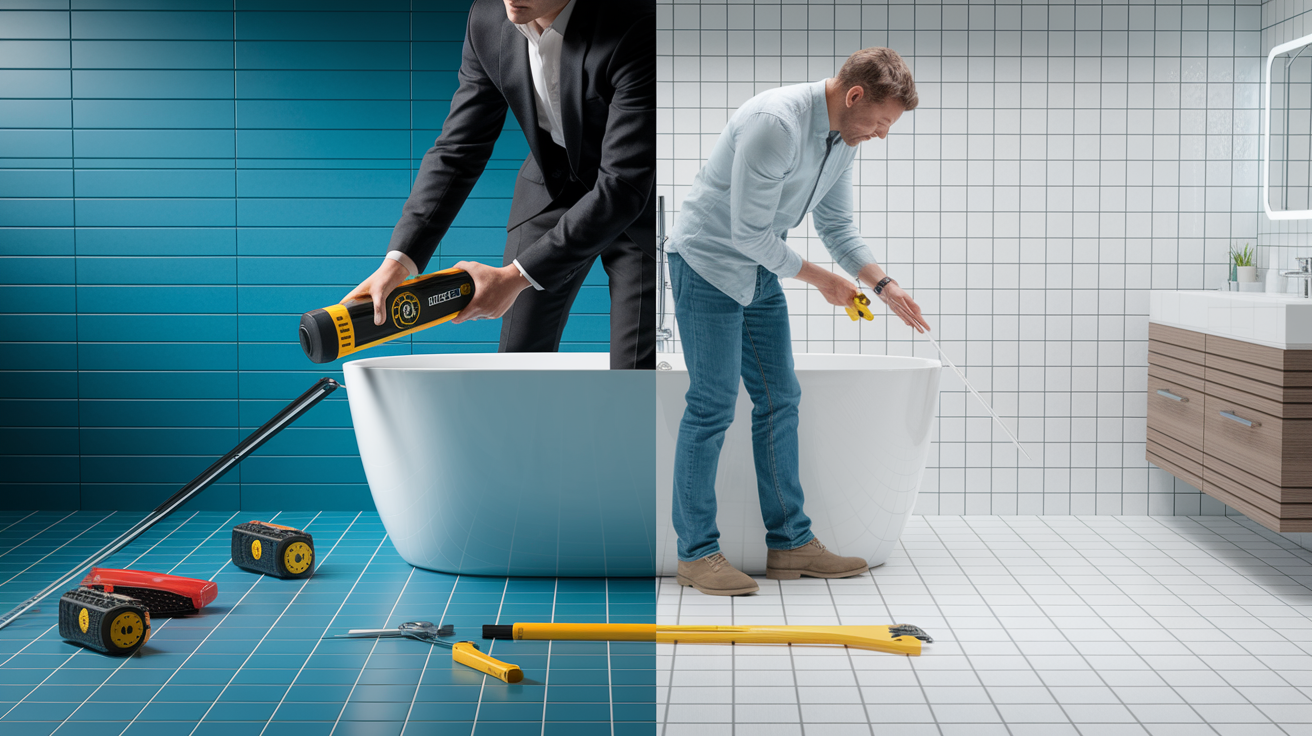
The decision between DIY and professional installation comes down to your skill level, available tools, and tolerance for risk if something goes wrong. Some bathroom projects are straightforward enough for capable DIYers. Others involve enough variables that professional installation pays for itself.
Professional advantages extend beyond just having the right tools. Pros bring specialized measurement tools including laser levels and precise drill guides that ensure the toilet flange sits exactly at the correct height and the mounting bolts align perfectly. They make flange height adjustments routinely and stock the extenders, gaskets, and hardware needed for different scenarios. Industrial grade sealants and professional application methods create watertight barriers that prevent water infiltration and mold growth more reliably than consumer products. A pro knows what “fully compressed” wax ring looks like by feel and sound. They understand how different flooring types affect installation sequencing. They’ve seen tile that looked dry but wasn’t, causing it to crack when the toilet weight compressed uncured thinset. They’ve dealt with cast iron flanges that can’t be replaced without cutting the drain pipe, requiring a repair collar installation instead. This experience prevents mistakes before they happen.
Cost benefit considerations look different for every project, but the pattern is consistent. Upfront professional installation costs typically run $200 to $500 for toilet installation depending on your location and whether flange repairs are needed. Basic flooring installation adds $3 to $12 per square foot for labor depending on material complexity. That looks expensive until you compare it against potential repair expenses from DIY mistakes. Water damage to subfloors costs $500 to $2,500 to repair depending on extent and access. Mold remediation runs $1,500 to $4,000 for bathroom sized areas. Unstable fixtures that damage the toilet itself or crack flooring add replacement costs on top of labor to redo the installation correctly. Improper sealing that allows sewer gases into the house creates health issues and requires immediate correction. The money you save doing it yourself disappears quickly if the installation fails.
When selecting qualified contractors, start by researching local plumbing companies and bathroom remodeling contractors in your area. Check online reviews on multiple platforms, but read critically. Look for patterns in feedback rather than isolated complaints. Verify licensing and insurance before hiring anyone. A licensed plumber carries liability insurance that protects you if something goes wrong during installation. Ask for recommendations from neighbors, friends, or family members who’ve had similar work done recently. Request references from the contractor and actually call them to ask about work quality, timeline reliability, and how issues were handled. Get written estimates from at least three contractors before deciding. The estimates should break down materials, labor, and any additional costs like flange repairs or subfloor work. Avoid contractors who pressure you to decide immediately or who ask for large deposits upfront.
Consult licensed plumbing technicians for installations that involve moving drain locations, replacing cast iron flanges, or dealing with below grade bathrooms where moisture control is critical. These scenarios have too many variables for most DIYers to handle safely.
Installing Other Bathroom Fixtures in the Correct Sequence
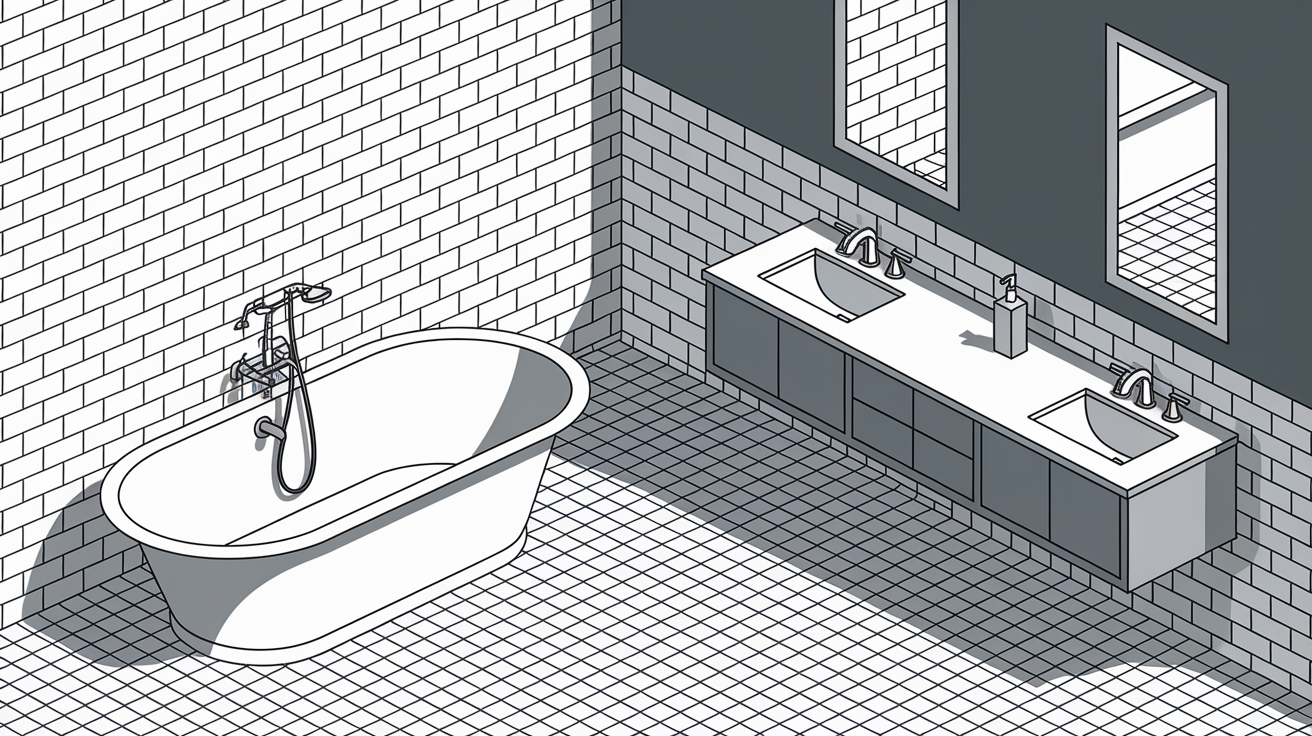
Toilet and flooring installation fits within a broader bathroom remodel sequencing that determines project success. Installing elements out of order creates rework, damaged materials, and compromised finishes.
The proper renovation order starts with rough plumbing and electrical work while the walls are open. Run new drain lines, water supply pipes, and electrical circuits before closing up walls. Next, install the tub or shower base if you’re replacing it. The tub needs to be set and leveled on the subfloor before wall finishing begins, because the tub flange tucks behind the wall surface and supports the bottom edge of wall tile or panels. After the tub is secured, install and finish drywall or cement backer board. In wet zones like shower surrounds, install wall tile before floor tile to prevent damaging finished flooring while working on walls. Water runs down, so wall protection matters more than floor protection during this phase. Once wall tile is set and grouted, paint any drywall areas that won’t get tiled. Then move to flooring installation. The flooring should extend wall to wall, under where the toilet and vanity will eventually sit. After flooring is fully cured, install the toilet and vanity as the final fixture placements.
Fixture specific considerations affect this sequence in practical ways. Flooring should extend under vanities for a cohesive appearance and easier cleaning if you ever replace the vanity. The floor underneath won’t show age or style mismatch years later. However, avoid fixing vanities and toilets directly to floating floors (like laminate or some LVP systems) to allow for the floor’s natural expansion and contraction with temperature and humidity changes. The vanity should rest on top of the flooring, with its weight distributed across the base, but fasteners should anchor into wall studs, not through the flooring into the subfloor. For toilets, the mounting bolts pass through the flooring into the flange below, which is properly secured to the structural subfloor, not the floating floor surface. Install baseboards and trim work after flooring cures, but coordinate trim placement with fixture locations. You’ll typically install baseboard, then set the vanity against it. The toilet doesn’t need baseboard behind it since the base covers that wall junction.
Timing for finishing touches determines when the bathroom becomes fully functional. After all fixtures are installed and tested, apply caulk around the vanity base where it meets the wall and floor, around the backsplash edges, and around the toilet base. Use bathroom rated silicone caulk that resists mildew. If you’ve installed tile, apply grout sealer after the grout has cured for the time specified on the product (usually 48 to 72 hours). Grout sealer prevents staining and water absorption. Final cleanup includes removing any protective coverings, cleaning grout haze from tiles, and wiping down all surfaces before use.
Building Code Requirements and Compliance Standards
Local building codes establish minimum clearances around toilets, proper flange installation standards, and inspection requirements that vary by jurisdiction. These aren’t suggestions. They’re legal requirements that protect property value and occupant safety. Code violations discovered during home sales or insurance claims can force expensive corrections and create liability.
Rough in measurement standards typically specify 12 inches from the finished wall to the center of the drain pipe for standard toilets, though 10 inch and 14 inch rough ins exist for specific installations. Minimum side clearances require 15 inches from the toilet centerline to any wall or fixture, giving 30 inches total width for the toilet space. Front clearance standards mandate at least 21 inches of clear space in front of the toilet bowl, measured to any opposite wall or fixture. ADA compliance considerations for accessible bathrooms increase these minimums significantly. 36 inches of clear width at the toilet and 48 to 56 inches of clear depth depending on approach direction. Grab bar locations and heights are also specified. If you’re remodeling a bathroom in a commercial space or creating an accessible bathroom in a new addition, ADA requirements apply. In residential renovations of existing spaces, they’re optional but represent good planning if aging in place is a consideration.
Following manufacturer instructions for both flooring materials and toilet fixtures maintains warranties and ensures code compliance. Flooring manufacturers specify acceptable substrates, required underlayments, adhesive types, and installation methods. Deviating from these instructions voids the warranty, meaning the manufacturer won’t cover failures even if the product itself is defective. Toilet manufacturers provide rough in dimensions, minimum supply line specifications, and torque requirements for mounting bolts. Over tightening can crack the toilet base or the flange. The instructions exist because engineers determined those specifications prevent the most common failure modes.
Permits and inspections requirements depend on the scope of work and local jurisdiction rules. Most areas require permits for plumbing work that involves moving drain lines or adding new fixtures. Simple toilet replacement on an existing drain typically doesn’t require a permit. Flooring replacement alone rarely needs permits unless it’s part of a larger remodel. When permits are required, inspections happen at specified stages. Rough plumbing inspection before walls close up, final plumbing inspection after fixtures are installed, and sometimes a final building inspection to verify code compliance across all trades. Consequences of non compliant installations show up when you sell the house and the buyer’s inspector flags unpermitted work, or when an insurance claim is denied because the damage resulted from code violations. You end up paying to tear out non compliant work and redo it correctly, plus potential fines from the building department.
Final Words
Installing flooring before the toilet is the proven approach for most bathroom projects.
This sequence protects your subfloor, simplifies future fixture swaps, and creates a cleaner finished look without awkward cuts around the base.
Focus on proper flange height, allow full curing time, and don’t skip waterproofing steps.
Whether you tackle the work yourself or bring in a pro, understanding what comes first toilet or flooring keeps your project on track and helps you avoid the moisture issues that turn small jobs into expensive callbacks.
Get the order right, and the bathroom stays dry.
FAQ
Do you install flooring before or after a toilet?
You should install flooring before the toilet in most bathroom renovations. This sequence creates a seamless appearance, reduces leak risks, protects the subfloor from water damage, and simplifies future toilet replacements when the flooring extends completely under the fixture.
In what order should I install my bathroom?
The correct bathroom installation order starts with rough plumbing and electrical work, then tub or shower base, followed by drywall and wall tile in wet zones, painting, flooring installation, and finally toilet and vanity placement to prevent damage and ensure proper sequencing.
Do you install a toilet before a tile floor?
You should install tile flooring before the toilet to ensure the toilet flange connects to an even surface and eliminates awkward tile cutting around the fixture. This approach applies to ceramic, porcelain, and all other tile types for better leak prevention.
When tiling a bathroom, do you start with the floor or the walls?
Wall tiles should be installed first in wet zones to avoid damaging the floor during wall installation. After wall tile work is complete and dried, install floor tile, allow proper curing time, then install the toilet and other fixtures on the finished floor surface.
What is the ideal toilet flange height relative to finished flooring?
The toilet flange height should sit level with or slightly above the finished floor surface for proper wax ring sealing. If flooring raises the floor level, use flange extenders or spacer rings to adjust the flange height and prevent leaks from improper sealing.
How long does bathroom flooring installation typically take?
Bathroom flooring installation typically takes one to three days including preparation and drying time. Allow proper curing time for adhesives, thinset mortar, and grout before reinstalling the toilet to prevent damage to uncured materials and ensure long-term durability.
Can you install a toilet on laminate flooring?
You can install a toilet on laminate flooring, but avoid fixing the toilet directly to the floating floor to allow natural expansion movement. The toilet should be secured to the flange and subfloor, not the laminate itself, to prevent floor buckling.
What happens if you install the toilet before flooring?
Installing the toilet before flooring creates irregular gaps requiring awkward cutting around the fixture, increases leak paths where water can penetrate, complicates future toilet replacements, and often results in poor appearance with visible cut lines and inconsistent spacing around the base.
Do professionals recommend flooring under the toilet or around it?
Professionals recommend extending flooring completely under the toilet location for a polished appearance, easier cleaning, better subfloor protection from leaks, and simplified future toilet replacements. This approach applies universally across tile, vinyl, laminate, and all other flooring types.
What are common mistakes when installing bathroom flooring and toilets?
Common bathroom installation mistakes include installing the toilet before flooring, skipping subfloor inspection, incorrect flange height adjustment, inadequate waterproofing, improper wax ring installation, rushing curing times, and attempting to cut flooring around pre-installed fixtures instead of extending flooring first.
Should flooring extend under bathroom vanities too?
Flooring should extend under bathroom vanities for a cohesive look that simplifies cleaning and future fixture changes. Like toilets, this approach prevents awkward cutting around cabinet bases and protects the subfloor from water damage in case of leaks.
When do you need a permit for bathroom flooring and toilet installation?
Permit requirements for bathroom renovations vary by local jurisdiction but typically apply when moving plumbing lines or making structural changes. Check with your local building department before starting work, as non-compliant installations can affect home sales and insurance coverage.