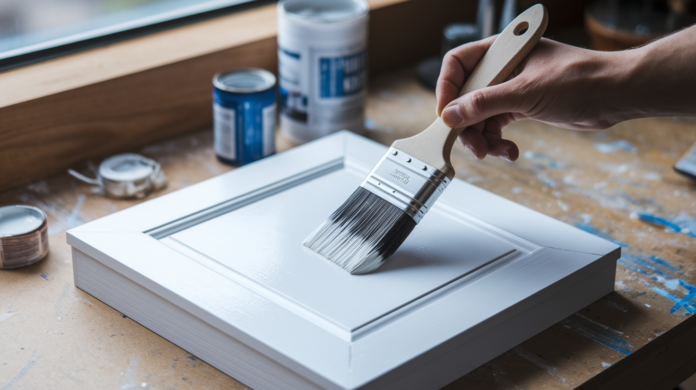

You can’t paint over cabinet stains and expect them to stay hidden. Regular primer fails on water rings, wood tannins, nicotine damage, and dark grain that bleeds through light topcoats within weeks. The difference between a primer that blocks stains and one that just sits on top determines whether your cabinet project lasts five years or fails in five weeks. This guide breaks down which stain blocking primers actually seal problem surfaces, when you need specialty formulas versus standard options, and how to match the right product to oak tannins, grease stains, or severe discoloration.
Top Stain Blocking Primer Products for Cabinet Projects
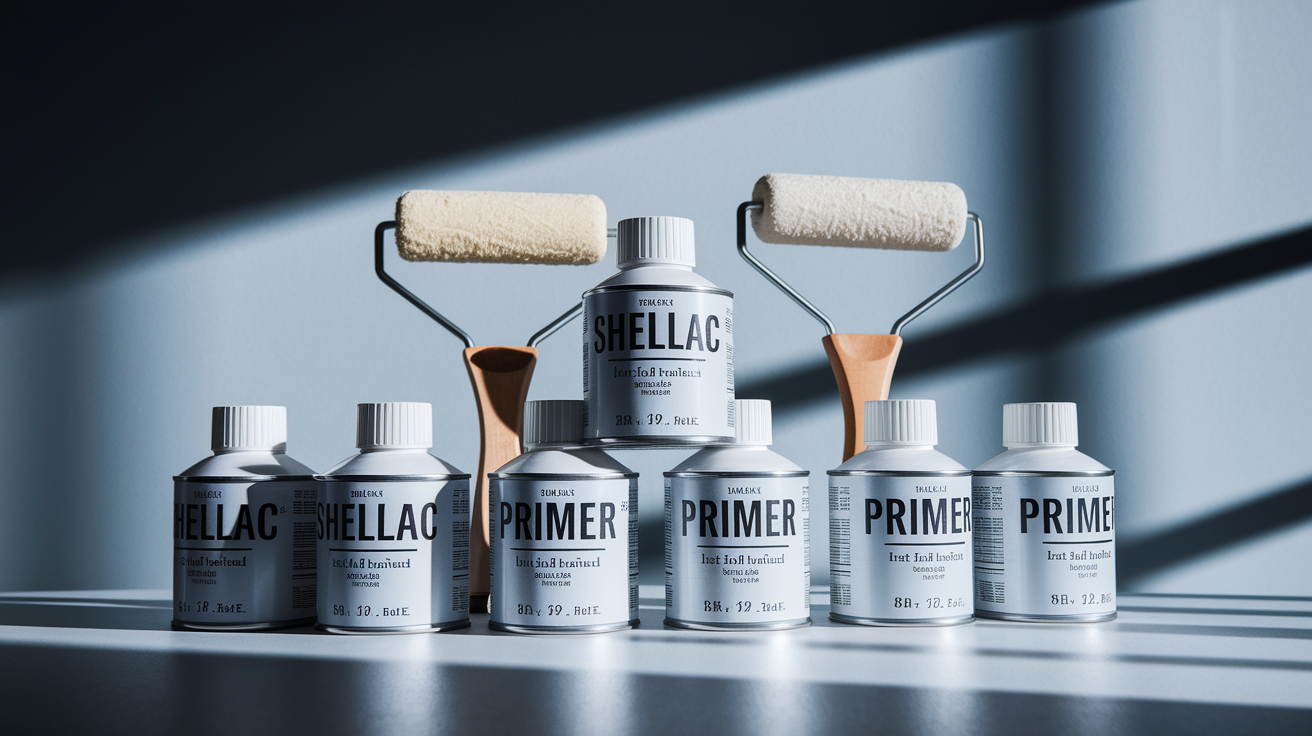
Stain blocking primers stop tannin bleed, water marks, grease buildup, smoke damage, and old wood stains from reappearing through your topcoat. Without proper stain blocking, you’ll see yellowing, dark spots, or complete failure within weeks, especially when painting over dark wood or switching to lighter colors.
Here are the most reliable stain blocking primers for cabinet work:
• Zinsser BIN Shellac Primer – Fast drying formula (20 minutes touch dry, 45 minutes recoat) with superior adhesion and the strongest stain blocking performance. Works on severe nicotine stains, water damage, wood knots, and tannin heavy species. Requires denatured alcohol cleanup.
• Zinsser Cover Stain Oil Based – Heavy duty stain blocker with excellent adhesion to glossy surfaces. Longer dry time (24 hours before sanding) and stronger odor than shellac, but creates durable moisture barrier. Use paint thinner for cleanup.
• Kilz Original Oil Based – Budget friendly option for moderate stain blocking. Good adhesion and sealing properties, but not as effective on severe stains as BIN or Cover Stain. Standard 24 hour dry time.
• Kilz Max Water Based – Lower odor alternative with decent stain blocking for previously painted cabinets without severe issues. Faster cleanup with soap and water, but weaker performance on raw wood tannins.
• Benjamin Moore Fresh Start Multi Purpose Primer – Water based formula suitable for painted surfaces in good condition. Minimal stain blocking compared to shellac or oil options, but works for light refreshing projects.
Oil based primers bond aggressively to slick, lacquered cabinet finishes and seal moisture effectively. Shellac based formulas block the most severe stains (wood tannins, nicotine, water damage) better than any other type. Water based stain blockers work for lighter jobs but can’t match the sealing power of oil or shellac when dealing with oak tannins or deep discoloration.
Fast drying matters when you’re working through an entire kitchen. BIN Shellac dries so quickly that your first cabinet door is ready for a second coat before you finish priming the last door in an average sized kitchen. That 20 minute touch dry, 45 minute recoat window means same day project completion instead of waiting overnight between coats.
Oil Based vs Water Based vs Shellac Stain Blocking Primers
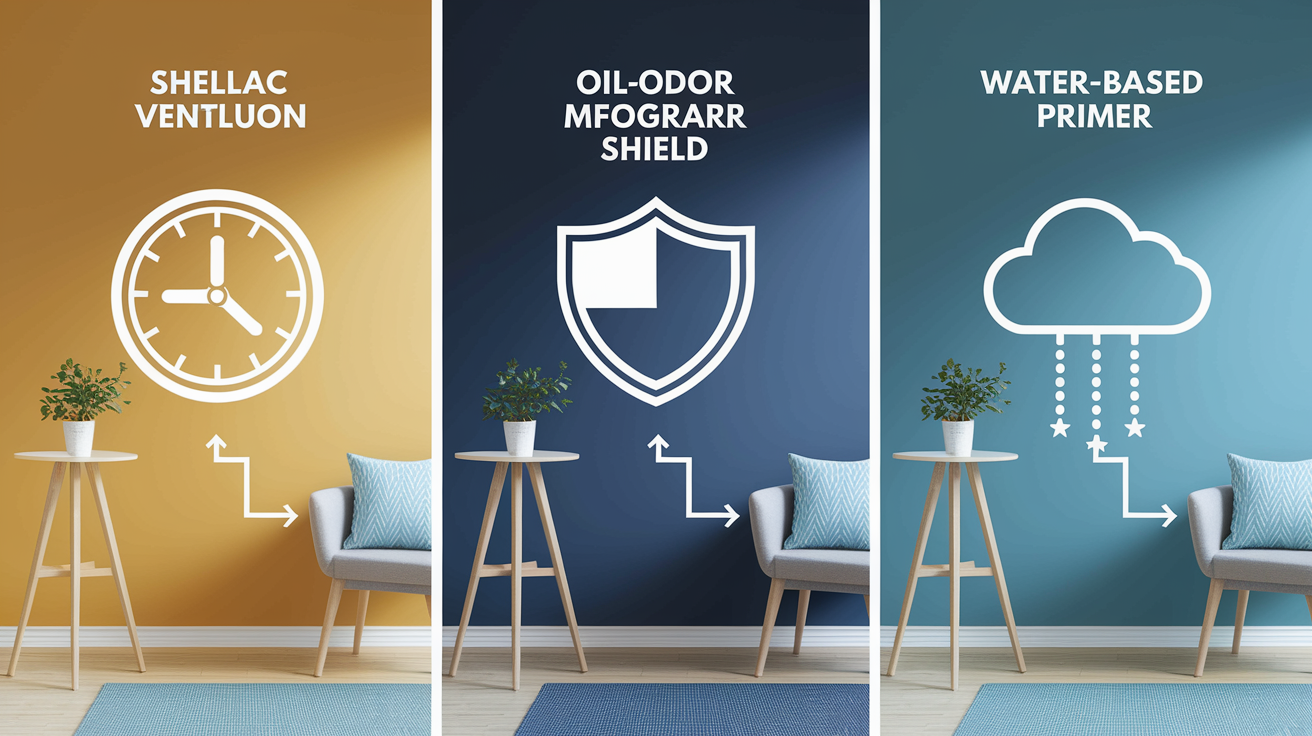
Understanding the three primer categories helps you match the formula to your project conditions. Ventilation setup, timeline, stain severity, and surface type all affect which primer delivers the best results.
Shellac Based Cabinet Primers
Shellac primers dry faster than anything else you can roll on cabinets. Touch dry in 20 minutes, ready for the next coat in 45 minutes. This speed lets you prime every door and drawer front in a typical kitchen and start topcoating the same day.
Stain blocking performance beats oil based and water based formulas on tough problems. Shellac seals wood tannins from oak and pine that cause yellowing, locks down nicotine stains, and stops water damage from bleeding through topcoats. If you’re painting over dark wood knots or severe discoloration, shellac is the reliable choice.
The tradeoff is strong odor and denatured alcohol cleanup. You need real ventilation. Open windows, fans, respirator with organic vapor cartridges. Brushes and rollers either get cleaned with denatured alcohol, ammonia water mix, or TSP solution, or you toss them after use. Many painters just use disposable application tools with shellac to skip cleanup entirely.
Oil Based Stain Blocking Formulas
Oil based primers grip glossy, lacquered cabinet surfaces better than water based products. That aggressive adhesion matters when you’re painting over factory finishes that were designed to resist everything.
Dry time runs at least 24 hours before you can sand or recoat. If you’re working in humid conditions or cool temperatures, add another 12 hours to be safe. The wait extends project timelines, but the payoff is a durable moisture barrier that protects cabinets in kitchens and bathrooms where humidity and grease are constant.
High VOC content means serious ventilation requirements and respirator use during application. The odor is strong. Not as sharp as shellac but more lingering. Cleanup requires paint thinner or mineral spirits, and proper disposal of solvent soaked materials in sealed metal containers.
Water Based Stain Blocking Options
Water based stain blockers offer lower odor and VOC levels, making them workable in spaces where ventilation is limited. Touch dry in 1 to 2 hours, recoat in 4 hours. Cleanup with soap and water is straightforward.
Adhesion on previously painted cabinets in decent condition is good enough for most repainting projects. If you’re not dealing with severe stain problems (just refreshing white cabinets or repainting a color that’s already been sealed), water based primers save you from solvent headaches.
The limitation shows up on bare wood with tannins, deep water stains, nicotine damage, or when switching from dark to light colors. Water based formulas don’t seal as aggressively as oil or shellac. You’ll see bleed through on problem areas that shellac would have locked down completely.
Choose based on what you’re actually facing. Shellac if you have severe staining, tight timelines, and can manage ventilation. Oil based if you need maximum adhesion to glossy surfaces and moisture protection. Water based if you’re repainting over sealed surfaces without major stain issues and want easier cleanup.
Identifying When Cabinets Need Stain Blocking vs Regular Primer
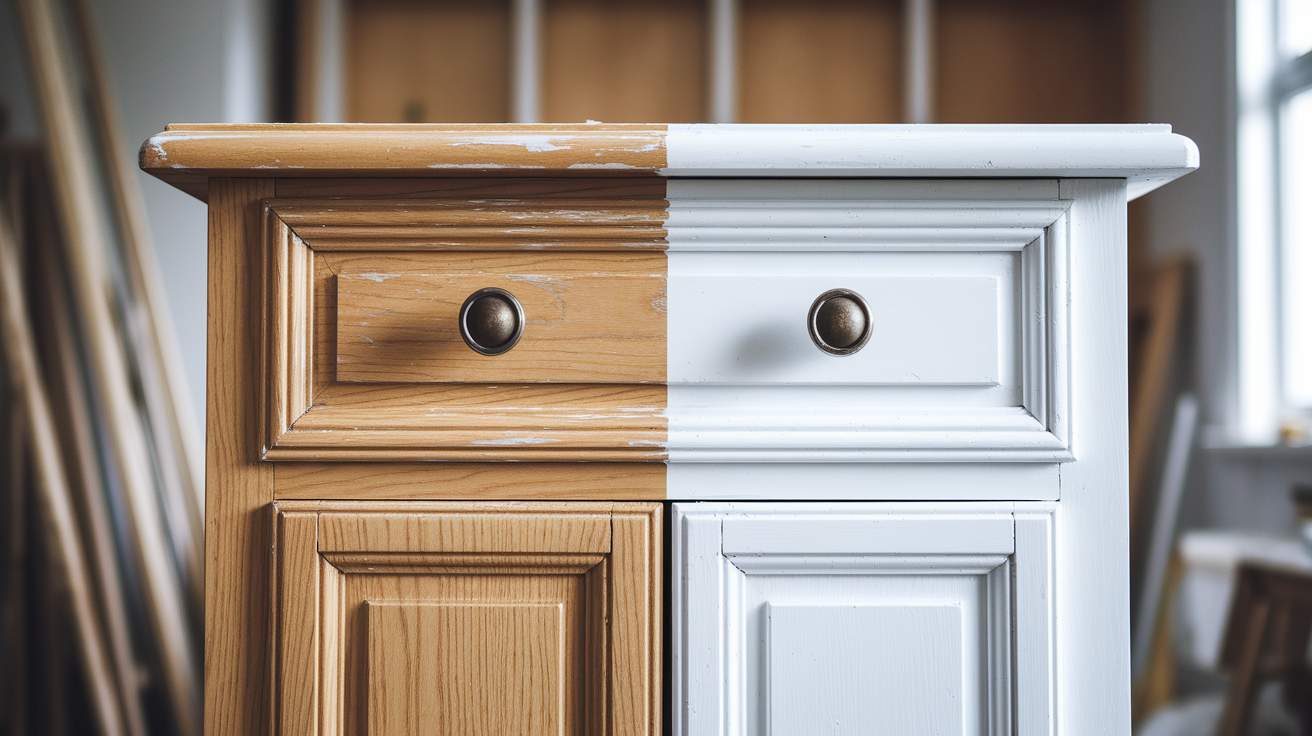
Not every cabinet job requires the aggressive sealing power of stain blocking primers. Knowing when you need specialty formulas versus standard primers saves money and prevents bleed through problems after you’ve already applied topcoats.
| Situation | Primer Type Needed |
|---|---|
| Existing water stains or rings | Stain blocking primer (shellac or oil based) |
| Heavy grease buildup around handles | Stain blocking primer after thorough cleaning |
| Oak, pine, or other dark wood species | Stain blocking primer to seal tannins |
| Smoke or nicotine damage | Shellac based stain blocker (strongest sealing) |
| Knotty wood with visible resin | Stain blocking primer (shellac recommended) |
| Changing from dark to light colors | Stain blocking primer to prevent show through |
| Bare wood with visible tannins | Stain blocking primer (shellac or oil based) |
| Previously painted, no visible stains | Standard primer acceptable |
| Severe nicotine staining (yellow/brown) | Shellac primer, possibly multiple coats |
| Deep water damage with discoloration | Stain blocking primer, test after first coat |
Wood species like oak and pine contain tannins. Natural compounds that leach out over time and cause yellowing, especially under light colored topcoats. Tannins dissolve in water, which is why water based primers often activate them and make the problem worse. Stain blocking primers work by creating a chemical barrier that locks tannins beneath a sealed layer. Shellac and oil based formulas don’t allow tannin migration, preventing the yellow brown discoloration that ruins white and light colored cabinet finishes.
Grease stains, smoke damage, and nicotine accumulation penetrate into wood grain and won’t sand out. Regular primer sits on top but doesn’t seal these contaminants. Within weeks, oils and residues migrate through standard primer and topcoat, appearing as dark spots or yellowing. Stain blocking formulas contain resins that encapsulate these substances and prevent them from traveling to the surface. This sealing property is particularly critical when painting cabinets lighter colors where any bleed through shows immediately.
Some situations require multiple primer coats even with stain blocking formulas. Heavy nicotine staining (the kind that leaves sticky brown residue on walls) often shows faint yellowing through a single primer coat. Deep water damage that’s turned wood dark brown or black may also require spot priming with additional coats on affected areas. Painting very dark cabinets (espresso, black, deep cherry) to white or light colors often needs two stain blocking primer coats to achieve uniform coverage without shadows from the underlying color. Spot priming lets you apply extra coats only where problems exist rather than adding material and time to the entire project.
Test primer effectiveness by letting the first coat dry completely. 24 hours for oil based, 45 minutes for shellac. Look at the surface under good lighting. Any stain show through appears as yellowing, dark spots, or color variations. If you see problems, apply additional primer coats or switch to a stronger formula before topcoating.
Cabinet Surface Preparation Before Applying Primer
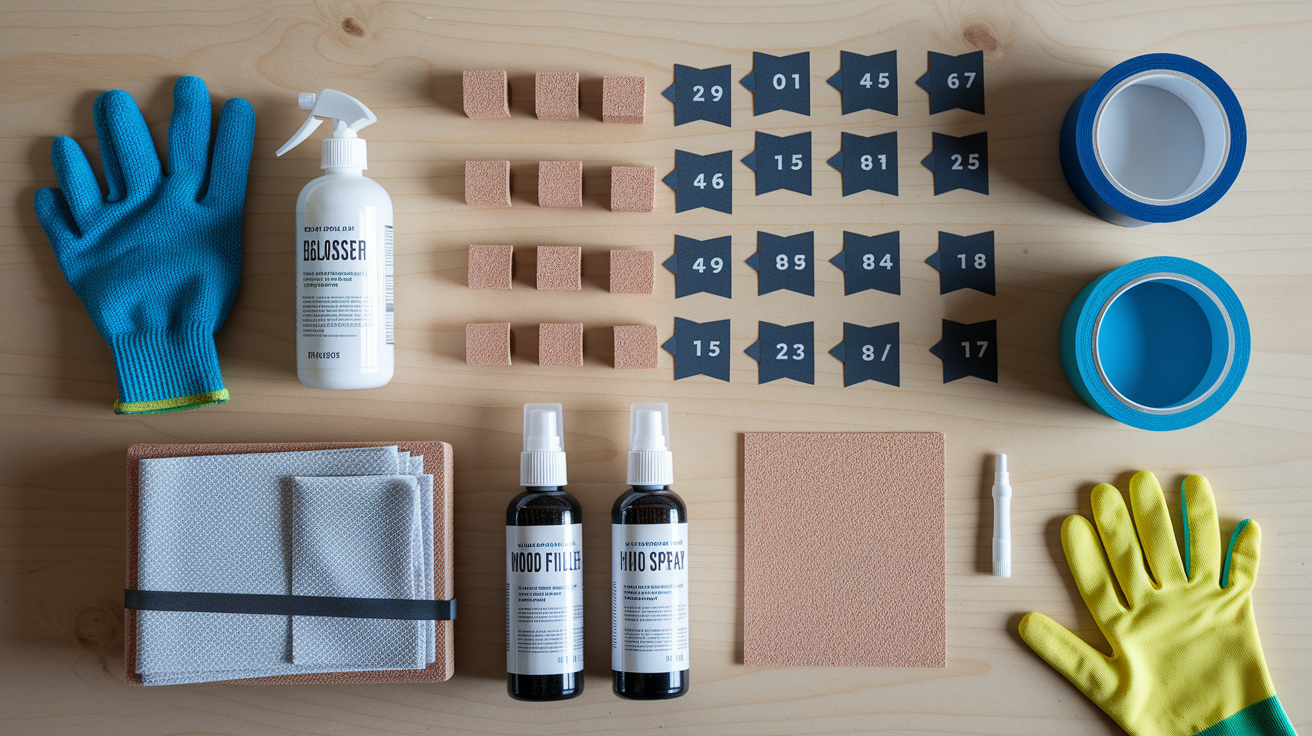
Primer only bonds to what it contacts. Contaminated surfaces (grease, oil, wax, silicone) create invisible barriers that cause adhesion failure weeks or months after you finish the project.
Here’s the complete preparation sequence:
-
Remove all hardware and label cabinet doors with numbered tape so you know where each one goes back. This prevents mismatched gaps and uneven reveals when reinstalling.
-
Clean thoroughly with soap and water for light grime, or use a heavy duty cleaner like Krud Kutter for grease buildup around handles and near the stove. Let surfaces dry completely.
-
Fill holes from old hardware with wood filler or spackling compound. Let dry, then sand flush with surrounding surface.
-
Sand or degloss to create mechanical grip for primer. Use 220 grit sandpaper with light pressure, or apply liquid deglosser on glossy surfaces.
-
Remove all dust with a tack cloth after sanding. Dust contamination creates a rough primer surface and interferes with adhesion.
-
Inspect for remaining stains that need spot treatment. Mark these areas so you remember to watch them after primer dries.
-
Final surface check for grease, oils, or cleaning residue that could repel primer. Wipe again if needed.
Choosing between 220 grit sanding and liquid deglosser depends on surface condition and your tolerance for dust. Sanding works on any surface but creates mess and requires dust cleanup. Liquid deglosser (also called liquid sander) chemically etches glossy finishes without abrasion. Products like Rustoleum liquid sander provide excellent adhesion to glossy surfaces according to technical data sheets, eliminating mechanical sanding entirely. Use deglosser on intricate trim details where sanding is tedious, or when you can’t manage sanding dust containment. Stick with 220 grit sandpaper on flat surfaces, bare wood, or when you need to smooth imperfections rather than just roughen for adhesion. Laminate and melamine surfaces work better with deglosser since their hard, smooth finish resists sandpaper without aggressive pressure.
Thorough cleaning before any sanding or priming makes the difference between primer that sticks and primer that peels. Grease buildup around handles (the spot everyone touches dozens of times daily) creates a release layer that prevents primer adhesion. Even if the cabinet looks clean, hand oils, cooking grease, and cleaning product residue accumulate over years of use. Products like Krud Kutter or TSP solution cut through this contamination. Rinse well after using strong cleaners, because residue from the cleaner itself can interfere with primer adhesion.
Application Methods for Cabinet Primer Coverage
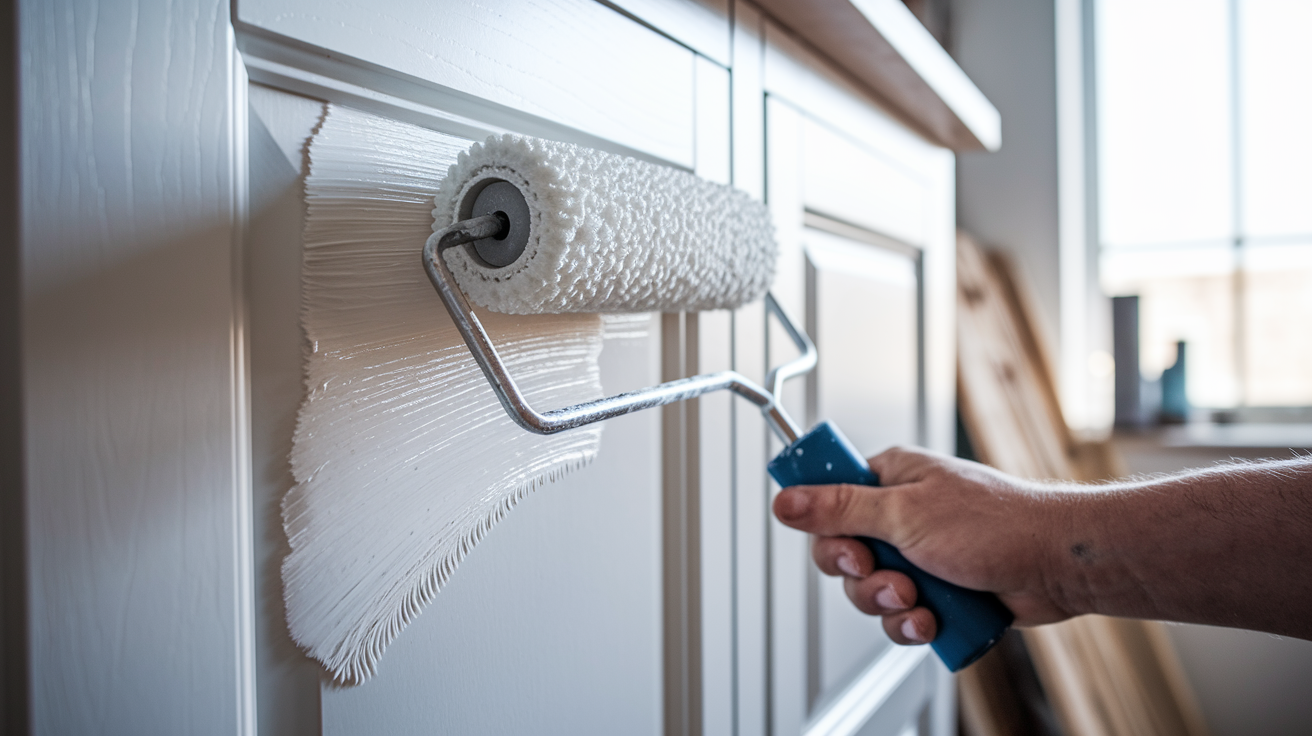
How you apply primer affects finish quality, material waste, and whether you spend two hours on the job or six.
Application method comparison:
• Spray equipment – Fastest application, thinnest coats, most professional looking finish. Requires spray gun, compressor or HVLP system, proper technique to avoid runs, and extensive masking. Best for large cabinet jobs or when you already own equipment.
• Foam roller – Avoid with fast drying primers like shellac. The primer’s sticky consistency tears foam apart before you finish a single door. Foam works acceptably with slow drying water based primers.
• Microfiber roller – Recommended for most DIY projects. Creates smooth finish without spray equipment. Works with all primer types including fast drying shellac. Use 4 inch rollers for cabinet doors and frames.
• Brush application – Best for detailed areas, edges, and inside corners where rollers can’t reach. Use quality synthetic brushes for water based primers, natural bristle for oil based. Necessary for touch ups regardless of main application method.
Applying primer thin (barely enough to cover the surface) reduces drips and speeds drying. Thick primer coats look like better coverage initially but create runs on vertical surfaces and take longer to dry and sand. This matters particularly with shellac primers that dry in 20 minutes when applied thin but can stay tacky for hours if applied heavy. Roll or brush in one direction, then lightly cross stroke to level the finish. Don’t overwork fast drying primers or you’ll create drag marks and texture.
Coverage rates for shellac primers run lower than other types. Typically 250 to 300 square feet per gallon versus 350 to 400 for oil based or water based formulas. This affects material costs for large cabinet projects. A gallon of shellac primer that costs more per unit may only cover 12 to 15 cabinet doors depending on size, while a gallon of oil based primer covers 16 to 20 doors. Calculate total door and frame square footage, divide by the primer’s stated coverage rate, then add 15 to 20% for waste and application overlap.
Single primer coats work for most previously painted cabinets or sealed wood. Raw MDF benefits from two coats because the porous surface absorbs the first application heavily, leaving insufficient build for smooth topcoat application. Bare wood with heavy tannins (oak, pine, cherry) may also need a second coat if any yellowing shows through after the first coat dries. Check coverage after the first coat dries completely. If you see substrate color variations or stain show through, apply a second coat before topcoating.
Priming Different Cabinet Materials for Best Results

Cabinet construction varies more than most DIYers realize. The primer that works perfectly on solid wood doors fails on laminate, and what seals MDF causes problems on thermofoil.
| Cabinet Material | Recommended Primer Type | Special Considerations |
|---|---|---|
| Solid wood (oak, maple, pine) | Shellac or oil based stain blocker | Blocks tannins, seals knots, prevents yellowing |
| Laminate/melamine | Oil based or shellac only | Water based won’t adhere to slick surface |
| Thermofoil | Oil based or shellac after deglossing | Must roughen plastic surface for mechanical grip |
| MDF (medium density fiberboard) | Oil based or shellac, two coats | Absorbs first coat heavily, avoid water based |
| Particle board | Oil based or shellac, seal edges thoroughly | Edges absorb moisture, swell easily |
| Wood veneer | Shellac or oil based stain blocker | Thin veneer shows substrate through light coats |
| Previously painted cabinets | Match to condition (stain blocker if problems exist) | Test adhesion on hidden area first |
Tannin rich woods (oak, pine, cherry, walnut) absolutely require stain blocking primers when painting lighter colors. These species contain high levels of natural compounds that dissolve and migrate through standard primers and topcoats. Oak is particularly problematic because its open grain structure holds tannins deep within the wood that continue leaching for years. Pine knots contain concentrated resin that melts under heat and pushes through paint films. Shellac based primers create the strongest barrier against tannin migration, making them the first choice for bare oak cabinets being painted white or light colors.
Non porous surfaces (laminate, melamine, thermofoil) need primers that bond through chemical adhesion rather than absorption. Water based primers sit on top of these slick surfaces without penetrating, creating weak bonds that peel under normal cabinet use. Oil based and shellac primers contain solvents and resins that grip slick surfaces mechanically after chemical etching. This is why IKEA furniture and other laminate cabinets require oil based or shellac primer regardless of the topcoat choice. Even with proper primer, deglossing or light sanding improves initial adhesion by creating microscopic texture for the primer to grip.
Raw MDF absorbs primer like a sponge. The first coat soaks into the compressed wood fibers, leaving minimal surface build. A second primer coat fills this absorbed layer and creates the smooth, sealed surface needed for topcoat application. Water based primers raise MDF grain as the fibers absorb moisture and swell, creating a fuzzy texture that requires aggressive sanding to smooth. Stick with oil based or shellac primers on raw MDF to avoid this problem entirely. Pay special attention to MDF edges. They’re even more absorbent than faces and need thorough sealing to prevent moisture damage.
Sanding and Surface Smoothing Between Primer Coats

Proper inter coat sanding removes imperfections while creating the ideal surface for subsequent layers. This step separates acceptable cabinet finishes from professional results.
Start sanding after the primer fully dries. 45 minutes for shellac, 24 hours for oil based, 4 hours for water based. Use 220 grit or finer sandpaper with light pressure. Heavy sanding cuts through primer to the substrate, creating uneven topcoat absorption and color variations. Work in consistent strokes following the grain direction on wood or the door’s length on manufactured materials.
Shellac primers sand easily with minimal effort. The dried film smooths quickly, and drips or brush marks disappear with a few light passes. Oil based primers require full cure for easiest sanding. Wait the full 24 hours even though the surface feels dry earlier. Partially cured oil primer clogs sandpaper and creates gummy residue. If you’re working in cool or humid conditions, add 12 more hours before sanding oil based primers.
Check surface quality after sanding by looking across the surface at an angle under good lighting. You’ll see remaining imperfections (scratches, brush marks, dust nibs, or thin spots) that need attention. Small imperfections filled by the primer itself often disappear after sanding, which is one reason primer improves finished quality beyond just adhesion and stain blocking. After identifying problem areas, determine whether spot sanding fixes them or if you need another full primer coat before proceeding.
Clean all sanding dust with a tack cloth before applying additional primer coats or topcoat. Dust contamination creates texture in the next layer and prevents smooth adhesion. Don’t use regular rags or paper towels. They spread dust around rather than capturing it. Tack cloths use slightly sticky resin to grab particles without leaving residue.
Avoid cutting through primer to the substrate. If you see bare wood or substrate color showing through, you’ve sanded too aggressively. These thin spots absorb topcoat paint differently than primed areas, creating visible color variations even after multiple finish coats. Spot prime these areas and let them dry before proceeding.
Topcoat Paint Compatibility with Stain Blocking Primers
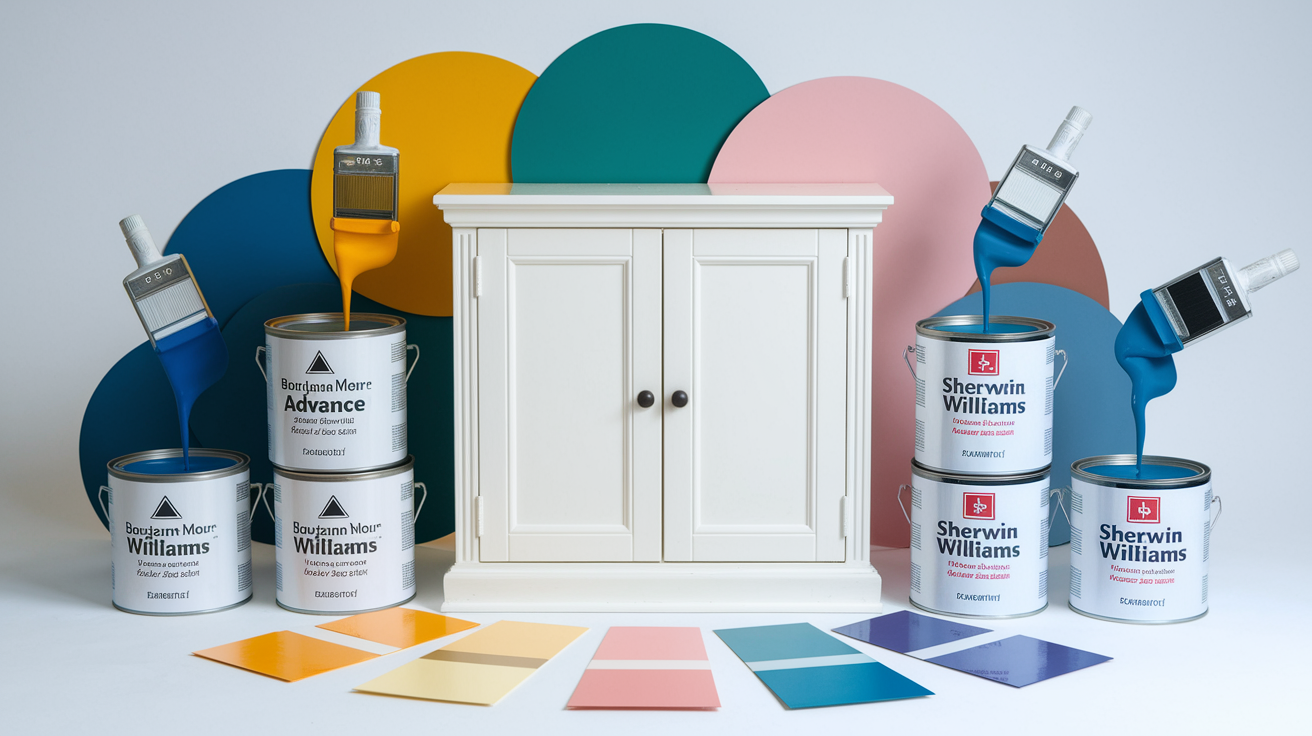
All stain blocking primers (shellac, oil based, water based) accept both latex and oil based topcoats. The primer creates a compatible surface regardless of its own formula base.
Recommended topcoat paints for cabinets:
• Water based enamel (Benjamin Moore Advance) – Self leveling formula that dries to hard, smooth finish. Minimum 16 hours between coats. Lower odor than oil based options. Excellent durability for kitchen cabinets.
• Urethane enamel (Sherwin Williams) – Water based formula with urethane resins for extra hardness. Resists scratches and chemical damage better than standard latex. Requires proper cure time for full performance.
• Acrylic latex (budget friendly option) – Acceptable for low use cabinets or rental properties. Won’t match enamel durability but costs significantly less. Works over any properly primed surface.
• Oil based enamel (traditional choice) – Hardest, smoothest finish available. Long dry times (24 hours between coats) and strong odor during application and cure. Increasingly difficult to find due to VOC regulations.
Properly applied stain blocking primer reduces topcoat requirements from three or more coats down to two. The primer seals the substrate uniformly, eliminating absorption variations that cause uneven color coverage. Without primer, bare wood or porous surfaces soak up the first coat unevenly, showing light and dark areas that require additional coats to level out. Stain blocking primers also prevent dark substrates from showing through light topcoats, which would otherwise require three or four finish coats to achieve solid color coverage.
Allow proper cure time between primer and topcoat according to product specifications. 45 minutes minimum for shellac, 24 hours for oil based, 4 hours for water based primers. Applying topcoat over incompletely dried primer can cause adhesion problems or prevent proper curing. Enamel topcoats require extended cure periods for full hardness. Typically one week before normal cabinet use, with full chemical resistance developing over 3 to 4 weeks. During this cure period, avoid harsh cleaners and heavy use around hinges and handles where incomplete cure shows as marks or damage.
Safety, Ventilation, and Cleanup for Cabinet Primer Work
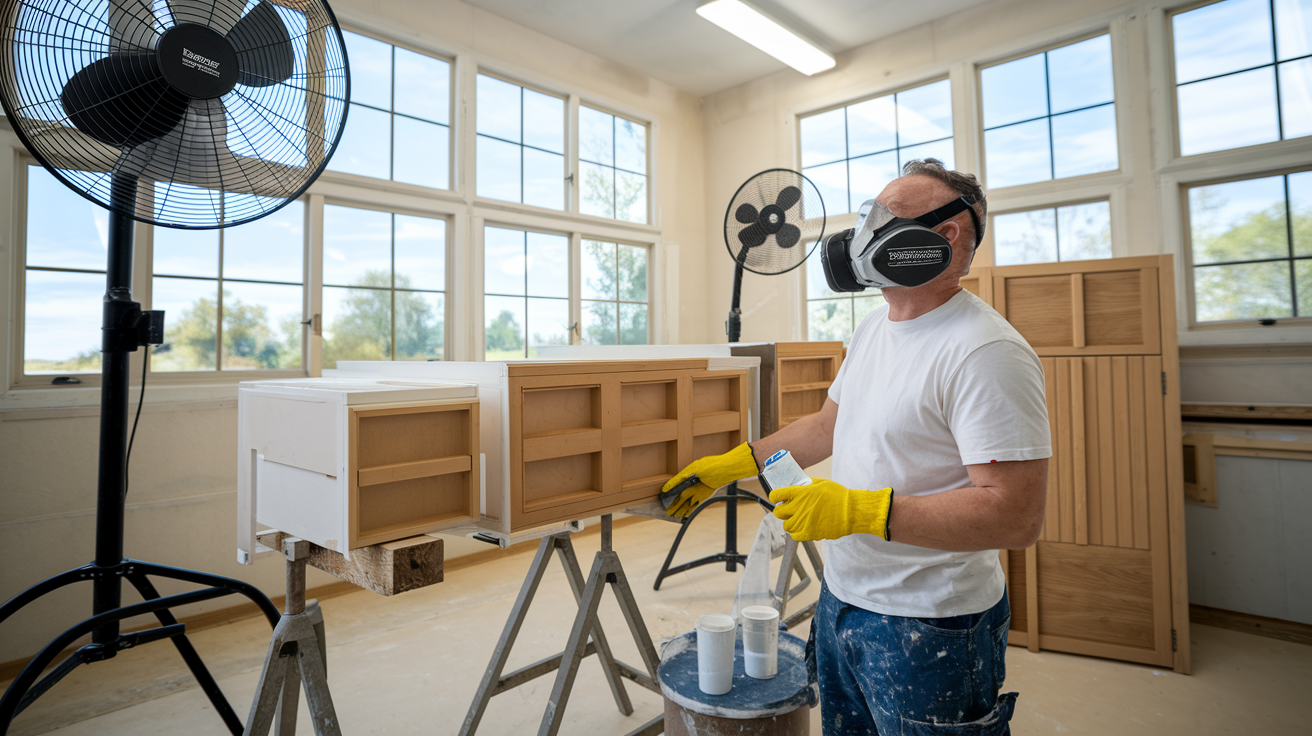
Stain blocking primers contain solvents that require safety precautions beyond standard paint handling.
Essential safety equipment and practices:
• Respirator with organic vapor cartridges – Not a dust mask. Regular dust masks don’t filter solvent vapors. Use a half face respirator with replaceable cartridges rated for organic vapors.
• Cross ventilation with fans – Open windows on opposite sides of the work area and use box fans to move air through. Create positive airflow that pushes fumes outside rather than recirculating them.
• Eye protection – Safety glasses or goggles prevent primer splash from reaching eyes. Shellac and oil based primers cause severe irritation on contact.
• Gloves (nitrile for shellac/oil primers) – Latex gloves dissolve in the solvents used in shellac and oil based formulas. Use nitrile gloves rated for chemical resistance.
• Keep children and pets away – Fumes concentrate near floor level where children and pets breathe. Restrict access during application and drying periods.
• Recognize solvent exposure symptoms – Dizziness, headache, nausea, or coordination problems indicate overexposure. Leave the area immediately and get fresh air.
Cleanup requirements vary by primer type. Shellac primers clean up with denatured alcohol, ammonia water solution (1 cup ammonia per gallon water), or TSP (trisodium phosphate) solution. Pour cleaning solvent into a container, work the brush or roller in the solution, then squeeze out dissolved primer. Repeat until the tool runs clean. Oil based primers require paint thinner or mineral spirits using the same process. Work the tool in solvent, squeeze out dissolved primer, repeat until clean. Water based stain blockers clean with soap and water, making them the simplest option for tool maintenance.
Dispose of solvent soaked materials properly. Rags, paper towels, or roller covers saturated with oil based or shellac primers can spontaneously combust as solvents evaporate and generate heat. Place these materials in a sealed metal container filled with water, then dispose according to local hazardous waste regulations. Don’t leave solvent soaked materials in trash cans or garages where they can ignite.
Store opened primer cans with proper sealing to prevent drying and maintain effectiveness. Press plastic wrap directly onto the primer surface before replacing the lid to minimize air contact. Tap the lid firmly around the entire perimeter with a rubber mallet. Don’t hammer on the center, which dents the lid and prevents proper sealing. Shellac primers have shorter shelf life than other types (6 to 12 months) because the resin gradually hardens even in sealed containers.
Disposable application tools make sense for shellac and oil based primers when cleanup solvent costs exceed brush and roller prices. Chip brushes and disposable foam trays cost less than the denatured alcohol or paint thinner needed to clean quality brushes and rollers. Save cleanup effort and solvent handling for situations where you’re using expensive application tools worth preserving.
Cost Analysis and Coverage Rates for Cabinet Primers

Understanding true primer costs requires looking beyond the price per gallon to coverage rates and their effect on topcoat requirements.
| Primer Type | Coverage per Gallon | Approximate Cost per Gallon | Best Value For |
|---|---|---|---|
| Shellac based (BIN) | 250 to 300 sq ft | $45 to $55 | Severe stain problems, fast timelines |
| Oil based premium (Cover Stain) | 350 to 400 sq ft | $35 to $45 | Glossy surfaces, moisture prone areas |
| Oil based standard (Kilz Original) | 350 to 400 sq ft | $25 to $35 | Moderate stain blocking on budget |
| Water based stain blocking | 350 to 400 sq ft | $30 to $40 | Previously painted surfaces, low odor needed |
Lower coverage rates for shellac primers increase material costs. That gallon of BIN that covers 250 square feet costs more upfront than oil based primer covering 400 square feet. But shellac’s 45 minute recoat time means you complete priming in hours instead of days. If you’re paying yourself or a contractor by time rather than materials, faster drying saves more money than the reduced coverage costs. A kitchen that takes two days with oil based primer (application day one, sanding and topcoat day two) compresses to same day completion with shellac.
Effective stain blocking reduces topcoat requirements from three or more coats to two coats. The primer seals substrate variations and prevents show through, so your first topcoat covers uniformly rather than showing light and dark patches that require additional coats. This reduction matters more than primer cost differences. A gallon of quality enamel topcoat costs $50 to $70. Eliminating one topcoat application saves enough on topcoat paint to offset higher primer costs, while also reducing labor time by a full application cycle (brushing/rolling, drying, and sanding).
Calculate material needs by measuring cabinet surface area. Multiply door height by width for each door and drawer front. Measure cabinet face frames by linear footage times height. Add these together for total square footage, divide by the primer’s stated coverage rate, then add 15 to 20% for application waste. Waste accounts for material left in the roller tray, primer absorbed by new rollers, edge overlap, and the amount remaining in the can that won’t pour out cleanly.
Troubleshooting Common Cabinet Primer Problems
Even experienced painters encounter primer challenges. Knowing how to identify and correct problems before topcoating saves complete project restarts.
| Problem | Solution |
|---|---|
| Stains bleeding through primer | Apply additional primer coat or switch to shellac formula |
| Poor adhesion/peeling | Strip and restart with proper surface prep and deglossing |
| Visible brush marks | Sand smooth after drying, apply thinner coats |
| Drips and runs | Sand drips after drying, apply thinner coats on vertical surfaces |
| Uneven coverage | Apply second primer coat after first dries completely |
| Primer yellowing | Switch to shellac or oil based formula, avoid water based on tannin rich wood |
| Rough texture after drying | Sand with 220 grit, clean surface before priming, check for contamination |
| Primer not drying properly | Increase ventilation, check temperature (must be above 50°F), avoid thick application |
Bleed through issues require immediate attention before topcoating. Severe stains may show faint yellowing or discoloration even through stain blocking primer. This happens with heavy nicotine damage, deep water stains, or extremely dark wood being painted light colors. Apply additional primer coats only to problem areas rather than repriming the entire project. If oil based primer isn’t blocking adequately, switch to shellac based formula for affected areas. Shellac blocks more aggressively than oil based products.
Wait for full primer drying before assessing bleed through. What looks like a visible stain through wet primer often disappears as the product dries and develops full opacity. Check under good lighting 24 hours after application for oil based primers, 45 minutes for shellac. If you see yellowing or dark spots at this point, they’ll show through topcoats.
Adhesion problems trace back to inadequate surface preparation almost every time. Primer that peels or chips off indicates contamination from oils, wax, silicone, or cleaning product residue that prevented bonding. Temperature during application also affects adhesion. Primers applied below 50°F don’t cure properly and remain weak. Strip failed primer back to the substrate, clean thoroughly with denatured alcohol to remove all contaminants, then reprime with proper surface prep.
When to strip and restart: if primer is peeling in multiple areas, if severe stains continue bleeding through multiple primer coats, or if contamination is widespread. When problems can be corrected: isolated peeling spots (scrape and spot prime), limited bleed through areas (spot prime with additional coats), rough texture (sand smooth and recoat), or single application defects like drips or sags (sand and smooth).
Long Term Durability and Maintenance of Primed Cabinets
Proper primer application extends cabinet life by protecting the substrate from moisture, preventing stain migration, and creating a durable base for topcoat adhesion.
Stain blocking primer creates a moisture barrier that protects cabinet substrates in humid kitchen and bathroom environments. This barrier prevents water penetration around sinks, dishwashers, and high splash areas where moisture exposure is constant. Without primer sealing, water slowly penetrates topcoat paint and reaches MDF, particle board, or wood substrates, causing swelling, delamination, and eventual structural failure. The primer’s sealing layer stops moisture at the surface rather than allowing it to migrate into the substrate. This protection matters most at cabinet bottoms near sinks and around plumbing penetrations where water contact is frequent.
Maintenance practices preserve primed and painted cabinets through years of use. Clean with gentle methods. Soft cloths and mild soap solution rather than abrasive cleaners that wear through topcoats. Wipe up spills immediately, especially near the stove where grease and food acids concentrate. Address chips and scratches with touch up procedures when they occur rather than letting them expand. Sand damaged areas lightly with 220 grit sandpaper, spot prime if bare substrate is exposed, then apply matching topcoat. Properly primed cabinets last 8 to 15 years depending on use intensity. Heavy use kitchens with multiple daily users wear faster than guest bathroom vanities or secondary kitchens.
High traffic areas around handles show the primer topcoat system’s value over time. Hand oils, cleaning products, and repeated
Final Words
The right stain blocking primer for cabinets makes the difference between paint that lasts and paint that fails in a year.
Match your primer type to your cabinet material, existing stains, and ventilation setup. Shellac works fast for severe tannin problems. Oil-based handles glossy surfaces and moisture exposure. Water-based keeps the air breathable.
Prep matters more than the product name. Clean thoroughly, sand or degloss properly, and let each coat cure before moving forward.
Your cabinets will hold up if the foundation does.
FAQ
Q: What’s the best primer for stained cabinets?
A: The best primer for stained cabinets is Zinsser BIN Shellac Primer because it blocks wood tannins, grease stains, and water marks that bleed through paint. It dries in 20 minutes and bonds to glossy surfaces without heavy sanding.
Q: Does stain-blocking primer work?
A: Stain-blocking primer works by creating a sealed barrier that prevents tannins, grease, nicotine, and water stains from bleeding through topcoat paint. Shellac and oil-based formulas provide the strongest protection against severe cabinet staining.
Q: What is the best stain-blocking primer?
A: The best stain-blocking primer is Zinsser BIN Shellac for severe stains and fast project completion, or Zinsser Cover Stain oil-based for maximum adhesion to glossy cabinet finishes. Both block tannins and prevent bleed-through better than water-based options.
Q: Does Sherwin Williams have a stain-blocking primer?
A: Sherwin Williams offers stain-blocking primers suitable for cabinets, though Zinsser BIN Shellac and Kilz products are more commonly recommended by professionals for cabinet work. Check with local Sherwin Williams stores for their current cabinet primer lineup.
Q: When do cabinets need stain-blocking primer instead of regular primer?
A: Cabinets need stain-blocking primer when dealing with grease buildup, smoke damage, water stains, dark wood species like oak, or when painting from dark to light colors. Regular primer works fine for previously painted surfaces without staining issues.
Q: Can you use water-based paint over oil-based stain-blocking primer?
A: You can use water-based paint over oil-based stain-blocking primer once the primer fully dries. Oil-based and shellac primers accept both latex and oil-based topcoats, making them compatible with enamel cabinet paints like Benjamin Moore Advance.
Q: How many coats of stain-blocking primer do cabinets need?
A: Cabinets typically need one coat of stain-blocking primer before painting, though raw MDF benefits from two coats. Heavy nicotine staining, deep water damage, or very dark cabinets being painted white may require spot-priming or additional full coats.
Q: What grit sandpaper should you use between primer coats on cabinets?
A: You should use 220-grit sandpaper or higher between primer coats on cabinets to smooth drips and brush marks without cutting through to the substrate. Light pressure and consistent direction prevent uneven topcoat absorption and color variations.
Q: How do you clean up shellac-based cabinet primer?
A: You clean up shellac-based cabinet primer using denatured alcohol, an ammonia-water mixture, or TSP solution. Because shellac primer dries extremely fast, many people choose to discard disposable brushes and rollers instead of cleaning them.
Q: Why does primer prevent stains from bleeding through cabinet paint?
A: Primer prevents stains from bleeding through cabinet paint by chemically sealing wood tannins, grease, and discoloration beneath a barrier layer. Shellac and oil-based formulas block these substances more effectively than water-based primers.
Q: Do laminate cabinets require special stain-blocking primer?
A: Laminate cabinets require oil-based or shellac stain-blocking primer because water-based products won’t adhere properly to non-porous surfaces. These strong-bonding primers ensure paint stays attached to laminate, melamine, and thermofoil cabinet materials.
Q: How long does cabinet primer need to dry before sanding?
A: Cabinet primer needs 20 minutes to touch-dry and 45 minutes before recoating when using shellac-based products like BIN. Oil-based primers require at least 24 hours before sanding or applying additional coats.
Q: Should you spray or roll stain-blocking primer on cabinets?
A: You should roll stain-blocking primer on cabinets using microfiber rollers for most DIY projects, avoiding foam rollers that tear with fast-drying formulas. Spraying provides the smoothest finish but requires more equipment and ventilation.
Q: What safety equipment do you need when priming cabinets?
A: You need a respirator with organic vapor cartridges, nitrile gloves, eye protection, and cross-ventilation when priming cabinets with shellac or oil-based products. Dust masks don’t filter solvent vapors from high-VOC stain-blocking primers.