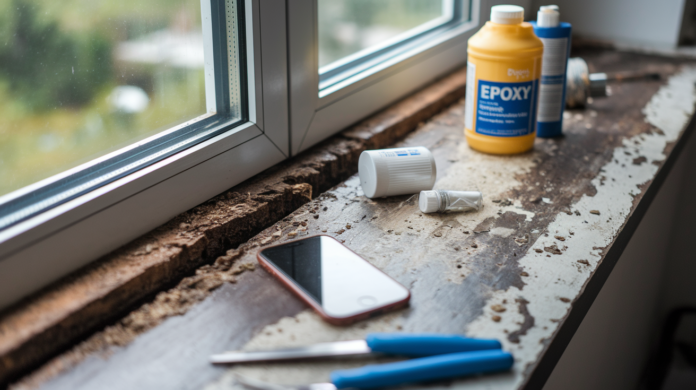

Most weekend warriors think rotted window sills mean full replacement and a hefty carpenter’s bill. Wrong. If you’ve still got solid wood underneath the damage, epoxy consolidant and filler can rebuild that sill to original strength for under fifty bucks and an afternoon of work. The trick is catching it early, prepping the surface right, and understanding that epoxy bonds permanently only to clean, dry wood. Skip the prep and you’re looking at repairs that pop out in six months.
Complete Step-By-Step Window Sill Epoxy Restoration Process
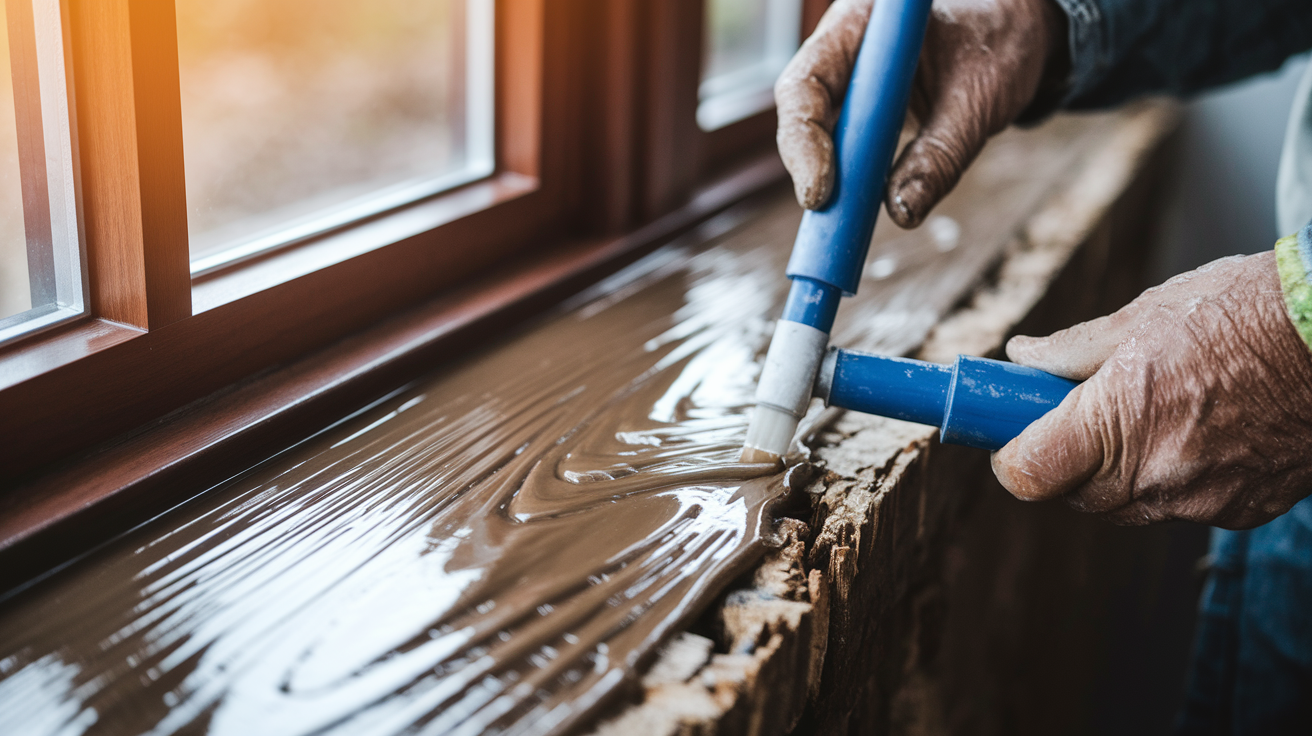
Epoxy restoration gives you a permanent fix that costs way less than tearing out and replacing the whole sill. You’re rebuilding damaged wood back to original strength with a two-part system that soaks in and fills everything in one session. This works for surface rot and moderate damage where you’ve still got solid structure underneath.
Materials and Tools You’ll Need:
• Liquid epoxy consolidant (LiquidWood or equivalent)
• Two-part paste epoxy filler (WoodEpox or equivalent)
• Awl or 5-in-1 scraper tool
• Paint scraper
• TSP-moistened rag
• Glue brush for consolidant application
• Plastic putty knife
• Small mixing containers
• Shop vacuum
• Safety glasses and nitrile gloves
• Acetone for cleanup
• 80-grit, 120-grit, and 220-grit sandpaper
• Exterior primer and paint
Complete Repair Sequence:
-
Grab a screwdriver or awl and poke around the sill. Find all the soft, spongy spots that tell you rot’s taken hold.
-
Scrape off loose or flaking paint with your scraper. Go about 2 inches past anything that looks damaged.
-
Wipe down the exposed wood with your TSP rag to get rid of dirt, oils, and whatever paint residue is hanging on.
-
Dig out all the loose, rattling, or punky wood with your awl or 5-in-1 tool. If wood feels slightly soft but it’s still attached firmly, leave it alone.
-
Vacuum everything. Get all the debris, dust, and wood bits out of cracks and voids until you’re looking at a clean surface.
-
Make sure the wood’s dry to the touch. In humid areas, you’re waiting 48 to 72 hours of dry weather before you do anything else. Moisture content needs to be below 12 to 15%.
-
Mix your liquid consolidant, equal parts A and B, and stir it well. Let the mixture sit for 15 minutes.
-
Brush consolidant into all the cracks, checks, and rotted areas with your glue brush. Work it deep into voids and damaged wood.
-
Keep applying consolidant as the wood soaks it up. You’re saturating damaged areas over several minutes, reapplying whenever the surface looks dry.
-
Wait for the consolidant to get tacky. Hot weather, that’s a few minutes. Cold weather, give it 15 to 20 minutes.
-
Mix paste epoxy filler by kneading equal amounts of Part A and Part B in your hands until you get uniform color with no streaks.
-
Press generous amounts of paste filler into voids and damaged areas. Overfill on purpose instead of trying to finish flush. It’s way easier to sand down excess than to go back and fill low spots.
-
Smooth everything with your plastic putty knife, but don’t spread epoxy as a thin coat over solid wood. You’re only filling actual voids, cracks, and damaged sections.
-
Let the repair cure completely. Bigger patches cure faster than small ones. Most repairs harden within 24 hours at room temperature.
-
Sand the cured epoxy with 80-grit to shape it, then move through 120-grit and 220-grit for smoothness. The epoxy sands easily and you can carve or plane it if you need to.
-
Prime and paint the repaired surface to match what you’ve already got.
The finished repair bonds permanently to whatever sound wood is left and performs like solid timber. Under a quality paint finish, properly done epoxy repairs become completely invisible and resist the moisture penetration that would cause new rot.
Assessing Window Sill Damage Before Epoxy Application
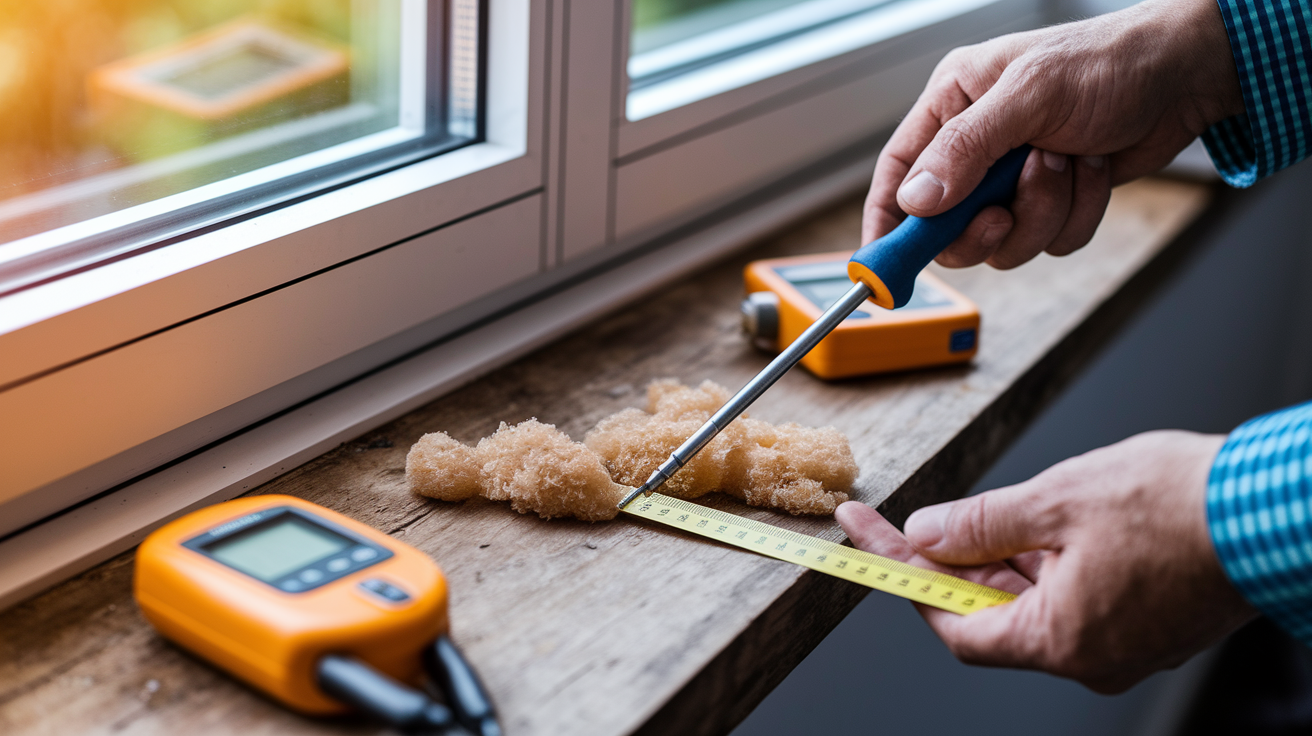
Window sills rot when water gets underneath paint and caulk layers, creating pockets where moisture stays trapped against bare wood. Sun breaks down protective coatings while freeze-thaw cycles crack the wood further, speeding up decay. Catching damage early means the difference between a simple epoxy repair and cutting out the entire sill.
The sooner you deal with soft spots and surface rot, the less material you’ll need to remove and rebuild. Small repairs stop rot from spreading into the window jambs and surrounding trim, where replacement gets complicated and expensive.
Assessment Techniques:
• Visual inspection – Look for paint that’s bubbling, cracking, or peeling, especially along the front edge and corners where water collects.
• Screwdriver probe test – Push a flathead screwdriver into suspected areas. Sound wood resists penetration. Rotted wood feels spongy and the blade sinks in easily.
• Tap test – Knock along the sill with your knuckle. Solid wood sounds dense and firm. Rotted sections produce a dull, hollow sound.
• Moisture check – Feel for dampness even during dry weather. Persistent moisture means drainage problems that need fixing before any repair.
• Flex test – Press down firmly on the sill surface. Excessive give or movement suggests structural damage beyond surface rot.
Repairable damage includes surface rot up to one-quarter inch deep, small voids or checks, isolated soft spots, and situations where most of the sill stays structurally sound. If you can dig out the rotted material and still have solid wood forming the base and sides of the cavity, epoxy will work.
Replacement becomes necessary when rot has eaten more than half the sill thickness, when the entire front edge crumbles away, when the sill has separated from the wall, or when soft wood runs continuously across the full width. If your screwdriver goes straight through or the sill feels uniformly spongy everywhere you probe, replacement is the only reliable fix.
Critical Surface Preparation for Successful Epoxy Bonding
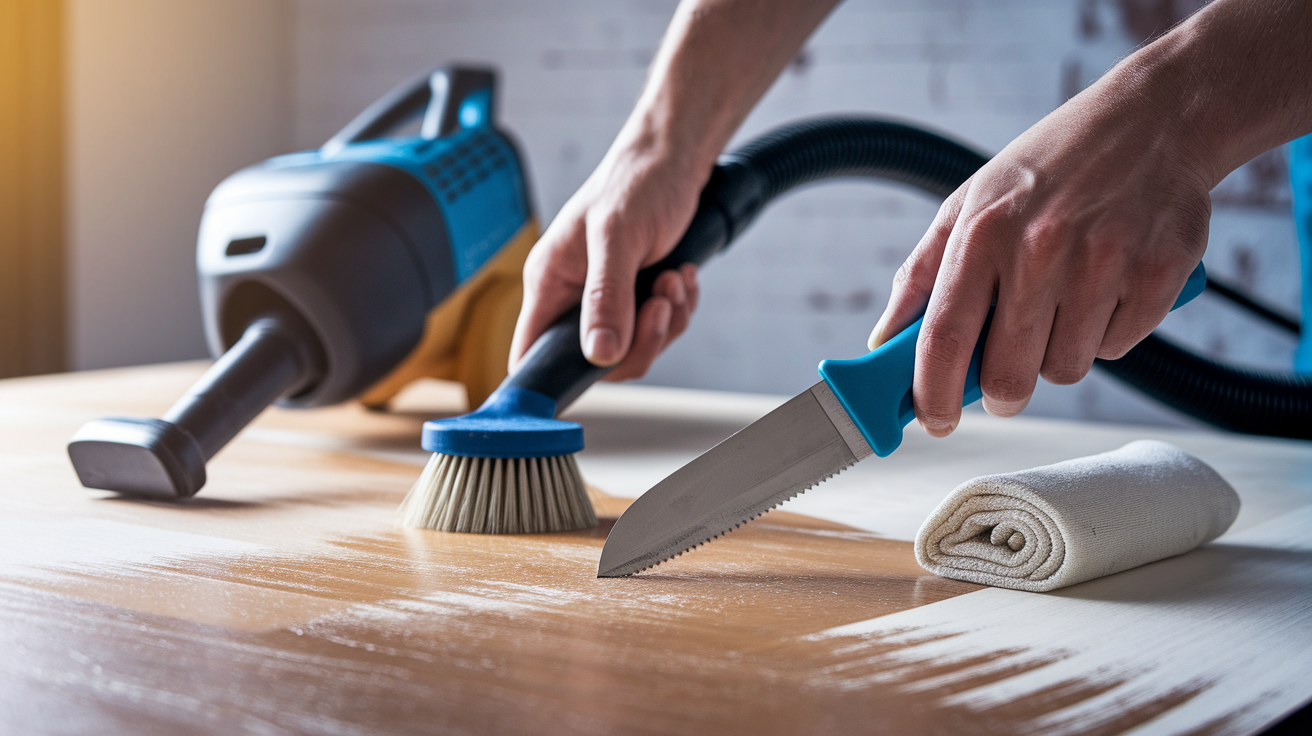
Epoxy bonds permanently only to clean, dry wood. Any contamination from paint, dirt, oils, or moisture creates a barrier that stops penetration and gives you repairs that pop out or crack within months. Most epoxy repair failures come from inadequate surface prep, not product problems.
Think of consolidant trying to soak into a sponge. A dry, clean sponge absorbs liquid instantly. A damp or dirty sponge repels it. Wood behaves the same way.
Preparation Sequence:
-
Scrape away all loose paint, peeling coatings, and flaking material with a paint scraper or wire brush. Remove paint at least 1 inch beyond visible damage.
-
Wipe the exposed wood with a rag moistened with TSP cleaner to remove dirt, mildew, and oils from previous treatments.
-
Dig out all loose or rattling wood with an awl or 5-in-1 tool. Remove material that crumbles or feels punky, but leave wood that’s slightly soft if it’s still firmly attached.
-
Vacuum all debris, dust, and wood particles from the repair area. Use a shop vacuum with a brush attachment to clean deep into cracks and voids.
-
Check wood moisture content. If you don’t have a moisture meter, judge by touch and recent weather. Wood should feel dry and have no cool or damp sensation.
-
Wait for proper drying time based on your climate and recent rain. Dry climates, 24 hours after rain usually works. Humid areas, wait 48 to 72 hours.
-
Protect your prep work if rain’s coming. Cover the area with plastic sheeting overnight to stop dew and morning moisture from re-saturating the wood.
| Climate Zone | Maximum Moisture Content | Drying Method |
|---|---|---|
| Arid (Southwest, Mountain) | Below 10% | 24 hours of dry weather usually sufficient |
| Moderate (Most of US) | Below 12% | 48 hours of dry weather recommended |
| Humid (Southeast, Coastal) | Below 14% | 72 hours of dry weather, use fan for air circulation |
Schedule repairs during a stretch of dry weather with no rain forecast for at least 24 hours after you apply epoxy. Early morning dew can add enough moisture to mess up bonding, so start work mid-morning after surfaces have dried completely. If you’re working in fall or spring when overnight temperatures drop, cover your repair with plastic sheeting secured with tape to protect from condensation.
Finishing and Sealing Your Epoxy-Repaired Window Sill

Cured epoxy forms a hard, non-porous surface that accepts any finish you’d use on wood. Proper finishing protects the repair from UV damage and moisture while hiding everything completely. Quality finishing work determines whether your repair looks professional or obviously patched.
Sanding matters more than any other step for final appearance. Epoxy sands easily compared to wood, so you can shape and smooth repairs quickly without the grain tear-out that happens with natural wood.
Finishing Sequence:
-
Start with 80-grit sandpaper to shape the epoxy and blend the repair edges into surrounding wood. Sand the epoxy down to slightly below the adjacent wood surface if you overfilled.
-
Switch to 120-grit and sand the entire repair area including 2 inches of surrounding original wood to feather the transition.
-
Finish with 220-grit, working in the direction of the wood grain on original wood surfaces and in any direction on the epoxy itself.
-
Vacuum all sanding dust completely, then wipe with a clean, dry cloth. Any dust left on the surface shows through primer and paint.
-
Apply exterior-grade primer to the bare wood and epoxy. Use a quality primer designed for exterior trim, not a combination paint-and-primer. Let dry according to label directions.
-
Apply two coats of exterior trim paint or solid stain, allowing full drying time between coats. Exterior-grade finishes contain UV blockers and flexible resins that move with temperature changes.
-
After the final paint coat dries, run a bead of paintable exterior caulk along the joint where the sill meets the window frame and where it meets the wall below.
The repair becomes invisible under a quality finish because epoxy doesn’t absorb paint differently than wood once primed. Unlike wood fillers that show texture differences or shrink over time, epoxy maintains the exact surface you sanded. If you’re matching existing paint, bring a paint chip to the store for computer color matching instead of guessing at the formula. For stained sills, test your stain on a hidden section of epoxy first since it won’t absorb stain like wood grain does. You’ll likely get better results with a solid-color stain that covers the surface instead of a transparent one that relies on grain pattern.
Preventing Future Window Sill Rot After Epoxy Restoration
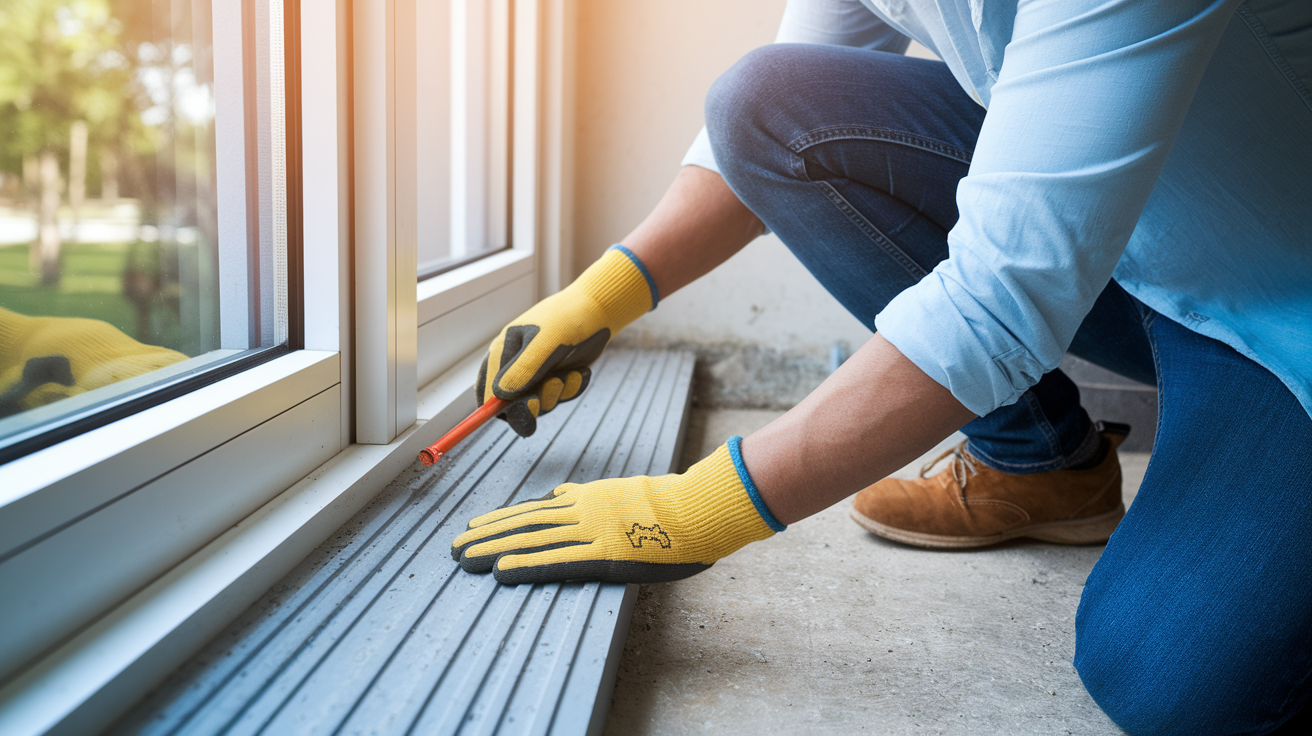
Even quality epoxy repairs fail eventually if the conditions that caused the original rot stick around. Water is the enemy, and preventing moisture contact with wood prevents decay. Every hour that wood stays wet is an opportunity for rot fungi to establish.
Your repair bought you time, but long-term durability depends on managing drainage and maintaining protective coatings. Window sills take a beating from direct rain, snow accumulation, and runoff from the glass above.
Preventative Strategies:
• Check caulk joints between the sill and window frame annually. Replace any caulk that’s cracked, separated, or missing. Use paintable silicone or acrylic-latex caulk rated for exterior use.
• Inspect the sill slope, which should angle downward away from the window at roughly 15 degrees. Water should run off the front edge, not pool in low spots.
• Make sure flashing above the window is installed correctly and extends past the window frame on both sides. Missing or damaged flashing lets water run down behind the sill.
• Clean leaves, dirt, and debris from sill corners and the joint where the sill meets the wall. Trapped organic material holds moisture against the wood.
• Touch up paint chips and scratches as soon as you notice them. Bare wood exposed to weather starts deteriorating within weeks.
• Check that your sill has a drip edge or kerf (small groove) cut into the underside of the front edge. This detail forces water to drip free instead of running back toward the wall.
• Look at windows after heavy rain to see where water collects or drains slowly. Those spots need attention before rot starts.
• Consider adding a metal drip cap along the front edge of chronic problem sills. A small aluminum or copper strip protects the most vulnerable area.
• Schedule annual inspections each spring to catch problems early when repairs stay simple.
The 15-degree slope angle matters because anything less allows water to sheet across the surface instead of running off quickly. If your sill is nearly flat or has developed a sag where water puddles, the epoxy repair is temporary at best. Fix the slope or add shimming beneath a replacement sill section to get proper drainage.
Check windows on the south and west sides of your house more often since those faces get the most intense sun and weather exposure. Morning inspections after rain reveal drainage problems and spots where water isn’t clearing right. If you see standing water or damp areas hours after rain stops, that’s your problem zone.
Epoxy Repair vs. Full Window Sill Replacement: Cost and Decision Factors

Epoxy repair makes sense when damage is limited and the underlying structure stays sound. You’re basically rebuilding the damaged portion while keeping the original sill that’s still doing its job. Replacement becomes necessary when rot has wrecked structural integrity or spread beyond what epoxy can reasonably restore.
| Repair Method | Best For | Typical Cost Range | Longevity |
|---|---|---|---|
| Epoxy Repair | Surface rot, isolated damage, less than 40% of sill affected, sound structure remaining | $50-150 in materials, 4-6 hours DIY labor | 15-25+ years with proper maintenance |
| Full Replacement | Extensive rot, structural failure, more than 50% damaged, compromised attachment | $200-400 materials, 8-12 hours DIY labor or $400-800 professional | 20-30+ years with rot-resistant wood or PVC |
Choose epoxy repair when you can dig out all rotted material and still have solid wood forming the cavity floor and sides. If damage is limited to surface layers and isolated pockets, epoxy gives you a permanent fix at a fraction of replacement cost. The repair is also perfect when you’re dealing with historic windows where preserving original material matters, or when the sill’s profile or size makes finding matching replacement material difficult.
Epoxy works well for budget-conscious repairs since the material cost runs $40 to $80 for liquid consolidant and paste filler that handles multiple windows. You’re investing time in surface prep and careful application instead of spending money on lumber, cutting tools, and fasteners. The learning curve is also gentler than carpentry skills needed for precise sill replacement.
Replacement becomes the right choice when rot runs continuously across the sill width, when the entire front edge has deteriorated, or when the sill has separated from its attachment points. If your probe test reveals that more than half the sill depth has turned soft, there’s not enough sound wood left to anchor an epoxy repair. Structural failure means the sill no longer supports window weight properly or has developed significant sag.
Consider replacement over repair when you’re already planning window replacement in the next few years. In that case, installing new rot-resistant sills sets up the opening correctly for new windows. If adjacent trim, jambs, or the wall below also show rot damage, addressing everything together makes more sense than patching individual components.
For borderline cases where damage falls between obvious repair and clear replacement territory, remove as much rotted wood as you safely can and evaluate what’s left. If you’re down to a shell with questionable strength, replacement is the safer long-term bet. A professional carpenter can assess structural integrity in minutes and help you decide if your sill has enough meat left to justify the epoxy approach.
Common Epoxy Window Sill Repair Problems and Solutions
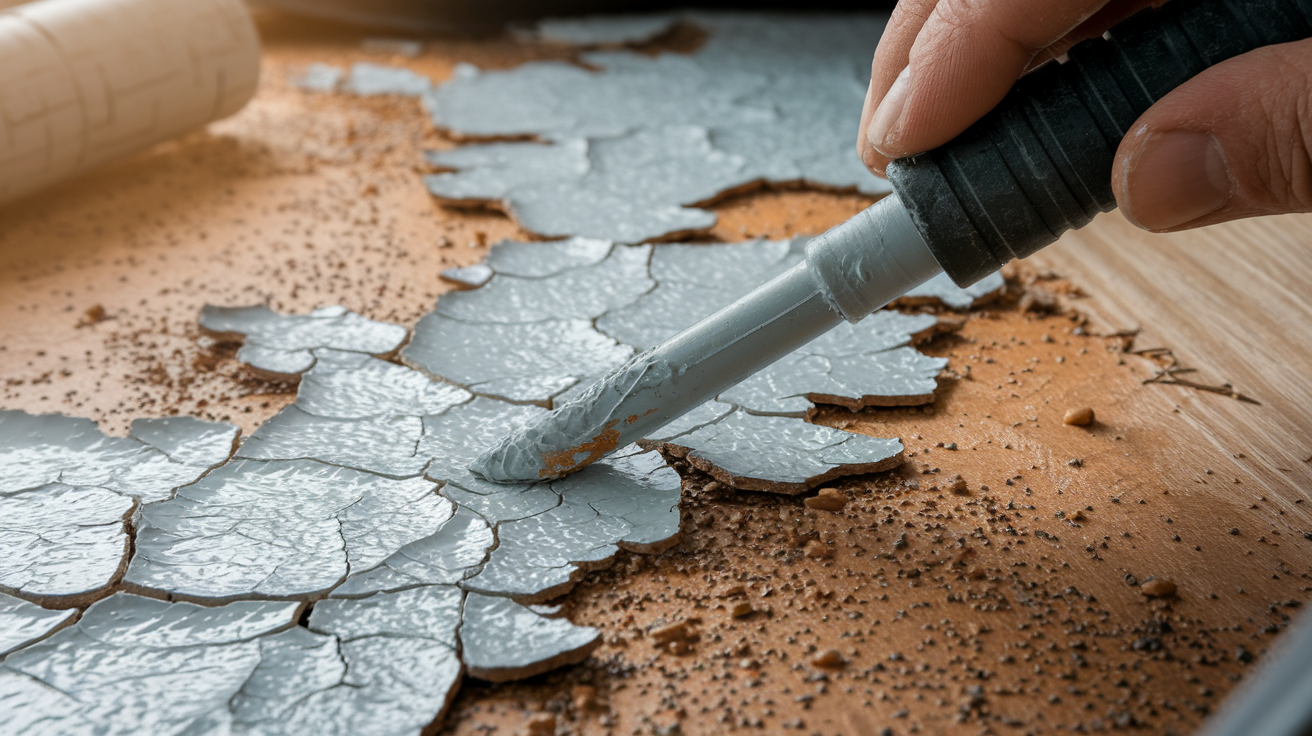
Most epoxy repair failures happen because of application mistakes instead of product problems. The two-part system works reliably when you follow the process, but shortcuts and technique errors create weak repairs that fail within a year or two. Understanding what can go wrong helps you avoid those mistakes.
The most common problem is applying paste filler before consolidant has penetrated and tacked up properly. If you rush, the paste sits on top of wet consolidant instead of bonding to stabilized wood.
Common Problems and Solutions:
• Skim coating the entire sill surface – Only fill voids, cracks, and damaged areas. Thin epoxy layers over solid wood trap moisture underneath and eventually push off. Fill the holes, not the whole surface.
• Working with damp or wet wood – Moisture stops consolidant penetration and causes paste filler to lift as trapped water expands and contracts. Wait for completely dry conditions even if it delays your timeline.
• Applying filler too soon – Consolidant must become tacky before paste goes on. If the liquid is still wet and mobile, you’ll get poor adhesion. In cold weather, wait 20 minutes instead of rushing at 5 minutes.
• Using automotive body filler instead of wood epoxy – Bondo and similar products are designed for metal, not wood. They don’t penetrate, flex with wood movement, or withstand exterior moisture cycles. They’ll crack and pop out.
• Poor mixing ratios – Eyeballing equal parts leads to incomplete curing. Measure or at least compare volumes carefully. Unmixed streaks in paste filler won’t harden.
• Incomplete cleaning and prep – Paint residue, oils, or dirt create a barrier. If consolidant beads up instead of soaking in, your surface isn’t clean enough. Stop and prep correctly.
• Repairing in threatening weather – Morning dew or unexpected rain ruins bonding. Cover your work overnight and don’t start if rain is forecast within 24 hours.
• Underfilling voids – It’s always better to overfill and sand down than to fill flush and discover low spots after curing. Generous application saves having to remix and reapply for shallow fills.
• Ignoring temperature guidelines – Epoxy cures poorly below 50°F and too fast above 90°F. Work in moderate temperatures for best results and predictable working time.
• Incomplete consolidant saturation – Rotted wood is porous and absorbs multiple applications. Keep applying until the wood stops accepting liquid and surface stays wet for a few minutes.
If you notice problems after the repair has cured, figure out whether you can fix it or need to start over. Small voids or pinholes can be filled with additional paste filler after light sanding. Surface cracks mean a moisture problem or insufficient mixing, which means removing the failed repair and redoing prep work. If the entire repair feels soft or flexes under pressure, the consolidant didn’t penetrate or the wood was too wet. Dig it out and start fresh.
Repairs that cure rock-hard but then lift at the edges usually mean inadequate surface prep or skim coating over solid wood. You can sometimes grind back the edges, reapply consolidant to exposed wood, and re-establish the bond. Complete delamination means removal and starting over with better prep work.
Safety Guidelines and Best Practices for Epoxy Application

Epoxy products are chemically reactive materials that need basic safety practices to use without problems. Modern wood epoxies contain zero VOCs (volatile organic compounds), which makes them safer than many solvent-based wood treatments, but you still need protection from skin contact and proper ventilation during extended application sessions.
Always read the complete product label and technical data sheet before starting. Manufacturers provide specific guidelines for their formulations, and those details matter for proper curing and performance.
Personal Protection and Workspace Safety:
• Wear nitrile gloves during all mixing and application steps. Epoxy resins can cause skin irritation and sensitivity with repeated exposure.
• Use safety glasses to protect eyes from splashes during mixing and application. Liquid consolidant can splash when brushing into cracks.
• Work in well-ventilated areas even though modern formulations have low odor. Open windows and use a fan to move air if working indoors or under a porch roof.
• Keep acetone and clean rags immediately available for spills and skin contact. Acetone removes uncured epoxy from skin and tools more effectively than soap and water.
• Don’t eat, drink, or smoke during application. Wash hands completely before taking breaks even when wearing gloves.
• Dispose of mixing containers, used gloves, and acetone-soaked rags according to local regulations. Allow acetone rags to dry flat outdoors before disposal to prevent spontaneous combustion.
Work during moderate temperatures between 50°F and 85°F for predictable curing times and proper chemical reactions. Cold weather slows curing significantly and may prevent complete hardening. Hot weather speeds up curing and shortens your working time before the mixed epoxy becomes too stiff to apply smoothly.
Protect your repair from rain and heavy dew for at least 24 hours after application. Even though epoxy is moisture-resistant once cured, water exposure during curing can cause surface defects and incomplete hardening. Cover work areas with plastic sheeting secured with tape if weather threatens.
Store unmixed consolidant and paste filler in a cool, dry location away from direct sunlight. Most products have a shelf life of 2 to 3 years in factory-sealed containers. Once opened, containers should be resealed tightly after each use to prevent moisture contamination. Mixed epoxy can’t be stored and must be used immediately or discarded, so only mix quantities you can apply within the working time window, typically 20 to 40 minutes depending on temperature.
Final Words
Repair window sill with epoxy once you’ve got the process down, and you’ll have a permanent fix that can outlast replacement in many cases.
The key is disciplined prep work: dry wood, clean surfaces, and no shortcuts on the consolidant step.
Overfill the voids, sand it back, and finish it right. The repair disappears under paint and holds up to weather better than most people expect.
You just saved yourself a full sill replacement and bought years of solid performance.
FAQ
How do you repair a damaged window sill?
You repair a damaged window sill by removing loose rotted wood, applying liquid epoxy consolidant to strengthen remaining fibers, filling voids with paste epoxy filler, sanding smooth after curing, and priming and painting the restored surface.
Can you apply epoxy directly to wood?
You can apply epoxy directly to wood only after the surface is clean, dry, and free of loose material. The wood must have moisture content below 12-15% and be completely free of paint, dirt, and rattling fibers for proper adhesion.
How long does epoxy crack repair last?
Epoxy crack repair lasts indefinitely when applied correctly to dry, prepared wood and protected with primer and paint. The repair becomes as strong as the original wood and won’t fail unless moisture problems return or the surrounding wood deteriorates.
Can you fix rotted wood with epoxy?
You can fix rotted wood with epoxy by first removing all loose material, then saturating the remaining firm wood with liquid consolidant to harden degraded fibers, and filling voids with paste filler. This works only when some solid wood structure remains attached.