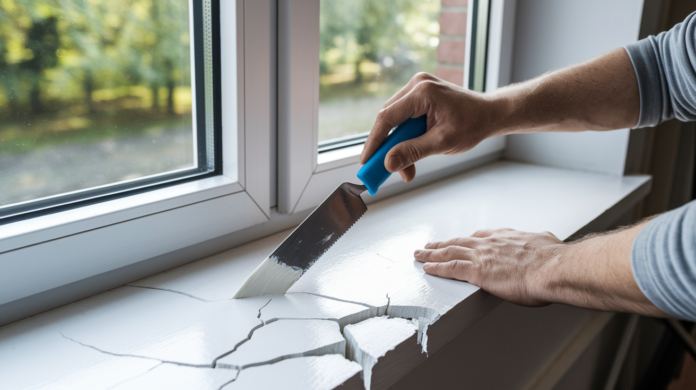

Window sill cracks might seem like a minor cosmetic problem you can ignore for another season. Bad idea. That hairline crack you’re looking at is letting moisture into the wood structure underneath, starting a rot cycle that grows exponentially once it takes hold. The good news? Most sill cracks are repairable if you catch them before the wood turns soft and spongy. This guide walks you through identifying damage level, choosing the right repair approach for surface versus structural cracks, and applying two-part epoxy systems that actually hold up to weather exposure. Fix it now or replace the whole sill later.
Step-by-Step Window Sill Crack Repair Guide
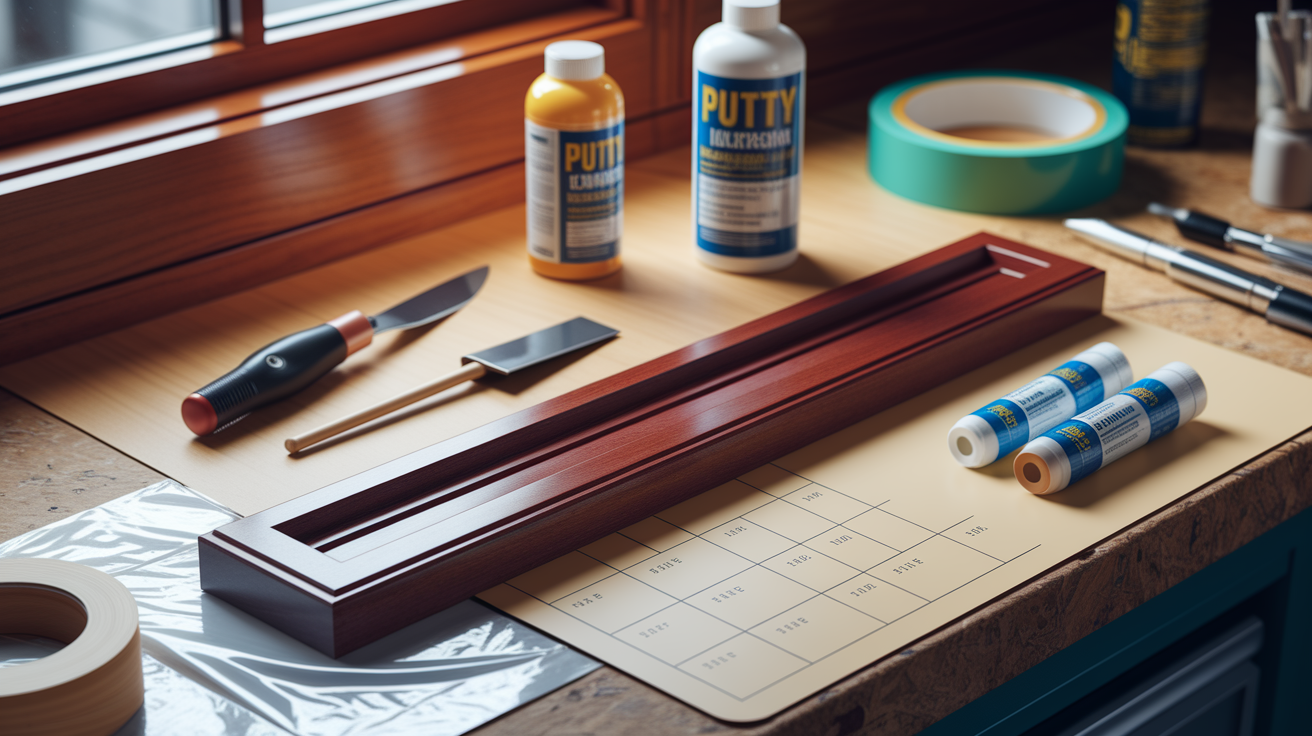
The size and depth of your crack tells you what approach you need. Hairline surface cracks and shallow splits? Basic wood filler applied with a putty knife gets the job done. Deeper structural cracks and areas with soft spots require two-part epoxy systems. Two-part epoxy includes a liquid consolidant that soaks into compromised wood to harden it, followed by a paste filler that rebuilds missing material. If you can press the wood and it feels soft or spongy, you’re dealing with structural damage that simple filler won’t fix.
Protect everything around your work area before you start. Tape plastic sheeting to the wall below the sill and lay drop cloths on the floor. Use painter’s tape to mask off the window glass and surrounding trim.
Remove loose paint, flaking wood, and debris from the damaged area with a utility knife and wire brush. Get down to solid material. Wipe away all dust with a dry cloth, then vacuum the area.
Check wood moisture before applying any epoxy. Wood should read 12 to 15% maximum on a moisture meter. In arid climates, you might see readings below 10%. In humid regions like Florida, aim for below 14%. Wet wood prevents proper bonding and traps moisture that will push repairs out later.
Cut away any soft, punky wood sections with a utility knife or chisel until you hit solid material. If the wood crumbles or breaks apart easily, it’s too compromised to consolidate. Remove it completely and plan to rebuild that section with epoxy paste.
Here’s the complete repair sequence:
-
Tape off and protect walls, floors, and window glass with plastic sheeting and drop cloths
-
Remove all loose paint, flaking wood, and debris with utility knife and wire brush
-
Clean the surface thoroughly and vacuum away all dust
-
Check wood moisture content with a meter. Should read 12 to 15% or lower
-
Cut away soft or rotted wood sections down to solid material
-
Mix liquid consolidant (LiquidWood or equivalent) at 1:1 ratio, let sit 15 minutes
-
Brush consolidant liberally onto damaged wood with glue brush, allow to soak in, apply additional coats as wood absorbs liquid
-
Wait until consolidant becomes tacky before moving to paste filler
-
Mix paste filler (WoodEpox or equivalent) by kneading equal parts A and B until color is uniform
-
Press paste filler firmly into cracks, voids, and rebuilt sections with plastic putty knife, apply in layers for deep damage rather than one thick coat
-
Let cure completely, then sand with medium grit sandpaper followed by fine grit, always sanding with the grain
-
Apply exterior grade primer, then weather resistant paint or stain, seal all joints with exterior grade caulk
Most window sill crack repairs take 4 to 6 hours spread over two days once you account for drying time between consolidant and paste application, plus cure time before sanding. The work itself isn’t technically difficult, but rushing any step compromises the repair. If you can follow instructions and wait for proper cure times, you can handle this repair. Keep acetone handy for cleanup and wear gloves and safety glasses when working with epoxy products.
Identifying Window Sill Damage That Requires Repair
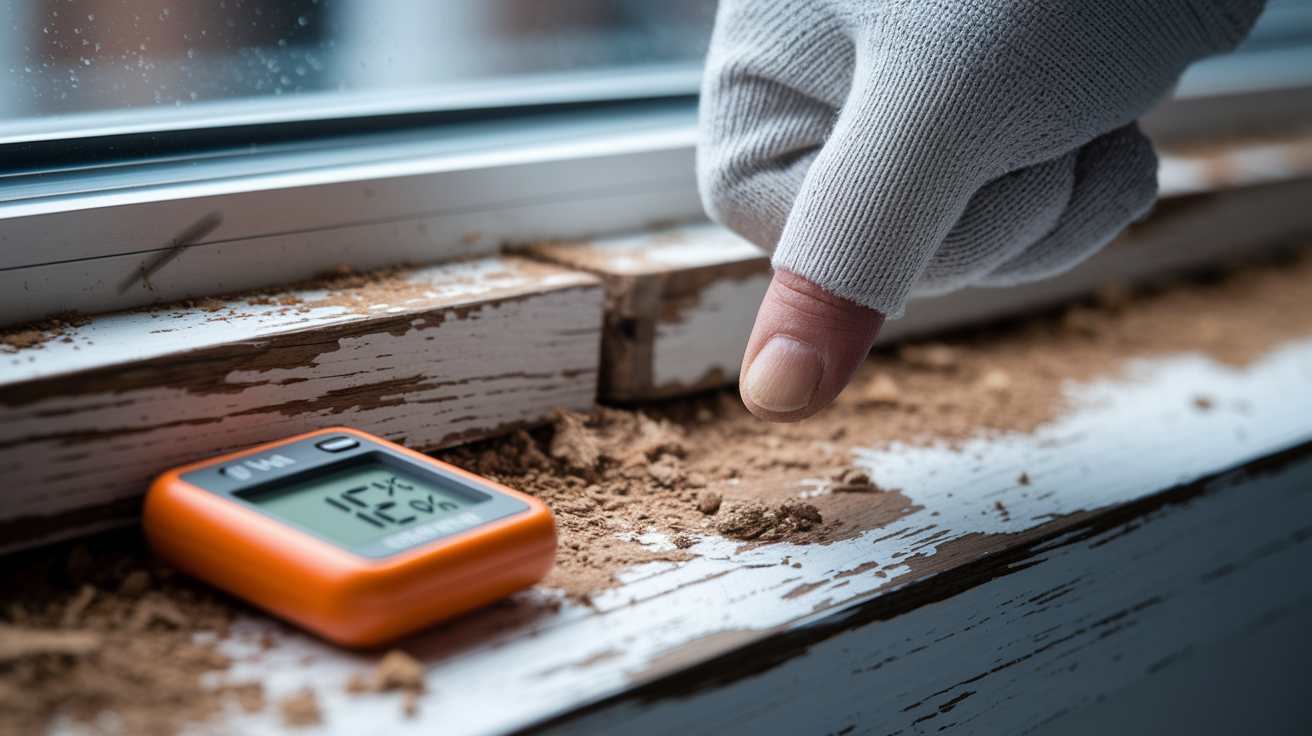
Surface cracks you can see are often repairable, but structural damage underneath might not be. Press firmly on the sill with your thumb. If the wood feels hard and resists pressure, you’re looking at surface damage. If it feels soft, spongy, or your thumb sinks in, the wood structure is compromised and you’re facing either heavy duty consolidation work or replacement. Shallow cracks less than 1/4 inch deep and surface splits can be filled. Deep cracks that go through the sill thickness or areas where chunks are missing need epoxy systems or replacement.
Look for peeling paint, discoloration (especially dark water stains), visible cracks or splits running with or across the grain, gaps between the sill and wall, and any fuzzy or dark mold growth. Run your hand along the sill on cold days. If you feel a cold spot or draft, there’s a gap or crack letting air through. Tap the sill lightly with your knuckle. Solid wood sounds firm and dull. Compromised wood sounds hollow or makes a softer thud.
Check your sills in early spring after winter weather and again in fall before cold sets in. Damage caught early stays repairable. Wait too long and you’re looking at replacement.
What Causes Window Sills to Crack and Deteriorate

Water is the main culprit. When wooden sills absorb moisture from rain, condensation, or snow melt, the wood swells. When it dries, it shrinks. This cycle repeats hundreds of times and eventually the wood warps, cracks, or starts to rot. Once rot begins, the wood loses its structural strength and turns soft and spongy.
In cold climates, freeze thaw cycles do the real damage. Water enters small surface cracks or imperfections. When temperatures drop below freezing, that water expands as it turns to ice, pushing outward from inside the crack and making it bigger. This happens in both wood and concrete sills. Concrete sills crack from the inside out as trapped moisture freezes and breaks the material apart.
UV exposure from direct sunlight dries wood out over time. The surface becomes brittle, loses color, and develops fine surface cracks. This makes the wood more vulnerable to moisture infiltration because the protective finish breaks down.
Temperature swings cause wood to expand when it’s hot and contract when it’s cold. This constant movement creates stress at weak points, which leads to cracks and splits, especially where the sill meets the window frame or wall. Settlement cracks appear when the building shifts slightly over time, stressing the sill at connection points.
Essential Tools and Materials for Window Sill Crack Repair
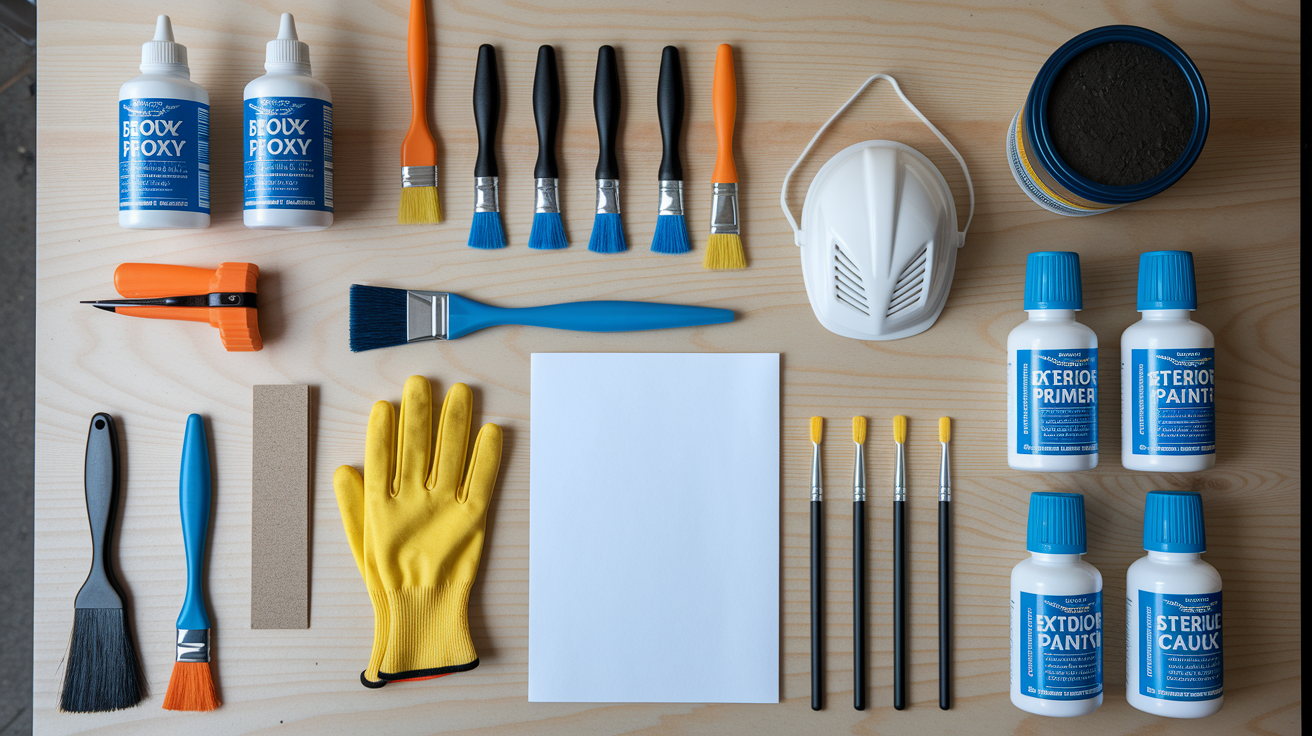
Use exterior grade products designed to handle weather exposure. Indoor wood fillers and patching compounds break down quickly outside. Two-part epoxy systems (liquid consolidant plus paste filler) provide the strongest, most weather resistant repairs for wood. Concrete sills need masonry specific fillers or epoxy compounds formulated for concrete. Do not use Bondo or auto body filler on exterior wood repairs. They don’t flex with wood movement and moisture causes them to fail and pop out within months.
Wear safety glasses to protect your eyes from dust and splinters during sanding and scraping. Nitrile gloves protect your hands when working with epoxy, which is hard to get off skin once it starts to cure. A dust mask prevents breathing in wood dust and sanding particles.
| Category | Item | Purpose |
|---|---|---|
| Hand Tools | Utility knife with sharp blades | Removing loose wood and flaking material |
| Hand Tools | Putty knife (plastic for epoxy, metal for filler) | Applying and smoothing filler materials |
| Hand Tools | Wire brush | Cleaning debris from cracks and damaged areas |
| Hand Tools | Hammer and chisel (optional) | Removing badly damaged wood sections |
| Sanding Supplies | Medium grit sandpaper (80 to 120 grit) | Initial sanding of repaired areas |
| Sanding Supplies | Fine grit sandpaper (180 to 220 grit) | Final smoothing before priming |
| Sanding Supplies | Sanding block or power sander | Even sanding pressure and faster work |
| Repair Materials | Two-part epoxy consolidant (like LiquidWood) | Penetrating and hardening compromised wood |
| Repair Materials | Two-part epoxy paste filler (like WoodEpox) | Filling cracks, voids, and rebuilding material |
| Repair Materials | Acetone | Thinning epoxy and cleanup |
| Finishing Materials | Exterior grade wood primer | Sealing repaired surface and improving paint adhesion |
| Finishing Materials | Weather resistant exterior paint or stain | Protecting repaired sill from elements |
| Finishing Materials | Exterior grade caulk (silicone or polyurethane) | Sealing gaps between sill and wall |
| Safety Equipment | Safety glasses, nitrile gloves, dust mask | Personal protection during repair work |
Applying Two-Part Epoxy System to Cracked Window Sills
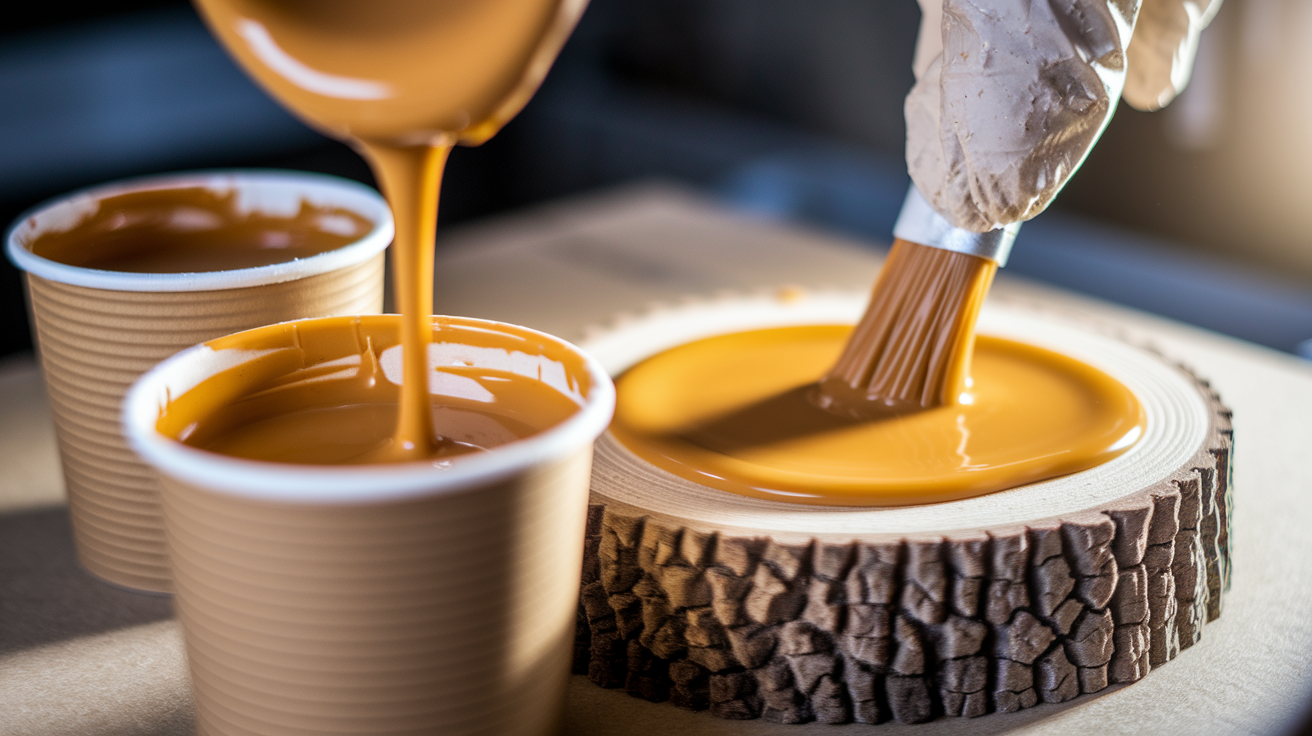
Two-part epoxy works in two stages. First, liquid consolidant penetrates deep into damaged wood to strengthen it from inside. Then paste filler rebuilds the surface and fills voids. The consolidant hardens compromised wood so it can support the filler. Skip the consolidant and paste filler has nothing solid to bond to.
Applying Liquid Consolidant to Strengthen Damaged Wood
Mix equal parts A and B of your liquid consolidant (1:1 ratio) in a disposable cup. Stir thoroughly and let it sit for 15 minutes before applying. The material has a syrup like consistency that soaks into wood fibers.
Brush the consolidant liberally onto all damaged areas with a glue brush. Don’t be stingy. Compromised wood acts like a sponge and will absorb multiple applications. Watch the surface. When it stops soaking in and starts pooling, you’ve saturated that area. Apply additional coats to heavily damaged sections as each coat absorbs.
Wait until the surface becomes tacky before applying paste filler. This provides the best bond between consolidant and filler. The tacky stage usually happens 30 to 60 minutes after your last coat, depending on temperature and wood porosity. The material contains zero VOCs, so you’re not breathing harsh fumes while you work.
Filling Cracks with Epoxy Paste
Mix equal amounts of Part A and Part B paste filler by kneading it like play dough until the color is completely uniform with no streaks. Work time is typically 20 to 30 minutes after mixing.
Press generous amounts of paste firmly into cracks, splits, and voids with a plastic putty knife. Push down hard to eliminate air pockets. For hairline cracks, thin the paste with a few drops of consolidant or acetone to make it pourable, then work it into the crack with a brush or putty knife.
Build deep damage in layers rather than filling it all at once. A 1 inch thick single application takes forever to cure and may trap moisture. Apply 1/4 inch layers and let each cure before adding the next. Larger epoxy patches actually cure faster than small patches because of heat generated during curing.
Only fill actual voids, checks, and cracks. Don’t try to skim coat the entire sill surface with a thin layer of epoxy. When moisture tries to move through the sill later, a thin skim coat will lift and pop off. Fill the damage, not the whole surface.
Press filler firmly to eliminate air bubbles that weaken the repair. Smooth the surface as much as possible during application to reduce sanding later. Let small repairs cure 24 hours, larger patches need 48 to 72 hours. Avoid working when rain is expected or overnight dew will form on uncured epoxy. Cover your work area with plastic sheeting if weather is unpredictable. Larger patches generate heat as they cure. This is normal, not a problem.
Sanding and Finishing Repaired Window Sill Cracks
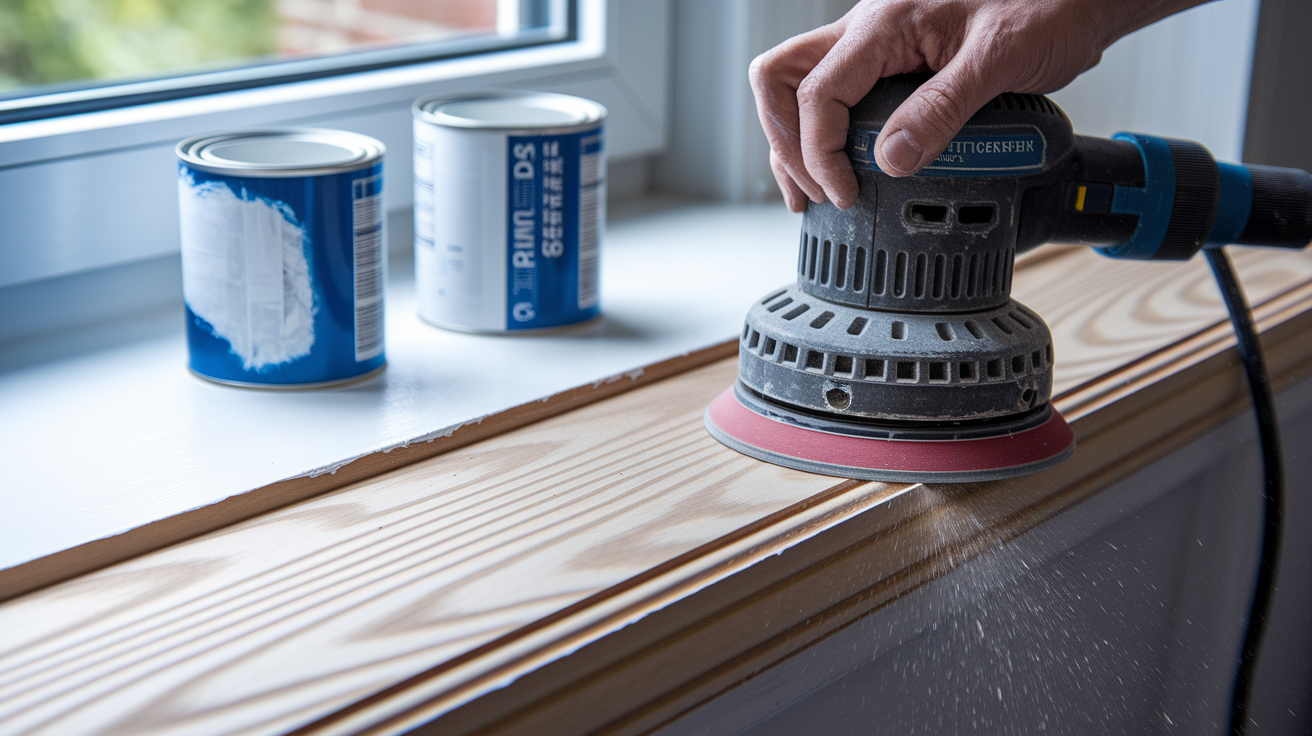
Start sanding with medium grit paper, around 80 to 120 grit, to knock down high spots and shape the repair to match the surrounding surface. Epoxy paste sands easily, so you don’t need aggressive heavy grit paper. Sand with the wood grain direction, not across it, to avoid visible scratches. Once the repair is level and shaped, switch to fine grit sandpaper (180 to 220 grit) for final smoothing.
Prime the entire sill after sanding, not just the repaired spots. Primer seals the surface, prevents moisture infiltration, and gives paint something to grab onto. Primer on bare epoxy also prevents the repair from showing through the final paint color.
Weather resistant exterior paint provides better protection than stain for previously painted sills. If you’re matching an existing stain finish, use exterior grade penetrating stain that includes UV blockers. Oil based paint lasts longer than latex but takes longer to dry and requires mineral spirits cleanup. Latex exterior paint dries faster and cleans up with water, and modern formulations hold up well to weather exposure.
Run a bead of exterior grade caulk along the joint where the sill meets the wall and where it meets the window frame. Use paintable silicone or polyurethane caulk that stays flexible as materials expand and contract. This seal prevents water and cold air from entering gaps that open up over time as materials shrink.
-
Sand repaired areas with medium grit sandpaper (80 to 120 grit) following wood grain direction until repair is level and smooth
-
Switch to fine grit sandpaper (180 to 220 grit) and sand the entire sill for uniform surface texture
-
Vacuum all dust and wipe surface with tack cloth or damp rag
-
Apply exterior grade wood primer to entire sill, let dry according to product directions (usually 2 to 4 hours)
-
Apply first coat of weather resistant exterior paint or stain, let dry completely
-
Apply second coat for full coverage and maximum protection
-
Run a bead of exterior grade caulk along sill to wall joint and sill to frame joint, smooth with wet finger
When to Replace Rather Than Repair a Cracked Window Sill

Epoxy consolidant can strengthen compromised wood, but it has limits. If more than 40 to 50% of the sill is soft and rotted, consolidation becomes impractical and expensive. At that point, replacement costs less time and money than trying to rebuild the entire sill with epoxy. Large cracks that keep spreading after one repair, or repairs that fail and crack again within a year, signal that the underlying structure is too damaged to hold repairs.
When the sill feels unstable or hollow when you press on it, or when you can push your finger or screwdriver into the wood easily, the structural integrity is gone. Load bearing capacity is compromised and the sill won’t support the window frame properly. This creates gaps that let air and water in around the entire window.
If you’re facing a $40 to $60 repair but the sill will probably fail again in two years, replacement makes more sense than repeated repairs. Get a cost estimate from a contractor for replacement and compare it to your repair material costs plus your time. Sometimes the difference is smaller than you think.
Wood that feels soft, spongy, or hollow when pressed firmly tells you replacement is probably needed. Cracks that return in the same spots after previous repairs mean the underlying damage is too severe. Damage covering more than half the sill length or depth won’t hold up long term. Crumbling concrete that breaks off in pieces when touched can’t be consolidated. Persistent moisture, dampness, or mold growth that returns despite repairs indicates a bigger problem. Large splits running completely through the sill thickness compromise structural integrity. Material that’s missing in chunks with no solid wood remaining to consolidate needs full replacement.
Material-Specific Window Sill Crack Repair Methods
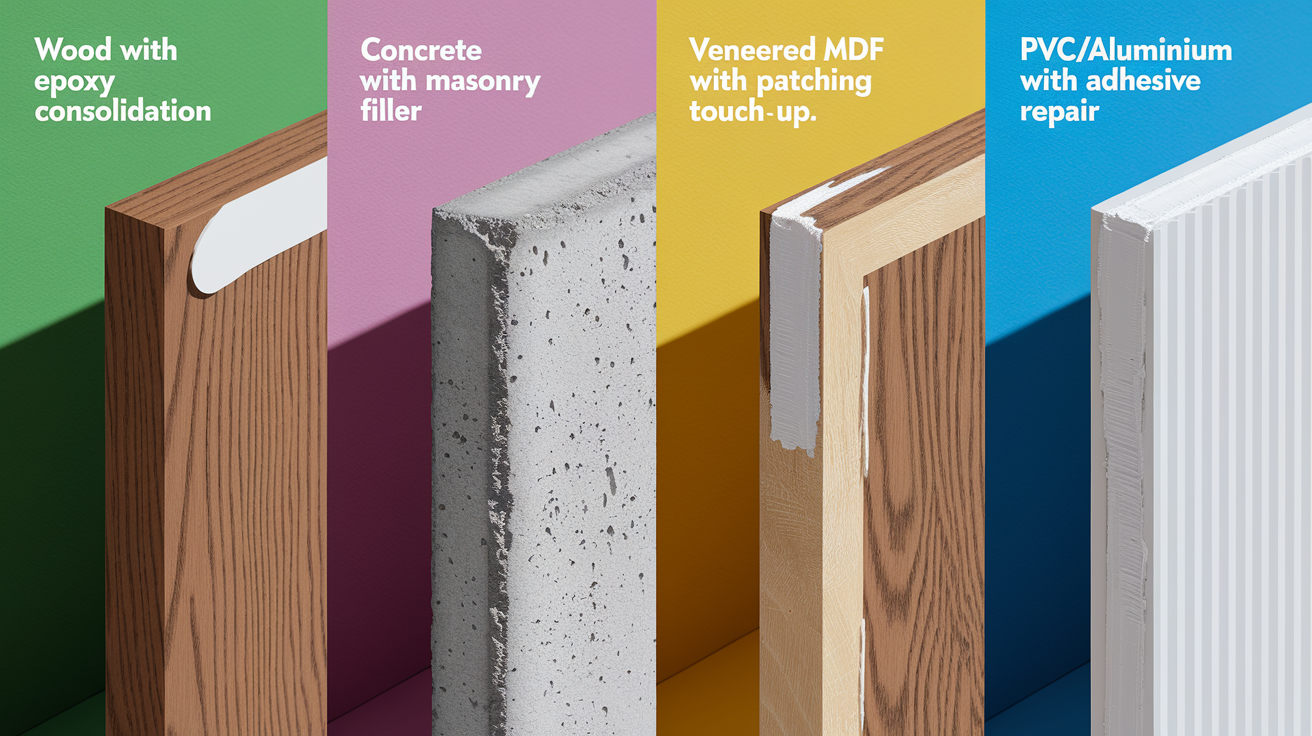
Repair techniques vary based on what your sill is made from. Wood and concrete sills respond well to epoxy and filler repairs. Manufactured materials like veneered MDF, PVC, and aluminum have limitations that make repair difficult or impossible.
Repairing Wooden Window Sill Cracks
Both hardwood and softwood sills repair with the same epoxy system approach. Softer woods like pine absorb more consolidant than dense hardwoods like oak, so plan on additional applications. Clean the damaged area thoroughly, remove flaking material, and check moisture content before starting.
For small cracks and surface damage, exterior grade wood filler works fine. Apply with a putty knife, let dry, sand smooth, and repaint. For deeper cracks or areas with soft spots, switch to two-part epoxy consolidant and paste filler. Follow the complete epoxy process. Consolidant penetration first, then paste filling, then sanding, priming, and painting or staining to match existing finish.
Fixing Concrete Window Sill Cracks
Concrete needs a bonding agent before applying filler. Mix PVA adhesive (white glue) with water at about 1:5 ratio and brush it into the crack. This seals the porous concrete surface so filler bonds properly instead of just sitting on top.
Use exterior grade masonry filler or epoxy compound formulated for concrete. Press it firmly into the crack with a putty knife to eliminate air pockets. Masonry fillers typically come in gray that can be painted, or you can use concrete repair kits that include filler, bonding agent, and finishing tools in one package. Smooth the surface while the filler is still workable, then let it cure completely before painting.
Composite and PVC Window Sill Repairs
Veneered MDF and laminated MDF sills are difficult to repair because the thin surface veneer chips and peels away from the substrate. Once water penetrates under the veneer, the MDF core swells and crumbles. Adhesives and fillers don’t bond well to the smooth plastic laminate surface. Small surface scratches can be touched up with matching paint, but structural cracks or water damage usually means replacement.
PVC and uPVC sills can sometimes be repaired with plastic specific epoxy adhesives, but these repairs rarely hold long term because PVC expands and contracts more than wood. Cracks indicate that the material has been stressed beyond its limits. Replacement is usually the only reliable option. Aluminum and steel sills don’t crack like wood, but dents and corrosion damage can’t be filled. When metal sills fail, replace them.
Preventing Future Window Sill Cracks and Damage
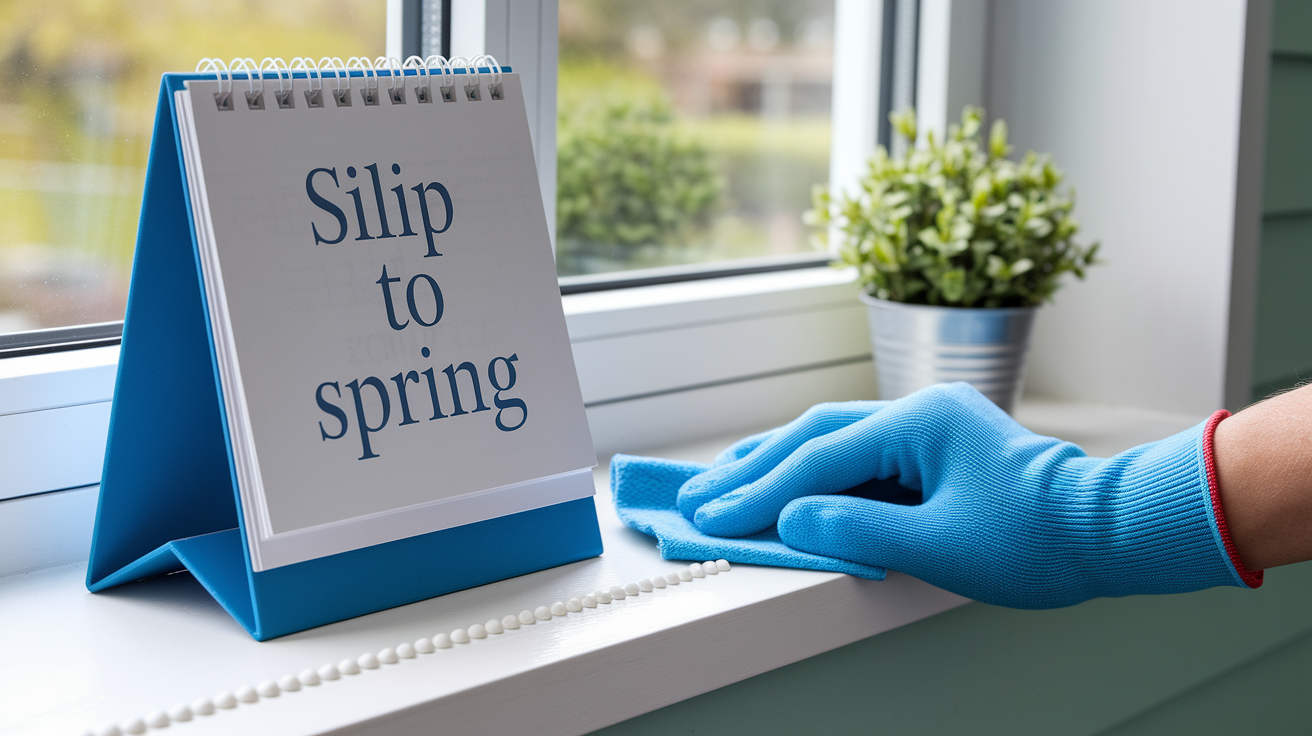
Set a schedule to inspect all window sills once a year, in early spring after winter weather. Look for early signs. Small cracks forming, paint starting to peel, discoloration from water exposure, or gaps opening between sill and wall. Catching damage early means a quick repair instead of full replacement. Use a damp cloth to wipe off dirt and debris while you’re inspecting. This prevents grime buildup that traps moisture against the wood.
Reseal and repaint sills on a maintenance schedule, not just when damage appears. Exterior grade finishes break down from UV exposure and weather even when the wood underneath is still solid. Touch up paint every 2 to 3 years and plan on a full strip and repaint every 5 to 7 years depending on exposure. South facing sills take more UV damage and need more frequent attention.
Check gutters and downspouts twice a year. Blocked gutters overflow and dump water directly onto sills and window frames. Make sure water flows away from the foundation and doesn’t pool near windows. Adjust the soil grade if needed so water runs away from the house, not toward the windows.
Monthly, wipe down sills to remove dirt, debris, and pollen that trap moisture. In spring, inspect all sills for cracks, soft spots, peeling paint, gaps, and water stains. Spring and fall, clean gutters and check downspouts drain away from foundation. Every 2 to 3 years, touch up exterior paint on sills showing wear or thin spots. Every 3 to 5 years, reapply exterior grade caulk around sill to wall and sill to frame joints. Every 5 to 7 years, strip and repaint sills with fresh primer and weather resistant paint. As needed, trim back shrubs and plants that hold moisture against sills or block airflow. And make sure sills slope slightly downward toward exterior so water runs off instead of pooling.
Common Window Sill Repair Mistakes to Avoid

Most repair failures happen because of preventable mistakes that compromise bonding, trap moisture, or use the wrong materials. Learning what not to do saves you from redoing the same repair six months later when the filler cracks or pops out.
Using auto body filler (Bondo) or interior wood filler on exterior sills is a common mistake. These products aren’t formulated for weather exposure and will fail quickly from moisture and temperature swings. Applying epoxy to wood with moisture content above 15% traps moisture under the repair and causes it to lift and fail. Skim coating entire sill surfaces with thin epoxy layers doesn’t work because moisture moving through the wood pushes thin coats off from underneath.
Skipping surface cleaning and prep work means epoxy and filler won’t bond to dirty, oily, or dusty surfaces. Working when rain is expected or during high humidity causes moisture exposure before cure time, which creates soft, weak repairs. Not letting consolidant reach tacky stage before applying paste filler reduces bond strength between layers because of rushed timing.
Filling deep voids in one thick application takes days to cure and may trap moisture or develop internal cracks. Painting or sealing before repairs fully cure is a problem, so check product cure times and add extra time in cool weather. Using incorrect sandpaper grit progression creates issues. Jumping straight to fine grit doesn’t remove high spots, and starting with too coarse grit creates deep scratches.
Neglecting cleanup and leaving uncured epoxy on tools and surfaces makes a mess. Keep acetone handy and clean as you go before material hardens.
Final Words
Crack size drives material choice. Hairline splits need wood filler, deep structural damage requires two-part epoxy.
Clean the surface, check moisture content, remove rot, then build up repairs in layers. Sand smooth, prime, and seal the gaps between sill and wall.
If the wood feels spongy or hollow when you press it, repair won’t hold. That’s replacement territory.
When you repair cracked window sill damage correctly the first time, you stop the cycle. Fix the source of moisture, use exterior-grade products, and follow the steps in order.
You’ll get years out of a properly finished sill that sheds water and handles weather.
FAQ
Can you use silicone to fill a window crack in a house?
You can use silicone caulk for hairline surface cracks between the window sill and wall, but not for structural cracks in the sill itself. Deep splits in wood require two-part epoxy or exterior wood filler that bonds structurally and sands smooth for painting.
How do you repair a damaged sill?
Repairing a damaged sill requires removing loose material, checking moisture content (12-15% maximum), applying liquid consolidant to compromised wood, filling voids with epoxy paste or wood filler, then sanding, priming, and sealing. Deep damage needs multiple filler layers with drying time between applications.
Why is the window sill cracking?
Window sills crack primarily from moisture infiltration causing wood to swell, warp, and rot when sealing fails. Freeze-thaw cycles, UV exposure drying out wood, and thermal expansion from temperature fluctuations also create stress cracks over time.
Can you replace just the sill of a window?
You can replace just the window sill when damage is extensive, soft, or spongy indicating structural rot beyond repair. Severely compromised sections get cut away, then replacement wood gets measured, cut to fit, and secured with exterior wood glue and corrosion-resistant fasteners.
What’s the difference between wood filler and two-part epoxy for sills?
Wood filler works for small cosmetic cracks in stable wood, while two-part epoxy systems consolidate rotted areas and rebuild structural integrity. Epoxy penetrates deeper, bonds stronger, and resists moisture better than standard fillers for exterior window sill repairs.
How long does window sill repair take to complete?
Window sill crack repair typically takes 4-6 hours spread over 2-3 days when accounting for consolidant absorption, paste filler curing, sanding, priming, and paint drying. Deep damage requiring multiple filler layers extends the timeline but prevents callback failures.
When should I call a professional instead of DIYing window sill repair?
Call a professional when wood feels soft throughout (not just surface damage), cracks keep returning after repair, or moisture persists despite fixes. Widespread rot, structural instability, or hollow-feeling material indicates replacement needs beyond typical DIY scope.
What moisture level is safe before applying epoxy to window sills?
Wood moisture content should measure 12-15% maximum before applying epoxy repairs, verified with a moisture meter. Humid climates like Florida should read below 14%, while arid regions may measure below 10%. Wet wood prevents proper epoxy bonding and consolidation.
Can I repair window sill cracks in cold weather?
Avoid window sill repairs when temperatures drop below 50°F or rain is expected within 24 hours. Epoxy cures poorly in cold conditions, and moisture exposure before full cure causes adhesion failure. Cover work areas overnight to prevent dew contamination.
What grit sandpaper should I use on repaired window sills?
Start with medium-grit sandpaper (80-120) to shape the repair flush, then switch to fine-grit (180-220) for smooth finishing. Always sand following the wood grain direction to avoid visible scratches that show through paint or stain.