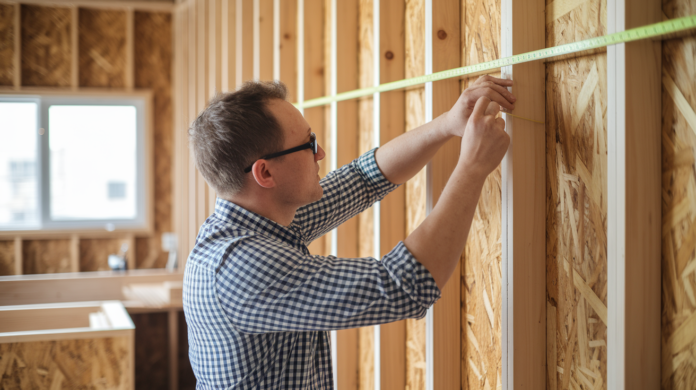

Most cabinet sags happen because blocking sits two inches too high or too low, and by the time you notice, the drywall’s already up and the backsplash is grouted. Getting blocking height right means your cabinets hang level, stay put under load, and let you drive screws into solid lumber instead of hoping toggle bolts hold 150 pounds of dishes. We’ll walk through the standard 54 inch baseline, when to adjust it, and how to position blocking so your mounting hardware actually hits wood when it matters.
Standard Blocking Height Measurements for Upper Cabinet Installation
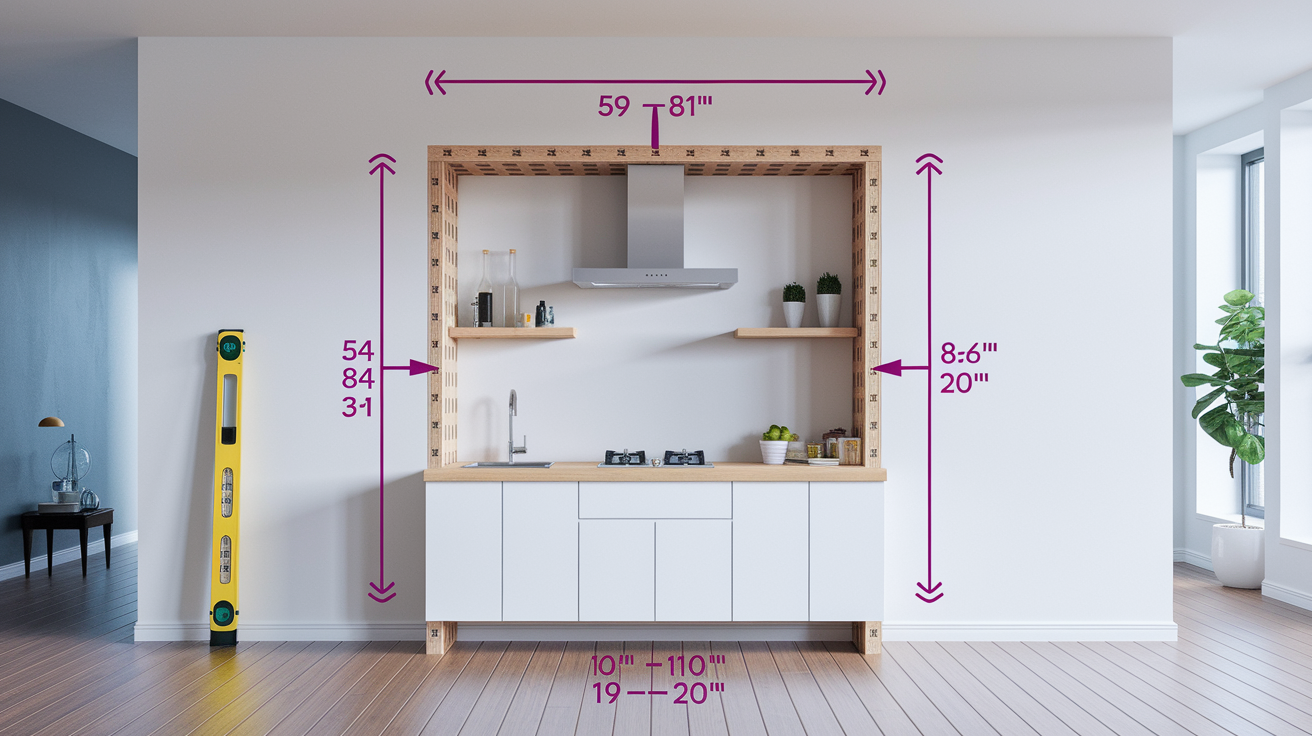
The standard blocking height for upper cabinets sits at 54 inches from the finished floor to the bottom edge of the cabinet box. You’re accounting for a 36 inch base cabinet plus an 18 to 20 inch clearance above your countertop. Most recent installations lean toward that 20 inch countertop clearance, giving you more working space for meal prep and room for small appliances like coffee makers and toasters.
Blocking placement means positioning horizontal lumber to support the cabinet mounting rails. Usually 2 to 4 inches below the top of the cabinet box. For a standard 30 inch tall upper cabinet with its bottom at 54 inches, blocking should center somewhere around 79 to 81 inches from the floor. This way your cabinet mounting hardware catches solid blocking instead of just drywall.
Key measurements to remember: 54 inches from floor to bottom of upper cabinet, 18 to 20 inches above countertop surface for workspace clearance, 36 inches base cabinet height, 2 to 4 inches below cabinet top for mounting rail support. Make sure blocking spans the full width of your planned cabinet run.
These measurements work for standard 8 foot ceilings and an average user height around 5 feet 8 inches. If your ceiling height differs or the primary user is notably taller or shorter, you’ll need to adjust these baseline numbers.
Step by Step Cabinet Blocking Installation Process
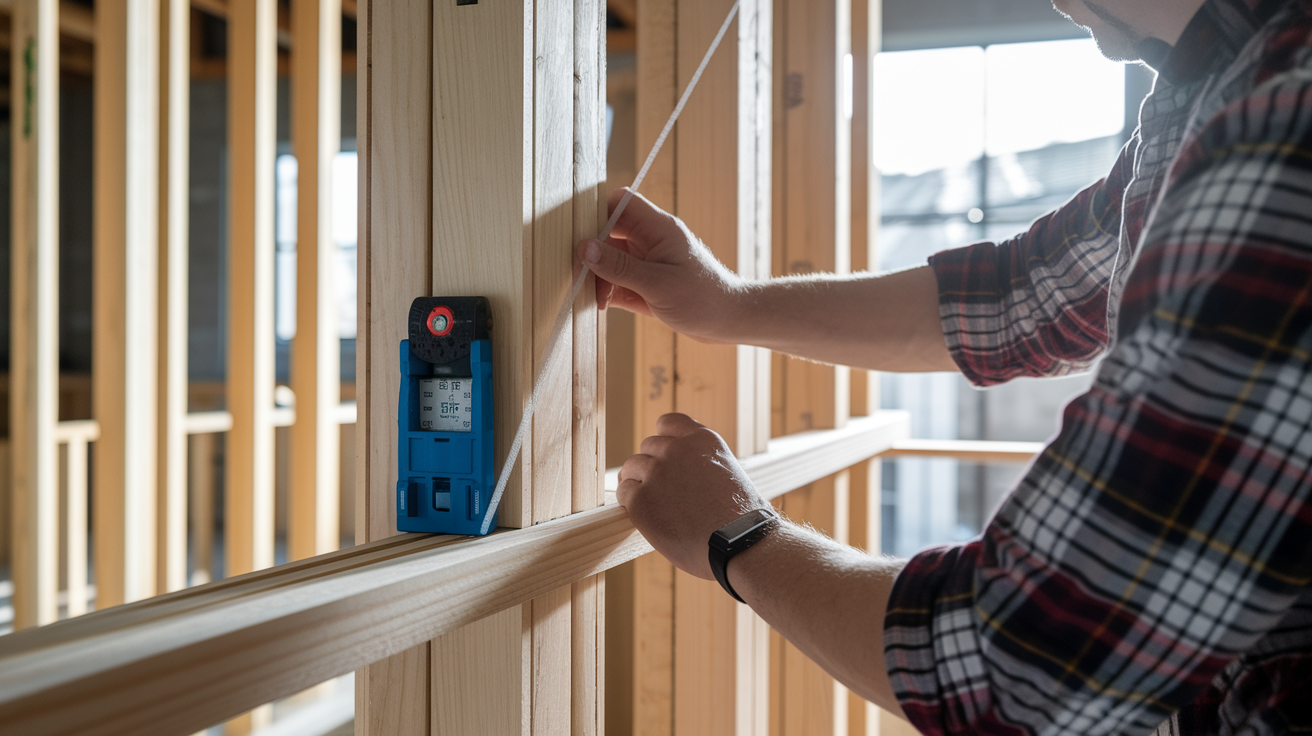
Blocking installs easiest during rough framing before drywall goes up. Proper installation keeps cabinets secure and prevents future sagging or wall damage.
Start by locating all wall studs with a stud finder. Studs typically space 16 or 24 inches on center. Measure from subfloor and mark blocking height at 79 to 81 inches from floor (for standard 54 inch cabinet bottom). Use a 4 foot or 6 foot level to mark a level line across all studs where cabinets will be installed.
Cut 2×4 or 2×6 blocking lumber to span between or across studs. Position blocking with top edge at your marked line, making sure it’s perfectly level. Secure blocking to each stud with two 3 inch construction screws or 16d nails. Verify blocking is level across the entire run and solidly attached. Mark blocking location on subfloor for reference after drywall installation.
Retrofit installations in existing walls need different approaches. The most reliable method involves removing horizontal drywall sections to install proper blocking between studs, then patching and refinishing the wall. If removing drywall isn’t practical, heavy duty toggle bolts rated for 100 pounds or more per fastener can work for lighter cabinet installations. French cleat systems that distribute weight across wider wall areas offer another retrofit option, though they add 1 to 2 inches to the overall cabinet depth projection.
Blocking Lumber Dimensions and Material Specifications
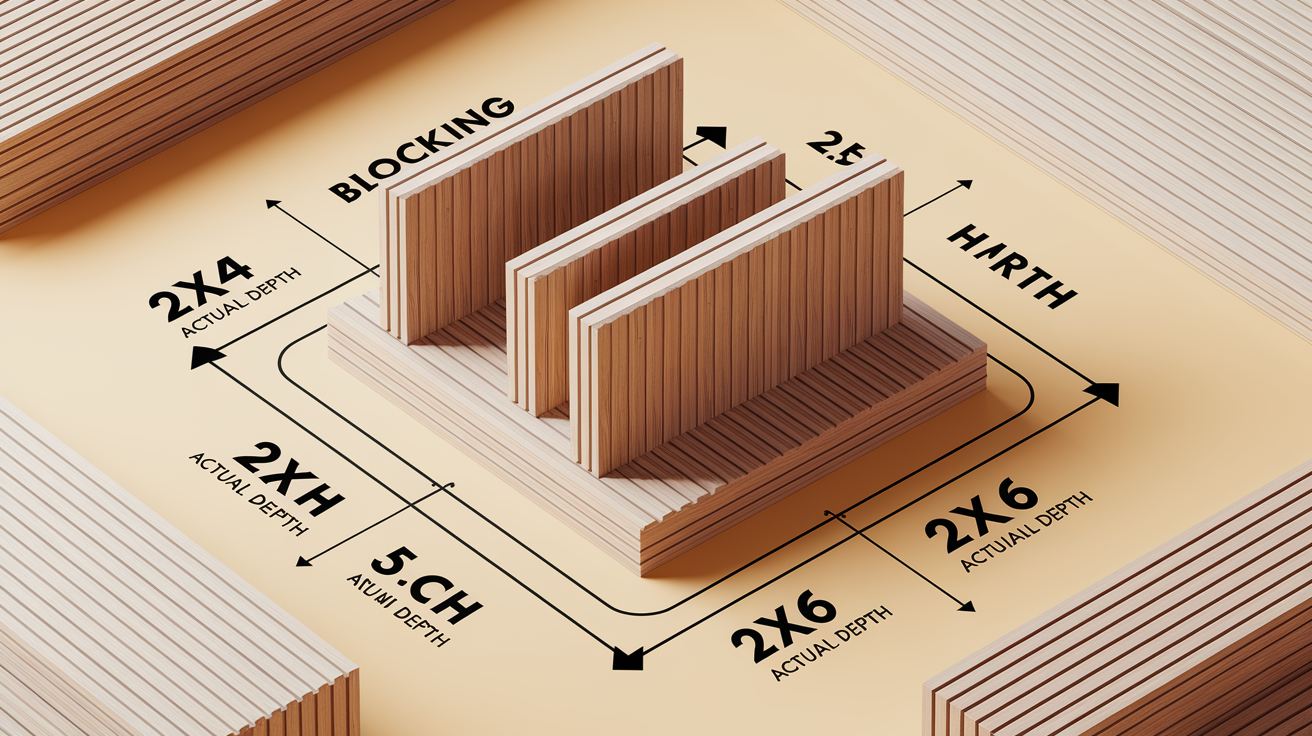
Standard 2×4 blocking provides the minimum acceptable dimension for most upper cabinet installations. The actual 1.5 inch depth lets cabinet mounting screws penetrate 1 to 1.25 inches into solid wood, which works for standard cabinet loads. A 2×4 fits within standard 2×4 wall framing without creating bulges in the drywall surface.
Heavier installations need 2×6 blocking, which offers 5.5 inches of actual depth. Use 2×6 blocking when installing cabinets that’ll hold heavy dishware collections, when mounting tile or stone backsplashes that add weight to the wall assembly, or when cabinets extend above standard 30 inch height. Extra deep cabinets that project 15 inches or more from the wall also benefit from 2×6 blocking to handle increased leverage forces.
Material selection matters for longevity. Use straight, dry dimensional lumber without warping, twisting, or large knots that compromise strength. Kiln dried lumber resists moisture movement better than green lumber. Plywood backing boards cut to 8 to 12 inches width can span between studs to create a continuous mounting surface. This works well for frameless cabinet installations that need fasteners at specific locations rather than just at stud positions. In kitchens with potential moisture exposure near sinks, consider pressure treated lumber for blocking. It adds cost and requires careful handling during installation.
Height Adjustments for Different Scenarios
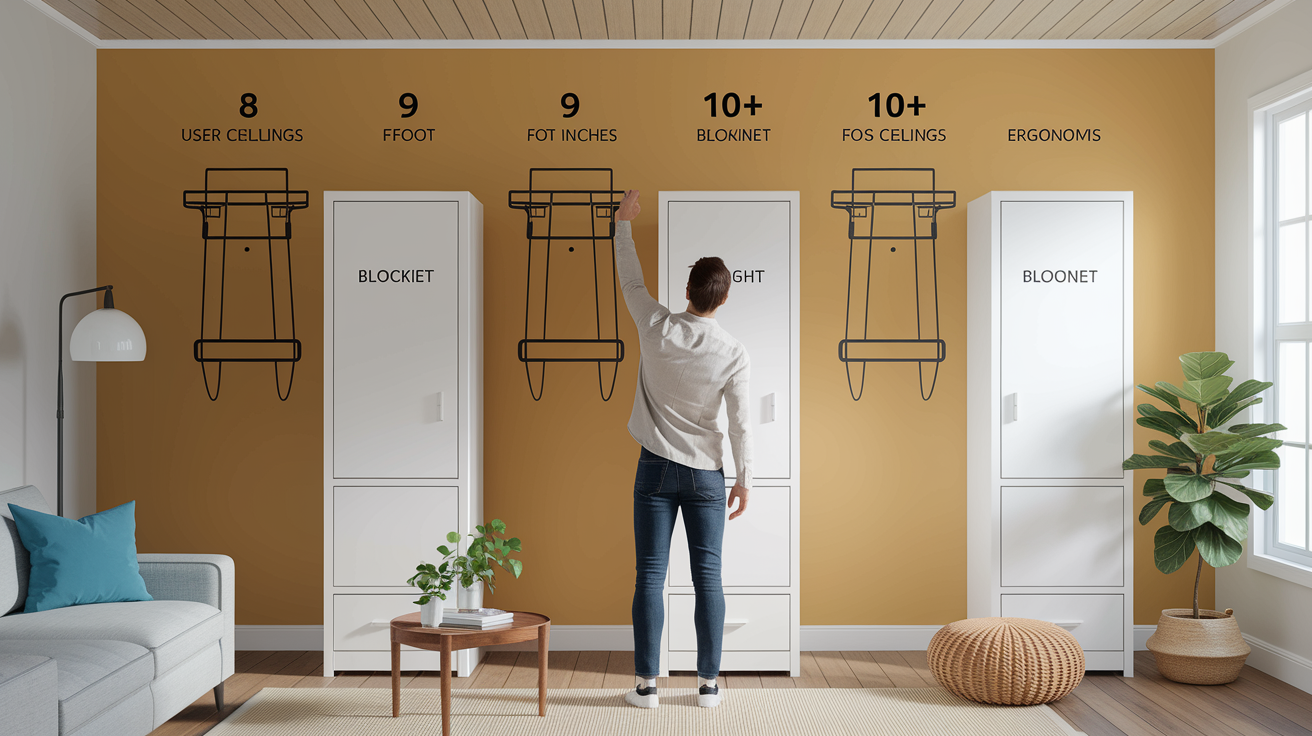
The standard 54 inch blocking height needs adjustment based on ceiling height, user physical dimensions, and specific kitchen features.
Ceiling Height Variations
Standard 54 inch blocking height works for 8 foot ceilings with 30 inch tall upper cabinets, leaving 12 inches between the cabinet top and ceiling for visual breathing room. Nine foot ceilings allow blocking at 54 to 60 inches for more dramatic vertical spacing and better proportions. With 10 foot ceilings, you can position blocking at 60 to 66 inches from the floor while maintaining balanced design proportions. Soffit installations require measuring from the soffit bottom surface down, then subtracting the cabinet height to find the blocking position.
User Height Customization
The standard 54 inch measurement assumes users of average height around 5 feet 8 inches. For household members who are significantly taller or shorter, adjust blocking height for better ergonomics. Raise blocking 2 to 4 inches (to 56 to 58 inches) for users over 5 feet 10 inches. This provides better sightlines to the back of countertops and reduces the need to duck under cabinets during meal preparation. Lower blocking 2 to 3 inches (to 51 to 52 inches) for users under 5 feet 4 inches to improve access to upper shelves without requiring a step stool for daily items. Don’t go below 48 inches even for shorter users. This blocks countertop visibility and prevents standard small appliances from fitting.
Special Kitchen Features
Tall pull down or pot filler faucets require raising blocking to 60 to 66 inches (24 to 30 inches above countertop) to accommodate oversized stock pots. Restaurant style faucets with high arcs need this extra clearance or the faucet handle hits the cabinet bottom when rotated. Over counter microwave cabinets require specialized blocking at 54 to 60 inches depending on microwave size and ventilation requirements. Range hood installations need blocking at 48 to 54 inches depending on hood type, with commercial style hoods requiring lower placement for proper capture of cooking fumes.
Quick reference for different scenarios: 8 foot ceiling with 30 inch cabinets sits at 54 inches from floor, 8 foot ceiling with 36 inch cabinets at 48 inches from floor, 9 foot ceiling standard placement at 54 to 60 inches from floor, 10 foot ceiling standard placement at 60 to 66 inches from floor. For users over 5’10” go 56 to 58 inches from floor. For users under 5’4″ go 51 to 52 inches from floor.
Test height adjustments before finalizing blocking placement by having primary users stand at the planned counter location and reach overhead. Mark the comfortable reach zone on the wall. Consider the primary cook’s height when making final decisions, as that person will use the cabinets most frequently. Customization improves kitchen ergonomics and daily usability more than adhering strictly to standard measurements.
Cabinet Weight Capacity and Load Bearing Blocking Requirements
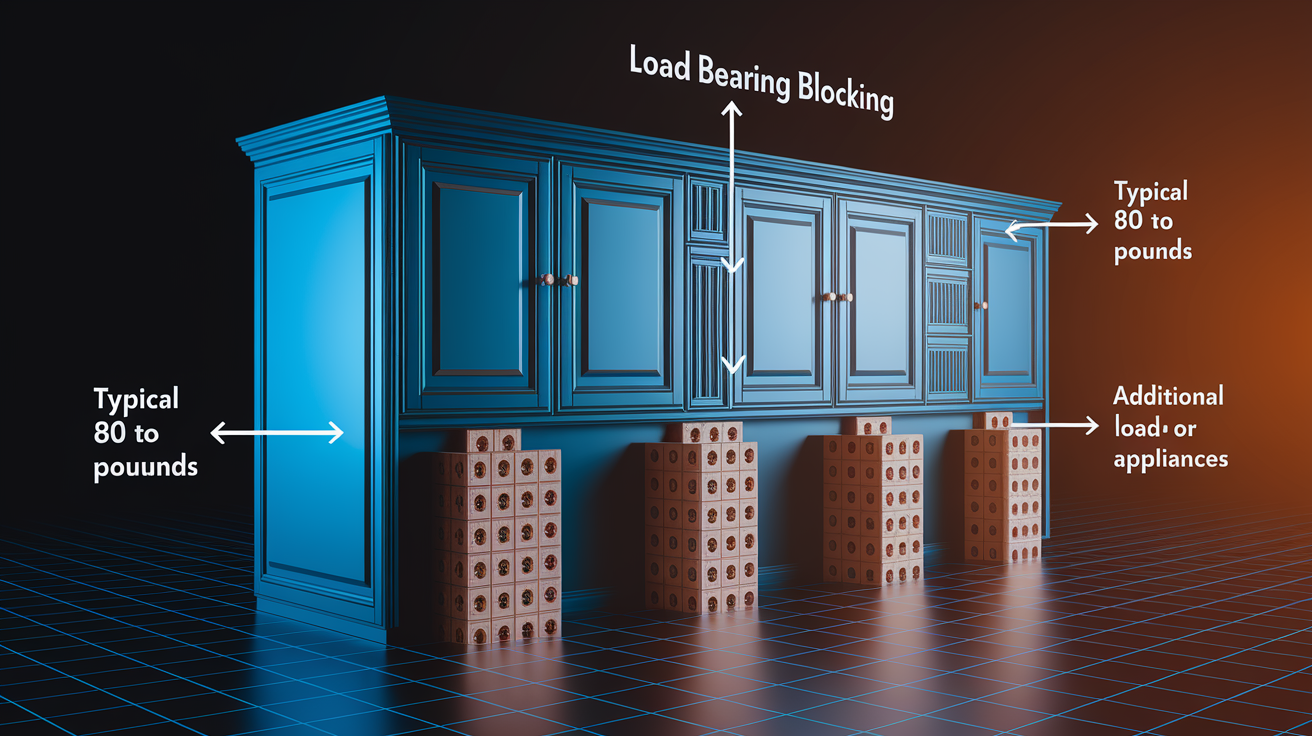
Upper cabinets when fully loaded can weigh 100 to 200 pounds or more. Solid blocking transfers this load to wall studs, which carry it to the building’s structural frame. Without proper blocking, cabinet weight stresses drywall fasteners, causing gradual sagging and eventual failure.
Blocking thickness and attachment method determine weight capacity. Standard 2×4 blocking secured to studs every 16 inches supports typical cabinet loads without issue. Extra deep cabinets measuring 15 to 18 inches from wall to front, or cabinets housing heavy appliances like built in microwaves, may need 2×6 blocking or doubled 2×4 blocking for additional strength and screw holding capacity.
Weight expectations: standard 30 inch cabinet runs 80 to 120 pounds when loaded, 36 inch cabinet runs 100 to 150 pounds when loaded, cabinets with granite or quartz shelves add 30 to 50 pounds, microwave cabinet supports 80 to 100 pounds appliance weight, glass front display cabinets run 100 to 180 pounds with dishware.
Proper blocking prevents cabinet sag, door misalignment, and potential wall failure. Sagging cabinets create gaps between adjacent units and cause doors to swing open or closed on their own. In severe cases, inadequate blocking leads to cabinets pulling away from walls, dumping contents and creating safety hazards.
Mounting Hardware and Precision Requirements
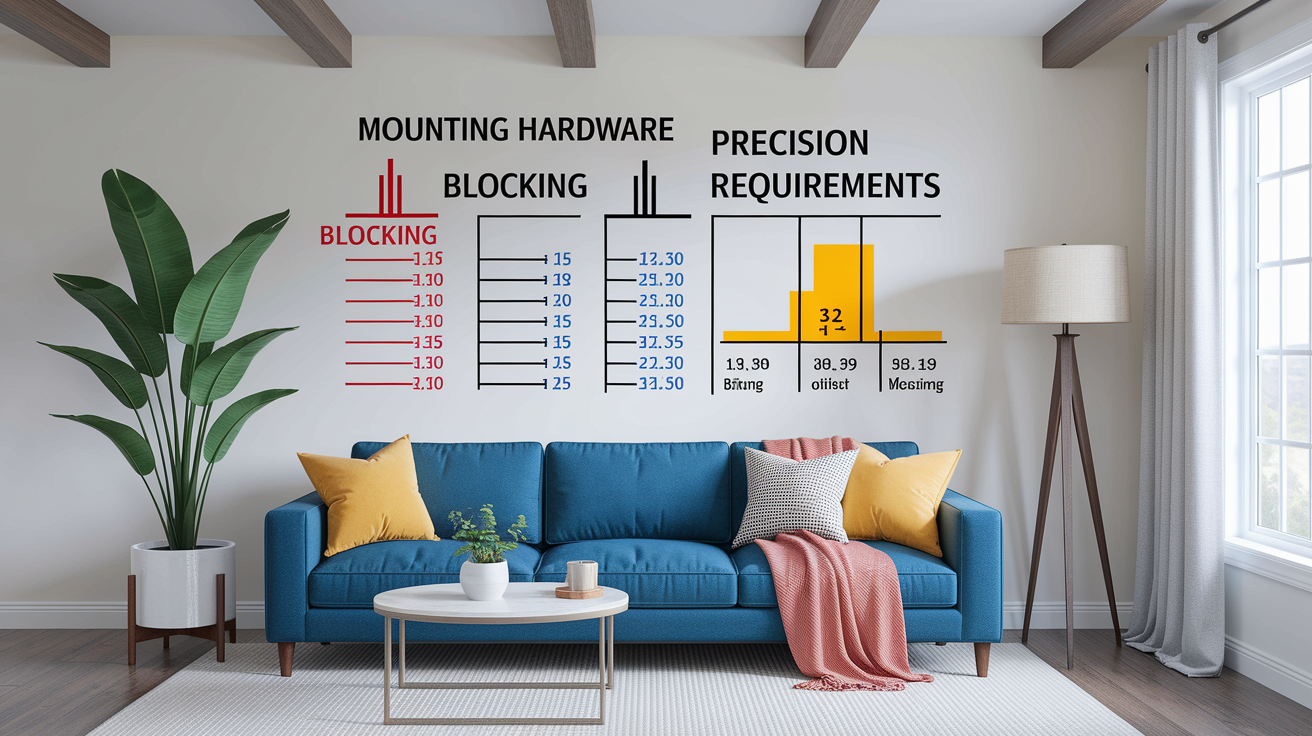
Upper cabinets attach via mounting rails or hanging brackets located near the top back of the cabinet box, typically 2 to 4 inches down from the cabinet top. This rail design lets cabinets hang on screws driven through the rail into blocking, then get adjusted level before final fastening.
Blocking position must align with these mounting points. The blocking center line should be positioned to intersect with the cabinet’s hanging hardware. For a cabinet with a mounting rail 3 inches below the cabinet top, and a desired cabinet bottom height of 54 inches, the blocking center should sit at approximately 80 inches from the floor.
| Cabinet Type | Mounting Rail Location | Blocking Center Height (for 54″ bottom) |
|---|---|---|
| Standard face frame | 2 to 3 inches from top | 80 to 81 inches from floor |
| Frameless European | 3 to 4 inches from top | 79 to 80 inches from floor |
| French cleat system | Full width cleat | 78 to 82 inches from floor |
| Bracket mounted | Varies by manufacturer | 79 to 81 inches from floor |
Blocking must be installed perfectly level along its horizontal run. Out of level blocking creates alignment problems that are difficult to correct after drywall installation. Use a 4 foot or 6 foot level during blocking installation, checking level across the entire cabinet run. Shim or adjust blocking height as needed before securing permanently. Check level every 3 to 4 feet along the run. Slight variations compound over distance.
Acceptable tolerance for professional installations is 1/16 inch over 8 feet. Greater deviation causes door gaps, misaligned face frames, and difficulty achieving consistent reveal spacing between adjacent cabinets. Cabinets installed on out of level blocking require aggressive shimming that creates visible gaps at the ceiling or between cabinet tops and crown molding. Always consult manufacturer installation instructions, as mounting systems vary significantly between brands and cabinet lines.
Blocking for Different Cabinet Styles and Construction Types
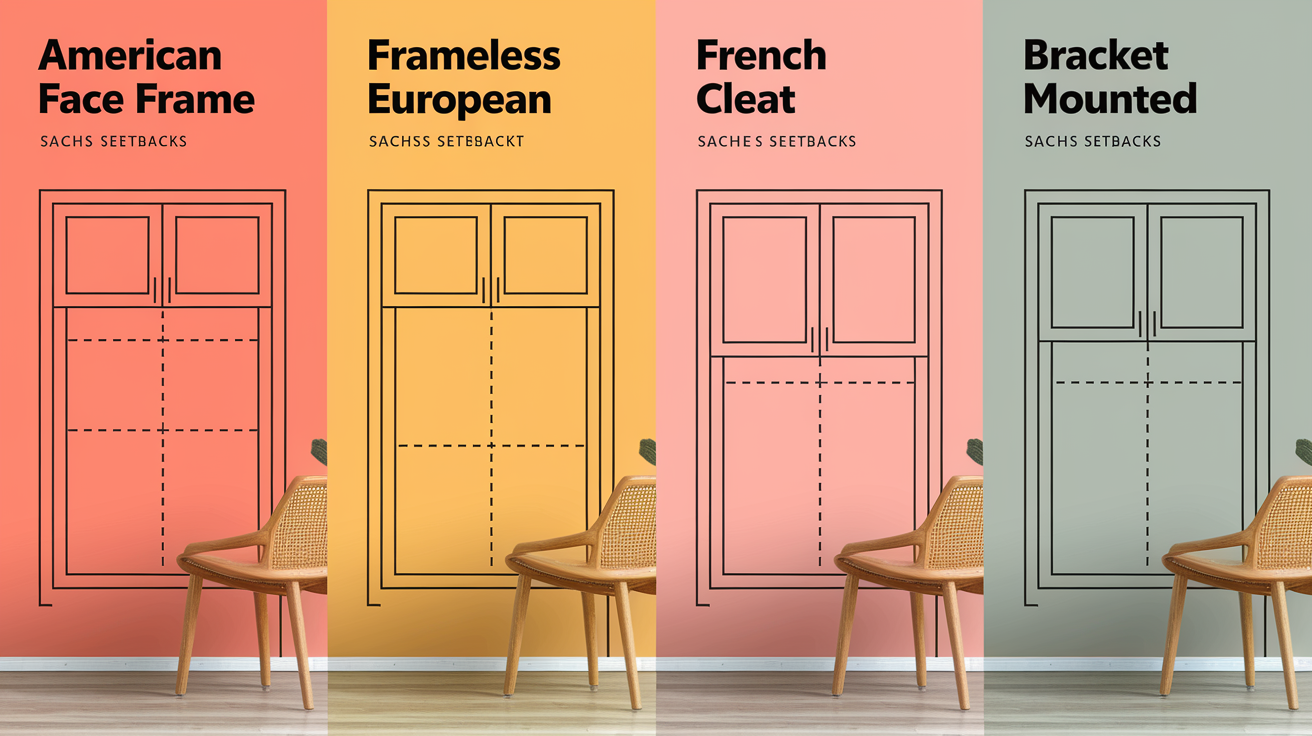
American face frame cabinets typically mount via a nailing strip or mounting rail behind the face frame. This frame adds 3/4 inch thickness at the cabinet perimeter, requiring blocking positioned to align with the mounting rail rather than the cabinet back. The blocking should be set back from the wall finish surface by approximately 1 inch to account for the face frame projection and the cabinet back panel thickness.
Frameless European style cabinets mount differently, with hardware attached directly to cabinet sides rather than to a rear rail. These cabinets often use adjustable hanging brackets that hook onto a mounting rail screwed to blocking.
French cleat systems use angled mounting strips, with one cleat attached to the cabinet back and a matching cleat screwed to blocking. The angled surfaces interlock to hang the cabinet. Blocking for French cleats must span the full cleat length and be positioned 2 to 4 inches below the cabinet top. This system distributes weight effectively across the blocking width and allows cabinets to be lifted off for service or removal without wall damage.
Always consult manufacturer installation instructions. Mounting methods vary significantly between brands and cabinet lines. Premium cabinet manufacturers provide detailed blocking specifications in their installation guides.
Contractor Requirements and Professional Installation Standards

Building codes require upper cabinets to be securely fastened to wall framing capable of supporting the cabinet’s loaded weight. This makes proper blocking installation a code compliance issue, not just a quality preference. Inspectors may verify blocking placement during rough framing inspections before drywall conceals the framing members.
Professional installers follow NKBA (National Kitchen and Bath Association) standards recommending blocking secured to studs with minimum 3 inch fasteners spaced no more than 16 inches apart. The fastener length ensures at least 1.5 inches of penetration into solid stud material after passing through the blocking thickness. Fastener spacing prevents sagging between attachment points and distributes cabinet weight across multiple studs.
DIY installation is possible for those with carpentry skills and proper tools. But hiring experienced carpenters ensures blocking is positioned correctly, level, and adequately secured before drywall conceals the framing. Correcting blocking errors after drywall installation requires removing finished wall sections, adding significant cost and timeline delays. Professional installation includes blocking verification as standard practice, with installers photographing blocking before drywall to document proper placement and provide reference for future remodeling work.
Final Words
Proper blocking height for upper cabinets starts at 79 to 81 inches from the floor for standard installations, but that’s just the baseline.
Your ceiling height, the cook’s reach, and those oversized pot-filler faucets all shift the numbers. If your blocking isn’t level across the run, the doors won’t line up no matter how carefully you hang the boxes.
Install it right during framing, check it twice with a long level, and secure it to every stud. That’s the work that keeps cabinets solid for decades.
FAQ
What height for blocking for cabinets?
The height for blocking for cabinets should be positioned at 79-81 inches from the floor to support upper cabinet mounting rails. This placement puts the bottom of upper cabinets at the standard 54 inches from the floor while allowing the blocking to intersect with the cabinet’s hanging hardware located 2-4 inches below the cabinet top.
What is the 1 3 rule for cabinets?
The 1 3 rule for cabinets refers to proportional spacing where the distance between countertop and upper cabinets (typically 18-20 inches) should roughly equal one-third of the total wall height in an 8-foot ceiling kitchen. This creates balanced visual proportions while maintaining functional workspace clearance for countertop tasks and appliance use.
How tall should upper cabinets be for an 8 foot ceiling?
Upper cabinets for an 8 foot ceiling should typically be 30 inches tall, with their bottom edge positioned 54 inches from the floor. This configuration leaves 12 inches between the cabinet top and ceiling, provides 18-20 inches of countertop clearance, and maintains proper proportion for the space.
What are common cabinet height mistakes?
Common cabinet height mistakes include positioning cabinets too low (reducing workspace clearance), installing blocking without checking level across the full run, failing to account for tall faucets or user height, and securing blocking to drywall only instead of wall studs. These errors cause cramped work areas, misaligned doors, and potential cabinet failure.