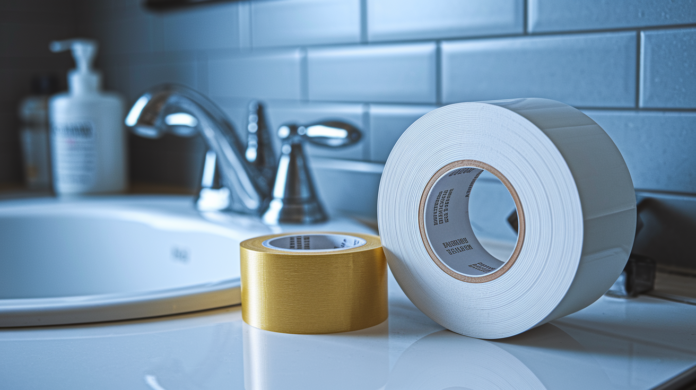

Most contractors still tape bathroom seams with regular paper tape, then act surprised when black mold shows up six months later. If you’re finishing drywall anywhere moisture hangs around (showers, basements, laundry rooms, kitchens), mold-resistant tape isn’t optional anymore. It’s the difference between a repair that holds and one that comes back to haunt you. This guide breaks down fiberglass mesh versus treated paper options, shows you which products actually pass mold testing, and walks through installation so your seams stay clean in the wettest spots of the house.
Understanding Mold-Resistant Tape for Drywall Applications

Mold-resistant drywall tape is joint tape built with antimicrobial coatings and materials that stop mold spores from setting up shop in your seams. Standard paper tape soaks up moisture and basically rolls out a welcome mat for mold growth. Mold-resistant options either shed water or let air move through so the damp conditions mold needs to thrive never happen in the first place.
You’ve got two main materials: fiberglass mesh and treated paper. Fiberglass mesh wins on mold prevention. The mesh creates tiny openings that let moisture evaporate instead of sitting there. Fiberglass doesn’t absorb water like paper does. Paper tape with antimicrobial treatment can fight off mold, but it still holds some moisture when humidity climbs, making it the weaker choice if you’re dealing with serious water exposure.
Bathrooms around tubs and showers need this tape. So do basements with moisture problems, laundry rooms, kitchens near sinks, anywhere humidity stays high or ventilation can’t keep up. These spots see temperature swings that create condensation, regular water contact, or persistent dampness that turns regular tape into a mold garden within months.
Three things work together to prevent mold. The antimicrobial coating creates a surface mold spores can’t latch onto. Perforated or mesh designs maximize airflow so moisture evaporates instead of pooling where mold colonies start. And the moisture-resistant construction keeps the tape from peeling away when humidity spikes, which is what happens with standard tape in bathrooms. It bubbles, separates, creates gaps where moisture gets trapped, and mold takes over.
Basic fiberglass mesh tape starts around $5.99 for a 1-7/8 inch by 300 foot roll. That handles moderate humidity spaces fine. FibaTape X-10 hits a perfect 10 on the ASTM D3273 mold test, giving you verified top-level protection for severe moisture situations. FibaTape Extra Strength runs $16.99 with stronger mesh and better adhesive than budget picks. Budget products work for light-duty spots, but if you’re sealing shower surrounds or basement drywall with ongoing dampness, the premium ratings prevent you from having to redo the work.
Fiberglass Mesh Versus Paper Tape Construction
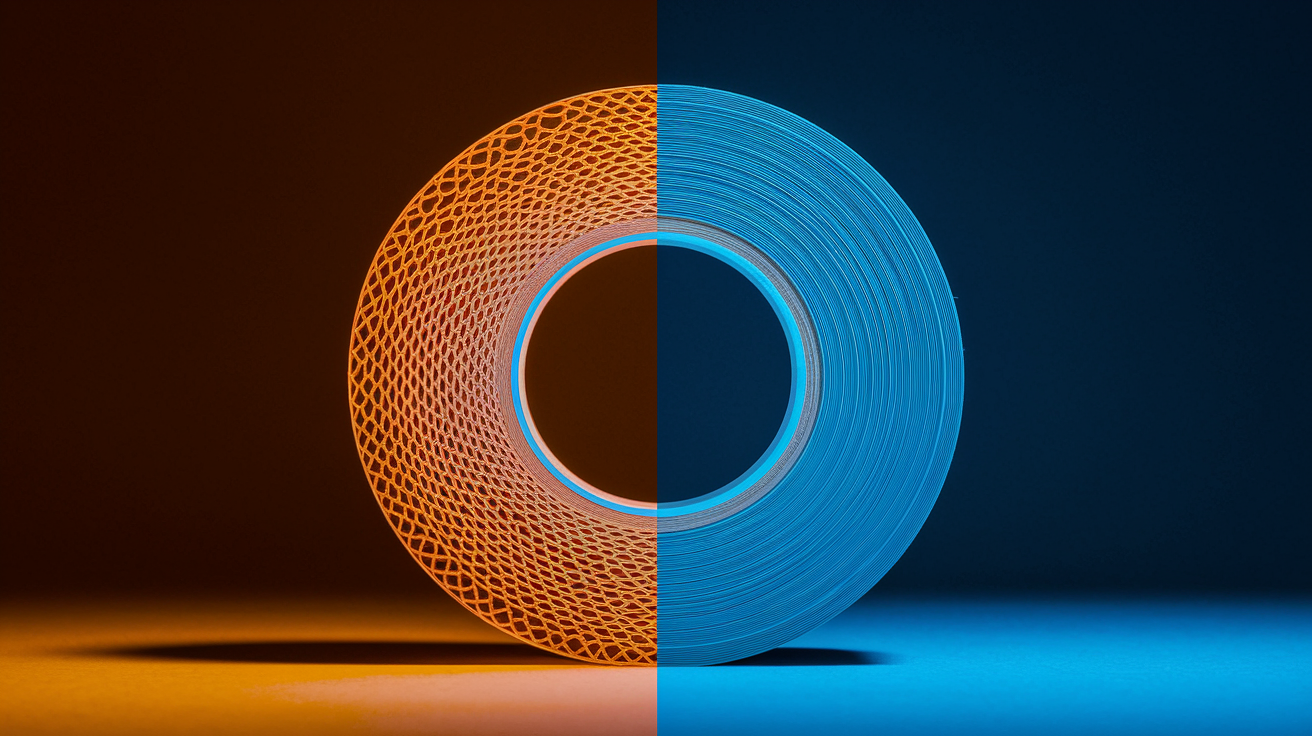
Two materials dominate: fiberglass mesh and paper with antimicrobial treatment. Each has different installation quirks and works better for certain jobs.
Fiberglass Mesh Tape Properties
Fiberglass mesh is woven glass fibers in a grid pattern that won’t absorb moisture. The mesh resists mold because fiberglass doesn’t give mold anything to feed on, and the open weave keeps air moving across the tape surface. Most mesh products have self-adhesive backing. You press it straight onto clean drywall without embedding it in joint compound first, which makes it manageable if you’re tackling this yourself or don’t have much taping experience.
The downside is it stretches slightly under pressure. That can create waves or separation on long seams if you’re not careful applying compound. It’s better for spot treatments, small repairs, corner reinforcement, ceiling patches rather than taping a whole room. The mesh can tear if you yank it at sharp angles while unrolling, though fiberglass still gives you stronger joints than standard paper when you finish it properly with compound.
Paper Tape With Mold-Resistant Treatment
Paper tape is still the most common choice for full-scale projects because it’s more durable when you embed it right in joint compound. Quality paper tape has a factory-applied center wrinkle that gives you flexibility in tight corners and sharp angles. You fold it along the crease and it conforms to inside corners without bunching. Mold-resistant versions add antimicrobial coating to the paper surface, preventing mold colonization but not changing how you install it.
You have to embed paper tape in a wet coat of joint compound, pressing it into the mud and smoothing out air pockets with a taping knife. This creates a stronger mechanical bond than adhesive-backed mesh, and the tape won’t stretch or separate during finishing. Paper tape takes more skill to install without bubbles or wrinkles, but experienced tapers prefer it for long seams, butt joints, big projects where strength and flatness matter more than installation speed.
Pick mesh for small bathroom repairs, DIY corner patches, or projects where self-adhesive convenience beats ultimate strength. Use paper tape for whole-room renovations, long flat seams, professional installations, or anywhere building inspectors expect traditional embedded tape methods.
| Material Type | Adhesive | Best Application | Strength Level |
|---|---|---|---|
| Fiberglass Mesh | Self-adhesive backing | Spot repairs, corners, DIY projects | Moderate, prone to stretching on long seams |
| Paper with Antimicrobial Coating | Requires embedding in joint compound | Full-room projects, butt joints, professional work | High when properly embedded, resists separation |
Installing Tape in Bathroom and Basement Moisture Zones
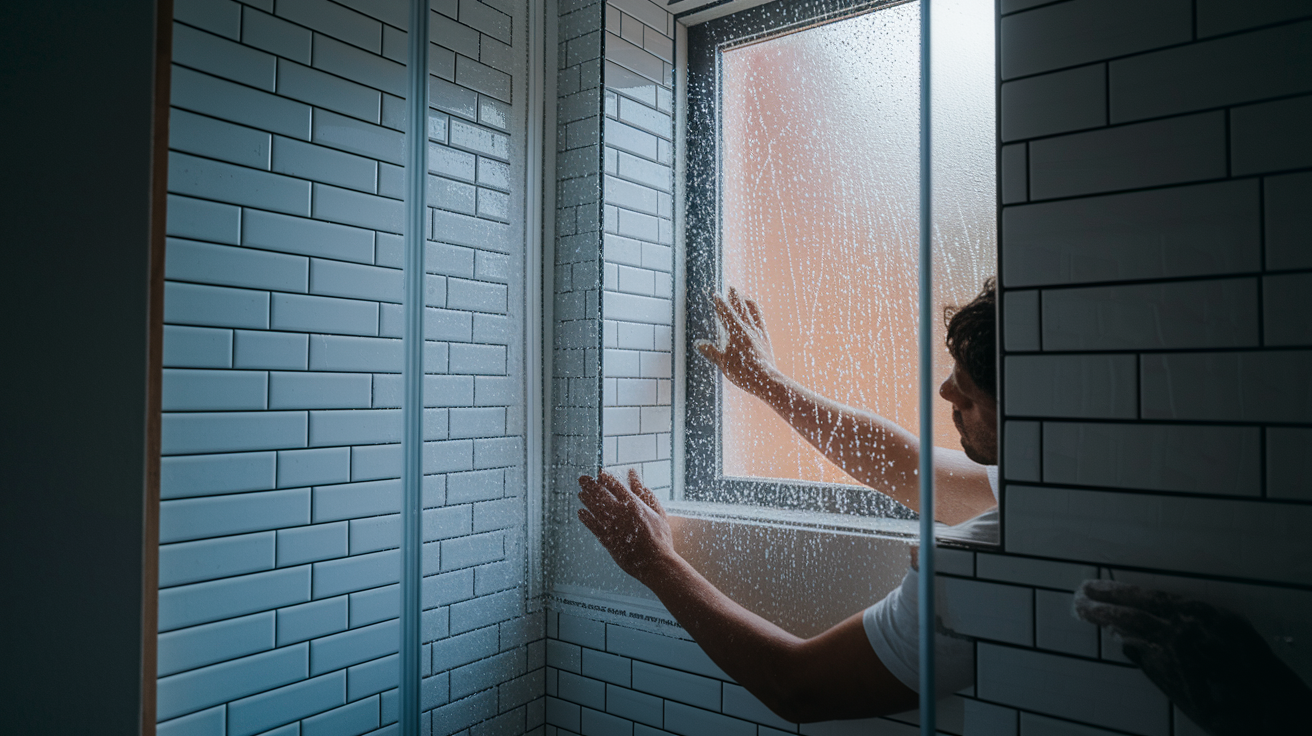
Bathrooms, basements, shower surrounds, laundry rooms need specialized mold-resistant tape because moisture in these spaces turns standard tape into a mold farm. Regular tape absorbs humidity, stays damp between uses, creates the perfect setup for black mold to colonize along every seam. In a shower surround, standard paper tape can show visible mold within three months.
Before you apply tape, the substrate needs to be clean, dry, free of dust, oils, loose debris. Wipe seams with a dry cloth or vacuum them. If joint compound hits a dirty surface, it won’t bond and the tape will peel eventually. For self-adhesive mesh, press the tape firmly into the seam with your hand, then immediately apply joint compound over it. For paper tape, spread a thin coat of compound first, press the tape into the wet mud, then smooth it with a taping knife to embed it fully.
Moisture-resistant construction in fiberglass tape prevents the peeling issue that plagues standard tape in humid environments. When humidity rises, standard tape absorbs moisture, swells, separates from the drywall surface, creating bubbles and gaps where mold colonizes. Fiberglass sheds moisture instead of absorbing it, maintaining its bond to the wall. The antimicrobial coating on premium products adds a second defense layer, preventing mold spores from establishing colonies even if condensation forms on the tape surface temporarily.
For complete moisture protection, match mold-resistant tape to moisture-resistant drywall products. Greenboard seams should use mold-resistant tape to maintain the moisture barrier across the entire wall assembly. Purple board requires mold-resistant tape for warranty compliance in most cases. Cement board seams in shower surrounds need fiberglass mesh tape that won’t deteriorate from constant moisture exposure before you install tile. The tape creates a reinforced waterproof layer when combined with thinset mortar.
Installation Techniques and Joint Finishing
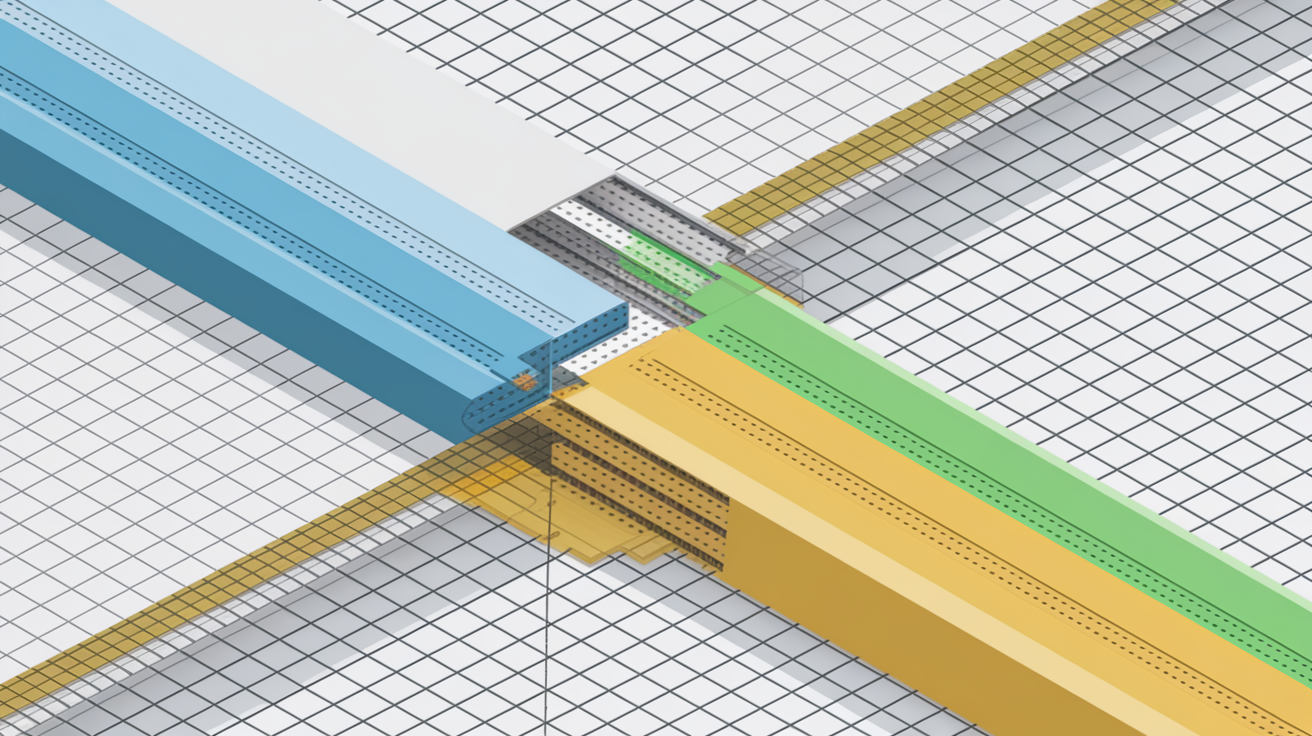
The complete process from tape application through final finishing determines whether your seams stay smooth and crack-free or become visible imperfections that show through paint.
Joint Compound Application Methods
Self-adhesive mesh tape eliminates the need for joint compound during initial tape placement. Less messy, more manageable, quicker if you’re taping for the first time. Press the mesh into the seam with your hand, then apply a thin coat of compound over the tape to fill the mesh openings and create a smooth surface. Paper tape requires embedding in a wet coat of compound from the start. Spread compound along the seam, press tape into it, then smooth with a taping knife to squeeze out excess mud and air pockets.
The three-coat system builds up a smooth finish gradually. First, the embedding coat holds the tape and fills the immediate seam depression. Wait 10 to 15 minutes minimum for fire-resistant tape or until the compound loses its wet shine before applying the second coat, which widens the repair area and starts feathering the edges. The finish coat goes on after the second coat dries completely, usually overnight, extending the feathered edge even farther for a transition you can’t see.
Hold the knife at a 20-degree angle and pull it along the seam with firm, consistent pressure. That forces air out from under the tape and spreads compound evenly. If you see bubbles forming, stop, cut the tape, lift the section, add more compound, re-embed with the knife. Feathering edges means spreading compound progressively thinner as you move away from the seam. Each coat should extend 2 to 3 inches wider than the previous coat with edges so thin they disappear into the surrounding drywall.
After the final coat dries hard, sand the seam with 120-grit or 150-grit sandpaper on a sanding pole. Use a dust mask because the powder gets everywhere. Sand with light pressure in a circular motion, blending the edges into the wall surface. Wipe dust off with a damp sponge, let it dry, then check for imperfections with a work light held at a low angle to the wall. Shadows will reveal any remaining ridges or depressions that need spot compound and re-sanding before you prime.
Butt Joints and Flat Seams
Butt joints where two non-tapered drywall ends meet create the toughest taping challenge because there’s no factory recess to hide the tape and compound. You’ll need standard 1.7 to 1.8 inch wide tape for the joint itself, but expect to apply extra compound layers, often four or five coats instead of three, to build up a gradual crown that feathers out 12 to 16 inches on each side. The goal is creating an imperceptible hump rather than a visible ridge. If you don’t feather it wide enough, the joint will photograph through paint every time light hits the wall at an angle.
Flat seams along tapered drywall edges are easier because the factory recess accepts the tape and compound without creating buildup above the wall surface. The tape sits in the depression, and three coats of properly feathered compound bring the seam flush with the surrounding drywall. Mesh tape works fine here for DIY projects. Paper tape provides superior strength if the wall might see impact or vibration.
Inside Corners and Ceiling Applications
Inside corners in bathrooms and closets use the factory-applied center wrinkle in paper tape for clean results. Fold the tape along the crease, press it into the corner with a corner knife or your fingers, then smooth each side individually with a 6-inch knife. The wrinkle provides flexibility so the tape conforms to the angle without bunching or tearing. Apply compound to both sides of the corner before placing tape, then add a finish coat to each side after the embedding coat dries.
Ceiling joints fight gravity during application, which is why perforated tape helps. The tiny holes allow air to escape upward as you press the tape into wet compound, preventing air bubbles that want to migrate to the high point. If you’re using mesh tape on a ceiling, press it firmly and immediately cover it with compound before it has a chance to sag. For paper tape on ceilings, work in short sections, 3 to 4 feet at a time, keep the compound thin enough that it doesn’t slump before you get the tape embedded, and smooth quickly to lock everything in place before gravity wins.
DIY Installation Versus Professional Methods
Self-adhesive mesh tape offers clear advantages for DIY bathroom repairs: no embedding technique to master, immediate adhesion without waiting for compound to grab the tape, easier cleanup, faster progress for small projects. Inexperienced users can get acceptable results on their first attempt because the tape stays where you put it while you figure out compound application. Just cut strips to the correct length before you start. Overlapping mesh creates thick spots that show through finish coats, and trying to tear it to length while it’s stuck to the wall leads to crooked seams.
Paper tape complexity requires embedding technique mastery. You need to know how much compound to spread, how hard to press the knife, how to identify when you’ve removed enough excess without pulling the tape back off. Professionals prefer paper for large projects because it’s faster once you’ve done it a thousand times, cheaper per linear foot, creates flatter seams with less compound buildup.
Essential tool requirements for either method include a 6-inch taping knife for embedding and corners, a 10-inch or 12-inch knife for feathering second and third coats, a mud pan to hold compound while you work, a hawk board if you’re comfortable working off a hand-held platform, and a damp sponge for final smoothing before sanding. A mesh tape applicator tool costs $29.99 and helps roll mesh tape straight along long seams, though you can do without it for small repairs.
Professional installation makes sense for whole-room renovations, complex corner applications where multiple angles meet, butt joints that need extensive feathering to hide properly, any project requiring building code compliance documentation for permits or insurance. A professional taper will finish a bathroom in half a day with flat seams you can’t find after paint. A DIY first-timer might spend a weekend and still have visible ridges.
Best practices for DIY success: thin coats dry faster and sand easier than thick ones, patience between coats prevents cracking, good lighting during sanding reveals imperfections while you can still fix them. Don’t rush the drying time. If you apply a second coat over damp compound, the moisture trapped underneath will cause the finish to crack or bubble later.
Select your approach based on project scope, experience level, time constraints. If you’re doing one bathroom and you’ve never taped before, mesh tape with a three-coat system will get you acceptable results. If you’re finishing a basement with 50 linear feet of seams, hire a taper or plan to practice on closet seams first.
| Approach | Skill Level | Tools Needed | Best Tape Type |
|---|---|---|---|
| DIY | Beginner to intermediate | 6-inch knife, 10-inch knife, mud pan, sponge, sandpaper | Self-adhesive fiberglass mesh |
| Professional | Expert with embedding technique mastery | Full taping setup including hawk, multiple knife sizes, pole sander, corner tools | Paper tape with antimicrobial coating |
Mold-Resistant Tape Compatibility With Specialty Drywall
Matching mold-resistant tape with moisture-resistant drywall products creates a complete moisture protection system rather than a weak link where standard tape undermines premium drywall. If you install mold-resistant drywall but use standard paper tape on the seams, you’ve just created the exact spots where mold will colonize first. The tape holds moisture while the surrounding drywall sheds it, concentrating the problem at every joint.
Greenboard compatibility matters in moderate-humidity areas like powder rooms and laundry rooms where moisture exposure is regular but not constant. Greenboard has a water-resistant facing that repels humidity, and mold-resistant tape maintains that protection across the seams. The fiberglass construction prevents moisture absorption along the joints, so the entire wall assembly performs as designed. Use mesh or treated paper tape rated for moisture resistance. Standard tape will eventually fail.
Purple board represents enhanced mold-resistant drywall engineered for high-moisture environments, and most manufacturers require mold-resistant tape for warranty compliance. Check the installation instructions before you buy tape. Some products specify fiberglass mesh tape with antimicrobial coating, while others accept paper tape with verified mold resistance ratings. If you skip the specified tape and mold develops at the seams, your warranty claim gets denied. The purple board itself resists mold growth, but untreated tape joints become the failure point.
Cement board seam taping for tile backerboard in shower surrounds and kitchen backsplash applications needs fiberglass mesh tape that survives constant moisture and alkaline thinset mortar. Paper tape deteriorates in this environment. Apply the mesh tape to cement board seams, then embed it in thinset mortar when you install tile, creating a reinforced waterproof membrane. The fiberglass won’t rot, won’t support mold growth, bonds permanently to the thinset for a stable tile substrate.
Compatible drywall types with mold-resistant tape include:
Standard sheetrock in climate-controlled interior spaces where mold-resistant tape adds protection in case of plumbing leaks or HVAC failures. Paperless drywall that already resists moisture but needs seam protection to complete the assembly. Greenboard for bathrooms and laundry rooms with moderate humidity exposure. Purple board for shower surrounds, basement walls, high-humidity areas requiring maximum mold protection. Cement board as tile substrate in wet areas where fiberglass mesh tape creates waterproof seam reinforcement.
Product Comparisons and Brand Selection Criteria
Key selection criteria include ASTM D3273 mold test ratings that quantify actual mold resistance performance, roll dimensions that determine coverage area and waste, width options that match seam size and joint type, price points that separate budget from premium performance.
Standard width options start with 1.7 to 1.8 inches, which remains the most popular size because it covers typical drywall seams without excess material. Professional products often measure 1-7/8 inches wide, splitting the difference between coverage and material efficiency. Medium tape at 2 to 2.5 inches wide works for wider joints, damaged areas, situations where you want extra reinforcement. One medium strip replaces two narrow strips on butt joints or repair patches.
Specific product examples with pricing and performance specs:
Standard fiberglass mesh tape in blue, yellow, or white starts at $5.99 for 1-7/8 inch by 300 foot rolls and provides basic mold resistance for light-duty applications. FibaTape X-10 Mold-Resistant Mesh Tape achieves a perfect 10 rating on the ASTM D3273 mold test, representing verified maximum protection in severe moisture conditions. FibaTape Extra Strength Self Adhesive Drywall Mesh Tape costs $16.99 and offers enhanced adhesive backing plus stronger mesh construction than budget alternatives. A 300-foot roll of 1-7/8 inch tape typically covers 30 to 40 linear feet of seams after accounting for overlap at corners and waste from cutting. Bulk purchasing through contractor suppliers can reduce per-roll cost by 20 to 30 percent on orders of ten rolls or more.
Premium pricing is justified when you get higher ASTM test ratings that prove actual mold resistance rather than marketing claims, stronger adhesive backing that prevents tape separation during compound application, professional-grade construction with tighter weave and tear resistance, manufacturer warranty coverage that protects your work. A $5.99 roll might handle a closet repair, but a shower surround or basement with ongoing moisture issues needs the verified performance of the $16 to $20 products.
Cost effectiveness comes down to coverage area calculation and long-term durability versus initial price. A 300-foot premium roll that costs $17 and prevents mold growth for ten years costs less than a $6 budget roll that fails in two years and requires you to tear out drywall and re-tape. Calculate linear feet needed, add 15 percent for waste and corners, then compare cost per linear foot. The premium product often wins on total installed cost when you factor in your time for repairs. Waste reduction also matters. Self-adhesive mesh that goes on straight the first time wastes less material than paper tape you have to re-cut when it wrinkles during embedding.
Building Codes, ASTM Standards, and Manufacturer Specifications

ASTM D3273 mold test standard measures mold resistance on a 1-to-10 scale under controlled laboratory conditions where test samples face high humidity and mold spore exposure. A rating of 10 represents zero mold growth after the test period, meaning the material completely resisted colonization. Ratings of 8 or 9 indicate minimal growth that doesn’t spread. Ratings below 6 show moderate to heavy mold growth. When you see “perfect 10 rating,” that’s verified performance under worst-case moisture conditions. The tape prevented any mold establishment while untreated control samples showed heavy growth.
Building code considerations for moisture-prone areas vary by jurisdiction, but many local codes now recommend or require mold-resistant products in bathrooms, basements, laundry rooms. Fire-resistant tape is required by code in certain applications like multi-family buildings or commercial construction where fire-rated wall assemblies need every component to meet flame-spread standards. Check with your local building department before starting work. Some jurisdictions require specific product certifications, while others accept any product meeting ASTM standards. For permit compliance, keep product packaging showing test ratings and specifications in case inspectors ask for documentation.
Manufacturer specifications you should verify before installation include temperature conditions (most joint compounds and adhesives require 55°F to 90°F for proper curing), ventilation requirements during the drying period (some products need air movement to cure correctly and prevent mold during the vulnerable wet stage), proper storage recommendations (keep tape dry and at room temperature, frozen or heat-damaged tape loses adhesive strength), shelf life (self-adhesive products typically expire 12 to 18 months after manufacture because the adhesive degrades). If you’re using tape that sat in a garage through two winters, test a sample piece first to confirm the adhesive still grabs.
Warranty coverage issues can void your drywall product warranties if you mix incompatible materials. Using non-mold-resistant tape with purple board or greenboard often violates manufacturer installation requirements, which means mold damage at the seams isn’t covered under product warranties. Follow manufacturer installation instructions exactly, document your work with photos showing product labels and proper technique, keep receipts for all materials. If you file an insurance claim for water damage or mold remediation, documentation proving you used code-compliant mold-resistant materials protects you from claims that improper installation caused the damage.
Final Words
Mold resistant drywall tape isn’t optional in bathrooms, basements, and other wet zones. It’s the practical choice that prevents callbacks and moisture damage down the road.
Match your tape to the job. Mesh works great for spot repairs and DIY speed. Paper with antimicrobial coating handles larger projects where strength matters.
Surface prep, proper embedding, and patient multi-coat finishing determine how long the repair holds. Rush the process and you’ll see it again sooner than you want.
Spend a few extra dollars on proven products with solid ASTM ratings. The tape is cheap insurance compared to cutting out failed joints later.
FAQ
Is mold-resistant drywall tape worth it?
Mold-resistant drywall tape is worth it in bathrooms, basements, laundry rooms, and other high-humidity areas where standard paper tape traps moisture and grows mold. It costs slightly more upfront but prevents costly callbacks from tape peeling, mildew stains, and failed seams.
What paper drywall tape is mold resistant?
Mold-resistant paper drywall tape is standard paper tape treated with an antimicrobial coating that inhibits spore development on the paper surface. This treatment prevents mold growth while maintaining the strength and flexibility of traditional paper tape for corners and large projects.
What is mold resistant tape?
Mold-resistant tape is drywall joint tape made from fiberglass mesh or treated paper with antimicrobial properties that prevent mold and mildew growth in moisture-prone areas. The perforated construction allows airflow to reduce moisture accumulation that causes standard tape to fail.
Does mold proof drywall work?
Mold-proof drywall works when combined with mold-resistant tape and proper ventilation to create a complete moisture protection system. The drywall panels resist mold growth, but seams taped with standard paper tape still fail in humid conditions, which is why matching products matters.
How does fiberglass mesh prevent mold better than paper tape?
Fiberglass mesh prevents mold better than paper tape because the open weave allows continuous airflow through the material, preventing moisture accumulation between the tape and drywall surface. Paper tape creates a sealed barrier that traps condensation and provides a breeding ground for spores.
Where should you always use mold-resistant drywall tape?
You should always use mold-resistant drywall tape in bathrooms around showers and tubs, basement finishing projects, laundry rooms, kitchens near sinks, and any interior space with poor ventilation or elevated humidity. These zones create conditions where standard tape fails.
Can beginners install self-adhesive mesh tape?
Beginners can install self-adhesive mesh tape successfully because it sticks directly to clean drywall without requiring the embedding technique that paper tape demands. The adhesive backing eliminates mess and makes DIY application faster, though you still need proper joint compound technique.
What ASTM rating should mold-resistant tape have?
Mold-resistant tape should have an ASTM D3273 test rating of 8 or higher for reliable protection in moisture zones. Products with a perfect 10 rating show zero mold growth during laboratory testing and justify premium pricing for critical applications.
Does mold-resistant tape work with cement board?
Mold-resistant tape works with cement board seams when installing tile backerboard in shower surrounds and kitchen backsplash areas. The fiberglass construction bonds to cement board surfaces and prevents moisture penetration at joints before tile and waterproofing membranes go on.
How many coats of joint compound does mold-resistant tape need?
Mold-resistant tape needs three coats of joint compound for proper finishing: an embedding coat that secures the tape, a second coat that fills the seam, and a finish coat that feathers edges smooth. Allow 10 to 15 minutes minimum drying time between coats.
Why does paper tape need a center wrinkle?
Paper tape needs a center wrinkle because it allows the stiff material to fold cleanly for inside corners without cracking or creating air pockets. The factory-applied crease provides flexibility for tight angles while maintaining strength across the rest of the tape width.
Will using standard tape void mold-resistant drywall warranty?
Using standard tape can void mold-resistant drywall warranty because manufacturers require compatible mold-resistant products throughout the assembly for warranty coverage. Documentation showing proper material selection matters for insurance claims and future moisture failures that need manufacturer support.