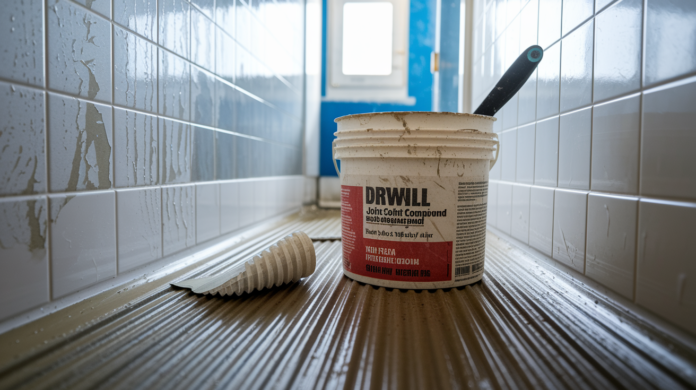

Most contractors don’t upgrade to mold-resistant drywall mud until they’ve torn out a moldy bathroom twice. By then, you’ve blown a couple thousand dollars on demo and replacement when spending an extra $20 per bucket would’ve stopped the problem before it started. In moisture-heavy spaces like bathrooms, basements, and laundry rooms, antimicrobial joint compound gives you real defense against fungi, not just wishful thinking. This guide breaks down which products actually work, where the premium cost pays off, and how to apply them so they deliver the mold protection you’re counting on.
Top Mold-Resistant Joint Compound Products and Performance Comparison
Mold-resistant joint compound gives you antimicrobial protection where regular mud leaves your finish open to fungi. These formulas pack chemical additives that actively stop mold from taking hold on cured surfaces, creating real defense in spaces where moisture sticks around.
| Product Type | Best For | Drying Method | Mold Resistance Level | Price Range |
|---|---|---|---|---|
| Setting-Type (Hot Mud) | Direct water exposure zones | Chemical reaction | Highest | $18-$28 per 18 lbs |
| Ready-Mixed Antimicrobial | Moderate humidity spaces | Evaporation | High | $22-$35 per gallon |
| Lightweight Mold-Resistant | Ceiling applications | Evaporation | Moderate | $20-$32 per gallon |
| All-Purpose With Additives | General finishing in damp areas | Evaporation | Moderate | $15-$25 per gallon |
| Premium Professional-Grade | Commercial and high-risk residential | Chemical reaction or hybrid | Highest | $35-$50 per bucket |
What makes compound mold-resistant is biocides and antimicrobial agents mixed into the gypsum base. These don’t just resist moisture. They create surface chemistry that fungi can’t colonize. Hot mud formulas pull ahead because they cure through chemical reaction instead of waiting for water to evaporate, so they’re not sitting damp while moisture helps mold spores germinate.
You want mold-resistant compound in these spots:
- Bathrooms with tubs or showers where steam and splashing create ongoing dampness
- Basements where groundwater seepage and poor ventilation keep humidity high all year
- Kitchens near sinks, dishwashers, and ranges where cooking steam condenses on walls
- Laundry rooms where washer connections leak and dryer venting can fail
- Mudrooms with exterior doors bringing in rain and snow melt
- Areas around refrigerators, air conditioners, and water heaters where condensation forms on cold surfaces
These locations need antimicrobial formulas because they maintain humidity above 60 percent for extended stretches. Regular compound stays damp longer in these conditions, and that wet window gives mold spores time to land, germinate, and establish colonies. Antimicrobial additives interrupt that process even when moisture lingers, blocking fungi from establishing on your finished walls.
Cost Analysis and Value of Mold-Resistant Compounds

Mold-resistant compound runs 30 to 50 percent more than traditional all-purpose mud. A standard bucket of all-purpose runs $12 to $18 per gallon. The same volume with antimicrobial additives costs $18 to $28. Setting-type hot mud with mold resistance pushes toward the higher end because you’re paying for both the chemical-reaction curing and the biocide additives.
| Project Size | Traditional Mud Cost | Mold-Resistant Mud Cost | Cost Difference |
|---|---|---|---|
| Small Bathroom (50 sq ft) | $25-$35 | $35-$50 | $10-$15 |
| Full Bathroom (100 sq ft) | $45-$65 | $65-$95 | $20-$30 |
| Basement (800 sq ft) | $220-$320 | $330-$480 | $110-$160 |
| Whole House (2000 sq ft) | $550-$800 | $825-$1200 | $275-$400 |
Coverage rates affect your total spend. Most compounds cover 350 to 400 square feet per gallon at normal thickness. If you’re working with moisture-resistant drywall’s denser surface, expect slightly reduced coverage because the waxy facing doesn’t absorb compound the way standard paper does. Plan on 10 to 15 percent extra material when calculating your order.
The value gets clear when you look at remediation costs. Professional mold removal runs $500 to $6,000 depending on severity. If antimicrobial mud prevents one remediation event over ten years, the premium pays for itself several times over. In direct water exposure zones like bathrooms and basements, the calculation tips even further toward specialty products because failure rates with standard compounds climb fast in those conditions.
Comparing Setting-Type and Ready-Mixed Mold-Resistant Formulas
Setting-type compound (hot mud) hardens through chemical reaction between powder and water. Ready-mixed formulas dry by losing moisture to the air. That fundamental difference changes how each product performs when humidity stays high.
| Feature | Setting-Type (Hot Mud) | Ready-Mixed Antimicrobial |
|---|---|---|
| Drying Method | Chemical reaction (exothermic) | Moisture evaporation |
| Working Time | 20-90 minutes depending on formula | Unlimited until applied |
| Moisture Tolerance | Cures in high humidity | Requires air drying, slowed by humidity |
| Mold Vulnerability | Lowest (cures before spores germinate) | Low with additives, vulnerable during drying |
| Skill Level Required | Intermediate to advanced | Beginner-friendly |
| Ideal Applications | Bathrooms, shower areas, basements | Kitchens, laundry rooms, moderate humidity |
Hot mud’s chemical reaction generates heat as calcium sulfate hemihydrate recombines with water to form gypsum crystals. This happens whether air is humid or dry, so your compound hardens on schedule even in a steamy bathroom. The material reaches workable hardness in 20 to 90 minutes depending on which formula you buy (labeled as 20, 45, or 90 minute mud), then continues curing to full strength over the next day. That fast timeline gives mold spores almost no window to land and start growing before the surface chemistry locks in.
Ready-mixed antimicrobial compound needs moisture to evaporate before it hardens. In a space with 70 percent humidity, that evaporation slows way down. Your first coat might take two or three times longer to dry than the label suggests. During that extended damp period, you’re relying entirely on the biocide additives to prevent mold colonization. The additives work, but you’re asking them to protect a damp surface for hours or even days. In extreme moisture areas (right next to a shower, or on a basement wall with active seepage), that’s a tougher job than the additives were designed for. For moderate humidity spaces like kitchens and laundry rooms where moisture comes and goes, ready-mixed antimicrobial formulas handle the exposure fine and give you unlimited working time to feather your coats smooth.
Complete Application Process for Mold-Resistant Joint Compound

Before you open any bucket, walk the space and confirm you’ve solved active moisture problems. Check for roof leaks, plumbing drips, foundation cracks letting groundwater in, and failed exterior caulking. If water’s still entering the space, antimicrobial mud won’t save you from mold. It’ll just delay the problem while moisture accumulates behind your finish.
Surface Preparation and Fastener Requirements
Inspect your moisture-resistant panels for proper installation. These boards are denser and heavier than standard drywall, so they need fasteners every 8 inches on walls and every 7 inches on ceilings to prevent sagging. If you see fastener spacing wider than that, add more screws before you start taping. Bulging panels will telegraph through even the best mud work.
Clean the waxy surface with a dry cloth to remove dust and oils. The wax coating on moisture-resistant drywall repels water, which means it also resists compound adhesion until you get a mechanical bond with your tape. Don’t wet-wipe the panels. That just spreads the wax around and makes adhesion worse.
Check fastener depth. Screw heads should sit in a slight dimple just below the surface without breaking the paper or fiberglass facing. Too shallow and you can’t cover them with compound. Too deep and you’ve damaged the core, creating a soft spot that’ll crack through your finish.
Mixing and Batch Preparation
For setting-type compound, pour clean cool water into a mixing bucket first, then add powder gradually while stirring. The ratio runs about 2 parts powder to 1 part water by volume, but check your specific product’s label. Mix to a smooth peanut butter consistency without lumps. Lumps won’t dissolve once the chemical reaction starts, and they’ll create voids under your tape.
Mix small batches based on your working time window. If you’re using 45-minute hot mud, mix only what you can apply in 30 minutes. That gives you time to work the material before it starts getting stiff. Once the compound begins setting, you can’t re-wet it or extend the working time.
Water temperature affects setting speed. Cold water (below 60°F) slows the reaction, giving you more working time. Warm water (above 80°F) accelerates it. In a hot garage or summer jobsite, use the coldest water you can get to maximize your application window.
First Coat Application and Tape Embedding
Load a 6-inch taping knife with compound and spread a layer about 1/8 inch thick down the length of your seam. Press fiberglass mesh tape into the wet compound, centering it over the joint. The mesh should sit flat without wrinkles or bubbles.
Apply a second layer of compound over the tape right away, pressing firmly with the knife to fill the mesh openings. Hold the knife at a 45-degree angle and use overlapping strokes to force compound through the mesh and bond it to the panel surface. You’re creating a mechanical lock between the tape and the board.
Check for air pockets by running your knife down the seam with light pressure. If you feel the tape lifting or see bubbles, add more compound and press again. Air under the tape creates weak spots that crack when humidity cycles and the wall expands or contracts.
Second and Third Finishing Coats
Wait for complete drying or curing before applying your second coat. With hot mud, that’s typically 2 to 4 hours. With ready-mixed antimicrobial compound in high humidity, it might take 24 hours. Check by pressing your thumb against the compound. If it feels cool or damp, it’s not ready. If it’s warm and bone-dry, you can recoat.
Switch to an 8-inch or 10-inch taping knife for your second coat. Spread compound 6 to 8 inches wider than your first coat on each side of the seam, feathering the edges thin. You want a gradual transition from the built-up seam to the flat panel surface. Keep this coat thin, 1/16 inch or less. Thick coats crack as they dry and shrink.
Apply a third coat with an even wider knife, 10 or 12 inches, extending your feather another 4 to 6 inches past the second coat. This final layer should be almost transparent at the edges. Three thin coats build a stronger, flatter finish than one or two thick coats.
Sanding Between Coats and Final Finishing
| Sanding Stage | Grit Range | Purpose |
|---|---|---|
| Initial Sanding | 120-150 grit | Remove ridges and high spots after first coat |
| Between-Coat Sanding | 150-180 grit | Smooth imperfections before final coat |
| Final Finishing | 180-220 grit | Create smooth surface for primer and paint |
Use a sanding block or pole sander, not just loose paper. The backing keeps your pressure even and prevents creating low spots. Work in circular or crosshatch patterns, not straight lines that follow the seam. That just highlights the joint.
In moisture-prone spaces, control sanding dust. It settles on damp surfaces and creates a film that blocks primer adhesion. Run an exhaust fan to the exterior while you sand, and vacuum walls with a brush attachment before priming.
Maintain ventilation during application and drying. Run bathroom exhaust fans continuously while compound cures. In basements, use a dehumidifier to pull moisture from the air and speed evaporation-based drying. Even hot mud cures better with air movement, though it doesn’t require it.
Tape and Material Selection for Moisture-Resistant Systems

Fiberglass mesh tape is non-negotiable when you’re taping joints on moisture-resistant drywall. The waxy surface coating that makes these panels resist moisture also prevents paper tape from bonding. When humidity rises, paper tape on moisture-resistant board delaminates. It lifts right off the wall, taking your finish with it. Mesh tape creates a mechanical bond by letting compound flow through the grid openings and lock onto the panel surface.
Compare the characteristics:
- Adhesion to waxy surfaces: Mesh tape locks mechanically through compound penetration, paper tape relies on surface bonding that fails on wax coatings
- Moisture tolerance: Fiberglass mesh is non-organic and won’t support mold growth, paper tape is cellulose that mold feeds on when damp
- Mold resistance: Mesh maintains antimicrobial integrity of the system, paper tape introduces an organic weak point
- Structural strength: Paper tape provides slightly higher tensile strength for stress joints, mesh offers adequate strength for most residential applications
- Application ease: Self-adhesive mesh tape sticks to panels before mud application, paper tape requires wet embedding
Paper tape still has its place in two situations. Inside corners where walls meet benefit from paper tape’s ability to crease cleanly down the angle. Most mesh products won’t fold tight enough to create a sharp corner without bunching. Ceiling-to-wall joints also perform better with paper tape embedded in a full bed of compound because these stress points need maximum tensile strength.
When you use paper tape in these spots, apply a generous bed of compound first, embed the tape fully, then cover it right away with another layer of antimicrobial compound. You’re encapsulating the organic paper material in biocide-treated mud on both sides, which maintains mold protection even though you’ve introduced cellulose into the system.
Use flexible carbon steel blade taping knives for all compound work on moisture-resistant panels. Stiff blades concentrate too much pressure and can gouge through the wax coating or delaminate fiberglass facing. A blade with some flex distributes pressure across a wider area and glides over the surface without damaging the specialized coating that’s providing your moisture protection.
Matching Mold-Resistant Products to Specific Project Types
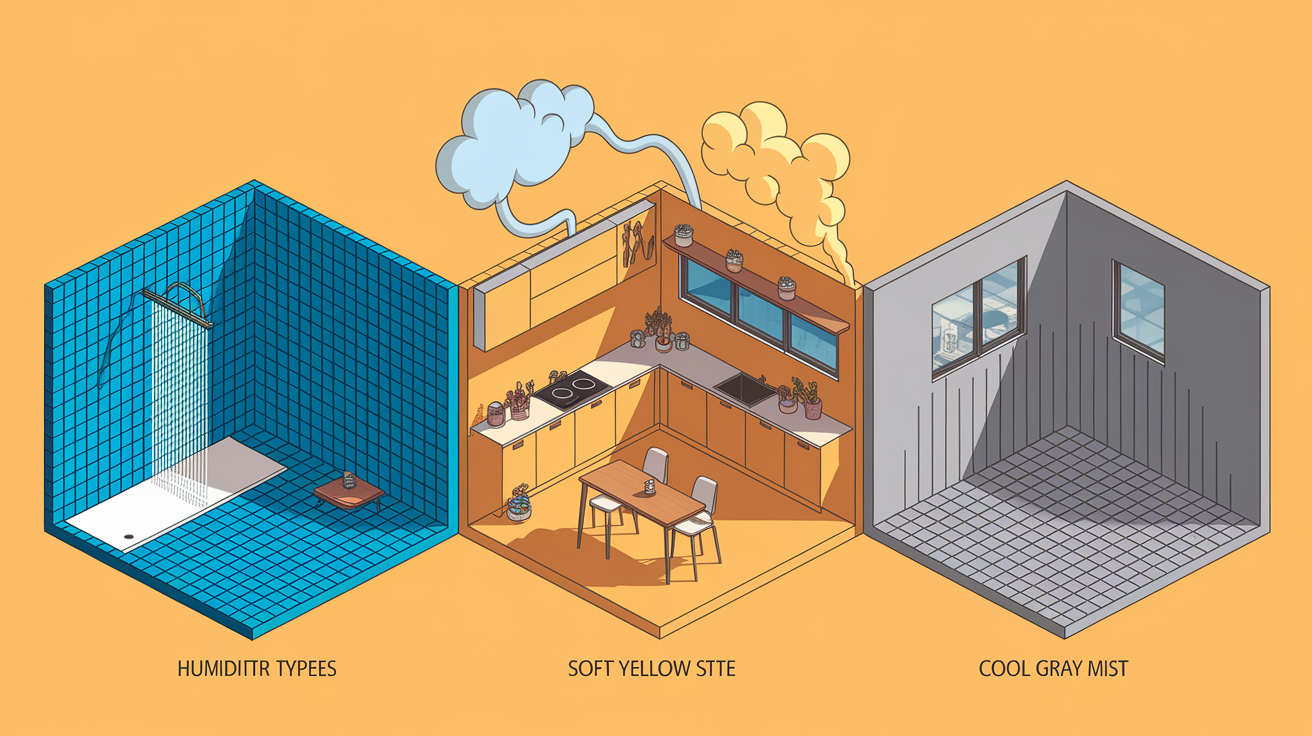
Moisture exposure intensity determines whether you need chemical-setting hot mud or whether ready-mixed antimicrobial compound gives you adequate protection. Match your product to the actual water exposure, not just to the room name on the plan.
Extreme Moisture Areas: Bathrooms and Shower Surrounds
Hot mud is essential within 3 feet of any shower head, tub, or frequently splashed sink. Water hits these walls directly during use, and steam condenses on cold surfaces during and after every shower. Ready-mixed compounds stay damp too long in these conditions, even with antimicrobial additives.
Use 45-minute setting compound for your first coat and tape embedding around tub and shower surrounds. The faster 20-minute formulas set before you can get tape positioned and smoothed. For second and third coats, 90-minute mud gives you time to feather edges smooth without rushing.
Above shower surrounds and on walls across from sinks where splashing is minimal, you can transition to ready-mixed antimicrobial compound for finishing coats. Just keep hot mud where water makes direct contact.
Moderate Humidity Spaces: Kitchens and Laundry Rooms
Ready-mixed mold-resistant compound handles kitchens and laundry rooms where moisture exposure comes from steam and periodic condensation rather than direct water contact. These spaces see humidity spikes when you’re cooking or running the dryer, then levels drop back to normal when you’re done.
Focus antimicrobial products on walls behind ranges, near dishwashers, and around washer connections. The rest of the room can use standard compound unless your climate or building keeps whole-house humidity consistently above 60 percent.
In laundry rooms, check your dryer vent before finishing the space. A disconnected or clogged vent pumps humid air into the room constantly, which pushes you back into the extreme moisture category where you need hot mud, not just additives.
Basement Applications: Walls and Ceilings
Basement product selection depends on whether you’ve got groundwater control in place. If your foundation has proper exterior waterproofing membrane, functioning footer drains, and a working sump pump, ready-mixed antimicrobial compound works on walls and ceilings. The space stays dry enough for evaporation-based drying.
If you see efflorescence (white mineral deposits) on the foundation, feel dampness on concrete surfaces, or smell musty odors, you need hot mud on all surfaces. That means you’ve got moisture moving through the foundation, and evaporation-based compounds won’t cure properly in those conditions.
On basement ceilings near supply plumbing or HVAC ducts, use mold-resistant products even if the walls are staying dry. Cold water pipes and air conditioning ducts create condensation surfaces that drip onto ceiling drywall during humid months.
Around water-using appliances like refrigerators with ice makers, through-wall air conditioners, and water heaters, apply antimicrobial compound at least 2 feet in all directions from the appliance location. These units create localized condensation zones during normal operation, and a slow drip from a failed connection can go unnoticed for weeks if it’s running down inside a wall cavity.
Preventing Common Installation Failures
Mistakes with antimicrobial products cost more because you’ve paid a premium for protection that errors can eliminate. Know what goes wrong so you can avoid it.
-
Ignoring active moisture sources before finishing: If your gutter’s dumping water against the foundation or your bathroom vent terminates in the attic instead of outside, mold-resistant compound can’t overcome the constant moisture load
-
Using paper tape on waxy moisture-resistant surfaces: Paper tape on wax coating fails when humidity rises because there’s no mechanical bond, only surface contact that moisture breaks down
-
Applying thick mud coats instead of thin layers: A single 1/4-inch coat cracks as the surface dries and shrinks while the interior stays wet, and those cracks become mold highways when moisture enters
-
Insufficient drying between coats: Trapping wet compound under a new layer creates internal moisture that can’t escape, leaving a permanently damp zone that antimicrobial additives can’t protect indefinitely
-
Improper fastener spacing on dense panels: When moisture-resistant panels sag between fasteners, your taped joints flex and crack under normal building movement
-
Skipping surface cleaning before compound application: Dust and oils on moisture-resistant panels block mechanical bonding between mesh tape, compound, and the panel surface
-
Inadequate batch planning with setting-type compounds: Mixing more hot mud than you can apply before it starts setting means you’re wasting expensive material and potentially trying to work with partially cured compound that won’t bond properly
Ignoring moisture sources is the costliest error. Antimicrobial additives prevent mold colonization on the compound surface, but they don’t stop water from moving through your wall assembly. If you finish over active leaks or condensation problems, water accumulates behind your new drywall where it condenses on studs and insulation. You’ll get mold growth on the structural components even though your joint compound stays clean. When that happens, you’re tearing out the whole assembly and starting over.
Thick coats crack because compound shrinks as it dries. The surface layer dries first and contracts, while the interior stays wet and tries to hold its original volume. That stress creates crack networks that show through paint and provide channels where moisture can penetrate to the gypsum core. In high-humidity areas, those cracks lead to mold growth at the gypsum level even when your antimicrobial compound surface stays protected. Three thin coats (each 1/16 to 1/8 inch) build a stronger, more flexible finish than one or two thick applications.
Finishing System: Primer and Paint Selection
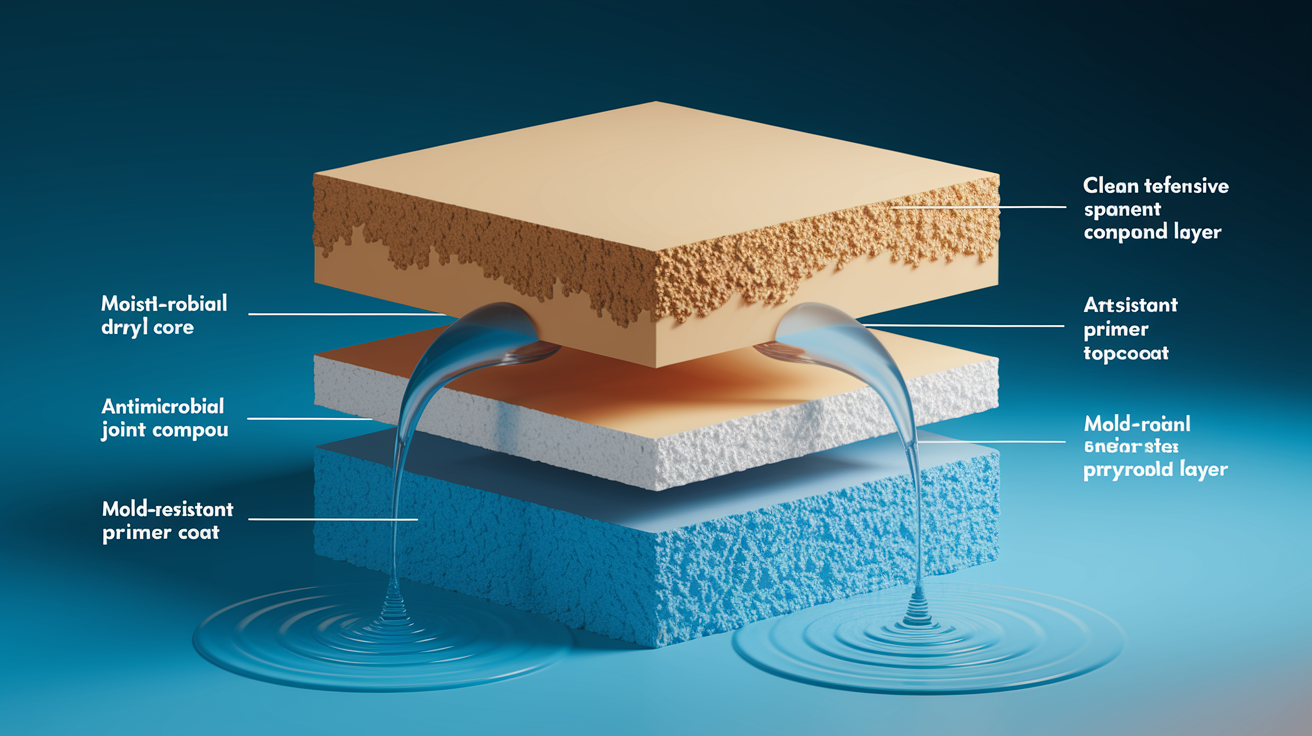
Primer selection affects whether your antimicrobial joint compound system actually delivers long-term mold protection or just delays problems. Standard latex primers create a moisture-permeable film that lets water vapor pass through to the compound layer below. In high-humidity spaces, that vapor transmission keeps your compound damp during humid months, which gives mold spores opportunities to colonize despite the biocide additives.
Use these primer specifications:
- Primer types compatible with mold-resistant mud: Acrylic primer-sealers with moisture-blocking properties and stain-blocking primers that contain biocides matching your compound’s antimicrobial additives
- Mold-resistant paint formulations: Look for EPA-registered mold-inhibiting paint with active ingredients like zinc pyrithione or zinc oxide listed on the label
- Surface preparation before priming: Vacuum walls to remove sanding dust, then wipe with a barely damp microfiber cloth and let dry completely before primer application
- Complete drying verification methods: Touch walls to confirm they feel warm and dry, check with a moisture meter for readings below 12 percent if you have one available
- Application timing: Apply primer within 24 hours after final sanding in high-humidity areas to prevent airborne mold spores from landing on the bare compound surface
Mold-resistant paint creates a second line of defense after your antimicrobial joint compound. The paint film contains biocides that prevent surface mold growth from moisture condensation, cooking vapors, and splash events that wet the wall. When you layer mold-resistant compound under mold-resistant primer and topcoat, you’ve built redundancy into the system. If moisture breaks through one layer, the next layer still provides protection.
Recoat windows matter with setting-type compounds. Hot mud continues curing for 7 days after it reaches working hardness. If you prime too early, solvent from the primer can slow that curing process and reduce final strength. Wait at least 24 hours after your final coat of setting compound before priming, and 48 hours is better. With ready-mixed antimicrobial compound, wait until the material is completely dry all the way through. Press your thumb against the compound in an inconspicuous area. If it feels cool or damp, give it another day.
Long-Term Maintenance for Mold-Resistant Installations

Antimicrobial additives in your joint compound prevent mold colonization, but they work best when you’re controlling the environment they’re protecting. Maintenance isn’t optional if you want the system to deliver long-term performance.
Essential maintenance practices:
- Humidity monitoring targets: Keep interior humidity between 30 and 50 percent year-round using a basic hygrometer, and run dehumidifiers when readings climb above 55 percent
- Regular ventilation schedules: Run bathroom exhaust fans for 20 minutes after every shower, and operate kitchen exhaust during cooking and for 15 minutes after
- Gentle cleaning methods: Wipe walls with a barely damp microfiber cloth and mild pH-neutral cleaner, never spray water directly on the surface
- Periodic inspection procedures: Check corners, behind toilets, under sinks, and around fixtures every 3 months for water stains, soft spots, or musty odors
- Prompt water leak response: If plumbing fails or a flood occurs, pull off baseboards right away and set up fans and dehumidifiers to dry the wall cavities within 48 hours
- Finish touch-up techniques: Sand damaged areas with 180-grit paper, spot-prime with mold-resistant primer, and use mold-resistant paint for touch-ups so you’re not introducing weak points
- Dehumidifier usage guidelines: In basements and humid climates, run a 50-pint dehumidifier continuously during warm months, emptying it daily or connecting it to a drain
Proper environmental control protects your investment in antimicrobial products by keeping moisture levels low enough that mold spores can’t germinate even when they land on surfaces. The biocide additives in your compound are a chemical defense against mold colonization, but they’re not designed to handle continuous water exposure or sustained humidity above 70 percent. When you pair antimicrobial materials with active moisture control, you’re attacking mold risk from two directions: the right materials and the right environment.
Seasonal considerations matter. Summer humidity in most climates pushes interior moisture levels up, especially in basements and poorly ventilated bathrooms. Run exhaust fans longer during humid months, and consider adding a whole-house dehumidifier if you’re fighting high readings in multiple rooms. In winter, cold exterior walls create condensation surfaces when interior humidity is too high. If you see water droplets forming on windows or walls, your humidity is too high for the season. Drop it by running exhaust fans more frequently and reducing moisture sources like open-pot cooking and long showers.
Final Words
Mold resistant drywall mud gives you real protection in bathrooms, basements, and other moisture-prone spaces, but only if you match the right product to your project and apply it correctly.
Setting-type compounds beat ready-mixed options in extreme humidity zones. Fiberglass mesh tape maintains antimicrobial integrity better than paper. Thin coats, proper drying time, and addressing moisture sources before you start all prevent callbacks.
Pair your compound with compatible primer and mold-resistant paint. Keep humidity controlled after the finish cures.
Done right, these systems deliver years of reliable performance without mold comeback.
FAQ
Is there a mold resistant joint compound?
Mold-resistant joint compound exists as a specialized drywall finishing product formulated with antimicrobial additives to prevent mold and mildew growth in moisture-prone areas. These compounds come in setting-type (hot mud) and ready-mixed varieties, with chemical-setting formulas offering superior moisture tolerance for bathrooms, basements, and other high-humidity spaces.
Does mold resistant drywall really work?
Mold-resistant drywall works effectively when paired with proper installation, adequate ventilation, and moisture control. The antimicrobial additives and moisture-blocking properties reduce mold colonization, but they don’t replace addressing underlying water problems or maintaining appropriate humidity levels through dehumidifiers and exhaust fans in treated spaces.
Can you use drywall mud that has mold?
Drywall mud with mold should not be used because contaminated compound spreads mold spores across fresh surfaces and compromises finish quality. Discard any joint compound showing mold growth, dark spots, or musty odor, then address storage moisture issues before opening new containers to prevent repeat contamination.
What drywall mud has no VOCs?
Low-VOC and zero-VOC joint compounds exist as ready-mixed formulas marketed for improved indoor air quality and reduced chemical exposure. Setting-type (hot mud) compounds typically contain fewer volatile organic compounds than traditional all-purpose mud, making them better choices for sensitive individuals or poorly ventilated spaces during application and drying.
When should you use setting-type versus ready-mixed mold-resistant compound?
Setting-type compound should be used in extreme moisture areas like shower surrounds and direct water exposure zones because it cures through chemical reaction rather than evaporation. Ready-mixed antimicrobial formulas work for moderate humidity spaces like kitchens and laundry rooms with periodic moisture exposure and steam.
How much more does mold-resistant joint compound cost?
Mold-resistant joint compound costs 30 to 50 percent more than traditional all-purpose mud, similar to the premium for specialized drywall sheets. The investment pays off through reduced maintenance costs and avoided mold remediation in moisture-prone installations like bathrooms and below-grade spaces.
What tape should you use with mold-resistant drywall?
Fiberglass mesh tape should be used with mold-resistant drywall because it adheres properly to waxy moisture-resistant surfaces and maintains antimicrobial protection when exposed to dampness. Paper tape fails on waxy surfaces and becomes a mold growth target when moisture penetrates the joint, compromising the entire protective system.
How long should you wait between coats of mold-resistant compound?
Wait times between coats depend on compound type, with setting-type (hot mud) hardening in 20 to 90 minutes based on formula, while ready-mixed varieties require 24 hours for complete drying in normal conditions. High humidity extends drying time, so use dehumidifiers and exhaust fans to maintain proper curing conditions.
What grit sandpaper should you use on mold-resistant joint compound?
Use 120 to 150 grit sandpaper for initial sanding after the first coat, 150 to 180 grit between finishing coats, and 180 to 220 grit for final smoothing before primer. Medium-grit removes high spots without damaging antimicrobial surfaces, while fine-grit creates paint-ready finish quality.
Do you need mold-resistant paint after using antimicrobial joint compound?
Mold-resistant paint complements antimicrobial joint compound by creating a layered defense system against moisture and fungal growth. While not strictly required, combining both products maximizes protection in high-humidity bathrooms, basements, and moisture-prone areas where single-layer protection may eventually fail.