

Regular drywall in a damp basement or steamy bathroom is just feeding mold a paper-wrapped snack. Mold-resistant drywall swaps that paper for treated materials or fiberglass that mold can’t eat, but only if you install it right and pair it with proper ventilation. This guide walks through which products work where, the step-by-step hanging process, moisture management that actually prevents callbacks, and what the materials and labor really cost so you can bid jobs accurately and build assemblies that stay clean.
Understanding Mold-Resistant Drywall and Product Selection
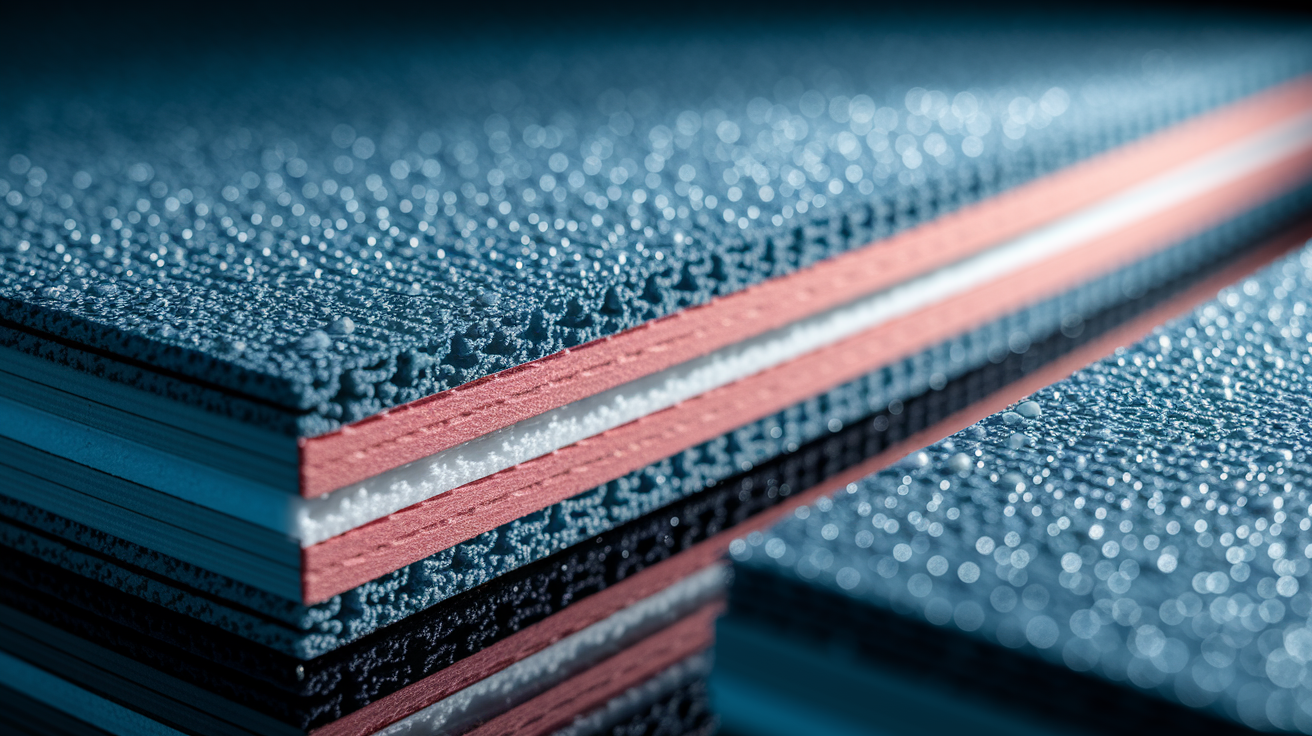
Mold-resistant drywall is gypsum board that’s been treated to resist moisture and mold growth. You’ll find two main types: paper-faced panels (they come in green, yellow, purple, and blue) and paperless versions with fiberglass mat facing on both sides. Regular drywall has paper facing that mold feeds on. These products build moisture resistance into the entire panel, not just the surface. They work best in moisture-prone spots like bathrooms, basements, kitchens, laundry rooms, and behind sinks where humidity and condensation show up regularly.
Before you start shopping, think about thickness (1/2-inch or 5/8-inch), panel lengths (8-foot or 12-foot), and which brand features match your install location. Wall installations over standard 16-inch on-center framing can use either thickness. Ceiling applications need careful matching between panel thickness and joist spacing. The next section breaks down how to pick the right product for what you’re actually building.
Choosing the Right Mold-Resistant Drywall Products
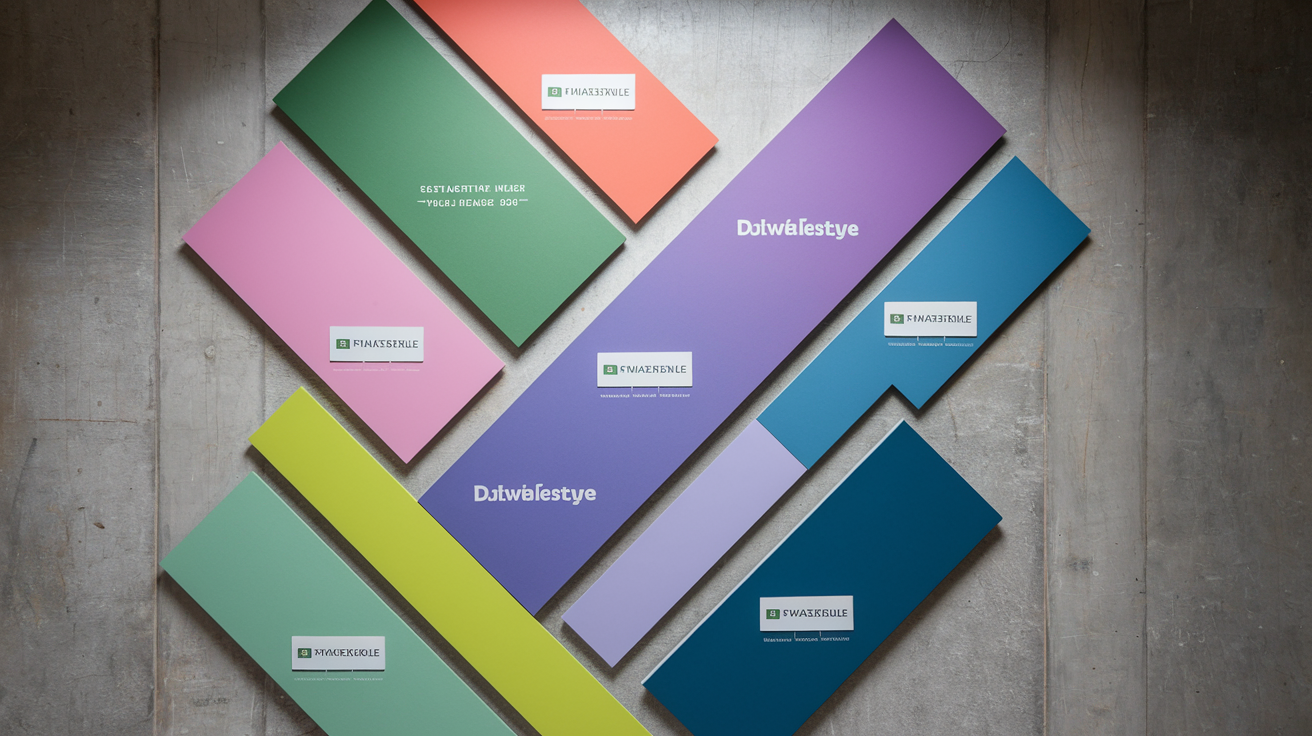
Greenboard is the original moisture-resistant drywall with green paper facing that’s treated to resist moisture. Purple board and other color-coded options from different manufacturers offer upgraded performance with better moisture resistance and mold inhibitors in both the facing and core. Paperless drywall goes further by eliminating paper entirely. Products like DensArmor Plus use a fiberglass mat facing that mold can’t feed on, even when damp. The color coding helps you identify products on the jobsite, but the real difference is how each product handles prolonged moisture exposure.
For thickness selection, use 1/2-inch panels on walls over 16-inch on-center framing. That’s standard residential wall setup and the thinner panel installs faster. For ceilings, you need 1/2-inch panels only if your joists are 12 inches on center or closer. If you’re working with 16-inch ceiling joist spacing, step up to 5/8-inch panels to prevent sagging. The heavier panel costs more and takes more effort to hang, but callbacks from sagging ceilings cost a lot more.
Major brands include Georgia Pacific’s DensArmor Plus with fiberglass exterior coating and treated gypsum interior, National Gypsum’s Purple board with moisture and mold resistance throughout, and USG Sheetrock with moisture-tough core technology. DensArmor gets recommended often because the fiberglass mat can be cut on any edge without compromising moisture resistance. You’re not exposing an untreated paper edge. National Gypsum’s products score high in independent mold resistance testing. USG offers the widest distribution, so you can usually get it same-day when a project needs to move fast.
| Product Type | Best Application | Key Features |
|---|---|---|
| Greenboard (Paper-Faced) | Bathrooms, laundry rooms, moderate moisture areas | Treated paper facing, lowest cost, widely available |
| Purple Board (Enhanced Paper) | High-moisture bathrooms, basements | Superior moisture and mold resistance, treated core and facing |
| Paperless Fiberglass (DensArmor) | Basements, persistent moisture areas, behind tile | No paper for mold to feed on, cut any edge safely, highest performance |
| Cement Board | Shower surrounds, tub enclosures, direct water contact | Waterproof, not just moisture-resistant, tile backer |
Essential Tools and Materials for Drywall Installation

Get your tools organized before you start cutting or hanging anything. Drywall installation moves in stages, and stopping mid-panel to hunt for a tool or fastener messes up your workflow and your joint layout. You’ll work faster and get better results when everything’s within reach and you’re not improvising solutions because you forgot the right bit or tape.
The specialized materials matter as much as the panels themselves. Use mold-resistant joint compound for all your taping and finishing. Standard compound defeats the purpose of mold-resistant panels if it grows mold on the seams. Fiberglass mesh tape is the right choice for moisture-resistant applications because it won’t wick water or harbor mold growth like paper tape can in damp conditions.
- Measuring tape and T-square for accurate measurements gets you clean layouts without accumulated error. A 25-foot tape and a 4-foot drywall T-square let you mark and verify cuts.
- Drywall saw and utility knife for cutting panels work together. The saw handles cutouts, the knife scores and snaps straight cuts.
- Screw gun or drill with drywall bit needs an adjustable depth setting to prevent overdriving screws through the facing.
- Drywall screws (proper spacing and length) means 1-1/4 inch for 1/2-inch panels, 1-5/8 inch for 5/8-inch panels, coarse thread for wood framing.
- Mold-resistant joint compound should be labeled specifically for moisture areas. Usually comes in purple or green tinted formulas.
- Fiberglass mesh tape for seams is self-adhesive mesh tape for most seams, paper-backed fiberglass for corners.
- Safety glasses and dust mask protect you from gypsum dust that’s fine and gets everywhere during cutting and sanding.
- Drywall lift or helper for ceiling installation can be rented for $40-75 and eliminates the wobble and fatigue of overhead work.
- Sanding tools and trowels include pole sander for walls and ceilings, hand sander for detail work, 6-inch and 10-inch taping knives.
Moisture Management and Ventilation Systems
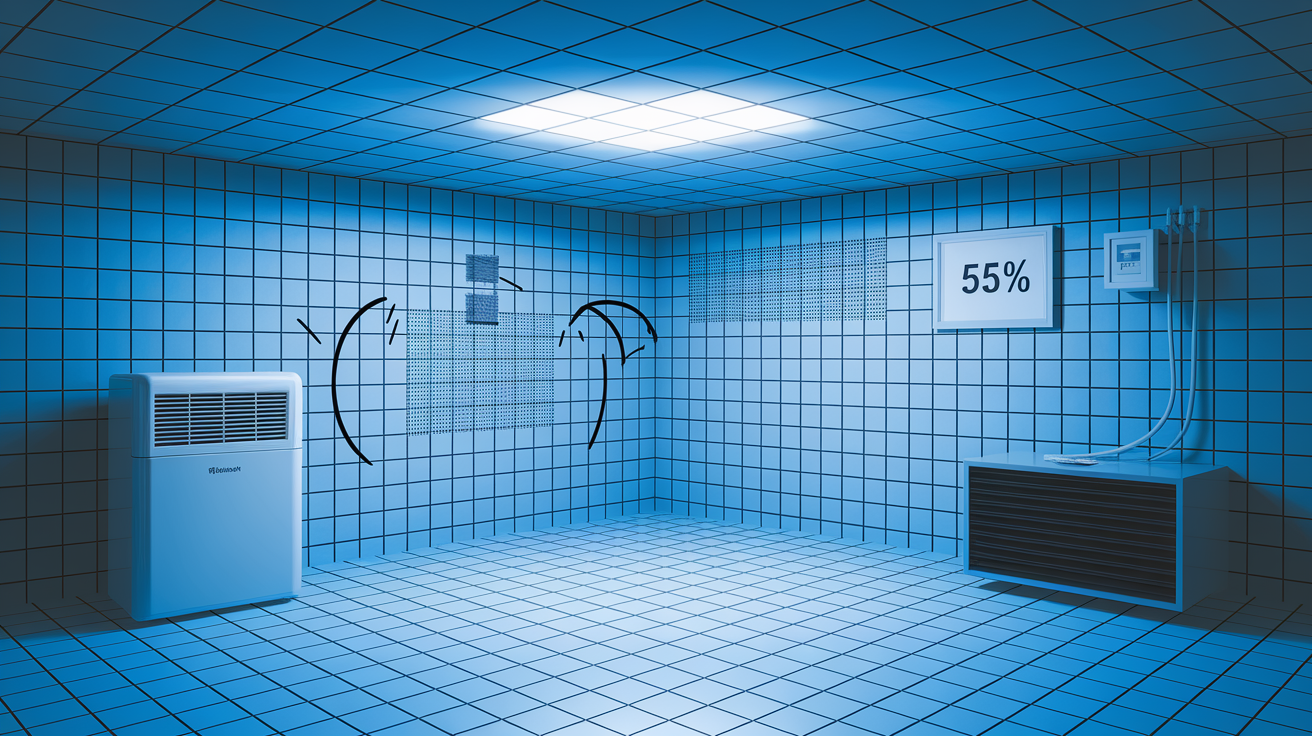
Mold-resistant drywall is one component of a moisture management strategy, not a complete solution on its own. Even the best moisture-resistant panels will fail if you’re trapping water vapor in the wall cavity or letting humidity levels stay above 60 percent for days at a time. The panels resist mold growth better than standard drywall, but they’re designed to withstand high humidity and low levels of moisture. Not continuous soaking or trapped condensation.
Proper ventilation starts with exhaust fans in bathrooms rated for the room size. Calculate 1 CFM (cubic feet per minute) per square foot of bathroom floor area, or use the simplified rule of 50 CFM for bathrooms under 50 square feet and 80 CFM for larger bathrooms. The fan needs to vent to the outside, not into the attic where the moisture just moves to a different problem location. Kitchen range hoods should vent cooking moisture and steam outdoors. Recirculating hoods just move the moisture around the kitchen. In newer airtight construction built since 2000, whole-house ventilation through an HRV (heat recovery ventilator) or ERV (energy recovery ventilator) helps manage indoor humidity by exchanging stale humid air with fresh outside air without wasting heating or cooling energy. “Mold is more prevalent in structures built during the past 25 years due to airtight construction that traps moisture in walls and ceilings.”
Basements need dehumidification because they’re surrounded by damp soil and concrete that wicks moisture into the space. Set a dehumidifier to maintain 50-60 percent relative humidity year-round. In summer that might mean running continuously, in winter the furnace usually handles it. If you’re finishing a basement and running insulation, avoid mold in basement drywall by confirming your drainage and waterproofing work first. No drywall product fixes an active water problem.
Vapor barrier coordination prevents double vapor barriers that trap moisture between layers where it condenses and feeds mold. When you’re insulating walls or ceilings before installing mold-resistant drywall, use unfaced insulation batts. The kind without the kraft paper or foil facing. The mold-resistant drywall acts as a vapor retarder on its own when you finish it with paint. If you create a second vapor barrier on the inside of the insulation, any moisture that gets into the wall cavity has nowhere to dry. It sits there condensing on the cold side of whichever barrier it hits first.
Don’t install mold-resistant drywall over a separate vapor retarder (plastic sheeting, foil-faced insulation) if you’re planning to finish the wall with vapor-retardant materials including ceramic tile with mastic adhesive, vinyl tub surrounds, vinyl wallpaper, or oil-based paint. Each of those finishes acts as a vapor barrier on the room side. Add another barrier on the back side of the drywall and you’ve created a condensation sandwich. When temperature differences pull moisture into the wall assembly, it gets trapped and concentrated right where the drywall and vapor barrier meet. That’s how you get mold growth behind mold-resistant drywall. Not because the drywall failed, but because the assembly design trapped water where nothing can dry.
Preparing Surfaces and Framing Before Installation
Strip out any existing damaged drywall before you hang new panels. You need to see what’s behind the surface. Hidden mold growth on framing, water stains on studs, or deteriorated insulation all point to moisture problems that mold-resistant drywall won’t fix. If you find mold on framing lumber, clean it with a borax solution or encapsulating primer after the wood dries completely. If you find rot or soft wood, that’s structural damage requiring replacement before you close up the walls. Any active water intrusion (leaking pipes, foundation cracks, missing flashing) must be repaired first. Mold-resistant drywall resists moisture in the air, it doesn’t stop water from flowing through walls.
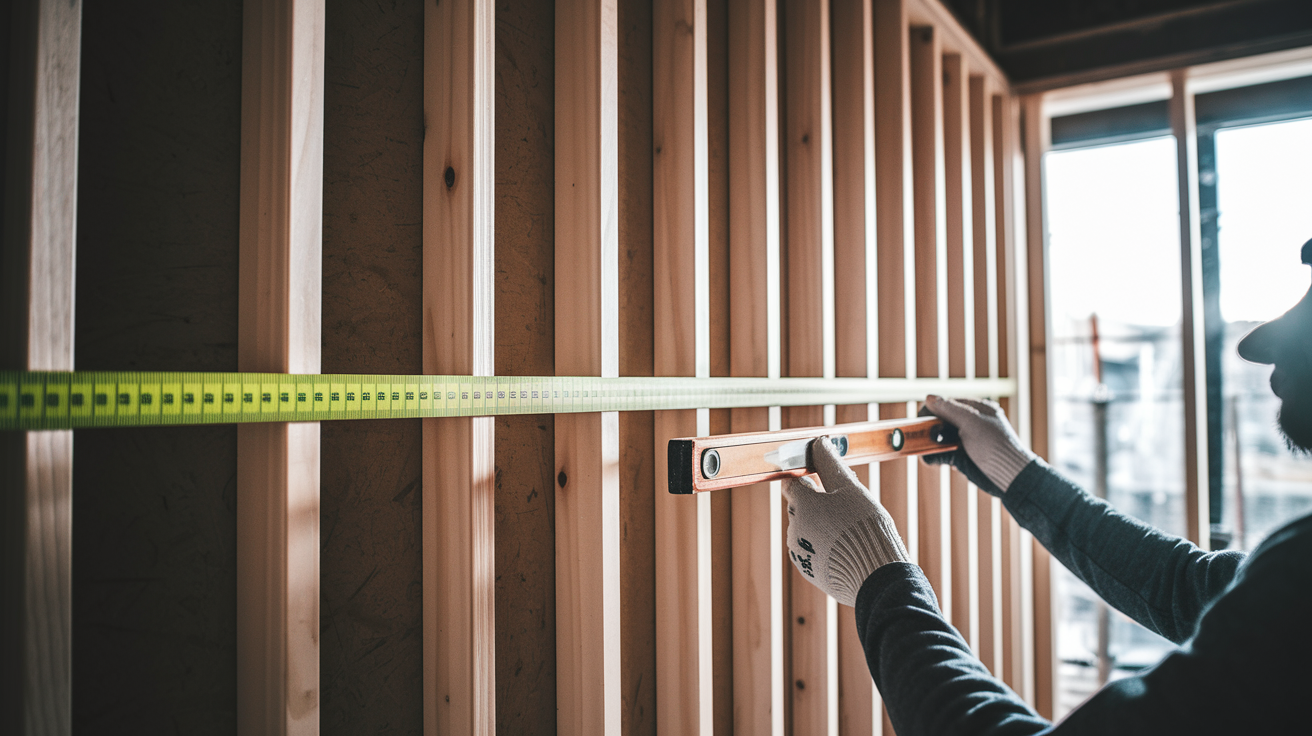
Check your framing layout and condition before you start measuring panels. Standard wall framing runs 16 inches on center. That’s measuring from the center of one stud to the center of the next stud. Some older homes and budget construction use 24-inch spacing, which is too wide for 1/2-inch drywall without sagging. You’ll need to add studs or furring to bring it to 16 inches. Ceiling joists should be 16 inches or closer for 5/8-inch panels, or 12 inches or closer for 1/2-inch panels. If joists run wider, you need blocking or strapping. Verify that all framing is secure and doesn’t have movement or bounce. Loose framing telegraphs through finished drywall as cracks or fastener pops. Add blocking at all panel edges that won’t land on a stud or joist, especially around windows, doors, and at horizontal seams.
Let your panels acclimate to the space for at least 24 hours before installation, longer in cold or very humid conditions. Stack them flat in the room where they’ll be installed so they adjust to the temperature and humidity. Drywall that goes from a cold garage to a warm bathroom can expand after installation, pushing seams open. Clear the work area completely. Furniture, flooring materials, anything you don’t want covered in gypsum dust. Set up adequate lighting, especially for ceiling work where shadows hide fastener dimples and surface imperfections.
Step-by-Step Installation on Walls and Ceilings
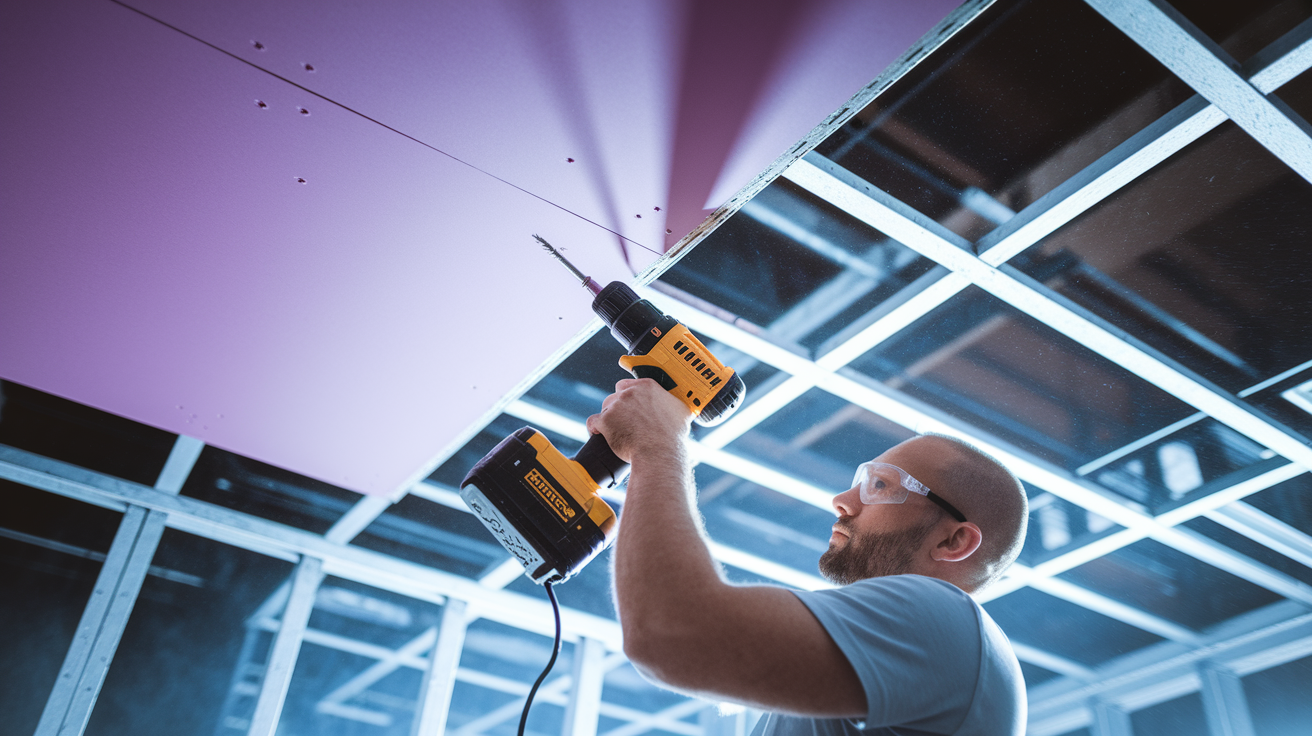
Ceiling panels go up first, then walls. That way the wall panels support the ceiling edges and you get tighter joints with less chance of cracking where walls meet ceilings. The fastening principles are the same whether you’re working on walls or ceilings. Screws must be straight, properly spaced, and driven to create a slight dimple without breaking the facing material.
Installing Panels on Wall Surfaces
Measure the wall height and cut your first panel to length. Most residential walls are 8 feet, which matches standard panel length, but check before you assume. For partial sheets, measure twice and mark your cut line with a straightedge. Score the face deeply with a utility knife, snap the panel backward, then cut the back paper. Rough edges get hidden in the joint compound, so don’t spend time perfecting cuts that land on studs. Cutouts for outlets and switches need more care. Measure from the last installed panel and from the floor, mark the cutout on the panel face, then use a drywall saw to cut from the center outward to each corner.
Hang panels horizontally when the room is wider than 8 feet. You’ll get fewer vertical seams, which are harder to hide than horizontal seams. Position the panel tight against the ceiling, then fasten it working from the center outward toward the edges. That prevents buckling and keeps the panel flat against the studs. Drive screws every 12 inches along each stud, keeping them at least 3/8 inch from panel edges to prevent crumbling. Work systematically from one corner of the room around to where you started. Bottom panels should float about 1/2 inch above the floor. Don’t force them tight to the subfloor where they’ll wick moisture. That gap gets hidden by baseboard later.
Ceiling Installation Requirements
You need a helper or a panel lift for ceiling work. Holding a 60-pound panel overhead while you drive fasteners is how people get hurt and how panels crack. A rented panel lift gets the panel positioned and braced so you can focus on fastening. If you’re using a helper, position the panel on top of your heads while you both move into position, then lift it up with your hands while the helper holds one end and you fasten the other.
Select your panel thickness based on joist spacing. Use 5/8-inch panels over joists spaced 16 inches on center for residential ceiling loads. That thickness has enough rigidity to stay flat and not sag between joists over time. If your joists are closer than 12 inches on center, you can use 1/2-inch panels to save weight and cost. Run panels perpendicular to the joists so each panel spans across multiple joists. That’s stronger than running panels parallel where they only attach at two edges.
Fasten ceilings more tightly than walls because gravity works against you. Drive screws every 8 to 12 inches along each joist, starting in the middle of the panel and working outward. That technique prevents the panel from sagging away from the joists as you work. Keep fasteners at least 3/8 inch from panel edges and at least 1 inch from panel ends where the gypsum core is more likely to crumble.
Drive every screw straight in, perpendicular to the panel surface. Angled screws tear the facing material and don’t hold. The screw head pulls through under load. The screw head should dimple the surface just below flush, creating a small depression you’ll fill with compound later. If the screw breaks through the facing, back it out and drive a new screw about 2 inches away. Screws driven too deep have no holding power, screws sitting proud will telegraph through your finish coats.
Sealing Joints and Applying Mold-Resistant Compound

Mold-resistant joint compound is essential for maintaining the moisture resistance of your installation. Standard all-purpose compound can grow mold in damp conditions, especially in the thick buildups at butt joints and corners where drying takes longer. Look for compound specifically labeled for moisture-resistant or mold-resistant applications. Most manufacturers tint these products purple or green so you can verify you grabbed the right bucket on the jobsite.
Fiberglass mesh tape works better than paper tape in moisture-prone areas. The mesh is self-adhesive, so it stays in position while you work, and it won’t wick water or soften if the wall gets damp. Paper tape can work if you prefer it for butt joints where you need the extra strength, but use paper-backed fiberglass tape instead of standard paper. You get the strength with better moisture resistance.
- Apply base coat of mold-resistant compound over seams. Spread compound about 6 inches wide along the seam, thick enough to embed the tape.
- Embed fiberglass tape into wet compound. Press the self-adhesive mesh tape onto the seam, then smooth compound over it with your knife, feathering the edges.
- Apply second coat after first coat dries (24 hours). Widen the compound to about 8 to 10 inches, building the center and feathering the edges thin.
- Feather edges wider with each coat. Third coat goes 10 to 12 inches wide, sanding between coats only if you have ridges or lumps.
- Apply final skim coat for smooth finish. A thin layer over the entire seam area fills any remaining low spots and creates a uniform surface for paint.
Corner bead gets installed before you start taping seams. Metal or vinyl corner bead gets fastened directly to the corner with screws or crimps every 12 inches. Bullnose or rounded corner bead needs a setting-type compound for the first coat because all-purpose compound is too soft to hold the shape. Butt joints where two panel ends meet are the hardest seams to hide because there’s no factory taper to recess the tape and compound. Expect butt joints to take an extra coat or two, and keep your feathering wide (12 to 16 inches on each side) so the buildup blends gradually into the flat panel surface.
Thin coats beat thick coats every time. A thick coat takes days to dry completely, shrinks as it dries creating a depression you’ll need to fill with another coat, and cracks under stress. Three or four thin coats, each dried completely before the next, creates a stronger joint and flatter finish than two heavy coats. If you’re tempted to speed the drying with heat or fans, don’t. Forced drying pulls moisture out unevenly, causing surface cracks and weak spots in the compound.
Installation in Specific High-Moisture Areas

Different moisture-prone areas need adapted installation approaches while following the same core fastening and finishing techniques. Basements have moisture challenges from concrete and soil contact. Bathrooms deal with steam and direct water spray. Kitchens get cooking moisture and sink splash. Each location requires specific product selection and detailing.
Bathroom and Laundry Room Applications
Install mold-resistant drywall on all bathroom walls, not just the obviously wet areas. Steam from showers spreads throughout the room, condensing on walls, ceilings, and inside wall cavities near cold exterior walls. In laundry rooms and utility rooms, focus on the bottom 4 feet where washing machine overflow, dryer condensation, and general splash concentrate. The upper wall sections see less moisture risk unless you’ve got poor ventilation trapping dryer exhaust moisture at the ceiling level.
Behind sinks, extend mold-resistant drywall at least 6 inches beyond the sink edges on both sides and up to counter height. Caulk lines fail over time, letting water run down the wall behind the countertop where you can’t see it until damage is significant. That’s a spot mold loves.
Shower surrounds and tub enclosures require cement board, not mold-resistant drywall. Even paperless fiberglass-faced drywall isn’t rated for direct water contact or continuous wet conditions. Cement board or tile backer board is waterproof and provides the right substrate for tile adhesive in wet areas. Use mold-resistant drywall everywhere else in the bathroom that doesn’t get direct spray.
Basement Wall Installation
Install mold-resistant drywall throughout the entire basement, not just the bottom sections near the floor. Mixing regular drywall on upper walls with moisture-resistant on the bottom creates vulnerability where airborne mold spores common in basements will feed on the paper facing of regular drywall. Even basements without past water problems have higher humidity and more mold spores in the air than upper floors. The paper facing on regular drywall is a food source for mold. It doesn’t need standing water to start growing, just elevated humidity and organic material.
Paperless fiberglass-faced products like DensArmor make sense for basements because the entire product is mold-resistant. You can cut panels on any edge without exposing untreated materials. If you’re working with foam insulation directly on concrete walls, which is common in basement finishing, the foam serves as your vapor barrier and thermal break. Install the mold-resistant drywall directly over the foam without adding another vapor barrier between them.
If your basement has any history of dampness, moisture testing, or musty smells, address those problems before you close up walls. Even mold-resistant drywall won’t hold up to water running down the inside of a wall cavity from foundation leaks or condensation from missing vapor control. For guidance on moisture prevention and ventilation strategies in basements, see How to Install Drywall in a Basement.
Kitchen and Utility Space Considerations
Kitchens need mold-resistant drywall behind sinks, around dishwashers, and on walls near ranges where steam from cooking concentrates. The wall area behind the sink extending 12 inches on each side and up to the bottom of the upper cabinets should be moisture-resistant. If you’re running a tile backsplash in that area, the mold-resistant drywall serves as a good substrate and provides insurance against water that gets past the grout lines.
Areas around dishwashers see moisture from steam during the drying cycle and from potential supply line or drain leaks. Even a slow leak from a dishwasher connection can saturate regular drywall over time without showing visible damage until the mold smell or a soft spot alerts you to the problem. Utility spaces with water heaters, HVAC equipment, or water treatment systems should use mold-resistant drywall within 2 to 3 feet of the equipment. That’s where condensation and minor leaks go unnoticed until significant damage accumulates.
Building Codes and Inspection Requirements

Local building codes often mandate moisture-resistant or mold-resistant materials in specific locations, particularly in climate zones with high humidity or areas prone to flooding. Check with your local building department before you order materials. Some jurisdictions require permits for drywall replacement in bathrooms and basements, others only need permits if you’re changing the structure or mechanical systems. The permit pulls in inspections that verify your work meets code for fire resistance, fastening patterns, and moisture control.
Fire-resistance ratings matter when you’re working on attached garages, shared walls in multi-family buildings, or creating fire-rated assemblies between living spaces and mechanical rooms. Mold-resistant drywall is available in Type X formulations with 5/8-inch thickness rated for one-hour fire resistance when properly installed. The rating requires specific fastening patterns and joint treatment. You can’t skip screws or leave gaps. ASTM standards for moisture-resistant gypsum board (ASTM C1396) define performance requirements for water absorption and surface hardness that panels must meet to carry moisture-resistant labeling.
Typical inspection points happen after framing is complete and before drywall goes up, then again after drywall is hung but before taping and finishing. The inspector verifies framing spacing, blocking placement, and vapor barrier installation in the first inspection. After hanging, they check fastener spacing, proper panel thickness for the framing spacing, and fire-rated assembly compliance where required. They’re also looking for ventilation system adequacy. Bathrooms and kitchens need proper exhaust venting, not just a fan that recirculates air.
Common code requirements and inspection checkpoints:
- Fastener spacing and pattern verification (12 inches on walls, 8-12 inches on ceilings, proper edge distances)
- Proper panel thickness for framing spacing (5/8-inch for 16-inch ceiling joists, 1/2-inch acceptable for walls)
- Fire-rated assembly compliance (Type X drywall where required, complete coverage with no gaps)
- Vapor barrier installation review (no double vapor barriers, proper placement relative to insulation)
- Ventilation system adequacy (bathroom exhaust fans vented outside, kitchen range hoods functional)
- Manufacturer installation guideline adherence (following specifications for specialty products)
Finishing, Priming, and Paint Selection

Start sanding with 150-grit sandpaper once all joint compound coats have dried completely. The goal is smoothing transitions between compound and drywall surface, not removing compound. Use a pole sander for walls and ceilings to keep even pressure and reach full height without a ladder. Work in circular motions, feathering out ridges and high spots. Switch to 220-grit for the final sanding pass. It removes sanding scratches from the coarser grit and creates a surface that won’t show texture through paint. Dust control matters because gypsum dust is fine and spreads throughout the house. Seal off doorways with plastic, open windows if weather allows, and wear a dust mask that filters particulates, not just a cloth covering.
Prime all new drywall before painting, period. Unpainted drywall absorbs paint unevenly. The compound-covered joints soak up less paint than the bare gypsum paper, creating flat spots and shiny spots called flashing. Primer seals the entire surface uniformly so your finish coats go on consistent and you’re not chasing coverage problems through three coats of paint. In high-humidity areas including bathrooms, basements, and laundry rooms, use a mold-resistant primer specifically formulated with mildewcides. Standard primer will work, but mold-resistant primer gives you another layer of protection and costs only a few dollars more per gallon.
Paint compatibility matters in moisture areas. Semi-gloss and satin finishes hold up better than flat paint in bathrooms and kitchens because they’re less porous and easier to wipe clean without damaging the surface. Mold-resistant paint formulations include additives that prevent mold spores from establishing colonies on the painted surface. That doesn’t mean the paint kills mold or fixes moisture problems. It means mold has a harder time growing on the paint film when humidity levels run high. Use mold-resistant paint in bathrooms, the bottom sections of basement walls, and laundry rooms. The rest of the house can use standard paint.
Texture options work on mold-resistant drywall just like standard drywall. Knockdown, orange peel, and skip trowel textures all apply normally. Just make sure you’re using mold-resistant compound if you’re texturing in moisture-prone areas. Alternative finishes including tile installation work well because mold-resistant drywall serves as an excellent base for ceramic, plastic, or metal tile applied with adhesive. Wallpaper compatibility is fine for breathable wallpaper types, but avoid vinyl wallpaper in high-moisture areas because it acts as a vapor barrier that can trap moisture behind it.
Common Installation Mistakes and How to Avoid Them
Even experienced DIYers cut corners or misunderstand critical details that compromise mold-resistant drywall performance. Most mistakes happen during installation, not from material failures. Recognizing common errors before you make them saves time, materials, and callbacks for repairs that could have been avoided with proper technique from the start.
Proper technique beats speed on every drywall job. Rushing through fastening patterns or skipping prep steps because “it’s just a basement” creates work that fails within the first year. If you’re investing in mold-resistant materials, install them correctly so they perform as designed.
| Common Mistake | Problem It Causes | Correct Approach |
|---|---|---|
| Screw spacing too wide (18-24 inches) | Panels sag, fasteners pop through finish, joints crack from movement | 12 inches on center for walls, 8-12 inches for ceilings, measure and mark spacing |
| Applying joint compound too thick | Extended drying time, cracking during cure, depression when compound shrinks | Multiple thin coats with 24 hours dry time between applications |
| Ignoring underlying moisture source | Mold grows behind drywall, structural damage continues, materials fail prematurely | Fix leaks, improve drainage, add ventilation before installing any drywall |
| Skipping panel acclimation period | Panels expand after installation, seams open, fasteners pop, joints crack | Stack panels flat in installation room for 24-48 hours before hanging |
| Wrong panel orientation on ceilings | Weak installation with fewer attachment points, sagging between joists | Run panels perpendicular to joists so each panel crosses multiple joists |
DIY Installation Versus Hiring Professional Contractors
Small projects favor the DIY approach when you have basic drywall experience, the necessary tools, and time to work carefully. A single bathroom with straight walls and no structural complications makes sense as a DIY project. You’ll spend two to three weekends on the complete installation (removal, hanging, taping, finishing, sanding, priming, and painting) versus a professional crew that finishes the same bathroom in one to two days. If you already own or can borrow the essential tools (screw gun, drywall saw, taping knives, sanding equipment), your material costs run $200 to $400 for a typical bathroom, plus your time. The work itself isn’t complicated, just repetitive and detail-focused.
Professional help makes sense when you’re facing extensive mold remediation, structural repairs, or large-scale finishing projects like complete basement buildouts. Professionals carry the specialized tools for ceiling work, know how to handle tricky details around HVAC ducts and electrical boxes, and finish the job without the learning curve tax you’ll pay as you figure out taping and sanding technique. If your project uncovered mold growth beyond surface discoloration (actual colonies growing on framing or insulation), that’s remediation work requiring containment, proper disposal, and verification of successful cleanup. Most homeowners don’t have the equipment or expertise to handle that safely.
Material costs for mold-resistant drywall run $15 to $30 per 4×8 panel depending on thickness, brand, and features. Standard greenboard sits at the low end, paperless fiberglass-faced products cost more. Joint compound, tape, fasteners, and corner bead add another $50 to $100 for a typical room. If you need to rent a panel lift for ceiling work, that’s $40 to $75 for a day or weekend. Professional installation rates run $1.50 to $3.00 per square foot including materials, taping, finishing, and cleanup. The higher end of that range applies to difficult spaces (basements with lots of mechanicals, bathrooms with complex tile surrounds) or premium finishing levels.
Calculate square footage by measuring wall and ceiling areas in the space. For walls, multiply wall length by wall height for each wall section, then add them together. For ceilings, multiply room length by room width. Subtract openings (windows, doors) if they’re large, but don’t bother for small areas. You’ll waste more time calculating than you’ll save on materials. Add 10 percent for waste and cuts. A typical bathroom with 80 square feet of walls and 40 square feet of ceiling needs about 130 square feet of material after waste allowance. That’s roughly four 4×8 sheets.
Time investment for DIY bathroom work realistically takes 15 to 20 hours spread over multiple days: 2-3 hours for demolition and prep, 3-4 hours for hanging panels, 8-10 hours for taping and multiple finish coats with dry time, and 2-3 hours for sanding and priming. That’s not including painting. Professional crews complete the same scope in 8 to 12 working hours because they’re not figuring it out as they go and they don’t stop for work or family interruptions.
Maintaining and Repairing Mold-Resistant Drywall
Routine maintenance starts with visual inspections every few months in high-moisture areas. Look for discoloration, soft spots, or bubbling paint that signals water intrusion or trapped moisture. Check behind and under sinks, around toilet bases, and along tub and shower edges where caulk failures let water run into walls. Catch problems early and you’re patching a small section, ignore them and you’re replacing entire walls. Maintain humidity levels below 60 percent year-round using dehumidifiers in basements and ensuring bathroom and kitchen exhaust fans run during and after moisture-generating activities. A cheap hygrometer (humidity gauge) costs $10 to $15 and gives you actual numbers instead of guessing whether the space feels damp.
Ensure your ventilation systems function properly. Bathroom fans actually pull air when they run, kitchen exhaust hoods vent outside, and basement dehumidifiers drain continuously rather than shutting off with full buckets. Test bathroom fans by holding a tissue up to the grill. It should stick to the grill from suction. If it falls or barely moves, your fan is clogged or disconnected, not actually removing moisture. That’s money spent on electricity to run a fan that’s decorative, not functional.
Clean mold-resistant drywall with mild detergent solutions mixed in warm water. Use a soft cloth or sponge, not abrasive scrubbers that damage the surface. Wipe the wall, then go over it again with clean water to remove detergent residue. Avoid excessive water. You’re cleaning the surface, not soaking the drywall. If water drips down the wall or puddles at the base, you’re using too much. Even mold-resistant drywall has limits to how much moisture it can handle, and prolonged soaking will eventually compromise any drywall product. Don’t use bleach-based cleaners routinely because bleach degrades joint compound and painted surfaces over time. Save bleach solutions for actual mold growth removal, not regular cleaning.
Leak detection and immediate response prevent most drywall damage. When you find a leak (dripping pipe, failed seal around a fixture, roof or foundation water intrusion), fix the source immediately and dry the affected area thoroughly before closing it up. Pull wet insulation, dry framing completely (a moisture meter helps verify when wood is actually dry), then confirm no mold growth established before installing new drywall. For guidance on moisture prevention and monitoring strategies in basements where these issues commonly occur, review [How to Install Drywall in a Basement](https://www.
Final Words
Mold resistant drywall installation requires more than just swapping out panels.
You need proper ventilation, moisture management, and careful attention to fastener spacing and joint treatment. Each step builds on the last.
When you fix the moisture source first, use the right thickness for your framing, and finish with mold-resistant compound and paint, you’re building a system that works together.
That approach prevents callbacks and protects the space long-term. Get the prep right, follow the sequence, and the panels will do their job.
FAQ
Does mold-resistant drywall really work?
Mold-resistant drywall does work when installed properly and combined with adequate moisture control and ventilation. The fiberglass facing or paperless construction eliminates the paper food source that mold needs, but high humidity or direct water contact will still cause problems if the underlying moisture issue isn’t addressed.
Which way to install mold-resistant drywall?
Mold-resistant drywall should be installed horizontally on walls over 16-inch on-center studs, with panels perpendicular to framing members. On ceilings, hang panels perpendicular to joists using 1/2-inch thickness over 12-inch centers or 5/8-inch thickness over 16-inch centers to prevent sagging.
Is mold-resistant drywall required by code?
Mold-resistant drywall is required by code in some jurisdictions for specific high-moisture areas like bathrooms and basements, but requirements vary by location. Check with your local building department to confirm whether moisture-resistant gypsum board is mandated for your project area before purchasing materials.
How much does mold-resistant drywall cost?
Mold-resistant drywall typically costs $15 to $30 per panel, which is 20 to 40 percent more than standard drywall. Professional installation adds $1.50 to $3.00 per square foot in labor costs, making a typical bathroom project range from $300 to $600 for materials and installation combined.
Can mold-resistant drywall be used in shower surrounds?
Mold-resistant drywall cannot be used in shower enclosures or directly above tubs where it will be exposed to standing water or direct spray. These areas require cement board backer or tile backer board systems designed for continuous moisture exposure, not just high humidity conditions.
How long does mold-resistant drywall last?
Mold-resistant drywall lasts 30 years or more in properly ventilated spaces with controlled humidity levels below 60 percent. Lifespan decreases significantly if moisture sources aren’t addressed, ventilation is inadequate, or the drywall experiences repeated wetting from leaks or condensation problems.
Do you need special screws for mold-resistant drywall?
Mold-resistant drywall uses the same standard drywall screws as regular gypsum board, with 1-1/4 inch screws for walls and 1-5/8 inch screws for ceilings. Screw spacing remains critical at 12 inches on-center for walls and 8 to 12 inches for ceilings to prevent sagging or bulging over time.
Can you use regular joint compound on mold-resistant drywall?
You should not use regular joint compound on mold-resistant drywall in high-moisture areas because standard compound provides a food source for mold growth. Use mold-resistant joint compound throughout the taping and finishing process, and apply fiberglass mesh tape instead of paper tape for best moisture resistance.
What is the difference between green board and purple board?
Green board and purple board both resist moisture, but purple board offers superior mold and moisture resistance with better performance in high-humidity areas. Purple board can handle more direct moisture exposure and maintains its structural integrity longer than green board when humidity levels fluctuate or rise above 70 percent.
Does mold-resistant drywall need to be sealed?
Mold-resistant drywall needs proper finishing with mold-resistant primer and paint to create a complete moisture management system. Joints must be sealed with mold-resistant compound and fiberglass tape, and cut edges should receive primer coverage to prevent moisture absorption into the gypsum core at exposed areas.