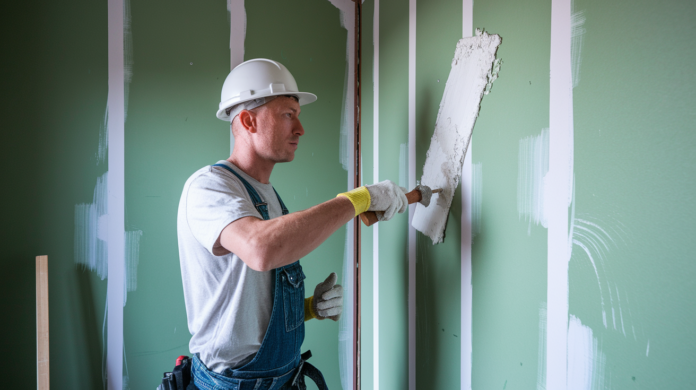

You’ve spent hours taping and mudding drywall in a basement bathroom, only to see dark spots blooming through your fresh paint six months later. That’s mold eating through standard joint compound that couldn’t handle the moisture. Mold-resistant drywall compound isn’t a magic fix, but in high-humidity spaces like bathrooms, laundries, and below-grade rooms, it stops spores from colonizing the finished surface long enough for proper ventilation and moisture control to do their job. This guide breaks down which products actually work, where you need them, and how to apply them so the finish lasts.
Recommended Mold-Resistant Joint Compound Products
Here’s what you can actually buy from major manufacturers:
• USG Sheetrock Brand Mold Tough All-Purpose Joint Compound – Premixed with antimicrobial protection, works with standard and moisture-resistant drywall, comes in 1-gallon and 5-gallon buckets
• CGC Sheetrock EasySand 45 with Dust Control and Mold Resistance – Setting compound that hardens in 45 minutes, has mold inhibitors built in, you mix it with water as you need it
• National Gypsum ProForm Gold Bond Mold-Resistant Joint Compound – Premixed all-purpose with antimicrobial additives, spreads and sands smooth
• USG Durabond with Mold-Resistant Properties – Chemical-setting compound in multiple set times (20, 45, 90 minutes), gives you better moisture resistance through crystalline curing
• Georgia-Pacific ToughRock Mold-Guard Joint Compound – Lightweight premixed made for fiberglass-faced panels, repels water better than standard formulas
These products fight mold two ways: antimicrobial additives stop spores from colonizing, and modified formulations repel moisture from getting into the dried compound. The antimicrobials create an environment where mold spores can’t establish colonies or pull nutrients from the compound. Some formulations also cut down porosity, limiting the moisture retention that feeds mold.
You’ll pay 30 to 50 percent more than standard versions. A regular 5-gallon bucket of all-purpose compound costs $18 to $25, while mold-resistant versions run $25 to $40. Setting compounds in powder form actually cost less per use since you only mix what you need right then. Home Depot and Lowe’s carry these, along with drywall supply yards. Stock varies by region, so call your local store before making the trip.
Key Ingredients That Prevent Mold in Drywall Compound

Mold prevention starts at the molecular level with specialized chemical additives that mess with the conditions mold needs.
The main active ingredients are antimicrobial agents like zinc pyrithione, sodium benzoate, or proprietary fungicides. These work by interfering with mold spore germination and mycelium development. When spores land on treated compound, the antimicrobials prevent the cellular processes mold uses to get established. Zinc pyrithione damages the cell membranes of fungi, making them leak and die before they spread. Sodium benzoate creates an acidic environment that shuts down enzyme activity mold needs for metabolism. Some manufacturers also throw in borates, which are naturally occurring minerals that are toxic to mold but safe for people at the concentrations used here. The formulation typically includes hydrophobic additives too, making water bead up and run off instead of soaking in.
Most mold-resistant compounds keep VOC levels low or at zero despite these chemical additions. The antimicrobial agents don’t evaporate and stay bound in the compound matrix. Check product labels for VOC ratings and safety certifications. Compounds meeting Green Guard or similar low-emission standards won’t mess with your indoor air quality. You should still wear basic dust protection when sanding any joint compound, but the cured product doesn’t pose much health risk.
These additives bump up viscosity a bit compared to standard compounds. Some finishers notice it feels thicker during spreading. The difference is minor and you don’t need to change your technique. Drying time stays basically the same as conventional all-purpose compounds. The antimicrobial ingredients stay active for years, giving you long-term protection even as the wall goes through humidity swings.
Complete Application Guide for Mold-Resistant Compound
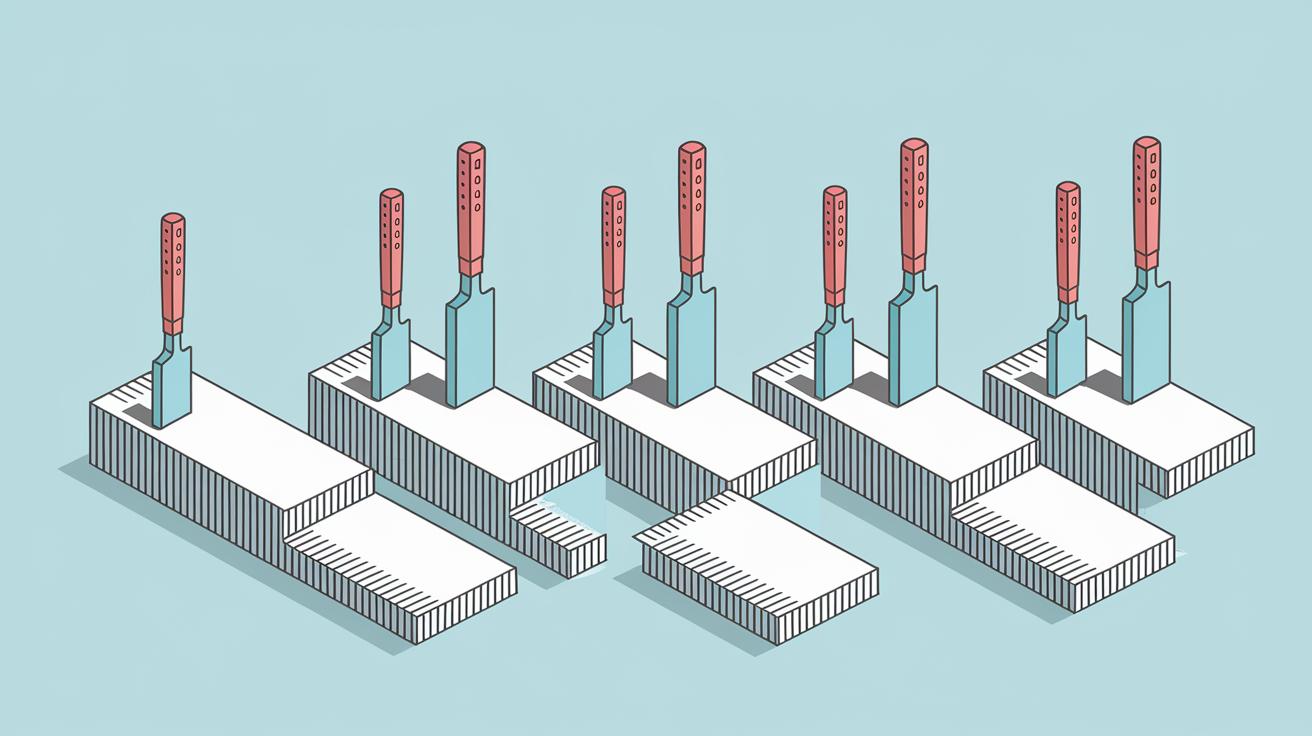
Start with clean, dry surfaces. No dust, oil, or loose debris. Sweep or vacuum the drywall, then wipe joints with a slightly damp cloth if you’ve got heavy construction dust. Keep temperature between 55°F and 70°F during application and drying. Set up fans or crack windows for air movement, but don’t blast fresh compound with direct airflow. That causes premature surface drying.
Here’s the proper sequence from tape embedding through finishing:
-
Apply First Coat and Embed Tape – Load a 6-inch taping knife with compound and spread a thin layer over the joint. Press fiberglass mesh tape into the wet compound, centering it over the seam. For inside corners and ceiling-to-wall joints, paper tape works better. Embed it the same way.
-
Remove Excess and Smooth – Run the knife back over the tape with firm pressure to squeeze out excess and ensure full contact. The tape should be completely covered but just barely visible through a thin compound layer.
-
Allow Complete Drying – Let the first coat cure fully before the next coat. In normal conditions this takes 12 to 24 hours. In humid environments, add 50 percent more time. The compound should be hard and pale with no dark or glossy wet spots.
-
Apply Second Coat – Switch to an 8-inch or 10-inch knife. Spread compound 4 to 6 inches wider than the first coat, feathering the edges thin where they meet untaped wall. Use smooth, overlapping strokes at a slight angle to the joint.
-
Feather Edges Carefully – You’re trying to blend the compound into the surrounding wall so you can’t see or feel the transition. Hold the knife at a low angle and apply light pressure on the final smoothing pass.
-
Sand Between Coats – After the second coat dries, sand lightly with 120-grit or 150-grit sandpaper to knock down ridges and high spots. Don’t sand hard enough to expose the tape.
-
Apply Third Coat – Use a 10-inch or 12-inch knife for the widest spread. This coat should reach 8 to 12 inches from the joint center, creating a smooth, invisible transition.
-
Final Sanding – After complete drying, sand with 180-grit or 220-grit paper for a smooth finish ready for primer and paint.
Fiberglass mesh tape bonds better with mold-resistant compounds than paper tape because the compound can grip the open weave of the mesh. Paper tape works on corners because the fold gives it structural support the compound can lock around. If you’re finishing outside corners with bead, treat them like flat seams with mesh tape. Inside corners often need paper tape’s flexibility to conform to the angle without wrinkles.
Drying time stretches way out in humid conditions. A coat that would normally set overnight might need 36 hours in a damp basement. Check by touch, not by clock. The surface should feel cool and hard, not tacky or soft. Rushing this causes the next coat to rehydrate the layer below, leading to bubbling, cracking, or sagging as the whole assembly stays soft.
Keep air moving through the space during application and curing. A box fan in the doorway or a window cracked open helps moisture leave the air so it can accept moisture from the drying compound. Don’t blast the wall directly with a fan. That can cause surface cracking. You want gentle air exchange, not rapid forced drying.
Where Mold-Resistant Compound Is Necessary
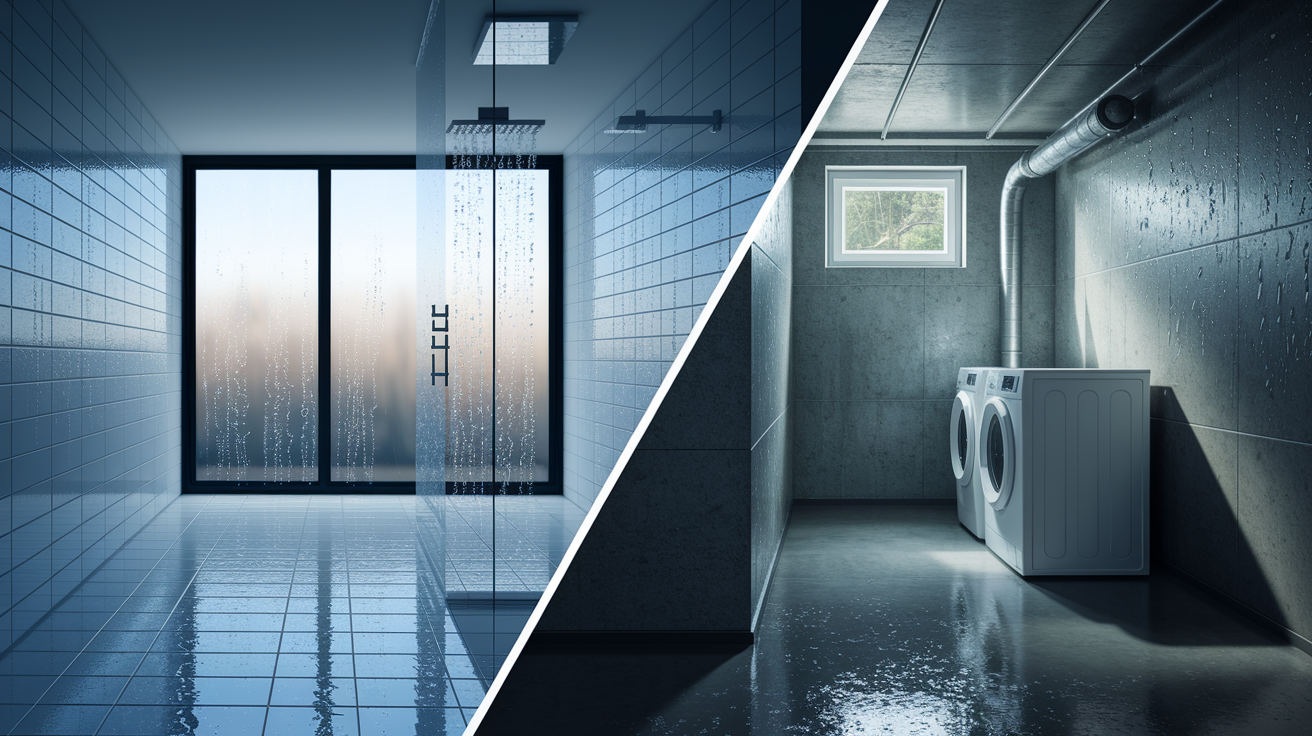
High-humidity environments create the moisture conditions where mold-resistant compound pays for itself through longer service life and fewer repairs. You need it in any space with frequent moisture exposure, chronic humidity above 60 percent, or a history of mold problems. Bathrooms with showers, laundry rooms with poor ventilation, and basements that feel damp fall into this category. Water-using appliances create localized humidity spikes that can overwhelm standard compound over time.
| Room/Area | Moisture Risk | Compound Type Needed |
|---|---|---|
| Full Bathroom with Shower/Tub | High | Essential – mold-resistant required |
| Basement Below Grade | High | Essential – mold-resistant required |
| Laundry Room | Medium to High | Recommended – mold-resistant preferred |
| Kitchen | Medium | Recommended near sink and appliances |
| Coastal/Tropical Climate Homes | Medium | Recommended throughout house |
| Shower Surround Walls | Direct Water | Not suitable – use cement board and tile |
| Standard Bedroom | Low | Optional – standard compound adequate |
| Living Room/Dining Room | Low | Optional – standard compound adequate |
Standard compound with proper ventilation works fine in bedrooms, living areas, and other spaces where humidity stays moderate and water exposure doesn’t happen. The cost difference between standard and mold-resistant compound runs $10 to $20 per bucket. If you’re finishing 15 sheets of drywall in a bedroom, you might use two buckets, adding $20 to $40 to the project. That’s not worth it if the room stays dry. But in a basement bathroom where you’d otherwise see mold spots within a year, that same $40 buys years of protection and eliminates a future repair job.
Climate drives compound selection more than most finishers realize. Coastal homes deal with salt air and persistent humidity that never fully drops even in winter. Houses in the Southeast face long humid summers where indoor humidity hovers at 65 to 75 percent despite air conditioning. In these conditions, using mold-resistant compound throughout the house makes sense. In dry climates like the Southwest, you can limit it to bathrooms and kitchens where localized moisture creates isolated risk zones.
Mold-resistant compound can’t overcome poor building practices or missing moisture barriers. If water actively leaks through a wall or condensation drips down inside the assembly, no compound will prevent mold. Fix the water intrusion first, then use appropriate materials. These compounds also don’t replace waterproofing. Shower walls need cement board and waterproof membranes, not just mold-resistant gypsum products.
Setting-Type vs. Premixed Mold-Resistant Formulas
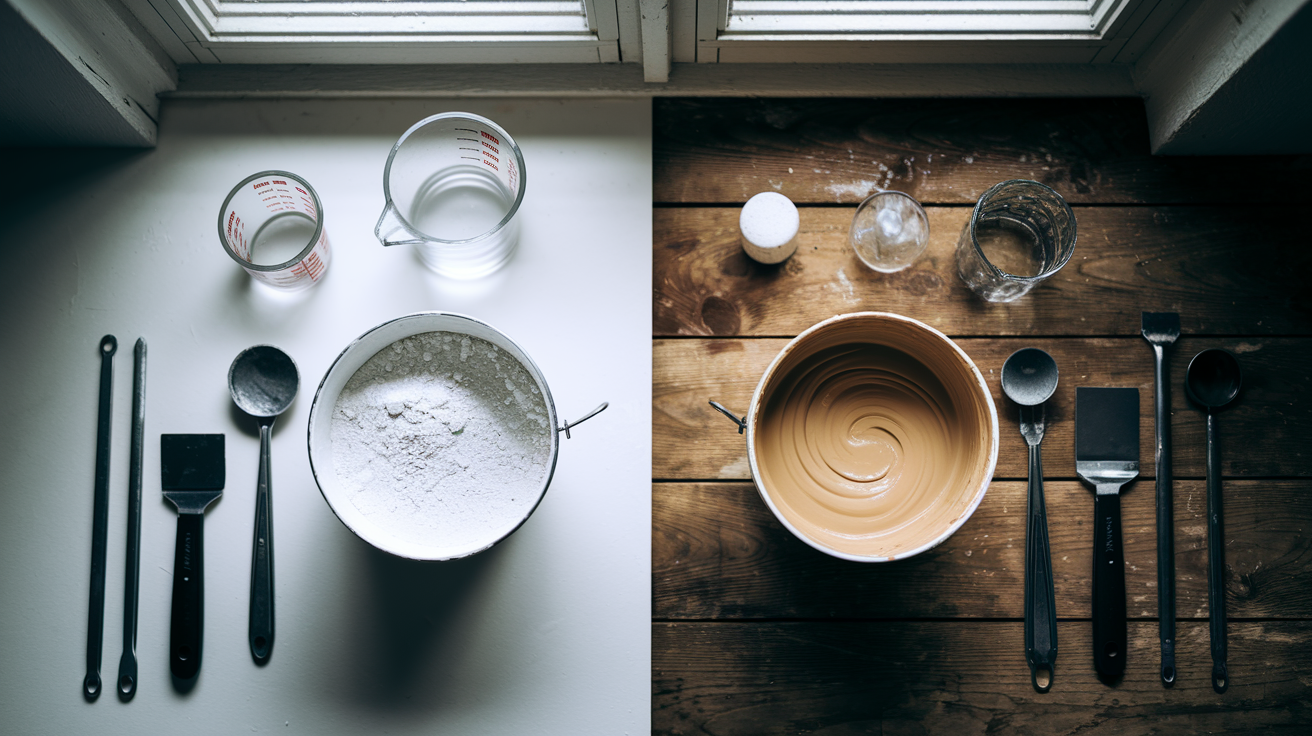
Mold-resistant joint compounds come in two main categories that cure through different mechanisms and suit different project needs.
Setting compounds, often called hot mud, cure through a chemical reaction when powder is mixed with water. The calcium sulfate in the powder converts to gypsum crystals as it hardens, a process that doesn’t depend on moisture evaporating from the mixture. This crystalline structure forms even in humid conditions, making setting compounds perfect for basements, crawl spaces, and other areas where air can’t carry away moisture efficiently. The chemical cure also creates a denser, harder surface that resists water absorption better than compounds that dry through evaporation. You can get them in 20-minute, 45-minute, and 90-minute set times, which lets you apply multiple coats in a single day if you keep moving. The tradeoff is a less forgiving working window and a harder finished surface that needs more sanding effort.
Premixed all-purpose compounds sit ready to use in buckets and cure as water evaporates into the surrounding air. These formulas contain antimicrobial additives but still need dry conditions to cure properly. In moderate humidity they perform well and offer easier application with a smoother consistency than setting compounds. The texture spreads evenly and feathers without the slight graininess some powder compounds have. Premixed versions work better for less experienced finishers because the longer working time allows corrections. You can go back and smooth a section if you notice a ridge or missed spot. The main limitation is humid environments where drying takes days instead of hours, stretching project timelines and increasing the risk of sagging on ceiling joints.
Mix setting compounds in small batches you can use within the pot life. A batch size that fills a mud pan works for most applications. Once mixed, the compound starts setting whether you’re using it or not, so mixing too much means throwing away hardened material. Use cool water to extend working time slightly, but don’t count on more than a few extra minutes. Work the compound thoroughly when mixing to get rid of lumps that will drag under the knife during application.
Setting compounds need more sanding force than premixed versions because the crystalline cure creates a harder surface. Plan on using 100-grit or 120-grit paper for initial smoothing, which would be too coarse for soft premixed compound.
Proper Tools and Sanding for Mold-Resistant Compound
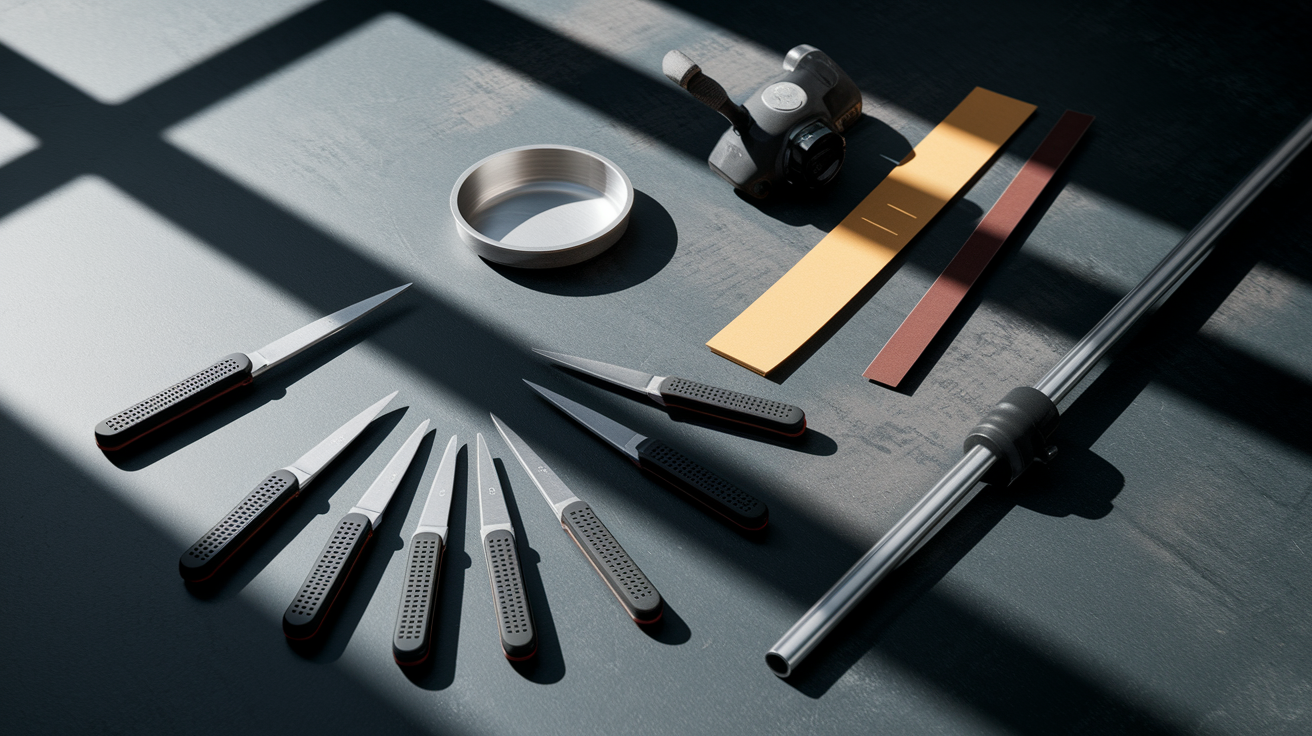
Basic taping knives form the foundation of compound application. You need at least three: a 6-inch knife for first coat and tight areas, an 8-inch or 10-inch for second coats, and a 10-inch or 12-inch for final coats.
Essential tools and specs:
• Flexible Carbon Steel Taping Knives – 6-inch, 10-inch, and 12-inch widths with flex that prevents gouging the compound or ripping tape
• Mud Pan – Lightweight plastic or metal, 12 to 14 inches long, for holding workable amounts of compound
• 120-Grit to 150-Grit Sandpaper – Medium grit for initial smoothing and knocking down ridges between coats
• 180-Grit to 220-Grit Sandpaper – Fine grit for final finishing before primer, creates smooth surface without scratches
• Pole Sander – Lightweight head with clamp for holding sandpaper, extends reach for ceilings and upper walls without ladders
• Sanding Sponge – Medium and fine grit options, useful for detail work around corners and edges where paper would tear
Flexible blades matter more with mold-resistant compound than standard formulas because you’re working with materials that have different surface characteristics. Stiff blades skip across the compound and leave thin spots or gouges. Flex lets the blade conform to slight wall variations while keeping even pressure across the width. Carbon steel blades hold their shape better than cheaper stamped-steel versions that develop a permanent bend after a few projects.
Sanding technique protects the mold-resistant properties you’ve built into the wall. Start with 120-grit or 150-grit paper after the compound is completely dry. Use light pressure and circular or diagonal strokes, not straight back and forth along the joint. You’re smoothing high spots and ridges, not removing significant compound. Check frequently by running your hand over the surface to feel for defects. After knocking down major imperfections, switch to 180-grit or 220-grit for final smoothing. This progression creates a surface ready for primer without visible scratches or texture changes at the joint edges.
Never sand with coarse grits like 60-grit or 80-grit. That’s aggressive enough to expose the tape and damage the moisture-resistant surface of the drywall itself. If you see tape starting to show through during sanding, stop immediately and apply another compound coat.
How Mold-Resistant Compound Differs from Standard Formulations
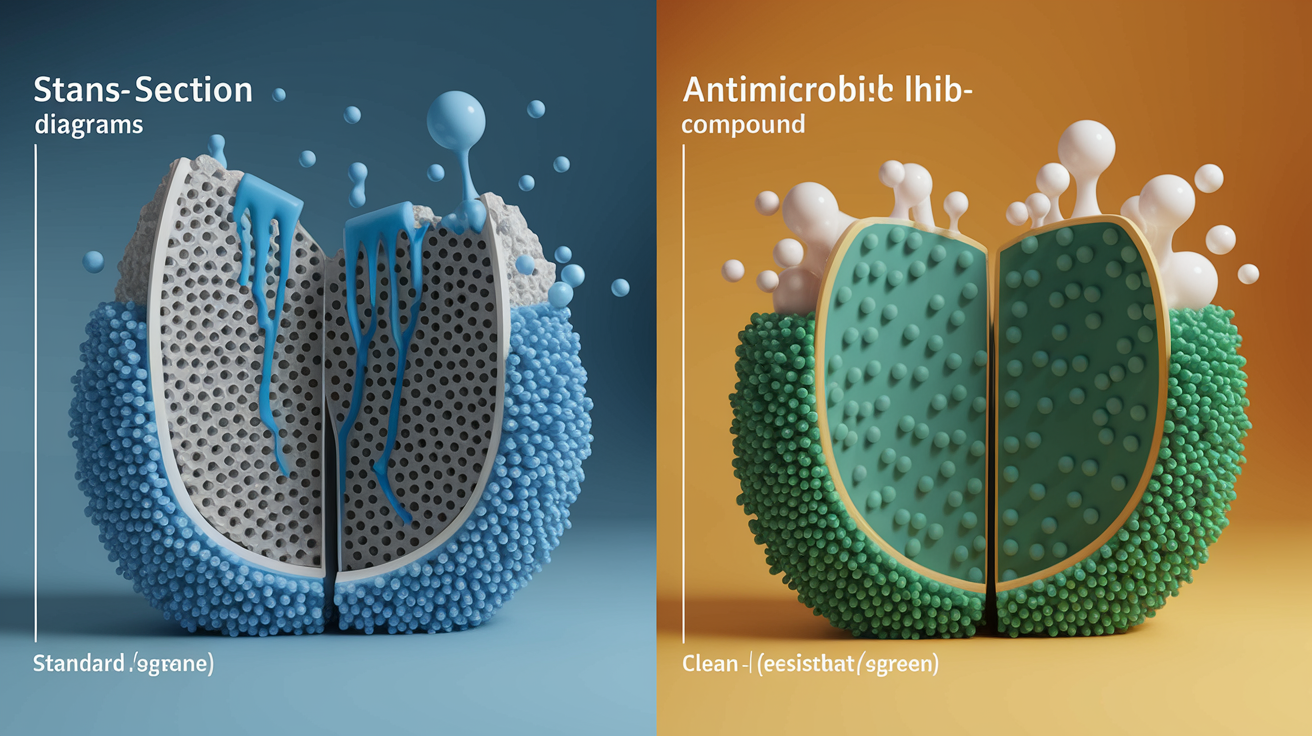
Standard all-purpose joint compound consists mostly of limestone, clay, mica, and vinyl binders mixed with water to form a spreadable paste that hardens through evaporation. The dried compound stays slightly porous and will absorb moisture when exposed to high humidity or water contact. This porosity gives mold spores the damp conditions they need along with organic materials in the compound to feed on.
| Feature | Standard Compound | Mold-Resistant Compound |
|---|---|---|
| Moisture Resistance | Low – absorbs moisture readily when exposed to humidity | High – repels moisture and reduces absorption through hydrophobic additives |
| Antimicrobial Additives | None – provides no protection against mold colonization | Contains zinc pyrithione, borates, or similar fungicides |
| Drying Time | 12 to 24 hours per coat in normal conditions | 12 to 24 hours per coat, similar to standard compound |
| Cost | $18 to $25 for 5-gallon bucket | $25 to $40 for 5-gallon bucket (30-50% premium) |
| Application Difficulty | Easy – smooth consistency, long working time | Slightly thicker feel, otherwise similar application |
| Longevity | Vulnerable to mold in humid areas, may need replacement within 1-3 years | Resists mold growth for 5-10+ years in high-humidity environments |
In real conditions, the performance gap becomes obvious after the first humid summer or winter condensation season. Standard compound in a basement bathroom often shows black spots at joints and corners within a year. Those spots are surface mold feeding on the compound itself or organic materials that have settled into the slightly rough texture. Once mold gets established, it spreads through the microscopic pores in the compound and eventually forces complete removal and refinishing of affected areas.
Mold-resistant compound in the same environment stays clean because the antimicrobials prevent that initial colonization. Even if mold spores land on the surface, they can’t get a foothold. The hydrophobic additives mean condensation beads up and runs off rather than soaking in and creating the damp conditions mold needs. The tradeoff is cost and a slightly different feel during application. You’re paying 30 to 50 percent more per bucket, and the compound might feel minutely thicker under the knife. For spaces with chronic moisture exposure, that premium buys years of additional service life and eliminates the labor and materials cost of redoing failed joints.
Working with Purple Board and Green Board Systems
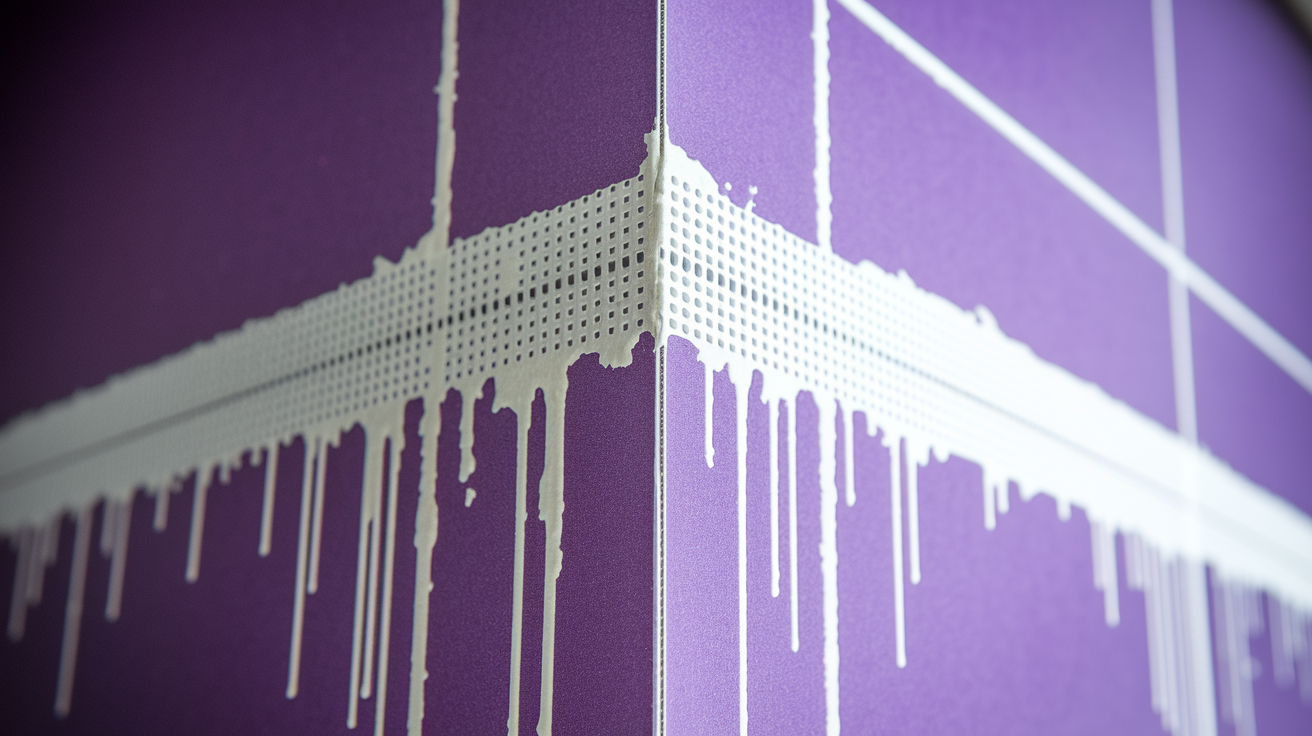
Purple board refers to enhanced mold-resistant drywall panels with treated gypsum cores and moisture-repelling facers, typically colored purple for easy identification during construction. Green board is older technology with a wax coating on the paper facing that provides moisture resistance but still contains organic paper materials on both surfaces that can support mold growth if conditions get severe enough.
When working with fiberglass-faced boards, including most purple board products, joint compound bonds differently than on paper-faced surfaces. The fiberglass mat presents a textured, non-organic surface that mold-resistant compounds grip well. The key is building up thin coats that mechanically lock into the mat’s texture rather than relying on absorption the way paper-faced drywall works. Use fiberglass mesh tape embedded in a thin first coat, then build subsequent coats wider and slightly thicker. The compound won’t wick into the facing like it does with paper, so you’re creating a mechanical bond through the texture of the mat and the mesh tape.
Paperless drywall systems, which include both fiberglass-faced and some paper-free cellulose-faced products, sometimes need longer drying times between coats because the facing doesn’t absorb moisture from the compound to help the curing process. The compound has to cure entirely through evaporation to the room air. This means better ventilation matters more with these systems. If you notice the compound stays soft longer than expected, increase air movement rather than cranking up heat. Heat can cause surface skinning while leaving the interior soft.
Keep air moving through the space during application and curing. A box fan in the doorway or a window cracked open helps moisture leave the air so it can accept moisture from the drying compound. Don’t blast the wall directly with a fan. You’re going for gentle air exchange, not rapid forced drying.
Cement board substrates in wet areas like shower surrounds need different treatment entirely. These boards are waterproof and suitable for direct water exposure, but they won’t accept standard joint compound for finishing. Use thinset mortar designed for cement board, which creates a waterproof bond compatible with tile installation.
Common Application Mistakes and Troubleshooting
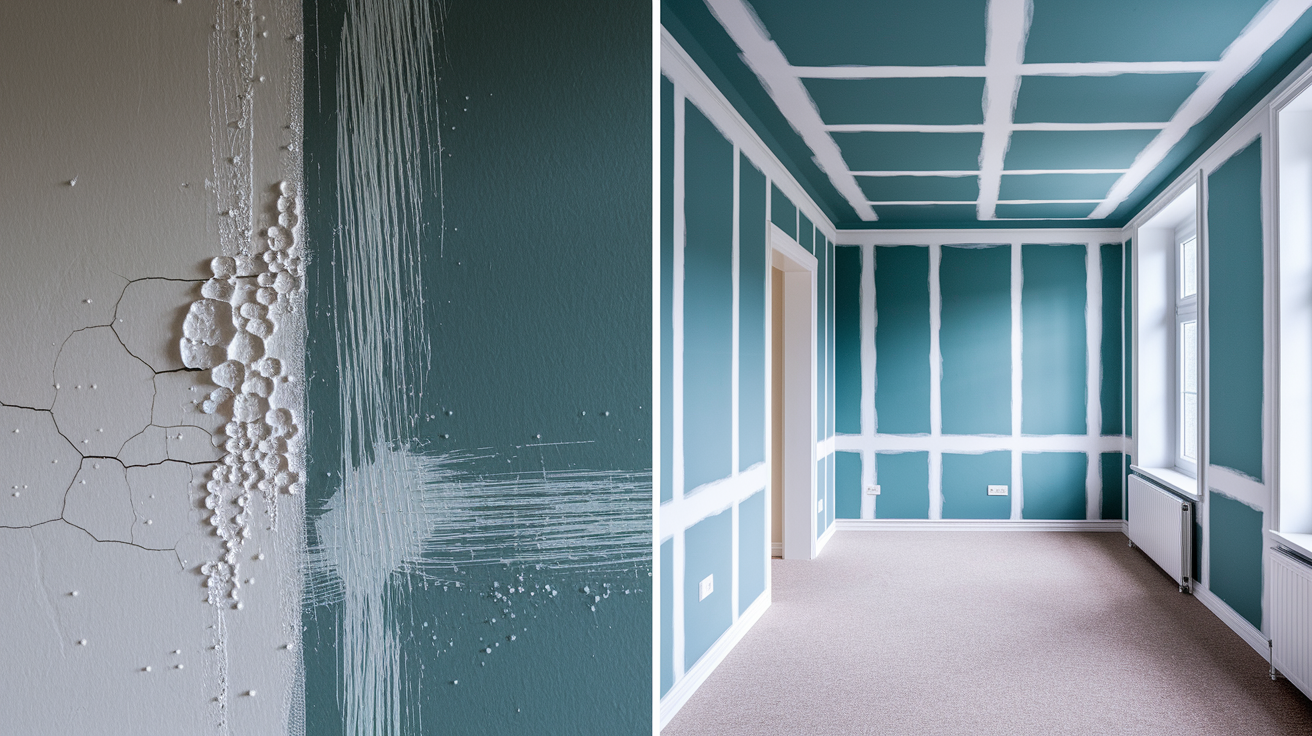
Preventing problems is faster and cheaper than fixing them after the compound has cured.
Common mistakes that cause failures:
• Rushing Drying Time Between Coats – Applying the next coat before the previous layer is fully cured traps moisture and creates bubbling or sagging
• Using Paper Tape on Waxy Surfaces – Paper won’t bond to moisture-resistant board facings. You’ll get bubbles and delamination
• Over-Sanding – Aggressive sanding exposes tape and damages the moisture-resistant drywall facing
• Mixing Consistency Too Thin – Adding water to extend setting compound or thin premixed formulas reduces strength and adhesion
• Skipping Surface Cleaning – Dust and debris prevent compound from bonding properly to the drywall
• Inadequate Ventilation During Curing – Trapping moisture in the room prevents proper drying and stretches cure times by days
• Thick Single Coats Instead of Multiple Thin Layers – Heavy compound application increases cracking risk and extends drying time exponentially
If bubbles appear during or after application, they usually mean trapped air or moisture beneath the compound. Small bubbles sometimes form when you’re spreading compound over mesh tape if you didn’t press the tape firmly into the base coat. Cut out the bubbled area with a utility knife, apply fresh compound, and re-embed the tape with firm pressure. For larger areas where the compound has pulled away from the wall, scrape off the loose material back to solid edges, then reapply following proper technique with thinner coats.
Poor adhesion where compound won’t stick or peels away in sheets points to contaminated surfaces or incompatible materials. If compound won’t grab the drywall facing, the surface might have leftover mold-release agents from manufacturing, construction dust mixed with moisture, or overspray from other trades. Wipe the area with denatured alcohol on a clean cloth to remove contaminants, let it dry completely, then try again. If the compound still won’t stick, you’re probably working with a surface that needs a bonding primer before joint compound will adhere.
Remove and reapply compound when you see widespread cracking, major sagging, or delamination across an entire joint. Trying to patch over failed compound just adds weight to an assembly that’s already not bonding properly. Scrape everything back to bare drywall, identify what went wrong, fix that issue, then start fresh.
Cost Analysis and Material Planning
Mold-resistant joint compound adds 30 to 50 percent to compound costs compared to standard all-purpose formulas. A 5-gallon bucket of standard compound runs $18 to $25 depending on brand and retailer, while mold-resistant versions cost $25 to $40 per bucket.
Total project cost depends on several factors beyond just material price. Square footage drives material needs first, with roughly 80 to 100 square feet of joint coverage per gallon of compound for embedding tape and first coats. Finishing coats use compound more efficiently, covering 100 to 120 square feet per gallon because you’re spreading it thinner over wider areas. The number of coats affects quantities, with three-coat applications standard for residential work. Labor time increases slightly with mold-resistant compounds in humid environments because of extended drying periods between coats. What would be a two-day finish job in normal conditions might stretch to three days in a damp basement.
Store unused premixed compound in sealed buckets at moderate temperatures between 40°F and 90°F. Freezing damages the compound’s texture and binding properties, making it grainy or separated when thawed. Extreme heat can cause water to separate or evaporate, thickening the compound beyond usability. Shelf life for unopened buckets runs 12 to 18 months from manufacture date. Once opened, compound stays good for 3 to 6 months if you keep the lid sealed tight between uses and smooth the surface level before closing to prevent a thick skin from forming.
DIY finishing saves significant labor costs if you have basic skills and patience for the multi-day process. Professional drywall finishers charge $1.50 to $3.00 per square foot for taping and finishing, with higher rates in expensive markets or for difficult conditions. A 12×12 room with 8-foot ceilings has roughly 400 square feet of wall and ceiling. If half that area is joints and fasteners needing compound (200 square feet), you’re looking at $300 to $600 for professional finishing. DIY material cost for the same space runs $40 to $60 in compound plus $20 to $30 in tape and sandpaper. You save $250 to $500 in labor but invest 8 to 12 hours of your time across multiple days. The tradeoff makes sense if you’re comfortable with the learning curve and have the schedule flexibility to work around drying times.
Finishing Techniques for Long-Term Performance
Final coat quality determines how well joints disappear and how long the finish lasts before showing cracks or imperfections.
Skim coating creates a level 5 finish that completely conceals joints and fasteners under critical lighting. After your third coat is sanded smooth, mix compound to a thinner consistency that spreads easily but doesn’t run. Load a 12-inch knife and apply a thin layer over the entire wall surface, not just joints, using overlapping strokes. Hold the knife at a low angle, almost flat against the wall, and apply firm even pressure to leave just enough compound to fill minor texture variations. You want a uniform surface less than 1/16 inch thick. Let this coat dry completely, then sand with 220-grit paper. Skim coating takes practice to avoid creating new ridges and low spots, but it produces the smoothest possible result.
Primer selection matters because not all primers work with mold-resistant formulations or moisture-resistant drywall facings. Use a latex primer-sealer designed for new drywall that contains mildewcide additives. These primers seal the compound and drywall without creating a vapor barrier that would trap moisture in the wall assembly. Shellac-based and oil-based primers create too much of a vapor barrier for bathrooms and basements where you need some breathability to prevent condensation issues. Water-based primers with mildewcide protection let the wall assembly handle moisture vapor movement while still providing the sealed surface paint needs for proper adhesion and finish.
Paint types for high-humidity areas should offer moisture resistance without completely sealing the wall. Semi-gloss or satin latex paints with mildewcide additives work well in bathrooms and kitchens. The slight sheen makes cleaning easier when condensation forms, and the mildewcide provides an additional barrier against surface mold. Flat paints absorb moisture more readily and show water marks, making them poor choices for humid spaces. Avoid paints marketed as “waterproof” or “vapor barrier” coatings in areas where the wall assembly needs to breathe.
Maintenance practices extend compound performance significantly. Wipe down walls monthly in bathrooms and kitchens to remove soap scum, cooking oils, and other residues that can trap moisture against the paint. Check joints and corners every six months for hairline cracks or separation, which usually indicate either foundation settlement or moisture cycling. Catch these early and touch them up before water intrusion occurs. Run exhaust fans during and after showers, and use range hoods when cooking to remove moisture at the source before it saturates the air.
Building Code and Performance Standards
Building codes for moisture-prone areas typically reference standards set by ASTM International and other testing organizations rather than specifying particular products. Local codes vary, but most require moisture-resistant materials in bathrooms, laundry rooms, and other designated wet areas.
ASTM standards that apply to mold-resistant joint compounds include ASTM C475 for joint compound formulations and ASTM D3273 for resistance to mold growth. C475 establishes basic performance requirements for adhesion, shrinkage, and workability that all joint compounds must meet. D3273 tests materials’ resistance to mold growth under controlled laboratory conditions, exposing samples to mold spores in warm, humid environments and measuring colonization over time. Products passing D3273 show zero mold growth under test conditions, while standard compounds show visible colonization within weeks.
Fire resistance ratings come from the drywall panels, not the joint compound. When you’re using fire-rated boards like Firecode X or Fireguard panels, the compound you choose doesn’t affect the assembly’s fire rating as long as you apply it properly according to manufacturer specs. Setting compounds with chemical cures generally perform better in fire tests than premixed formulas because they contain more calcium sulfate, which releases water vapor when heated and helps cool the assembly. But as long as you’re using appropriate compound types and maintaining continuous coverage over joints and fasteners, the wall maintains its fire rating.
Warranty coverage for mold-resistant products usually requires following manufacturer installation instructions exactly. Keep documentation showing you used specified materials, including receipts for compound, tape, and any primers or paints applied over the finished surface. Photograph the installation at key stages: tape embedding, each coat application, and final finish before painting. If mold appears despite using mold-resistant materials, manufacturers will ask for proof that installation followed guidelines and that moisture intrusion from building envelope failures didn’t overwhelm the materials’ protective properties. Most warranties exclude damage from water leaks, flooding, or inadequate ventilation since these conditions exceed what the materials are designed to handle.
Final Words
Mold resistant drywall compound gives you an extra layer of protection in bathrooms, basements, and other high-humidity spaces, but it’s not a substitute for fixing moisture problems at the source.
Pair it with proper ventilation, fiberglass tape, and patient drying time between coats.
Choose setting-type formulas for the toughest conditions, premixed for convenience on standard jobs. Sand carefully with the right grit progression, and don’t skip primer before paint.
The upfront cost is modest compared to tearing out moldy drywall later.
FAQ
Is there mold resistant joint compound?
Yes, there is mold resistant joint compound specifically formulated with anti-microbial additives and fungicides that inhibit mold growth. Major brands including USG Sheetrock and CGC manufacture these products for high-humidity applications like bathrooms and basements.
Does mold resistant drywall really work?
Mold resistant drywall works by using fiberglass mesh or treated facing materials that lack organic content mold needs to grow. It repels moisture better than standard paper-faced drywall but still requires proper ventilation and moisture control to prevent mold in extreme conditions.
Is mold resistant drywall required by code?
Mold resistant drywall is not universally required by code in most jurisdictions. Local building codes may mandate moisture-resistant materials in specific wet areas like shower surrounds, but requirements vary by location and application, so check with your local building department.
Can you still use moldy drywall mud?
You cannot use moldy drywall mud because the contamination compromises the compound’s bonding properties and will spread mold spores to new surfaces. If you see mold growth in stored compound, discard the entire container and clean the storage area before opening fresh material.
What makes joint compound mold resistant?
Joint compound becomes mold resistant through anti-microbial additives and fungicides that disrupt mold spore development and prevent organic material breakdown. These chemical treatments repel moisture from penetrating the compound surface, creating an environment where mold cannot establish growth.
How much more does mold resistant compound cost?
Mold resistant compound costs roughly 30 to 50 percent more than standard joint compound. The price premium translates to a few extra dollars per gallon or bucket, which is justified in high-humidity areas where mold prevention avoids costly future repairs.
Should I use fiberglass tape or paper tape with mold resistant compound?
You should use fiberglass mesh tape with mold resistant compound in most applications because the waxy moisture-repelling surface doesn’t bond well with paper tape. Paper tape may still be necessary for inside corners and wall-ceiling joints where structural strength matters more than the moisture advantage.
How long does mold resistant compound take to dry?
Mold resistant compound takes longer to dry than standard formulations in humid conditions because moisture must evaporate from the material. Allow complete drying between coats, which may take 24 hours or more in basements or bathrooms, to prevent cracks, bubbles, and poor bonding.
Where should I use mold resistant compound?
You should use mold resistant compound in bathrooms, basements, kitchens, laundry rooms, and coastal or tropical environments where humidity stays consistently high. It’s essential near water-using appliances and in areas with chronic condensation problems or previous mold issues.
Is mold resistant compound waterproof?
Mold resistant compound is not waterproof and should not be used in direct wet areas like shower walls or tub surrounds. The products repel moisture and resist mold growth better than standard compounds but still require proper waterproofing systems in areas with direct water exposure.
What’s the difference between setting-type and premixed mold resistant compound?
Setting-type mold resistant compound cures through chemical reaction instead of evaporation, providing superior moisture resistance in high-humidity areas. Premixed mold resistant compound offers convenience and easier application but dries by evaporation, making it slower and less moisture-resistant in damp conditions.
What grit sandpaper should I use on mold resistant compound?
You should use medium-grit sandpaper (120-150 grit) for initial sanding, then progress to fine-grit (180-220 grit) between finish coats. Avoid coarse-grit sanding because it can expose tape and damage the moisture-resistant surface properties of the compound.
Can I use mold resistant compound with green board?
You can use mold resistant compound with green board, but green board only provides moisture resistance through a wax coating and still contains organic paper backing that supports mold growth. Purple board or paperless drywall with fiberglass facing provides better mold protection when paired with mold resistant compound.
What size taping knife do I need for mold resistant compound?
You need a 6-inch flexible carbon steel blade taping knife for the initial compound layer and embedding tape, then larger knives (10 to 12 inches) for finishing coats. Flexible blades provide better control and prevent surface damage when feathering edges to blend seams.
How do I fix bubbling in mold resistant compound?
You fix bubbling in mold resistant compound by identifying whether it’s from trapped air, insufficient drying time, or poor surface prep. Cut out bubbled areas, remove loose material, ensure the substrate is clean and dry, then reapply thin coats with complete drying between applications.