

Most contractors who slap sealer on damp basement walls create a problem that comes back within 18 months. Water doesn’t care about your coating if you didn’t match product chemistry to actual moisture levels and pressure. Interior basement waterproofing sealant works when you pick the right type for your moisture situation, prep the surface correctly, and understand what sealers can and can’t handle. This guide breaks down penetrating sealers, vapor barriers, liquid membranes, sheet systems, and crystalline coatings so you know which one prevents callbacks and which one wastes money.
Choosing the Right Waterproofing Solution for Your Moisture Situation

Basement moisture isn’t rare. The American Society of Home Inspectors says 60 percent of U.S. houses deal with moisture problems, and 38 percent risk basement mold. That’s not abstract data. It’s damp walls, musty smells, ruined carpets in finished spaces.
Water doesn’t need a visible crack to wreck things. It moves through concrete pores, capillary tracts (tiny channels that wick moisture like a sponge), hairline cracks you can barely see. Over time, moisture soaks into finished walls, carpets, stored belongings. You get mold, mildew, sometimes radon gas passage through untreated foundation walls.
Before picking a sealant, figure out what’s pushing water into your basement:
Hydrostatic pressure. Groundwater piles up around your foundation after heavy rain, creating pressure that forces water through walls and floors. Worse where loose backfill soil shifts and channels water toward the foundation.
Improper grading. Ground slopes toward your house instead of away. Surface runoff heads straight at foundation walls.
Poor drainage and weak soil. Clay heavy or compacted soil around the foundation holds water instead of letting it drain. Keeps constant pressure on basement walls.
Clogged or poorly installed gutters. Water overflows and pools at the foundation line instead of flowing away through downspouts.
Condensation. Warm humid air hits cold concrete surfaces and turns into water droplets. Promotes mold on sheetrock and wood framing.
Structural cracks. Settling cracks in floors, walls, ceilings, and cold joints (where the footing meets the foundation wall) create direct water entry points.
Test moisture levels before picking product. A concrete moisture meter gives instant readings. If it shows moisture content under 4 percent, a penetrating concrete sealer works.
For a detailed picture, run a Calcium Chloride Test. Costs about 18 dollars on Amazon and measures moisture vapor emission rate over roughly 72 hours per ASTM F1869 standard. If results show moisture between 3 pounds and 20 pounds per 1,000 square feet per 24 hours, you need a moisture vapor barrier instead of a basic sealer.
When hydrostatic pressure from loose backfill soil actively moves water up, down, sideways during rainstorms, interior sealant alone won’t solve it. At that point, you’re looking at drainage systems or exterior excavation work. Not just a coating.
Comprehensive Product Comparison and Selection Guide
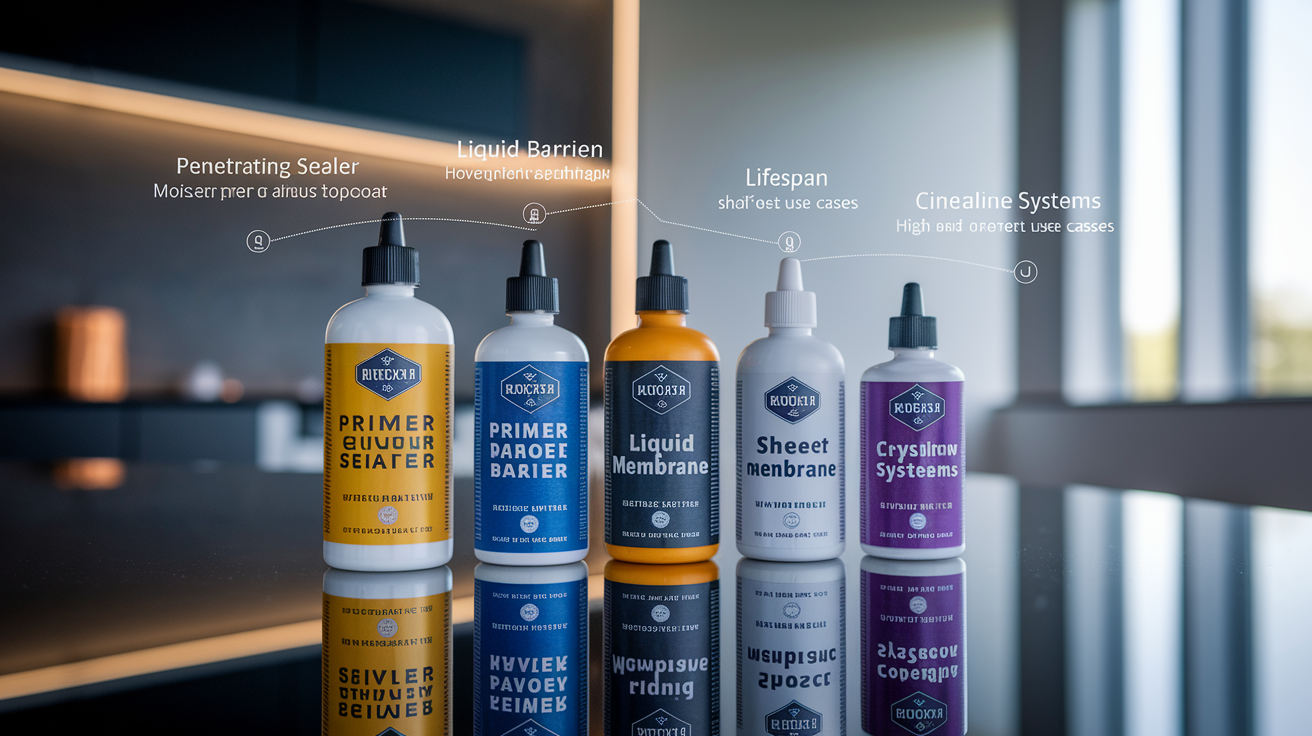
Choosing the right product means matching sealer chemistry and performance specs to your moisture level, substrate type, whether you’re preventing future problems or fixing active seepage. Key points include moisture level suitability, substrate compatibility (CMU blocks, poured concrete, precast concrete panels, insulated concrete form walls), coverage rates, lifespan, finish appearance, cost across 1,000 square feet.
| Product Type | Specific Products | Coverage Per Gallon | Lifespan | Finish | Best Use Case | Approximate Cost Per 1000 Sq Ft |
|---|---|---|---|---|---|---|
| Penetrating Sealer | Lithi-Tek 9500 | 500 sq ft (mixed with water) | 10+ years | Clear natural, never yellows/peels/flakes | Preventative on concrete with no moisture history, under 4% moisture content | $60 to $90 |
| Moisture Vapor Barrier | Vapor-Tek 440 | 200 to 250 sq ft | 5+ years | Amber clear high gloss | Before flooring installation, 3 to 20 lbs vapor emission per 1000 sq ft per 24 hrs | $180 to $240 |
| Primer + Topcoat System | Lithi-Tek 4500 + Siloxa-Tek 8510 | 300 to 400 sq ft combined | 8 to 12 years | Clear to slight sheen | Basement floors and foundation walls needing enhanced waterproofing | $120 to $180 |
| Liquid Membrane | Stretch Flex | 60 to 80 sq ft per gallon | 10 to 15 years | Thick elastomeric coating | Vertical surfaces under hydrostatic pressure (below-grade CMU, poured concrete, precast) | $280 to $400 |
| Sheet Membrane | WM40 ICF | Per roll coverage varies | 15 to 25 years | 40 mil black membrane | ICF walls, poured concrete, CMU foundations needing maximum protection | $350 to $500 |
| Crystalline/Cementitious | Generic crystalline powder systems | 100 to 150 sq ft per bag | Permanent (embedded in concrete) | Gray cementitious finish | Active leak repair, self-sealing through crystallization in cracks | $200 to $320 |
Penetrating sealers like Lithi-Tek 9500 work by soaking into the concrete and reacting with calcium hydroxide to create a waterproofing barrier inside the pores. One gallon mixes with water and covers up to 500 square feet. Lifespan runs 10 plus years, and the finish stays clear and natural. Never yellows, peels, flakes, or delaminates. This product’s for preventative applications on concrete with no moisture or dampness history. If your basement’s stayed dry and you’re sealing before finishing the space, this is the cost effective choice.
Moisture vapor barrier products like Vapor-Tek 440 control moisture vapor emission rates up to 20 pounds per 1,000 square feet per 24 hours. The 5 plus year lifespan works well for basements where you’re installing flooring and need to block vapor transmission and resist hydrostatic pressure. The amber clear high gloss finish is noticeable but acceptable under carpet, laminate, engineered wood. This coating goes on thicker than penetrating sealers and creates a film on the surface instead of soaking in, so it resists water vapor transmission and pressure from below.
Membrane systems include both liquid and sheet options. Stretch Flex liquid waterproofing is designed for vertical foundation surfaces exposed to hydrostatic pressure, including below grade concrete masonry units (CMU blocks), poured concrete, precast concrete panels. Goes on thick and flexible, bridging small cracks as the foundation shifts slightly. WM40 ICF Waterproofing Membrane measures 40 mils thick and features a self adhering sheet membrane containing flexible high density solid polyethylene facing bonded to rubberized asphalt waterproofing compound. Applicable to insulated concrete form walls, poured concrete, concrete masonry unit foundation walls. Sheet membranes cost more and take longer to install, but they handle severe moisture and hydrostatic pressure better than coatings.
Substrate compatibility matters. Below grade CMU blocks are more porous than poured concrete, so they often need thicker barrier coatings or membranes instead of just penetrating sealers. Poured concrete foundations work with any product type as long as moisture levels match the sealer’s design range. Precast concrete panels and insulated concrete form walls need products that bond to smooth, dense surfaces. Check manufacturer specs before buying.
Combination approaches deliver better results in many situations. For basement floors and foundation walls, start with Lithi-Tek 4500 primer followed by Siloxa-Tek 8510 waterproofing sealer. The primer penetrates and densifies the concrete, and the topcoat adds a hydrophobic (water repelling) layer. Applied systems should protect all basement walls with usable space on one side and earth on the other, including crawl spaces.
Surface Preparation Requirements Before Applying Basement Sealant
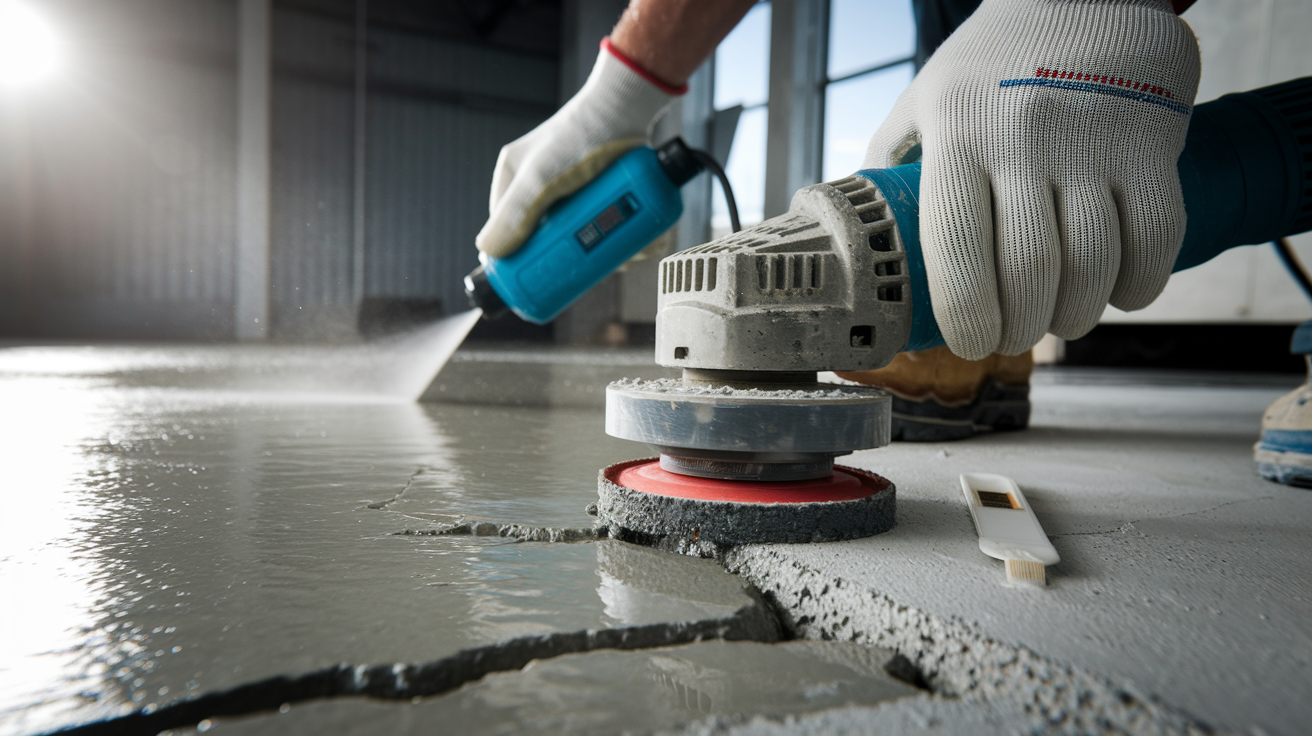
Surface prep determines how long your waterproofing lasts. Skip a step and the sealer peels, delaminates, or lets water through within a year or two. The concrete needs to be clean, profiled correctly, dry enough to accept the product.
1. Inspect the entire surface. Walk the basement and mark every crack, spall (concrete chunk missing), efflorescence spot (white mineral deposits), area where paint or old coatings exist.
2. Remove all paint and coatings. Paint must be removed from old basement walls and concrete slabs before waterproofing application. Use a grinder, chemical stripper, or sandblaster depending on coating thickness. If the old finish doesn’t come off, the new sealer won’t bond.
3. Fill cracks and holes. Cracks must be sealed before applying waterproofing sealer. Use non-shrink grout or patching cement for holes and cracks. Let the patch cure per manufacturer instructions, typically 24 to 48 hours.
4. Power wash the surface. Blast off loose materials, dirt, dust. The surface must be cleaned to create a reasonably smooth surface free of loose materials before application.
5. Degrease if needed. Oil stains from stored equipment or old furnace leaks will block sealer penetration. Use a concrete degreaser and scrub brush, then rinse thoroughly.
6. Etch the concrete (if required). Some penetrating sealers need an open pore structure to soak in. Muriatic acid diluted per label directions opens the surface. Rinse multiple times until pH test strips show neutral.
7. Wire brush or grind for profile. Smooth troweled concrete sometimes needs mechanical abrading so coatings can grip. A wire brush works for small areas. Rent a concrete grinder for full basement floors.
8. Run final moisture tests. After cleaning and before sealing, confirm moisture levels with a calcium chloride test or moisture meter. If readings are higher than expected, wait for drying or switch to a vapor barrier product.
Moisture testing procedures are critical. The Calcium Chloride Test measures moisture vapor emission rate over roughly 72 hours and costs about 18 dollars on Amazon. Follow ASTM F1869 procedures: tape the test kit to the floor, wait 72 hours, then weigh the calcium chloride to see how much moisture it absorbed. Compare results to sealer manufacturer specs.
Timing matters. Don’t prep or seal when temperatures are below 50°F or above 90°F unless the product label says otherwise. High humidity slows curing. If possible, run a dehumidifier for a few days before and after application to speed drying and improve sealer performance.
Step-by-Step Application Methods for Interior Waterproofing Sealant
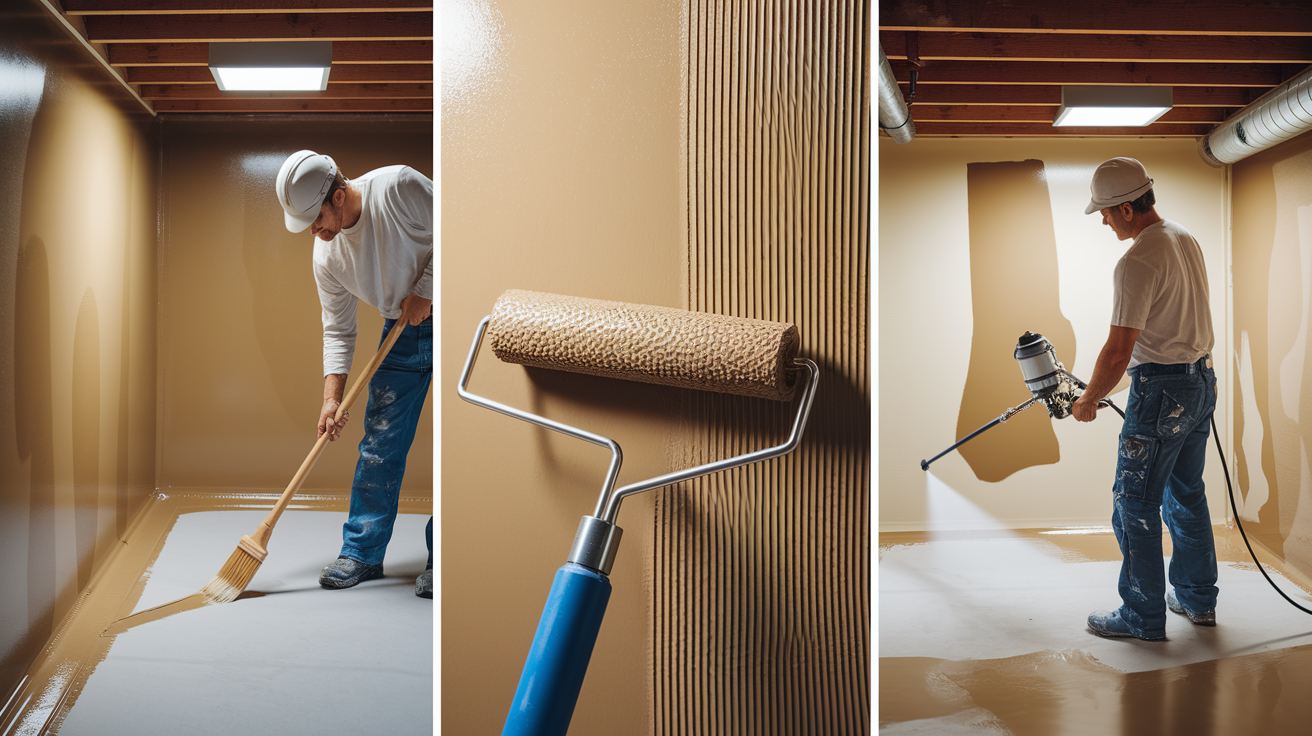
DIY application is straightforward for penetrating sealers and basic barrier coatings. You’ll need rollers, brushes, sometimes a pump sprayer. Professional installation makes sense for membrane systems or large basements where coverage speed matters. Professional interior basement waterproofing systems install in 2 to 3 days without disturbing exterior landscaping, but those typically include drainage systems, not just sealant.
Brush and Roller Application Techniques
Brush application works best for corners, cold joints (where the floor meets the wall), edges where rollers can’t reach. Load the brush halfway up the bristles and work the sealer into the concrete with short strokes. Don’t just paint over the surface. Push it into pores and cracks.
Roller application covers large vertical foundation walls faster. Use a 3/8 inch or 1/2 inch nap roller for most sealers. Pour sealer into a paint tray, load the roller evenly, apply in overlapping W patterns to avoid streaks. Start at the top of the wall and work down so drips get rolled out. For basement floors, use a long handle roller and work in sections, maintaining a wet edge so each pass blends into the last.
Spray Application for Large Areas
Spray application requires a pump sprayer or airless paint sprayer depending on sealer viscosity (thickness). Coverage speed is the main advantage. You can coat a 1,000 square foot basement floor in 30 to 45 minutes versus 3 to 4 hours with a roller.
Overspray protection is critical indoors. Mask off HVAC vents, cover utilities, seal doorways with plastic sheeting. Wear a respirator rated for the sealer’s VOC level. Spray in even passes with 50 percent overlap to avoid thin spots. Most sealers need backrolling (lightly rolling the sprayed surface) to work the product into the concrete and eliminate pinholes.
Extension and Overlap Requirements
Waterproofing should extend a minimum 12 inches onto intersecting walls for effectiveness. At the floor/wall junction, roll or brush sealer 12 inches up the wall and 12 inches out onto the floor. This overlap prevents water from wicking up through the cold joint.
Cold joints need extra attention. The seam where the footing was poured and then the wall was poured on top is a common leak point. Work sealer into the joint with a brush, then cover with your roller or spray passes.
For membrane systems, proper overlap prevents leaks. Self adhering sheet membranes need 2 to 4 inches of overlap on seams, pressed firmly with a J roller to eliminate air bubbles. Liquid membranes need uniform thickness. If you’re applying 40 mils wet, use a notched trowel or thickness gauge to verify.
Coverage calculations matter. If Lithi-Tek 9500 covers 500 square feet per gallon when mixed with water, a 1,000 square foot basement floor needs 2 gallons of concentrate plus the mixing water. Vapor-Tek 440 covers 200 to 250 square feet per gallon, so that same floor needs 4 to 5 gallons. Multiply by the number of coats (most sealers need two coats) and add 10 percent for waste and overlap.
Membranes can only be applied on completely cured concrete to ensure proper bonding. New concrete needs at least 28 days of curing before membrane application. Check the slab with a moisture meter even if it looks dry.
Drying time and cure time are different. Drying time is when the sealer’s dry to the touch and you can walk on it, usually 4 to 8 hours. Cure time is when the sealer reaches full strength and waterproofing performance, typically 24 to 72 hours. Don’t put furniture, flooring, or heavy equipment on sealed concrete until it’s fully cured. Workers should not walk across exposed membranes on footings, decks, or horizontal surfaces to avoid compromising waterproofing.
Understanding Moisture Problems, Performance Limitations, and Supplementary Solutions
Moisture problems are common and costly. According to the American Society of Home Inspectors, 60 percent of U.S. houses have moisture problems, with 38 percent at risk for basement mold. More telling: 70 percent of construction litigation involves water intrusion. That’s mostly exterior water management failures, but interior sealants play a role in stopping the damage once water reaches the foundation.
Water seepage occurs through concrete pores, capillary tracts, hairline cracks rather than complete flooding in many cases. It soaks into finished walls and carpets, typically through small cracks or extremely porous concrete blocks. Basements are vulnerable to flooding, excessive mold and mildew, radon gas passage when untreated. Concrete contains pores, capillary tracts, hairline cracks that absorb water without proper sealing. Untreated foundation walls act like a slow sponge, pulling moisture in and spreading it across finished surfaces.
Interior sealants work as a permanent solution for minor moisture and preventive maintenance. If your basement gets damp after heavy rain but dries out within a day or two, a good penetrating sealer or vapor barrier coating will likely solve the problem. But sealants are a temporary fix for severe groundwater infiltration or high hydrostatic pressure situations. When water’s actively pooling at the base of your foundation wall or you see wet spots within hours of a rainstorm, the pressure is too high for a coating to handle long term.
Effective interior systems manage groundwater below floor level before water contacts the basement floor. Systems managing water at floor level fail to control moisture and keep walls and floors dry. That’s the difference between a drainage system with a sump pump and a sealant only approach. Hydrostatic pressure from loose backfill soil moves up, down, sideways during rainstorms, tearing through waterproofing layers. A membrane or coating can slow that pressure, but it can’t eliminate the water if there’s nowhere for it to go.
Beyond interior sealant application, here are supplementary measures that address the root causes:
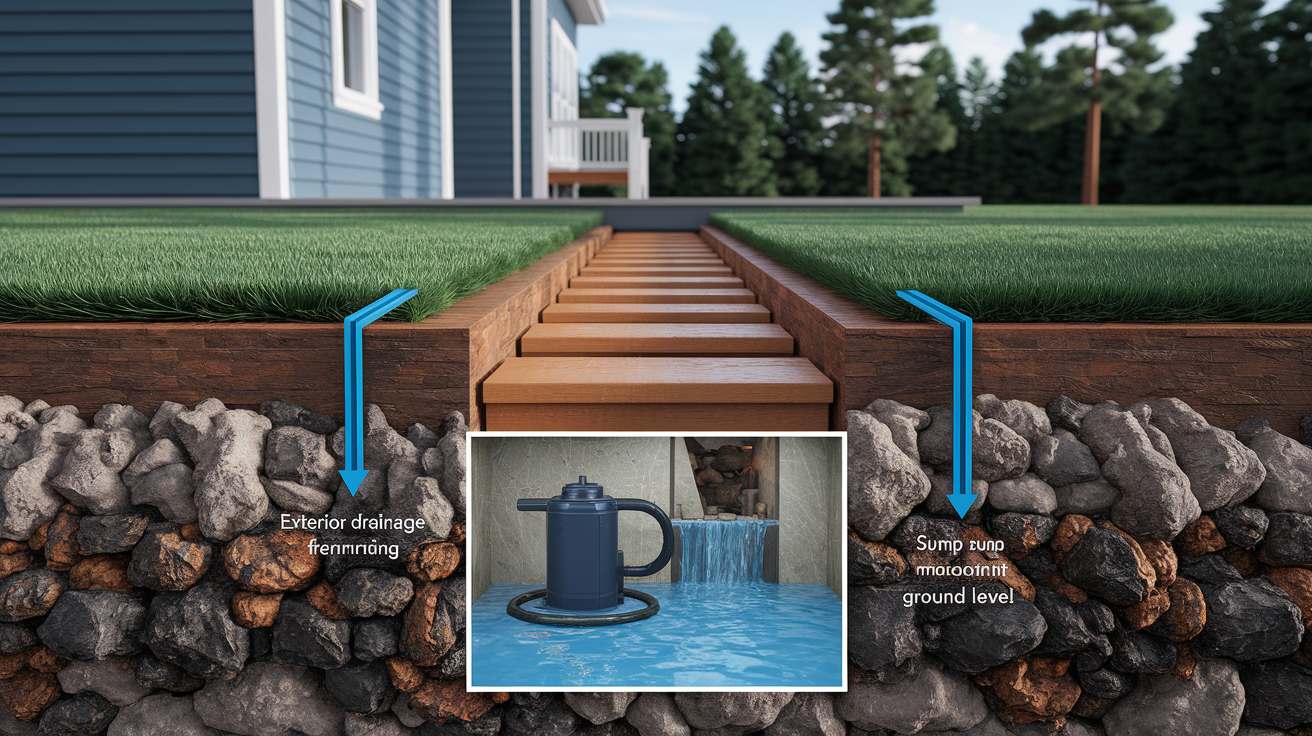
Exterior drainage systems. French drains installed along the footing perimeter intercept groundwater before it reaches the foundation wall, eliminating most hydrostatic pressure at the source.
Sump pump system installation. A sump basin and pump collect water that seeps through or under the foundation, removing thousands of gallons per hour during heavy storms and keeping the basement floor dry.
French drain installation around the interior perimeter. When exterior excavation isn’t possible, an interior French drain channels water to a sump pump, managing groundwater below floor level.
Downspout extensions. Running downspouts at least 6 feet away from the foundation prevents roof runoff from pooling at the basement wall.
Grading issues correction. Re-sloping soil so it drops at least 6 inches over the first 10 feet away from the foundation redirects surface water before it soaks down to the footing.
Gutter cleaning and maintenance. Clogged or improperly installed gutters overflow and dump water at the foundation line. Cleaning twice per year and adding gutter guards reduces basement moisture risk.
Longevity expectations and performance ratings vary by product type and moisture conditions. Penetrating sealers like Lithi-Tek 9500 last 10 plus years in low moisture preventive applications. Moisture vapor barriers like Vapor-Tek 440 last 5 plus years under moderate moisture and vapor transmission. Membrane systems (liquid or sheet) can last 10 to 25 years if installed correctly and protected during backfill, but only if the root moisture source is managed with drainage.
Safety Precautions and VOC Considerations for Indoor Sealant Application

Volatile organic compounds (VOCs) are chemicals that evaporate into the air during and after sealer application. In a closed basement with poor ventilation, VOC exposure causes headaches, dizziness, respiratory irritation. Some older solvent based sealers release VOCs for days after application.
Low VOC formula products reduce indoor air quality risks, especially important for finished basement protection where you’ll be living, working, or storing belongings within days of sealing. Water based sealers typically have lower VOC content than solvent based products. Check the product data sheet for VOC grams per liter. Anything under 50 g/L is considered low VOC. Zero VOC products exist but may sacrifice some performance in high moisture conditions.
Respirators. Use a respirator rated for organic vapors (look for cartridges marked “OV” or “VOC”) when applying solvent based sealers or working in confined spaces with any sealer type.
Gloves. Nitrile or chemical resistant gloves prevent skin contact with sealers, many of which cause irritation or allergic reactions.
Eye protection. Safety glasses or goggles are required, especially when spraying or working overhead on foundation walls where drips can hit your face.
Ventilation fans. Set up box fans or exhaust fans to move air out of the basement and bring fresh air in, maintaining cross ventilation throughout application and curing.
Temperature ranges. Most sealers require application between 50°F and 90°F. Check manufacturer instructions for temperature limitations before applying waterproofing material. Cold concrete below 50°F slows curing and reduces penetration.
Humidity thresholds. High humidity (above 85 percent relative humidity) extends drying time and can cause blushing (a cloudy white film) on some sealers. Use a dehumidifier if needed.
Seasonal timing recommendations. Spring and fall are ideal for basement sealing. Avoid mid winter when concrete is coldest and mid summer when humidity peaks in most climates.
Water based sealers versus solvent based products create different safety profiles. Water based sealers have lower VOC levels, easy cleanup with soap and water, less odor during application. They’re safer for occupied homes and finished basements. Solvent based products penetrate deeper into dense concrete, resist moisture better in some applications, but require more ventilation, longer cure times before reoccupying the space, mineral spirits for cleanup.
Winter waterproofing challenges include cold concrete that won’t accept sealer properly and frozen ground that prevents exterior moisture from draining away, concentrating water pressure at the foundation. If you must seal in winter, heat the basement to 60°F for 24 hours before and during application, and understand that full curing may take twice as long. Living space preservation during application means sealing off the basement from upper floors with plastic sheeting at doorways and running ventilation to the outside, not into the home’s HVAC system.
Where to Buy Basement Waterproofing Sealant and Local Contractor Options
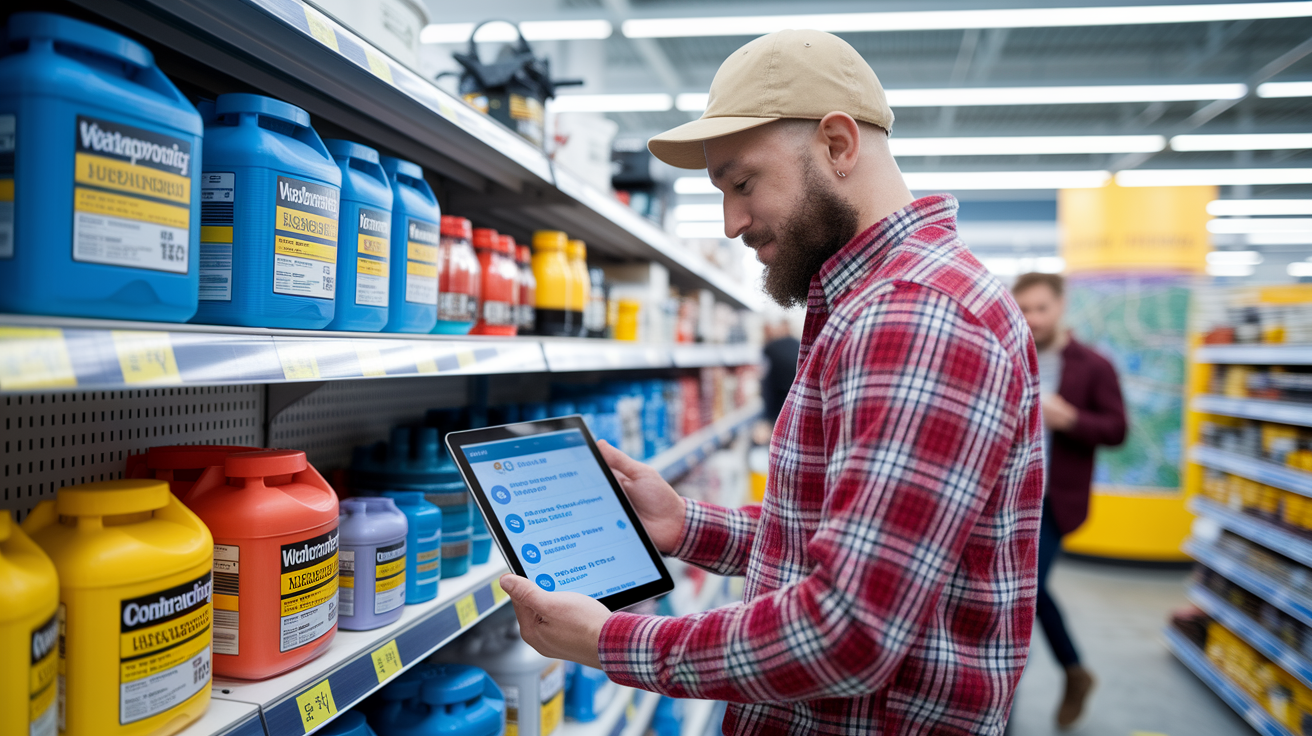
Major retail channels for DIY basement waterproofing sealants include home improvement centers (Home Depot, Lowe’s, Menards), specialty waterproofing suppliers (often found through online search or local concrete supply yards), online retailers like Amazon or direct from manufacturers. Home improvement centers stock basic hydraulic cement, epoxy crack fillers, a few brand name sealers. Specialty suppliers carry professional grade products like Lithi-Tek, Vapor-Tek, membrane systems. Prices vary. Expect to pay 20 to 30 percent more at big box stores compared to buying direct online, but you get same day pickup and the ability to return unused product.
Evaluating local professional contractors requires digging past the initial bid. Start by verifying credentials: check for business licenses, liability insurance, references from jobs completed in the last 12 months. Get at least three bids and compare not just price, but scope of work, product specs, warranty coverage. Professional interior basement waterproofing systems install in 2 to 3 days without disturbing exterior landscaping, but confirm what “installation” includes. Sealant only, or sealant plus drainage, sump pump, vapor barrier under future flooring.
Ask contractors about system maintenance. Interior basement waterproofing currently operates unregulated, requiring homeowner research before purchasing. Zero maintenance systems are preferred over solutions requiring ongoing maintenance, special flooring, lifetime costs. If a contractor pushes a system that needs annual service contracts, special drainage stone replacement, or proprietary flooring to maintain the warranty, that’s a red flag.
Watch for these warning signs when selecting contractors:
Lack of references or refusal to provide recent job addresses. Legitimate contractors have a trail of completed work and happy customers willing to vouch for quality.
High pressure tactics or same day only pricing. “This price is only good if you sign today” is a classic sales manipulation, not a reflection of real market conditions.
Unusually low bids compared to competitors. A bid 40 to 50 percent lower than others likely means substandard materials, shortcuts in prep work, or a contractor who won’t be around for warranty claims.
No written warranty or vague warranty language. A real warranty specifies what’s covered (labor, materials, water intrusion), for how long (5, 10, 25 years), what voids it (improper maintenance, structural changes, exterior grading alterations).
Ongoing maintenance requirements buried in contract fine print. Systems requiring annual inspections, pump replacements, or filter changes add hundreds of dollars per year in lifetime costs and reduce the system’s value.
Documentation is critical for property value and home inspection concerns. Keep all product data sheets, receipts, warranty paperwork, before and after photos of the waterproofing work. If you sell the house, transfer the warranty to the new owner if possible. Home inspectors look for evidence of past water intrusion and want to see that it was fixed correctly with durable materials, not just painted over.
Final Words
Interior basement waterproofing sealant works when you match the product to your actual moisture level and prep the surface right.
Test first with a moisture meter or calcium chloride kit. Pick penetrating sealer for dry concrete, vapor barrier for moderate moisture, or membranes when hydrostatic pressure shows up.
Skip the prep and the coating fails. Skip exterior drainage when you need it and the sealant can’t keep up.
Most basement moisture problems respond to the right interior product plus some gutter and grading fixes. You’ll know it’s working when the walls stay dry through the next heavy rain.
FAQ
What is best for waterproofing interior basement walls?
The best waterproofing for interior basement walls depends on your moisture level. For foundations with moisture content under 4 percent, penetrating concrete sealers work well. For higher moisture (3 to 20 pounds per 1,000 square feet per 24 hours), use a moisture vapor barrier coating that resists hydrostatic pressure and controls vapor emission.
Can you water seal a basement from the inside?
You can water seal a basement from the inside for minor seepage and preventive protection. Interior sealants work when water enters through concrete pores and hairline cracks, not active flooding. Test moisture levels first with a calcium chloride test or moisture meter. If hydrostatic pressure is severe, interior sealing alone may not be enough.
When not to use Drylok?
Don’t use Drylok or similar film-forming sealers when hydrostatic pressure pushes water through the foundation, when moisture meter readings exceed 4 percent, or on surfaces with active water intrusion. Film-forming products can trap moisture behind the coating, causing the finish to peel, flake, or delaminate over time.
Does interior basement waterproofing work?
Interior basement waterproofing works for managing minor seepage and preventing moisture from wicking through porous concrete. It controls water vapor emission and provides a protective barrier on foundation walls. However, it’s a temporary fix for severe groundwater problems requiring exterior drainage, sump pumps, or grading corrections to address the root cause.
How do I test basement moisture before sealing?
Test basement moisture before sealing using a concrete moisture meter for quick readings or a calcium chloride test for precise vapor emission rates. The calcium chloride test costs about 18 dollars and runs for 72 hours per ASTM F1869 standard. Results determine whether you need a penetrating sealer or vapor barrier coating.
What causes basement moisture problems?
Basement moisture problems are caused by improper slope toward the foundation, poor drainage and weak soil, clogged gutters, condensation, structural cracks, and hydrostatic pressure from water accumulation. Water seeps through concrete pores, capillary tracts, and hairline cracks. Sixty percent of U.S. houses have moisture issues, with 38 percent at risk for basement mold.
How much does interior basement waterproofing cost?
Interior basement waterproofing cost varies by product type and square footage. Penetrating sealers like Lithi-Tek 9500 cover up to 500 square feet per gallon when mixed with water. Professional systems install in 2 to 3 days without disturbing landscaping. Calculate total cost based on coverage area, product type, and whether you DIY or hire contractors.
What surface preparation is needed before waterproofing?
Surface preparation before waterproofing requires removing all paint, filling cracks with non-shrink grout, cleaning loose materials, and creating a reasonably smooth surface. Power wash walls, degrease oily spots, etch concrete with muriatic acid if needed, and wire brush for proper surface profile. Test moisture levels after cleaning and before applying sealant.
How long does basement waterproofing sealant last?
Basement waterproofing sealant lasts 5 to 10 plus years depending on product type and moisture conditions. Penetrating sealers like Lithi-Tek 9500 offer 10 plus year lifespan with a clear finish that never yellows or peels. Moisture vapor barriers like Vapor-Tek 440 provide 5 plus year lifespan with hydrostatic pressure resistance.
Should I apply waterproofing myself or hire a professional?
Apply waterproofing yourself if moisture is minor, you can test and prep surfaces properly, and the basement has no active flooding. Hire a professional for severe hydrostatic pressure, complex drainage issues, or when combining interior sealant with sump pump systems and exterior drainage. Professional installation typically takes 2 to 3 days.