

Basement waterproofing paint sounds like a simple fix, but most people apply it wrong and end up repainting within two years. The coating only works if you match the product to your actual moisture problem, prep the concrete right, and apply thin coats that cure completely. This guide covers the best waterproofing paints for different basement conditions, how to prepare surfaces so the coating actually bonds, and the application mistakes that cause peeling and callbacks.
Best Interior Basement Waterproofing Paint Products and How They Work
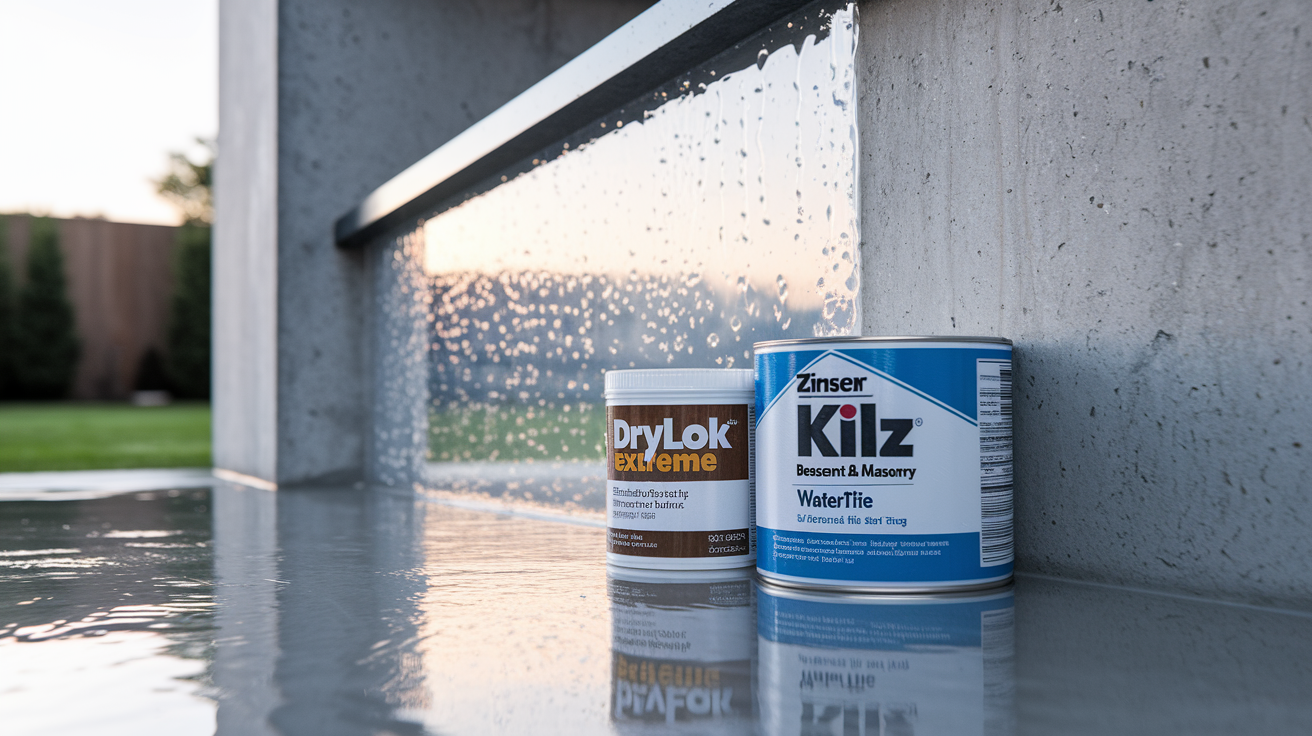
DRYLOK Extreme Masonry Waterproofer handles up to 15 psi of water pressure and includes mildew resistant additives. KILZ Basement & Masonry Waterproofing Paint uses nanotechnology that blocks water while staying breathable. Zinsser Watertite Mold & Mildew Proof is built for high humidity spaces where biological growth starts quickly.
When picking a product, match it to your actual conditions. Small coverage areas with occasional dampness work fine with standard formulas. Persistent humidity or visible moisture stains need mildew resistant versions. Budget matters, but skimping on coverage or mildew protection just means you’re reapplying sooner.
These paints form a protective barrier over porous concrete and masonry using water repelling ingredients that regular decorative paint doesn’t contain. The barrier stops liquid water from soaking in while allowing interior vapor to escape. Trapped moisture behind the coating would cause peeling and create worse problems than you started with.
Standard waterproofing paint handles minor dampness and humidity control. It can’t fix structural cracks, seal gaps around penetrations, withstand continuous pressure from groundwater outside the wall, or stop active water infiltration. If water runs down your wall during heavy rain or you see white mineral deposits rebuilding quickly after cleaning, paint alone won’t solve it.
Popular Basement Waterproofing Paint Brands and Product Specifications
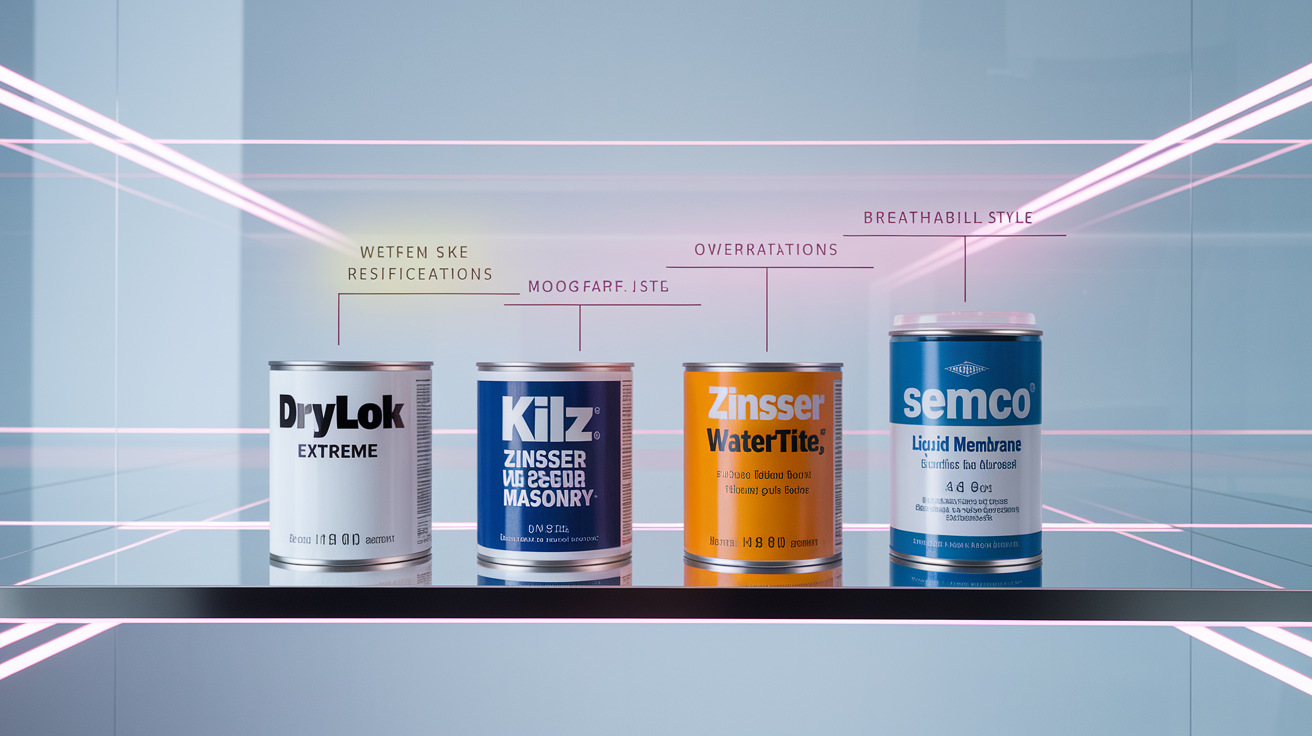
Different product categories address different basement moisture scenarios. Understanding formulation differences helps you pick the right protection level without overspending on features you don’t need.
Masonry Waterproofers (DRYLOK, KILZ)
DRYLOK Extreme uses a dense acrylic formula that resists up to 15 psi of hydrostatic pressure. That’s the force of standing water about 35 feet high pushing against the wall. The mildew resistant coating includes antimicrobial additives that inhibit biological growth in damp conditions. Coverage runs about 75 to 100 square feet per gallon on typical concrete block.
KILZ Basement & Masonry applies nanotechnology to create microscopic barriers that repel water molecules while remaining breathable. Interior vapor escapes through the coating instead of building up behind it. The formula works on concrete, masonry, stucco, and previously painted surfaces. Expect 100 to 125 square feet per gallon on smooth poured concrete, less on rough block.
Mold and Mildew Resistant Formulas (Zinsser)
Zinsser Watertite targets high humidity environments where mold spores activate quickly. The formulation maintains an alkaline pH level that resists mildew colonization. Antimicrobial properties built into the coating inhibit spore germination even when surface condensation occurs during temperature swings.
The protective barrier prevents moisture absorption that creates the damp surface conditions mold needs. Interior vapor transmission still happens, but the coating blocks liquid water that would soak into porous concrete and create sustained dampness. Coverage matches standard masonry waterproofers at roughly 100 square feet per gallon.
Liquid Rubber Based Coatings (SEMCO, Liquid Rubber)
These products apply thicker than standard masonry paints and remain flexible after curing. The rubber formulation bridges hairline cracks up to 1/32 inch and accommodates minor structural movement without cracking. That flexibility prevents the rigid coating failures common with standard paints when foundations settle or shift slightly.
SEMCO Liquid Membrane and Liquid Rubber Foundation Sealant are both water based with zero VOC content. No solvents means minimal odor during application and no harmful fumes in occupied basements. The thicker film builds vapor transmission properties into the coating while blocking liquid water. Expect lower coverage, around 50 to 75 square feet per gallon, because of the heavier application thickness.
| Brand/Product | Water Pressure Resistance | VOC Content | Mold/Mildew Resistance | Key Feature |
|---|---|---|---|---|
| DRYLOK Extreme | Up to 15 psi | Low VOC | Antimicrobial additives included | Highest pressure rating for masonry waterproofers |
| KILZ Basement & Masonry | Moderate moisture resistance | Low VOC | Standard mildew resistance | Nanotechnology breathability |
| Zinsser Watertite | Moderate moisture resistance | Low VOC | Alkaline pH mold prevention | High humidity formulation |
| SEMCO Liquid Membrane | Flexible barrier protection | Zero VOC | Prevents moisture conditions for mold | Water based, solvent free formula |
| Liquid Rubber Foundation Sealant | Bridges cracks to 1/32 inch | Zero VOC | Blocks liquid water promoting mold | Flexible rubber coating |
Surface Preparation and Application Guide for Basement Waterproofing Paint

Most waterproofing paint failures trace back to prep shortcuts, not product problems. The coating bonds directly to the substrate. Contamination or moisture at that interface guarantees peeling.
- Clean walls completely using TSP substitute or concrete cleaner, removing dirt, dust, grease, and loose material with stiff brush or pressure washer set to low pressure
- Eliminate white powdery efflorescence (mineral deposits) by scrubbing with stiff brush and diluted muriatic acid solution following manufacturer dilution ratios, then rinse thoroughly
- Remove any existing failed paint or coatings that aren’t bonding solidly. Use scraper or wire brush on peeling areas
- Fill cracks and holes larger than hairline using hydraulic cement or concrete patching compound, smoothing flush with surrounding surface using putty knife
- Allow all repairs and cleaned surfaces to dry completely. Typically 24 to 48 hours depending on temperature and humidity
- Tape edges at ceiling line and floor using painter’s tape and putty knife for clean application lines
- Check surface moisture by taping plastic sheet to wall overnight. Condensation on plastic means surface is too damp to coat
- Verify temperature is between 50 to 90°F and humidity below 85% before starting application
Once prep is done right, application becomes straightforward if you don’t rush.
- Start at ceiling line and work downward to catch drips before they run down finished sections
- Load roller moderately. Too much paint creates drips, too little leaves thin coverage
- Apply smooth, even strokes from top to bottom in 3 to 4 foot sections, maintaining wet edge to avoid lap marks
- Keep roller or brush wet during application by reloading before it starts dragging or leaving dry streaks
- Cover corners and edges completely using brush for detail work after rolling main sections
- Apply thin, even coat rather than trying to build thickness in one pass. Thick application extends drying time and creates sticky surface
- Let first coat dry per manufacturer instructions before applying second coat
Apply 2 to 3 thin coats to vertical surfaces for proper waterproofing protection. Thin coats dry faster and build better than one thick coat. Drying time between coats varies with temperature, humidity, and ventilation. Cooler, damper conditions with poor airflow extend drying significantly. Touch the surface lightly. If paint transfers to your finger, it’s not ready. Full curing takes several days before exposing to moisture.
Common Application Mistakes to Avoid
- Skipping efflorescence removal. Those mineral deposits prevent bonding and the coating peels off in sheets later
- Applying to damp surfaces. Moisture trapped behind the coating causes blistering and premature failure
- Using too thick coats. Extends drying time, creates sticky surface that stays tacky, and builds internal stress that causes cracking
- Insufficient coverage in corners and edges. Water finds the gaps you left and the whole job fails
- Failing to fill cracks before painting. Water follows the path you didn’t seal
- Applying in wrong temperature conditions. Below 50°F or above 90°F prevents proper curing and bonding
Following manufacturer instructions and patience during multi coat application prevent most problems. Wear gloves and eye protection during prep and application. Protect floors with drop cloth. Never paint decorative paint over waterproofing coating. It seals the breathability and traps moisture. Never use solvents or abrasive cleaners on waterproofed walls. They strip the water repelling properties you just paid for.
Testing Waterproofing Paint Effectiveness After Application
Wait until the final coat fully cures before testing. Partially cured coating gives false results.
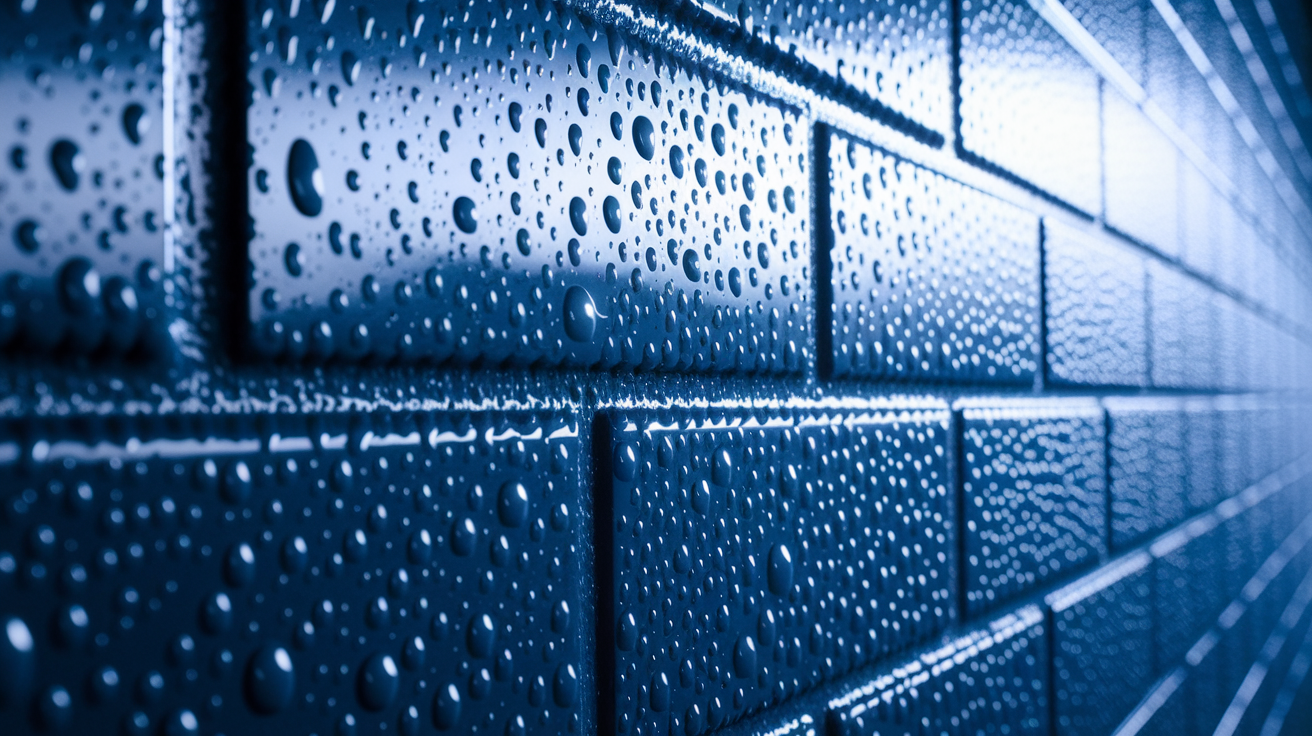
Pour water directly on painted wall surface and watch behavior. Proper waterproofing causes immediate beading with no absorption into concrete. Press damp test strips against wall for 30 seconds then remove. Water should stay beaded on surface, not darken the strip with absorbed moisture. Inspect visually for uniform appearance and complete coverage with no thin spots or missed areas showing different sheen. Check corners, edges, and penetration points specifically. These high risk areas need the same protection as large flat sections. Wait at least 72 hours after final coat before water testing to allow complete curing.
Successful waterproofing shows tight water beads that roll off the surface when wall is tilted. The concrete underneath stays dry. Failed or incomplete coating shows water soaking in, darkening the surface, or disappearing into the substrate. Uneven beading across the wall indicates inconsistent coverage thickness.
Absorption spots need additional coats. Blistering means moisture was trapped during application. Scrape failed areas, let substrate dry completely, and recoat. If water soaks in everywhere, the surface wasn’t properly cleaned or the product wasn’t suitable for your moisture severity.
When Basement Waterproofing Paint Won’t Solve the Problem
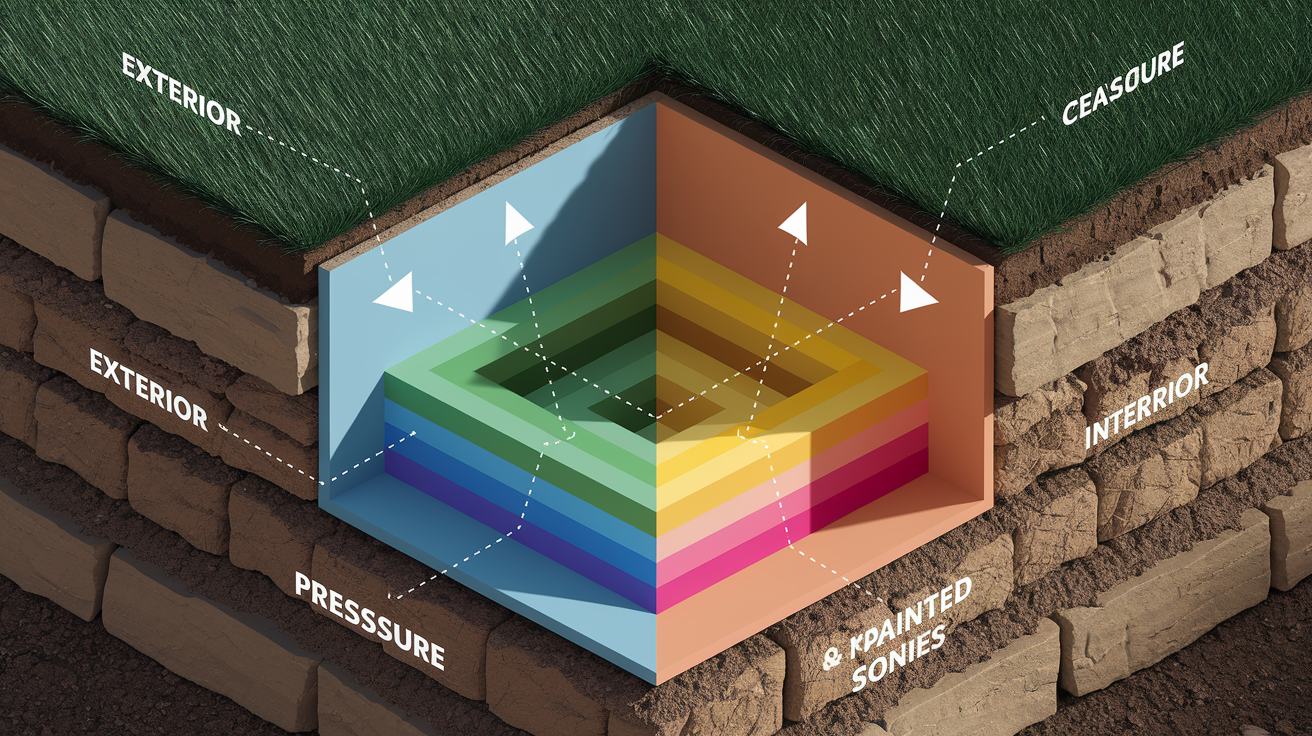
Waterproofing paint treats symptoms. It doesn’t fix the source of serious water problems.
Hydrostatic pressure is groundwater outside the foundation pushing against the wall. That pressure exists around the clock during wet seasons. Surface coatings can’t withstand continuous force from the outside. They’re designed to resist occasional dampness and humidity from inside conditioned space, not constant pressure trying to drive water through the wall.
Foundation cracks wider than hairline, failed mortar joints, and gaps where walls meet floors create water entry points that surface coating can’t bridge. Widespread seepage patterns (moisture showing up across large wall sections during rain) indicate the foundation itself is compromised or drainage around the house is directing water straight at the walls.
Active water streams running down walls during or after rain. White mineral deposits (efflorescence) returning within days after cleaning and painting. Cracks you can fit a credit card edge into. Water pooling on basement floor near walls. Persistent musty odors even after coating application and drying. Same damp spots recurring in identical locations after repainting.
These scenarios require exterior excavation to expose and waterproof the outside foundation surface, drainage correction to redirect water away from the house before it reaches foundation walls, or membrane systems that handle hydrostatic pressure that paint cannot resist.
Get a professional foundation assessment when warning signs appear. Interior paint won’t stop exterior water problems.
Drainage Solutions and Alternative Waterproofing Methods for Basements
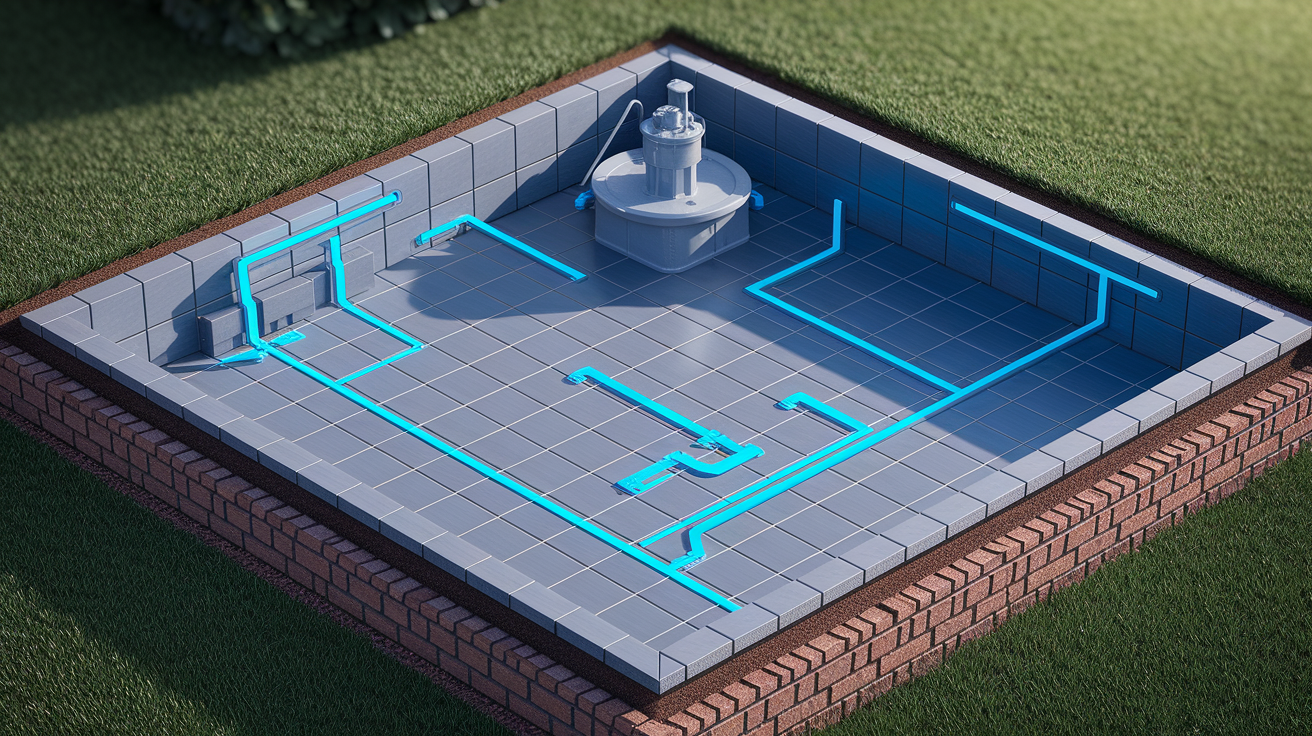
Problems beyond paint’s capability need systems that intercept water before it reaches living space or barriers that withstand continuous moisture pressure.
An integrated approach combines interior humidity control with exterior water management and structural waterproofing where foundation walls need protection paint can’t provide.
Interior Drainage Systems
Sump pump systems collect water after it enters the basement, using perforated pipe (interior drain tile) installed in a trench around the foundation perimeter. The system captures water at the floor/wall joint before it spreads across the floor or wicks up walls. The sump pump removes collected water automatically when the basin fills. This manages water that’s already penetrated the foundation rather than keeping it outside.
Exterior Waterproofing Membranes
Applied to the outside foundation surface, these barriers stop water before it contacts concrete. WM40 is a 40 mil self adhering membrane with rubberized asphalt bonded to high density polyethylene film. It bonds directly to foundation walls and flexes with minor structural movement. Stretch Flex Liquid waterproofing bridges shrinkage cracks up to 1/16 inch and handles hydrostatic pressure that surface paints can’t resist. Underseal Underslab Membrane at 85 mil thickness goes under basement floor slabs during construction to prevent water and vapor transmission from below. These systems last decades with minimal maintenance compared to interior coatings requiring reapplication every 5 to 10 years.
Drainage and Grading Improvements
French drains intercept groundwater before it reaches foundation walls by creating a gravel filled trench with perforated pipe that carries water away from the house. Downspout extensions move roof water at least 10 feet from the foundation instead of dumping it right at the wall. Soil grading slopes away from the house at minimum 6 inches drop over 10 feet. This directs surface water away rather than letting it pool against the foundation.
Use interior paint for minor dampness in basements with good exterior drainage. Add interior drainage systems when water occasionally enters despite reasonable exterior conditions. Install exterior membranes when consistent moisture problems exist or finishing basement as living space. Correct drainage and grading first on every project. The best waterproofing system fails when thousands of gallons from downspouts dump straight at the foundation. Interior paint plays a supporting role in comprehensive moisture management, not the primary defense.
Maintenance Schedule and Reapplication Timing for Waterproofing Paint

Proper care extends your waterproofing investment years beyond what neglected coating delivers.
Clean waterproofed walls using only water with soft brush or paint roller sleeve. Never use solvents, degreasers, bleach, or abrasive cleaners. These chemicals break down the water repelling properties the coating depends on. Never paint decorative paint over waterproofing coating. It seals the breathability that allows interior vapor transmission and traps moisture behind both layers.
Inspect annually for peeling, blistering, areas where water beads less effectively, and new cracks in the substrate. Check after heavy rain periods or spring thaw when moisture stress peaks. Look specifically at floor/wall joints, corners, and around penetrations where windows, pipes, or utilities enter. These vulnerable points show problems first. Small peeling areas caught early need only local prep and touch up rather than complete recoating.
Reapply when water stops beading and starts absorbing into the wall surface, when visible wear patterns appear in high traffic or high moisture areas, or when coating thickness shows obvious thinning. Age based schedules typically run 5 to 10 years depending on product quality, moisture severity, and traffic. Higher humidity basements and finished living spaces with more activity need reapplication toward the shorter end of that range.
Cost Comparison: DIY Waterproofing Paint vs Professional Installation
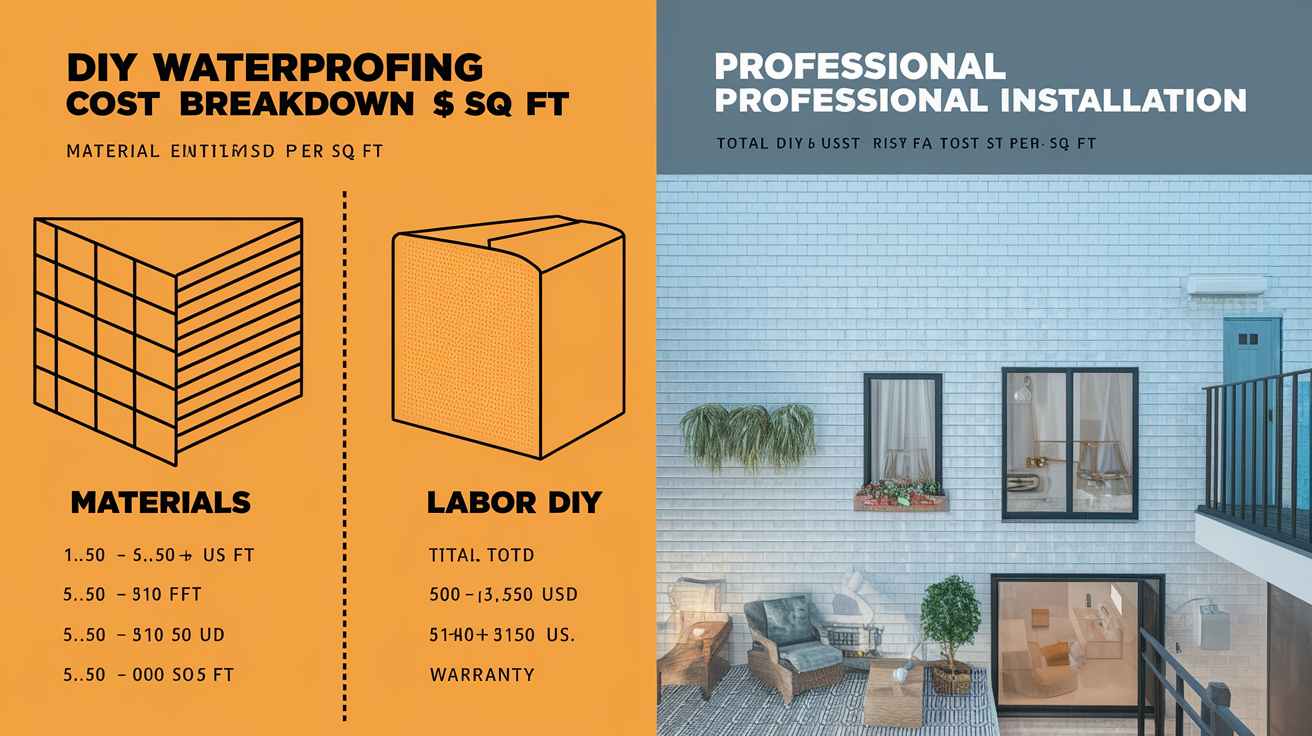
Cost breaks down into materials, labor time, and the value of getting results that last.
| Cost Factor | DIY Approach | Professional Installation |
|---|---|---|
| Material costs per square foot | $0.50 to $3.00 depending on product | $0.50 to $3.00 (same products) |
| Labor costs | Your time only | $2.50 to $7.00 per square foot |
| Equipment and tools | $50 to $150 for brushes, rollers, cleaning supplies | Included in labor rate |
| Total typical 1000 sq ft basement | $500 to $3,150 plus your time | $3,000 to $10,000 including labor |
| Warranty and guarantee | Product warranty only, no labor coverage | Workmanship guarantee 1 to 5 years typical |
DIY material only costs run $0.50 to $3.00 per square foot depending on product choice. Basic masonry waterproofer on the low end, premium liquid rubber formulations at the top. Your time investment includes prep, application, drying time between coats, and cleanup. Plan multiple weekends for thorough surface prep and 2 to 3 coat application. DIY makes sense for smaller areas under 500 square feet, minor dampness problems, tight budgets, and homeowners comfortable with basic painting skills. The work is manageable if you don’t rush and follow proper technique.
Professional installation costs $3.00 to $10.00 per square foot including labor. Higher rates apply to difficult access, extensive prep needs, or premium products. Contractors bring experience identifying and addressing surface prep issues that homeowners miss, efficiency that cuts project time from weeks to days, proper equipment for consistent application, and workmanship warranties that cover failure from application errors. Professional help is worth the premium for basements over 1000 square feet, active moisture problems requiring expert assessment, finished living spaces where mistakes show, time constraints that make weeks long DIY projects impractical, and homeowners lacking confidence in prep or application skills.
Safety Precautions and VOC Considerations for Indoor Waterproofing Applications
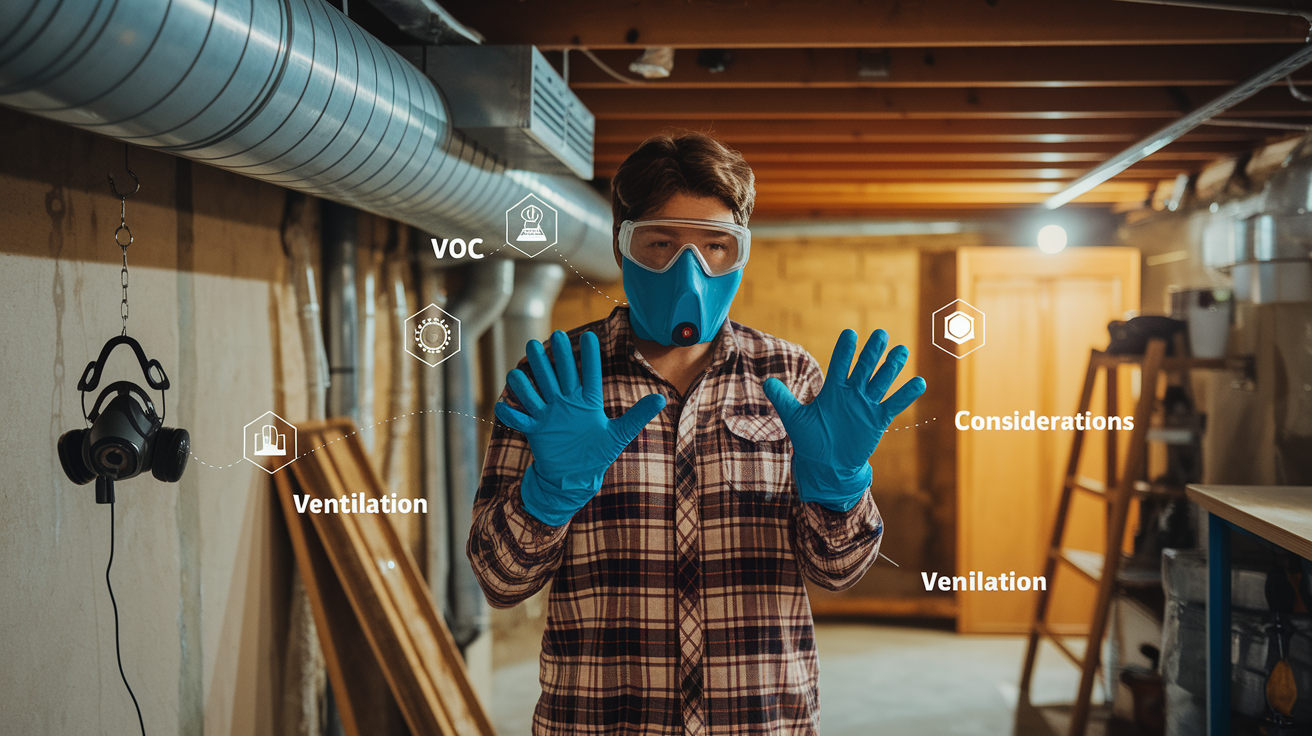
VOC content varies significantly between products. Water based, low VOC formulas contain minimal volatile organic compounds. These modern formulations avoid the harsh solvents traditional waterproofing paints used. SEMCO Liquid Membrane and Liquid Rubber Foundation Sealant are both VOC free and solvent free. DRYLOK Extreme and KILZ products use low VOC formulations. During application and curing, odor stays minimal with water based products. Indoor air quality impact is substantially lower than solvent based alternatives.
Required protective equipment includes nitrile or rubber gloves, safety glasses or goggles, and respirator if working in poorly ventilated space. Ventilation requirements mean opening windows, running fans to create air circulation, and avoiding application in enclosed basements with no airflow. Recommended application conditions are 50 to 90°F temperature and below 85% humidity. Conditions outside this range affect drying, curing, and coating performance.
Set up cross ventilation with fans at opposite ends of basement before starting. Wear gloves and eye protection during all prep, application, and cleanup. Use respirator if working in space where windows and ventilation are limited. Keep children and pets out of basement during application and through complete drying of all coats. Dispose of cleaning materials, empty containers, and contaminated rags per local hazardous waste guidelines. If product contacts skin, wash immediately with soap and water. For eye contact, flush with water for 15 minutes and seek medical attention.
Water based, low VOC formulas significantly reduce safety concerns and make DIY application practical for typical homeowners working in occupied homes where family members are upstairs during application.
Humidity Control Strategies for Basement Moisture Management

Waterproofing paint blocks liquid water trying to come through walls. Humidity control manages airborne moisture already in basement air. Both are necessary for comprehensive protection. Paint without humidity control leaves damp air condensing on cold surfaces and creating mold conditions.
Breathability in waterproofing paint means the coating prevents liquid water penetration while allowing water vapor to transmit through. Vapor trapped behind an impermeable coating condenses inside the wall assembly and causes worse moisture problems than you started with. KILZ and similar products maintain breathability specifically to avoid trapping interior vapor while blocking exterior liquid water.
Complementary humidity control equipment includes dehumidifiers sized to basement volume. 50 pint capacity for typical 1000 square foot space, 70 pint for larger or particularly damp basements. Place dehumidifiers in central location away from walls for good air circulation, set to maintain 50 to 55% relative humidity year round. Ventilation improvements like exhaust fans, air circulation systems that move air throughout the space, and seasonal adjustments help. Run dehumidifiers continuously in summer when warm humid outdoor air enters cool basement space and condenses on everything. Winter requires less dehumidification but monitor humidity during freezing weather when heating systems dry indoor air.
Integrated moisture management combines waterproofing paint with humidity control to prevent mold, mildew, soggy drywall, and buckling flooring in finished basements. Paint stops liquid water at walls. Dehumidification removes airborne moisture before it condenses. Ventilation prevents stagnant damp air pockets. Maintain humidity below 60% for optimal protection. Above 60% relative humidity, mold growth accelerates even on painted surfaces. Below 50% gets too dry and wastes dehumidifier energy. The 50 to 55% range balances comfort, protection, and efficiency.
Building Code Requirements and Finished Basement Considerations
Building codes for below grade living spaces typically require vapor barriers, moisture testing before finishing, mechanical ventilation meeting minimum air changes per hour, and emergency egress through windows or doors. Requirements vary by jurisdiction. Some localities mandate professional moisture testing and remediation certification before allowing basement finishing permits. Check requirements before starting projects combining waterproofing with living space improvements.
Sequencing matters when finishing basements. Apply waterproofing paint before installing framing and drywall. Trying to waterproof after finishing means pulling everything back out. Coordinate with insulation installation to avoid creating moisture traps between layers. Rigid foam insulation against waterproofed concrete works better than fiberglass batts that absorb and hold moisture. Leave small air gap behind finished walls if local code allows, or use moisture resistant materials throughout if building directly against waterproofed concrete.
Property value and insurance considerations include documenting moisture protection work with photos and product receipts, keeping records of professional vs DIY application, and disclosing waterproofing systems and any previous moisture problems when selling. Insurance companies may reduce rates for documented basement waterproofing or raise them for properties with moisture damage history. Professional installation often carries more weight in appraisals and insurance underwriting than DIY work.
Check with your local building department before starting basement finishing projects that include waterproofing. Permit requirements, inspection schedules, and specific product approvals vary significantly by location.
Final Words
Interior basement waterproofing paint handles minor dampness and humidity when you prep right and apply it properly. It’s not magic—it won’t stop active leaks or fight hydrostatic pressure—but it does create a solid first line of defense for most finished basements.
Test your work with the water bead check. Keep up with simple maintenance using only water and soft tools. Watch for warning signs that bigger problems are developing.
When paint alone isn’t enough, combine it with drainage improvements and humidity control. That integrated approach is what actually keeps basements dry long-term.
FAQ
Q: What is best for waterproofing interior basement walls?
A: The best products for waterproofing interior basement walls include DRYLOK Extreme (withstands up to 15 psi water pressure), KILZ Basement & Masonry (uses breathable nanotechnology), and Zinsser Watertite (mold-proof formula for high-humidity areas). These work best for managing minor dampness, not active leaks or structural cracks.
Q: How do you waterproof the inside of a basement wall?
A: You waterproof the inside of a basement wall by first cleaning the surface and removing efflorescence, then filling any cracks, and applying 2-3 thin coats of waterproofing paint with a roller from top to bottom. Proper surface prep and allowing full drying time between coats ensures bonding strength and effectiveness.
Q: When should you not use Drylok?
A: You should not use Drylok when you have active water streams, continuous hydrostatic pressure from outside groundwater, structural cracks wider than hairline, or water pooling on the floor. These conditions require exterior drainage fixes or membrane systems, not surface coatings that only address symptoms.
Q: Does interior basement waterproofing work?
A: Interior basement waterproofing works for managing minor dampness and humidity control when properly applied to clean, dry surfaces. It creates a barrier that repels water and resists mold growth, but cannot solve structural cracks, active leaks, or continuous groundwater pressure problems.
Q: How many coats of waterproofing paint do basement walls need?
A: Basement walls need 2-3 thin coats of waterproofing paint applied to vertical surfaces for optimal protection. Applying thin coats prevents sticky surfaces and extended drying times while building adequate film thickness to withstand moisture and achieve proper water beading.
Q: Can you paint over basement waterproofing paint?
A: You cannot paint decorative paint over basement waterproofing paint because it strips the waterproofing properties and eliminates the moisture barrier. For cleaning, use only water with a soft brush or roller, never solvents or abrasive cleaners that break down protection.
Q: How do you test if basement waterproofing paint is working?
A: You test if basement waterproofing paint is working by pouring water on the walls after full curing and checking if water beads up rather than soaking in. Properly applied waterproofing creates a barrier that repels water, and test strips can verify this beading effect.
Q: How long does basement waterproofing paint last?
A: Basement waterproofing paint typically lasts 5-10 years depending on product quality, application conditions, and moisture exposure levels. Reapplication becomes necessary when water no longer beads, visible wear patterns appear, or annual inspections reveal coating thinning in high-traffic areas.
Q: What VOC level is safe for basement waterproofing paint?
A: VOC-free or low-VOC basement waterproofing paint options like SEMCO Liquid Membrane and Liquid Rubber Foundation Sealant are safe for indoor application in occupied homes. Water-based formulas reduce odor, improve indoor air quality, and make DIY application accessible without heavy respiratory protection.
Q: Should you use a dehumidifier with basement waterproofing paint?
A: You should use a dehumidifier with basement waterproofing paint because the paint addresses liquid water while the dehumidifier manages airborne moisture. This integrated approach keeps humidity below 60%, preventing mold, mildew, and dampness that waterproofing paint alone cannot eliminate.