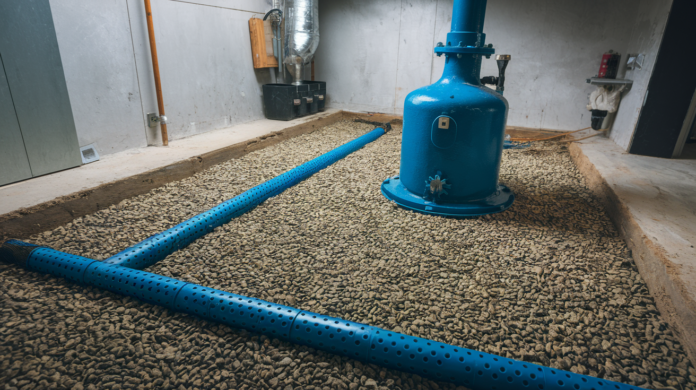

Basement waterproofing companies love to sell you the most expensive fix, but here’s what they won’t say up front: an interior drainage system works just as well as exterior excavation for most water problems, costs a third as much, and won’t destroy your landscaping. Interior systems capture water after it comes through your foundation walls or floor, then pump it away before damage happens. If you’re tired of wet basements but don’t want to mortgage your house to fix it, this approach handles hydrostatic pressure and groundwater seepage without digging up your entire yard.
Interior Drainage System Overview: Types, Costs, and Performance Comparison

| System Aspect | Professional Installation | DIY Installation |
|---|---|---|
| Cost Range | $5,000 to $8,000 for 120 linear feet | Under $1,500 for materials and rentals |
| Installation Time | 2 to 3 days with crew | 3 to 5 days working weekends |
| Warranty Coverage | 5 to 10 years on labor and system | Product warranties only |
| Complexity Level | Handled by experienced crew | Requires concrete, plumbing, electrical skills |
| Typical Effectiveness | 95%+ when properly designed | Variable, depends on execution |
An interior basement waterproofing drainage system captures water coming through foundation walls or floors before it can cause damage. The water moves through perimeter drain pipes to a collection basin, then gets pumped away from your home. These systems handle moisture from hydrostatic pressure, groundwater, and seepage that threatens your basement and foundation.
Three main parts work together. Perforated drain pipes run along the perimeter with the right slope, sump pump systems sit in floor pits and activate automatically, and vapor barriers on interior surfaces block moisture from getting through.
When you install it correctly and keep up with maintenance, this setup provides solid protection against basement flooding and foundation damage. The drain tile grabs water before it pools on your floor. The sump pump kicks on and removes water when levels rise. Vapor barriers stop moisture vapor from penetrating walls and creating condensation issues. This combined approach manages water that enters the basement while protecting stored items, finished spaces, and structural parts from moisture damage.
Components of an Interior Basement Drainage System
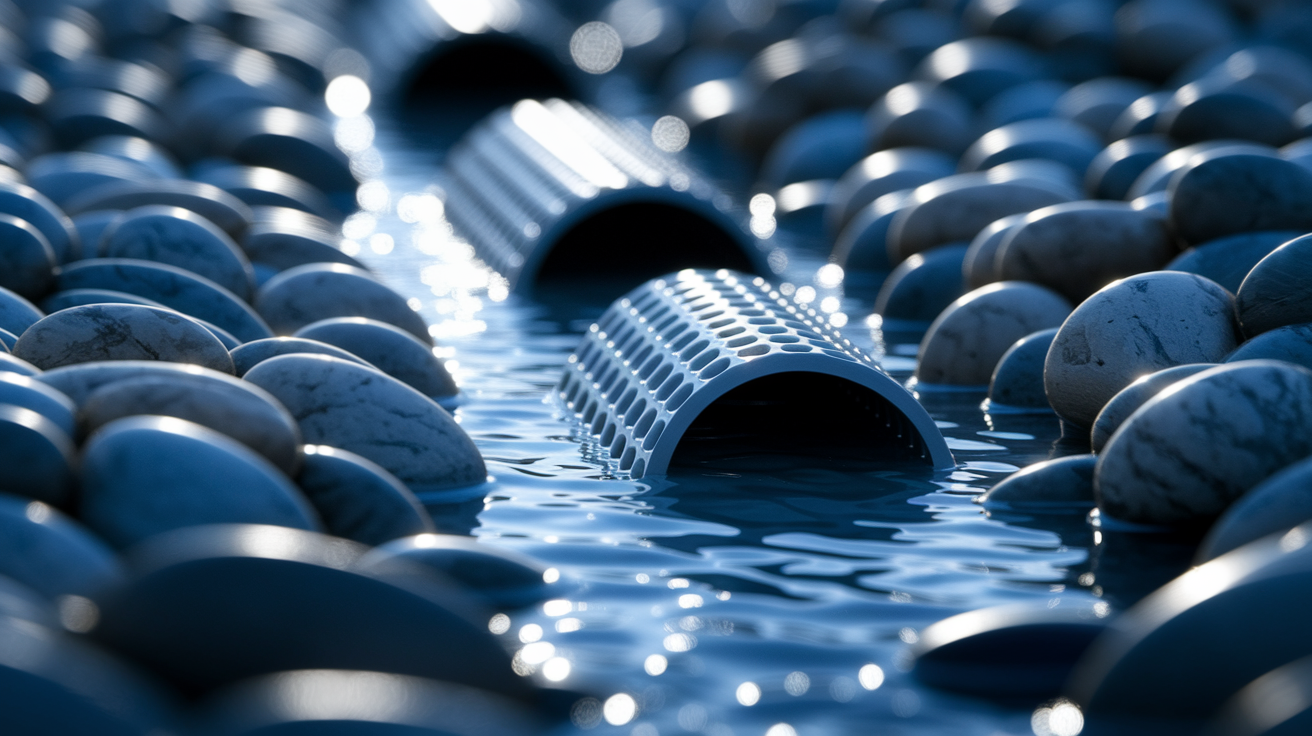
Effective interior waterproofing needs multiple parts working together. Each one has a specific job in capturing, moving, and removing water from your basement.
Understanding what each component does helps you make better decisions about system design, whether you’re hiring someone or doing it yourself, and what maintenance you’ll need down the road.
Perimeter Drain Tile and Perforated Pipe
The perimeter drain tile runs along the inside of your foundation walls. You’ll install it in a trench cut through the concrete floor. Use 4 inch diameter Schedule 10 perforated pipe with holes facing down. This keeps sediment out while letting water flow in from below. The pipe sits in a bed of 1.5 to 2 inch washed river rock that gives drainage space and prevents clogging from soil or concrete bits.
Water coming through the foundation walls or floor drains down through the gravel and enters the perforated pipe. Gravity moves the water along the perimeter toward the sump basin. The rock layer also spreads hydrostatic pressure more evenly around your foundation.
Sump Pump Basin and Pump Unit
The sump basin is a pit dug into your basement floor at the lowest point of the drainage system. Use 30 inch deep sump basins for standard systems with up to 120 linear feet of drain tile. Systems longer than 120 feet need 36 inch deep basins to handle more water volume. If your drain tile goes past 180 feet, you’ll want two basins at opposite ends to avoid overwhelming a single pump.
Submersible pumps with vertical float switches are your most reliable option. The pump sits at the bottom of the basin. As water fills the basin, the float rises until it triggers the pump motor. The pump then pushes water through a pipe that carries it away from your foundation. In cold climates, keep the discharge pipe to no more than 8 inches past the siding. This prevents freeze damage to the exposed section.
Install a check valve in the discharge line. This stops water from flowing back into the basin after the pump shuts off. Drill a 1/4 inch to 3/8 inch vapor lock release hole in the pipe just below the check valve. This small hole prevents airlocks that can reduce pump efficiency.
Battery backup systems keep your pump running during power outages. And those often happen during the worst storms when you need the pump most.
Vapor Barriers and Drainage Channels
Vapor barriers are polyethylene or foil membranes you apply to interior surfaces after installing the drainage system. The barrier blocks water vapor from getting through foundation walls and adding to humidity problems. Use 6 mil thickness plastic vapor barrier over the gravel bed before pouring new concrete to restore the floor.
The vapor barrier creates a continuous moisture resistant layer. It directs any water vapor downward toward the drainage system instead of letting it evaporate into basement air. This cuts down on condensation on basement surfaces and helps prevent mold growth on organic materials you’re storing down there.
The whole system works through a straightforward process. Perforated pipes capture water as it enters the foundation. Gravity directs that water through the sloped drain tile to the sump basin. The pump activates automatically when water reaches the trigger level and discharges it outside your foundation before accumulation creates flooding or moisture damage.
Interior Versus Exterior Basement Waterproofing Systems
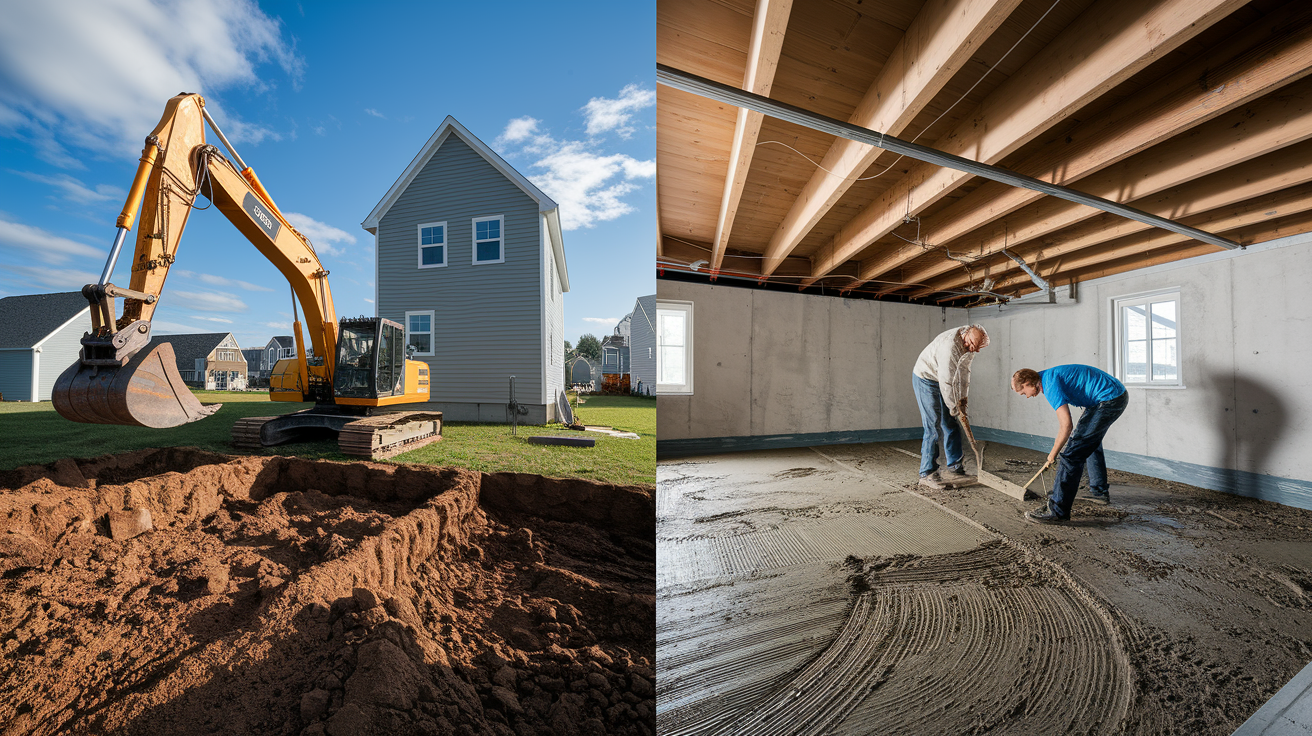
Interior systems manage water after it enters your foundation. Exterior systems prevent water from reaching the foundation in the first place. Both tackle basement moisture, but they work at different points in the water infiltration process.
Interior drainage systems offer several practical advantages. Less invasive installation that doesn’t require excavating around your entire foundation. Lower cost because of simpler access and less extensive work. No disruption to landscaping or hardscaping. And they’re feasible when exterior access is limited by property lines, additions, or permanent structures like decks and patios.
Exterior waterproofing provides proactive prevention. You apply waterproof membranes directly to foundation walls and install drainage systems at the footing level before water penetrates the concrete. This protects the foundation wall itself from water exposure and the deterioration that follows. But exterior systems require excavation around the foundation perimeter, cost significantly more because of extensive earth moving and restoration work, and disrupt established landscaping that has to be removed and replanted.
| Feature | Interior Drainage System | Exterior Waterproofing |
|---|---|---|
| Approach | Manages water after foundation entry | Prevents water from reaching foundation |
| Installation Complexity | Moderate—interior floor work only | High—full perimeter excavation required |
| Cost Range | $5,000 to $8,000 typical | $15,000 to $30,000 typical |
| Disruption Level | Inside basement only, no landscaping impact | Major yard disruption, temporary loss of landscaping |
| Best Use Cases | Limited exterior access, moderate moisture, retrofit situations | New construction, severe water infiltration, foundation damage |
| Longevity | 20 to 30 years with proper maintenance | 30 to 50 years when correctly installed |
Installation Process for Interior Drainage Systems
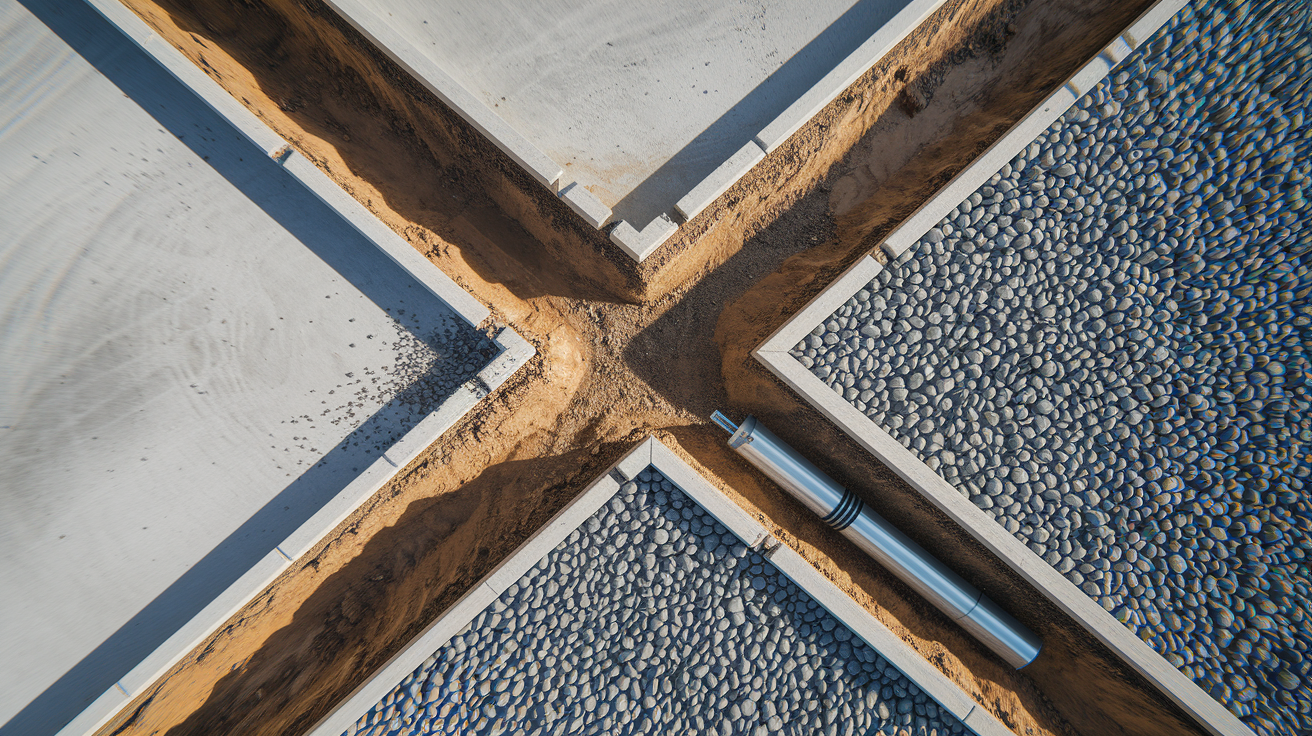
Installation requires significant floor work but can be done in 2 to 4 days by professionals or skilled DIYers willing to handle concrete removal, excavation, and restoration.
-
Mark and break up the concrete floor perimeter using an electric jackhammer. You’re creating an 8 to 12 inch wide strip around the basement perimeter where the drain tile will go.
-
Excavate the trench 16 to 18 inches away from the wall. Dig down to the bottom of the footing. This depth makes sure the drain captures water at the lowest point where it enters.
-
Install the sump basin in the lowest point of your basement floor. Use a 30 inch deep basin for standard systems or a 36 inch deep basin for systems longer than 120 feet.
-
Lay a 3 to 4 inch gravel bed in the trench and position the perforated pipe with holes facing down. Water enters from below while sediment stays out.
-
Create the proper slope. Make sure the pipe drops at least 1/4 inch for every 10 feet of run toward the sump basin. This gradient maintains steady water flow.
-
Drill relief holes in block walls by making 1 inch openings in each concrete block core and mortar joint. Or install 1 inch irrigation hose against poured concrete walls to channel water into the drainage trench.
-
Cover the drainage system with a 6 mil vapor barrier and add more washed rock to bring the trench nearly level with the existing floor.
-
Pour new concrete to restore the floor. Create a smooth surface that slopes slightly toward the drain tile perimeter.
After concrete cures, test the system. Introduce water into the basin to verify the sump pump activates correctly. Check that water discharges through the outlet pipe and flows away from the foundation. Pour water along the perimeter to confirm drainage flows into the system properly. Monitor pump cycling to make sure the float switch triggers at the correct water level and the pump shuts off when the basin empties. Walk the basement perimeter looking for standing water or slow drainage spots that might indicate installation problems requiring adjustment.
Installation Costs and DIY Versus Professional Considerations

Typical professional installation costs $5,000 to $8,000 for 120 linear feet of drain tile. A DIY approach runs under $1,500 for materials and tool rentals.
Cost factors include basement perimeter length and total square footage, labor rates (professional installation versus DIY time investment), sump pump quality and battery backup system options, concrete removal and restoration requirements, number of sump basins needed based on system length, and additional waterproofing products like vapor barriers and sealants.
DIY installation requires skills beyond basic home repairs. You’ll operate a jackhammer (rentals run under $100 per day), break up and haul away substantial concrete, dig trenches to the correct depth, calculate and maintain proper pipe slope, make plumbing connections for the sump discharge line, and pour and finish new concrete. The work takes 2 to 4 days of hard physical labor. You’ll need to rent or own a jackhammer, concrete saw, wheelbarrow, shovels, levels, and concrete mixing equipment. Mistakes in slope calculation, improper basin placement, or poor concrete work compromise system effectiveness.
Professional installation provides proper system design based on your specific basement configuration and water volume. You get code compliance for permits and inspections. Warranty coverage typically lasts 5 to 10 years on both labor and materials. Contractors use specialized equipment that speeds installation and improves quality. They reduce total installation time to 2 to 3 days with minimal disruption. And they bring expertise in handling complex situations like multiple elevation changes, unusual foundation configurations, or integration with existing plumbing.
Improper installation compromises system effectiveness and leads to continued water problems that cost more to fix than the original installation. A system installed with incorrect slope won’t drain properly. A sump basin placed too high won’t capture all the water. Incomplete vapor barriers allow moisture penetration. For complex basements with finished living spaces, multiple rooms, or severe moisture issues, professional installation provides better long term results and peace of mind.
| Installation Aspect | DIY Approach | Professional Service |
|---|---|---|
| Total Cost | Under $1,500 | $5,000 to $8,000 |
| Time Requirement | 3 to 5 days working weekends | 2 to 3 days with crew |
| Skill Level Needed | Concrete work, plumbing, electrical, grading calculations | Crew handles all technical work |
| Warranty | Product warranties only | 5 to 10 year labor and materials warranty |
| Equipment Access | Rent jackhammer, concrete saw, mixing equipment | Professional equipment included |
| Risk Level | High—errors reduce effectiveness | Low—experienced installation reduces failure risk |
Maintenance Requirements for Optimal System Performance
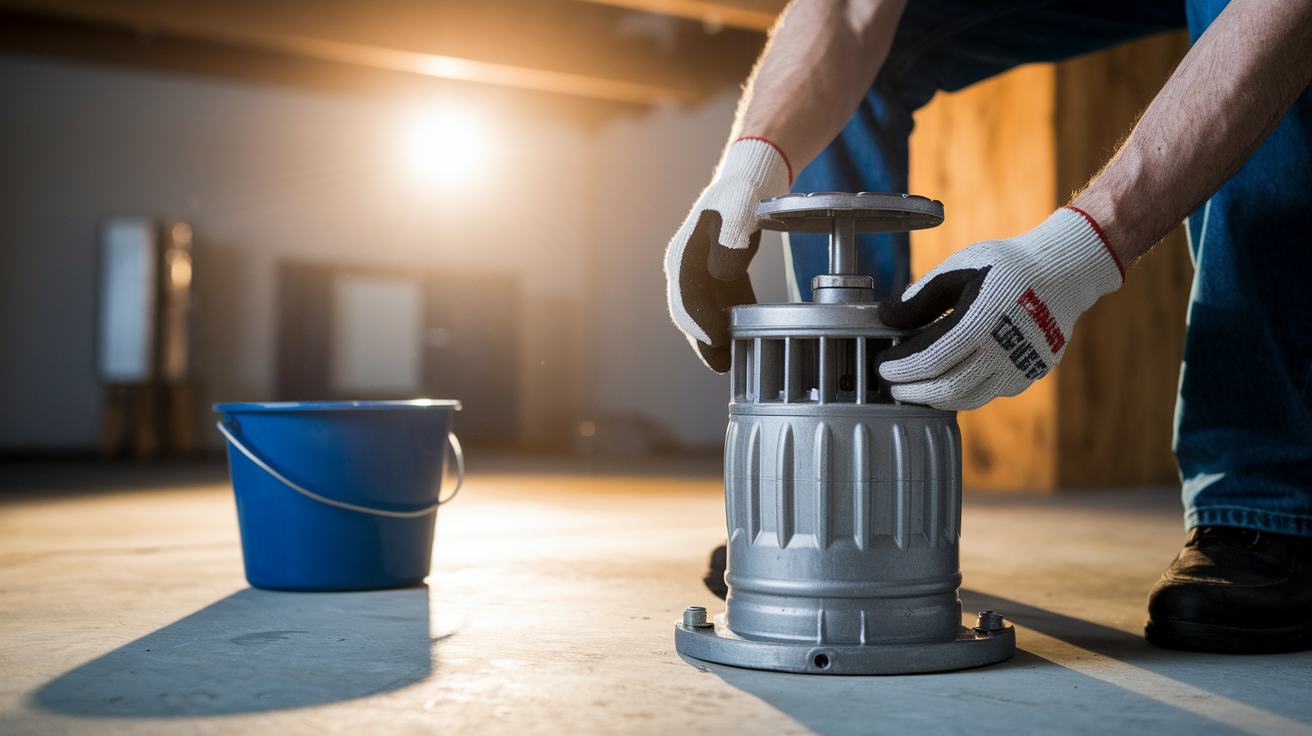
Regular maintenance prevents system failure and extends equipment lifespan to 20 to 30 years or more. Neglected systems experience premature pump failure, clogged drain lines, and reduced water removal capacity.
Most maintenance tasks are simple and take less than an hour every few months. You don’t need special tools beyond a bucket, flashlight, and basic hand tools.
-
Test the sump pump manually every 2 to 3 months. Pour a bucket of water directly into the basin until the float switch triggers and the pump activates.
-
Clean pump intake screens quarterly. Remove accumulated debris and sediment that restrict water flow and force the pump to work harder.
-
Inspect the discharge line for blockages from leaves or ice, disconnections at joints, or damage from lawn equipment or settling that could prevent proper drainage.
-
Check float switch operation by moving it manually to confirm free movement without binding. Test battery backup functionality by unplugging the primary pump.
-
Examine basement walls and floor for new cracks requiring sealant application before they widen and allow increased water infiltration.
-
Verify the drainage pipe maintains proper slope after heavy rainfall. Check for standing water in the trench or slow drainage along the perimeter.
-
Monitor for unusual sounds from the pump motor, slow drainage response after rainfall, or standing water that suggests reduced system capacity or developing problems.
Key signs of effective system operation include dry basement floors within hours after heavy rain, no musty odors indicating trapped moisture, sump pump activation cycles that respond appropriately to water volume, absence of efflorescence (white mineral deposits on walls that signal moisture movement through concrete), and no standing water visible in the drainage channel when you inspect with a flashlight.
Annual professional inspections provide comprehensive system evaluation beyond routine homeowner maintenance. Contractors remove sediment buildup from drain pipes using specialized equipment, perform detailed pump performance testing under load, check electrical connections and components for wear, verify discharge line integrity throughout its length, and identify potential problems before they cause system failures during critical heavy rainfall events.
Block Wall Versus Poured Concrete Foundation Drainage Approaches
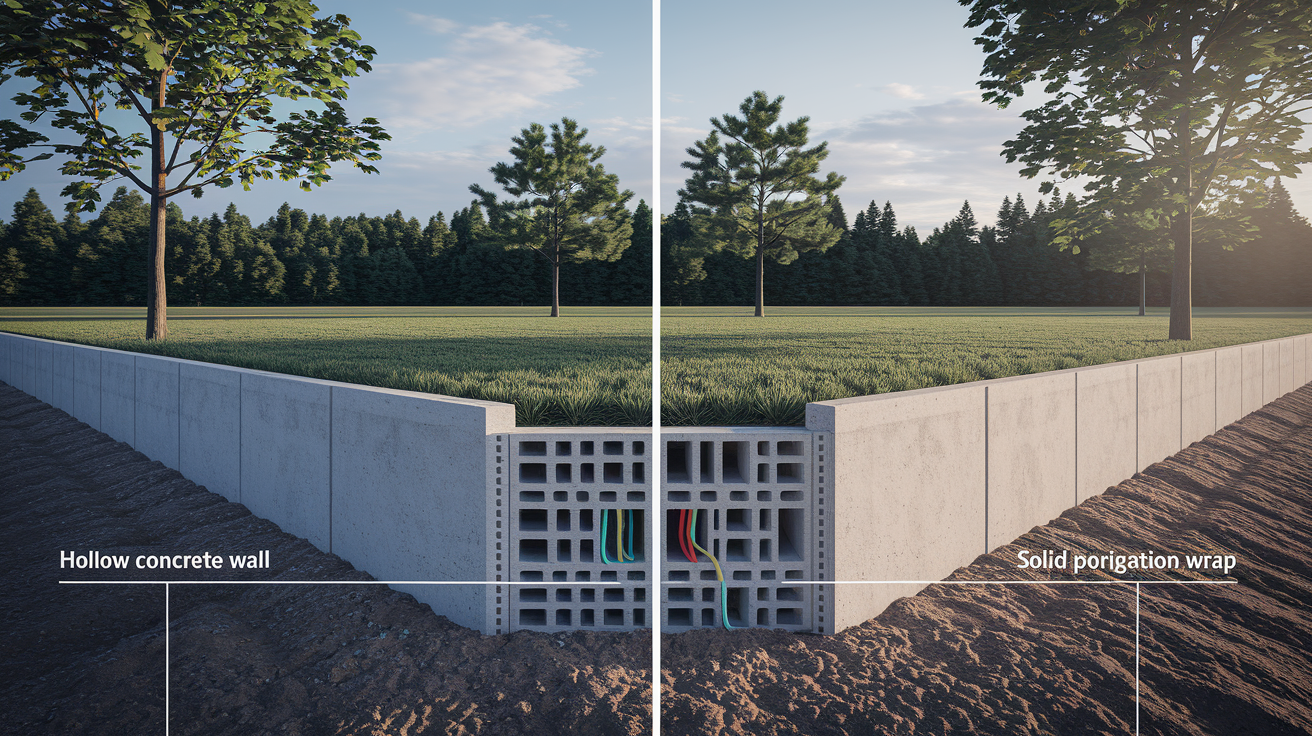
Foundation type significantly affects drainage installation approach and water collection methods.
For block walls, you’ll drill 1 inch holes in each concrete block core and mortar joint to create water pathways. Block walls are hollow. Water often accumulates inside these cavities when it penetrates through mortar joints or through the blocks themselves. Without relief holes, this trapped water has no path to the drainage system.
Install 1 inch irrigation hose or small tubes in block wall systems to channel water from the drilled cores directly to the drainage trench below. Position the hose opening near each drilled core so water flowing from the block enters the hose rather than running down the wall face. The hose delivers water to the gravel bed where it drains into the perforated pipe.
For poured concrete walls, water primarily enters through the cove joint where the floor meets the wall rather than through the wall itself. This joint flexes slightly as the foundation settles and as hydrostatic pressure varies, creating small gaps where water seeps through. Install foundation wrap that extends from below the floor surface up the wall about 4 inches above the top of the concrete. This barrier directs water downward into the drainage system rather than allowing it to spread across the floor.
When basements have finished walls with framing and drywall, place 4×4 inch concrete support sections every 6 feet along the foundation wall during excavation. These supports prevent wall instability or inward movement when you remove soil and concrete from the floor perimeter. Finished basement walls add weight and create leverage that can stress the foundation if floor support is removed without temporary bracing.
Benefits of Interior Drainage for Moisture Control and Mold Prevention
Effective drainage systems do more than remove water. They create dry basement environments that prevent secondary moisture damage. A working system keeps humidity levels low enough that mold spores can’t establish colonies on organic materials.
Vapor barriers installed as part of the drainage system block water vapor from penetrating through foundation walls and floors. This reduces condensation that forms when humid air contacts cool concrete surfaces. Less condensation means less moisture available for mold growth on cardboard boxes, wood shelving, fabric items, and drywall in finished spaces.
Improved moisture control benefits indoor air quality throughout your home, not just in the basement. Mold spores and musty odors don’t stay contained in the basement. They travel through HVAC systems and open stairways to upper floors. A dry basement means cleaner air in living spaces, reduced allergy symptoms, and better protection for stored items like holiday decorations, tools, and family belongings.
Benefits include eliminating standing water that promotes mold and mildew colonies on any organic surface, reducing humidity levels that contribute to condensation problems on cool surfaces, protecting structural wood components including floor joists and sill plates from rot and decay, maintaining healthier indoor air quality for occupants throughout the entire home, and preserving basement usability for finished living spaces or storage without moisture concerns.
Water Sources and Hydrostatic Pressure in Basements
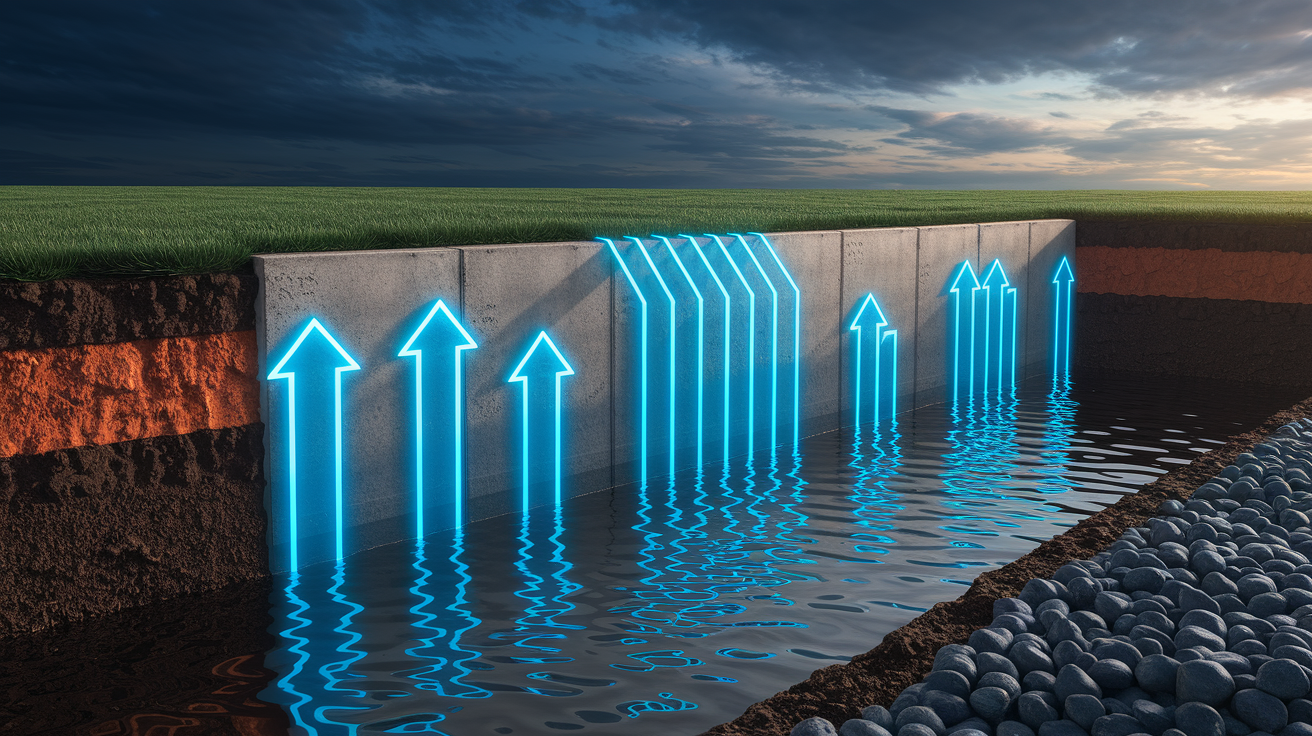
Understanding water sources helps you recognize why interior drainage systems are necessary and how they solve specific moisture problems.
Hydrostatic Pressure from Saturated Soil
Groundwater buildup around foundations creates pressure that forces water through concrete pores, cracks, and joints. During heavy rainfall or spring snowmelt, soil becomes saturated with water that has nowhere to drain. This saturated soil pushes against foundation walls with significant force. Hydrostatic pressure can exceed 500 pounds per square foot. The pressure forces water through any available opening, including microscopic pores in the concrete itself. Even small foundation cracks widen under sustained hydrostatic pressure, allowing more water to enter over time.
Capillary Action Through Concrete
Water moves through microscopic pores in concrete through capillary action. This allows moisture to travel upward and through foundation walls even without visible cracks. Concrete is porous at the microscopic level, containing tiny connected pathways that act like straws pulling water upward against gravity. This wicking action carries moisture from saturated soil through the foundation wall into the basement. You’ll see the evidence as damp spots, efflorescence (white mineral deposits), or moisture stains that appear several feet above the floor level even though no crack is visible.
Surface Water and Poor Drainage
Improper grading that slopes toward the foundation, inadequate or clogged gutters, and surface water pooling near the house contribute to basement moisture. They increase soil saturation and hydrostatic pressure. When gutters overflow during heavy rain, thousands of gallons of water dump directly next to the foundation. Poor yard grading channels rainwater toward the house instead of away from it. Both situations saturate the soil immediately adjacent to foundation walls, creating the sustained hydrostatic pressure that drives water infiltration.
Spring thaw creates peak basement water problems as snow accumulated over winter melts rapidly, saturating soil faster than it can drain naturally. Heavy summer thunderstorms deliver several inches of rain in hours, overwhelming soil absorption capacity. High water tables during prolonged wet seasons keep soil constantly saturated. These seasonal variations mean basements face different water challenges throughout the year. Year round drainage system protection is essential for consistent moisture control regardless of weather patterns or seasonal conditions.
Complementary Water Management Strategies for Basements
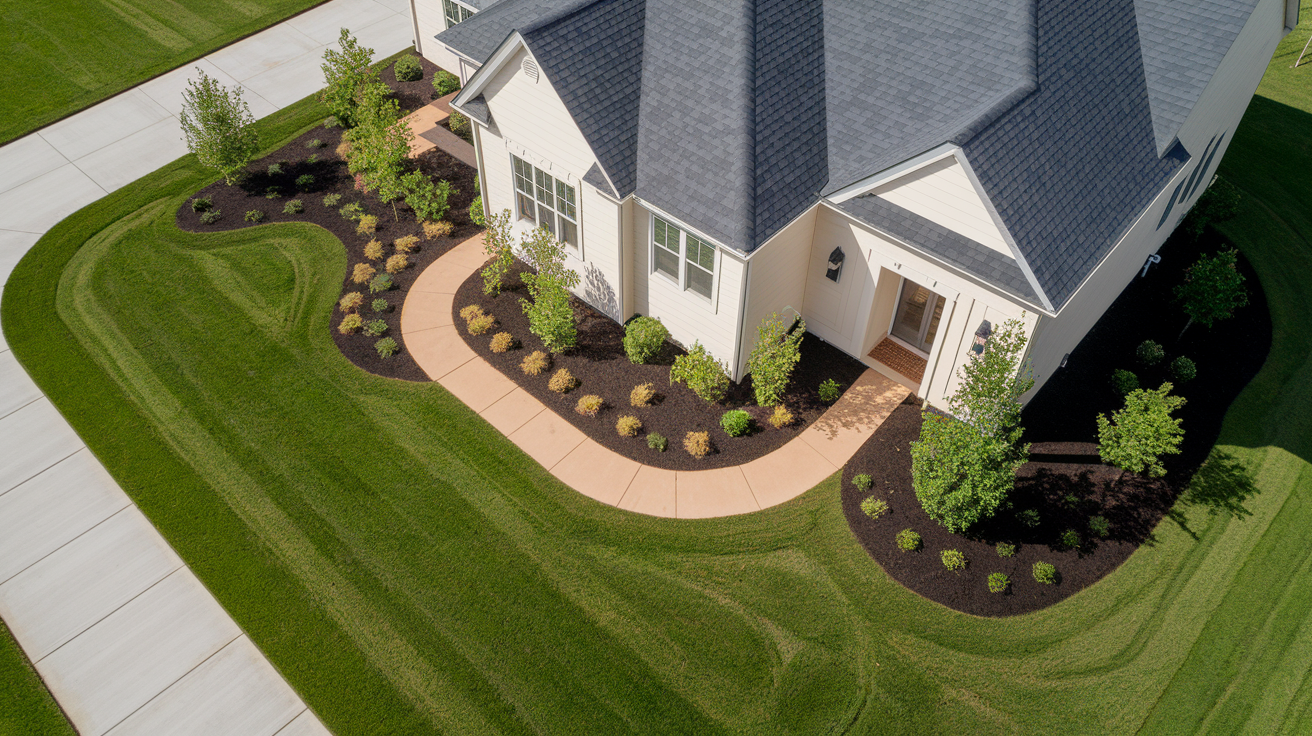
Interior drainage systems work best when combined with exterior water management practices that reduce the volume of water reaching the foundation in the first place.
Addressing exterior issues before installing interior systems reduces the workload on the drainage components, extends equipment life, and improves overall moisture control effectiveness.
Steps include regrading the yard to achieve a 6 inch drop away from the house within the first 10 feet of the foundation, installing and maintaining gutters with downspout extensions directing water 6 to 10 feet from the foundation, avoiding water hungry plants like willows, poplars, and dense shrubs near foundation walls where roots hold moisture, installing proper window well drainage systems with 4 to 6 inches of washed gravel and covers that shed rain, repairing or sealing exterior foundation cracks before installing interior systems to reduce water entry points, and considering exterior waterproofing with membrane application for severe water infiltration that overwhelms interior systems.
Combining interior drainage with exterior water diversion creates comprehensive moisture protection that addresses both water sources and water management. Proper exterior grading and gutters reduce the total water volume that reaches the foundation. This means less water for the interior system to handle, which reduces pump cycling frequency, extends sump pump life, lowers electricity costs, and provides better protection during extreme weather events when both systems work together to manage high water volumes. The integrated approach delivers better long term results than relying on interior solutions alone to compensate for poor exterior water management.
System Effectiveness and Impact on Home Value
Properly installed and maintained interior drainage systems effectively reduce basement flooding and moisture problems for 20 to 30 years or more when sized correctly for the water volume and maintained according to schedule. Effectiveness depends on correct initial installation with proper slope calculations, appropriate sump pump capacity for the basement size and water infiltration rate, adequate drainage pipe diameter to handle peak flow during heavy storms, and consistent maintenance including annual inspections and routine pump testing.
System longevity reaches the upper end of the 20 to 30 year range when you schedule annual professional inspections and follow maintenance schedules rigorously, including quarterly pump testing and discharge line clearing before winter.
Effective moisture control protects foundation structural integrity by preventing concrete deterioration from constant water exposure and reducing crack formation from freeze thaw cycles where water penetrates concrete, freezes, expands, and creates progressive damage. Dry foundations avoid the progressive weakening that leads to major structural repairs costing $10,000 to $30,000 or more. The $5,000 to $8,000 drainage system investment prevents these costly foundation repairs.
Dry, usable basements increase home resale value and marketability significantly compared to homes with known moisture problems. Buyers avoid properties with wet basements or request substantial price reductions to account for future waterproofing costs. Homes with finished basement living spaces require reliable moisture protection to maintain that valuable square footage. The waterproofing investment becomes fully recoverable during sale as part of the overall home value, particularly in regions where basements are standard and buyers expect dry, functional basement space.
Building Codes, Permits, and Radon Considerations
Most municipalities require building permits for interior drainage system installation because the work involves structural modifications to the concrete floor and plumbing connections that affect the building’s water management system.
Common code requirements include minimum discharge distance from the foundation (typically 6 to 10 feet), backwater valve installation in areas where municipal sewer systems can back up during heavy rain, proper venting of sump discharge lines to prevent airlock, and electrical work for pump installation that meets National Electrical Code standards including dedicated circuits and GFCI protection.
Radon gas considerations affect interior drainage system design because perimeter drain systems can increase radon entry if not properly sealed. Radon is a naturally occurring radioactive gas that enters homes through foundation openings. Breaking up the floor perimeter creates a pathway for soil gases including radon to enter. Address this by ensuring complete vapor barrier coverage, using sealed sump covers rather than open pits, and potentially integrating radon mitigation systems that vent soil gases before they enter living spaces. Some regions with known radon problems require radon testing and mitigation as part of waterproofing permits.
Consult your local building department before starting work to understand specific permit requirements, inspection schedules during installation, and code compliance standards that vary by jurisdiction. Some areas require licensed contractors for waterproofing work while others allow homeowner DIY installations. Permit costs typically run $100 to $300. Inspections verify proper installation that protects your home and maintains resale value through documented compliance with building standards.
Final Words
An interior basement waterproofing drainage system keeps basements dry by capturing water at the cove joint, channeling it through perimeter pipes, and pumping it away before damage happens.
The system works when you size it right, install it correctly, and maintain the pump and discharge lines on schedule.
Pair it with proper grading and gutters outside for the best long-term protection. Your foundation, your air quality, and your resale value all improve when the basement stays dry.
FAQ
Does interior basement waterproofing work?
Interior basement waterproofing works effectively when properly installed and maintained, successfully reducing basement flooding and moisture problems for 20-30 years or more. The system captures water entering through foundation walls or floors, channels it through perimeter drain pipes to a collection basin, then pumps it away from the home before damage occurs.
How much does an interior basement drainage system cost?
An interior basement drainage system costs $5,000 to $8,000 for professional installation of a typical 120 linear feet of drain tile, including sump pump, vapor barriers, and concrete restoration. DIY materials and tool rentals cost less than $1,500, though proper installation requires significant skill and physical labor over 2-4 days.
What is the interior drainage system in a basement?
The interior drainage system in a basement is a comprehensive waterproofing solution that includes perforated drain pipes installed along the foundation perimeter, a sump pump in a floor pit, and vapor barriers. Water flows through the pipes to the sump basin where an automatic pump discharges it away from the foundation.
How do you waterproof the inside of a basement wall?
You waterproof the inside of a basement wall by installing an interior drainage system that captures water at the cove joint where the floor meets the wall, applying 6-mil polyethylene vapor barriers to block moisture penetration, and drilling relief holes in block walls to channel trapped water to the drainage trench. The system includes proper sloping toward a sump pump basin for automatic water removal.
How long does an interior drainage system last?
An interior drainage system lasts 20-30 years or more when properly installed and maintained through regular sump pump testing, discharge line inspections, and annual professional evaluations. System longevity depends on correct initial installation, appropriate sizing for water volume, and consistent maintenance including quarterly cleaning and manual testing.
What’s the difference between interior and exterior basement waterproofing?
The difference between interior and exterior basement waterproofing is that interior systems manage water after it enters the foundation while exterior systems prevent water from reaching the foundation at all. Interior installation costs less and avoids landscaping disruption, while exterior systems provide proactive prevention but require expensive excavation.
Do I need a permit for interior basement drainage installation?
You need a permit for interior basement drainage installation in most municipalities because the work involves structural floor modifications and plumbing connections. Common code requirements include minimum discharge distances, backwater valve installation where required, proper venting, and electrical work meeting NEC standards for pump installation.
How often should I test my sump pump?
You should test your sump pump manually every 2-3 months by pouring water into the basin to verify proper float switch operation and automatic activation. Additional maintenance includes quarterly cleaning of intake screens to remove debris and sediment, checking battery backup functionality, and inspecting discharge lines for blockages or freezing.
Can I install an interior drainage system myself?
You can install an interior drainage system yourself if you have skills in jackhammer operation, concrete removal and restoration, proper trench excavation, plumbing connections, and physical labor capability over 2-4 days. Professional installation offers advantages including proper system design, code compliance, warranty coverage, and reduced risk of installation errors that compromise system effectiveness.
Does interior drainage help prevent mold in basements?
Interior drainage helps prevent mold in basements by eliminating standing water, reducing humidity levels that cause condensation, and maintaining dry environments that don’t support mold colonies. Vapor barriers block water vapor penetration that leads to condensation on walls and floors, improving overall indoor air quality throughout the home.