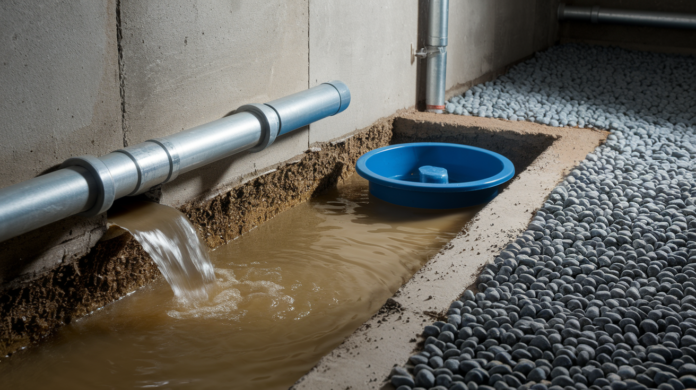

Most basement waterproofing products will fail under real water pressure, no matter what the label promises. Interior methods work only when matched to the actual problem you’re solving. If you’re fighting active water infiltration from groundwater, surface coatings won’t hold. If you’re managing minor dampness or vapor condensation, drainage systems are overkill. This guide breaks down which interior waterproofing methods handle which problems, what real-world testing shows about performance under pressure, and how to decide whether you need a coating, a crystalline treatment, or a full drainage system with a sump pump.
How Waterproofing Your Basement Walls From Inside Actually Works
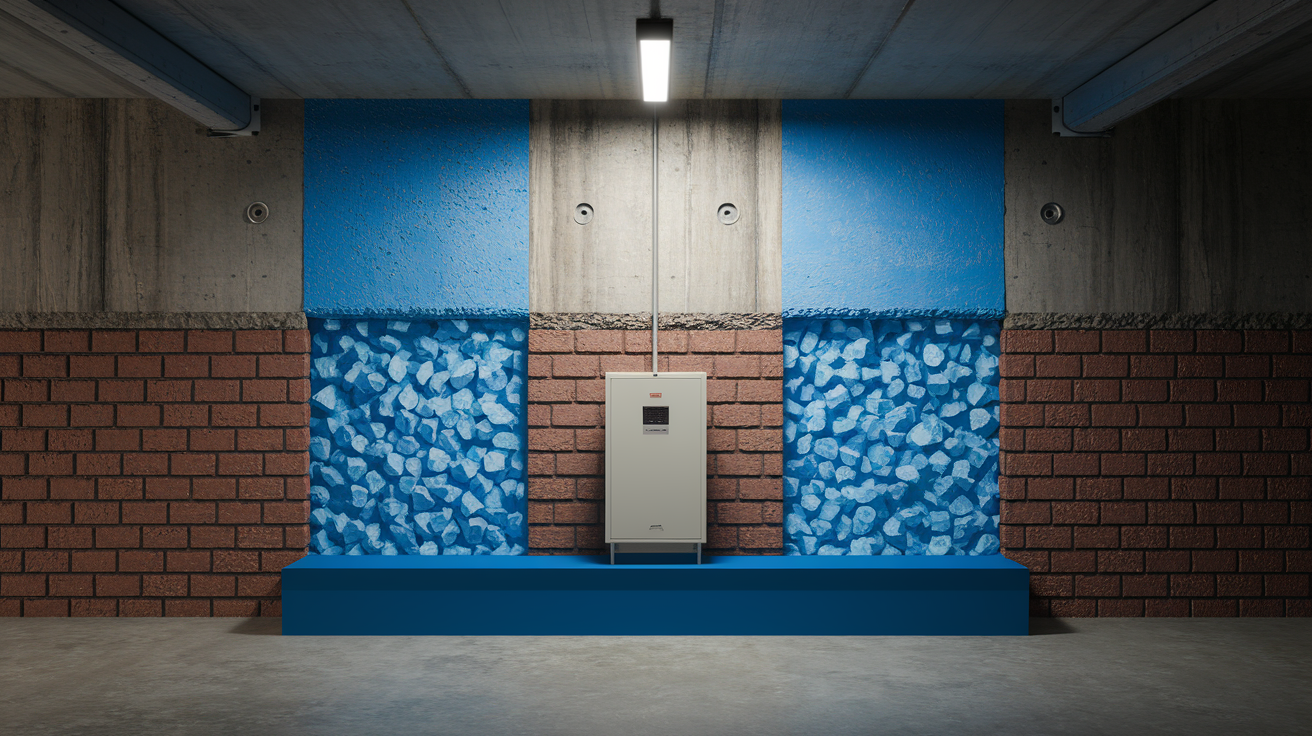
Interior basement wall waterproofing means applying solutions from inside your basement to stop water from getting through foundation walls. These methods work after your home’s built, without digging around the outside or tearing up landscaping. You’re managing moisture from the accessible side of the wall, either by blocking it at the surface or by catching it before it reaches your living space.
Interior methods work through two basic mechanisms. Surface treatments create barriers on the wall itself. Drainage management systems let water enter the foundation but capture it before it gets into your basement. The first approach tries to stop water at the wall. The second accepts that water will find its way through and deals with it strategically.
You’ve got two main categories: surface treatments and drainage management systems. Surface treatments include waterproof coatings, crystalline sealants, penetrating sealers, and membrane barriers applied directly to walls. Drainage management involves interior drain tile systems installed beneath the floor around the perimeter, connected to sump pumps that remove collected water. Most concrete block and poured concrete walls can receive either treatment, though effectiveness depends on how much water pressure you’re fighting.
Effective interior waterproofing usually combines multiple approaches rather than relying on a single product. Professional drainage systems typically install in 2 to 3 days and handle the most severe water problems. Surface treatments work best as part of a layered defense or for controlling minor moisture issues.
Common Causes and Warning Signs of Basement Wall Water Issues
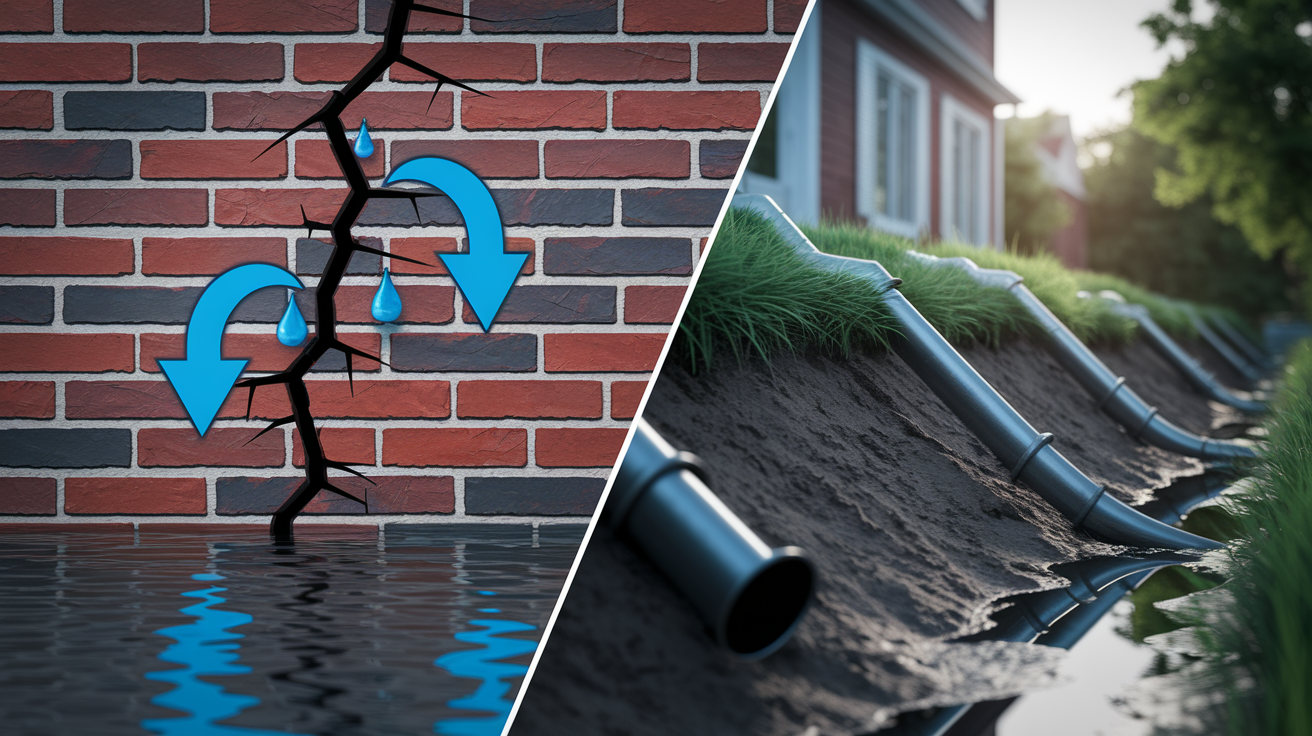
Hydrostatic pressure is the primary force pushing water through foundation walls. When soil around your foundation becomes saturated with rainwater or groundwater, that water has nowhere to go. The weight of saturated soil creates pressure that eventually forces water through any available path: cracks, joints, or even through the porous concrete itself. The deeper your basement, the more soil weight pressing down and more pressure trying to push water inside.
External drainage failures direct water toward your foundation instead of away from it. Clogged gutters overflow and dump water right at the foundation line. Downspouts that end too close (less than 6 feet from the house) concentrate runoff in exactly the wrong spot. Yard grading that slopes toward the foundation turns every rainstorm into a water collection event against your walls. Poor soil drainage around the foundation means water sits against the walls long enough to find a way in.
Foundation vulnerabilities give water its entry points. Vertical cracks form as concrete cures and shrinks, creating hairline pathways that widen over time. The joint where the basement floor meets the wall (called the cove joint) is a common weak spot since it’s formed by two separate concrete pours. Concrete block walls have mortar joints every 8 inches, and the hollow cores inside blocks can channel water horizontally. Even poured concrete is slightly porous and will eventually let moisture migrate through under constant pressure.
Identifying moisture sources and severity before selecting waterproofing methods saves money and prevents mismatched solutions. Check for active leaking during heavy rain to see where water enters and how fast. Use a hygrometer to measure basement humidity. Readings above 60% indicate moisture problems. Track whether issues worsen in spring, after storms, or year-round. This tells you whether you’re fighting seasonal drainage problems or a high water table.
Most Common Causes of Basement Wall Water Infiltration:
Hydrostatic pressure buildup from saturated soil around and beneath the foundation. Poor exterior grading that slopes toward the house instead of away. Inadequate gutter systems with clogs, disconnected sections, or missing downspout extensions. Foundation cracks from concrete curing, settling, or structural movement. High water table that rises above the basement floor level during wet seasons. Seasonal flooding or surface water runoff concentrating near the foundation.
Warning Signs Indicating Basement Waterproofing Needs:
Standing water pools on the basement floor, especially after rain. Visible water seeping through walls or running down surfaces. Persistent dampness on walls or floors that never fully dries. Musty mold odor even when no visible mold appears. Visible mold growth on walls, floors, or stored items. Deteriorating flooring, baseboards, or wood framing members. Concrete spalling (surface flaking) or crumbling at wall bases. White efflorescence deposits (salt-like crusty buildup) on concrete surfaces.
Interior Sealants and Coating Methods for Basement Walls
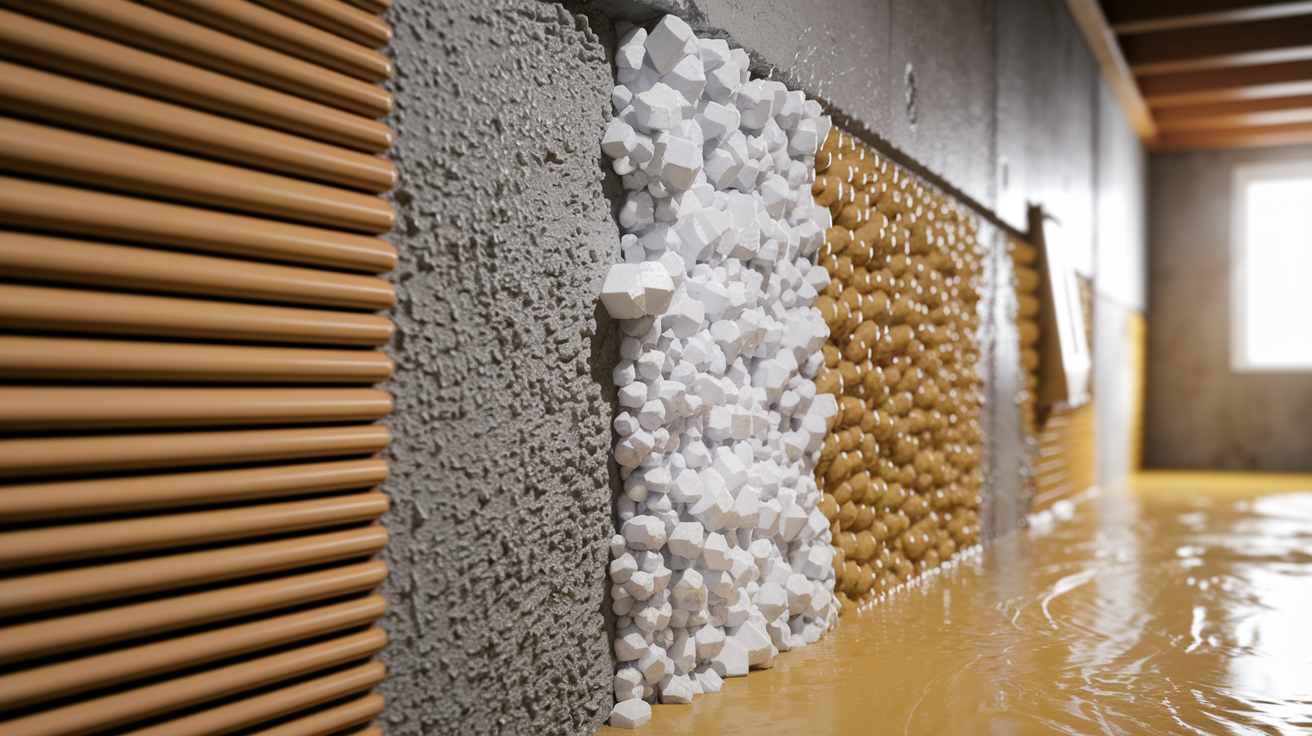
Sealants, coatings, and membranes represent the most common DIY approaches to interior basement wall waterproofing. These products create barriers directly on wall surfaces to block water or moisture vapor from entering your basement space. Application methods range from simple paint-on coatings to more complex membrane installations.
Waterproof Paint and Non-Crystalline Coatings
Products like UGL Drylok Extreme are thick, cement-based paints that fill surface pores in concrete and block. The typical application involves cleaning the wall, applying a first coat, waiting 3 to 4 hours, then applying a second coat. Many manufacturers recommend a third coat on particularly porous walls or where water problems are more severe. These products are guaranteed for up to 15 feet of head pressure and up to 15 years in ideal conditions. Apply it like regular paint, but expect to use 4 times as much per square foot.
Real-world testing shows limitations. When subjected to 2+ feet of consistent water pressure, water seepage occurred even with three coats properly applied. The non-crystalline coating created a barrier at the surface but couldn’t withstand constant hydrostatic pressure over time. Small voids or thin spots in coverage became pathways once pressure built up. These products work for controlling minor dampness and blocking moisture vapor. But they fail against active water infiltration driven by groundwater pressure.
Crystalline Waterproofing Treatments
Crystalline systems like Xypex Concentrate and Koster NB1 Grey work differently than surface coatings. These products penetrate into the concrete rather than just sitting on top. When applied to a saturated surface dry substrate (meaning the concrete is damp but not dripping), the chemicals react with calcium hydroxide and moisture inside the concrete to form crystals. These crystals grow inside the concrete’s pores and capillaries, blocking water pathways from the inside out.
Application requires preparing the wall by saturating it with water, then applying the crystalline slurry while the surface is still damp. The crystals need moisture to form and grow, which is why you apply it wet. After application, the system requires a two-week curing period for full effectiveness. During this time, the crystals are penetrating deeper and filling more pathways. Testing showed both crystalline systems successfully held against 2+ feet of head pressure after the full curing period.
Penetrating Sealers and Masonry Treatments
Penetrating sealers soak into concrete and react with the minerals to form a water-repellent barrier just below the surface. Unlike film-forming coatings, these sealers remain breathable, allowing moisture vapor to escape while blocking liquid water. Application requires clean, dry walls. You apply the sealer generously with a brush or sprayer until the surface stops absorbing it.
These products work best for minor moisture issues and for reducing efflorescence formation. They won’t hold back active water infiltration or significant hydrostatic pressure. The advantage is breathability. Moisture vapor that gets into your basement walls from inside the house can still escape outward, preventing the trapped moisture problems that can occur with impermeable coatings.
Vapor Barriers and Membrane Systems
Vapor barriers are sheet membranes (typically plastic or foil-backed) installed against interior basement walls to block moisture vapor transmission. They address condensation that forms when warm, humid air contacts cold foundation walls, preventing that moisture from creating damp spots and mold growth on finished walls. Installation involves fastening sheets to the wall with mechanical fasteners and sealing seams with tape.
Vapor barriers are appropriate for controlling humidity and condensation in basements that don’t have active water infiltration. If your basement feels damp but you never see actual water seepage, a vapor barrier behind finished walls can prevent moisture problems in the living space. However, vapor barriers can’t withstand hydrostatic pressure from groundwater. They’ll simply trap water behind them if active infiltration is occurring, potentially making moisture problems worse by concentrating water in areas where it can’t dry.
Tanking systems use thick, rubberized membrane coatings (like tar or polymer-based products) applied in multiple layers to create an impermeable barrier. These provide more water resistance than simple sheet vapor barriers, but they still work on the negative side of the wall (the interior) and can’t stop hydrostatic pressure from building up behind them. Without functioning drainage to relieve that pressure, even tanking systems will eventually fail at seams or where the membrane meets other surfaces.
Meticulous application is critical for all coating and membrane systems because even tiny voids provide pathways for water under pressure. Coating effectiveness depends on proper wall preparation including removing all efflorescence and loose material. You need realistic expectations about water pressure limits. Surface treatments alone rarely hold against more than 2 feet of head pressure. And understand that vapor barriers are insufficient against hydrostatic pressure. Lasting solutions require comprehensive water management that addresses the source of pressure, not just the interior symptom.
Repairing Cracks and Preparing Basement Walls for Waterproofing
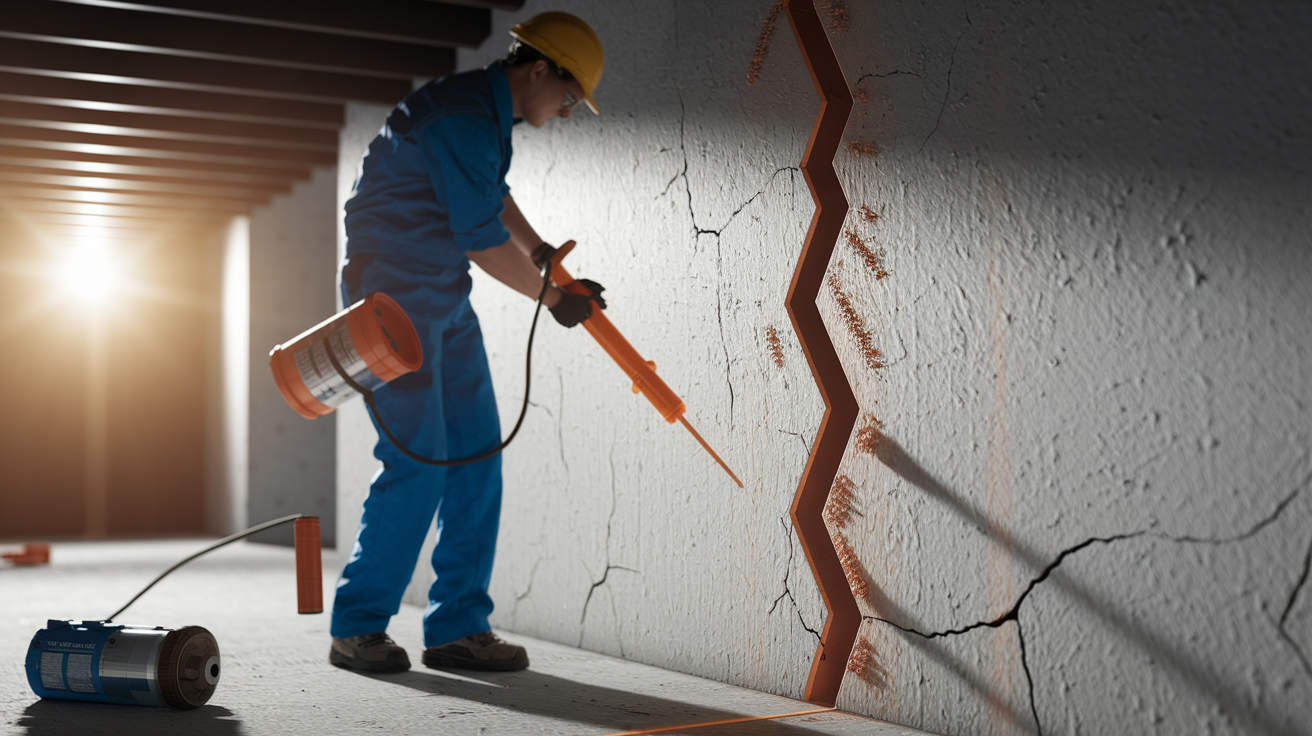
Crack repair must happen before applying any waterproofing system because even small voids provide water pathways through foundation walls. Water under pressure will find the weakest point, and an unsealed crack concentrates that pressure into a smaller area, making breakthrough more likely. A coating or membrane applied over an unrepaired crack will fail quickly as water pressure works behind it and breaks the bond.
Epoxy injection works for structural cracks that indicate foundation movement or settling. These cracks are typically wider than a dime’s thickness and may show offset where one side of the crack is higher than the other. A professional drills entry ports along the crack, injects two-part epoxy under pressure, and lets it cure. The epoxy bonds stronger than the surrounding concrete. For non-structural hairline cracks, hydraulic cement provides a faster, cheaper option. Standard hydraulic cement initially failed to hold against actively flowing water in testing but held with gentle seepage. Crystalline patch products like Xypex Patch-n-Plug and Koster KD2 Blitz Powder successfully stopped active leaks by reacting with flowing water to form an expanding crystalline plug.
Efflorescence is the white mineral deposit (calcium salts) that appears on concrete and masonry when water evaporates after passing through. It indicates moisture migration through walls. The salts dissolve in water as it moves through the concrete, then crystallize on the surface when the water evaporates. Heavy efflorescence means significant water movement. Light, powdery deposits indicate minor moisture migration.
Remove efflorescence using a stiff wire brush for light deposits, working in circular motions to scrub it away. For heavier buildup, use a masonry cleaner (diluted muriatic acid or specialized efflorescence remover) following manufacturer dilution ratios. Apply the cleaner with a brush, let it sit for the specified time, scrub thoroughly, then rinse with clean water. A pressure washer set to 1500-2000 PSI removes both efflorescence and loose surface material efficiently. After cleaning, let the wall dry completely before applying sealants, or dampen it for crystalline systems that require moist application.
Failing to remove efflorescence prevents proper adhesion of sealants and coatings. The white crystals sit between the coating and the concrete, acting as a bond breaker. As water pressure builds behind your coating, it pushes against this weak layer and the coating delaminates from the wall. Wall preparation requirements include removing all efflorescence, cleaning away dirt and oils, chipping off loose or spalling concrete, ensuring proper surface conditions (bone dry for most sealers, saturated surface dry for crystalline products), and confirming the wall temperature is within the product’s application range (usually 40°F to 90°F).
Interior Drainage Systems and Sump Pumps for Basement Waterproofing
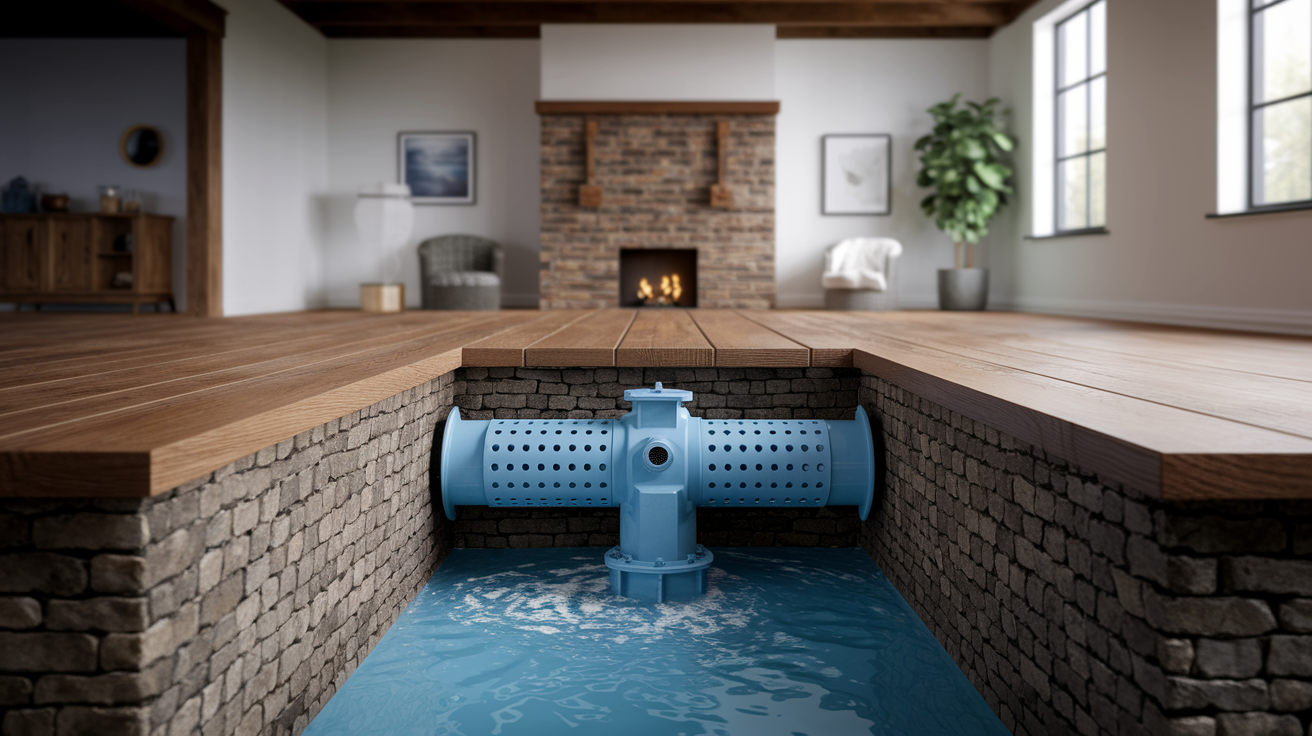
Professional interior drainage systems manage water after it enters the foundation envelope but before it reaches basement living surfaces. Instead of trying to block water at the wall, these systems accept that water will penetrate the foundation and focus on removing it before it creates problems. The approach relieves hydrostatic pressure rather than fighting against it, which is why drainage systems succeed where coatings fail under high water pressure.
The system installs at the floor-wall seam, also called the cove joint, where water most commonly enters. Water following gravity inside and beneath the foundation walls naturally flows to this lowest point.
The installation process requires jackhammering the floor perimeter to expose the footing and create a drainage path. Workers remove a channel 12 to 18 inches wide around the entire basement perimeter. They excavate below floor level to create a gravel bed, install perforated drainage pipe (typically 4-inch diameter PVC with holes or slots on the bottom half), and surround it with washed drainage stone. The stone allows water to flow freely into the pipe while filtering out soil particles that would clog the system.
Sump pumps are essential components of interior drainage systems, collecting water from the drain tiles and pumping it away from the foundation. The sump basin sits at the lowest point in the basement, typically 24 to 30 inches deep and 18 to 24 inches in diameter. Drainage pipes from around the perimeter direct water into this basin. When water reaches a trigger level (usually 8 to 12 inches deep in the basin), a float switch activates the pump. The pump can remove thousands of gallons per hour through a discharge pipe that routes water away from the house. Professional installations include a check valve on the discharge line (to prevent water from flowing back into the basin) and should include battery backup systems or water-powered backup pumps for power outage situations.
The discharge line must route at least 10 feet from the foundation and discharge at a point lower than the basement floor, allowing gravity to help drain the system. Homeowners in cold climates need freeze-resistant discharge line options since trapped water can freeze and block discharge in winter.
Systems typically install in 2 to 3 days for average basements and avoid exterior landscaping disruption since all work happens inside. Maintenance needs include periodic testing (pour a 5-gallon bucket of water into the sump basin every 3 months to confirm pump activation), checking the battery backup system twice per year, inspecting the discharge line opening to ensure it’s clear of ice or debris, and cleaning the sump basin annually to remove accumulated sediment that can damage the pump.
Interior Drainage System Installation Process:
Remove all basement contents including carpeting, stored items, and moveable fixtures to provide clear access to the floor perimeter. Use a jackhammer to break and remove a 12 to 18-inch wide concrete trench around the entire basement perimeter. Excavate the trench to expose the footing and create a gravel drainage bed below floor level. Install perforated drainage pipe in the trench surrounded by washed drainage stone. Install the sump pump basin at the lowest point and connect drainage pipes. Pour new concrete over the system to restore the floor, leaving only the sump basin lid exposed.
Interior vs Exterior Basement Waterproofing Approaches
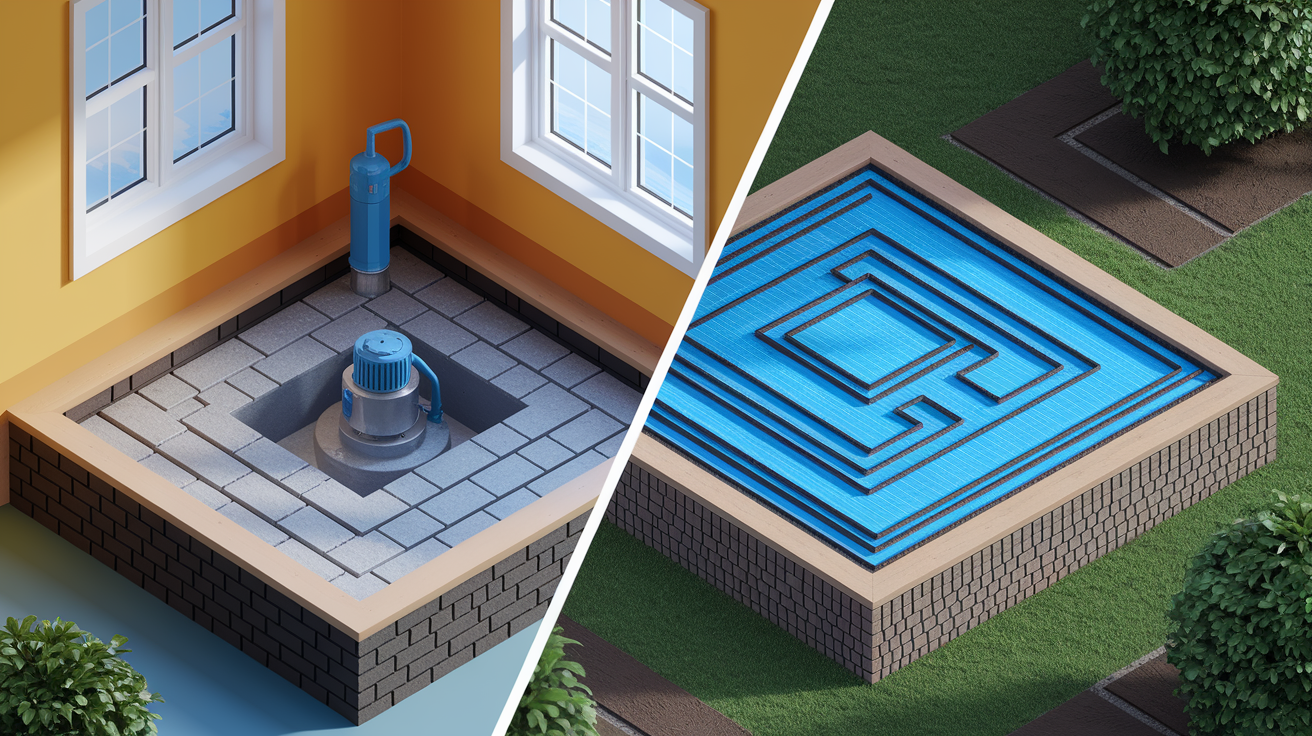
Exterior waterproofing (positive side waterproofing) stops water before it contacts foundation walls by applying membranes and drainage systems to the outside of the foundation. Interior waterproofing (negative side waterproofing) manages water after it has penetrated into or through the foundation structure.
| Approach | Advantages | Disadvantages | Typical Lifespan |
|---|---|---|---|
| Exterior Waterproofing | Stops water before foundation contact; protects foundation structure itself; gold standard approach; works with gravity | Requires excavation 8-10 feet deep around entire foundation; destroys landscaping, sidewalks, decks; expensive; weather-dependent installation; systems clog from dirt, rocks, root intrusion; requires regrading after 8-10 years | Designed for 25 years, typically effective 5 years before soil movement degrades sealants |
| Interior Waterproofing | No excavation or landscaping disruption; can be done year-round; more affordable; faster installation (2-3 days); accessible for future maintenance; no weather delays | Water still enters foundation (managed rather than prevented); does not protect foundation structure; may not solve severe hydrostatic pressure; visible sump pump and floor system | Interior drainage systems: 20-25 years; coatings and sealants: 10-15 years with proper maintenance |
Exterior waterproofing is ideal for new construction when foundations are already exposed, or during major renovations where you’re already excavating for additions or foundation repairs. Interior systems offer practical solutions for existing homes where excavation would damage established landscaping, destroy expensive hardscaping like patios and walkways, or is cost-prohibitive due to access difficulties. Many effective solutions combine interior drainage to manage water infiltration with exterior moisture management including proper grading, gutter maintenance, and downspout extensions to reduce the volume of water reaching the foundation in the first place.
DIY Application vs Professional Basement Waterproofing Installation
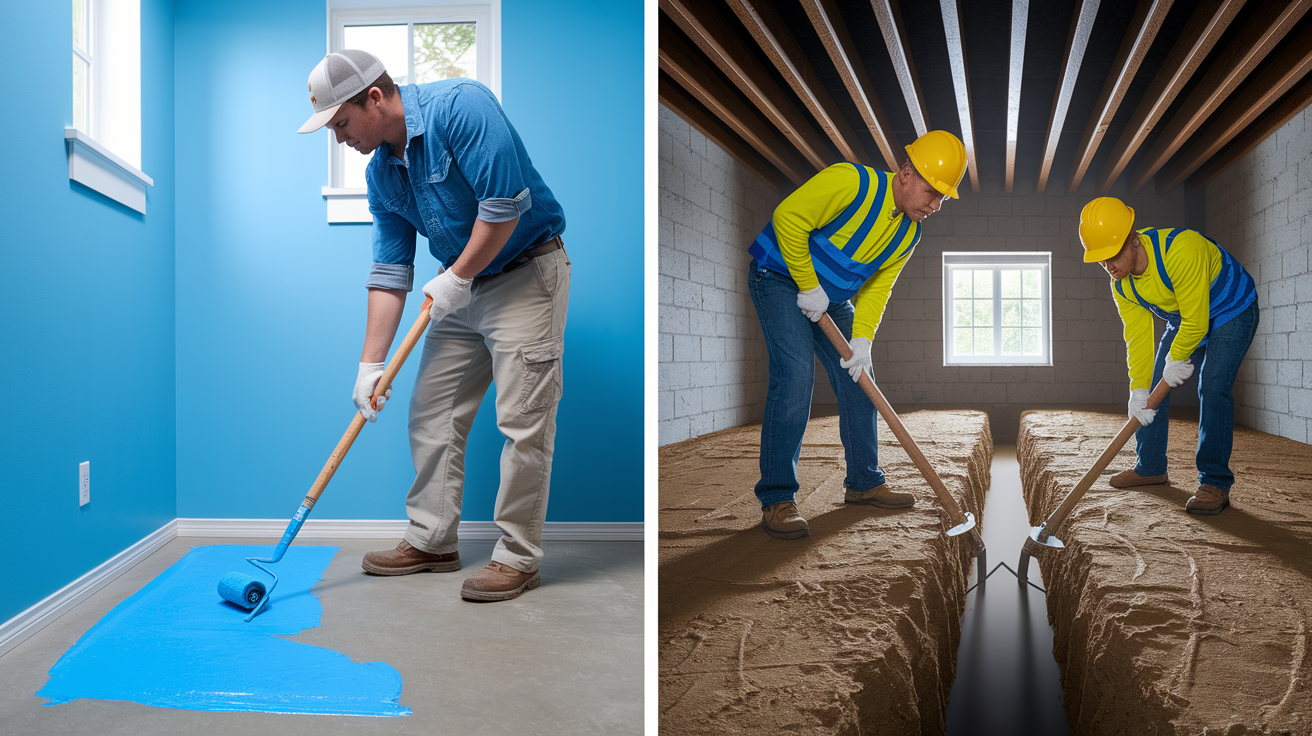
The DIY versus professional decision depends on project scope, water severity, and whether you’re applying coatings or installing drainage systems.
When DIY Basement Waterproofing Makes Sense
DIY approaches work for minor moisture issues where you see dampness or slight seepage but not standing water or constant flow. Surface sealants and coatings are manageable DIY projects when water pressure is minimal (less than 1 foot of head pressure). The work involves cleaning walls, removing efflorescence, and applying products according to label directions. Crack filling with hydraulic cement is straightforward for small non-structural cracks. Dehumidifier installation only requires electrical access and a drain line. These temporary fixes using sealants, coatings, and dehumidifiers provide relief for condensation issues and very minor infiltration.
When Professional Installation Is Necessary
Professional expertise is necessary when you face active water infiltration with visible water entry during rain, hydrostatic pressure issues indicated by water forcing through multiple entry points or constant seepage, interior drainage system installation requiring jackhammer work and proper slope calculation, sump pump setup with discharge line routing and backup systems, and structural crack repair with epoxy injection where incorrect pressure or product choice can worsen foundation problems. Professionals bring specialized equipment including jackhammers, concrete cutting saws, and laser levels, plus they carry liability insurance for structural work that can affect your home’s integrity.
Basement waterproofing remains unregulated in most states, requiring homeowner research to identify qualified contractors. Check for foundation repair specialists rather than general handyman services. Most contractors offer free inspections where they assess your water problem, identify the source, and recommend solutions with cost estimates. Professional installations typically complete in 2 to 3 days but require removing all basement contents including carpeting beforehand, so plan for temporary storage and several days without basement access.
Cost Factors for Interior Basement Wall Waterproofing
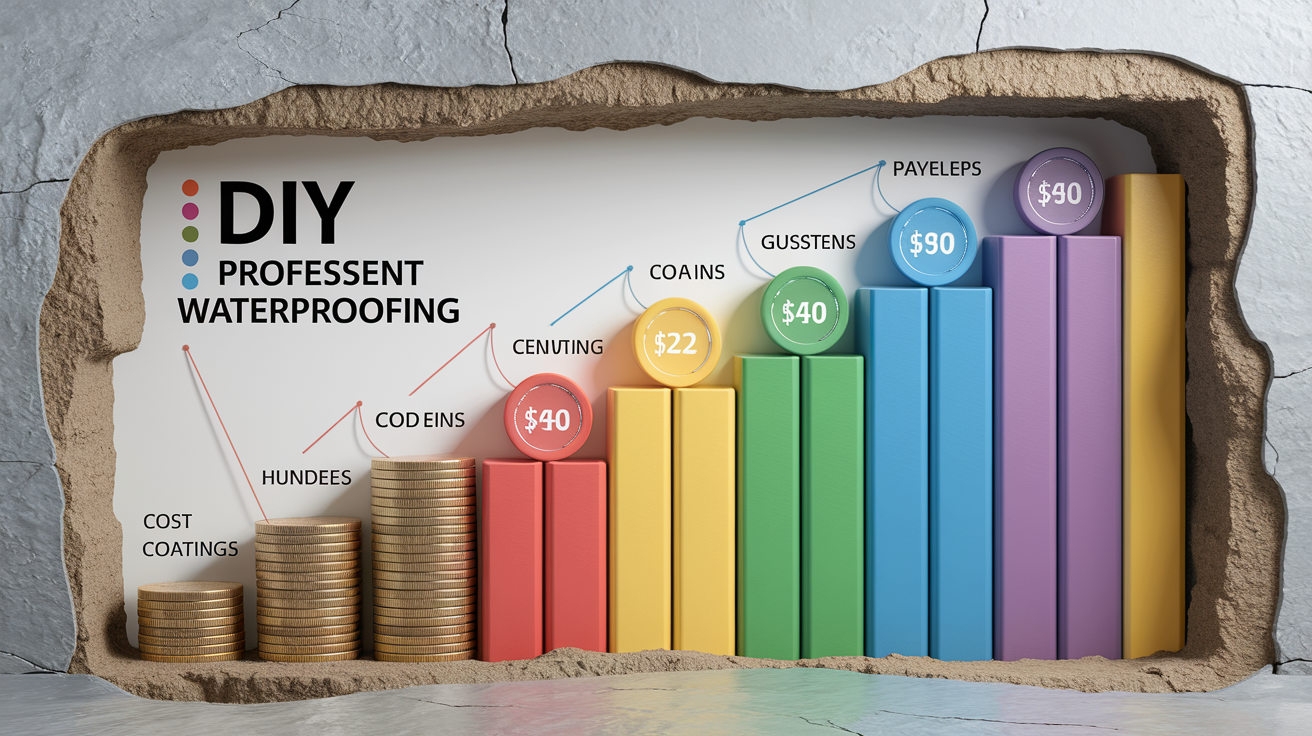
Costs vary significantly based on basement size, water severity, chosen method, and regional labor rates. A 1,000 square foot basement will cost less than half what a 2,000 square foot basement costs for identical treatments. Severe water problems requiring drainage systems, multiple sump pumps, and extensive crack repair cost significantly more than minor dampness needing only coatings. Labor rates in major metropolitan areas run 40 to 60 percent higher than rural regions.
Professional inspections are typically free and necessary for accurate estimates since problem sources and optimal solutions vary by situation. During a professional assessment, the inspector examines your basement during or shortly after rain if possible, uses moisture meters to measure water content in walls, identifies entry points and the likely cause, explains whether your situation needs coatings, drainage, or both, and provides written estimates breaking down materials and labor. Never pay for an inspection upfront, as free assessments are standard industry practice.
Typical Cost Ranges for Different Interior Waterproofing Approaches:
DIY sealant or coating application: $200-$600 for materials to cover 500-1000 square feet of wall surface. Hydraulic cement crack repair: $50-$300 DIY for materials and small crack repairs. Professional interior drainage system: $3,000-$8,000+ depending on basement size and system complexity. Sump pump installation: $500-$2,000 including basin, pump, discharge line, and backup system. Professional waterproof coating application: $1,500-$4,000 for labor and materials on average basement. Epoxy crack injection by professionals: $300-$1,500 per structural crack depending on length and width.
Preventing Mold and Improving Air Quality in Waterproofed Basements
Damp basements contaminate air throughout homes via HVAC systems and natural air circulation, creating health risks even in unused basement spaces. Air naturally cycles through homes as warm air rises and draws replacement air from lower levels. If that lower level air comes from a moldy, damp basement, you’re breathing it upstairs. Forced-air heating and cooling systems accelerate this process by pulling return air from basements and distributing it throughout the house. A musty smell anywhere in your home usually originates in the basement.
Controlling basement moisture through waterproofing eliminates the primary food source for mold and mildew growth. Mold needs three things: moisture, organic material, and temperatures above 40°F. Your basement provides the organic material (wood framing, paper backing on drywall, cardboard boxes, fabric) and comfortable temperatures. Waterproofing removes the moisture that makes mold growth possible. Without moisture, mold spores remain dormant rather than colonizing surfaces.
Supplemental moisture control includes dehumidifier placement in central basement areas, proper ventilation through basement windows or mechanical fans during dry weather, addressing internal moisture sources including venting clothes dryers to the outside rather than into the basement, fixing plumbing leaks immediately, avoiding storing damp items in basements, and allowing newly poured concrete to cure fully (concrete releases moisture for weeks after pouring). Run dehumidifiers during humid months to keep basement relative humidity below 60%, empty collection buckets daily or route to a floor drain, and clean filters monthly for efficiency.
Waterproofing creates healthier living environments by maintaining basement humidity below 60% where mold can’t thrive, preventing the musty odors that indicate mold presence, protecting stored items from moisture damage, reducing allergens and respiratory irritants circulating through the home, and allowing safe use of basement spaces for living areas, bedrooms, or home offices. Testing with a hygrometer before and after waterproofing shows measurable improvement in indoor air quality.
Maintaining Your Interior Basement Waterproofing System
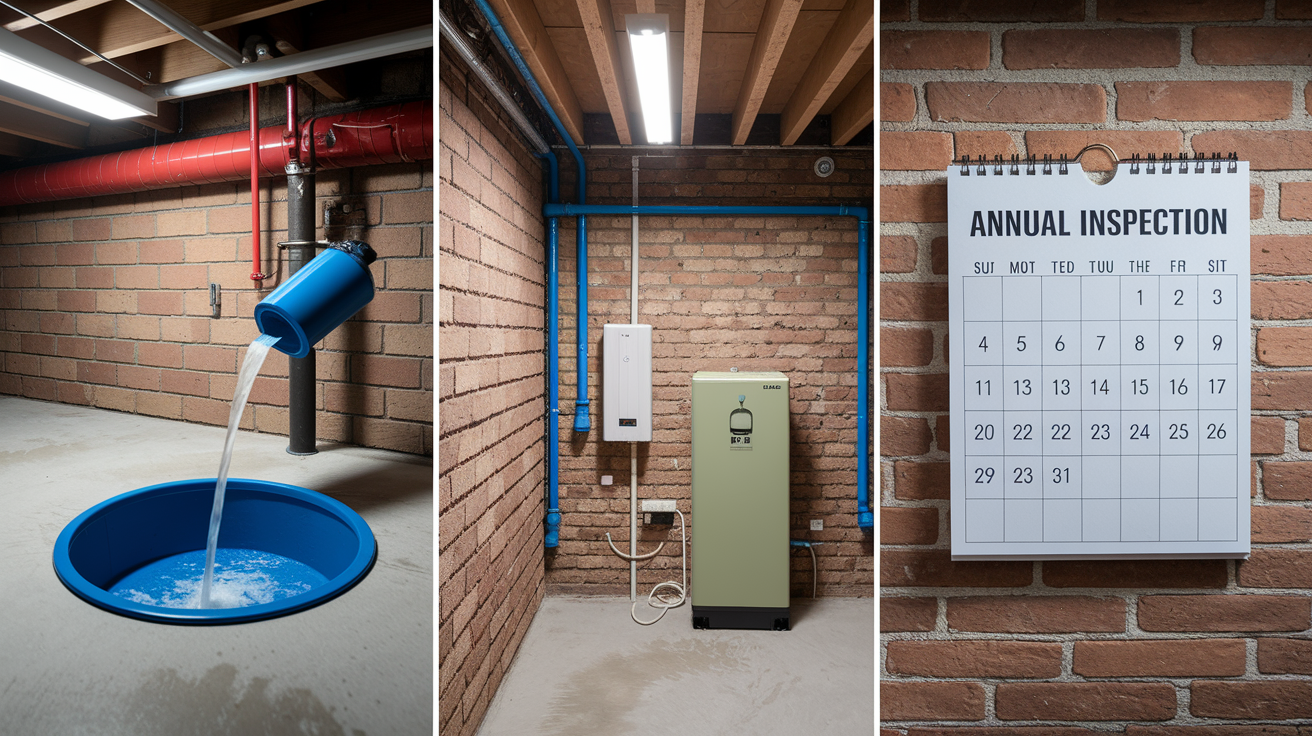
Interior waterproofing systems require periodic inspection and maintenance to maintain effectiveness over 10 to 15+ year lifespans. The maintenance burden is significantly lower than exterior systems that face soil movement, root intrusion, and drainage stone clogging. But neglecting maintenance allows small problems to become expensive failures. Set a maintenance schedule and keep records of inspections and service work.
Sump pump maintenance includes quarterly testing (pour two 5-gallon buckets of water into the basin and verify the pump activates and discharges), annual cleaning by removing the pump, wiping the basin interior, and clearing any sediment buildup, battery backup checks twice yearly to confirm batteries hold charge and the system switches to backup power when you unplug the primary pump, and discharge line verification by checking that the exterior outlet is clear and water flows freely during testing. Replace sump pumps every 7 to 10 years even if they still work, as motor failure during a heavy storm leaves you vulnerable.
Coating and sealant inspection should happen annually, looking for new cracks that have formed since application, coating deterioration such as peeling, flaking, or bubbling, and failure signs including damp spots, efflorescence formation, or visible seepage through treated walls. Small cracks can be filled with hydraulic cement or crystalline patch products. Widespread deterioration means reapplication of the coating system is necessary. Most coating manufacturers provide touch-up products that match their original system.
Drainage system maintenance involves checking perimeter drains twice yearly by removing the sump pump and looking down into the basin during a test water pour to confirm water flows in from drain tiles, ensuring proper water flow by verifying discharge happens within 30 seconds of pump activation, watching for debris accumulation by checking if the basin fills with sediment faster than previous years (which indicates soil entering the drainage pipes), and confirming the discharge line opening remains clear of ice, leaves, and animal nests. Professional drain camera inspection every 5 years identifies developing clogs before they cause system failure.
Common Mistakes in Interior Basement Wall Waterproofing
Understanding typical mistakes helps you avoid waterproofing failures and wasted money on approaches that can’t succeed.
Common Interior Waterproofing Mistakes:
Applying coatings without proper wall preparation and efflorescence removal. Painting over white mineral deposits creates a weak bond that fails under pressure. The coating adheres to the efflorescence, not the concrete, and delaminates when water pressure builds behind it.
Relying solely on vapor barriers against hydrostatic pressure. Sheet plastic or foil barriers can’t withstand water pressure from saturated soil. They simply trap water behind them, concentrating pressure until it breaks through at the edges or seams.
Inadequate coverage leaving small voids for water pathways. Missing spots at wall-floor joints, around pipes, or in corners provide concentrated water entry. Water under pressure finds the smallest opening and exploits it.
Not allowing proper curing time for crystalline products. Applying finish coats or finishing basement spaces before the two-week curing period prevents crystals from fully penetrating and forming. The system never achieves its designed effectiveness.
Choosing inappropriate products for water pressure levels. Using a product rated for 5 feet of head pressure when you face 8 feet of pressure guarantees failure. Testing showed non-crystalline coatings failed at 2+ feet even when rated for 15 feet.
Ignoring exterior drainage issues while only addressing interior. No interior coating can hold against constant pressure from poor grading or clogged gutters. Fix the source of water accumulation first, then address interior infiltration.
Skipping crack repair before applying sealants. Coating over cracks makes them invisible but not sealed. Water follows the crack behind the coating and causes delamination that spreads outward from the crack.
Successful interior waterproofing requires matching methods to specific moisture problems (coatings for minor dampness, drainage for active infiltration), following application instructions meticulously including surface prep, coverage rates, and curing times, realistic expectations about what different approaches can accomplish, and understanding that interior waterproofing often needs exterior moisture management to reduce the volume of water the interior system must handle.
Waterproofing Finished Basements and Protecting Living Spaces
Finished basements face higher stakes since water damage affects expensive flooring, drywall, built-in furniture, and stored belongings. A basement with carpeting, drywall, and trim represents a $15,000 to $40,000 investment. Water infiltration damages materials quickly. Carpet wicks moisture across large areas and holds it against padding and subfloor where mold grows unseen. Drywall absorbs water from the bottom up, degrading paper backing and providing mold food. Wood trim, baseboards, and door frames swell and delaminate.
Retrofitting drainage systems into finished basements requires removing flooring and lower wall sections. The perimeter drainage trench installation demands jackhammering through finished concrete, which means pulling up carpet or tile for 18 inches around the entire room. You’ll need to remove baseboards and cut drywall 6 inches above floor level to access the wall-floor joint. After the drainage system installs and new concrete pours, you’re left with restoration work including new flooring installation, drywall repair and painting, and baseboard replacement. The total cost often equals initial finishing costs.
Preventative waterproofing before finishing basement spaces saves future demolition and restoration costs. If you’re planning to finish a basement, waterproof first. Install interior drainage systems, apply sealants to walls, seal all cracks, and verify the space stays dry through a full spring and summer before investing in finishes. The drainage system installs faster in an open basement, costs less without demolition and restoration, and provides confidence that your finished investment is protected.
Surface treatments and coatings offer less disruptive options for finished basements with minor moisture issues. If you experience slight dampness or musty smells but no active water entry, applying penetrating sealers or crystalline treatments to exposed foundation walls in utility areas may control moisture without tearing apart living spaces. Install a high-capacity dehumidifier as a supplemental measure. These approaches work only if water pressure remains low and you’re primarily fighting humidity rather than infiltration. Severe water problems demand drainage solutions regardless of disruption.
Selecting Waterproofing Products for Different Foundation Types
Foundation wall material significantly impacts waterproofing product effectiveness and application requirements. The porosity, composition, and construction method of your foundation determine which products will work and which will fail.
Waterproofing Poured Concrete Basement Walls
Poured concrete provides the most consistent surface for coating application. The monolithic walls have no joints except at the floor and at cold joints where concrete trucks changed during the pour. Poured concrete contains sufficient calcium hydroxide for crystalline systems to react effectively without extended curing times. Standard application methods work as designed. Most concrete coatings, penetrating sealers, and crystalline treatments perform to their rated specifications on poured concrete.
Waterproofing Concrete Block Walls
Block walls have mortar joints every 16 inches vertically and 8 inches horizontally, creating a grid of potential leak pathways. Water can enter through hairline cracks in mortar, through the interface between block and mortar, or through the concrete blocks themselves if they’re low-density. Block walls require more thorough coverage since water finds joints first. Crystalline products need longer curing times on block walls due to lower calcium hydroxide content compared to poured concrete. The hollow cores inside blocks can channel water horizontally once it penetrates the outer face.
Testing showed concrete block walls required two weeks for crystalline systems to achieve full waterproofing capability versus one week for poured concrete. In severe moisture situations, filling hollow block cores with grout eliminates hidden water channels and provides more material for crystalline products to penetrate. This adds cost but prevents water from traveling inside the wall to emerge at unexpected locations.
Waterproofing Stone and Mixed Foundation Walls
Older homes often have fieldstone or rubble foundations mortared together without the uniform surface of modern concrete. These irregular surfaces challenge coating application. Thick mortar joints between stones provide primary water pathways. Repoint deteriorated mortar joints before attempting waterproofing, removing crumbling mortar to a depth of 1 inch and replacing with fresh lime or hydraulic cement mortar. After repointing, surface coatings struggle on very uneven surfaces where material bridges across rather than adhering to every stone face.
For significantly irregular stone foundations, drainage systems become the only viable option. Coatings can’t seal the complex geometry of irregular surfaces well enough to hold back hydrostatic pressure. Interior drain tile systems work equally well regardless of wall material since they manage water at the floor level rather than trying to seal the wall surface itself.
Understanding Warranty Coverage for Basement Waterproofing Work
The difference between product warranties and contractor workmanship warranties determines what protection you actually receive. Product warranties cover material defects, meaning the coating fails to perform as specified due to manufacturing problems or chemical breakdown. These warranties typically last 10 to 15 years for premium products. UGL Drylok Extreme carries a 15-year guarantee for up to 15 feet of head pressure. Warranty fulfillment requires providing proof of purchase and demonstrating proper application according to manufacturer instructions.
Contractor workmanship warranties cover installation quality and system function. A professional interior drainage installation might carry a 20 to 25-year warranty guaranteeing the system will keep your basement dry. This warranty covers system design failures, improper slope causing standing water, sump pump failures, and drainage pipe clogs from installation debris. Reputable contractors return to address warranty claims at no charge beyond normal maintenance requirements.
Typical warranty terms for interior waterproofing range from 10 to 25 years for professional installations versus 5 to 15 years for product-only DIY applications. Drainage systems receive longer warranties than coatings since properly installed perimeter drains are less likely to fail than coatings fighting constant hydrostatic pressure. Exterior polymer-based sealants claim 25-year lifespans but typically remain effective only 5 years due to hydrostatic soil movement. Interior systems avoid that degradation factor.
Warranty limitations include requirements for proper maintenance such as annual sump pump testing and periodic cleaning, exclusions for certain water sources including surface water from improper grading (which is considered a homeowner maintenance issue), failure from causes beyond the waterproofing system like structural foundation movement, and transferability issues if homes are sold. Most contractor warranties don’t transfer automatically to new owners. Some companies offer transferable warranties for an additional fee or with warranty registration within 30 days of home sale.
Since basement waterproofing remains unregulated in most jurisdictions, warranty terms vary significantly between contractors, making comparison essential during contractor selection. Request warranty details in writing before signing contracts. Verify the contractor has been in business long enough to honor multi-decade warranties. Companies that have operated less than 10 years can’t credibly offer 25-year guarantees. Check if warranty claims require arbitration or allow legal action. Confirm whether the warranty covers consequential damages like damaged flooring or belongings if waterproofing fails.
How Waterproofing Affects Home Value and Insurance
Properly waterproofed basements increase home resale value by eliminating water concerns that deter buyers and reduce appraisals. Home inspectors specifically look for water damage signs including staining, efflorescence, musty odors, and active seepage. Any indication of moisture problems raises red flags. Buyers either walk away, demand significant price reductions, or require waterproofing completion before closing. Real estate agents consistently report that homes with documented waterproofing systems sell faster and closer to asking price than comparable homes with moisture histories.
Documented waterproofing work with transferable warranties provides selling points and may reduce homeowner insurance premiums in flood-prone areas. Insurance companies assess risk based on water damage likelihood. Homes in high water table areas or near floodplains face higher premiums. Showing proof of professional interior drainage systems and sump pump installations demonstrates risk reduction efforts. Some insurers offer 5 to 10 percent premium discounts for verified waterproofing systems. Transferable warranties add value by assuring buyers they’re protected against future water problems.
Preventing water damage protects existing investments in finished basements, stored belongings, and mechanical systems while avoiding expensive emergency repairs and mold remediation. Finished basement flooding can cause $25,000+ in damage from a single event. Furnaces, water heaters, electrical panels, and stored possessions represent substantial value concentrated in basement spaces. Mold remediation after significant water events costs $5,000 to $15,000 depending on affected area. These emergency costs dwarf waterproofing system installation costs, making prevention the financially smart choice for long-term property ownership.
Final Words
Interior basement wall waterproofing gives you real options whether you’re dealing with dampness or active seepage.
Surface treatments like crystalline systems work for moderate moisture. Interior drainage systems handle serious hydrostatic pressure by catching water before it reaches your floor.
Most failures come from skipping wall prep, choosing the wrong product for the water pressure you’re facing, or ignoring exterior drainage while only treating symptoms inside.
Match your approach to what’s actually happening in your basement. Fix cracks first, remove efflorescence completely, and don’t expect paint to stop flowing water.
Combine methods when needed and maintain the system you install.
FAQ
What is best for waterproofing interior basement walls?
The best waterproofing for interior basement walls depends on your water pressure and budget. For minor moisture, crystalline treatments like Xypex or Koster NB1 Grey outperform standard coatings, successfully blocking water at 2+ feet of head pressure. For active water infiltration, professional interior drainage systems with sump pumps provide the most reliable long-term solution by managing water before it reaches basement surfaces.
How do you waterproof the inside of a basement wall?
You waterproof the inside of a basement wall by first repairing cracks and removing efflorescence, then applying crystalline or coating products to clean, prepared surfaces. For severe moisture, install an interior drainage system at the floor-wall seam that directs water to a sump pump. Meticulous application matters since tiny voids create water pathways that undermine the entire system.
Can you waterproof a concrete wall from the inside?
You can waterproof a concrete wall from the inside using crystalline treatments or drainage systems, but coatings alone won’t withstand high hydrostatic pressure. Interior waterproofing manages water after it enters the foundation rather than stopping it outside. This approach works when exterior excavation isn’t feasible, though combining interior drainage with exterior moisture management delivers the most effective results.
Should you seal interior basement walls?
You should seal interior basement walls when facing minor dampness or humidity issues, but not as the only solution for active water infiltration. Surface sealers and coatings work for condensation control but fail against significant hydrostatic pressure from groundwater. If you see standing water, wall seepage, or mold growth, you’ll need drainage systems or exterior waterproofing, not just sealant.
How long does crystalline waterproofing take to cure?
Crystalline waterproofing takes two weeks to cure fully and reach maximum effectiveness. Apply these products to saturated surface dry concrete so moisture activates the chemical reaction that forms water-blocking crystals. Skipping the curing period reduces waterproofing performance, so don’t rush the basement back into service until the system has properly set.
What causes white deposits on basement walls?
White deposits on basement walls, called efflorescence, are mineral salts left behind when water evaporates after passing through concrete. This indicates active moisture migration through your foundation walls. You must remove efflorescence completely with wire brushing or chemical cleaners before applying waterproofing products, or sealants won’t bond properly and water will continue finding pathways through.
Do vapor barriers work for basement waterproofing?
Vapor barriers work for controlling humidity and condensation in dry basements but fail against hydrostatic pressure from groundwater. These sheet membranes block moisture vapor but can’t withstand the force of saturated soil pushing water through foundation walls. If you have active water infiltration rather than just dampness, vapor barriers alone won’t solve the problem and may trap moisture inside wall assemblies.
When should you use hydraulic cement for basement cracks?
You should use hydraulic cement for non-structural cracks when you need quick repairs, but crystalline patch products like Xypex Patch-n-Plug perform better against active leaks. Standard hydraulic cement may fail against flowing water, though it holds with gentle seepage. For structural cracks or basement finishing projects, epoxy injection provides stronger, more reliable repairs than hydraulic cement alone.
How much does interior basement waterproofing cost?
Interior basement waterproofing costs range from $200-$600 for DIY coating materials to $3,000-$8,000+ for professional drainage systems with sump pumps. Costs vary by basement size, water severity, and regional labor rates. Get free professional inspections to identify your specific problem sources before choosing solutions, since accurate cost estimates require understanding whether you’re dealing with minor dampness or significant hydrostatic pressure.
What’s the difference between interior and exterior waterproofing?
The difference between interior and exterior waterproofing is that exterior methods stop water before it reaches foundation walls while interior approaches manage water after penetration. Exterior waterproofing provides better long-term protection but requires expensive excavation that disrupts landscaping. Interior systems install in 2-3 days without exterior disruption, making them practical for existing homes where excavation isn’t feasible or cost-effective.
How often do you need to maintain sump pumps?
You need to maintain sump pumps quarterly by testing operation and annually by cleaning the basin and checking discharge lines. Also verify battery backup systems work before storm seasons. Sump pumps remove thousands of gallons per hour, so maintenance prevents failure during heavy water events when you need the system most.
Can you waterproof a finished basement without removing everything?
You can waterproof a finished basement using surface treatments without removing everything, but only if moisture issues are minor. Installing proper drainage systems requires removing flooring and lower wall sections since the drain tile goes at the floor-wall seam. If you’re facing serious water infiltration, trying to avoid demolition usually just delays the inevitable while water continues damaging finished spaces.
Why did my waterproof coating fail?
Your waterproof coating failed because standard products like Drylok can’t withstand realistic hydrostatic pressure, testing showed seepage at just 2+ feet of head pressure despite manufacturer claims. Other failure causes include inadequate surface preparation, incomplete coverage leaving tiny water pathways, applying over efflorescence, or choosing non-crystalline products where crystalline systems were needed. Meticulous application on properly prepared surfaces makes the difference between success and failure.
Does basement waterproofing increase home value?
Basement waterproofing increases home value by eliminating water concerns that reduce appraisals and deter buyers during sales. Documented waterproofing work with transferable warranties provides concrete selling points. Beyond resale value, waterproofing protects your investment in finished spaces, prevents expensive emergency repairs, and may reduce insurance premiums in flood-prone areas.
How do you prepare basement walls before waterproofing?
You prepare basement walls before waterproofing by repairing all cracks, removing white efflorescence deposits with wire brushing or chemical cleaners, and ensuring surfaces are clean and at proper moisture levels. Crystalline systems need saturated surface dry application while coatings require completely dry surfaces. Skip preparation and even expensive waterproofing products will fail since contaminants prevent proper adhesion and create water pathways.