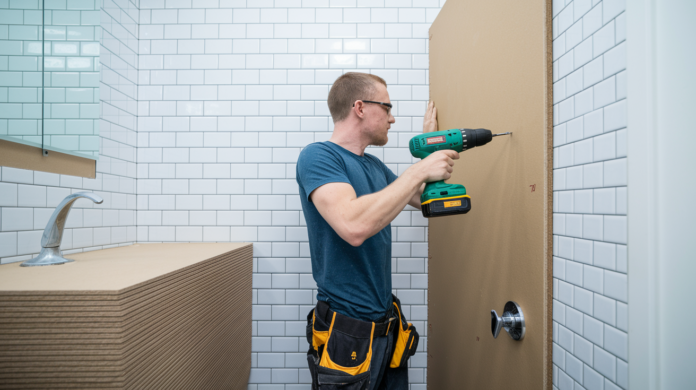

Most bathroom tile failures don’t start at the grout lines or under the tile. They start behind it, where water migrates through porous cement board or untreated drywall and feeds mold growth you won’t see until the damage is done. Proper waterproofing before tile installation stops moisture at the substrate level, prevents costly callbacks, and protects the framing from rot. This guide walks through liquid membranes, sheet systems, and integrated boards so you can pick the right method and install it correctly the first time.
Choosing the Right Waterproofing Materials for Shower Walls
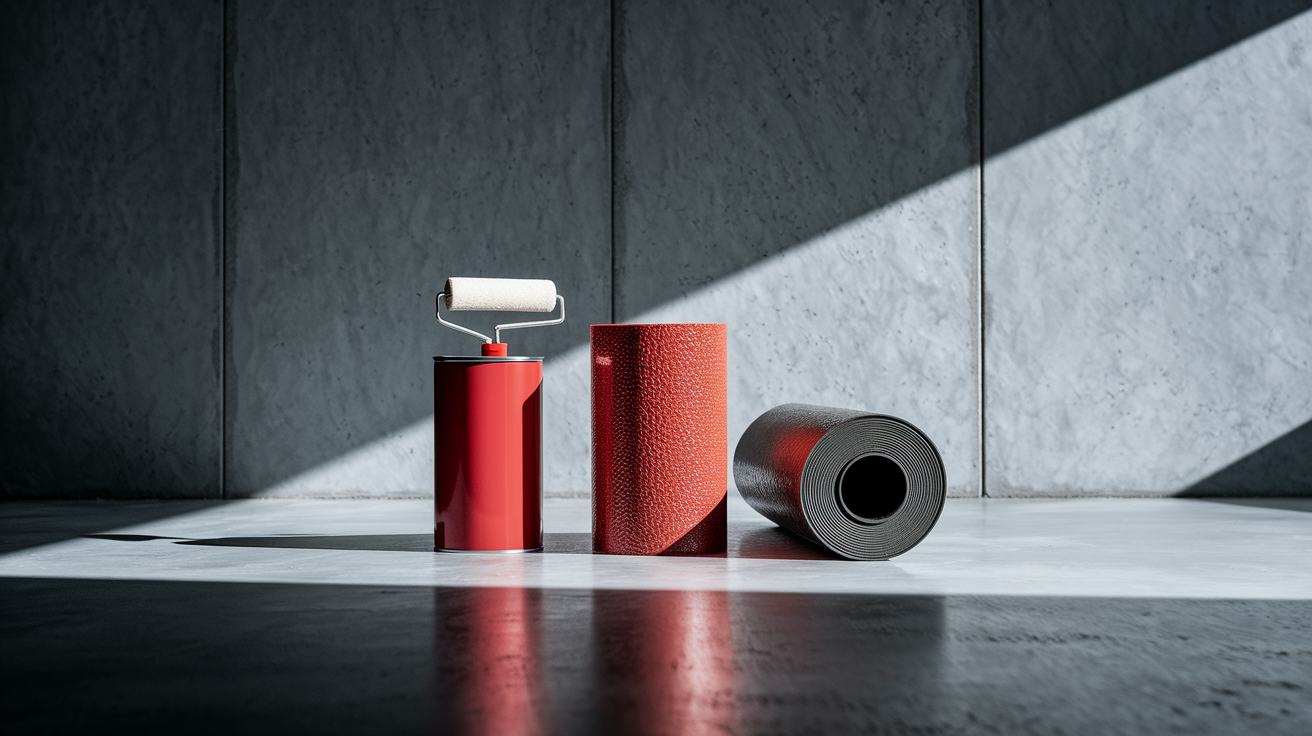
Material choice depends on your substrate type, budget, skill level, and how much time you’ve got before tile goes down.
Liquid Waterproofing Membranes
Paint-on products like RedGard are rolled or brushed directly over cement board, green board, or other approved substrates. You’ll need two coats applied in perpendicular directions to hit the manufacturer’s coverage rate, usually 50 to 75 square feet per gallon. First coat needs to dry completely before the second goes on, typically 1 to 4 hours depending on temperature and humidity. Total drying time before tiling runs about 24 hours. Coverage rate means you’re spreading the product thin enough to meet the square footage per gallon without going so thin you leave weak spots. Liquid membranes work best over cement board because the rough surface gives the coating something to grip.
Sheet Membrane Systems
Bonded membranes like Kerdi and Ardex SK 175 require thinset adhesion and a specific installation technique. You spread thinset with a notched trowel, press the membrane into it, then immediately go back over with a flat trowel to collapse all the ridges and eliminate every air bubble. That flat trowel pass is how you get 100 percent adhesion. Any voids left behind become failure points. Sheet membrane works over cement board, mud bed pans, or any structurally sound substrate that accepts thinset. The thinset needs overnight curing, minimum 12 to 24 hours, before you can start tiling. Sheet systems provide unmatched strength and durability when installed correctly, but the technique takes practice.
Integrated Waterproof Backer Boards
All-in-one solutions like Kerdi Board, Wedi, and PROVA Board Plus+ combine the tile substrate and waterproofing in a single lightweight panel. These boards install directly onto studs with specialized fasteners and washers, eliminating the need for separate cement board and membrane layers. You cut them with a utility knife, attach with screws driven flush but not crushed into the surface, then seal seams with compatible joint sealant. The boards are light enough for one person to handle and provide solid support for large format tile and stone. Seam sealant usually needs 20 to 30 minutes to skin over before you’re ready for tile.
| Material Type | Best Application | Cure Time | Skill Level |
|---|---|---|---|
| Liquid Membrane | Cement board substrates, moderate moisture exposure | 24 hours | Beginner to Intermediate |
| Sheet Membrane | Any stable substrate, full shower enclosures | 12-24 hours | Intermediate to Advanced |
| Integrated Waterproof Board | New construction, remodels, one-step systems | 20-30 minutes for sealant | Intermediate |
Substrate Preparation and Waterproof Backer Board Installation

Start by inspecting the framing. Check that studs are plumb, straight, and dry. Look for any flex when you push on the wall. Reinforce weak areas before any waterproofing goes up. Framing defects translate directly into tile problems later, and no waterproofing system fixes a wobbly wall.
Standard drywall isn’t designed for constant moisture exposure inside showers and must be protected or replaced. For areas outside the direct spray zone, green board or purple board work fine. Inside the shower enclosure, you need either cement board with a waterproofing membrane applied over it, or an integrated waterproof board that combines both functions. Cement board options like Hardie board and Durock are rock solid but heavy and require separate waterproofing treatment with liquid or sheet membrane. Integrated boards like Kerdi Board, Wedi, and PROVA Board Plus+ are lightweight, easier to handle, and already waterproof, so you’re sealing seams instead of coating the entire surface.
-
Measure and mark your board layout to minimize cuts and seams. Plan so cut edges land on studs where possible.
-
Cut boards with the right tool for the material. Foam boards cut clean with a sharp utility knife. Cement boards need a carbide tipped scoring blade or circular saw with dust control.
-
Dry fit all pieces before fastening to verify everything fits and seams land where they should.
-
Start your first fastener 200mm from the shower base. This prevents the board from wicking water if the pan ever backs up.
-
Maintain 300mm fastener spacing between screws, driving into every stud along the board’s length.
-
Drive fasteners flush with the surface. For foam boards, stop as soon as the washer seats. Over tightening crushes the core and weakens the attachment.
-
Install specialized washers if required by the manufacturer. Some systems use large plastic washers that spread load and seal around the screw shaft.
-
Check that all boards sit flush with each other. High or low spots show through tile, especially with large format.
-
Treat fastener holes per product specs. Some foam boards require sealant over each fastener. Cement board typically doesn’t.
-
Verify the entire surface is solid with no bounce or movement before moving to seam treatment.
Seam treatment methods depend on board type. Cement board gets fiberglass mesh tape embedded in thinset or joint compound at every seam, with coverage extending 2 to 4 inches on each side of the joint. Foam boards like Wedi use joint sealant spread over seams with a putty knife, creating a raised bead that feathers smooth. The sealant needs 20 to 30 minutes to skin over before you can proceed. Both methods create a continuous waterproof barrier across all board junctions so water can’t find a path through.
Applying Liquid Waterproofing Membranes to Shower Walls

Liquid membranes are paintable products applied directly over cement board or other approved substrates using a roller or brush.
Before applying full coats, pre treat all corners, seams, and penetrations with membrane and reinforcing fabric strips. Cut 4 to 6 inch wide strips of fiberglass mesh tape or the manufacturer’s fabric. Brush a thick coat of membrane over the corner or seam, press the fabric into it while wet, then apply another coat over the fabric to fully embed it. Let these reinforced areas dry before moving to full wall coverage. This step prevents the most common failure points from opening up later.
-
Read the manufacturer’s mixing instructions. Some products arrive ready to use. Others require stirring or light mixing.
-
Apply primer coat if required by the product. Not all liquid membranes need primer, but when they do, skipping it causes adhesion failure.
-
Allow primer to dry per specifications, usually 1 to 4 hours depending on temperature and humidity.
-
Apply the first membrane coat with a roller or brush using even strokes. Work from bottom to top so any drips get covered as you go up.
-
Hit the specified coverage rate, typically 50 to 75 square feet per gallon. Going too thin leaves weak spots. Going too thick wastes material but doesn’t improve waterproofing.
-
Allow the first coat to dry completely. Touch the surface. If it’s tacky or cool to the touch, it’s not ready. Most products need 1 to 4 hours.
-
Apply the second coat in a perpendicular direction to the first. Horizontal first coat gets a vertical second coat, or vice versa. This crosshatch pattern ensures complete coverage.
-
Perform a visual inspection for thin spots or missed areas. Look for consistent color and texture. Thin areas show as lighter or uneven patches.
Total cure time runs 24 hours minimum before water testing or tile installation. Temperature and humidity affect drying. Cold or damp conditions slow the cure. Hot, dry conditions speed it up but can cause surface defects if the membrane dries too fast.
Installing Sheet Membrane Systems for Tile Waterproofing
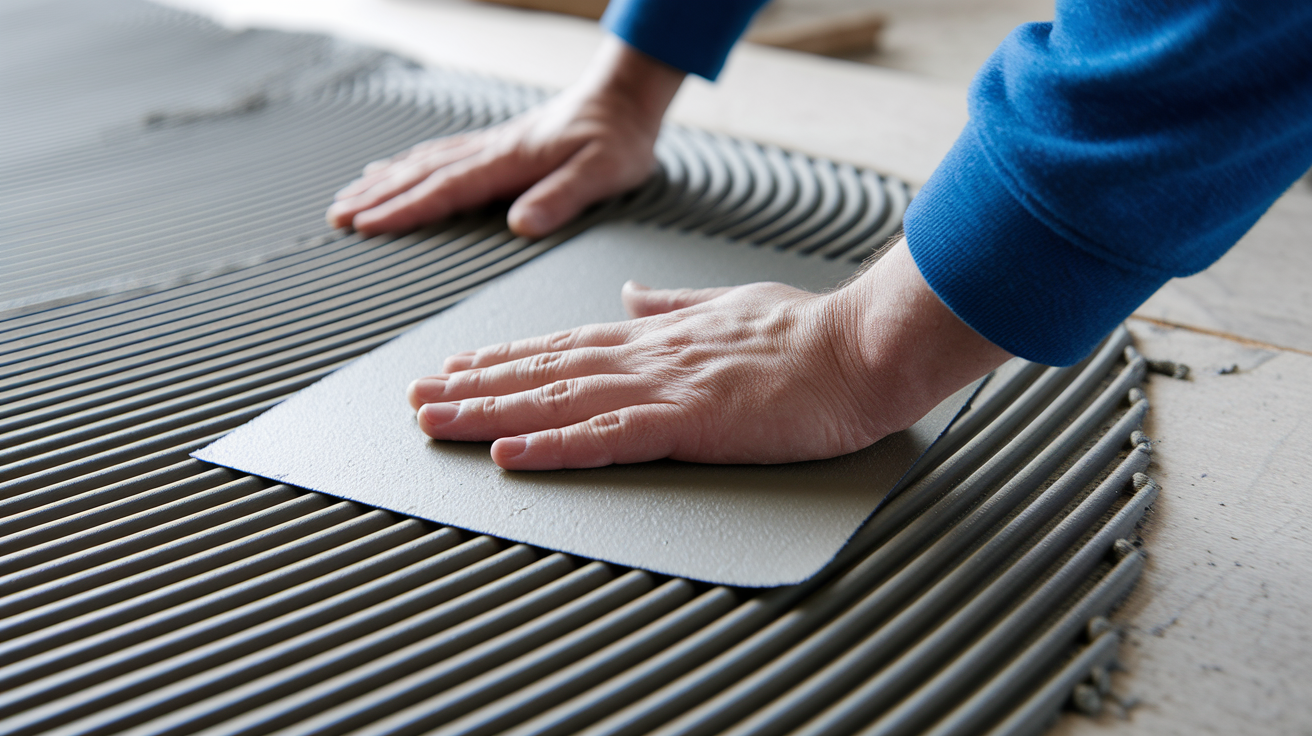
Sheet membranes like Kerdi and Ardex SK 175 require a clean, structurally sound substrate. Cement board works. So does an existing stable surface if it’s solid and free of loose material. Mix thinset to the correct consistency for membrane bonding. You want it to hold notch ridges but still be workable, not soupy or stiff.
Apply thinset to the wall with a notched trowel matched to the membrane manufacturer’s specs, usually 1/4 inch square notch or 3/16 inch V notch. Spread enough for one membrane section at a time. Press the membrane into the wet thinset, then immediately go back over it with the flat side of the trowel. Use firm pressure and long, overlapping strokes to collapse every ridge and push out every air bubble. You’re aiming for 100 percent contact between membrane and substrate. Any voids compromise the waterproofing and tile bond later. Work from the center out toward edges to avoid trapping air. The membrane should feel solidly attached with no loose spots. Check by running your hand over the surface. You shouldn’t feel any areas that squish or move.
Install sheets working from bottom to top. Each sheet needs 2 inches of overlap onto the sheet below it. At horizontal seams, the upper sheet laps over the lower one so water running down can’t get behind the membrane. At vertical seams, overlap direction matters less, but keep it consistent. Use preformed corner pieces and banding strips embedded in thinset to seal and reinforce all seams. These accessories get the same flat trowel treatment to ensure full adhesion. Press them in, then flatten completely.
Allow overnight cure before tiling. Thinset needs 12 to 24 hours to develop enough strength to support tile installation. Tiling too soon can shift the membrane or create bond failure. Check that all edges are firmly stuck with no lifting or gaps. If you find loose spots, add more thinset and re flatten.
Sealing Corners and Penetrations in Bathroom Walls Before Tile
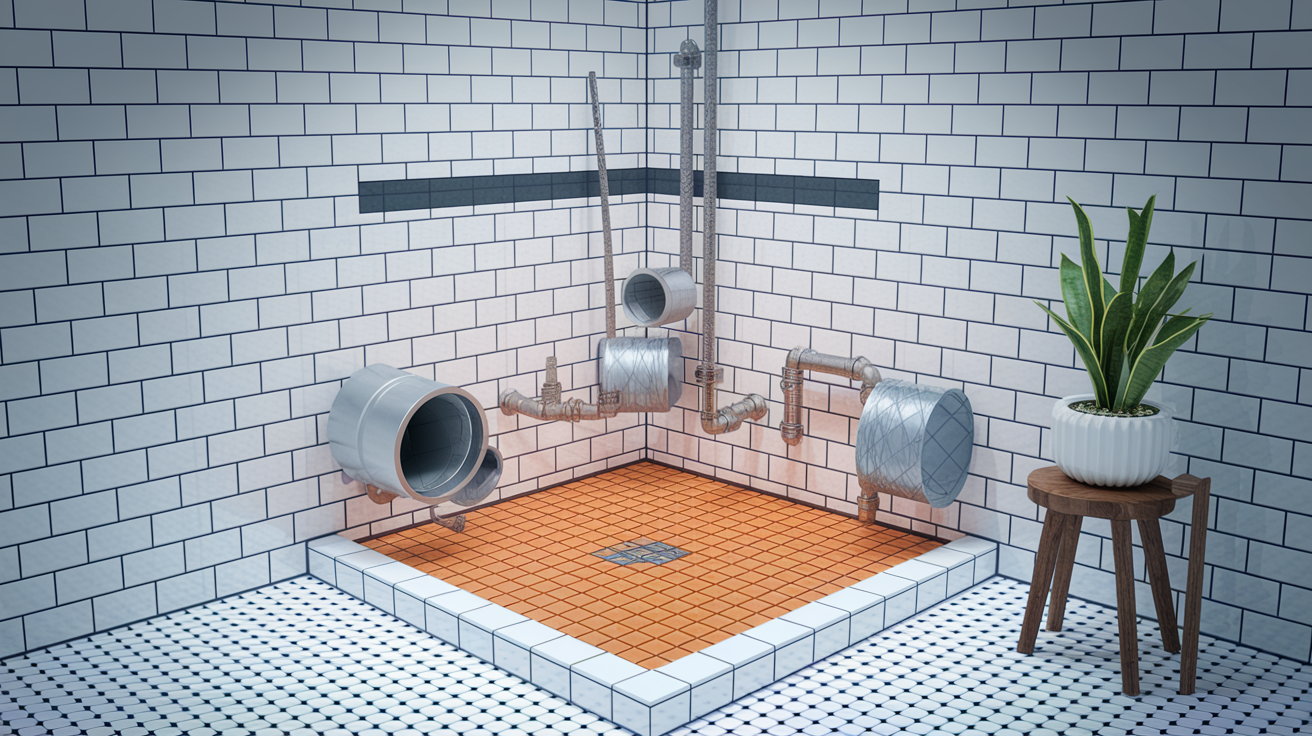
Corners and penetrations are failure points where water infiltration most commonly occurs without proper sealing.
Inside wall corners: Use preformed corner pieces or 4 to 6 inch wide fabric strips embedded in membrane or sealant. Press into the corner, then smooth with a putty knife so both walls get full coverage.
Outside corners: Preformed accessories designed for external corners provide the cleanest seal. If using fabric strips, wrap them around the corner with equal coverage on both sides.
Floor to wall transitions (change of plane): This joint between shower pan and wall is critical. Use banding strips or fabric that bridges from the pan up onto the wall at least 3 inches on each surface.
Pipe penetrations: Specialized collars or boots fit around shower arms, tub spouts, and supply lines. Cut the membrane tight to the pipe, then apply the collar over both with adhesive or sealant.
Mixing valve openings: Smart collars designed for valve bodies seal the gap between the rough plumbing and finished wall. Some include adhesive backing. Others embed in thinset or sealant.
Drain assembly integration: The shower pan waterproofing must tie into the drain with a compatible clamping collar or bonding flange that seals the membrane to the drain body.
Fastener and screw holes: On foam board systems, apply a dab of joint sealant over each fastener head. Cement board systems typically don’t require this if membrane coverage is complete.
Shower niche perimeters: Run membrane or fabric around all four sides of the niche opening. The niche sill must slope toward the shower interior to drain water out instead of pooling.
Window areas in wet zones: If a window sits inside the shower enclosure, waterproofing must extend around the entire frame with careful detailing at the sill to direct water down and in.
Fixture mounting areas: Where grab bars, shelves, or other accessories will attach, reinforce the waterproofing with extra fabric or banding around the fastener locations.
When embedding reinforcing fabric or tape in sealant or membrane, spread the product generously on the substrate first, press the fabric in while wet, then apply a second layer over the top. Ensure complete coverage extending 2 to 4 inches beyond the corner or penetration. Feather the edges smooth so there’s no ridge that might telegraph through tile later.
The floor to wall transition where shower pan meets wall requires continuous waterproofing with no gaps. If using a foam board wall system with a separate pan, the wall board typically sits on top of the pan’s flange, and you seal that joint with banding strip or fabric embedded in the pan manufacturer’s sealant. If you’re using sheet membrane on walls and pan, the wall membrane laps down onto the pan membrane with proper overlap. Allow full cure time per manufacturer specs before testing. Rushing this step is where most failures happen.
Bathroom Waterproofing and Building Code Compliance

Building codes require wet area waterproofing in showers, tub surrounds, and other direct water exposure zones. Approved systems and materials vary by jurisdiction, but all codes mandate following manufacturer installation instructions exactly. Those instructions carry the weight of code because the product testing and approval assumes proper installation technique.
Warranty conditions often go beyond basic code compliance. Many manufacturers offer 15 year to lifetime warranties, but only when you use their complete system from backer board through sealant and accessories. Mixing brands or skipping components voids coverage. Some products require certified installer credentials to activate warranty protection. If you’re DIYing, check whether the warranty applies to homeowner installations or professional only. Document your work with photos before tile goes up. Registration with the manufacturer often needs proof of purchase dates and material batch numbers.
Ventilation and humidity control support waterproofing but don’t replace it. Exhaust fans need proper capacity for the bathroom size, typically 50 to 100 CFM depending on square footage. The fan must vent to exterior, not into an attic or crawl space where the moisture just moves to another problem area. Timer controls or humidity sensors help by running the fan long enough after showers to clear moisture. Waterproofing handles liquid water and vapor transmission, but keeping ambient humidity down reduces the load on the system and prevents condensation in wall cavities.
Inspection checkpoints verify work quality before tile conceals everything. Check that waterproofing coverage extends to required heights and widths per code, typically 6 feet high minimum in tub/shower combinations, full height in enclosed showers. Verify all seams and corners show proper treatment with no gaps or thin spots. Confirm fasteners are sealed where required. Look for complete adhesion on sheet membranes with no bubbles or loose edges. Document this stage with photos and notes. If a building inspector will review the work, schedule that visit before tiling starts. Once tile is up, proving proper waterproofing becomes expensive.
Waterproofing Bathtub Surrounds and Partial Wet Walls

Waterproofing extent depends on direct water exposure versus occasional splash.
Full shower enclosures: Floor to ceiling waterproofing on all walls inside the enclosure. No exceptions. Even the wall opposite the showerhead gets full treatment because steam and spray reach everywhere.
Bathtub/shower combinations: Minimum 6 to 8 feet high on walls inside the tub footprint, extending 12 inches beyond the tub’s horizontal edges. If the tub is 60 inches long, waterproofing runs 72 inches along the wall.
Tub surrounds without shower head: 36 to 48 inches high is typically sufficient, extending 6 inches beyond tub edges. This covers direct splash from bathing but recognizes there’s no shower spray hitting the walls.
Vanity backsplash areas: 12 to 24 inches high behind sinks handles typical splash from handwashing and toothbrushing. Use moisture resistant backer board even if not fully waterproofing.
Partial wet walls adjacent to fixtures: Determine splash zone by visualizing how water travels. If a handheld shower sprayer can reach the wall, waterproof it fully. If only occasional mist hits it, moisture resistant treatment may suffice.
Wainscot height tile areas: 4 feet is typical residential wainscot height. If tiling to that height in a bathroom, waterproofing should extend to the same height or 6 inches above the tile line.
For partial wet areas like tub surrounds and vanity backsplashes, moisture resistant backer board with a painted liquid membrane often provides enough protection. You’re guarding against occasional splash and elevated humidity, not direct water streams. Green board or purple board work in these zones, though cement board with membrane is more durable. The difference is exposure intensity and frequency.
Seal transitions between waterproofed and standard wall areas carefully. Where full waterproofing stops and regular moisture resistant board begins, run waterproofing material 6 inches past the transition line and feather the edge. This prevents water from finding the seam and wicking into the non-waterproofed section. At tile edges, use bullnose trim or schluter edge profiles that shed water away from the transition.
Testing Waterproofing Before Tile Installation on Shower Walls
Testing confirms waterproofing integrity before concealing the system with tile and mortar.
Visual inspection comes first. Check for complete membrane coverage across all walls and pan areas with no missed spots. Examine every seam and corner to verify proper treatment with fabric reinforcement, banding strips, or preformed accessories. Look for thin spots in liquid membranes by checking color consistency. Sheet membranes should show no loose edges, bubbles, or voids. All fasteners should be sealed per manufacturer requirements. Transitions between pan and wall need continuous coverage with no gaps. Review the work against manufacturer specs and your installation checklist.
For shower pans with walls that will tile separately, flood testing verifies pan waterproofing:
-
Allow full cure time per product specifications before testing. Liquid membranes need 24 hours minimum. Sheet membrane thinset needs 12 to 24 hours. Foam board joint sealants often need only 2 hours but check your product’s data sheet.
-
Plug the drain with a test plug designed for this purpose, or use duct tape in multiple layers if the drain assembly isn’t installed yet. The plug must seal completely.
-
Fill the shower pan with water to curb level or mark a line 1 inch below the curb and fill to that point. You want enough water depth to create pressure without overflow risk.
-
Monitor for 24 hours minimum. Mark the water level with a piece of tape or a pencil line on the wall.
-
Check the water level after 24 hours. Some evaporation is normal, especially in dry climates. Loss of more than 1/4 inch suggests a leak.
-
Inspect exterior walls and the ceiling below for any damp spots, water stains, or drips during and after the test.
A passing test shows no significant water loss and no moisture appearing outside the pan. A failing test means locating the leak, repairing the deficient area with additional membrane or sealant, and re testing before proceeding. Common leak points are corners, drain integration, and penetrations. If you can’t find the leak visually, dry the pan completely, then fill again and watch carefully. The leak will show as seepage or moisture at the failure point.
For wall only waterproofing verification, a mist test works. Lightly spray the waterproofed wall surface with water from a spray bottle. Water should bead up and run off smoothly without soaking in. If water absorbs into the surface, coverage is insufficient or the product hasn’t cured properly.
Common Waterproofing Mistakes That Lead to Tile Failure

Most waterproofing failures result from installation errors rather than product defects.
Using standard drywall in wet areas: Drywall disintegrates with repeated moisture exposure. Even inside a “waterproof” membrane, trapped moisture from minor leaks or condensation destroys drywall. Use cement board, moisture resistant board, or integrated waterproof board inside shower enclosures.
Mixing products from different manufacturers: Incompatibility between sealants, membranes, and boards from different brands creates failure points. Chemical formulations that don’t bond properly, different expansion rates, or warranty voids are common results.
Applying liquid membrane too thin or missing areas: Stretching coverage beyond the rated square footage per gallon leaves weak spots. Missing a corner or seam because you’re rushing gives water a direct path through.
Failing to pre treat corners and seams: Putting membrane over a joint without reinforcing fabric means the joint can crack or separate as the substrate moves slightly. Movement is normal. Unreinforced joints fail.
Leaving air voids under sheet membranes: Incomplete thinset adhesion means parts of the membrane aren’t stuck to the substrate. Water gets into those voids, and the tile above loses support.
Over tightening fasteners crushing boards: Foam boards have a rigid surface over a compressible core. Driving screws too deep crushes the core, reduces holding strength, and creates a dimple that shows through tile.
Skipping primer when required: Some substrates and some liquid membranes need primer for proper adhesion. Skipping it means the membrane can peel or delaminate under tile stress.
Insufficient cure time before tiling: Tiling over uncured thinset or membrane traps moisture and prevents proper strength development. The result is loose tile or compromised waterproofing.
Inadequate overlap on sheet membrane seams: Less than 2 inches of overlap at seams creates a weak point where water can push through, especially if the joint opens slightly.
Not sealing penetrations properly: Pipes, mixing valves, and drains are the most common leak sources. Without proper collars, boots, or reinforcement, water finds these openings immediately.
Proceeding without water testing: Assuming the waterproofing works because it looks good is how failures happen. Testing proves integrity before the expensive tile goes up.
Quality control means slowing down, following the system completely, and verifying work at each stage. Shortcuts lead to expensive tear out and rebuild when tile starts falling off or mold appears behind the walls. Proper waterproofing takes an extra day or two. Fixing a failure takes weeks and costs multiples of the original job.
Material Costs and Time Requirements for Bathroom Wall Waterproofing

Material costs for liquid membrane run $40 to $80 per gallon, with coverage of 50 to 75 square feet per gallon depending on substrate texture and application thickness. A standard 60 inch tub/shower surround with three walls roughly 6 feet high covers about 120 square feet, requiring 2 gallons for proper two coat coverage. Add cement board at $10 to $15 per 3×5 foot sheet, and you’re looking at $120 to $200 in materials for that surround, not counting fasteners, tape, and thinset.
Sheet membrane costs $2 to $4 per square foot for the membrane itself, plus thinset and accessories like preformed corners and banding strips. That same 120 square foot tub surround runs $250 to $500 in materials when you include substrate, membrane, thinset, and all the corner and seam treatments. Sheet systems cost more upfront but provide better durability and strength.
Waterproof backer boards like Kerdi Board, Wedi, and PROVA Board Plus+ run $30 to $60 per sheet depending on thickness and retailer. A 4×8 foot sheet covers 32 square feet. For a shower surround, you’ll need 4 to 6 sheets depending on layout and waste. Material cost lands in the $200 to $400 range including the boards, fasteners with washers, and joint sealant. These systems are lighter weight and faster to install than cement board plus separate membrane, which saves labor time.
Accessories and sealants add $50 to $150 for a typical shower depending on complexity. Budget for joint sealant tubes, preformed corners if using sheet membrane, collars for plumbing penetrations, and banding strips for transitions.
| System Type | Material Cost (Standard Shower) | Labor Time | Skill Level Required |
|---|---|---|---|
| Liquid Membrane over Cement Board | $150-$250 | 8-12 hours DIY + 24-48 hours cure | Beginner to Intermediate |
| Sheet Membrane System | $300-$600 | 10-16 hours DIY + 12-24 hours cure | Intermediate to Advanced |
| Integrated Waterproof Board | $250-$500 | 6-10 hours DIY + 2-4 hours sealant cure | Intermediate |
DIY installation takes 6 to 12 hours of active work depending on system type and complexity, plus cure time ranging from a few hours to two days. Professional installation runs 3 to 6 hours of active work because experience speeds layout, cutting, and application. Skill level matters more than time. A beginner can install liquid membrane over cement board with decent results if they take their time and follow instructions. Sheet membrane requires better technique to achieve full adhesion. Integrated boards fall in the middle for handling and seam sealing but are more forgiving than sheet systems.
Long term value makes proper waterproofing worth the investment. Failure costs run $5,000 to $15,000 for typical tear out and rebuild when water damage appears behind tile. That includes demolition, reframing rotted studs, new waterproofing installation, and tile replacement. Most failures happen 3 to 7 years after installation when water has had time to penetrate and cause mold growth or structural damage. Warranty coverage from quality systems offsets higher initial material costs by protecting against defects and installation errors. Investing in professional installation makes sense when the shower is complex, you lack experience, or the home value justifies guaranteed results.
Compatibility Between Waterproofing Systems and Tile Installation
Thinset selection matters because some waterproofing surfaces require specific adhesive types. Unmodified thinset works with most sheet membranes because the membrane doesn’t allow moisture to escape, and unmodified thinset cures through chemical reaction with water rather than evaporation. Modified thinset contains polymer additives that improve flexibility and bond strength but requires air or substrate permeability to cure properly. Some waterproof boards specify modified thinset because their surface texture and composition bond better with the polymers. Large format tile over any waterproofing usually requires modified thinset for the extra grab and support.
Some waterproofing surfaces require primer before thinset application. Smooth, non porous waterproof boards sometimes need a bonding primer to give thinset something to grip. Liquid membranes often create a slick cured surface that benefits from light sanding or primer before tile. Check the manufacturer’s technical data sheet. Products designed to accept direct tiling will state that clearly. If primer is needed, they’ll specify which product to use.
Surface texture affects thinset adhesion through mechanical bonding versus chemical bonding. Rough surfaces like cement board provide mechanical grip where thinset keys into the texture. Smooth waterproof boards rely more on chemical bonding between the thinset and board surface. Complete thinset coverage matters more on smooth surfaces because gaps eliminate contact points. Use proper trowel technique with back buttering on large tiles to ensure full coverage. Hollow spots allow water to collect and freeze in cold climates, popping tiles off.
System compatibility means staying within a single manufacturer’s product family. PROVA systems use PROVA boards, fasteners, sealant, and accessories. Wedi systems use Wedi components. Schluter systems use Schluter products. Mixing brands risks incompatibility in expansion rates, bonding chemistry, or warranty coverage. Technical data sheets list approved thinsets for each waterproofing product. Match those recommendations. Using the wrong thinset voids warranty protection and creates bond failure risk. The manufacturer tested their system with specific materials and provides that guidance to prevent problems.
When to Hire a Professional for Bathroom Waterproofing
The decision depends on project scope, skill level, warranty requirements, and risk tolerance.
DIY appropriate scenarios:
Small powder room or half bath tile projects with limited square footage and low moisture exposure. Using liquid membrane systems with straightforward roller application over cement board in simple layouts. Homeowner has tiling experience and understands waterproofing principles including proper seam treatment. No manufacturer certification required to activate product warranty, allowing homeowner installation. Straightforward geometry with few or no penetrations, niches, benches, or complex angles.
Hire professional scenarios:
Full shower enclosure or wet room installation requiring coordinated pan and wall waterproofing with proper integration. Custom mud bed pan construction where precise slope and drain integration require specialized skills. System warranty requires certified installer credentials, which voids coverage if you DIY. Complex geometry with multiple niches, benches, angled walls, or steam shower requirements. Lack of experience with waterproofing or tiling techniques where the learning curve risk outweighs cost savings. High value home where waterproofing failure would cause significant damage or resale value impact.
Finding certified installers starts with manufacturer referral programs on their websites. These listings include contractors who completed training and maintain credentials. Verify insurance coverage including general liability and workers compensation. Get multiple quotes that break out material and labor costs separately so you can compare approaches. Ask about warranty registration, what documentation they provide, and whether they offer follow up support if minor issues appear. References from recent projects help verify quality and communication. A good installer explains their process, timeline, and cure requirements before starting work.
Final Words
Get your substrate right, treat every corner and seam, and follow the cure times.
That’s how to waterproof bathroom walls before tile without callbacks or tear-outs.
The system you pick matters less than doing each step completely. Liquid membranes work when you hit full coverage. Sheet membranes work when you collapse every air bubble. Integrated boards work when you seal the joints right.
Skip the flood test and you’re gambling. Take the time to verify, and you’re building something that lasts.
FAQ
Q: Do you have to waterproof a bathroom wall before tiling?
A: You have to waterproof bathroom walls before tiling in wet areas where water directly hits the surface, like shower enclosures and tub surrounds. Standard cement board and drywall absorb water and need a waterproofing membrane or waterproof backer board to prevent moisture damage and mold growth behind tile.
Q: What should you put on a bathroom wall before tiling?
A: You should put a waterproof substrate on bathroom walls before tiling, which includes either cement board covered with liquid or sheet waterproofing membrane, or an integrated waterproof backer board like Kerdi Board or Wedi that combines backing and moisture barrier in one material. The choice depends on your budget, skill level, and how much direct water exposure the wall gets.
Q: What is the best waterproofing method before tiling a shower?
A: The best waterproofing before tiling is a bonded sheet membrane system like Kerdi or Ardex SK 175 for maximum reliability, or an integrated waterproof backer board system for easier installation with built-in moisture protection. Sheet membranes provide 100 percent adhesion when installed correctly, while waterproof boards eliminate the separate membrane step and work well for DIY projects.
Q: What is the cheapest way to waterproof a bathroom wall?
A: The cheapest way to waterproof a bathroom wall is applying liquid membrane like RedGard over cement board, costing $40-80 per gallon covering 50-75 square feet. This paint-on method requires two coats and 24-hour cure time but costs less upfront than sheet membranes or waterproof backer boards, though it takes more skill to avoid thin spots.
Q: How do you seal corners and penetrations before waterproofing?
A: You seal corners and penetrations before waterproofing by embedding reinforcing fabric strips or preformed corner pieces in sealant or membrane, extending coverage 2-4 inches beyond the corner or opening. Pipe penetrations need specialized collars or boots, and all fastener holes require sealing to prevent water infiltration at these vulnerable failure points.
Q: How long does waterproofing need to cure before tiling?
A: Waterproofing needs to cure for 24 hours minimum before tiling for most liquid membrane systems, while sheet membrane installations require overnight thinset curing (12-24 hours) before tile application. Some foam board sealants skin over in 20-30 minutes but still need full cure time before proceeding with tile and grout work.
Q: Can you mix waterproofing products from different manufacturers?
A: You cannot mix waterproofing products from different manufacturers because incompatible materials can fail to bond properly and void product warranties. Stick with a complete system from one manufacturer, including backer board, membrane, sealants, and accessories to ensure compatibility and maintain warranty coverage.
Q: Do you need to waterproof behind a bathtub surround?
A: You need to waterproof behind a bathtub surround to a minimum height of 6-8 feet if the tub has a shower head, or 36-48 inches high for tub-only installations without overhead spray. Waterproofing should extend 12 inches beyond the tub footprint horizontally to protect wall framing from splash and humidity.
Q: How do you test waterproofing before installing tile?
A: You test waterproofing before installing tile by plugging the shower drain, filling the pan to curb level, and monitoring water level for 24 hours to confirm no drop beyond evaporation. For wall-only verification, lightly mist the waterproofed surface and check that water beads up and runs off without absorption.
Q: What happens if you skip waterproofing before tiling?
A: If you skip waterproofing before tiling, water penetrates through grout joints and tile, soaking into the substrate and wall framing, causing wood rot, mold growth, and structural damage. This leads to expensive tear-out and rebuild projects typically costing $5,000-15,000, far exceeding the cost of proper waterproofing upfront.
Q: Do waterproof backer boards still need membrane application?
A: Traditional cement backer boards like Hardie board and Durock still need membrane application because they absorb moisture like a sponge despite being water-resistant. Integrated waterproof boards like Kerdi Board, Wedi, and PROVA Board Plus+ do not require additional membrane because they combine waterproof substrate and moisture barrier in one material.
Q: What thinset works with waterproofing membranes?
A: The thinset that works with waterproofing membranes depends on the membrane type, with some requiring unmodified thinset and others accepting modified formulations per manufacturer specifications. Always check the technical data sheet for approved thinset compatibility because using the wrong adhesive type can cause bond failure and void the waterproofing warranty.
Q: When should you hire a professional for bathroom waterproofing?
A: You should hire a professional for bathroom waterproofing when the system warranty requires certified installer installation, when building a custom mud-bed pan, for complex shower geometries with multiple niches or angles, or when you lack tiling and waterproofing experience. Professional installation costs more upfront but provides warranty protection and reduces failure risk in high-value homes.