
You’ve got 24 hours before water damage turns into a mold problem, and 48 hours before it becomes a full-blown remediation job. Most people waste the first day deciding what to do, then spend the next week trying to dry materials that should’ve been pulled on day one. If you’re reading this with wet floors or soaked drywall in front of you, stop researching and start moving. Speed matters more than perfect technique right now, and this guide walks you through exactly what to do first, what gear you actually need, and which materials have to come out before mold takes over.
Critical First Actions to Stop Mold Growth After Water Damage
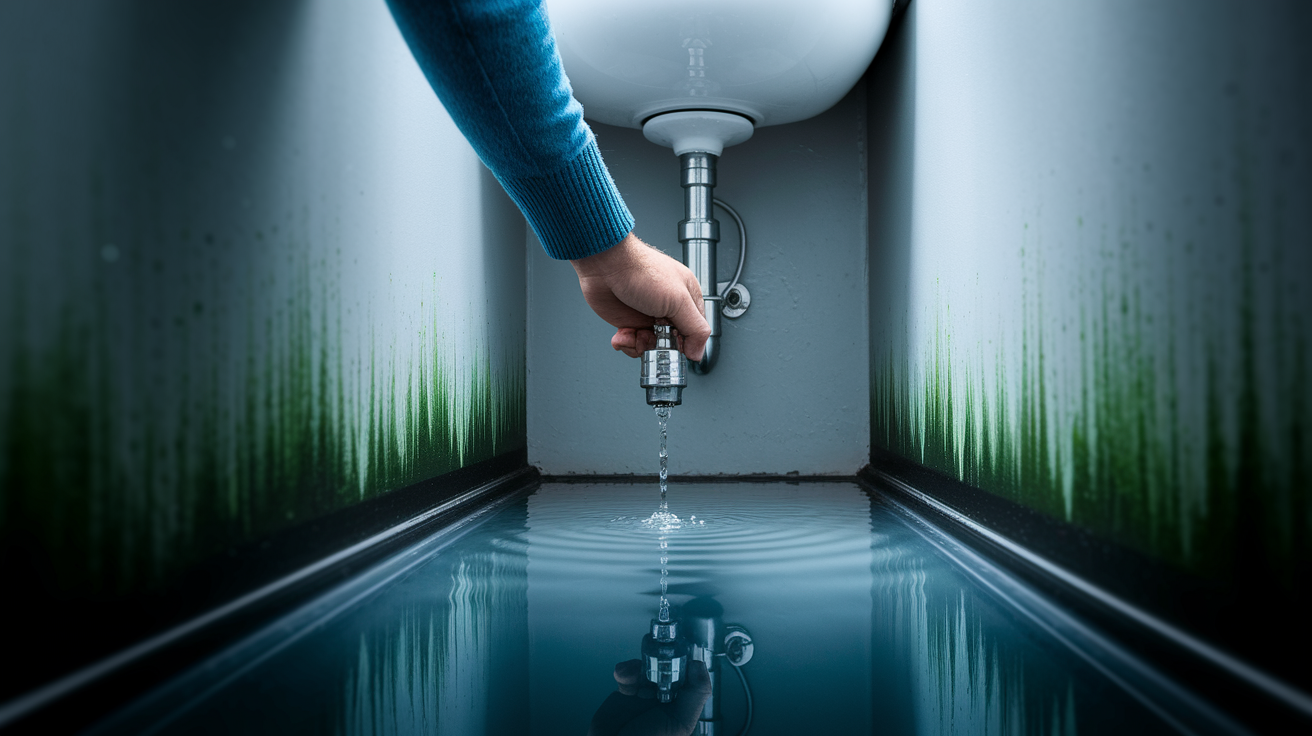
Mold spores sit dormant everywhere, but water damage wakes them up fast. Within 24 hours, spores start colonizing wet surfaces. By 48 hours, you’ve got active mold growth. That window is your only shot to stop it before cleanup turns into full remediation.
Speed beats perfection at this stage. Every hour you wait means more contamination, deeper penetration into materials, and bigger health risks for everyone in the house. Here’s what to do, in order:
-
Stop the water source. Turn off the supply valve under the fixture, or find your main shutoff if the leak’s bigger or you can’t tell where it’s coming from. If a pipe burst and you can’t stop the flow, call an emergency plumber while you move to step two. Don’t assume the water stopped just because you don’t see it running.
-
Check safety before you walk in. Look for electrical hazards before stepping into standing water. Flip the breaker to affected rooms if the panel’s accessible and dry. Look up for sagging ceilings or bulging walls that mean structural problems. If water came from a toilet overflow, sewage backup, or outside flooding, treat it as contaminated and put on full protective gear before going in.
-
Document everything with photos and video. Walk through every affected area and record it all before you touch anything. Get wide shots of the rooms, close-ups of damaged materials, and video of the water source if it’s still active. This protects your insurance claim. If the adjuster disputes what happened later, your photos are the only proof of what you saw on day one.
-
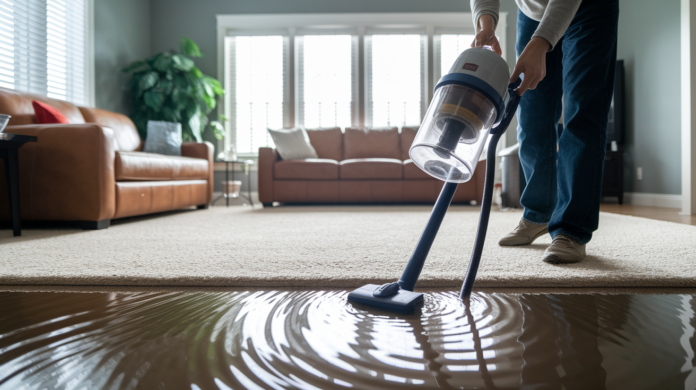
Get standing water out immediately. Use a wet/dry vac or shop vac. Not a regular vacuum, regular vacuums plus water equals electrocution risk. If you’re working in shallow water, a mop and bucket works but it’s slow. For deeper water, rent a submersible pump or call a water extraction company. Don’t stop until you’ve pulled every bit of standing water you can reach.
-
Pull saturated materials out of affected areas. Wet rugs, soaked cardboard, drenched laundry, anything sitting in water needs to come out within the first 24 hours. Don’t try to dry it in place. It’s a mold factory. Move salvageable items to a dry area outside or into the garage. Everything else goes into heavy-duty trash bags for disposal after the adjuster sees it.
-
Get air moving immediately. Open every window in the affected area. Set up box fans in doorways and windows to push humid air out and pull dry air in. If it’s raining outside, run the fans anyway and aim them at wet surfaces. You want cross-ventilation. One fan blowing in, one blowing out.
The 48 hour window isn’t a suggestion. It’s the point where mold goes from “prevented” to “remediated.” After that, you’re not drying materials anymore. You’re killing colonies and removing contaminated building components. Insurance companies know this timeline. If you wait three days to start drying, the adjuster sees it as neglect, and that can cut your payout or void coverage entirely. Start now, document everything, and keep moving until affected areas are dry to the touch and humidity’s under control.
Essential Safety Equipment and Protective Measures Before Water Damage Cleanup
Water damage cleanup isn’t safe without the right gear. Floodwater carries bacteria, chemicals, and raw sewage. Even clean water from a broken pipe gets contaminated once it sits in contact with flooring, insulation, and wall cavities. Mold spores, which are already there, go airborne the second you start moving wet materials. Breathing that air or touching contaminated surfaces without protection leads to respiratory illness, skin infections, and allergic reactions that can last weeks.
Water contamination falls into three categories. Clean water comes from supply lines, broken pipes, or rainwater that hasn’t touched soil or sewage. Gray water comes from washing machines, dishwashers, and toilet tanks. It has bacteria and detergents. Black water is sewage, flooding from rivers or storm drains, or any water that’s been sitting for more than 48 hours. If you’re dealing with gray or black water, don’t start cleanup without full protective equipment and professional guidance.
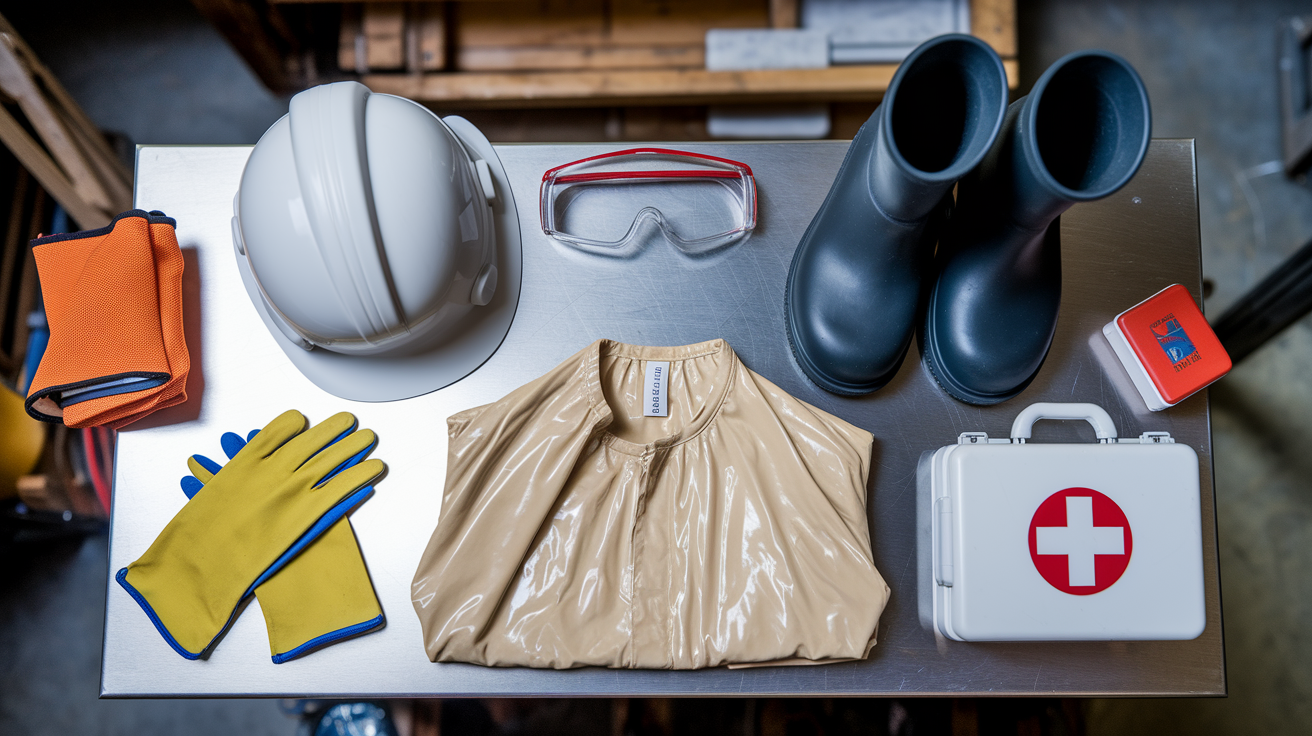
Before you touch anything wet, gear up with these items:
- N-95 or N-100 respirator mask (not dust masks, which don’t filter mold spores)
- Waterproof gloves (nitrile or rubber, not latex which tears easier)
- Eye protection/safety goggles to prevent splash contamination
- Rubber boots or waterproof footwear (no fabric shoes)
- Long sleeves and pants to keep skin covered
- Disposable coveralls for sewage situations where everything you’re wearing gets trashed afterward
- First aid kit nearby for cuts, scrapes, or exposure incidents
Mold spores trigger coughing, headaches, sneezing, and runny nose in most people within hours of exposure. If you have asthma or existing respiratory conditions, those symptoms can turn into asthma attacks and shortness of breath. Prolonged exposure to active mold growth causes chronic respiratory issues that don’t resolve after you leave the area. Skin contact leads to rashes and irritation, especially if the water’s contaminated.
If you see black mold, extensive visible growth on walls or ceilings, or if the affected area’s larger than 10 square feet, stop and call a certified remediation company. If you smell sewage or the water came from outside during a flood, evacuate and get professionals in to assess contamination levels. DIY cleanup has limits. Crossing them puts your health at serious risk. Gear protects you during small jobs. It won’t save you if contamination exceeds what household equipment can handle.
Thorough Drying Process and Dehumidification After Water Damage
Surface drying is a trap. A floor might feel dry to the touch while water’s still trapped in the subfloor, inside wall cavities, or within drywall. Mold doesn’t need visible water. It needs moisture content above 20% in organic materials, and that moisture can sit hidden for days while spores colonize behind baseboards and under flooring.
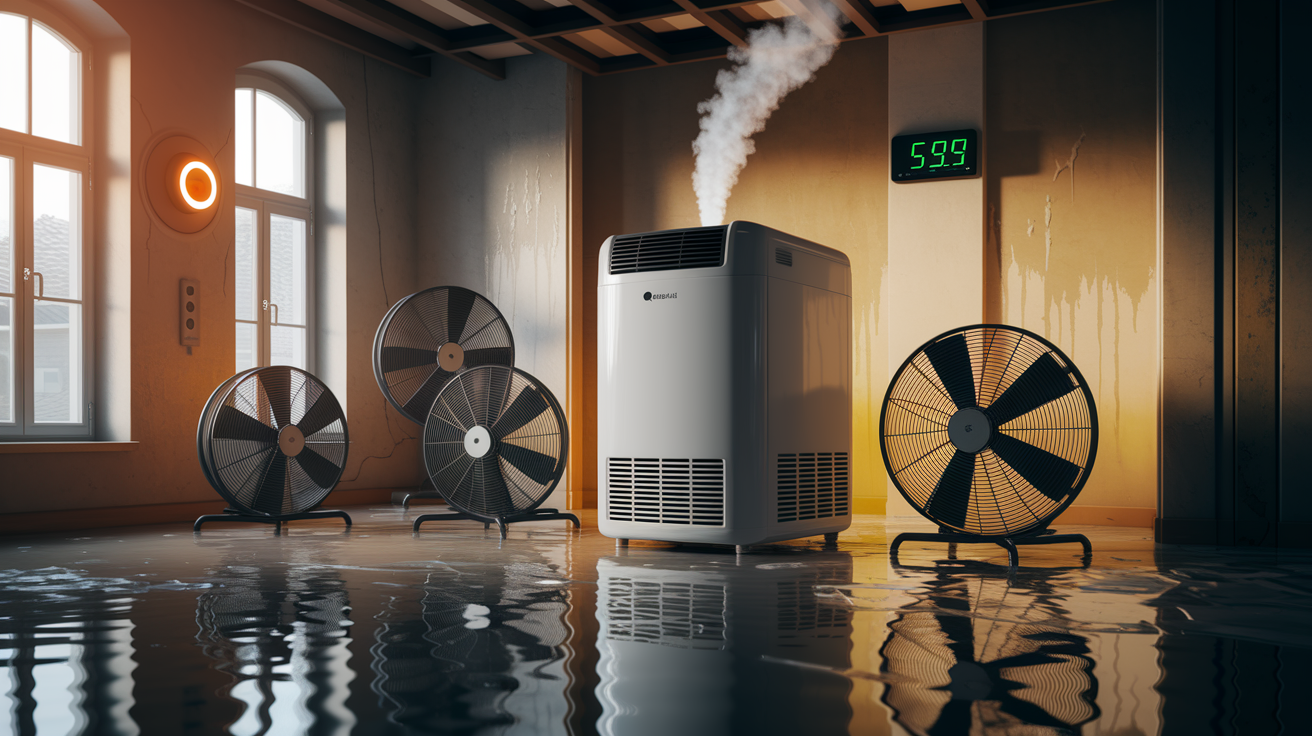
Start drying immediately after water extraction. Rent or buy a commercial grade dehumidifier rated for the square footage of your affected area. Place it in the center of the room, not against a wall. Run it continuously and empty the collection tank every few hours, or rig a hose to drain into a floor drain or sump pit if the unit allows it. Don’t rely on the auto-shutoff. Check it. A dehumidifier that fills up and stops running for six hours is six hours of wasted drying time.
Position fans to create airflow across every wet surface. Aim box fans at walls, under cabinets, and across floors. If you pulled up carpet, angle fans to blow directly onto the exposed subfloor and pad area. Fans alone won’t remove moisture from materials, but they speed up evaporation and help the dehumidifier work faster by moving humid air toward the intake. Keep them running 24 hours a day until humidity levels stabilize.
Ventilation and Air Circulation for Accelerated Drying
Open windows and doors on opposite sides of the house to create cross-ventilation. If weather allows, this is faster than recirculating indoor air. Position one fan blowing air into the house through a window on the dry side, and another fan pushing humid air out through a window on the wet side. The airflow path should run directly through the affected area.
If the HVAC system wasn’t flooded, run it in fan-only mode to circulate air throughout the house. Don’t run heating or cooling yet. Temperature swings can cause condensation on cold surfaces. If water reached your ductwork or the air handler, shut the system down completely. Running HVAC with wet ducts spreads mold spores into every room. You’ll need duct cleaning or replacement before you can safely run it again.
Add a HEPA filter air scrubber if you rented one or if mold’s already visible. Place it in the affected area and let it run continuously to capture airborne spores stirred up during cleanup. Portable HEPA units work, but they’re slower. The goal is to clean the air faster than you’re disturbing it.
Bathroom exhaust fans, kitchen range hoods, and any other ventilation should be running if they’re in or near the affected area. Sealed spaces like closets and cabinets need special attention. Prop doors open, pull out shelves, and aim a small fan into the space. Moisture trapped in a closed closet will grow mold while the rest of the room dries out.
Target relative humidity between 30% and 40%. Use a hygrometer to monitor levels. If humidity stays above 60%, mold growth continues no matter how much air you’re moving. For minor water damage, two to three days of dehumidification is usually enough. For major flooding, plan on running equipment for two weeks or more, depending on how deep the water was and what materials got wet.
Check for condensation on windows and cold surfaces every few hours. If you see it forming, you’re drying too fast or the room temperature’s too low. Slow down the dehumidifier or add heat to raise the surface temperature of walls and floors. Condensation is just water changing location. It’s not helping.
Materials are dry when a moisture meter reads below 15% for wood and below 1% for drywall and concrete. If you don’t have a meter, press your hand firmly against the surface for 30 seconds. If it feels cool or damp when you pull away, it’s still wet inside. Visible drying happens in the first 48 hours. Complete drying takes longer, and stopping equipment early just because the surface looks dry is how you end up with mold in the walls three weeks later.
Identifying and Removing Porous Materials to Prevent Mold Growth
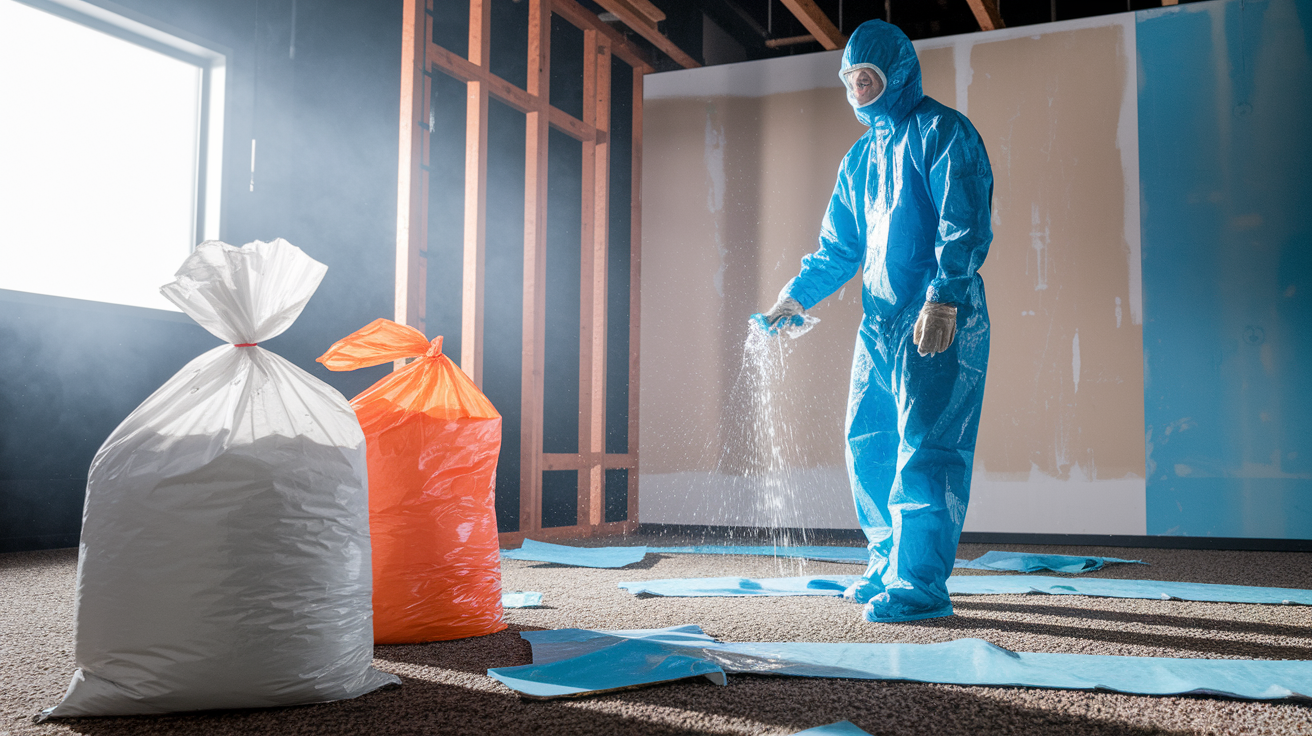
Not all materials can be dried. Porous materials absorb water like a sponge and trap mold spores in the fibers. No amount of dehumidification will pull enough moisture out fast enough to prevent colonization. Non-porous materials like metal, glass, and hard plastic can be cleaned and dried. Semi-porous materials like wood and concrete can be dried if you catch them early and the water wasn’t contaminated. Porous materials get removed and thrown out. That’s the rule.
Here’s what has to go if it got wet:
- Carpet and carpet padding (padding stays wet long after the carpet surface dries, and contaminated water makes both unsalvageable)
- Drywall (cut and remove everything at least 12 inches above the water line, more if the wall stayed wet for over 48 hours)
- Ceiling tiles (they sag, stain, and can’t be dried)
- Insulation (fiberglass, cellulose, or foam that got wet holds moisture and contaminants indefinitely)
- Upholstered furniture (fabric and foam padding absorb water and grow mold inside the cushions where you can’t see it)
- Mattresses and box springs (same problem as furniture, and no cleaning method makes them safe to sleep on again)
- Particle board and pressed wood products (they swell and delaminate, and the glues break down when soaked)
- Paper products, books, cardboard (these are mold food, and they deteriorate rapidly when wet)
Bag porous materials in heavy-duty contractor bags as you remove them. Don’t drag wet carpet through dry areas of the house. You’re spreading contamination. If the item’s large, cut it into sections that fit the bags. Seal the bags and move them outside immediately. Don’t leave them in the garage or the basement while you finish the rest of cleanup.
For drywall, score the surface 12 inches above the highest water mark with a utility knife, then cut horizontally with a drywall saw. Pull the damaged section off the studs in large pieces rather than breaking it into small chunks. You’ll create less dust. Check the insulation behind it. If the insulation’s wet, pull it out and bag it. If the studs are wet, leave them exposed and aim a fan at them until they dry.
Before you throw anything away, photograph it in place and after removal. Your insurance adjuster needs to see what was damaged and verify that you removed it. If you dispose of items before the adjuster inspects them, you might not get reimbursed. If the adjuster can’t come out for several days and the materials are creating a health hazard, document everything with video and date-stamped photos, then remove them. Call your insurance company and let them know you had to proceed without waiting. Most adjusters would rather see aggressive removal than mold growth because you waited for their approval.
Cleaning Solutions and Surface Disinfection Methods for Mold Prevention
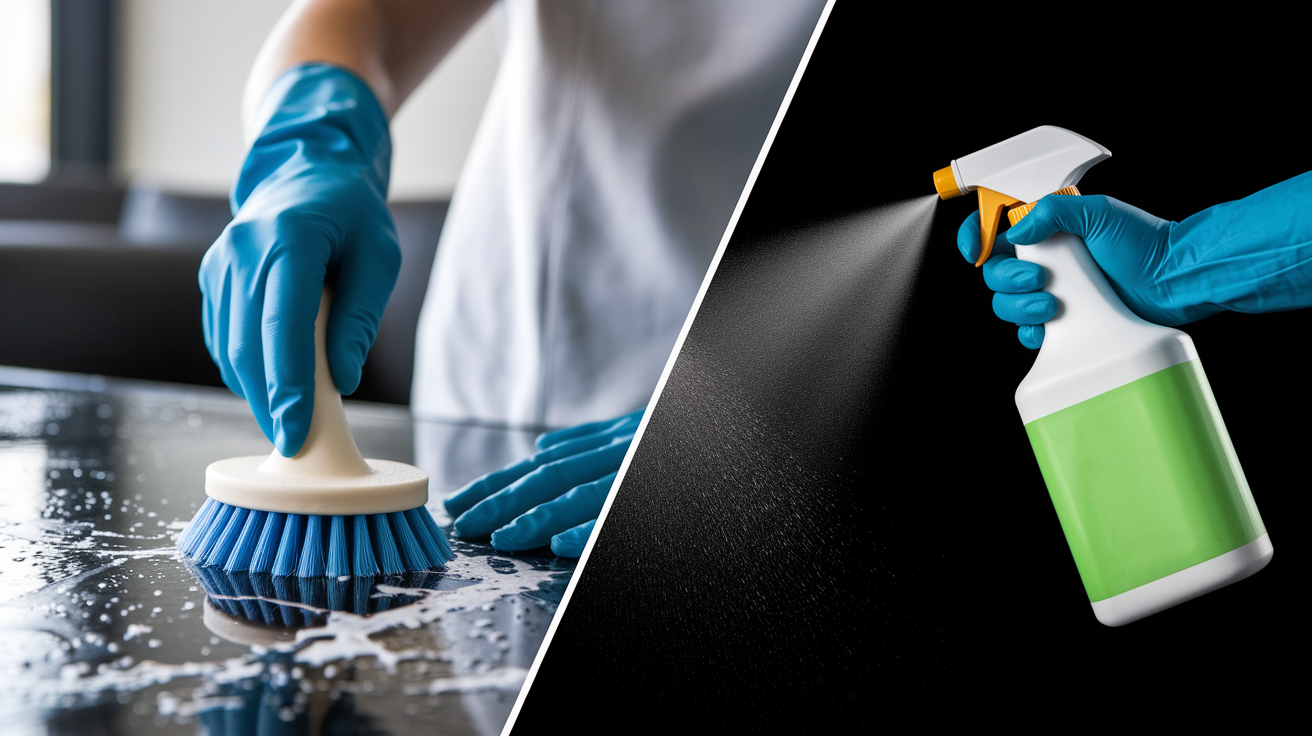
Surface cleaning happens in two stages. First, you remove dirt, biofilm, and organic matter with detergent and warm water. Second, you disinfect with a solution that kills mold spores, bacteria, and other pathogens. Skipping the first stage means you’re trying to disinfect on top of a layer of grime, and that doesn’t work. The disinfectant can’t reach the surface.
Never mix cleaning chemicals. Bleach and vinegar together create chlorine gas, which will send you to the hospital. Bleach and ammonia create chloramine vapor, which is just as dangerous. If you use vinegar, use it alone. If you use bleach, use it alone. Don’t get creative.
Here’s the four step process for cleaning and disinfecting hard surfaces after water damage:
-
Scrub the surface with a non-ammonia detergent mixed with warm water. Use a stiff brush on concrete, a sponge on drywall that’s staying in place, and a cloth on wood. You’re physically removing contaminants, so put some pressure into it. Get into corners, edges, and anywhere water pooled.
-
Rinse the surface thoroughly with clean water. If you skip this, the detergent residue interferes with the disinfectant in the next step. Wipe it down or spray it with fresh water and wipe again.
-
Apply a disinfectant solution and let it sit for at least 10 minutes. The CDC recommends 1 cup of bleach per gallon of water for killing mold spores and bacteria. Mix it fresh each day. Bleach loses potency after 24 hours in solution. Spray or wipe it on and leave it wet for the full contact time. If it dries before 10 minutes, you didn’t apply enough. Do it again.
-
Let the surface air dry, or rinse and dry depending on the material. Bleach leaves a residue on some surfaces, so rinse painted drywall and finished wood after the contact time. Leave it on concrete, tile, and unfinished wood.
For small areas of visible mold on non-porous surfaces, white vinegar works without the harshness of bleach. Spray undiluted vinegar on the affected area, let it sit for one hour, then scrub and rinse. Vinegar’s effective on mold but slower than bleach, and it won’t kill some bacteria, so save it for small spots on tile or glass, not for large scale disinfection after flooding.
Commercial antimicrobial products designed for water damage restoration work faster and cover more surface area than household bleach. If you’re treating a basement or garage, the spray bottles and jugs available at home improvement stores are worth the cost. Follow the label instructions for dilution and contact time. Hydrogen peroxide at 3% concentration also kills mold and is safer to use in enclosed spaces than bleach, but it takes longer to work and costs more for the same coverage area.
Hidden Moisture Detection and Monitoring Progress After Water Damage
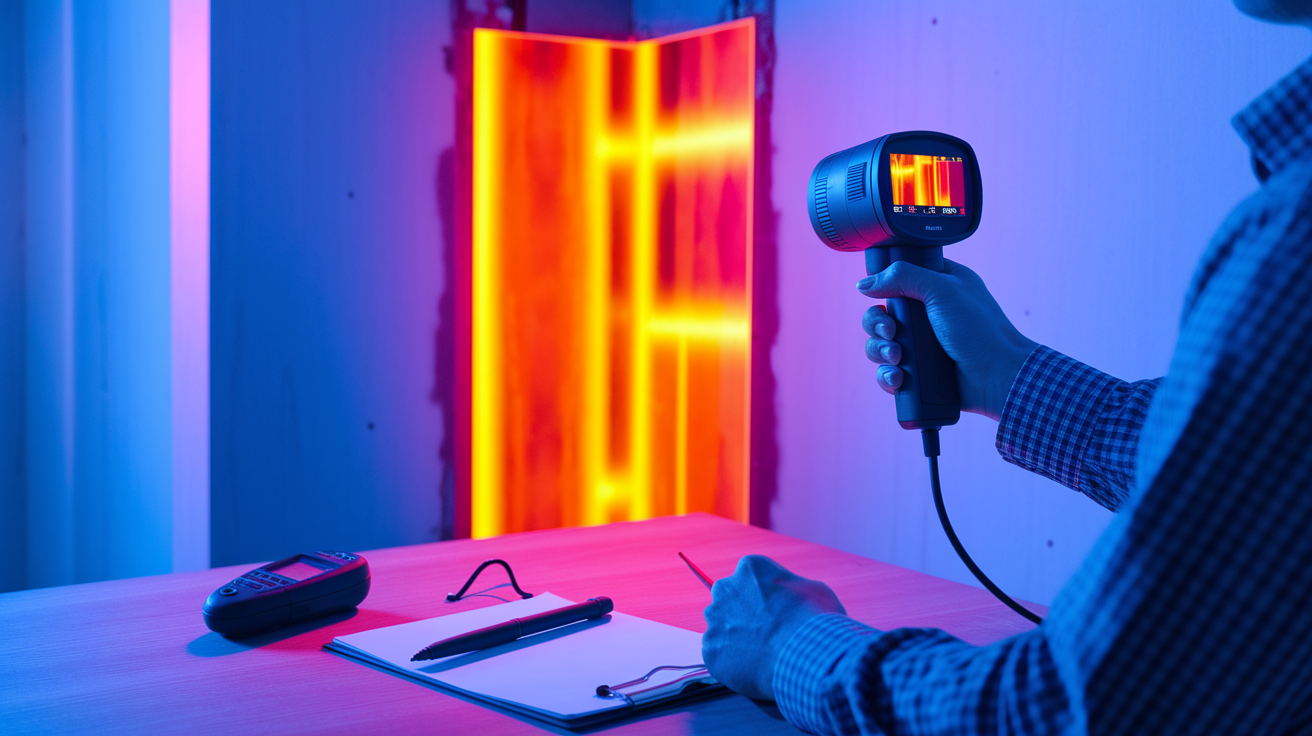
A floor can look dry and still be holding 30% moisture content two inches below the surface. Drywall can feel dry to the touch while the backside and insulation are soaked. You can’t see moisture inside materials, and you can’t feel it reliably until it’s so saturated that it’s too late. That’s why moisture meters and monitoring matter.
Check these six areas for hidden moisture even if they look dry:
- Behind baseboards and wall cavities where water wicks up from flooring
- Under hardwood floors and tile grout where water spreads across the subfloor
- Within subfloor layers, especially if you have plywood over joists
- Inside wall insulation, which holds water long after drywall dries
- Ceiling cavities above affected areas where water travels before it drips
- Crawl space and foundation areas that flood before you notice water upstairs
Buy or rent a moisture meter. Pin-type meters have two probes that you push into the material to get a depth reading. They’re accurate but leave small holes. Pinless meters use a sensor pad that you press against the surface. They read moisture without damaging the material but only measure the surface layer. For floors and walls, pin-type is better. For finished surfaces you don’t want to mark, pinless works.
Wood should read below 15% moisture content. Drywall and concrete should read below 1% on the meter’s drywall scale. Anything higher means drying isn’t complete. Test the same spot every 12 hours and watch the number drop. If it stops dropping or starts climbing, you’ve got a hidden source feeding moisture into the material. That means a leak you didn’t find, or water trapped in a cavity that needs to be opened up.
Use a hygrometer to track indoor humidity every few hours. Place it in the center of the affected room, not near a dehumidifier or fan where the reading won’t reflect the whole space. Log the readings. You’re looking for a steady decline toward 30 to 40% relative humidity. If humidity spikes overnight or after you turn off equipment, moisture’s still evaporating from materials. Keep the dehumidifier running.
Musty odors mean mold’s already growing somewhere. If you smell it but don’t see it, check inside walls, under flooring, and in HVAC ducts. Mold produces volatile organic compounds as it grows, and your nose detects them before your eyes see the colony. Don’t ignore the smell and assume it’ll go away when things dry out. It won’t. You’ve got active growth that needs to be located and removed.
Condensation on windows, cold water pipes, or exterior walls during drying means your indoor humidity’s too high or your ventilation isn’t working. Adjust the dehumidifier to a higher setting and add more airflow. Condensation is water that evaporated from your wet materials, traveled through the air, and condensed on the coldest surface it could find. It’s not drying. It’s relocating.
Keep monitoring for at least 48 hours after you think everything’s dry. Materials that seem dry on day three can show elevated moisture on day five if drying stalled or water’s still wicking from a hidden source. Professionals use thermal imaging cameras to spot temperature differences that indicate wet areas behind walls. You can rent one if the damage was extensive, or hire an inspector for a one-time check if you’re not confident in your moisture meter readings.
When to Hire Professional Mold Remediation and Water Mitigation Services
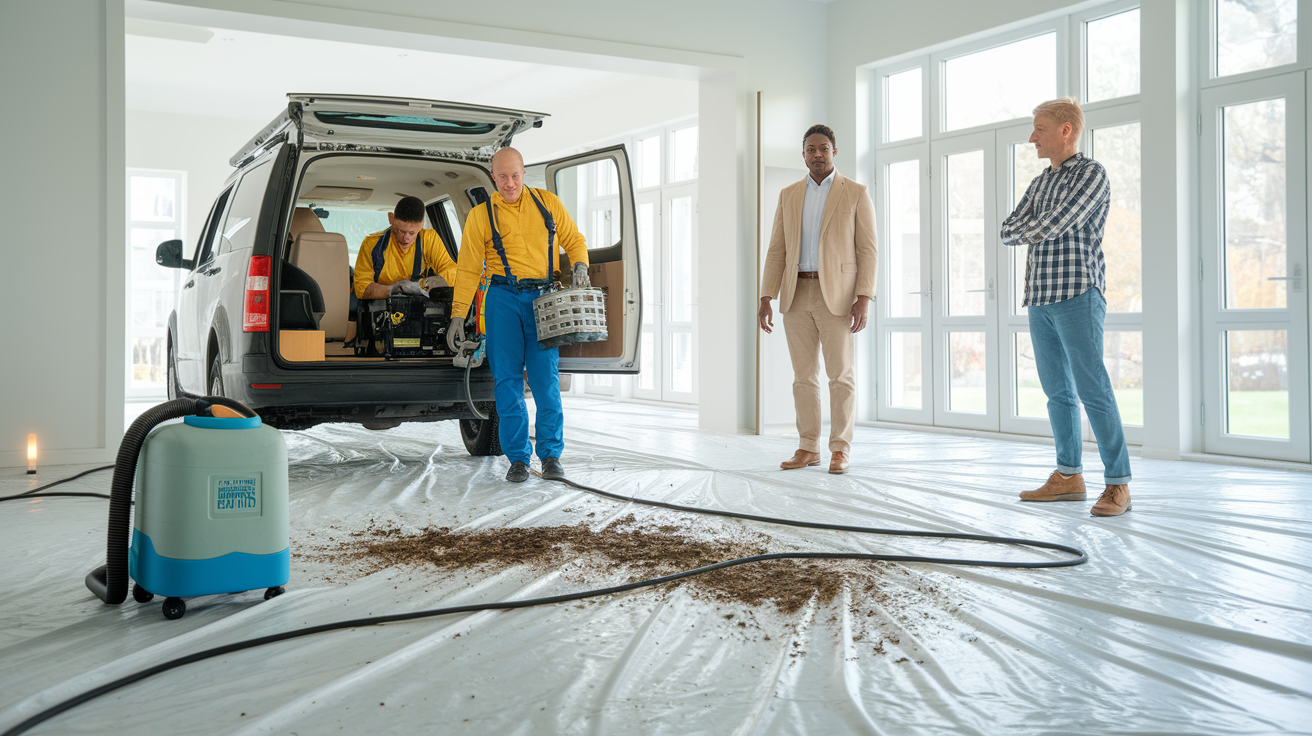
The EPA’s guideline is simple. If the affected area’s less than 10 square feet, homeowners can handle the cleanup themselves. Beyond that, or if any of the complicating factors below apply, you need a professional restoration company with the equipment, training, and certification to do it safely.
Size isn’t the only deciding factor. Sewage contamination, structural damage, and health conditions change the equation. If the water came from a toilet, sewer line, or outdoor flooding, it’s contaminated with bacteria and pathogens that require specialized cleaning and disposal. If walls are sagging, floors are buckling, or you see cracks in the foundation, the structure’s compromised, and working in that space is dangerous. If anyone in the house has asthma, immune system issues, or mold allergies, exposure during DIY cleanup can cause serious health reactions.
Professional water mitigation and mold remediation companies bring industrial grade equipment that works faster and more thoroughly than anything you can rent. They use truck-mounted extraction units, commercial dehumidifiers that process hundreds of pints per day, air scrubbers with HEPA filtration, and thermal imaging cameras to find hidden moisture. They set up containment barriers to prevent cross-contamination into unaffected areas of your home. They have the experience to know where water travels inside walls and floors, and they know when materials can be saved versus when removal’s the only safe option.
| Situation | DIY Appropriate | Professional Required | Estimated Cost |
|---|---|---|---|
| Small leak under sink, less than 10 sq ft affected | Yes, if caught within 24 hours and water is clean | No, unless mold is already visible | DIY: $50-200 for equipment rental |
| Flooded room (bedroom, living room) | Maybe, if water is clean and no structural damage | Yes, if over 10 sq ft or water sat for over 48 hours | Professional: $1,200-2,500 |
| Flooded basement or garage | No, area is too large for DIY drying | Yes, always | Professional: $2,000-3,750+ |
| Sewage backup or toilet overflow | No, contamination requires professional disinfection | Yes, always | Professional: $2,500-5,000+ |
| Mold returns after cleanup | No, indicates hidden moisture source or incomplete remediation | Yes, hire certified mold assessor first | Assessment: $300-600, Remediation: $1,500-4,000+ |
Call a professional within 24 hours if you’re dealing with a flooded basement, raw sewage, or water damage that affects multiple rooms. The longer contaminated water sits, the more expensive remediation becomes. Insurance companies often require professional water mitigation for claims over a certain dollar threshold, and many policies include coverage for emergency mitigation services. Check your policy and call your insurer before you hire anyone.
When hiring, verify that the company’s certified by the Institute of Inspection, Cleaning and Restoration Certification (IICRC) and licensed in your state. Ask for proof of insurance and get a written estimate before work starts. If mold’s already growing, ask if they employ a certified mold assessor or if you need to hire one separately. Some states require independent testing before and after remediation to verify that spore counts are back to safe levels.
Insurance Claims and Documentation Requirements for Water Damage and Mold Prevention

Call your insurance company immediately after water damage occurs, even if you’re not sure the damage is covered. Flood damage from rising water may not be covered under a standard homeowner’s policy, but water damage from a burst pipe, roof leak, or appliance failure usually is. Your insurer needs to know about the loss as soon as it happens. Waiting days or weeks to report it can void your coverage or reduce your payout because delayed mitigation increases the total damage.
Before you move, clean, or throw out anything, document everything. Walk through the affected areas with your phone and record video while narrating what you’re seeing. Take wide angle photos of each room showing the extent of the water, then take close-up photos of damaged materials, appliances, and personal belongings. Capture the water source if it’s visible. Photograph the water line on walls and baseboards. This documentation proves the scope of damage and protects you if the adjuster disputes your claim later.
Here are the five critical steps for proper documentation:
-
Photograph and video all damage before moving anything. Get shots from multiple angles in each room. Date-stamp everything if your phone doesn’t do it automatically.
-
Document the water source and affected areas with close-ups and wide shots. Show where the water entered, where it pooled, and how far it spread. If the source is a broken pipe, photograph the pipe and the surrounding damage.
-
Keep a detailed log of all actions you take with timestamps. Write down when you discovered the damage, when you stopped the water, when you started extraction, and when you began drying. If you rent equipment, note the date and time. If you hire a professional, record when they arrived and what they did.
-
Save receipts for all equipment, materials, and services. Dehumidifier rental, fans, cleaning supplies, replacement materials, and contractor invoices all get submitted with your claim. No receipt means no reimbursement.
-
Get written approval before disposing of damaged items. If the adjuster can’t inspect within 48 hours and materials are creating a health hazard, call your insurer and explain that you need to proceed with disposal. Document the items with photos and video, then remove them. Don’t assume approval. Get it in writing via email or text.
Insurance companies view emergency mitigation as a covered expense under most policies. That means the cost of water extraction, drying equipment, and emergency repairs to stop further damage is typically reimbursed even if the underlying cause isn’t covered. Mold remediation’s more complicated. If mold growth resulted from a covered water damage event and you took reasonable steps to mitigate it within 48 hours, most policies cover the cost. If mold grew because of long-term neglect, poor maintenance, or a slow leak you ignored, coverage is usually denied.
Adjuster timelines vary. In a major disaster with widespread flooding, it might take a week for an adjuster to reach your property. You can’t wait that long to start drying. Proceed with emergency mitigation, document everything, and keep your insurer updated on your progress. Most insurance companies would rather pay for immediate drying costs than deal with a mold remediation claim three weeks later because you waited for approval.
Professional restoration companies often work directly with insurance companies and can handle the claim paperwork for you. They’ll photograph the damage, write up the scope of work, and submit estimates to your adjuster. This coordination speeds up the claim process and reduces the risk of disputes over what’s covered. If you’re handling the work yourself, expect more back and forth with your adjuster and be prepared to justify every expense with receipts and photos.
Long-Term Mold Prevention and Moisture Control Strategies After Water Damage
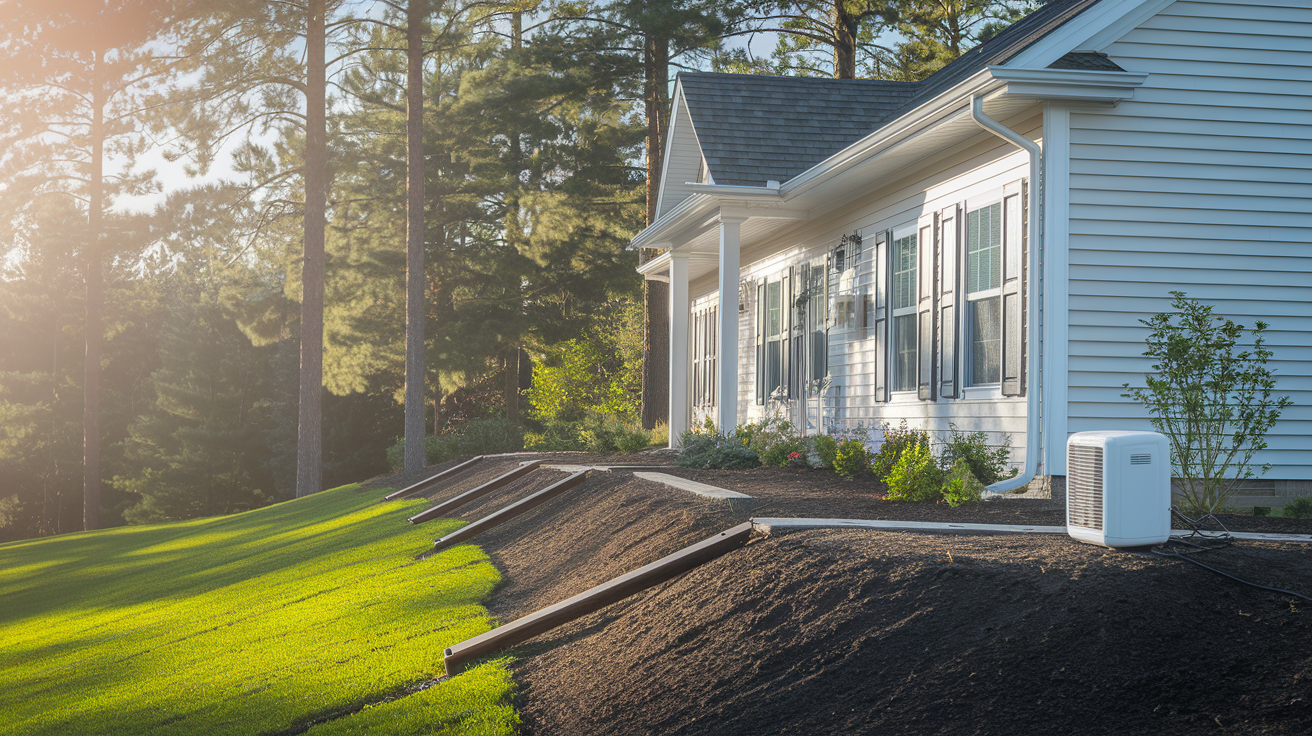
Recovery from water damage doesn’t end when the floors dry. The root cause that allowed water into your home is still there, and it’ll happen again unless you address it. Walk the property and inspect for the conditions that led to the problem. Was it a plumbing failure, a roof leak, or poor drainage around the foundation? Each has a specific fix, and skipping that fix just sets the clock for the next incident.
Start outside. Check for standing water near the foundation within 24 hours after rain. Water pooling next to the house means your grading’s wrong, your gutters are clogged, or your downspouts are dumping water too close to the building. Any of those conditions will cause foundation cracks, basement seepage, and mold growth inside wall cavities. Here’s what prevents it:
- Gutter cleaning and downspout direction (route water at least 6 feet away from the foundation with extensions or buried drains)
- Foundation crack sealing and basement waterproofing (inject cracks with epoxy or polyurethane, apply waterproof coating to exterior foundation walls)
- Sump pump installation and water sensors in vulnerable areas (basements, crawl spaces, under water heaters and washing machines)
- Proper grading around home exterior (soil should slope away from the house at 6 inches over 10 feet)
- Crawl space encapsulation with vapor barrier (sealed 6 mil plastic sheeting on the ground and walls, plus a dehumidifier if the space is damp)
- Upgraded bathroom exhaust and kitchen ventilation (vented to the outside, not into the attic, with enough CFM capacity to clear steam and humidity quickly)
- HVAC system maintenance and ductwork cleaning (change filters every 90 days, inspect ducts for leaks and mold, clean coils annually)
Reconstruction after water damage is the time to make material choices that resist future mold growth. Replace standard drywall with mold resistant drywall (paperless or fiberglass faced) in areas prone to moisture like bathrooms, basements, and laundry rooms. Choose tile or luxury vinyl plank flooring over carpet in basements and lower levels where flooding risk is higher. Install water resistant baseboards and trim, and paint walls with mold inhibiting primer before the finish coat.
Seasonal maintenance catches small problems before they become water damage incidents. Check the roof twice a year for missing shingles, damaged flashing, and clogged valleys. Inspect plumbing under sinks, behind toilets, and around water heaters for drips, corrosion, and loose connections. Test your sump pump every spring by pouring water into the pit and making sure it activates. Replace washing machine hoses every five years even if they look fine. They fail without warning. In winter, check for condensation on windows and cold water pipes, which signals high indoor humidity that needs to be controlled with ventilation or a dehumidifier.
Humid climates require permanent dehumidification in basements and crawl spaces. If indoor humidity regularly exceeds 60% even without water damage, install a whole-house dehumidifier or a standalone unit in the problem area and run it year-round. Mold prevention isn’t a one-time project. It’s an ongoing process of controlling moisture, maintaining drainage, and catching leaks before they turn into floods.
Final Words
Water damage turns into a mold problem fast, but you control the outcome in those first 24 to 48 hours.
Stop the water. Remove what’s soaked. Dry everything hard and check your work with a meter.
If you act while surfaces are still wet instead of waiting until they smell wrong, you skip the expensive fix later.
The key to how to prevent mold growth after water damage is simple: don’t give it time to start.
FAQ
Q: How do you prevent mold from growing after water damage?
A: You prevent mold from growing after water damage by removing standing water within 24 hours, starting air circulation immediately with fans and dehumidifiers, removing saturated porous materials like carpet padding and wet drywall, and maintaining indoor humidity below 60 percent during the drying process.
Q: What are the 10 warning signs of mold toxicity?
A: The 10 warning signs of mold toxicity include persistent coughing, frequent headaches, skin rashes or irritation, irritated eyes with redness, sneezing and runny nose, respiratory problems or difficulty breathing, fatigue, musty odors in living spaces, visible mold growth on surfaces, and worsening allergy symptoms indoors.
Q: How long after water damage does mold grow?
A: Mold grows within 24 to 48 hours after water damage occurs. This critical window means you must start removing water, drying affected areas, and improving air circulation immediately to prevent mold spores from colonizing wet surfaces and building materials.
Q: What kills water damage mold?
A: Water damage mold is killed by a bleach solution using 1 cup of bleach per gallon of water with a 10-minute contact time on non-porous surfaces. For small surface mold areas, white vinegar applied for 1 hour also works, but never mix bleach and vinegar together during cleaning.
Q: When should I call a professional for water damage and mold?
A: You should call a professional for water damage when the affected area exceeds 10 square feet, when sewage or contaminated water is involved, if structural damage is visible, when mold returns after cleanup, or if anyone in the home has respiratory conditions or compromised immunity.
Q: What materials need to be removed after water damage?
A: Materials that need removal after water damage include all carpet and carpet padding, drywall at least 12 inches above the water line, ceiling tiles, insulation, upholstered furniture, mattresses, particle board, and paper products because these porous materials trap moisture and cannot be adequately dried.
Q: How long should I run dehumidifiers after water damage?
A: You should run dehumidifiers for 2 days to several weeks after water damage depending on flooding severity, affected area size, and material saturation levels. Continue until indoor relative humidity stays between 30 and 40 percent and moisture meters confirm materials are dry.
Q: What safety equipment do I need for water damage cleanup?
A: You need an N-95 or N-100 respirator mask, waterproof nitrile or rubber gloves, safety goggles, rubber boots, long sleeves and pants, and disposable coveralls for sewage situations. Never use regular vacuum cleaners due to electrocution risk during water removal.
Q: How do I detect hidden moisture after water damage?
A: You detect hidden moisture after water damage using pin-type or pinless moisture meters to check wall cavities, subfloors, and behind baseboards. Monitor for musty odors, condensation patterns, moist spots, and use hygrometers to track indoor humidity levels staying above 60 percent.
Q: Should I document water damage before starting cleanup?
A: You should document water damage with photos and videos from multiple angles before moving or disposing of anything. Keep all damaged items until the insurance claims adjuster inspects them, and maintain a detailed log of all actions taken with timestamps for claim validity.