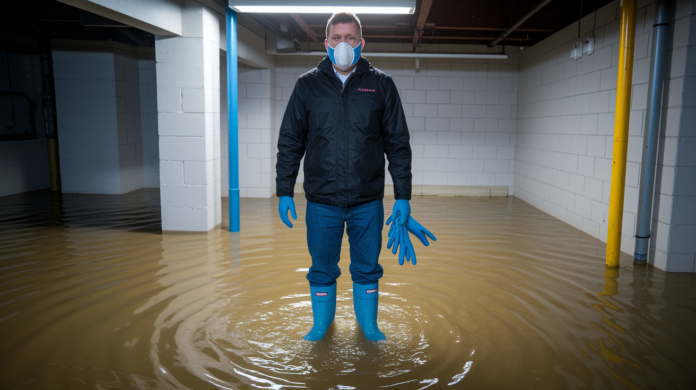

Most people think cleaning mud after a flood means grabbing a shovel and buckets. Wrong. The real fight starts when you can’t see the contamination anymore. Floodwater carries bacteria, sewage, and chemicals that survive long after mud dries. If you skip disinfection or let materials stay damp past 48 hours, you’re building a mold factory. This guide walks you through safe mud removal, proper disinfection, and complete drying so your basement doesn’t become a health hazard three weeks from now.
Safety Precautions Before Starting Basement Flood Cleanup
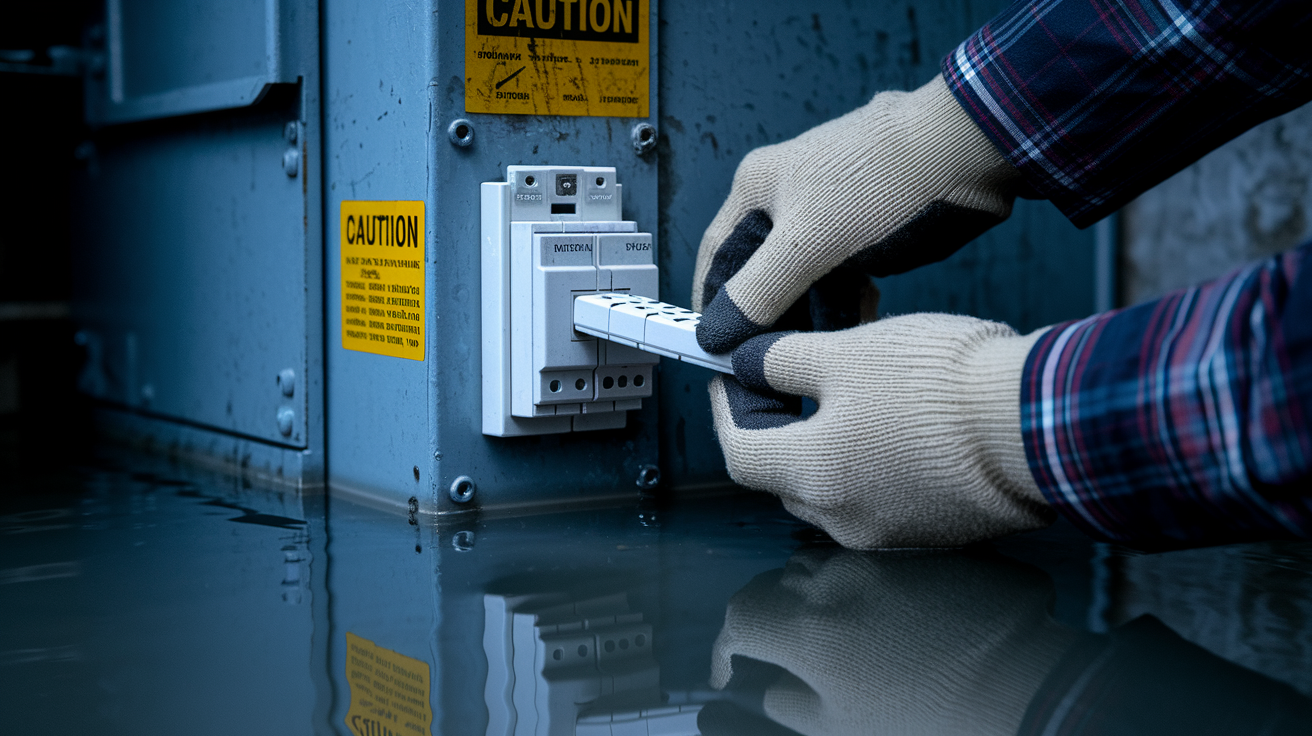
Power and gas come first. Shut off electricity at the main breaker and turn off gas before you step into that flooded basement. If the breaker panel’s down there and water’s already present, call an electrician or your power company to disconnect service at the meter. Don’t wade through standing water to reach electrical equipment. Just don’t.
Floodwater breaks down into three categories, each carrying different contamination risks. Clear water’s from burst pipes or clean sources and presents the lowest risk. Gray water contains soap, detergent, or mild contamination from appliances. Black water contains fecal matter, sewage, or chemical contamination and poses serious health hazards. If your basement flooded from a sewage backup or there’s black water covering more than 3 square feet, call a professional restoration company. Natural disaster floodwater should always be treated as black water because you don’t know what contaminants it picked up on its way to your basement.
Cover all open wounds with waterproof bandages before starting any cleanup work. If you haven’t had a tetanus shot in the past 10 years, contact your doctor before working in contaminated water. Even gray water can cause infections if it enters cuts or gets inhaled as mist.
You’ll need protective equipment for basement flood cleanup:
Rubber waterproof boots that extend above ankle height to prevent water from entering
N95 respirator mask or dust mask to filter airborne contaminants and mold spores during cleanup
Safety goggles or eye protection to shield eyes from splashing contaminated water and cleaning chemicals
Waterproof rubber gloves that extend past the wrist, not standard household dishwashing gloves
Long sleeves and pants made from quick drying material that covers all exposed skin
First aid supplies including bandages, antiseptic, and emergency contact information readily accessible
Step-by-Step Mud Removal Process for Flooded Basements
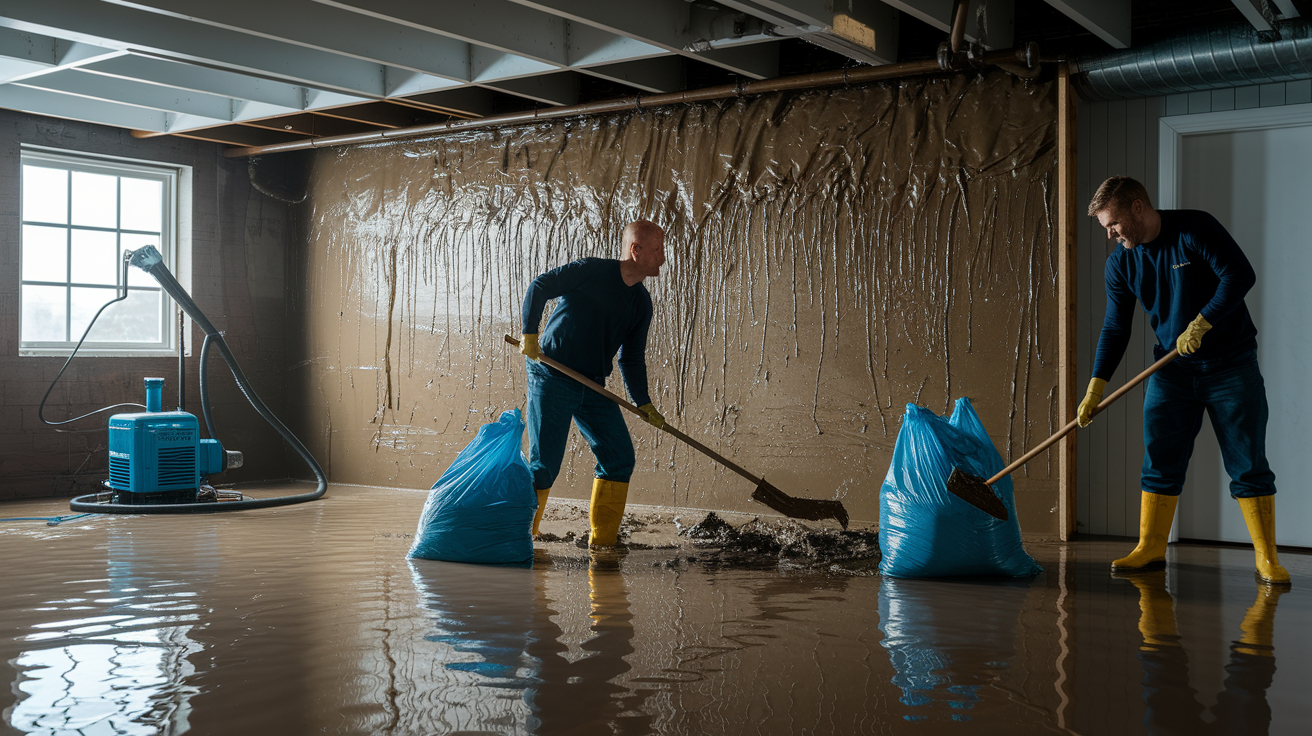
Time works against you after a flood. Mold begins growing within 24 to 48 hours on damp surfaces, and dried mud becomes exponentially harder to remove. Working quickly doesn’t mean working carelessly, but it does mean prioritizing this cleanup over other tasks.
Start with water removal and work methodically through mud extraction. This prevents you from spreading contamination throughout the basement or making extra work by letting material dry in place.
Complete mud removal sequence:
-
Remove standing water in stages using a sump pump for volumes greater than a few inches, or a wet/dry shop vacuum like the Ridgid 12 Gal. NXT Wet Dry Vac HD1200 for 1 to 2 inches of water. If you’re pumping out a flooded basement, only remove about one third of the water per day to prevent foundation walls from collapsing inward due to sudden pressure changes. Install the foam filter on your wet/dry vac before starting to protect the motor from mud particles and debris that will clog standard filters.
-
Pull out all waterlogged debris immediately including boxes, stored items, and loose materials, placing everything in heavy duty plastic garbage bags. Wet cardboard, fabric, and porous materials become contamination sources if they sit, so bag and remove them before starting mud work.
-
Hose down mud covered walls and floors while the mud is still wet. Dried mud bonds to concrete and wood surfaces. Hitting it with a strong stream of water now saves hours of scrubbing later.
-
Shovel or scoop thick mud layers into contractor grade trash bags, working from the farthest corner toward your exit. Use a flat edge shovel for concrete floors and a dustpan or small hand shovel for corners and tight spaces where full shovels don’t fit.
-
Scrub remaining mud from floors, walls, and woodwork using a stiff bristled brush with an extended handle. Work in 4 foot sections, keeping your back straight and using your legs rather than bending repeatedly. The extended handle prevents strain and gives you leverage for stubborn deposits.
-
Mix alkali cleaning solution using 4 to 6 tablespoons of washing soda (sodium carbonate) or tri sodium phosphate per 1 gallon of water. This solution breaks down organic matter and helps lift mud residue that plain water won’t touch.
-
Apply cleaning solution to all affected surfaces and scrub again with the stiff brush. Let the solution sit for 3 to 5 minutes before scrubbing to give it time to work on embedded dirt.
-
Use the wet/dry shop vac to extract muddy cleaning solution from floors and low spots. Work in overlapping passes to avoid missing contaminated water pooled in depressions or corners.
-
Rinse all surfaces thoroughly with clean water delivered by hose or poured from buckets. Multiple rinses may be necessary if the water runs off brown or cloudy. Keep rinsing until runoff is clear.
-
Extract final rinse water with the shop vac and begin drying immediately. Any water left behind extends drying time and increases mold risk.
Complete the initial mud removal within 48 hours of the flood to prevent mildew from establishing. If mud is thick or covers a large area, work in sections rather than trying to finish everything in one push. It’s better to complete one section properly than to halfway clean the entire basement. You may need to repeat steps 8 through 10 several times in heavily contaminated areas where mud has been ground into porous concrete or between floorboards. Working systematically with a section by section approach ensures you don’t miss spots and prevents you from tracking contamination into cleaned areas.
Disinfecting and Sanitizing Mud-Affected Basement Surfaces
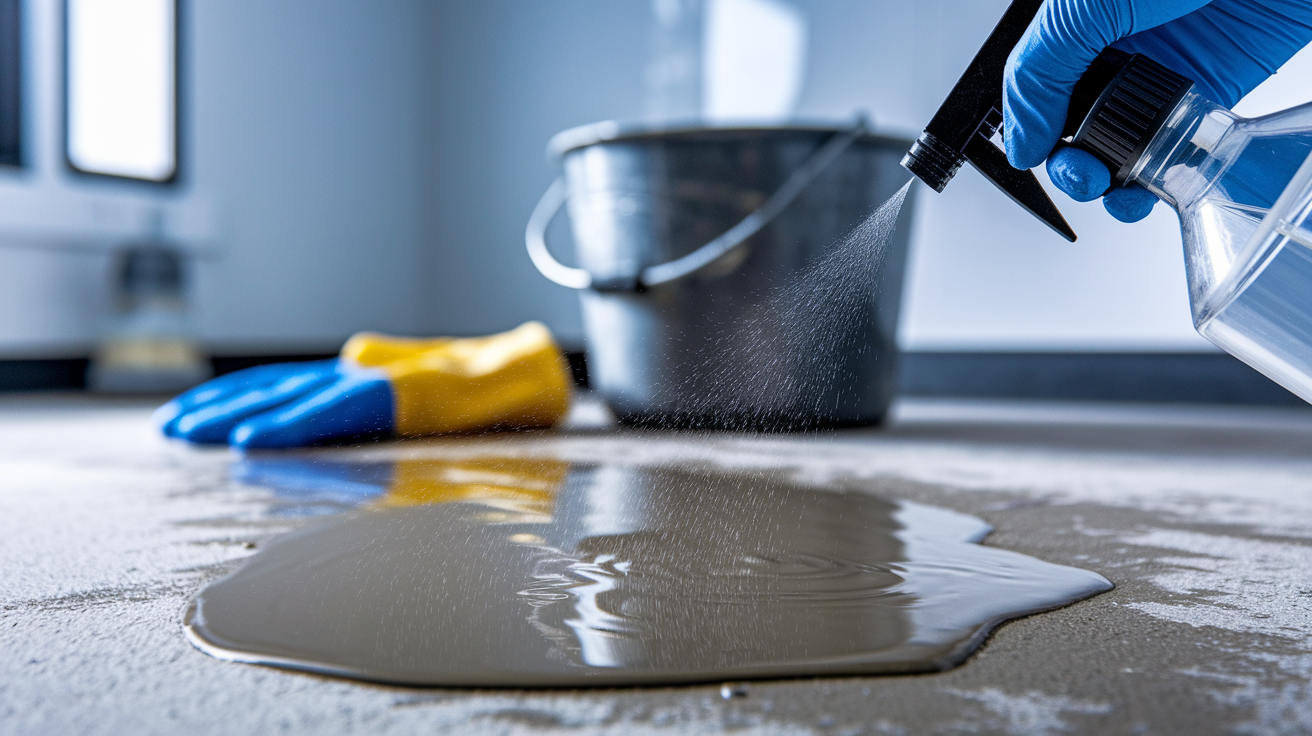
Cleaning removes visible dirt. Disinfecting kills bacteria, viruses, and mold spores that remain after cleaning. You need both steps. Skipping disinfection leaves contamination that continues growing even after surfaces look clean.
The type of water contamination determines your disinfection approach. Gray water from washing machines or clean rainwater runoff requires basic disinfection. Black water contamination from sewage backup requires stronger solutions and sometimes professional treatment.
For standard flood cleanup without visible mold growth, mix 1 cup of chlorine bleach per gallon of water. If no mold is visible but you’re disinfecting after initial cleaning, a weaker solution of 1/2 cup bleach per gallon of water works for the final rinse. Apply disinfectant to all surfaces that contacted floodwater using a mop, sponge, or pump sprayer. Make sure to hit corners, cracks, and anywhere water pooled because bacteria concentrates in these spots. The disinfectant solution must remain wet on the surface for 10 to 15 minutes to kill pathogens effectively. If surfaces dry before 15 minutes, reapply solution. After the contact time, rinse with clean water to remove bleach residue that can degrade materials over time. For concrete floors, EPA approved disinfectants designed specifically for porous surfaces provide better penetration than bleach alone and are worth considering if your basement has extensive concrete.
Never mix chlorine bleach with ammonia, vinegar, or other cleaning chemicals. Combining bleach and ammonia creates toxic chloramine gas that causes immediate respiratory damage. If you used an ammonia based cleaner during the mud removal phase, rinse all surfaces thoroughly with plain water before applying any bleach solution. Keep the basement ventilated during disinfection by opening windows and running fans that exhaust air outside rather than circulating it within the space.
Complete Drying Process to Prevent Mold Growth After Mud Cleanup

Mold spores exist everywhere, waiting for moisture and organic material. They activate and begin visible growth 24 to 48 hours after flooding. Surface drying walls and floors within this window prevents mold from gaining a foothold, but total drying of building materials takes much longer.
Dehumidifiers outperform fans for basement drying. Fans move air around, which feels like progress, but they actually increase relative humidity by stirring up moisture without removing it from the air. Fans also blow dust and dried contaminants around the space. If you use fans, open windows first and check that outdoor humidity is lower than basement humidity, otherwise you’re pumping more moisture into the space. A dehumidifier like the Midea 50 Pint Cube, which holds 4.25 gallons instead of the typical 2 gallon capacity, runs longer between empties and maintains consistent humidity reduction. Position dehumidifiers in the center of the basement with at least 12 inches of clearance on all sides for proper air intake. Place them on a dry, stable surface, not sitting in residual water where electrical components could be compromised.
Run dehumidifiers continuously for a minimum of 72 hours, checking and emptying the collection bucket before it reaches capacity. Most units shut off when full, stopping the drying process until you empty them. Check humidity levels twice daily with a hygrometer, aiming for 30 to 50 percent relative humidity. Higher readings mean continued drying is necessary. Use a moisture meter on concrete floors, drywall, and wood framing to verify surfaces have dried to acceptable levels before moving to repairs or reconstruction. Concrete should read below 4 percent moisture content, wood below 15 percent. Maintain basement temperature at a minimum of 50°F during drying because cold air holds less moisture and slows evaporation. If it’s winter, run a space heater in addition to the dehumidifier, but never leave heaters unattended.
Best practices for effective basement drying after flood cleanup:
Run dehumidifiers continuously for 72+ hours minimum, checking collection buckets every 6 to 8 hours to prevent auto shutoff from full reservoirs
Position equipment to maximize air circulation by placing dehumidifiers centrally with clear space around all sides and avoiding corners where air stagnates
Monitor humidity levels with a hygrometer twice daily and continue drying until readings stabilize between 30 and 50 percent for 24 consecutive hours
Maintain minimum 50°F temperature throughout the drying period using supplemental heat if necessary, as warmer air accelerates evaporation
Use a moisture meter before proceeding to repairs to verify concrete reads below 4 percent and wood framing below 15 percent moisture content
Treating Drywall Damage and Wall Cavities in Flooded Basements

Water doesn’t stop at the surface. Drywall absorbs water through direct contact and through capillary action, where moisture wicks upward inside the wall cavity through tiny gaps in materials. This capillary rise extends contamination 12 to 18 inches above the visible water line. Remove drywall and insulation up to 1.5 feet above the high water mark to account for this hidden moisture.
All wet insulation must come out immediately. Fiberglass and cellulose insulation act like sponges, holding contaminated water against framing and preventing drying. Once saturated, insulation never fully dries and becomes a permanent mold growth site. Bag it and discard it. There’s no salvaging wet insulation.
Check for moisture inside wall cavities even if drywall looks intact on the surface. Remove baseboards by scoring the paint seal where they meet the wall with a razor blade, then slide a putty knife or flat spatula behind the trim and gently pry outward. Work slowly to avoid cracking the baseboards if you plan to reuse them. Once baseboards are off, drill or punch small holes along the bottom edge of the drywall at 16 inch intervals. One hole per stud bay is sufficient. Use a screwdriver, the butt end of a hammer, or a drill with a 1/2 inch bit. These holes allow air to enter the wall cavity where fans or dehumidifiers positioned 2 to 3 feet away can pull moisture out. Let wall cavities dry for a full 72 hours with continuous air movement before reattaching baseboards or beginning any reconstruction.
Use a moisture meter to check inside wall cavities through the holes you drilled. Most pinless moisture meters can read through drywall if you haven’t removed it yet, though pin type meters give more accurate readings when inserted directly into wood framing. Don’t proceed with re insulation or drywall repair until moisture content drops to 15 percent or lower. Even after apparent drying, wait at least 6 months after a major flood before beginning finish remodeling work. Humidity levels throughout the structure remain elevated during this period, and materials need time to reach equilibrium moisture content with the surrounding environment. Rushing reconstruction traps residual moisture behind new finishes, guaranteeing mold problems later.
Disposing of Waterlogged Debris and Contaminated Materials
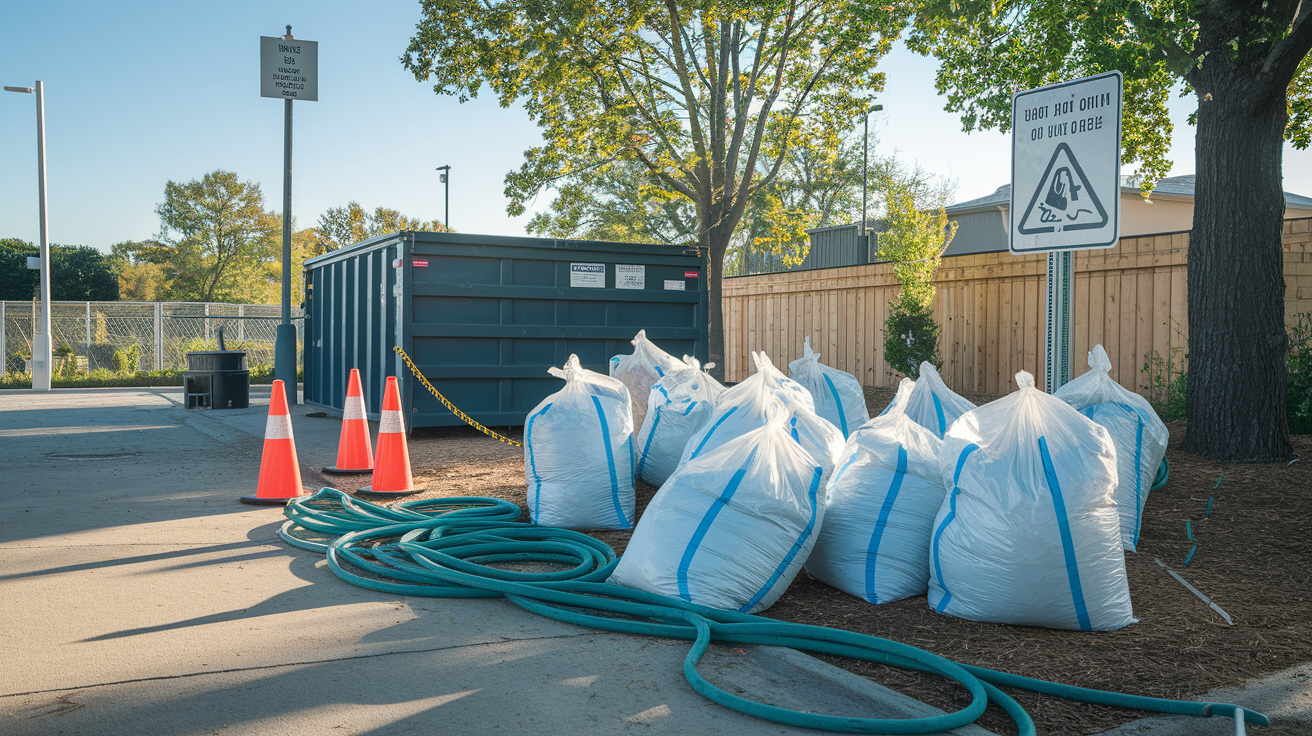
Contaminated materials must leave the basement. Trying to salvage items that absorbed floodwater almost always fails and extends contamination into your cleaned space. The question isn’t whether to discard saturated materials, it’s how to do it safely and in compliance with local regulations.
Bag contaminated materials in heavy duty contractor trash bags rated for construction debris. Standard kitchen garbage bags tear when loaded with wet, heavy materials. Double bag items when possible, especially for sharp or heavy debris. Tie bags securely and move them directly outside to prevent contaminated water from dripping through your clean living spaces. Carpeting and padding require special attention because they can absorb many times their dry weight in water. Even commercial shop vacuums can’t extract enough moisture to make salvaging worth the effort. All wet carpet and padding must be removed, cut into manageable sections, rolled, and discarded. Gray or horsehair padding produces an immediate, unmistakable smell when wet that never fully dissipates even after drying.
Floodwater contaminated with sewage or chemicals requires disposal according to local waste management regulations, which often means separate pickup or dropoff at designated facilities. Contact your municipal waste department before placing contaminated materials at the curb for regular trash pickup. Large volumes of flood debris typically require dumpster rental because regular residential trash service won’t accept the quantity. A 10 yard dumpster holds approximately 4 pickup truck loads of debris and costs $300 to $500 for a 7 day rental period in most areas, though flood conditions often create temporary shortages and price increases.
Materials that typically can’t be salvaged after flood contamination:
All wet carpeting and padding regardless of water type due to absorption capacity and inability to adequately sanitize fibers
Saturated drywall and insulation which remain permanently compromised and become mold growth sites even after apparent drying
Porous furniture that absorbed floodwater including upholstered chairs, sofas, and mattresses where contamination penetrates beyond surface cleaning
Contaminated bedding and upholstered items such as pillows, comforters, and fabric seating that contacted gray or black water
Water damaged particle board or MDF which swells, delaminates, and loses structural integrity when saturated, never returning to original dimensions
Food items exposed to floodwater including canned goods if labels are removed or cans are dented, plus any food in permeable containers
Documenting Flood Damage for Insurance Claims and Records

Document everything before removing or cleaning anything. Insurance adjusters need to see the actual damage, not your description of what was there. Taking photos or video before cleanup protects your claim and establishes the damage extent for tax deductions if your loss exceeds insurance coverage.
Record a complete video walkthrough of the basement showing the high water line on walls, all standing water, the water source if visible, and every damaged item or surface. Narrate as you record, stating the date, time, and what you’re seeing. Capture wide shots that show overall conditions, then close ups of specific damage like water marks, mud deposits, and affected belongings. Take photos of individual damaged items from multiple angles. These images supplement your video and provide clear documentation of specific items for your itemized loss list.
Create an itemized spreadsheet listing every damaged item with columns for description, purchase date, original cost, and current estimated value. Include serial numbers for appliances and electronics. Photograph each item individually for your insurance claim package. This documentation proves what you owned and its condition before the flood. Standard homeowner’s insurance typically covers burst pipe damage, appliance malfunctions, and sudden internal water events. It does not cover flooding from natural disasters like rivers overflowing, storm surge, or heavy rain overwhelming drainage systems. Those events require separate flood insurance through the National Flood Insurance Program, which is available through regular insurance providers in 23,000 participating communities nationwide. If you have a mortgage on a property in a high risk flood zone, lenders typically require flood insurance as a condition of the loan.
Never discard damaged items until your insurance company has paid your claim. Adjusters may need to inspect items in person or request additional photos during claim processing. Throwing away evidence before claim settlement can result in denial or reduced payment. Store discarded items outside in a location where they won’t create additional problems, but keep them on your property until you receive written confirmation that inspection is complete.
Addressing Odor Elimination and Stain Removal After Cleanup
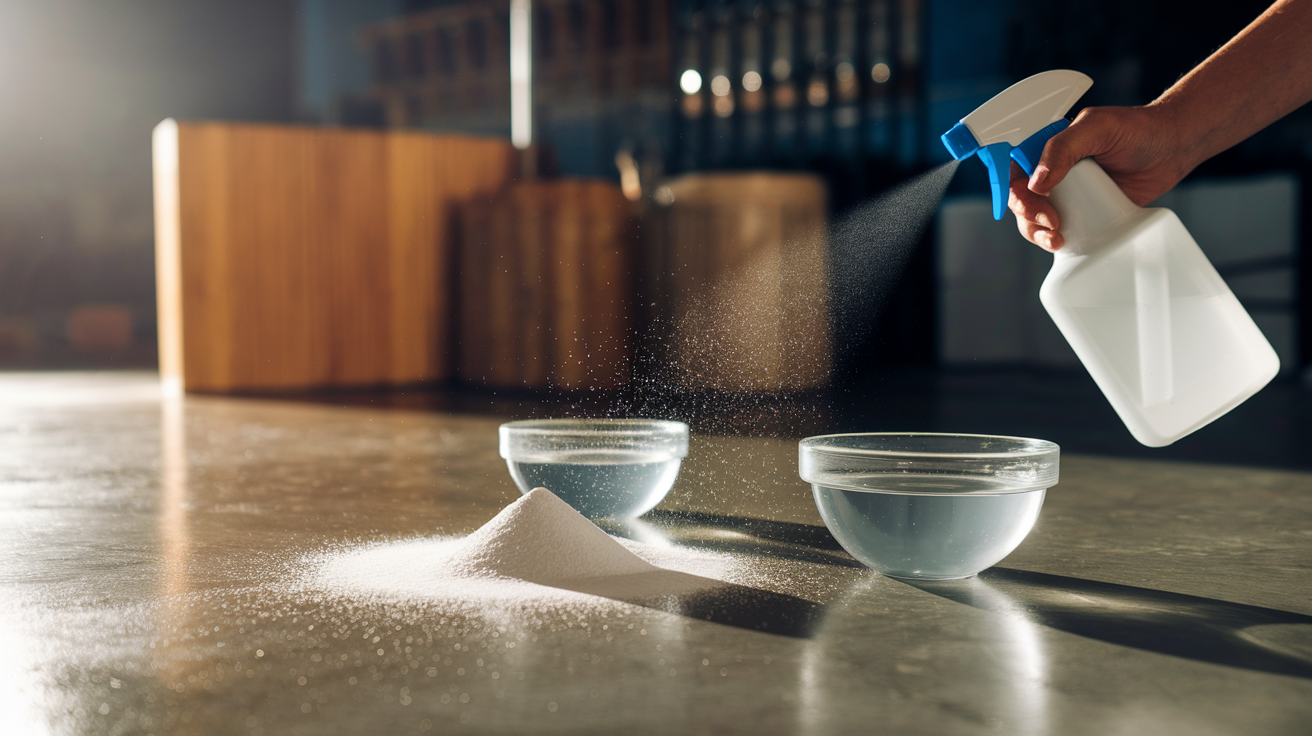
Odors persist after visible mud is gone because organic matter and minerals penetrate porous surfaces. Basement concrete is particularly susceptible to odor retention because its porous structure traps contamination below the surface where cleaning can’t reach it.
Neutralize odors with a solution of 1/2 cup baking soda or 1 cup white vinegar per gallon of warm water. Apply this solution to all affected surfaces with a mop or scrub brush, letting it sit for 10 minutes before rinsing. The alkaline nature of baking soda and the acidity of vinegar both break down organic compounds that cause odors. For persistent smells in concrete, multiple applications may be necessary because you’re pulling contamination out of the porous structure gradually with each treatment. If odors remain after three applications of natural solutions, the contamination has penetrated too deeply for surface treatment and you may need to apply a concrete sealer that encapsulates odors.
Stains require different treatment depending on the material. For stubborn wood stains from mud or mineral deposits, mix 3 tablespoons of oxalic acid powder (available at hardware stores) in 1 pint of warm water. Apply this solution to stained wood with a brush, let it work for 15 to 20 minutes, then rinse thoroughly with clean water. Oxalic acid is mildly corrosive so wear gloves and eye protection during application. For concrete stains, degreasing cleaners penetrate porous surfaces better than general purpose cleaners. Apply degreaser full strength to stains, scrub with a stiff brush, then rinse. Multiple applications often produce better results than extended scrubbing on a single application.
Sealing concrete floors after complete drying prevents future staining and makes cleanup from any future water events significantly easier. Choose penetrating sealers rather than surface coatings because penetrating products allow concrete to breathe, letting interior moisture escape while providing surface protection. Surface sealers trap moisture inside concrete, leading to delamination and seal failure. Apply concrete sealer according to manufacturer instructions after confirming the floor is completely dry using a moisture meter reading below 4 percent. Reapply sealer every 1 to 3 years depending on basement traffic and conditions to maintain protection.
When to Call Professional Flood Restoration Services

Some flood situations exceed safe or practical DIY cleanup limits. Knowing when to call professionals protects your health and prevents inadequate cleanup that creates long term problems. Black water from sewage or chemical contamination requires professional remediation if the affected area exceeds 3 square feet. Below that threshold, properly equipped homeowners can safely clean contaminated areas, but larger contamination zones contain pathogen concentrations and disposal requirements beyond homeowner capabilities.
Visible structural damage or foundation concerns require professional assessment before cleanup begins. Cracks in foundation walls wider than 1/4 inch, walls that bow inward, or floor joists that sag indicate structural compromise that may worsen during cleanup if not properly evaluated. Professionals use moisture meters, thermal imaging, and structural assessment tools to identify hidden damage that isn’t visible from a basic inspection. They can determine whether structural repairs must happen before cleaning proceeds or whether cleanup can begin while structural plans develop.
Extensive flooding creates too much work for one person or a typical household to complete within the 24 to 48 hour window before mold growth begins. If standing water exceeds 6 inches deep throughout the basement or covers an area larger than 500 square feet, professional equipment and crews complete water extraction and initial drying significantly faster than homeowner grade tools. Speed matters for mold prevention, and professionals bring truck mounted extractors, industrial dehumidifiers, and air movers that process much larger volumes than retail equipment.
Situations requiring professional flood restoration services:
Sewage contamination covering more than 3 square feet where pathogen concentration and disposal requirements exceed homeowner safety equipment and legal authority
Visible structural damage or foundation concerns including wall cracks wider than 1/4 inch, bowing walls, sagging floor systems, or shifting foundations
Extensive mold growth already established covering areas larger than 10 square feet, which indicates contamination has spread to wall cavities and other concealed spaces
Flooding deeper than 6 inches throughout basement or covering large square footage where extraction timeline exceeds mold prevention window using homeowner equipment
Electrical system compromised or submerged requiring licensed electrician assessment and repair before safe cleanup access is possible
Preventing Future Basement Flooding and Mud Intrusion

Prevention costs less than repeated cleanup and reduces the risk of permanent structural damage from recurring floods. Most basement flooding comes from predictable sources that exterior maintenance and strategic upgrades can eliminate or significantly reduce.
| Prevention Method | How It Works | Cost Range |
|---|---|---|
| Gutter and downspout maintenance | Removes debris blockages and ensures roof water drains away from foundation rather than pooling at basement walls | $0-$150 (DIY cleaning or professional service) |
| Downspout extensions | Channels water 5-10 feet from foundation to prevent saturation of soil immediately adjacent to basement walls | $10-$50 per downspout |
| Soil grading away from foundation | Creates minimum 6 inch drop over 10 feet of horizontal distance so surface water flows away rather than toward structure | $300-$3,000 depending on amount of soil and grading complexity |
| Foundation crack sealing | Fills cracks with hydraulic cement or epoxy injection to stop water infiltration pathways through foundation walls | $250-$800 per crack for professional repair |
| French drain installation | Perforated pipe in gravel filled trench intercepts groundwater before it reaches foundation and redirects it to drainage point | $3,000-$10,000 for exterior installation around full perimeter |
| Sump pump installation | Collects water entering basement through floor drains or foundation and pumps it outside through discharge pipe | $800-$2,500 including pit excavation, pump, and discharge line |
| Smart leak detectors | Sensors placed in floor low spots detect water presence and trigger 94 dB alarm while sending smartphone notifications; D-Link DCH-S1621KT connects up to 16 sensors | $100-$300 for multi sensor system |
| Smart water shutoff valves | AI powered systems like Flo by Moen and Proteus Aquo learn household water patterns and automatically shut off supply if leaks, abnormal flow, or freezing pipes detected | $500-$700 plus 1-2 hours professional installation |
Trim bushes and trees back 5 to 10 feet from basement walls and roof edges. Vegetation against structures creates moisture traps and root systems can crack foundations or compromise drainage systems. Clear gutters at least twice per year in spring and fall, more often if you have overhanging trees. Use a hose to flush downspouts and confirm water flows freely rather than backing up into gutters. Many insurance companies offer premium reductions for policyholders who install water leak detection systems or automatic shutoff valves. Contact your insurance agent to ask about available discounts before purchasing prevention equipment. Regular maintenance prevents most flooding problems, but combining exterior drainage improvements with interior leak detection creates multiple layers of protection that significantly reduce basement water intrusion risk.
Final Words
Getting mud out of your flooded basement is time-sensitive, physical work that demands the right sequence and safety gear.
Start with electrical shutoff, remove standing water in stages, and scrub surfaces before that mud hardens. Follow up with proper disinfection, then commit to thorough drying with dehumidifiers running 72 hours minimum.
Don’t skip documentation for insurance or rush disposal before your claim settles.
If you’re facing sewage contamination over three square feet or structural damage, call professionals. Otherwise, this process is doable if you move fast and stay systematic.
Once it’s dry and clean, invest in prevention so you’re not doing this again next spring.
FAQ
How do you remove mud from a flooded basement?
To remove mud from a flooded basement, first extract standing water using a sump pump or wet/dry vacuum, then hose down mud-covered surfaces before the mud dries. Shovel thick layers into heavy-duty trash bags, scrub remaining residue with a stiff brush and cleaning solution, then rinse thoroughly with clean water.
How long does it take to dry out a basement after a flood?
A basement takes a minimum of 72 hours of continuous dehumidifier operation to surface-dry after a flood, but complete structural drying may take weeks or even months depending on building materials and construction type. Use a moisture meter to verify dryness before beginning any repairs or remodeling work.
How do you clean your basement after a flood?
To clean your basement after a flood, remove standing water and debris first, then hose down all surfaces before mud hardens. Scrub floors and walls with a stiff brush and alkali cleaning solution within 48 hours, disinfect with bleach solution, and run dehumidifiers continuously for at least 72 hours to prevent mold growth.
How quickly does mold grow after a flood?
Mold grows within 24 to 48 hours after flooding on damp concrete surfaces and other porous materials. Surface-dry all materials with heat and air circulation within this critical window, and run dehumidifiers continuously for a minimum of 72 hours to prevent mold establishment.