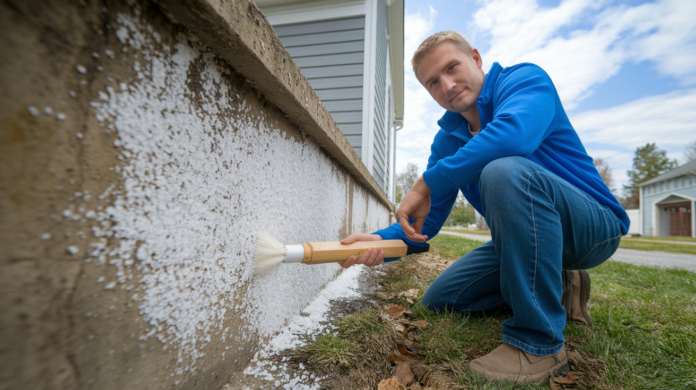

Most basement waterproofing fails because people skip prep or coat over problems instead of fixing root causes first. If you’re dealing with minor dampness or preventative protection before finishing your basement, interior waterproofing you apply yourself can work. But if water’s actively coming through walls, you have structural cracks wider than 1/4 inch, or foundation damage, DIY coating won’t fix it. This guide walks through the complete process: when interior methods make sense, step-by-step application that lasts, and the prep work that separates jobs that hold up from ones that fail within a year.
Understanding When DIY Waterproofing Is Appropriate
Interior basement waterproofing you apply yourself only works as prevention, not as a fix for existing foundation damage or active water problems. If you’re already dealing with leaks, structural issues, or visible foundation damage, coating products and patching compounds won’t solve the problem. They’ll just cover it temporarily until it gets worse.
DIY interior waterproofing makes sense in specific situations: minor dampness without water actively coming through the walls, small vertical cracks that formed during concrete curing, preventative protection for a currently dry basement before finishing the space, or protecting finished basement walls from humidity and condensation. These scenarios involve managing moisture vapor and minor seepage, not stopping water under pressure.
You need professional help if you’re dealing with:
- Active water intrusion, pooling on the floor, or water trickling down walls after rain
- Structural cracks wider than 1/4 inch, horizontal cracks, or stair-step patterns in block walls
- Recurring flooding or water problems that return after every significant rainfall
- Visible foundation damage including bowing walls, displaced blocks, or crumbling concrete
- Extensive mold growth covering large wall sections or persistent mold smell
- Signs of hydrostatic pressure pushing white mineral deposits through walls or forcing water through the floor
- Basement used as living space where you need warranty protection and code compliance
Professionals bring capabilities DIY methods can’t match: proper drainage system installation that addresses hydrostatic pressure, foundation structural repair using methods beyond surface patching, transferable warranties that protect your investment and help with home sales, and expertise identifying exterior root causes like failed grading or inadequate footing drains that make interior solutions futile.
Even if your situation looks DIY appropriate, get a professional inspection before you start. A contractor can confirm you’re not wasting time and money coating over a foundation problem that needs structural attention first, and that hidden drainage issues won’t undermine your work within months.
Complete Step-by-Step Interior Waterproofing Application Process

Interior basement waterproofing follows a specific sequence for effectiveness. The complete process typically takes 2 to 3 days including drying time between coats and full cure time before the basement returns to normal use.
- Remove existing coatings and clean walls thoroughly to expose bare concrete substrate
- Repair cracks and holes with hydraulic cement for areas larger than hairline width
- Apply crack filler to smaller imperfections and surface defects under 1/8 inch
- Seal joints and seams with polyurethane caulking where walls meet floors and around penetrations
- Apply first waterproof coating and allow 24 hour drying before second coat
- Apply second coating for complete protection and guaranteed coverage
Each step is covered in detail in the following sections with specific techniques, material requirements, and inspection checkpoints. Two coats minimum are required for proper waterproofing. Single coat application won’t provide reliable protection and may fail within the first year.
Essential Tools and Materials for Basement Waterproofing

Proper product selection and having the right tools before you start impacts whether your waterproofing lasts five years or fifteen.
| Material/Tool | Purpose | Approximate Cost |
|---|---|---|
| Wire brush or angle grinder with wire cup | Remove existing coatings and loose concrete | $15-45 |
| Pressure washer (1500+ PSI) | Deep cleaning porous concrete, efflorescence removal | $80-150 rental |
| Scrub brush and cleaning supplies | Wall cleaning with warm water and dish soap | $10-20 |
| Hydraulic cement (10-20 lb) | Filling larger cracks and holes, sets in 3-5 minutes | $15-30 |
| Concrete crack filler | Sealing hairline to 1/8 inch cracks | $8-15 per tube |
| Polyurethane caulking (6-8 tubes) | Sealing joints, seams, and penetrations | $6-10 per tube |
| Margin trowel or putty knife | Smoothing hydraulic cement before setting | $8-15 |
| High-quality nylon bristle brush (4 inch) | Cutting in corners and detail work | $12-20 |
| 3/4 inch nap roller with extension pole | Main coating application on walls | $15-30 |
| Acrylic waterproof coating (2-3 gallons) | Primary moisture barrier for finished basements | $45-75 per gallon |
| Cement-based waterproof coating (2-3 gallons) | Breathable barrier for unfinished basements | $35-60 per gallon |
| Caulking gun | Controlled application of sealants | $8-15 |
Safety equipment is non-negotiable for basement waterproofing work. You need chemical resistant gloves for handling cement and coatings, safety glasses to protect from splatter during pressure washing and cement mixing, and an N95 respirator or half face respirator with organic vapor cartridges when working with solvent based products in enclosed basement spaces. Ventilation matters. Set up box fans to create cross ventilation pulling fresh air through the basement and exhausting fumes outdoors. Check product VOC (volatile organic compound) levels if you have sensitivity concerns. Water based acrylic coatings typically have lower VOC levels than solvent based epoxy formulations and work fine for most applications.
Preparing Foundation Walls: Surface Cleaning and Prep Work

Preparation determines whether your coating lasts two years or twenty. This step takes the most time and feels tedious, but rushing it guarantees coating failure within the first year.
Removing existing coatings requires aggressive mechanical action. Wire brushes work for small areas but take hours on full basement walls. An angle grinder with a 4 inch wire cup attachment covers walls faster and removes old paint, sealers, and loose concrete in one pass. If you’re dealing with multiple layers of old coating or significant efflorescence (white salt like deposits that indicate moisture movement), rent a pressure washer rated 1500 PSI minimum. Pressure washing blasts away surface contamination and opens concrete pores so new coating can penetrate and bond. A sandblaster provides the most thorough prep but generates massive dust and requires proper containment. It’s overkill unless you’re dealing with heavily contaminated industrial basement walls.
Proper cleaning after mechanical prep matters as much as the prep itself. Mix warm water with standard dish soap (not detergent) at about 1/4 cup per gallon. Scrub walls using a stiff bristle brush working in 4 foot sections from top to bottom so dirty water runs down onto uncleaned areas. Rinse each section with clean water immediately after scrubbing. For porous concrete that’s absorbed dirt and oils, make multiple passes until rinse water runs clear without discoloration. After final rinse, the wall needs to dry completely. At least 24 hours with ventilation fans running, longer in humid conditions. Check dryness by taping a 2 foot square of plastic sheet to the wall overnight. If you see condensation on the plastic by morning, the wall needs more drying time.
Common preparation mistakes that lead to coating failure:
- Coating over existing paint or sealer instead of removing it to expose bare concrete
- Inadequate dust removal leaving a layer of fine particles that prevents coating adhesion
- Not allowing walls to dry completely after cleaning, trapping moisture under the new coating
- Missing efflorescence deposits in corners or along the floor joint where they concentrate
- Failing to remove loose or deteriorating concrete that will eventually break away and take the coating with it
Check for active leaks before you coat anything. If you see water trickling down walls, dark wet spots that stay damp, or obvious water stains from recent intrusion, stop. Coating over active water intrusion is like painting over rust. The problem continues underneath and the coating fails fast. Active leaks require professional assessment to identify the source and proper repair before waterproofing makes sense.
Repairing Cracks and Holes: Detailed Application Techniques
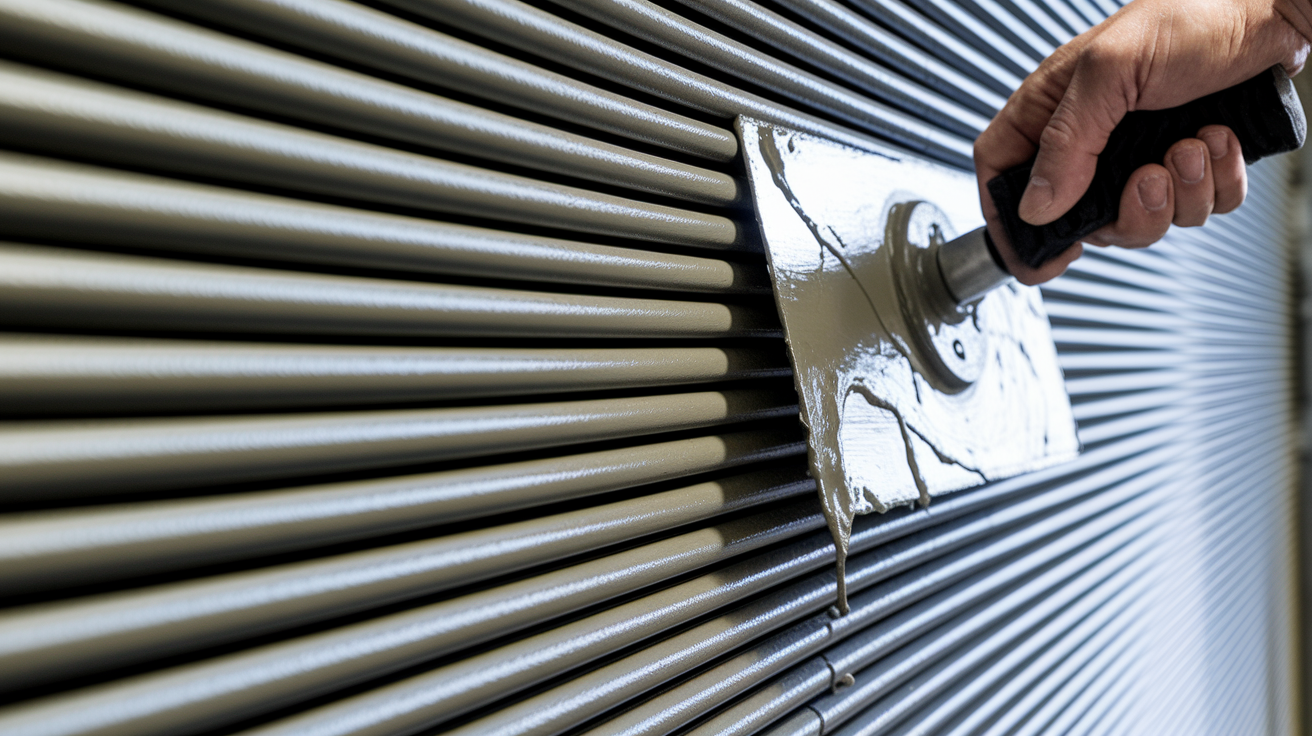
Before you repair any crack, you need to know if it’s structural. Horizontal cracks, stair step patterns in block walls, or any crack wider than 1/4 inch may indicate foundation movement requiring professional structural evaluation. Vertical cracks are typically shrinkage cracks that formed as concrete cured. They allow water seepage but don’t threaten structural integrity. When in doubt, get a professional inspection because attempting DIY waterproofing over foundation damage wastes your time and money while the real problem gets worse.
Using Hydraulic Cement for Larger Cracks
Hydraulic cement works for cracks wider than 1/8 inch, holes from old anchor bolts or pipe penetrations, and gaps where walls meet floors. The “hydraulic” part means it sets even underwater, which is why it’s the go to for stopping active leaks in addition to preventative crack repair. Mix only what you can use in 3 minutes. The product starts setting fast and you can’t add water to remoisturize it once it begins hardening.
Mix to a putty like consistency, slightly drier than cake batter. The mix should hold its shape when you pack it but still be workable enough to press firmly into the crack. Undercut the crack edges slightly with a chisel or old screwdriver so the repair is wider inside than at the surface. This mechanical keying prevents the patch from popping out. Pack cement firmly into the crack working from bottom to top, eliminating air pockets. Overfill slightly then smooth with a margin trowel before the 3 to 5 minute window closes. The cement generates heat as it sets. This is normal.
You’ll see the color darken and feel the material harden within 5 minutes. After 24 hours it’s cured enough for coating, though full strength develops over several days.
Epoxy and Polyurethane Injection for Fine Cracks
Injection methods work for hairline to 1/8 inch cracks too narrow for cement. Epoxy creates a rigid repair that structurally bonds cracked concrete back together. Use it for non-moving cracks in solid walls. Polyurethane injection expands as it cures, filling voids and creating flexible watertight seals. Better for cracks that might experience minor seasonal movement.
Professional injection requires drilling injection ports every 8 to 12 inches along the crack, installing surface seal over the crack, then pressure injecting resin through the ports until it fills the crack completely and appears at the next port. The process requires specialized equipment and skill. DIY injection kits exist for small repairs but work best for cracks you can see end to end on accessible walls, not for cracks that continue behind finished walls or under floors.
Cracks require professional foundation inspection before waterproofing if they’re horizontal, show signs of recent widening (check old photos), appear after the house is more than 5 years old, or accompany other foundation concerns like doors sticking or floor cracks. DIY methods only work as preventative measures for basements without existing foundation damage. Any crack may indicate serious structural problems, and coating over structural issues means you’ll be tearing out failed waterproofing and paying for both foundation repair and redoing the waterproofing within a few years.
Applying Waterproof Coatings: Technique and Coverage Details
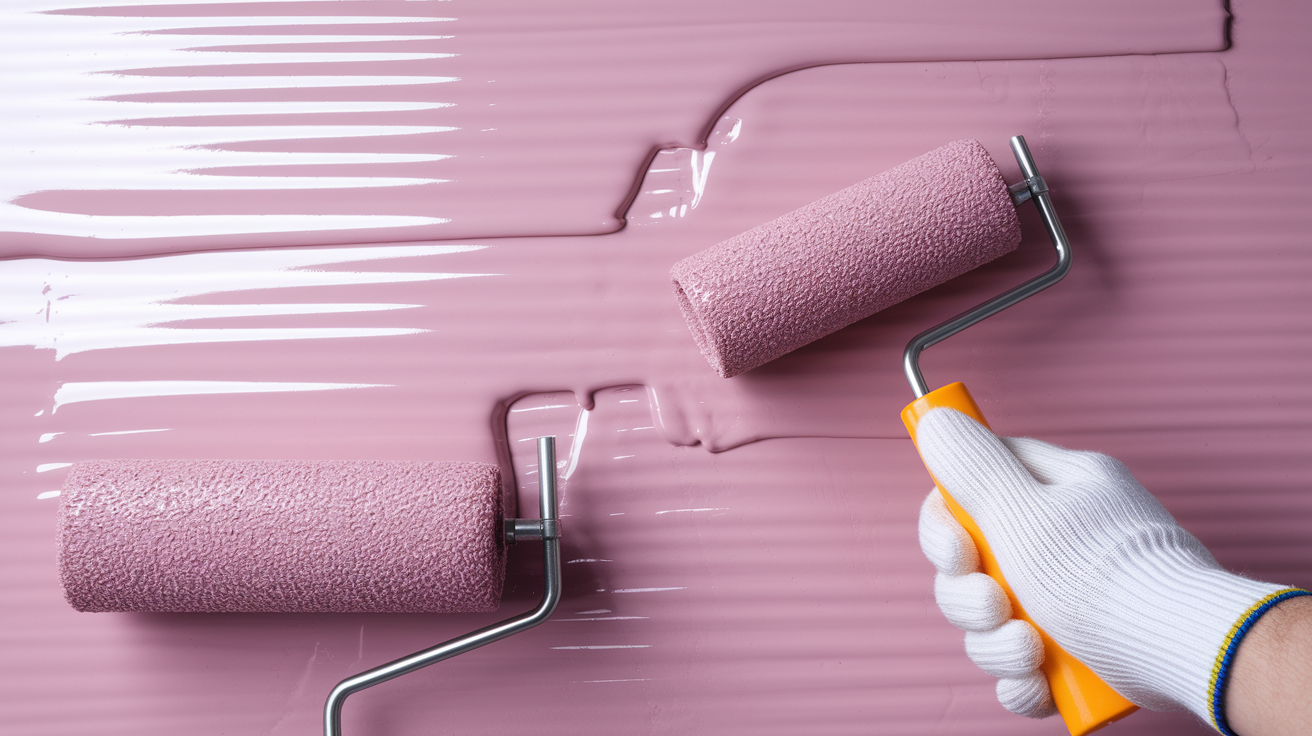
Acrylic coatings work better for finished basements because they’re flexible, easier to clean, and can be painted over if you want to change colors. They create a thin elastomeric (stretchy) film that bridges hairline cracks. Cement based coatings provide superior breathability for unfinished basements. They allow water vapor to escape while blocking liquid water, which matters in basements where you’re not controlling humidity with conditioning.
Brush and roller application requires different techniques than painting walls. Start by cutting in all corners, joints, and detail areas with a 4 inch nylon bristle brush. Load the brush heavily and use scrubbing strokes to work coating into concrete pores. You’re not painting, you’re forcing material into the substrate. For the main wall surfaces, use a 3/4 inch nap roller (not the cheap foam kind) with an extension pole. Apply first passes horizontally in 4 foot sections, then immediately cross roll vertically while the coating is still wet. This cross rolling technique ensures complete coverage without thin spots. Coverage rates run 75 to 125 square feet per gallon depending on how porous your concrete is. Rough or previously unpainted concrete absorbs more and gives lower coverage numbers.
Caulking technique matters as much as product selection. Use polyurethane caulking rated for concrete and masonry, not latex or acrylic. Cut the tube tip straight across, not at an angle. A straight cut gives you better control. Create a hole approximately 1/16 inch diameter for smaller cracks and joints. Hold the gun at 45 degrees and push the bead into the gap rather than dragging the gun along behind. Pushing ensures the caulk fills the void completely instead of just bridging the surface. Smooth with a gloved finger or margin trowel dipped in soapy water within 5 minutes before a skin forms.
The two coat application process:
- First coat: Apply mixed coating in horizontal passes followed by vertical cross rolling for complete coverage
- Drying time: Wait full 24 hours before second coat regardless of how dry it looks; the interior needs time to cure
- Second coat: Apply in opposite direction from first coat (vertical first, horizontal cross rolling) to cover any thin spots missed in first application
- Cure time: Allow 72 hours minimum for full cure before water testing; concrete needs this time to chemically bond with the coating
- Coverage inspection: Use a bright flashlight raking across the wall at a low angle to spot thin areas that look translucent; touch up before considering the job complete
Inspect your coverage before calling it done. Thin spots show up as darker or translucent areas when you shine a bright light across the wall at a low angle. Any spots where you can see concrete texture through the coating need additional material. Touch up thin areas immediately rather than waiting. Once the coating fully cures, touch ups won’t blend properly and you’ll see lap marks.
Installing Interior Drainage Systems and Sump Pumps

Interior drainage systems provide the most effective long term solution for basements with persistent moisture or hydrostatic pressure, which is water under pressure trying to push through your foundation. Coatings alone can’t fight hydrostatic pressure. The water will find a way through, often by peeling the coating off the wall or pushing through at the floor joint.
Interior drain tile installation means cutting through your basement floor around the perimeter. A contractor jackhammers an 8 to 12 inch wide trench around the floor edges, excavates down to the level of the foundation footing, then places 3 to 4 inch perforated drain pipe surrounded by washed gravel in the trench. The pipe slopes gradually toward the lowest point where a sump pit gets installed. After the drainage system is placed and gravel backfilled, new concrete gets poured to restore the floor. The system intercepts water at the footing level before it builds pressure, channeling it to the pit where a pump removes it.
Sump pump installation and setup:
- Pit sizing: Dig or place a plastic liner creating a pit at least 18 inches deep and 18 inches diameter at the drainage system’s lowest point
- Pump selection: Choose pumps rated 2500 to 5000 gallons per hour based on your basement size; larger basements or severe water problems need higher capacity
- Discharge routing: Install PVC discharge pipe that runs the water at least 10 feet away from the foundation, not into landscape beds or back toward the house
- Check valve: Install a check valve on the discharge line so water doesn’t flow backward into the pit after the pump cycles off
- Backup system: Add a battery backup sump pump or water powered backup to handle power outages during storms when you need the pump most
The labor and skill involved in drain tile installation puts it beyond most DIY capabilities. Jackhammering concrete creates massive dust and requires renting expensive equipment. Calculating proper pipe slope ensures water flows to the sump without pooling in sections of the pipe. Sump pump electrical work needs GFCI protection and proper grounding. Most critically, improper drainage installation can make moisture problems worse by creating pathways for water to travel along the foundation footing without proper removal.
Professional installation is strongly recommended unless you have concrete cutting experience and understand drainage system design. A botched DIY drainage installation can cost more to fix than hiring professionals initially.
Drain tile systems go by multiple names depending on your region: footing drains, French drains, perimeter drains, and weeping tiles all refer to the same perforated pipe system installed to manage groundwater around foundations.
Waterproofing Cost Breakdown and Time Estimates

Interior waterproofing costs vary based on basement size, how severe your water problems are, and whether you’re doing surface coating only or including drainage systems.
| Task | DIY Cost Range | Professional Cost Range | Time Required |
|---|---|---|---|
| Surface prep and cleaning | $100-200 | $300-600 | 8-12 hours DIY, 4-6 hours professional |
| Materials (coating, cement, caulk) | $300-600 | Included in labor | N/A |
| Coating application (two coats) | $150-300 (DIY labor) | $1,500-3,000 | 16-24 hours over 3 days DIY, 1-2 days professional |
| Crack repair (minor) | $50-150 | $300-800 | 2-4 hours DIY, 1-2 hours professional |
| Interior drainage system | $1,500-3,000 (materials if DIY) | $4,000-8,000 | 40-60 hours DIY, 2-3 days professional |
| Sump pump installation | $200-400 | $800-1,500 | 4-6 hours DIY, 2-3 hours professional |
| Equipment rental | $150-400 | Included in labor | N/A |
Material coverage calculations depend on your basement square footage and concrete condition. One gallon of waterproof coating covers 75 to 125 square feet depending on porosity. Rough, previously unpainted concrete absorbs significantly more material than smooth previously coated surfaces. Calculate wall square footage (basement perimeter × wall height), then divide by 75 for worst case material needs or 100 for average conditions. Add 20% extra for waste, cutting in, and ensuring you have enough for proper two coat coverage. Running out of material mid job means color matching issues when you buy more product later.
Equipment rental costs add up if you’re doing comprehensive work. Pressure washer rental runs $80 to $150 per day. Jackhammer for drainage work costs $60 to $100 daily. Add van rental if you can’t transport equipment yourself. Account for these costs when comparing DIY versus professional.
Total DIY costs for coating only projects run $500 to $2,000 for basements under 1,000 square feet. Professional coating installation costs $3,000 to $5,000 for the same space. For comprehensive systems including interior drainage and sump pumps, DIY attempts cost $2,500 to $5,000 in materials and rental equipment, while professional installation runs $6,000 to $12,000+ depending on basement size and complexity.
Professional investment provides better long term value when you’re dealing with recurring moisture, need drainage system installation, or have foundation concerns requiring structural expertise. DIY coating serves as temporary prevention for currently dry basements, but professional work addresses root causes like hydrostatic pressure and includes warranties covering both materials and workmanship, something DIY efforts can’t provide.
Managing Drying Time and Curing Between Coats
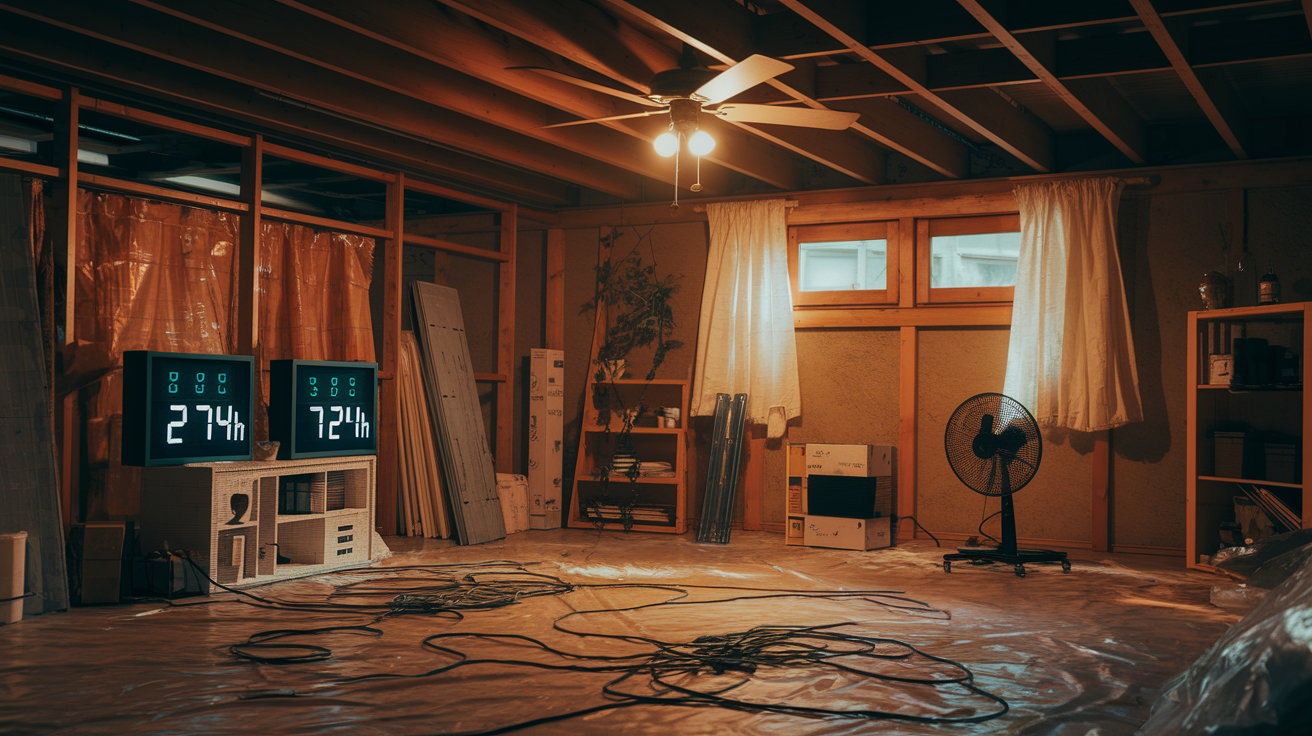
Rushed drying leads to coating failure through poor adhesion, bubbling under the film, and premature breakdown within the first year. Products need specific time and conditions to cure properly.
Optimal application conditions fall within 50 to 90°F for most waterproofing products. Temperature below 50°F slows curing dramatically and some products won’t cure at all. Above 90°F the coating surfaces over too quickly, trapping solvents underneath that prevent proper bonding. Humidity matters too. Keep levels below 70% during application and initial curing. Use ventilation to move humid air out and bring drier air in, but avoid creating direct airflow that concentrates on wet coating. Set up box fans positioned to create cross ventilation pulling air through the basement and exhausting outdoors through windows or doors, not blowing directly at freshly coated walls.
Typical drying and curing times:
- Hydraulic cement: Sets hard in 3 to 5 minutes, ready to coat over in 24 hours, reaches full strength in 7 days
- First waterproof coat: Dry to touch in 2 to 4 hours, ready for second coat in 24 hours minimum regardless of surface feel
- Second waterproof coat: Dry to touch in 2 to 4 hours, ready for light contact in 24 to 48 hours depending on temperature and humidity
- Full cure: 72 hours minimum before water testing or returning furniture and stored items; some products need 7 days for maximum strength
- Traffic resumption: Light foot traffic after 48 hours, regular use after 72 hours, heavy items after full 7 day cure
- Furniture return: Wait full cure time (72 hours minimum) before moving storage back against walls; premature contact damages uncured coating
Interior work proceeds year round unlike exterior waterproofing that depends on dry weather and temperatures above freezing. This makes interior waterproofing attractive for winter projects when exterior contractors are booked months out. Set up proper basement ventilation using multiple fans. One pulling fresh air in from an upstairs window, another positioned to exhaust out a basement window or bulkhead door. Run a dehumidifier during the curing process if basement humidity creeps above 60%, but position it away from freshly coated walls so the airflow doesn’t create drying problems.
After full cure, test your work during the next significant rainfall. Check walls carefully where you previously saw dampness. If you see new moisture, dark spots, or any sign water is getting through, the coating either wasn’t applied properly or you have water pressure issues that need professional drainage solutions instead of coating alone.
Preventing Common Interior Waterproofing Mistakes

Most waterproofing failures result from predictable mistakes, not product deficiencies. Knowing what goes wrong helps you avoid wasting time and money.
Common mistakes that cause coating failure:
- Skipping surface prep or doing inadequate cleaning that leaves dirt, dust, or oil preventing proper adhesion
- Coating over existing paint or old sealers instead of removing them to reach bare concrete substrate
- Insufficient crack repair that leaves water pathways allowing moisture to migrate under and around the coating
- Applying only one coat despite manufacturer requirements stating two coats minimum for warranty coverage
- Working in wrong temperatures (below 50°F or above 90°F) or high humidity (above 70%) that prevents proper curing
- Ignoring active leaks or visible water intrusion, expecting coating to stop water under pressure when it can’t
- Attempting DIY repair on horizontal cracks, stair step patterns, or cracks wider than 1/4 inch that require professional structural assessment
- Not addressing exterior drainage issues like clogged gutters, short downspouts, or poor grading that cause the interior moisture problem
- Rushing drying times between coats because the surface feels dry, when the coating interior still needs curing time
- Expecting coating to solve hydrostatic pressure that requires interior drainage systems, not surface barriers
DIY interior coating is preventative only and won’t fix existing foundation damage or stop active water intrusion. If you’re dealing with water coming through the walls, pooling on the floor after rain, or visible foundation cracks showing movement, coating products won’t solve it. The water will find its way through or around the coating, and you’ll have wasted your time and materials.
Recognize when problems exceed DIY capabilities: recurring flooding that returns after every heavy rain points to drainage system failure requiring professional grading and drainage work, not coating. Structural cracks or horizontal crack patterns need foundation contractors who can assess whether you have serious settlement or hydrostatic pressure issues damaging the foundation. Persistent dampness despite proper coating application means you have groundwater pressure that needs interior or exterior drainage systems to relieve pressure before coating can work.
Set realistic expectations about what interior waterproofing accomplishes. It manages moisture vapor and minor seepage in currently stable basements. It can’t substitute for proper exterior drainage and foundation maintenance, and it won’t stop water under pressure from foundation damage or severe hydrostatic pressure conditions. If you’re coating because you’re seeing water problems now, you’re applying the wrong solution and the problem will return.
Troubleshooting Waterproofing Application Problems
Identifying problems early before they turn into costly repairs or create health hazards from mold growth matters more than perfect initial application.
| Problem | Likely Cause | Solution |
|---|---|---|
| Coating peeling or flaking | Poor surface prep, coating applied over dirt or existing sealer | Remove failed coating, prep properly to bare concrete, recoat |
| Persistent dampness after coating | Hydrostatic pressure requiring drainage system, not coating alone | Install interior drain tile and sump pump system |
| White residue reappearing (efflorescence) | Ongoing exterior moisture pushing salts through concrete | Address exterior drainage, gutters, grading before recoating |
| Coating bubbling during application | Moisture trapped in substrate pushing through wet coating | Allow wall to dry completely 48-72 hours before reapplication |
| Uneven coverage or thin spots visible | Improper application technique, insufficient cross-rolling | Apply additional coat focusing on thin areas, use better technique |
| Strong odor persisting days after application | Inadequate ventilation during curing process | Increase air circulation with fans, wait full cure time |
| Water still seeping through coated areas | Structural cracks or foundation damage exceeding coating capability | Professional assessment of foundation integrity required |
| Efflorescence returning weeks after coating | Exterior moisture source not addressed, water forcing through | Exterior waterproofing and drainage correction needed |
Use a moisture meter to detect hidden dampness in walls before coating. Pin type meters give accurate readings on concrete when you drive pins 1/4 inch into the surface. Readings above 6% moisture content mean the wall needs more drying time before coating. Check multiple locations especially near the floor joint and in corners where moisture concentrates.
Perform water testing after the coating reaches full cure (minimum 72 hours, preferably 7 days). Monitor coated walls during the next significant rainfall, checking areas where you previously saw dampness or water stains. New moisture, dark wet spots, or any sign water is penetrating the coating means either application problems or water pressure beyond what coating can handle.
Substrate compatibility issues prevent proper adhesion when you coat over incompatible existing sealers or apply waterproof coating too soon after concrete was poured. New concrete needs minimum 60 days curing before waterproof coating application. The concrete itself is still releasing moisture and hasn’t reached stable chemistry yet. If you applied coating that’s peeling or not adhering, check what was on the wall before. Old epoxy or polyurethane sealers won’t accept water based coatings without complete removal and re prep.
When troubleshooting reveals problems beyond DIY repair capability, stop before you throw more time and money at it. Persistent water intrusion despite proper coating application signals foundation integrity issues or severe hydrostatic pressure requiring professional structural assessment. Coating failure within months of application means either you have drainage problems coating can’t solve, or application problems that will repeat if you try again the same way. A professional inspection costs $200 to $400 and tells you whether you need foundation repair, drainage systems, or just better application technique before you waste materials on attempts that won’t hold.
Maintaining Waterproofed Basement Walls Long-Term
Waterproofing requires ongoing attention, not one time application. Maintenance determines whether your system provides 5 years or 15 years of protection before requiring reapplication.
Exterior maintenance tasks protect your interior waterproofing by controlling how much water reaches the foundation in the first place. Clean gutters minimum twice yearly, more often if you have heavy tree coverage dropping leaves and debris. Clogged gutters overflow directly against the foundation dumping hundreds of gallons during rainstorms. Install downspout extensions that release water minimum 6 to 10 feet from the foundation, not just at grade where it runs back toward the house. Check yard grading maintains proper slope. You need 6 inch drop over the first 10 feet moving away from the house so surface water runs away from the foundation instead of pooling against it. Avoid planting water hungry shrubs or installing irrigation systems within 10 feet of foundation walls. These create constant moisture conditions that saturate soil and build hydrostatic pressure your interior coating has to fight.
Interior maintenance tasks:
- Annual coating inspection checking for cracks, deterioration, or peeling at corners and floor joints where failure typically starts
- Dehumidifier operation maintaining humidity levels below 50% during humid months (typically May through September in most climates)
- Monthly humidity monitoring using a hygrometer placed in the basement center; readings consistently above 60% mean ventilation improvements needed
- Checking for new cracks or efflorescence indicating ongoing moisture movement that may require additional crack repair
- Watching for efflorescence return (white mineral deposits) showing exterior moisture problems need addressing before coating fails completely
- Maintaining proper ventilation year round even in winter, especially if basement contains laundry or bathroom facilities
Reapplication schedules depend on product quality and basement conditions. Quality acrylic coatings last 7 to 10 years with proper maintenance and no severe moisture exposure. Cement based coatings in unfinished basements exposed to temperature swings need recoating every 5 to 7 years. Basements with persistent minor dampness despite coating wear through protection faster. Expect 5 year recoating cycles. Most manufacturers require proper maintenance documented in records for warranty coverage, so keep application dates and maintenance logs.
Keep documentation including application dates, products used with batch numbers, maintenance performed, and inspection notes. This information helps with future recoating by confirming product compatibility, proves proper care for warranty claims, and provides valuable disclosure documentation for home sales showing you maintained the property properly. Buyers appreciate seeing waterproofing records demonstrating you addressed moisture proactively rather than covering up problems.
Complementary Moisture Control Measures for Basements
Waterproof coatings work best alongside comprehensive moisture control. Addressing all moisture sources creates healthier indoor air quality throughout your home since basement air migrates upward through the stack effect, carrying whatever humidity or contaminants exist in the lower level into your living spaces.
Dehumidifier sizing matters for effectiveness. Use 30 pint capacity for basements under 500 square feet, 50 pint for 500 to 1500 square feet, 70 pint for larger spaces or severely damp conditions. Place the unit in a central location away from walls where it draws air from the entire space, not just one corner. Run it continuously during humid months (typically May to September) rather than intermittently. Constant operation maintains stable humidity levels that prevent condensation and mold growth more effectively than cycling on and off. Empty collection buckets daily or install permanent drain hoses running to a floor drain or sump pit. Target humidity levels below 50%. Optimal range runs 40 to 50% for mold prevention without making the air uncomfortably dry.
Proper ventilation strategies prevent humid air from settling and creating moisture problems despite your waterproofing. Install exhaust fans in laund
Final Words
Interior waterproofing keeps basements dry when you pair proper surface prep with quality coatings and crack repairs.
Take your time on cleaning and allow full drying between coats. Those steps matter more than the brand of sealer you pick.
If you’re dealing with active leaks, horizontal cracks, or recurring flooding, skip the DIY route and call a foundation pro. Coating over structural problems just delays the real fix.
For minor dampness and prevention work, learning how to apply interior basement waterproofing gives you control over your space and saves money on simple moisture management.
Check your work after the next heavy rain. If water still shows up, it’s time to look at drainage systems or exterior solutions that address the root cause.
FAQ
Q: What is the best way to waterproof the interior basement walls?
A: The best way to waterproof interior basement walls starts with thorough surface prep by removing existing coatings and cleaning walls with warm water and dish soap. Next, repair all cracks with hydraulic cement for larger gaps and crack filler for smaller ones, then seal joints with polyurethane caulking. Apply a minimum of two coats of waterproof coating using a nylon bristle brush or 3/4-inch nap roller, allowing 24 hours drying time between coats for proper adhesion and protection.
Q: Does interior basement waterproofing work?
A: Interior basement waterproofing works as a preventative measure for basements without existing foundation damage or active water intrusion. It manages minor dampness, condensation, and seepage through non-structural cracks but cannot stop hydrostatic pressure or fix structural issues. For basements with recurring flooding, active leaks, or foundation damage, interior coating alone won’t solve the problem and professional drainage systems addressing root causes are required.
Q: What are common waterproofing mistakes?
A: Common waterproofing mistakes include skipping surface prep or coating over existing paint, applying only one coat when two minimum are required, and rushing drying times between applications. Other failures happen from attempting to seal active leaks or structural cracks that need professional repair, working in wrong temperature or humidity conditions, and expecting interior coatings to solve exterior drainage problems or hydrostatic pressure requiring drain tile systems.
Q: What are the disadvantages of interior waterproofing?
A: The disadvantages of interior waterproofing include that it only works as prevention, not remedy, and cannot stop water already forcing through foundation walls from hydrostatic pressure. Interior methods don’t address root causes like poor grading or inadequate exterior drainage that create moisture problems. DIY coatings act as temporary solutions requiring reapplication every 5-10 years and won’t fix foundation damage, structural cracks, or recurring flooding situations requiring professional drainage systems.
Q: How long does hydraulic cement take to set and cure?
A: Hydraulic cement sets and hardens in 3 to 5 minutes, requiring quick work to smooth with a trowel before final hardening. While surface hardening happens rapidly, full cure takes 24 hours before applying waterproof coatings over the repair. The fast-setting property makes hydraulic cement ideal for stopping active water leaks through larger cracks and holes even under pressure.
Q: How many coats of waterproof coating are required?
A: A minimum of two coats of waterproof coating are required for proper basement wall protection and manufacturer warranty coverage. Apply the first coat and allow 24 hours drying time before the second coat goes on in the opposite direction for complete coverage. Full cure requires 72 hours minimum before testing effectiveness or resuming normal basement use and furniture placement.
Q: When should you call a professional instead of DIY waterproofing?
A: You should call a professional for active water intrusion or pooling, structural cracks wider than 1/4 inch or horizontal cracking patterns, and recurring flooding after rain events. Other situations requiring professional help include visible foundation damage or bowing walls, extensive mold growth throughout the basement, signs of hydrostatic pressure pushing through walls, and when the basement serves as living space requiring warranty protection and code compliance.
Q: Can you apply waterproof coating over existing paint?
A: You cannot apply waterproof coating over existing paint and expect proper adhesion or long-term effectiveness. Surface preparation requires removing all existing coatings using a wire brush or sandblaster before waterproofing products bond directly to concrete substrate. Coating over paint, sealers, or previous waterproofing products leads to peeling, flaking, and coating failure within months of application.
Q: What causes white residue on basement walls after waterproofing?
A: White residue returning on basement walls after waterproofing indicates ongoing efflorescence from exterior moisture sources pushing through the foundation. The white salt-like deposits form when water carries minerals through concrete and evaporates at the surface. This means exterior drainage problems need fixing first, as interior coating alone cannot stop the moisture source creating efflorescence and will eventually fail.
Q: How do interior drain tile systems work?
A: Interior drain tile systems work by installing perforated pipe under the basement floor perimeter to capture water at the foundation footing level before it rises into the basement. The pipe channels collected moisture through gravel bedding into a sump pit where a pump removes it away from the foundation. This system addresses hydrostatic pressure that coatings cannot stop, providing the most effective long-term solution for persistent moisture issues.
Q: What humidity level should a waterproofed basement maintain?
A: A waterproofed basement should maintain humidity levels below 50 percent to prevent mold growth and condensation on surfaces. Use a dehumidifier sized at 30-50 pint capacity for average basements, placed centrally away from walls and operating continuously during humid months. Monitor levels with a hygrometer and ensure proper ventilation from laundry and bathroom areas venting outdoors.
Q: How much does DIY basement waterproofing cost compared to professional installation?
A: DIY basement waterproofing costs $500-2000 for coating projects including surface prep, materials, and crack repair supplies. Professional installation costs $3000-8000 or more for comprehensive systems including drainage, sump pumps, and addressing root causes with transferable warranties. While DIY saves money upfront, professional work provides better long-term value for basements with recurring moisture or foundation issues requiring more than preventative coating.