

Ever watch a cabinet full of dishes pull away from the wall because somebody trusted drywall anchors for a job that needed real wood? Blocking is horizontal lumber installed between wall studs before drywall goes up, or added through access holes in existing walls. It creates solid fastening points that hold cabinets securely for decades instead of relying on anchors that eventually fail. This guide walks you through measuring stud spacing, cutting blocking to fit, installing it at the correct heights for base and upper cabinets, and fastening cabinets so they stay put under heavy loads.
Cabinet Blocking Essentials: Materials, Tools, and Measurements
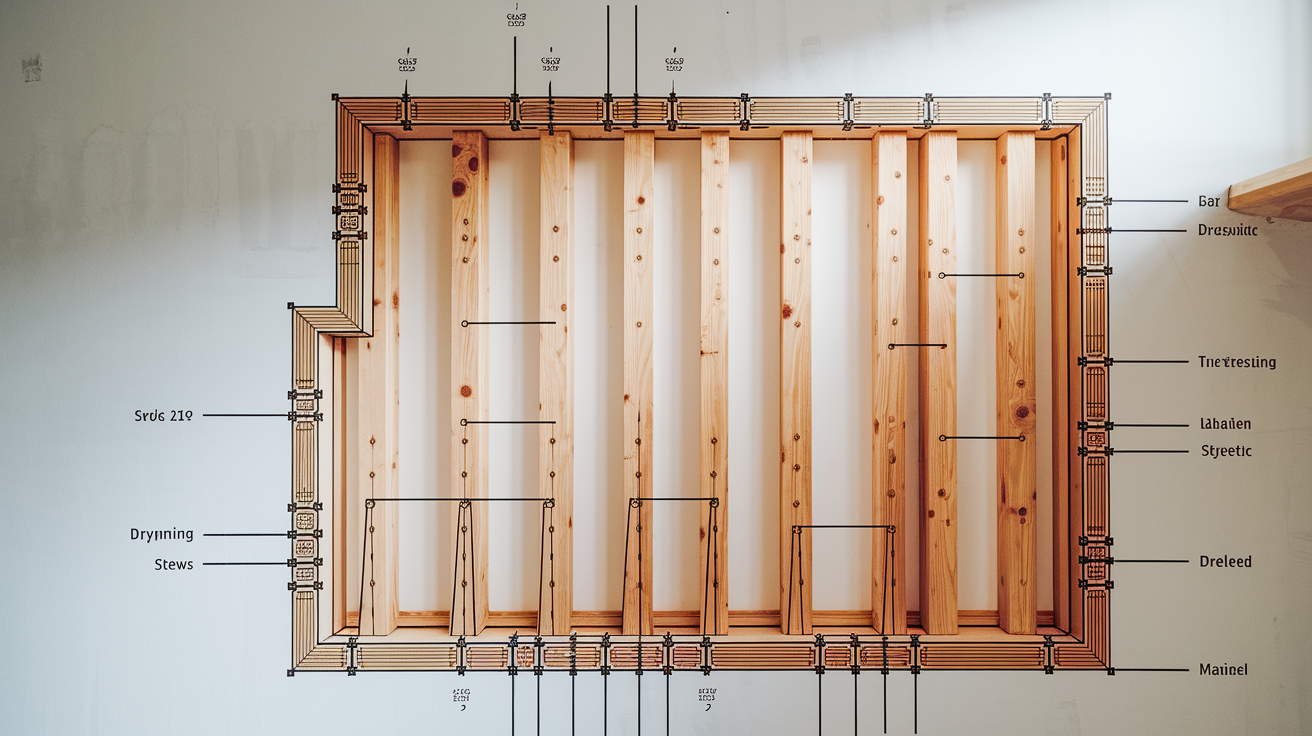
Blocking is horizontal lumber you install between wall studs to create solid mounting points for cabinets. Instead of relying on drywall anchors that eventually fail, blocking gives you wood to wood fastening that holds heavy loads without pulling loose or damaging your walls.
Required Materials and Lumber Options
Choose lumber that fits your specific installation needs and budget. Here’s what works:
2×6 or 2×8 dimensional lumber is the standard choice. You can grab it at any lumber yard, and it’s sized to fit between 16 inch on center studs when you cut it to 14.5 inches.
3/4 inch plywood strips cut to 6 inches wide won’t split when you’re driving screws near edges. They also leave more room for insulation between studs and let you use up plywood scraps efficiently.
Full plywood sheets for continuous backing work best when you’re doing extensive cabinet runs covering entire walls. As a bonus, they can double as shear paneling in some applications.
Scrap framing lumber is a cost effective option if you’ve got leftover 2x material from other parts of your project.
Don’t use pressure treated wood indoors. It contains chemicals and moisture you don’t need inside, and they can mess with your finishes.
Essential Tool Checklist
You’ll need basic carpentry tools for accurate installation:
Measuring tape, stud finder (electronic or magnetic), torpedo level, chalk line or long straightedge, circular saw or miter saw, power drill with Phillips bits, 3 inch construction screws, pocket hole jig (if you’re using plywood strips), safety glasses, work gloves.
Critical Height Specifications
| Cabinet Type | Blocking Height | Notes |
|---|---|---|
| Base cabinets (kitchen) | 34.5 inches from floor | Aligns with top of standard 36 inch cabinet |
| Bathroom vanities | 30 inches from floor | Lower height for typical vanity cabinets |
| Upper cabinet first row | 54 inches from floor | 18 inches above base cabinets |
| Upper cabinet second row | 90 inches from floor | For standard 36 inch tall upper cabinets |
Adjust these measurements if you’re installing non standard cabinet sizes. Custom cabinets, European style frameless units, or cabinets designed for specific ceiling heights need blocking placement that matches the manufacturer’s specs exactly. Measure the actual cabinets before you cut blocking or drywall.
Step by Step Blocking Installation Between Studs
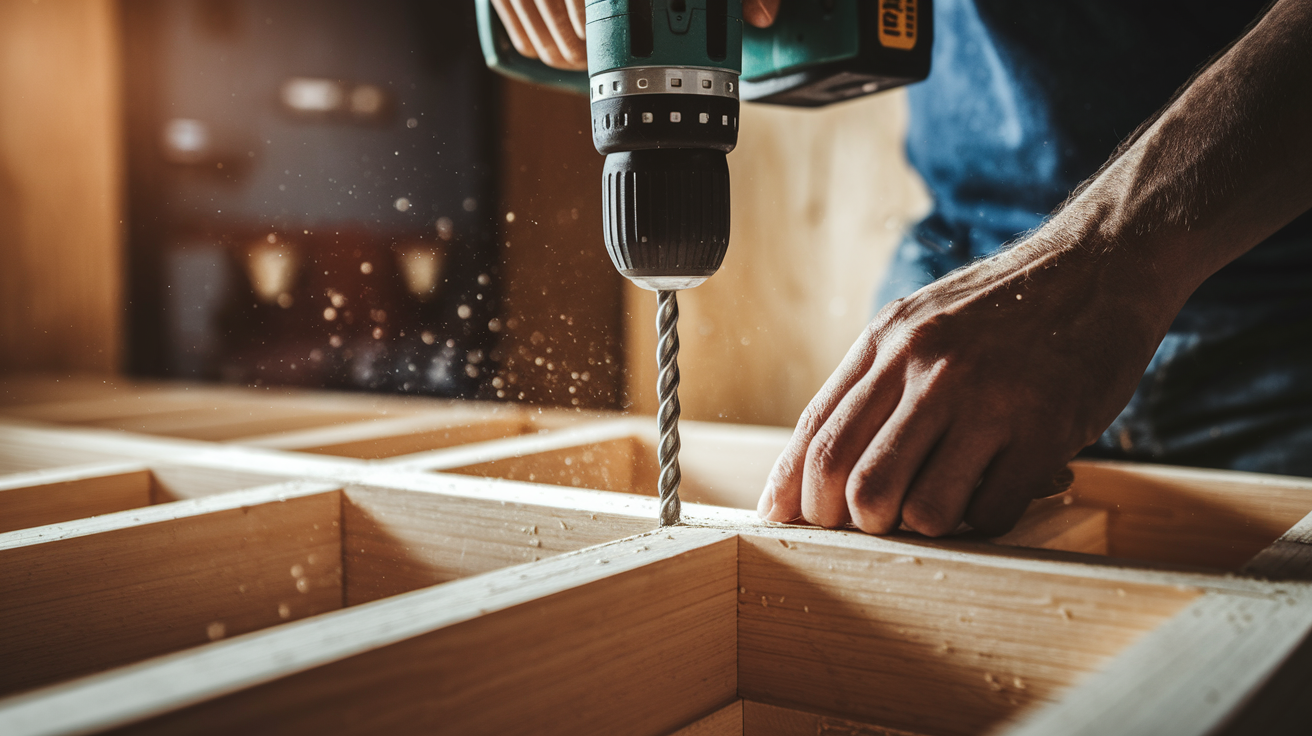
Installing blocking follows a straightforward sequence once your materials are ready and heights are marked.
Measuring and Cutting Blocking Pieces
Measure the distance between stud centers at the height where blocking will go. For standard 16 inch on center framing, studs measure roughly 14.5 inches apart from inside edge to inside edge. Subtract 1/8 inch from this measurement so blocking slides in without forcing.
Mark your cut line square across the blocking lumber using a speed square. Make the cut with a circular saw or miter saw, keeping the blade perpendicular to the board face. Test fit the first piece before cutting the rest. If the fit’s too tight and you’re bowing the studs to get blocking in place, trim another 1/16 inch off.
Positioning and Fastening the Blocking
Hold the blocking horizontally at your marked height line, keeping it level and flush with the stud faces. The front edge of the blocking should align perfectly with the front edge of the studs. If blocking sits recessed even slightly, cabinet mounting screws won’t reach it properly.
Drill pilot holes at an angle through the blocking into each stud. Angled holes prevent splitting and give screws better bite. Drive 3 inch screws through the blocking into the stud at each end, using at least two screws per connection point. Check level again after the first screw, then drive the second screw when alignment’s confirmed.
For plywood strips, use a pocket hole jig to drill angled holes on both ends of each strip before installation. Pocket hole screws pull the plywood tight against the stud face and create a cleaner connection than toe screwing from the front.
Installing Multiple Rows for Upper Cabinets
Upper cabinets need two rows of blocking to prevent sagging and provide top and bottom fastening points. Space the second row 30 to 36 inches above the first row, matching the height of your specific cabinet boxes.
Maintain consistent height across the entire wall length by using a chalk line or long level to mark the second row position. Check level frequently as you work across the wall. Even small height variations become visible once cabinets are hung and doors are closed.
Complete all blocking installation before drywall goes up in new construction. For gut renovations, install blocking before mounting cabinets but after any electrical, plumbing, or HVAC work that runs through the wall cavity. Taking care of blocking at the right time in the construction sequence prevents rework and simplifies cabinet installation later.
Preparing Walls and Locating Studs for Blocking

Accurate stud location determines where you can install blocking and where you’ll need to work around obstructions.
Use an electronic stud finder on finished walls, scanning slowly and marking both edges of each stud you find. Electrical boxes always attach to studs, so outlet and switch locations confirm stud placement. Knock on the wall while moving horizontally and listen for the solid sound that indicates a stud versus the hollow sound of empty stud bays.
Photograph open wall framing before drywall installation if you’re involved early in new construction. These photos become reference guides later when you need to remember exactly where studs, fire blocking, and utility lines were placed. Use a magnet to locate drywall screws or nails once walls are closed. They mark stud locations precisely.
Mark blocking heights on the wall using a level line drawn with chalk or pencil. Check the wall cavity for plumbing pipes, drain lines, electrical wiring, and HVAC ducts before cutting any blocking or drilling any holes. Water supply lines often run horizontally at heights that conflict with cabinet blocking. Adjust blocking position up or down a few inches if necessary to avoid buried utilities.
Stud spacing varies between 16 inch centers (most common in residential construction) and 24 inch centers (common in newer homes and garages). Confirm the actual spacing in your walls rather than assuming standard measurements. Older homes sometimes have irregular spacing, especially around windows, doors, and where additions meet original construction.
Blocking for Heavy Loads: Reinforcement Strategies and Load Calculations
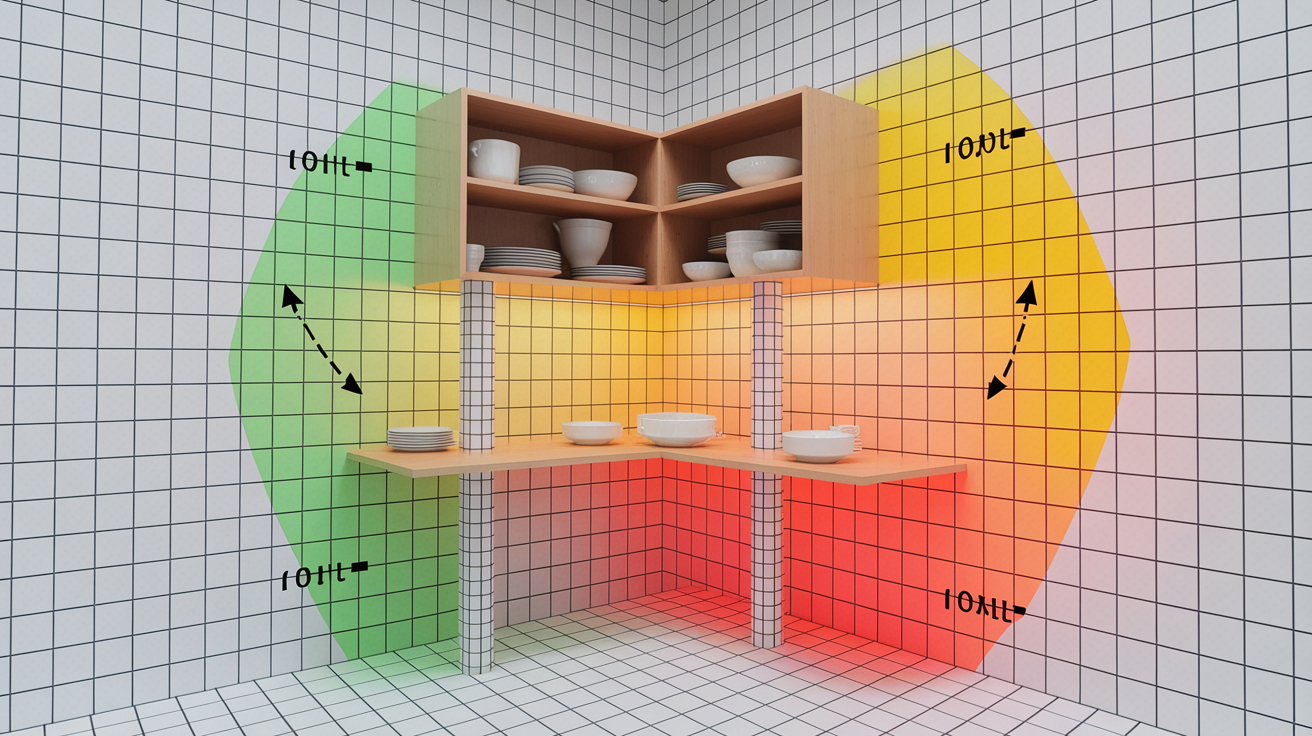
A full upper cabinet loaded with dishes and canned goods can weigh 200 pounds or more per linear foot. Blocking distributes this weight across multiple studs instead of concentrating stress on drywall anchors that will eventually pull out.
Calculate expected loads by adding cabinet weight (typically 40 to 60 pounds for a 30 inch upper) plus maximum contents (100 to 150 pounds for dishes and food). Base cabinets carry even more weight when loaded with pots, small appliances, and stored goods. Drywall anchors rated for 50 pounds each would require four anchors per cabinet just to meet minimum load capacity, and they still flex and loosen over time. Blocking eliminates this weakness.
Reinforcement strategies and benefits for heavy load applications:
Double blocking thickness for loads over 100 pounds per linear foot. Stack two layers of 2×6 or use 2×10 for a single thicker piece.
Add vertical supports between horizontal blocking rows. This creates a ladder frame effect that stiffens the blocking system.
Use larger dimensional lumber like 2×8 or 2×10. It increases surface area for screws and reduces flex under load.
Install full sheet plywood backing for continuous support. Distributes weight across the entire wall surface.
Prevent cabinet sag and door misalignment. Blocking keeps cabinets rigid so doors open and close properly years later.
Eliminate reliance on drywall anchors. Wood to wood fastening through blocking creates permanent attachment points.
Create consistent fastening points regardless of stud spacing. You’re not limited to where studs happen to be located.
This blocking approach works equally well for other heavy wall mounted items that need solid backing. Large flat screen televisions, floor to ceiling shelving systems, and wall mounted water heaters all benefit from the same installation method. The blocking prevents long term problems like loose mounts, cracked drywall, and items pulling away from walls.
The performance difference becomes obvious over time. Cabinets mounted to proper blocking stay tight and level for decades, while cabinets relying on anchors gradually loosen, requiring periodic retightening and eventual repair of damaged drywall around failed fasteners.
Cabinet Mounting Hardware and Secure Attachment Methods
Cabinets attach to blocking through their back panels or hanging rail systems built into the cabinet structure.
Most cabinets use direct fastening through the cabinet back into blocking. Drill pilot holes through the cabinet back at blocking locations, then drive 2.5 to 3 inch screws through the cabinet and drywall into solid blocking. The screw must penetrate at least 1.5 inches into blocking for secure holding power.
Hanging rail systems give you more installation flexibility and make leveling easier. The cabinet has a horizontal rail across the top back edge that hooks over a cleat or ledger board fastened to the blocking. Once hung, the cabinet can slide left or right for fine positioning before you lock it in place with additional screws. Rail systems work particularly well for heavy upper cabinets because they support the full cabinet weight during installation.
Consider these attachment differences:
Cabinet back fastening is the most common method. Works with all cabinet styles but requires accurate initial positioning.
Rail and cleat hanging systems make one person installation easier, allow horizontal adjustment, and are preferred for frameless European cabinets.
Mounting brackets that hook onto ledger boards provide a professional grade approach for commercial installations or very heavy residential cabinets.
Upper cabinets need two rows of blocking. Top row prevents the cabinet from pivoting away from the wall, bottom row keeps the cabinet base tight.
Base cabinets need blocking at the top. One row at 34.5 inches catches fasteners through the cabinet top frame or back rail.
Select screw length based on total cabinet weight and expected contents. Light cabinets in a powder room might do fine with 2.5 inch screws hitting 1.5 inches of blocking. Fully loaded kitchen upper cabinets benefit from 3 inch screws achieving 2 inches of blocking penetration.
Verify blocking locations before drilling cabinet mounting holes. Tap on the wall and listen for the solid sound of wood behind drywall. If you drilled blocking holes slightly off your marked lines during installation, cabinet holes need to match where blocking actually ended up, not where you originally planned to put it.
Retrofit Blocking in Existing Walls with Drywall

Adding blocking after walls are closed requires cutting into drywall, installing blocking from the front side, and patching the wall.
Mark a horizontal line on the drywall at blocking height, extending between the two studs where blocking will sit. Cut along this line with a drywall saw or oscillating multi tool, making the opening tall enough to fit your blocking through (usually 2 to 3 inches tall for 2×6 blocking). Remove the cut drywall section and check the stud bay for insulation, utilities, or other obstructions.
Slide the blocking into position through the opening, holding it level and flush with the stud faces. Toe screw through the blocking into each stud at steep angles from the front. Drive screws from alternating directions (angled up and angled down) for better holding power. You’ll see screw heads on the front of the blocking, but drywall patches will cover them.
Cut a new piece of drywall to fit the opening, install it over the patched area with drywall screws into blocking, tape and mud the seams, sand smooth when dry, prime, and paint to match the surrounding wall. The process takes several hours once you account for drying time between joint compound coats.
Alternative strategies work when cutting drywall isn’t practical. Heavy duty toggle bolts in hollow areas between studs can support moderate cabinet loads if you space them appropriately (every 8 to 12 inches horizontally). Surface mounted ledger boards fastened into existing studs give you a continuous mounting surface without opening walls, though cabinets will sit slightly proud of the wall surface.
The cost and mess factors make pre planning worthwhile. Cutting into finished walls creates dust, requires drywall finishing skills, and adds 4 to 6 hours of labor to a project that would take 1 to 2 hours during construction. If you’re already doing other remodeling that involves opening walls, add blocking at the same time rather than coming back later for a separate project.
Shim Installation and Cabinet Alignment Techniques
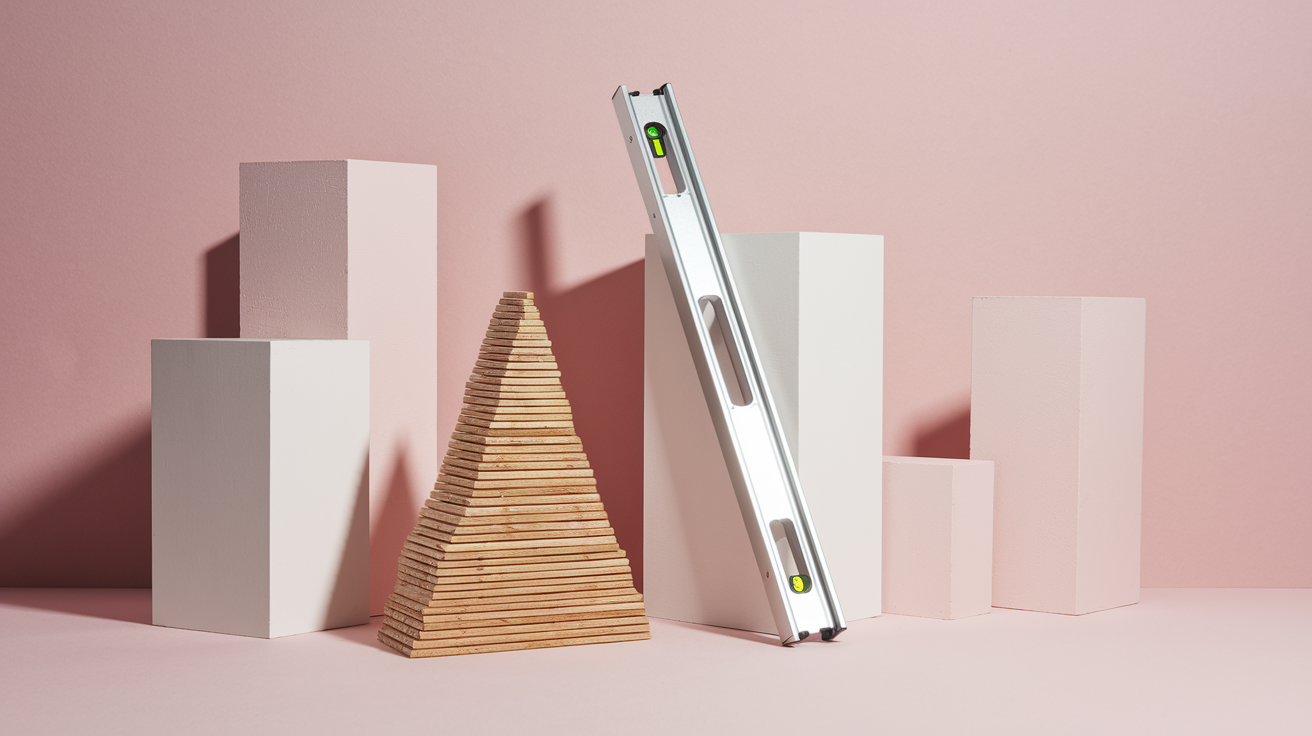
Perfect blocking level matters because cabinet doors and drawer fronts reveal even small misalignments once installation’s complete.
Place thin wood or plastic shims behind low spots in blocking before final fastening. Check level with a 4 foot or 6 foot level across the blocking length rather than a short torpedo level that only shows level across a few inches. Long levels reveal gradual height changes that short levels miss.
Shim behind the blocking at stud locations rather than between studs where you have no fastening point. Drive the blocking fastening screws through shims and blocking into studs so shims stay compressed and don’t work loose. If blocking needs shimming in multiple locations, use consistent shim thickness so the blocking face remains flat rather than wavy.
Walls that aren’t plumb (vertical) affect cabinet appearance even when blocking’s perfectly level. Check wall plumb by holding a long level vertically against the wall surface. If the wall leans in or out, cabinets mounted to that wall will also lean, creating uneven gaps at doors and visible misalignment between adjacent cabinets.
Fix out of plumb conditions before hanging cabinets by furring out low spots on the wall with additional shims behind the drywall or by planning cabinet installation to accommodate the lean. If the wall leans out at the top, you can sometimes pull it back toward plumb by tightening the top cabinet fastening first, though severe out of plumb conditions need structural correction.
Measure height at several points across the wall length rather than assuming the floor’s level. Many floors slope slightly, and if you measure blocking height from the floor, your blocking will follow the floor slope and create uneven cabinet alignment. Measure from a level line marked on the wall instead.
Protecting Utilities: Nail Plates and Safety Considerations
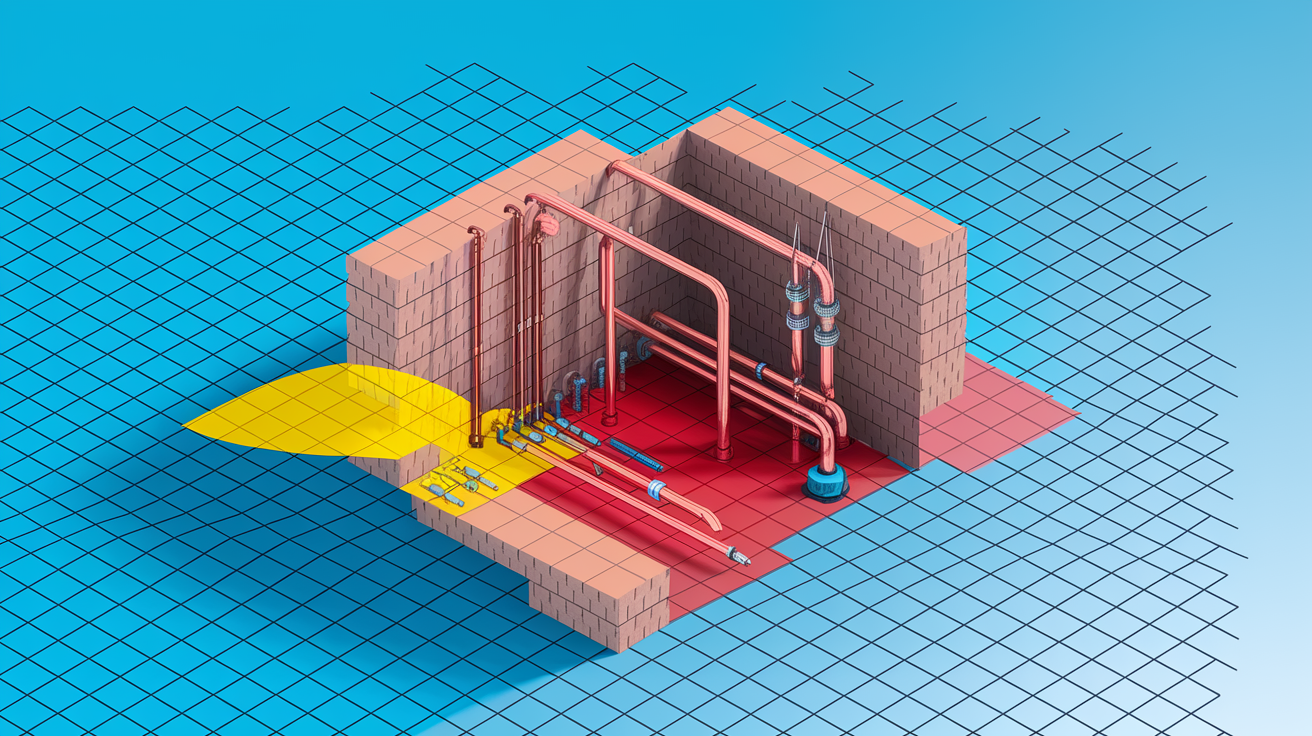
Cabinet mounting screws driven through blocking can puncture water pipes or electrical wires running behind the wall if those utilities aren’t protected properly.
Install metal nail plates over blocking wherever plumbing or electrical lines pass behind the blocking location. Nail plates are thin steel shields that cover vulnerable pipes and wires, forcing screws to deflect sideways rather than penetrating through. Size plates large enough to cover the utility plus 1 to 2 inches on each side, and fasten plates to studs or blocking with nails or screws that don’t penetrate deep enough to hit the utility itself.
Code requires nail plates when utilities run within 1.25 inches of the face of framing members. Even if you’re slightly beyond this depth, plates provide cheap insurance against expensive repairs. A punctured water line or severed electrical wire costs hundreds of dollars and significant time to fix, while nail plates cost under $2 each and take seconds to install.
Identify utility locations before cutting blocking or drilling fastening holes by using these methods. Circuit testers detect live electrical wires in walls when you hold the tester against the drywall surface. Listen for water movement in pipes by turning on fixtures and putting your ear against the wall. Review building plans if available, though remember that as built conditions don’t always match original plans. Maintain 2 to 3 inch clearance zones around known utilities when positioning blocking.
Leave access panels for shut off valves, electrical junction boxes, and other components that might need service later. If blocking covers an access point, frame around it or install a removable access panel in the cabinet back so you can reach valves without demolishing cabinets.
Common Blocking Installation Mistakes and Solutions

Small installation errors create big problems later when cabinets won’t mount properly or stay secure.
Blocking installed at wrong height. Double check cabinet specifications before cutting drywall. Upper cabinets from different manufacturers vary in height, and blocking positioned for 30 inch cabinets won’t work for 36 inch cabinets.
Blocking not level across the wall span. Use a 6 foot level and shims to maintain consistent height. Unlevel blocking creates visible cabinet misalignment.
Blocking recessed behind stud faces. This prevents secure cabinet attachment because screws hit blocking at an angle rather than square on. Rebuild blocking flush with stud faces.
Insufficient fasteners in each connection. Use minimum 2 to 3 screws at each end of blocking into adjacent studs. Single screws allow blocking to pivot.
Blocking material that’s twisted or bowed. Select straight lumber or plane the blocking flat before installation. Twisted blocking pushes cabinets out of alignment.
Forgetting the second row for upper cabinets. Upper cabinets need top and bottom fastening to prevent sagging. Adding the second row later requires reopening finished walls.
Using undersized lumber that flexes under load. Upgrade to 2×6 minimum for cabinet blocking. Thinner material allows cabinets to move when you open loaded doors.
Installing blocking where utilities run. Check first with a stud finder that detects wires and pipes, then relocate blocking or utilities to avoid conflicts.
Careful measurement and planning prevent rework. Check blocking level and position before the first fastener goes in, not after you’ve already secured one end and discovered the other end’s off by an inch.
The cost of fixing mistakes after drywall installation runs high. Reopening walls, adding missing blocking, and repairing drywall might cost $300 to 500 in materials and labor, compared to $50 in materials and 30 minutes of time if you catch the problem during initial installation.
Alternative Cabinet Support Methods and Anchoring Options

Standard blocking between studs works well for most installations, but other methods suit certain situations better.
Full plywood sheathing over entire cabinet areas provides continuous backing that lets you fasten cabinets anywhere without worrying about stud or blocking locations. Install 3/4 inch plywood directly on the stud wall before drywall goes up, using construction adhesive and nails every 8 inches into each stud. This approach works best for long cabinet runs covering 10 feet or more of wall, and the plywood can double as shear paneling on exterior walls, making it count toward your home’s structural requirements while providing cabinet backing.
Ledger board systems simplify heavy upper cabinet installation by creating a continuous mounting surface across multiple studs. Fasten a straight 1×4 or 2×4 board horizontally to studs at the cabinet support height, then use cabinet hanging brackets that hook over the ledger board. The cabinet weight rests on the ledger while you level and fasten it permanently. This method reduces the physical difficulty of holding heavy cabinets during installation.
Strategic stud only attachment eliminates blocking entirely if you design your cabinet layout to align with existing 16 inch stud spacing. Measure your wall, locate studs, and plan cabinet widths so each cabinet back hits at least two studs. Add blocking only in gaps where cabinets don’t align with studs naturally. This saves labor but reduces flexibility in cabinet placement and requires precise initial layout.
Compare costs across these methods before choosing. Standard blocking uses minimal material (maybe $20 to 30 for a typical kitchen) and works for any cabinet size or layout. Full plywood backing costs $150 to 200 in materials for a 10 foot wall but eliminates layout concerns and provides maximum strength. Ledger boards fall in between at $40 to 60 depending on length and lumber choice, with the main benefit being easier installation rather than stronger attachment.
Blocking Installation Timeline and Project Planning
Blocking installation timing affects total project duration and difficulty significantly.
The ideal time for blocking is during framing before drywall installation in new construction, or during gut renovations when walls are already opened. At this stage you can see studs, verify no utilities interfere, and fasten blocking from both sides of each stud if needed. The work proceeds quickly because you’re not cutting through finished surfaces or working in confined spaces.
Realistic time estimates for typical installations:
Locating and marking studs and blocking heights takes 30 to 45 minutes for a kitchen with upper and lower cabinets on two walls.
Cutting blocking pieces for an average kitchen runs 45 to 60 minutes including measuring, cutting, and test fitting 12 to 16 pieces.
Installing blocking for a 10 foot cabinet run takes 1 to 2 hours including positioning, leveling, and fastening two rows for uppers plus one row for lowers.
Drywall cutting and patching for retrofit blocking needs 3 to 4 hours including cutting, blocking installation, drywall repair, mudding, sanding, and painting.
Complete blocking for typical kitchen with uppers and lowers runs 4 to 6 hours total from start to finish for an experienced DIYer, longer if it’s your first time.
First time installer learning curve means you should add 2 to 3 hours to these estimates while you figure out techniques and fix small mistakes.
Schedule blocking during the construction sequence after framing inspection passes but before insulation and drywall installation. Coordinate with electricians and plumbers so they complete their rough in work before blocking goes in. You don’t want to install blocking, then have the electrician drill through it to run a new wire.
Check whether your local code requires inspection of cabinet blocking. Some jurisdictions want to verify blocking before walls close, particularly for grab bars and other safety related installations. Schedule inspection at the right time so you don’t delay other trades waiting for approval.
Cost Factors for Blocking Materials and Installation
Budget for both materials and labor when planning your blocking project, with costs varying significantly between new construction and retrofit scenarios.
| Item | Cost Range | Notes |
|---|---|---|
| Dimensional lumber (2×6 or 2×8) | $8 to 15 per 8 foot board | One board typically yields 5 to 6 blocking pieces |
| Plywood sheets (3/4 inch) | $40 to 70 per sheet | Full sheets for continuous backing method |
| Screws and fasteners | $10 to 20 | Box of 3 inch screws covers typical installation |
| Nail plates | $0.50 to 2 each | Needed wherever utilities cross blocking locations |
| Retrofit drywall repair materials | $30 to 60 | Joint compound, tape, sandpaper, primer, paint |
| Professional installation labor | $200 to 500 | Typical kitchen during construction phase |
Scrap lumber from other parts of your construction project reduces material costs significantly. The 2 foot cutoffs left over from wall framing work perfectly for blocking between studs. If you’re building or remodeling, save straight scrap pieces rather than discarding them.
DIY installation saves the $200 to 500 labor cost but requires 4 to 8 hours of your time depending on project size and your experience level. A professional carpenter completes the same work in 2 to 3 hours and guarantees level, properly secured blocking. The labor cost makes sense if your time’s limited or if blocking’s part of a larger project you’re hiring out anyway.
Retrofit scenarios add hidden costs beyond basic materials. You’re paying for drywall repair supplies, possibly hiring a drywall finisher if you don’t have those skills, and losing time while joint compound dries between coats. These additions push a simple $30 blocking materials project into a $150 to 250 total cost.
When to Hire Professionals for Cabinet Blocking Work
Assess your skill level and project complexity before committing to DIY blocking installation, because some situations clearly justify professional help.
Hire experienced carpenters when you’re facing these scenarios:
Load bearing wall modifications. Removing or cutting studs in load bearing walls to run blocking requires engineering knowledge to maintain structural integrity.
Extensive retrofit work requiring significant drywall removal. Opening multiple walls, installing blocking throughout a large kitchen, and finishing all the drywall repairs takes professional level skills and speed.
Coordination with plumbing or electrical changes. If blocking installation timing needs to align with other trades, a pro keeps the schedule moving.
Installation in older homes with non standard framing. Balloon framing, diagonal bracing, or irregular stud spacing creates complications that experienced carpenters handle routinely.
Commercial kitchen or code regulated installations. Health department requirements, ADA compliance, and commercial building codes require professional work and documentation.
Complex soffit or bulkhead integration. Working around existing structures while maintaining proper blocking alignment needs advanced carpentry skills.
Situations where building permits and inspections are required. Permit applications often specify licensed contractor work, and inspectors expect professional quality results.
Get multiple quotes when hiring blocking work as part of larger remodeling projects. Some contractors include blocking in their base cabinet installation price, while others charge separately. Ask specifically what’s included so you’re comparing equivalent scopes of work.
Verify contractor credentials before signing contracts. Check their license status with your state contractor board, confirm they carry liability insurance and workers compensation coverage, and ask for references from recent cabinet installation projects. A qualified carpenter should be able to explain their blocking approach and why it’s appropriate for your specific situation.
Final Words
Adding blocking between studs transforms cabinet mounting from a guessing game into a straightforward attachment process.
The work itself is simple, cut lumber to fit snugly between studs, screw it in place at the right height, and check for level.
Timing matters most. Install blocking during open-wall construction and you’ll spend a couple hours on prep that prevents headaches later.
Wait until after drywall goes up and you’re looking at cutting, patching, and finishing work that costs three times as long.
When you learn how to add blocking for cabinets correctly, you create solid mounting points that hold weight, stay level, and give you confidence the cabinets won’t sag or pull loose over time.
FAQ
What is the 1 3 rule for cabinets?
The 1-3 rule for cabinets refers to the vertical spacing guideline where upper cabinets are typically positioned 18 inches above the countertop, creating a practical workspace zone. This translates to mounting the first blocking row at 54 inches from the floor for standard 36-inch base cabinets. The rule balances countertop workspace with cabinet accessibility for most users.
Should I add blocking to interior walls?
You should add blocking to interior walls wherever you plan to mount cabinets, shelving, or heavy fixtures that exceed what drywall anchors can safely support. Blocking creates solid fastening points that distribute weight across multiple studs, preventing cabinet sag and wall damage over time. Install blocking during framing or gut renovations before drywall goes up to avoid costly retrofit work later.
How to add soft closing to cabinets?
Adding soft-close hardware to cabinets involves installing dampers on existing hinges or replacing standard hinges with soft-close versions that control door speed during the last few inches of travel. This modification doesn’t require blocking changes but does need the cabinets securely mounted to blocking first. Soft-close adapters attach to the cabinet side panel and door, creating hydraulic resistance that prevents slamming.
Where should blocking be placed?
Blocking should be placed at 34.5 inches above the floor for base cabinets and at two heights for upper cabinets: 54 inches for the bottom rail and 90 inches for the top rail. Position blocking horizontally between wall studs, flush with stud faces, so cabinet screws bite into solid wood. Check your specific cabinet heights before cutting drywall, as dimensions vary between manufacturers and custom installations.