

Standing water in your basement isn’t just a cleanup problem, it’s a 48-hour countdown to permanent damage. After two days, mold starts growing inside your walls, insurance companies start denying claims, and what could’ve been a weekend project turns into a gut job. This guide walks you through flood cleanup in the right order so you handle safety first, remove water correctly, dry everything completely, and avoid the mistakes that bring water damage back six months later.
Taking Immediate Action: Understanding the Critical Timeline

You’ve got 24 to 48 hours after discovering basement flooding to determine whether this stays manageable or turns into a full blown mold disaster. That’s the window where mold spores start germinating when they hit wet organic materials with enough oxygen. And here’s the financial piece: most insurance companies won’t touch flood damage unless you report within 24 hours, so you’re racing both biology and bureaucracy.
This article walks you through basement flood cleanup from start to finish. Safety checks first, then reconstruction. The order matters more than you’d think. Skip steps or rush through them, and you’re setting yourself up for round two. Everything below is sequenced to get your basement back correctly the first time.
Safety Measures Before Starting Basement Water Removal
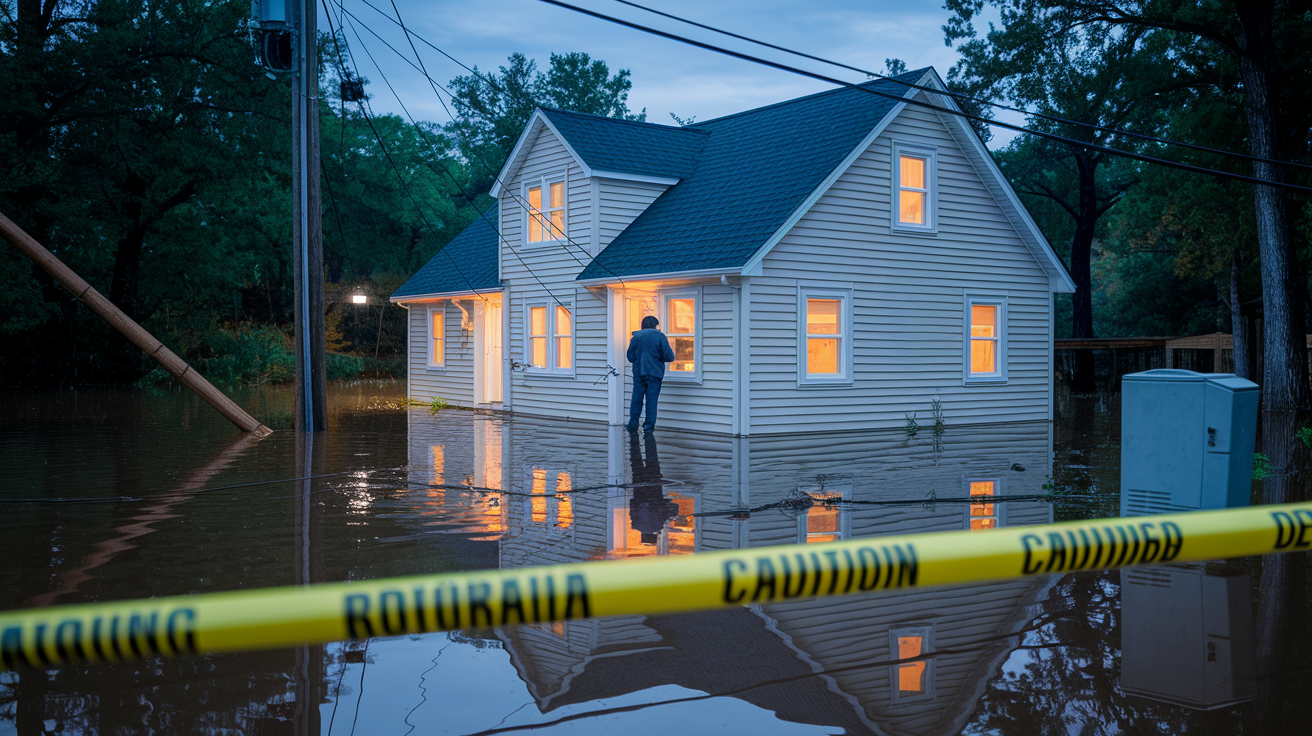
Walk around the outside of your house first. Look for downed power lines and obvious foundation damage. Stay at least 10 meters back from any downed lines. That’s roughly a school bus length. Check foundation walls from outside for warping, cracks, or sections that look loose. These mean structural problems that could get worse once you start pumping water.
Don’t step into a flooded basement if water reached outlets, baseboard heaters, your furnace, or the electrical panel. Call your utility immediately if water got that high. You can shut off power at your main breaker before entering, but only if the panel sits above water and you can reach it without stepping in standing water. Can’t get to the panel safely? Wait for the utility company or an electrician. Electrocution in standing water isn’t a maybe, it’s a real risk.
Turn off gas at the meter if you smell it or if water touched your gas equipment. Not confident with the shutoff valve? Call the gas company. Some meters need special tools, and forcing the wrong valve creates new problems.
Figure out what kind of water you’re dealing with. Clean water from a burst pipe is Category 1. Gray water from washing machines or dishwashers is Category 2. Black water from sewage backup is Category 3. Each category escalates your health risks. Category 1 stays relatively safe but can develop bacteria after 48 hours. Category 2 already contains some bacteria and chemical contamination. Category 3 black water carries serious pathogens including E. coli and hepatitis that need professional handling.
Minimum protection: rubber boots, waterproof gloves, breathing mask, eye protection. Upgrade to a respirator with P100 filters if you’re dealing with sewage. Long pants, long sleeves, protective coveralls. Change clothes immediately after working down there and wash them separately.
Water Extraction Methods for Basement Flooding

If your basement flooded from heavy rain or groundwater, wait until the water table outside drops below your foundation level before you start pumping. Removing water while the surrounding soil stays saturated creates unequal pressure on your foundation walls. That pressure can collapse walls inward. Check with neighbors or watch the water level for a few hours. When it stops rising, external water is usually receding.
Submersible pumps move large volumes quickly and work while fully underwater. Rent one rated for at least 50 gallons per minute for moderate flooding, 100+ for severe situations. Put the pump in the deepest section and run the discharge hose at least 20 feet from your foundation so water doesn’t seep back in. Wet/dry vacuums handle smaller amounts (under 2 inches) or final cleanup after pumping. Shop vacs fill fast and need frequent emptying, but they get into tight corners where pumps can’t reach.
Once standing water is gone, mop and towel dry what’s left on concrete floors. Old towels absorb that film of water and speed up drying. Cat litter can soak up stubborn puddles in floor cracks, though you’ll need to sweep it up afterward.
| Equipment Type | Best For | Rental Cost Range |
|---|---|---|
| Submersible pump | Large volumes (3+ inches), deep standing water | $40–$80 per day |
| Wet/dry vacuum | Residual water, corner cleanup, under 2 inches | $25–$50 per day |
| Mop and bucket | Final surface moisture, accessible areas | $15–$30 purchase |
| Professional extraction service | Sewage backup, structural concerns, 6+ inches | $500–$3,000+ depending on volume |
Drying Your Basement After Water Damage
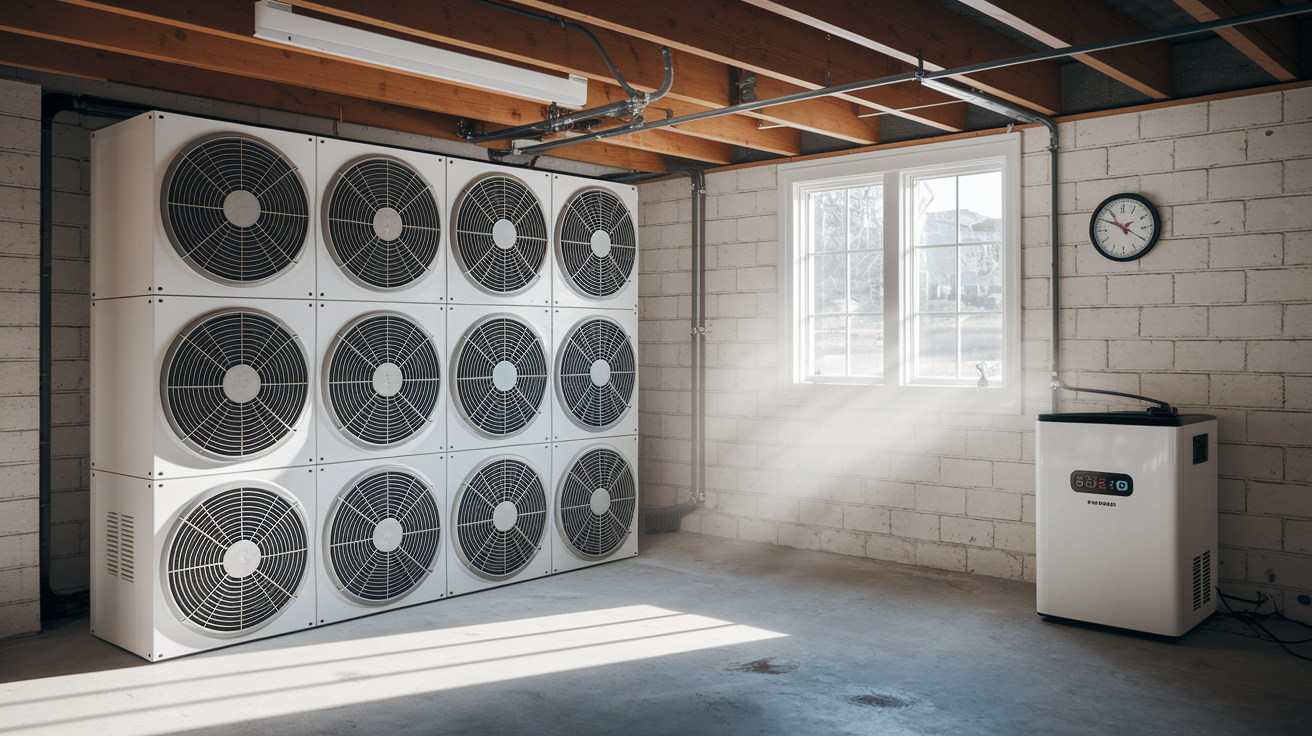
Set up industrial fans or air movers every 10 to 15 feet throughout your basement. Angle them to create circular airflow that pushes air along walls and into corners. Direct at least one fan upward toward the ceiling to move humid air away from the floor. Airflow speeds evaporation by constantly swapping out moisture saturated air with drier air. Three to five fans typically cover a standard basement. You’ll need more if the space has multiple rooms or partial walls.
Refrigerant dehumidifiers work like air conditioners, condensing moisture from warm air when temperatures stay above 65°F. They’re efficient for spring and summer flooding. Desiccant dehumidifiers use moisture absorbing materials and function in cold conditions below 65°F, making them better for unheated basements or winter flooding. Rent a unit rated for at least 1.5 times your basement’s square footage. A 1,000 square foot basement needs a dehumidifier rated for 1,500 square feet. Empty the collection reservoir every 8 to 12 hours or run a drain hose to a floor drain.
Open windows and doors only when outdoor humidity is lower than indoor humidity. Check weather reports or use a hygrometer to compare levels. Cross ventilation pulls dry outdoor air through when conditions favor it, but opening windows during humid weather adds moisture instead of removing it. Close everything back up at night when temperatures drop and humidity typically rises.
Run fans and dehumidifiers continuously, 24 hours a day, for at least 7 to 10 days after visible water disappears. Position equipment to direct air into opened wall cavities if you’ve removed drywall. The surface of your concrete floor and wall studs might feel dry within 3 to 4 days, but moisture trapped deeper in materials takes much longer to escape.
Moisture meters measure water content inside materials and tell you when drying is actually complete. Press the pins into wood studs, subfloors, and framing at multiple locations. Check readings every few days. Wood framing is considered dry when moisture content drops below 15%, though 12% is safer before rebuilding. Wall cavities can take 2 to 4 weeks to dry completely, especially if insulation was saturated. Thermal imaging cameras detect temperature variations that indicate hidden moisture within walls and floors, showing you exactly where wet spots remain when surface conditions look deceptively dry.
Removing and Disposing of Flood-Damaged Materials
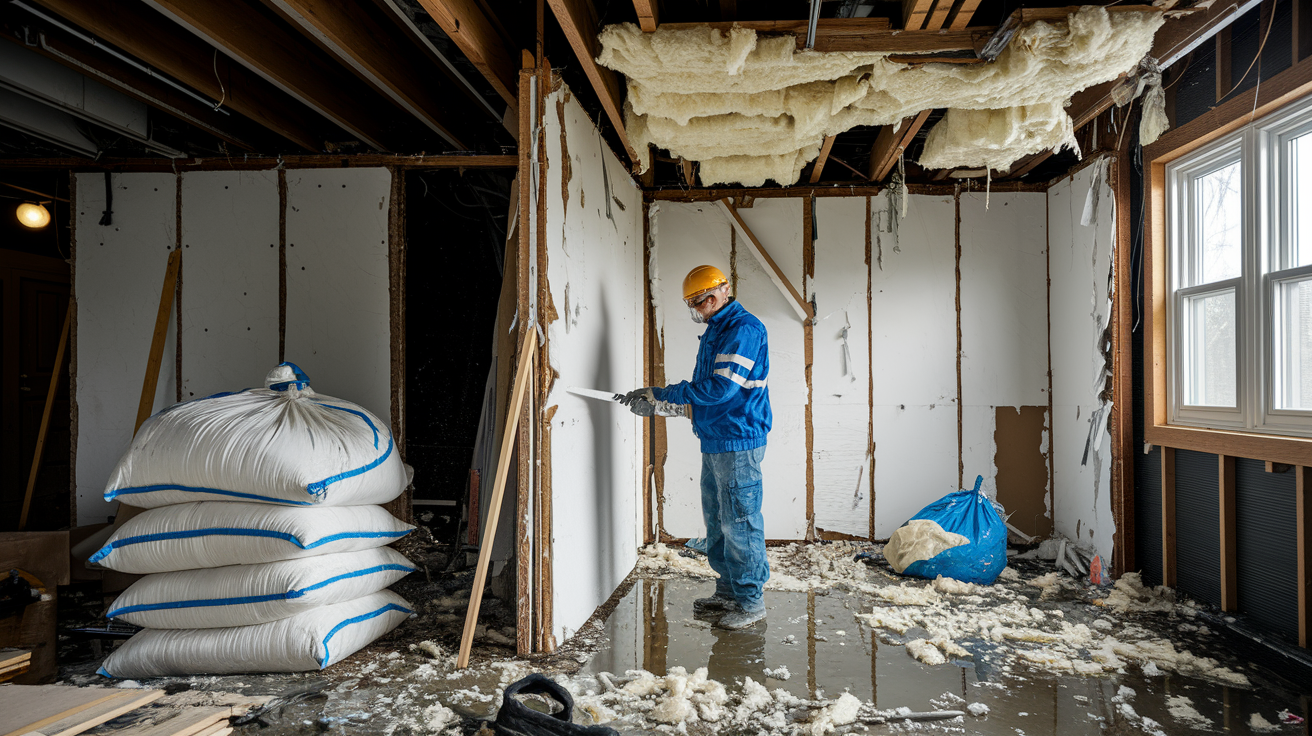
Remove all drywall starting at least 1 foot above the visible water line down to the floor. Drywall’s paper facing wicks water upward through capillary action, carrying moisture higher than the flood level actually reached. Even if drywall looks intact, the gypsum core absorbs water and never fully dries, creating mold habitat inside your walls. Cut horizontally along studs at the 12 inch mark or higher, then pull sections away from framing.
All saturated insulation has to come out. Fiberglass and cellulose batts compress when wet, fill with water like sponges, and retain moisture for months even with aggressive drying. Compressed insulation loses its insulating value and holds moisture against wall cavities and framing. Perfect conditions for hidden mold growth behind new drywall if you leave it there.
Remove every bit of wet carpet, padding, and trim. Carpet and pad can’t be adequately cleaned after flood contamination and will harbor bacteria and mold spores throughout their fibers. Laminate flooring delaminates and swells when water penetrates its core. Hardwood flooring cups, warps, and buckles as it absorbs moisture, and the subfloor underneath usually suffers matching damage. Tile may look fine, but if your subfloor underneath is wood or OSB, it absorbed water and will never dry with tile sitting on top. Guaranteed eventual mold underneath. Remove baseboard trim along with damaged flooring since it wicks moisture and hides mold growing at the wall/floor junction.
Materials by Category:
Must Remove: Water saturated carpet and pad, drywall below 1 foot above water line, compressed fiberglass insulation, laminate flooring, particle board furniture, soaked paper documents and cardboard boxes, electronics that contacted water, wood or OSB subflooring under tile or vinyl
May Be Salvageable: Solid wood furniture if dried within 48 hours, hard plastic storage containers after sanitizing, sealed metal items after cleaning, concrete and masonry after proper drying and sanitizing, tools and hardware after drying and rust treatment
Bag all damaged materials in heavy duty contractor bags or rent a dumpster for large volumes. Most municipalities accept flood damaged building materials as regular construction waste, but check if your area requires special handling for carpet, insulation, or contaminated materials from sewage backup. Some disposal sites charge extra fees for wet materials due to increased weight.
Disinfecting and Sanitizing Flooded Basement Surfaces
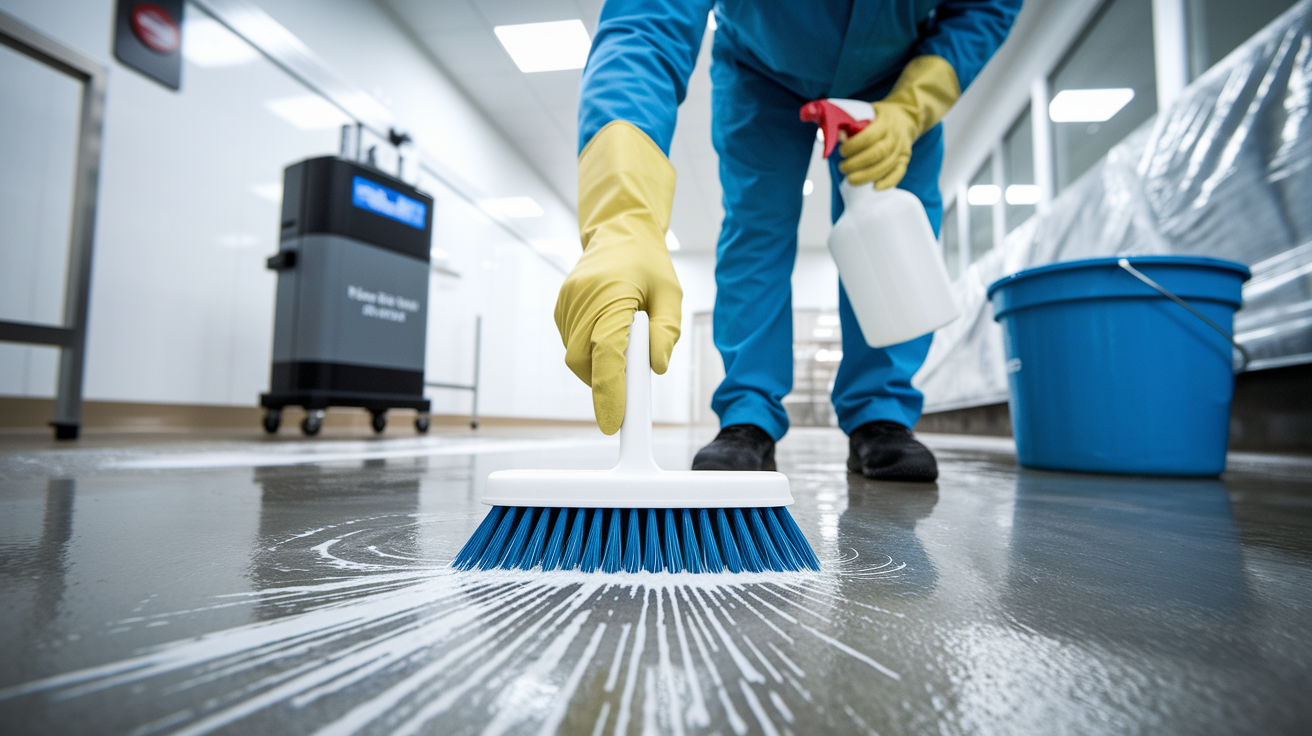
Clean water from pipe breaks needs basic sanitization with standard household cleaners. Gray water from appliances requires antimicrobial disinfectants due to bacterial content. Black water from sewage demands professional treatment with EPA registered antimicrobial solutions, and you shouldn’t attempt it yourself without proper training and equipment. The bacteria, viruses, and parasites in sewage create serious health risks that go beyond surface cleaning.
Mix a disinfecting bleach solution using 1 cup of unscented household bleach per gallon of water for hard surfaces that tolerated clean or gray water exposure. Scrub all exposed concrete, framing, and remaining hard surfaces with the solution, keeping surfaces wet for at least 10 minutes to allow proper contact time for disinfection. Don’t mix bleach with ammonia cleaners or other chemicals. The combination produces toxic gases. Rinse with clean water after the contact time and let surfaces air dry.
Concrete foundation walls and floors are porous and absorb contaminated water into their internal structure. Scrub concrete thoroughly with a stiff brush and disinfectant solution, working the liquid into the surface. After the first application dries, apply a second coat to ensure penetration. Concrete takes longer to release absorbed moisture than most people expect. Continue running dehumidifiers and fans even after concrete feels dry to the touch, checking with a concrete moisture meter to verify levels below 4% before rebuilding.
For odor elimination, sprinkle baking soda liberally across concrete floors after disinfection and drying are complete. Let it sit for 24 hours, then vacuum it up. Baking soda absorbs residual odors trapped in porous concrete. Run HEPA air purifiers continuously during and after cleanup to capture mold spores and bacteria that become airborne during remediation work. Adequate ventilation and air exchange dilute odors naturally, though persistent musty smells after thorough drying indicate hidden moisture or mold that needs investigation.
Preventing Mold Growth After Basement Flooding

Mold spores are everywhere in the environment but only germinate when they land on wet organic materials with temperatures between 40°F and 100°F. Conditions that exist in almost every flooded basement. Once spores begin growing, they produce more spores that spread to new locations. The narrow 24 to 48 hour window before germination begins is your primary defense. After that timeline passes, you’re fighting active mold colonies instead of preventing them.
Keep humidity levels below 50% using dehumidifiers rated for your space size. Check humidity with an inexpensive hygrometer placed in several basement locations since humidity varies by area. Humidity above 60% encourages mold growth even without visible water, especially on organic materials like drywall paper, wood framing, and cellulose insulation.
Early warning signs include musty earthy smells even when surfaces look clean. Visible discoloration appears as black, green, or white patches on walls, wood, or concrete. White crusty deposits on concrete (efflorescence) indicate moisture moving through the material, creating conditions favorable for mold. Check behind remaining furniture, in closet corners, and along the wall/floor junction where air circulation is poorest.
Mold exposure causes respiratory symptoms including sneezing, runny nose, red eyes, coughing, and skin rashes in sensitive individuals. Severe exposure or pre-existing respiratory conditions warrant medical consultation. Test indoor air quality after flood cleanup by hiring an industrial hygienist to collect air samples and compare spore counts to outdoor baseline levels. Indoor counts significantly higher than outdoor levels indicate hidden mold requiring professional investigation.
Professional mold remediation is necessary when mold covers areas larger than 10 square feet, when you find extensive hidden mold in wall cavities, or when household members experience persistent respiratory symptoms after cleanup. DIY prevention through fast drying and thorough material removal works for most standard basement floods if you act within the critical first 48 hours and maintain aggressive drying protocols.
Documentation and Insurance Claims for Flood Cleanup

Contact your insurance company within 24 hours of discovering the flood. Most policies include specific reporting windows, and missing the deadline can result in claim denial regardless of coverage limits. Explain the situation, get a claim number, and ask about immediate mitigation steps they require before starting cleanup.
Photograph and video everything before touching or moving anything. Capture wide shots showing the overall extent of flooding, close ups of water lines on walls, damaged belongings, and specific structural issues like cracked foundations or compromised beams. Take pictures from multiple angles in each room. Date stamps on photos prove the timeline if claims adjusters question when damage occurred. Make a written inventory of damaged items with descriptions, approximate ages, and estimated replacement values while details are fresh.
Keep every receipt, rental agreement, and invoice related to flood cleanup. Document equipment rental costs for pumps, dehumidifiers, and fans. Save invoices from professional services including water extraction, mold remediation, electrical inspections, and structural repairs. Photograph damaged materials before disposal as evidence of removal necessity. Track your own labor hours and mileage if your policy includes these costs. Insurance adjusters require proof of expenses before processing reimbursements, and missing documentation reduces claim payouts.
Understand your coverage limitations before assuming full reimbursement. Most standard homeowner policies don’t cover overland flooding from heavy rain entering through windows, doors, or foundation seepage. However, these policies typically do cover sewer backup and sump pump failure if you purchased optional endorsements for these specific perils. Basement flood cleanup costs typically range from $500 for minor incidents handled mostly DIY to $10,000 or more for extensive flooding requiring professional restoration and reconstruction.
Identifying Water Source and Preventing Future Flooding
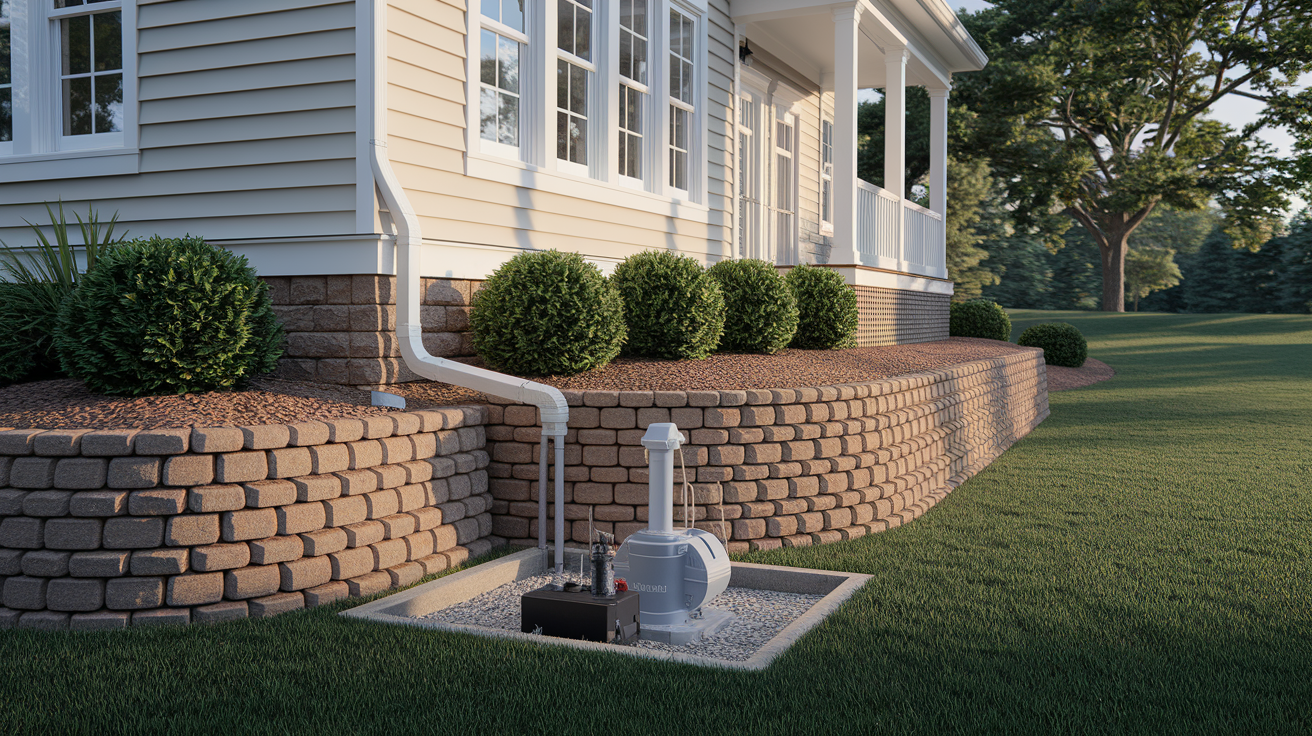
Walk through your basement methodically to diagnose where water entered. Groundwater seepage appears as dampness along floor/wall joints and creates uniform moisture across floors. Surface water from poor grading flows through window wells or foundation cracks, often entering at specific points. Sewer backup enters through floor drains, toilets, or basement fixtures, usually with obvious sewage contamination. Plumbing failures show water near pipes, water heaters, or washing machine supply lines. Sump pump malfunction leaves water concentrated around the sump pit, with the pump either not running or cycling unsuccessfully.
Grade soil away from your foundation at a minimum 5% slope. That’s 6 inches of drop over 10 feet of horizontal distance. This fundamental fix prevents most surface water intrusion. Extend downspouts at least 6 feet from foundation walls using solid extensions or buried drain lines. Clean gutters twice per year so they channel roof water properly instead of overflowing near foundations. These exterior drainage corrections solve more basement flooding problems than any other intervention.
Prevention Measures:
Install a sump pump with battery backup in the lowest point of your basement. Primary pumps fail during power outages when you need them most. Battery backup systems automatically engage when electricity cuts out, pumping water for 8 to 12 hours depending on battery capacity and water volume.
Add a backwater valve in your main sewer line to prevent sewage from flowing backward into basement drains during municipal system overloads. This one way valve requires professional installation and periodic inspection to ensure the flapper moves freely.
Install French drain systems around the exterior foundation perimeter if groundwater infiltration is your primary problem. These gravel filled trenches with perforated pipe collect groundwater before it reaches foundation walls, directing it away to daylight drainage or a collection basin.
Seal foundation cracks larger than 1/8 inch using hydraulic cement or epoxy injection systems. Small cracks allow significant water entry during heavy rain or high water tables.
Clean floor drains annually using a drain snake to prevent clogs that block water escape routes. Trapped debris lets water back up through drains during heavy basement flooding.
Schedule professional home assessments annually with contractors who specialize in waterproofing and foundation work. They spot developing problems like settling cracks, failed window well drainage, or sump pump performance decline before major flooding occurs.
Interior waterproofing systems including baseboard drainage channels and wall vapor barriers run $3,000 to $10,000 depending on basement size. Exterior excavation and waterproofing costs $8,000 to $20,000 but solves problems permanently by preventing water from reaching foundation walls in the first place.
When to Hire Professional Flood Restoration Services

Call professional restoration companies for sewage backup of any volume, structural damage including cracked foundations or compromised support beams, water that reached electrical panels or wiring, visible mold covering more than 10 square feet, or standing water deeper than 2 inches throughout your basement. These situations exceed DIY capability and create risks that professionals manage better with specialized equipment and training.
Professional restoration follows a systematic process starting with complete assessment and moisture mapping using thermal imaging and moisture meters. Teams extract water using truck mounted pumps far more powerful than rental equipment. Industrial drying equipment including high velocity air movers, commercial dehumidifiers, and specialized wall cavity drying systems run continuously for days under monitored conditions. Sanitization uses professional grade antimicrobial treatments applied at proper concentrations. Mold remediation includes containment barriers, negative air pressure, HEPA filtration, and safe disposal of contaminated materials. Structural repairs address underlying damage, and final inspections document completion.
You’ll need a licensed electrician before restoring power to inspect and test all electrical systems that contacted water. Submerged electrical panels require complete replacement. Never try to operate them after flooding. Hire an HVAC specialist to inspect furnaces, air conditioning units, and ductwork since flooded HVAC systems spread contamination throughout your home when restarted. Bring in a structural engineer if you notice foundation cracks, shifted walls, or sagging floor structures to determine if repairs are cosmetic or essential for safety. Certified mold remediation specialists handle extensive mold using containment protocols that prevent spore spread during removal.
| Scenario | DIY Appropriate | Requires Professional |
|---|---|---|
| Clean water, under 2 inches, minimal belongings | Yes, with proper equipment rental | No, unless structural concerns appear |
| Gray water from appliances, 2–4 inches | Possible if acted within 24 hours | Recommended for thorough sanitization |
| Black water sewage backup, any depth | No | Required for health safety |
| Water reached electrical panel or wiring | No | Required, licensed electrician mandatory |
| Visible mold over 10 square feet | No | Required, certified remediator needed |
Structural Repairs and Basement Reconstruction Steps
Conduct a thorough structural assessment before rebuilding anything. Check for foundation cracks that widened during flooding, compromised support beams showing rot or insect damage, and concrete floor integrity including new cracks or settled sections. Hire a structural engineer if you notice doors or windows that won’t close properly (indicating shifted framing), new cracks in foundation walls wider than 1/4 inch, or floors that feel noticeably uneven compared to pre flood conditions.
Open wall cavities demand complete drying verification before closing them back up. Press moisture meter pins into studs at top, middle, and bottom locations, testing multiple studs throughout the basement. All readings should show 15% moisture content or lower, preferably below 12%. Testing only the surface misses moisture trapped inside framing that takes weeks to fully evaporate. Schedule this verification at least 14 days after water removal with continuous drying equipment running the entire period.
Use mold resistant drywall (purple board or paperless varieties) for basement reconstruction. The paperless facing eliminates the food source that mold spores need to colonize even if minor moisture returns. Install closed cell spray foam insulation in wall cavities instead of fiberglass batts. Closed cell foam doesn’t absorb water and adds structural rigidity to foundation walls. Add a continuous vapor barrier on the warm side of insulation (the interior basement side in most climates) using 6 mil polyethylene sheeting with taped seams to prevent moisture migration into wall cavities.
Final inspections verify all systems before finishing work. Hire a licensed electrician to test electrical circuits, outlets, and the main panel after repairs. The electrical contractor should provide a written confirmation that all systems meet code and function safely. Have your HVAC specialist test heating and cooling equipment, confirming proper operation without contamination spread. Check that all plumbing fixtures operate correctly and drains flow freely. Verify basement air quality through visual inspection (no musty odors or visible mold), humidity readings (consistently below 50%), and professional air sampling if health concerns remain.
Final Words
The flood cleanup steps after basement flooding follow a clear sequence: safety first, water out fast, dry completely, sanitize thoroughly, and rebuild smart.
Miss one step or rush the drying phase, and you’re looking at mold growth, structural problems, or insurance headaches down the road.
Document everything before you touch anything. Call your insurance company within 24 hours. Use a moisture meter to verify dryness, not just what looks dry on the surface.
If the water came from sewage or you’re seeing foundation cracks, call a pro. Some jobs aren’t worth the risk of doing twice.
FAQ
What to do after a basement flood is cleared of water?
After a basement flood is cleared of water, begin comprehensive drying using industrial fans and dehumidifiers, then disinfect all surfaces with bleach solution, remove damaged materials like carpet and saturated drywall, and verify complete dryness with a moisture meter before starting any reconstruction.
How to clean a basement after flooding?
To clean a basement after flooding, start by removing all standing water, then extract damaged materials (carpet, drywall, insulation), scrub all hard surfaces with a bleach solution (1 cup per gallon of water), treat porous concrete walls thoroughly, and run dehumidifiers continuously while monitoring moisture levels.
How long to dry out a basement after a flood?
A basement takes anywhere from several days to several weeks to dry out after a flood, depending on humidity levels, ventilation, and how much water entered. Wall cavities and wood framing dry slower than visible surfaces, so use a moisture meter to verify readings below 15% before rebuilding.
Should I wear a mask while cleaning up a flooded basement?
You should wear a mask while cleaning up a flooded basement, especially a respirator if sewage or black water is involved. Floodwater contains bacteria, mold spores, and contaminants that cause respiratory symptoms including sneezing, runny nose, and skin rashes, so protective gear including gloves and boots is necessary.
What materials must be removed after basement flooding?
Materials that must be removed after basement flooding include all carpeting and padding, laminate or hardwood flooring, any drywall at least 1 foot above the water line, saturated insulation batts, and compromised wood or OSB subfloors, as these porous materials retain moisture and promote mold growth.
How do you prevent mold after a basement flood?
To prevent mold after a basement flood, maintain humidity below 50% using dehumidifiers, ensure complete drying within 24 to 48 hours before mold spores germinate, remove all porous saturated materials, disinfect surfaces with bleach solution, and verify dryness with moisture meters before sealing walls.
When should I hire a professional for flood cleanup?
You should hire a professional for flood cleanup when sewage backup occurs, standing water exceeds 2 inches, electrical systems were submerged, visible structural damage exists, or extensive mold is present, as these situations require specialized equipment, antimicrobial treatment, and licensed contractors for electrical and structural repairs.
How much does basement flood cleanup cost?
Basement flood cleanup costs range between $500 and $10,000 depending on water volume, contamination level (clean, gray, or black water), extent of material removal, equipment rental versus professional services, and structural repairs needed. Sewage contamination and full basement reconstruction push costs toward the higher end.
What causes basement flooding and how can I prevent it?
Basement flooding is caused by heavy rainfall, poor drainage, broken sump pumps, groundwater infiltration, sewer backups, and clogged gutters. Prevent future flooding by installing a sump pump with battery backup, extending downspouts away from the foundation, maintaining proper yard grading, installing a backwater valve, and scheduling annual professional inspections.
How do I know if my basement is completely dry after flooding?
Your basement is completely dry after flooding when a moisture meter reads below 15% moisture content in all framing and concrete, no musty smell remains, no visible discoloration appears on surfaces, and indoor humidity matches outdoor levels. Surface dryness doesn’t indicate internal dryness, especially in wall cavities.
Do I need to contact my insurance company after a basement flood?
You need to contact your insurance company within 24 hours after a basement flood or damage won’t be covered. Document all damage with date-stamped photos and videos before removing items, keep receipts for all expenses, and understand that most policies cover sewer backup but exclude overland flooding through windows.
Can I save hardwood floors after basement flooding?
You cannot save hardwood floors after basement flooding because wood absorbs water, swells, warps, and traps moisture in the subfloor underneath. All water-damaged hardwood, laminate flooring, and compromised OSB or wood subfloors must be removed to prevent hidden mold growth and structural issues.