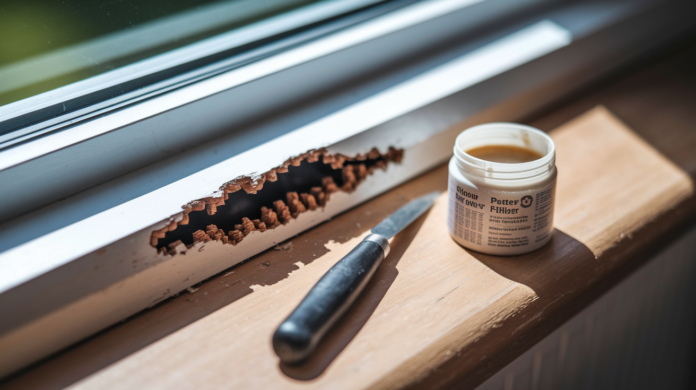

Your dog just turned your window sill into a chew toy, and now you’re staring at splintered wood wondering how much this mistake will cost. Good news: most dog-damaged sills are fixable without replacing the whole thing. With basic tools, the right filler material, and a few hours spread across a weekend, you can rebuild chewed edges and match the finish so well that visitors won’t spot the repair. This guide walks you through assessment, material selection, filling technique, and finishing so you get it done once and move on.
Step-by-Step Window Sill Repair Process
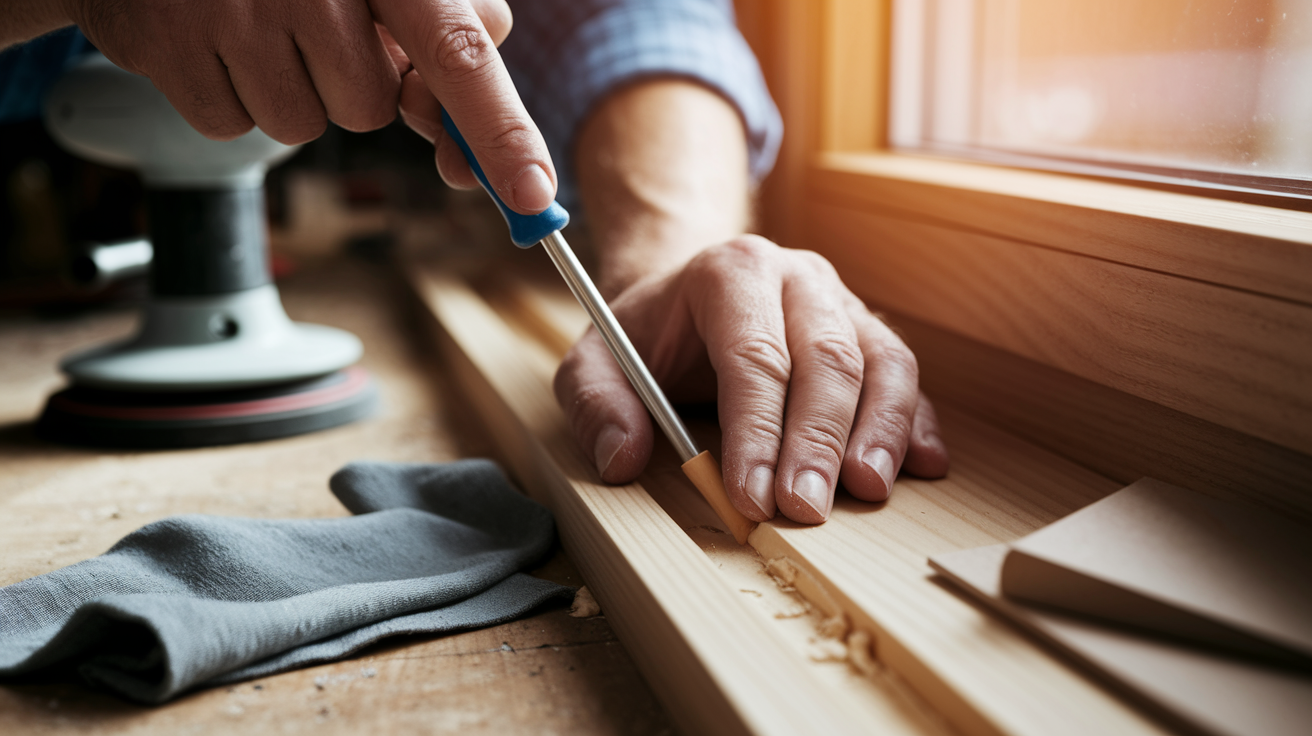
Here’s how you fix dog-chewed window sills:
-
Assess damage severity and gather materials. Run your hand across the sill to find all the damaged spots. Press a screwdriver into the wood, if it sinks in easy, you’ve got rot issues beyond surface damage. For homes built before 1978, grab a lead paint test kit before you start sanding. You’ll need a utility knife or screwdriver, orbital sander or sandpaper blocks, wood filler or epoxy putty, putty knife (2-inch and 4-inch widths both work), 120-grit, 160-grit, and 220-grit sandpaper, plus wood markers or paint for the finish.
-
Prepare the surface. Dig out all the loose wood fragments and splinters with your utility knife. If you leave crumbly bits under the filler, it won’t stick. Sand the rough edges until you’re down to solid wood. For shallow damage where the grain’s just compressed, try this: lightly spray water on the dent, lay a damp cloth over it, then press with a steam iron for 10-15 seconds. The heat and moisture can raise the grain back up. Let everything dry completely before you move to filling. Wipe down with a tack cloth.
-
Apply wood filler or epoxy. Load your putty knife and pack the filler hard into every gouge. You’re forcing material in, not just smearing it on top. Overfill slightly above the surface. Excess sands away easy, but if you underfill you’ll see depressions through the paint. Better to shave it down than try building it back up after. For damage deeper than a quarter inch, use multiple thin coats instead of one thick glob. Let each layer cure about 30 minutes before adding the next. Feather the edges where filler meets wood so you don’t get a visible ridge.
-
Allow proper drying time. Walk away and let it cure. Shallow scratches dry in 1-2 hours. Moderate gouges need 2-4 hours. Deep holes want 4-6 hours. If you’ve filled through-wood damage, give it overnight. The filler should feel rock hard when you press your thumbnail into it. If it dents at all, it’s not ready.
-
Sand the repaired area. Start with 120-grit to knock down high spots. Always sand with the grain using light pressure. Move to 160-grit for smoothing, then finish with 220-grit. Check your work by running your hand over the area. You want it seamless where you can’t feel the transition from filler to wood. For bigger repairs, an orbital sander speeds things up. For precision work, hand sanding gives better control. Wipe away dust before finishing.
-
Prime and finish. Apply primer to seal the filler areas. This keeps the porous filler from sucking up your topcoat unevenly. Then paint or stain to match. For natural wood sills, use wood markers to draw fake grain patterns on the patched spots before applying varnish or polyurethane. The grain doesn’t have to be perfect, you’re just creating visual texture that breaks up the flat look of solid filler.
This sits comfortably in beginner to intermediate territory. You don’t need specialized carpentry skills, just basic hand tool experience and patience for drying. If you’ve painted a room before, the color matching part will feel familiar. If not, expect some trial and error getting the shade right.
Plan on 3-6 hours total, though your active work only amounts to 1-2 hours spread across stages. The rest is drying time. Most people do this over a weekend: prep and fill Saturday, sand and finish Sunday.
Call a professional when more than half the sill surface is damaged, when the window frame itself is compromised, or when you’re finding extensive moisture damage and rot. If you’ve tried DIY repair twice and the damage keeps coming back, that’s your signal to bring in someone who can fix the root cause. And if power tools make you nervous, there’s no shame in paying someone to handle it.
Choosing Between Wood Filler and Epoxy Putty for Window Sill Damage
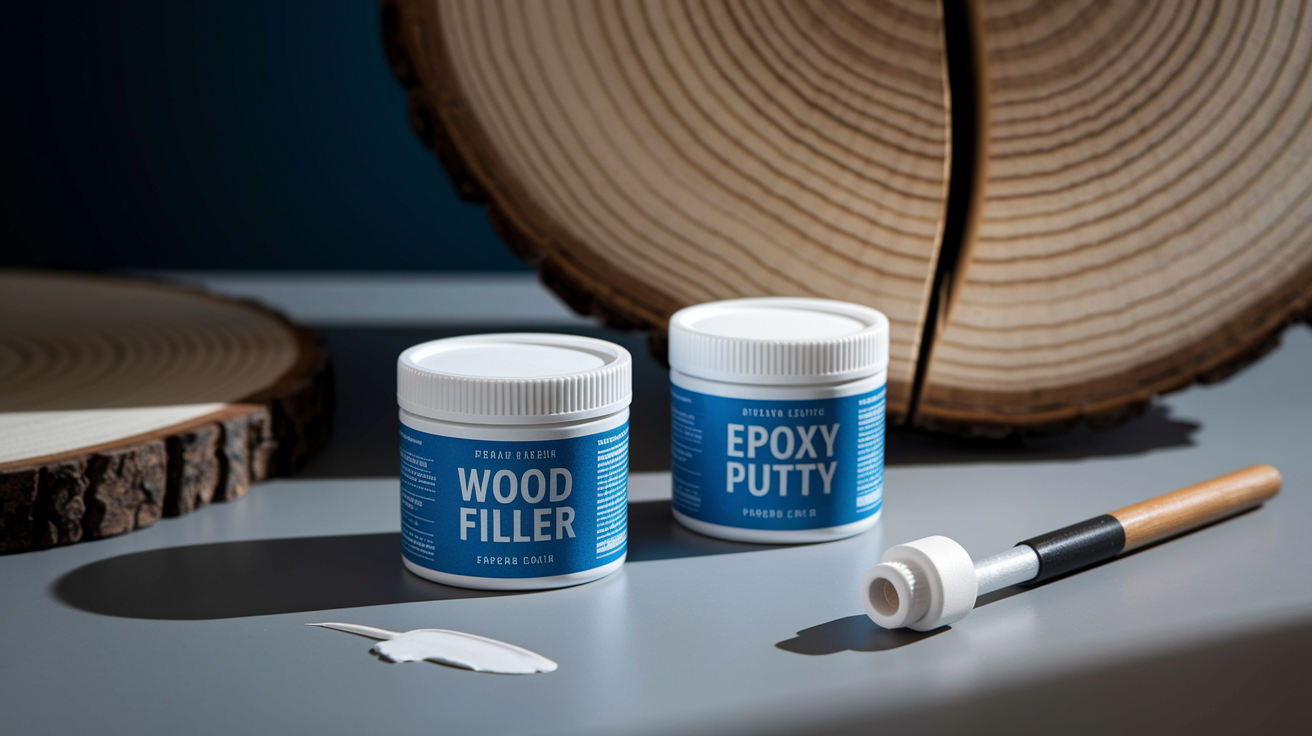
The material you pick determines whether your repair holds up or fails in six months.
Wood filler combines wood fibers with resin that cures extremely hard. You can sand it smooth, stain it to match existing wood, and paint over it without issues. It’s the go-to for interior window sills with missing chunks because it rebuilds solid structure. Once it hardens, it’s basically synthetic wood. The downside? That rock hard cure makes it terrible for exterior repairs where wood shrinks and contracts with weather. The filler won’t flex with seasonal movement, so it cracks loose. Stick to interior only.
Epoxy putty stays slightly flexible when it hardens. It’s thicker, solvent based material that bonds aggressively to wood, even in deep gouges where mechanical grip matters. That flexibility helps in areas with minor seasonal movement. The tradeoff: most epoxy putties can’t be sanded smooth or painted successfully. They work best for small holes or minor chew marks where you’re not trying to create a perfectly smooth surface. They remain slightly rubbery, which means they show through thin paint coats as textured spots.
When you’re standing in the hardware store aisle unsure which to grab, default to wood filler. It handles most scenarios successfully.
Here’s what actually matters:
- Damage depth and missing wood volume. Wood filler rebuilds structure in deep gouges and large missing chunks, epoxy putty fills small voids and surface damage better.
- Interior versus exterior location. Wood filler for interior sills only, epoxy putty tolerates minor outdoor exposure but neither replaces proper exterior grade wood repair compounds.
- Paint or stain finish planned. Wood filler accepts both paint and stain well, epoxy putty rarely takes finish properly and usually stays visible.
- Temperature and moisture exposure. Wood filler fails in wet conditions or temperature swings, epoxy putty tolerates moisture better but still needs dry substrate for initial bond.
- Budget and availability. Basic wood filler costs $8-15 per container and covers most repairs, quality two part epoxy runs $15-25 but lasts longer in storage.
Paint Matching and Finishing for Seamless Window Sill Restoration

The finishing stage determines whether people notice your repair or walk right past it.
For painted sills, apply primer over the filled areas first. Primer seals the porous filler so your topcoat doesn’t soak in unevenly and show up as a dull spot. Take a paint chip from somewhere inconspicuous (like under the sill overhang) to your local paint store for color matching. Apply multiple thin coats rather than one thick coat. You get better coverage and fewer drips. Let each coat dry fully before adding the next.
For stained or natural wood sills, you’re working backward from the usual process. Select a stain that matches the existing tone. Test it on scrap wood first because stain looks different on raw filler than on aged wood. Here’s the trick for invisible repairs: use wood markers or stain pens to draw fake grain patterns onto the filled spots before you apply topcoat. You’re not trying to fool a forensic expert, just creating enough visual texture that your eye doesn’t focus on a solid tan patch in the middle of grainy wood. Apply your matching topcoat (varnish, polyurethane, or waterproof sealant) over the entire sill, not just the repair. This blends the new finish with the old.
Professional results come from these practices:
- Test your color match on an inconspicuous area first. The underside of the sill or a hidden edge lets you verify the match before committing to visible surfaces.
- Allow proper drying time between coats. Rushing makes coats stick together poorly and extends total drying time because trapped solvents can’t escape.
- Match the sheen level of existing finish. Flat, satin, or semi gloss should stay consistent across the entire sill or the repair reflects light differently.
- Feather paint edges into surrounding area. Blend the boundary between new and old paint so you don’t create a visible line.
- Apply topcoat for moisture protection. Even interior sills get wet from condensation and cleaning, so seal your work.
- Replicate texture for non-smooth finishes. If the original sill has a slightly textured surface, lightly stipple your final coat with a dry brush before it sets.
Cost Estimation and Time Investment for Window Sill Repair

DIY window sill repair saves significant money compared to hiring professionals. Most materials come from basic hardware stores.
Expect total DIY costs between $30-$80 depending on how much you already own and how extensive the damage is. The higher end assumes you’re buying every tool from scratch.
| Material/Tool | Approximate Cost | Purpose |
|---|---|---|
| Wood filler (8-16 oz container) | $8-15 | Fills chewed areas and rebuilds structure |
| Putty knife set (2″ and 4″ widths) | $6-12 | Applies and smooths filler material |
| Sandpaper assortment (120/160/220 grit) | $8-15 | Shapes repair and creates smooth finish |
| Primer (small can) | $8-12 | Seals filler before topcoat application |
| Paint or stain (small can) | $10-18 | Matches existing finish |
| Wood markers or stain pens | $8-15 | Creates faux grain on natural wood repairs |
| Utility knife or screwdriver | $5-10 (if needed) | Removes loose wood and debris |
| Drop cloths and masking tape | $8-12 | Protects surrounding areas |
| Tack cloth | $3-5 | Removes sanding dust |
| Orbital sander (optional) | $35-60 | Speeds up sanding on larger repairs |
Professional handyman services typically charge $150-$400 depending on damage severity and your regional labor rates. That includes materials and labor. Full window sill replacement by a contractor runs $200-$600 when you’re installing new wood components. DIY saves you 60-80% compared to professional services, though you’re trading money for 3-6 hours of total project time including drying periods. Your actual hands on work only amounts to 1-2 hours spread across multiple stages. Shallow damage repairs complete in 2-3 hours start to finish. Moderate damage needs 4-5 hours when you account for proper curing between steps. Deep damage that requires multiple filler coats takes 5-6 hours. Most of that time is just waiting for things to dry while you do other tasks.
Prevention and Training Solutions for Window Sill Chewing
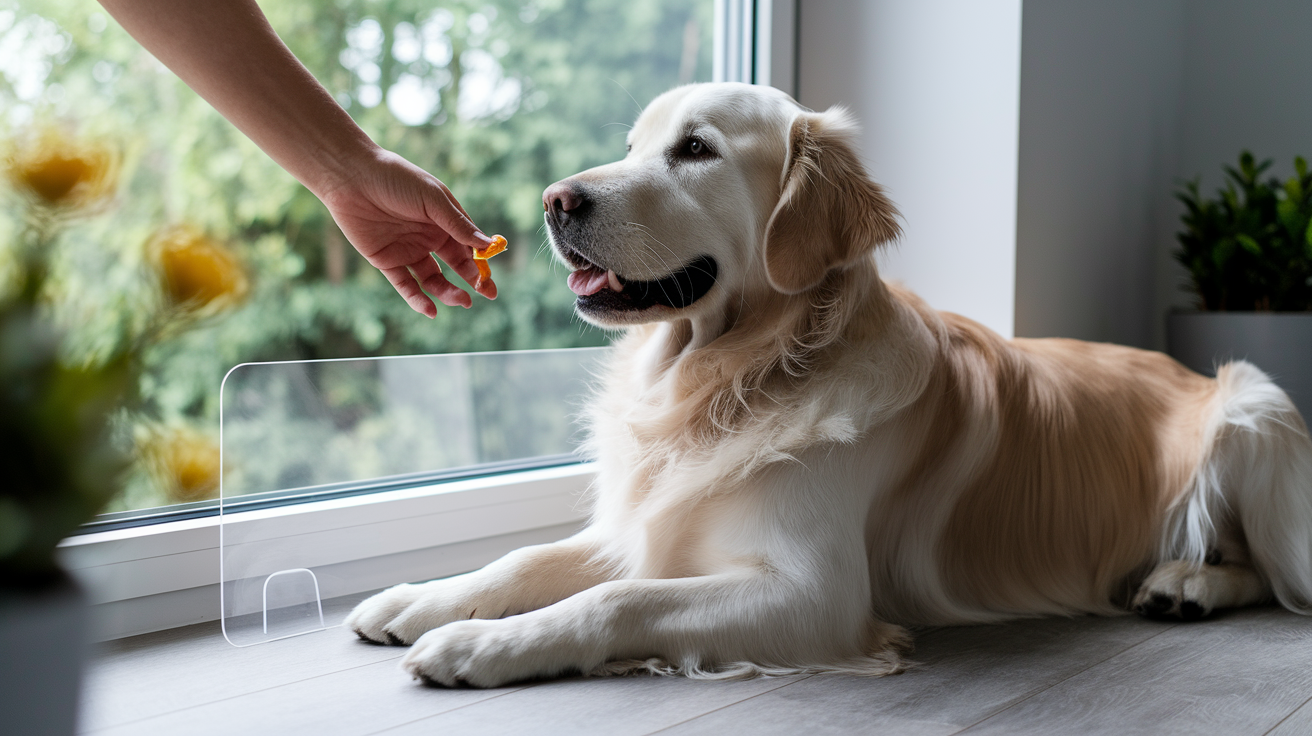
Preventing damage costs less and takes less effort than repeated repairs. You’re addressing causes instead of symptoms.
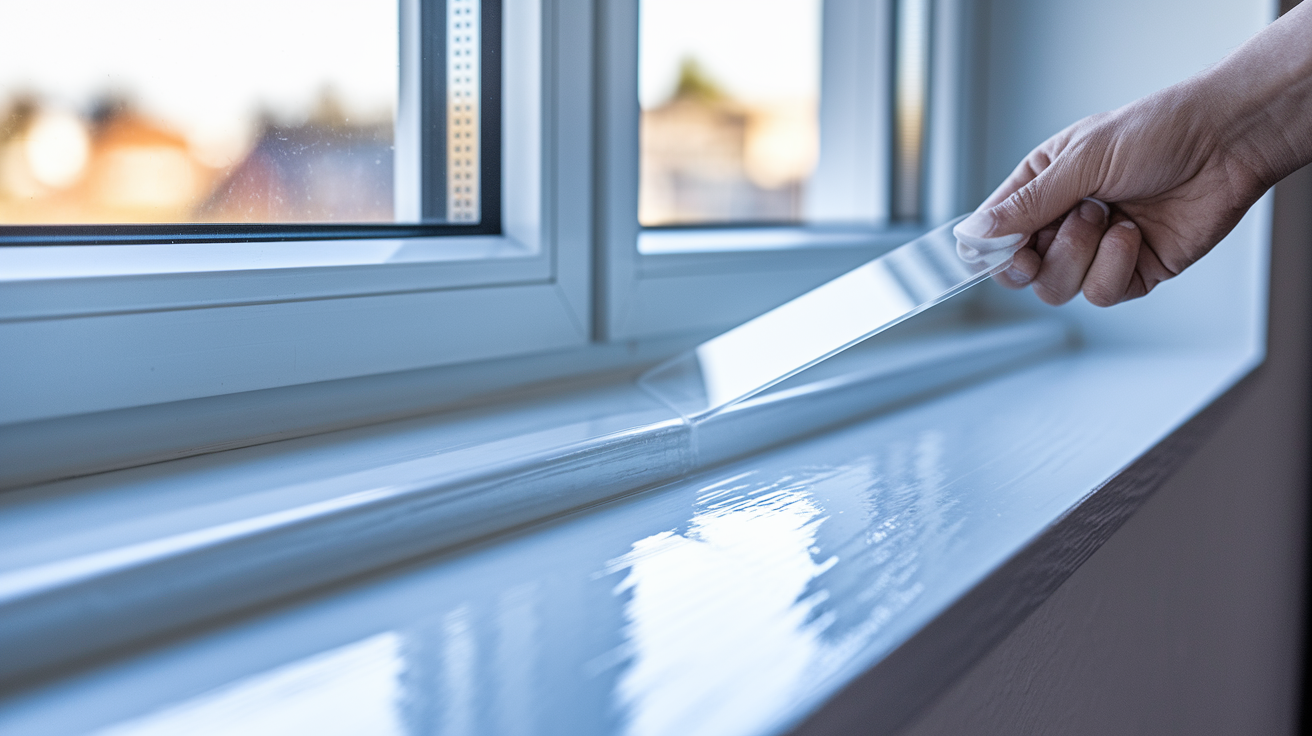
Physical barriers provide immediate protection after your repair cures. Clear acrylic shields like Claw Shield apply directly to the sill once your paint has cured for 1-2 weeks. You cut them to fit your exact sill dimensions, peel the backing, and press them down. They’re barely visible once installed but block access to the wood surface. Metal corner guards work for high impact areas where heavy chewing concentrates. Apply bitter apple spray and commercial taste deterrents to vulnerable surfaces weekly. These non-toxic formulations taste terrible to dogs but won’t harm them if they lick the surface.
Training addresses the root behavior so your dog stops wanting to chew the sill in the first place. Positive reinforcement works better than punishment. Reward calm behavior near windows with treats and praise. When you catch your dog approaching the sill, redirect them to an appropriate chew toy placed in the same window area. Use a consistent “leave it” command. Increase daily exercise routines to burn off excess energy that might otherwise fuel destructive behavior. Provide mental stimulation through puzzle toys and training sessions. A tired, mentally engaged dog doesn’t look for trouble.
Here’s a behavior modification process that works over 2-6 weeks:
-
Identify specific triggers. Watch when your dog chews the sill and note what’s happening. Delivery trucks? Wildlife? People passing by? Your departure from home? Knowing the trigger lets you manage or remove it.
-
Remove or reduce trigger access when possible. Apply window film to block visual access during high trigger times, close curtains when you’re not actively supervising, rearrange furniture to make window access harder during training.
-
Provide appropriate chew toy alternatives. Place durable chew toys in the same window area so your dog has an approved outlet for the same behavior. Make the toy more appealing by stuffing it with treats.
-
Reward desired behaviors immediately. The instant your dog chooses the toy over the sill, deliver a treat and praise. Timing matters. Delayed rewards don’t connect to the right behavior in your dog’s mind.
-
Gradually increase unsupervised window access. Start with 5 minute intervals and slowly extend time as behavior improves. If your dog backslides, reduce access again and rebuild gradually.
Effective long term prevention combines multiple approaches:
- Apply protective clear shields after paint fully cures. Wait the full 1-2 weeks or the shield adhesive can damage fresh paint when you eventually remove it.
- Maintain regular nail trimming every 2-3 weeks. Shorter nails cause less damage if your dog does paw at the sill.
- Use bitter spray deterrents reapplied weekly. The taste fades over time so consistent reapplication maintains effectiveness.
- Address separation anxiety through desensitization. Practice short departures and gradually extend time away, change departure routines so they don’t trigger anxiety responses.
- Create designated window watching areas. Install a pet safe window perch or place a comfortable bed near a different window with a more durable sill surface.
- Combine environmental enrichment with physical barriers. Interactive toys and food puzzles keep your dog busy while physical protection prevents damage during lapses.
Understanding Why Dogs Chew Window Sills

Dogs don’t chew window sills to spite you. There’s always a reason driving the behavior.
Separation anxiety tops the list of causes. Dogs experiencing anxiety when owners leave focus on exits and windows because these are where their people disappeared. The chewing releases nervous energy and stress. Dogs with separation anxiety often show other symptoms like pacing, excessive barking, destructive behavior at doors, and elimination accidents. The behavior concentrates around departure times and stops when you return. Window sills near entryways get hit hardest because they’re associated with your leaving and returning.
Boredom and insufficient mental stimulation drive destructive chewing in otherwise calm dogs. A bored dog with excess energy will find outlets for that energy, and wood provides satisfying resistance and texture. If your dog gets minimal exercise, limited interaction, and spends long hours alone without enrichment toys, chewing becomes entertainment. The solution isn’t just more exercise. Mental stimulation through training, puzzle toys, and varied activities matters just as much.
Trigger based behavior happens when specific stimuli create excitement or territorial responses. Watching for delivery trucks, tracking wildlife movement, or monitoring passing people can build frustration that manifests as chewing. The dog wants to interact with what they’re seeing but can’t reach it, so they redirect that energy onto the nearest object. Window sills become targets because they’re right there where the dog is focused. This behavior often follows predictable patterns. Same time of day, same external triggers.
Puppy teething and general exploratory behavior affect young dogs learning about their environment. Puppies explore with their mouths, and wooden surfaces provide texture that feels good on sore gums. This usually resolves as the dog matures and completes teething, though the learned behavior can persist if not redirected. If your adult dog suddenly develops chewing behavior after years of leaving sills alone, consult a veterinarian. Medical issues like dental pain, nutritional deficiencies, or neurological problems can cause behavior changes that look like ordinary destructive chewing.
When to Replace Rather Than Repair a Damaged Window Sill

Sometimes patching damage costs more time and money than installing new wood.
Replace instead of repair when more than half the sill surface shows damage. At that point you’re basically rebuilding the entire component with filler, which won’t have the structural integrity of solid wood. If the window frame itself has been compromised by the chewing (cracks in the frame members, loosened joints, or damaged trim), repair becomes impractical. Extensive moisture damage or rotted sections mean the wood has lost structural strength throughout, not just where you can see damage. Filler won’t fix structural rot. Press a screwdriver into questionable areas. If it sinks in easily, you’ve got rot that requires replacement. Steam treatment and surface repairs don’t work for extreme damage cases where wood integrity is compromised.
Window sill replacement involves removing the entire assembly: the sill plate itself, the stool section that projects into the room, and sometimes the apron trim beneath. You’ll measure the opening carefully, cut new components to fit, and install them with proper sealing to maintain weather resistance. The new sill gets secured to the rough opening with finishing nails or screws, joints get caulked, and everything gets primed and painted. It’s more involved than filling gouges but creates a permanent solution when the existing wood is too far gone.
Full replacement costs $200-$600 with professional installation depending on material choice and window size. DIY replacement runs $80-$200 for materials if you’re comfortable with basic carpentry. Replacement makes financial sense when repair costs approach 60% of replacement cost. If you’re buying multiple containers of filler, several grades of sandpaper, primers, paints, and still facing questionable durability, just replace it. You’ll get better long term results and won’t be back here next year doing it again. Replacement also gives you the opportunity to upgrade to more pet resistant materials. Composite materials engineered for exterior use resist chewing better than soft pine. Hardwood alternatives like oak or maple take more effort to damage. Modern materials include built in moisture protection that wasn’t available when your current sill was installed.
Protecting Repaired Window Sills for Long-Term Durability
Your repair investment lasts longer with proper protection and maintenance after the work is complete.
Post repair protection prevents recurring damage. Don’t rush this stage.
The most critical rule: allow paint to cure fully before adding any protective layers. That means waiting 1-2 weeks, not just until the paint feels dry to touch. Fresh paint hasn’t reached full hardness and adhesion yet. If you apply shields or sealants too soon, they can bond to uncured paint and pull it off when you eventually need to remove or replace the protection. Apply waterproof sealant after the cure period, especially for sills near exterior exposure. Condensation from temperature differences between inside and outside air creates moisture even on interior sills. A quality polyurethane topcoat provides moisture protection that prevents future damage.
Protective product application requires accuracy for good results. Measure your sill dimensions carefully: length, width, and depth of any recessed areas. Cut shields or guards slightly smaller than your measurements so they don’t overhang edges where they’ll catch and peel. Clean the surface with rubbing alcohol before application to remove any oils or residues that prevent adhesion. Apply according to manufacturer instructions, which usually means pressing firmly from center to edges to eliminate air bubbles. Use a roller or included tool to ensure complete contact across the entire surface.
Regular maintenance keeps repairs functional:
- Inspect repaired areas monthly. Look for early signs of damage like small scratches, loosening protective shields, or paint chips so you can address problems before they require major repair.
- Reapply protective coatings annually. Sealants and waterproof topcoats break down with UV exposure and wear, fresh coats maintain protection.
- Clean window sills regularly to prevent moisture accumulation. Wipe up condensation and water promptly, use appropriate cleaners that don’t strip protective coatings.
- Monitor pet behavior and reinforce training. Watch for signs your dog is testing the sill again and redirect immediately before new damage occurs.
- Touch up paint or finish as needed. Small chips get bigger when moisture penetrates, quick touch ups prevent larger repairs later.
- Maintain proper ventilation. Use exhaust fans and open windows periodically to reduce condensation that degrades wood and finishes over time.
Final Words
Dog chewed window sill repair is completely doable with the right materials, proper sequencing, and patience through the drying stages.
Start with honest damage assessment. Pack the filler firmly, overfill rather than underfill, and don’t skip the grit progression when sanding.
The finish work separates okay repairs from invisible ones, so take time matching color and replicating texture.
Combine physical barriers with behavior training so you’re not repeating this project every few months. Most sills can be saved with filler and finish, but don’t pour effort into wood that’s already compromised by rot or structural damage.
Done right, the repair holds and your dog finds better things to chew.
FAQ
How to fix wood that dog chewed?
To fix wood that a dog chewed, remove all loose wood and splinters, fill gouges with wood filler or epoxy putty using a putty knife, let it cure completely, then sand smooth and refinish with paint or stain to match the surrounding surface.
Can you repair a window sill?
Yes, you can repair a window sill by cleaning damaged areas, filling chewed sections with wood filler, sanding the surface smooth after drying, and refinishing with primer and paint or stain to restore appearance and protect against future damage.
Why does my dog chew the window sill?
Dogs chew window sills due to separation anxiety when owners leave, boredom from insufficient exercise and mental stimulation, trigger-based excitement from watching delivery trucks or wildlife, or puppy teething that creates an urge to chew satisfying textures.
How much does it cost to repair a window ledge?
Window ledge repair costs $30-$80 for DIY materials including wood filler, sandpaper, and paint, while professional handyman services run $150-$400 depending on damage severity and regional labor rates, with full replacement costing $200-$600 including materials and labor.
How long does wood filler take to dry on a window sill?
Wood filler takes 1-2 hours for shallow scratches, 2-4 hours for moderate gouges, 4-6 hours for deep holes, and 6-8 hours or overnight for through-wood damage, with drying time depending on gouge depth and filler thickness applied.
When should I replace a window sill instead of repairing it?
Replace a window sill when more than 50% of the surface is damaged, structural compromise affects window frame integrity, extensive rot or moisture damage is present, or repeated DIY repairs have failed to hold up over time.
What’s the difference between wood filler and epoxy putty for repairs?
Wood filler cures extremely hard, can be sanded and stained, and works best for interior sills with missing chunks, while epoxy putty remains slightly flexible, offers better adhesion for deep gouges, and has limited finishing options but superior structural bonding.
How do I prevent my dog from chewing window sills again?
Prevent window sill chewing by applying clear protective shields after paint cures, using bitter spray deterrents reapplied weekly, increasing exercise routines and mental stimulation, redirecting chewing to appropriate toys, and addressing separation anxiety through gradual behavior modification training.
Can I use steam to fix shallow dents in a chewed window sill?
Yes, steam treatment works for shallow dents by lightly spraying water on the surface and applying a damp cloth with an iron on steam setting to raise wood grain, but this method is not recommended for extreme damage or deep gouges.
How do I match paint on a repaired window sill?
Match paint on a repaired window sill by applying primer first, using paint samples to match existing color, applying thin multiple coats rather than one thick coat, and using the same sheen level as the original finish while feathering edges.
What tools do I need to repair a dog-chewed window sill?
Essential tools include a utility knife or screwdriver for removing loose wood, orbital sander or sandpaper in 120-160-220 grit progression, wood filler or epoxy putty, putty knife for application, and primer with matching paint or stain for finishing.
How do I finish a natural wood window sill after filling chewed areas?
Finish natural wood by selecting stain matching the existing tone, using wood markers to draw faux grain patterns on filled spots to replicate surrounding texture, then applying matching topcoat like varnish or polyurethane for moisture protection and durability.