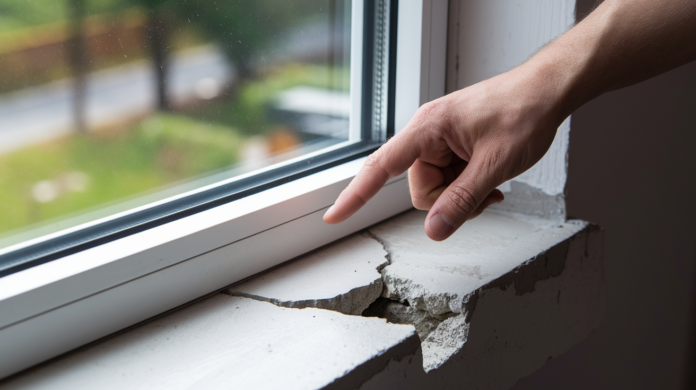

Ignoring cracks in your concrete window sill won’t make them disappear. It just gives water more time to freeze, expand, and turn a $20 fix into a $500 replacement. Most sill damage starts small but gets worse fast once moisture reaches the steel reinforcement inside. The good news: you can handle surface cracks, pitting, and even vertical structural damage with the right materials and a clear plan. This guide walks you through assessing what you’re dealing with, prepping the surface properly, and choosing between caulk, concrete patch, or epoxy injection based on crack type and severity.
Assessing Damage Severity and Choosing Your Repair Approach
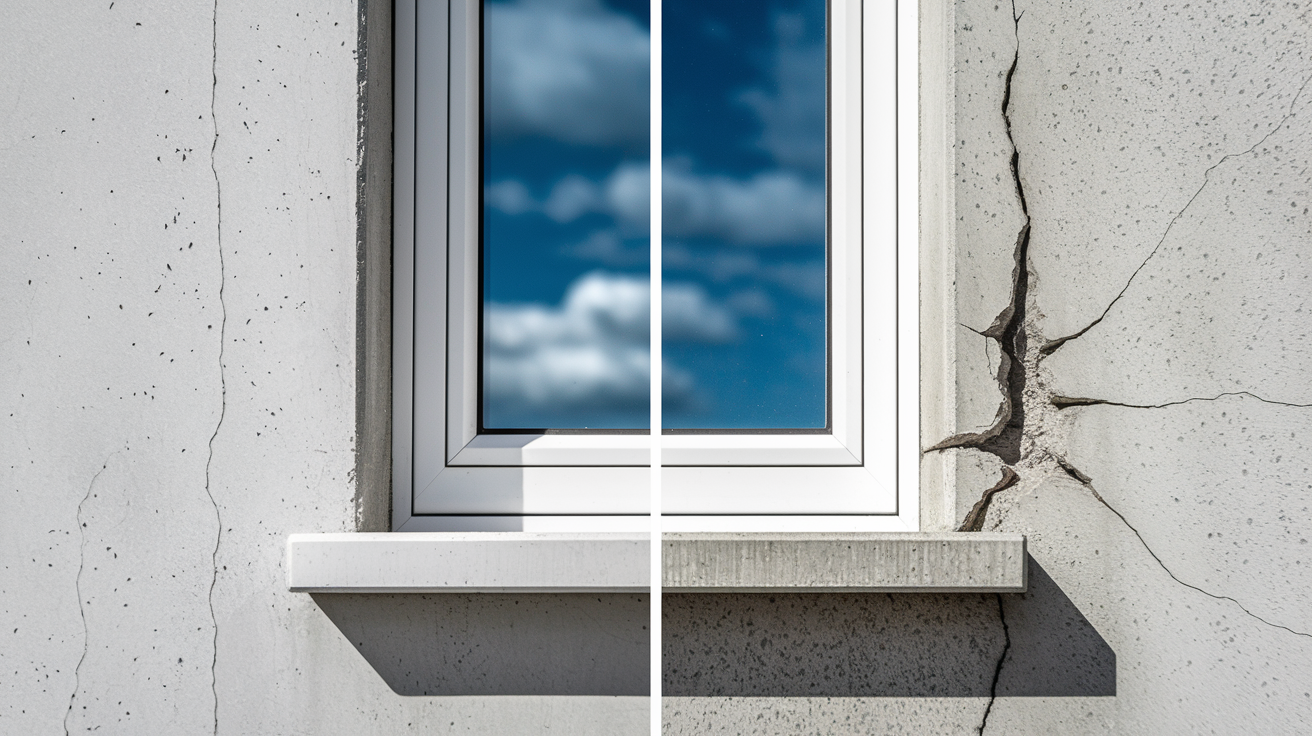
Good concrete window sill repair starts with figuring out what you’re actually dealing with. Get this part right and you won’t waste a weekend on the wrong fix.
Horizontal surface damage shows up as small to medium cracks, pitting, and surface deterioration. You’ll find this stuff on the top face of the sill where weather hits hardest. Hairline cracks under 1/4 inch wide and shallow pitting respond well to caulk filling or concrete patching methods covered in section 4. This type of damage stays surface level and doesn’t mess with structural integrity, which makes it pretty straightforward for DIY repair. Look for discoloration, rough texture, and minor flaking as signs you’re dealing with surface problems only.
Vertical structural cracks go deeper into the concrete and run perpendicular to the ground. These signal more serious issues, often from foundation settlement, temperature stress, or freeze thaw cycles. Vertical cracks wider than 1/4 inch need epoxy injection systems for permanent repair, explained in section 5. The epoxy fills the entire crack depth and bonds the separated concrete back together. If you spot vertical cracks that penetrate all the way through the sill or show signs of movement, those need the structural strength only epoxy provides.
Severity indicators that guide your repair approach:
Crack width: Under 1/4 inch typically needs caulk or patch, over 1/4 inch requires epoxy
Crack orientation: Horizontal suggests surface weathering, vertical indicates structural stress
Damage depth: Surface deterioration responds to patching, deep cracks need injection repair
Spalling extent: Minor flaking can be patched, extensive spalling with exposed steel reinforcement is serious
Extensive structural damage, multiple affected sills, or exposed corroded reinforcement should be evaluated by chartered surveyors or professionals before attempting repairs. If water’s reached steel reinforcement and caused rust expansion, the damage often extends beyond what’s visible on the surface.
Identifying Window Sill Deterioration and Damage Types

Concrete window sills on older properties deteriorate from weathering, thermal expansion, and structural issues. Rain, snow, and freeze thaw cycles attack the surface while temperature swings cause the concrete to expand and contract. Over years, these forces create cracks and surface breakdown. UV exposure also breaks down the concrete binder, leaving a chalky residue and weakened surface layer.
Spalling is the flaking process where concrete surfaces break away in chips or layers. It starts when water seeps through cracks and reaches the steel reinforcement bars inside the sill. The water causes the steel to rust, and rust takes up more space than steel. That expansion creates pressure from inside the concrete, forcing chunks of surface material to pop off. Once spalling starts, it accelerates because more steel gets exposed to moisture.
Visual damage indicators to look for:
Horizontal surface cracks running parallel to the window
Vertical cracks running perpendicular to the ground
Discoloration with rust stains or dark patches
Chalking residue that rubs off on your hand
Crumbling or soft concrete that you can scrape with a screwdriver
Warping where the sill surface isn’t level anymore
Serious structural damage may require professional assessment by chartered surveyors during property inspections. Level 2 or Level 3 RICS surveys specifically identify window sill issues and their severity. If you’re buying or selling a property with damaged sills, get that documentation before deciding whether to repair or replace.
Surface Preparation Before Window Sill Repairs
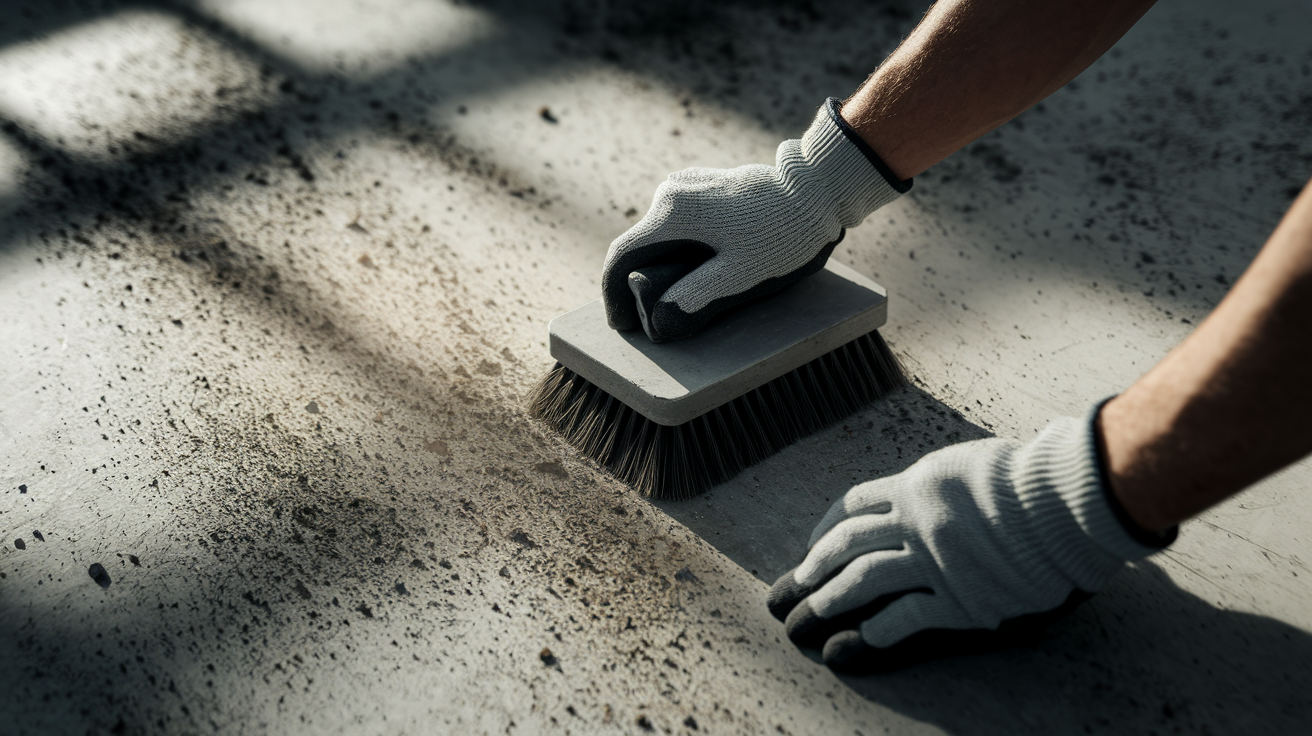
Preparation determines whether your repair lasts five years or five months. Skip this step and watch expensive epoxy or concrete patch fail within the first winter.
Start with a stiff wire brush to clear loose concrete, dirt, and chalking residue from the damaged area. Work the brush back and forth across cracks and around edges where flaking occurs. You need to remove everything that isn’t solidly bonded. If material comes off easily with the brush, it would’ve failed under your repair material anyway. Pay extra attention to crack edges where weak concrete hides. Brush until you’re down to sound, solid concrete that doesn’t crumble.
Sanding with rough grit sandpaper creates an even surface that promotes bonding. Use 60 to 80 grit sandpaper and work it over the entire repair area, not just the damaged spots. The rough texture gives repair materials something to grip. Smooth, glossy concrete won’t hold new material reliably. Sand until the surface feels uniformly rough and you don’t see shiny spots anymore.
Complete preparation sequence:
- Brush away all debris, dirt, and loose concrete with a stiff wire brush
- Sand the entire repair area with 60 to 80 grit sandpaper until uniformly rough
- Rinse thoroughly with water to remove all dust and particles
- Allow 2 full days of drying time before beginning any repair work
Proper preparation ensures repairs last years rather than failing within months. The two day drying period matters because trapped moisture prevents adhesion and can cause new cracks as it tries to escape through your fresh repair. If rain’s forecast, wait for clear weather before rinsing. The concrete needs to be completely dry, not just surface dry.
Repairing Horizontal Concrete Window Sill Surfaces
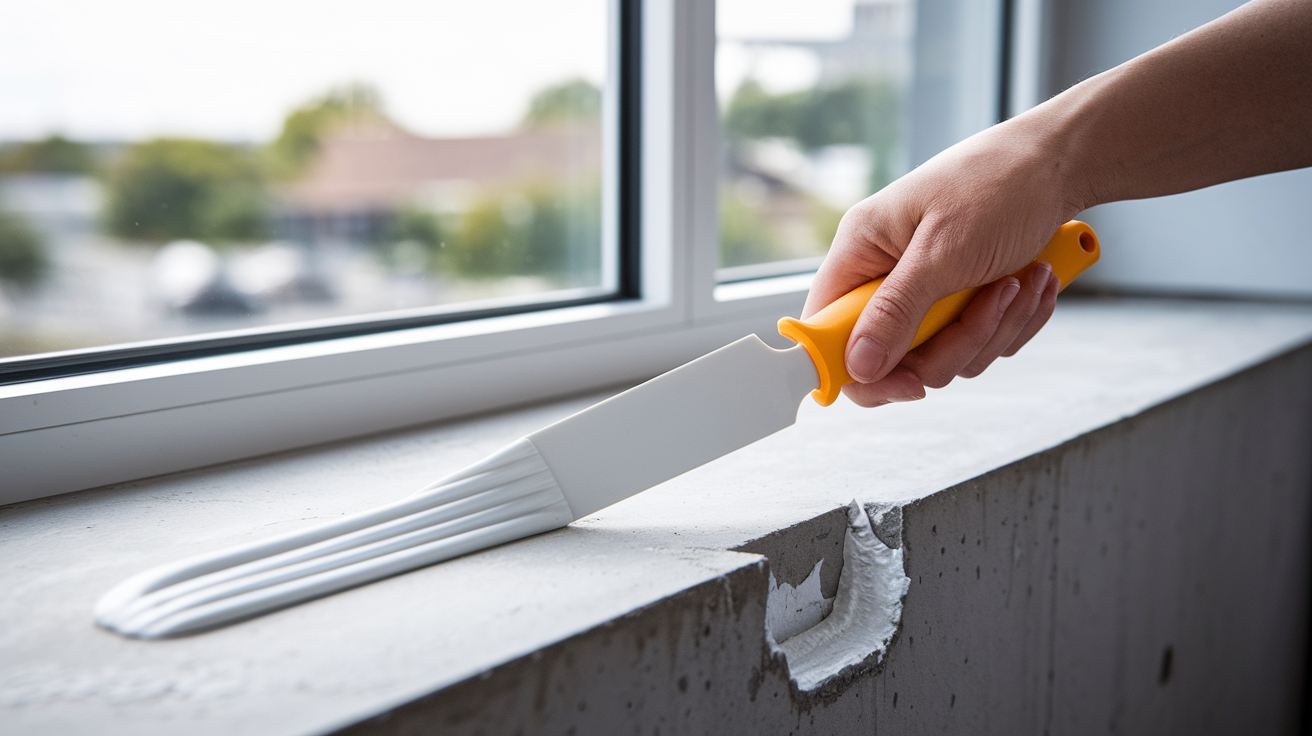
Minor crack filling and full resurfacing need different approaches. Small isolated cracks get spot treatment while extensively damaged surfaces need complete renewal.
Fill small to medium horizontal cracks by overfilling with silicone latex caulk by 1/4 inch above the surface. Use exterior grade caulk rated for concrete and masonry. Apply steady pressure on the caulk gun and work along the entire crack length without stopping. The overfill accounts for shrinkage as the caulk cures. After filling, immediately flatten the bead smooth with a putty knife held at a low angle. Drag the knife along the crack in one continuous motion to create a smooth, level surface that sheds water. Wipe excess caulk off the knife between passes.
Use concrete patch compound for pitted areas and recreating damaged corners and edges. Mix the patch according to package directions until it reaches a thick peanut butter consistency. Press it firmly into pitted areas with a putty knife, working from the edges toward the center. For corners and edges, build up the patch in thin layers, letting each layer stiffen slightly before adding the next. Shape the final layer with a trowel or putty knife to match the original profile. Concrete patch sets faster than full mix concrete, giving you about 20 minutes of working time.
Full resurfacing works for extensively damaged sills with multiple cracks, widespread pitting, or staining that won’t come clean. Apply concrete bonding agent with a paintbrush first, covering the entire sill surface. The bonding agent is a milky liquid that soaks into the old concrete and creates a sticky surface for the new layer to grab. Don’t let it dry completely. Apply new concrete while the bonding agent’s still tacky. Add a 3/8 inch thick layer of concrete using a trowel. Start at one end and work toward the other, smoothing as you go. Trowel the surface until it’s level and has a slight slope away from the window for drainage. The 3/8 inch thickness provides adequate strength without adding excessive weight.
Curing requirements vary by repair type. Let horizontal repairs with caulk or patch compound dry for 1 to 2 days before painting or heavy use. Cure complete resurfacing applications for approximately 5 days. During curing, keep the new concrete damp by misting it with water twice daily. This prevents surface cracking from too fast drying.
Fixing Vertical Cracks in Window Sills with Epoxy

Vertical cracks need different treatment than horizontal damage because gravity works against you and these cracks usually indicate structural issues. Standard patching compounds sag out of vertical cracks before they set.
Space epoxy injection ports 1/2 inch to 1 inch apart along the crack length with one port at each end. The ports are plastic tubes that stick to the concrete surface over the crack. Clean the crack area first so the port adhesive bonds properly. Position each port directly over the crack, not offset to the side. Closer spacing works better for wider cracks because it ensures complete epoxy penetration. Press each port firmly against the concrete and hold for a few seconds.
Wait 3 minutes for the port adhesive to become sticky before filling injection ports. The adhesive needs to grab the concrete firmly or pressure from injection will pop the ports off. Start filling from the lowest port and work toward the highest. Insert the epoxy mixing nozzle into the bottom port and squeeze slowly. You’ll feel resistance as the epoxy fills the crack and travels upward. Stop filling when epoxy appears in the port above. That tells you the crack section’s completely full between those two ports. Move to the next port up and repeat. If epoxy doesn’t appear in the port above after reasonable filling, the crack may have a void or turn. Keep filling until you see epoxy or the port starts to leak around the edges.
Allow epoxy repairs to dry for 2 full days before removing injection ports. The epoxy needs that time to reach full strength. After two days, remove ports by knocking them at a 45 degree angle with a hammer. Hit them sharply at the base where they meet the concrete. They’ll snap off cleanly. If any port bases remain stuck to the surface, sand them flush with 80 grit sandpaper.
Epoxy remains rigid and won’t shift, providing permanent structural repair that adheres to concrete, masonry, bricks, and steel. Unlike flexible caulks that eventually pull away from vertical surfaces, cured epoxy becomes part of the concrete structure. It won’t sag, shrink, or separate. The two part polymer formulation creates a chemical bond that’s actually stronger than the surrounding concrete.
Essential Materials and Tools for Window Sill Repairs

Select quality materials for repairs that last. Cheap products fail faster and cost more when you factor in redo time.
| Material/Tool | Purpose | Recommended Type |
|---|---|---|
| Epoxy mortar | Structural crack repair | Two part polymer modified |
| Silicone latex caulk | Small horizontal cracks | Exterior grade |
| Concrete patch compound | Pitted areas and corners | Quick setting |
| Bonding agent | Resurfacing preparation | Liquid primer |
| Trowel | Smoothing applications | Steel finishing |
| Putty knife | Flattening caulk | Flexible blade |
| Wire brush | Surface preparation | Stiff bristles |
| Rough grit sandpaper | Surface preparation | 60 to 80 grit |
Epoxy mortar provides the most durable solution because it adheres to concrete, masonry, bricks, and steel with an extremely hard wearing finish lasting many years. Once it cures, you can’t chip it off with a hammer. The two part system mixes resin and hardener that chemically react to form a rigid solid. This beats single part products that just dry by water evaporation. Properly applied epoxy mortar sets and lasts for many years without shrinking, cracking, or pulling away from the concrete.
Cost effective purchasing depends on project size. For single sill repairs, buy individual products as needed. For multiple sills or extensive damage, combination kits offer better value. Concrete repair kits typically include patch compound, bonding agent, and sometimes tools for $40 to $80. Epoxy injection kits with mixing nozzles, ports, and adhesive run $60 to $120. Compare the kit contents against buying items separately. Sometimes you’re paying for convenience rather than saving money.
Waterproofing and Sealing Repaired Window Sills
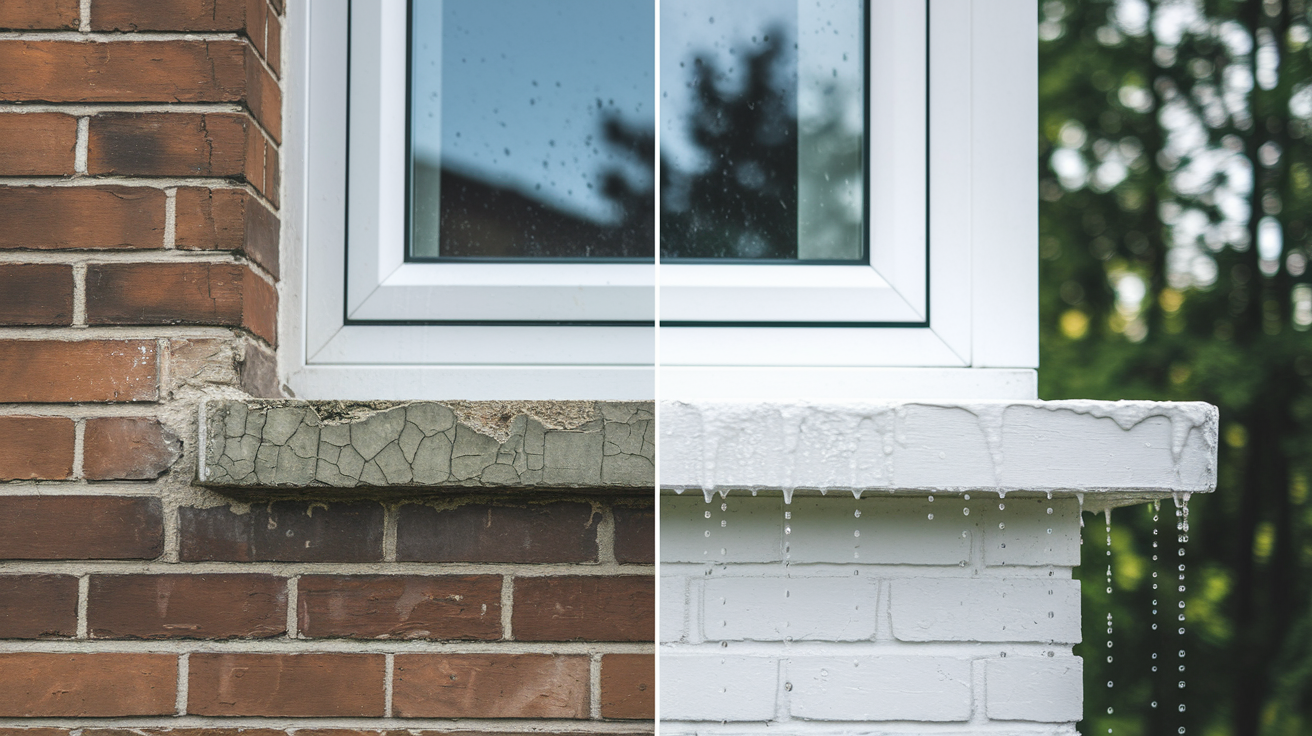
Waterproofing’s essential because untreated cracks allow water infiltration that causes damp issues and steel reinforcement corrosion leading to spalling. The repair work you just completed solves the immediate problem, but water will find any weak spots you leave exposed. Rain hits window sills harder than most building surfaces because they stick out and catch weather from above and below. Without proper sealing, your repair starts deteriorating the first winter.
Smooth the surface once repairs are fully cured. That’s 5 days for concrete applications, 2 days for epoxy repairs. Use fine grit sandpaper in the 120 to 150 range and work it over the repaired areas until they blend with the surrounding concrete. Pay attention to edges where new material meets old. If you can feel a ridge with your finger, keep sanding. The goal is a uniform surface without bumps or depressions where water can collect. Wipe away all sanding dust with a damp cloth before moving to the next step.
Apply masonry primer specifically designed for exterior concrete to improve paint adhesion and provide an additional moisture barrier. Brush or roll the primer onto the entire sill surface, not just repaired areas. Masonry primer penetrates into the concrete pores and creates a bonding layer that regular paint can grab. It also seals the concrete against moisture penetration from below. Work the primer into any remaining small cracks or porous areas with the brush tip. Let it dry according to manufacturer instructions, typically 2 to 4 hours.
Complete finishing process:
- Ensure repairs are fully cured (5 days for concrete, 2 days for epoxy)
- Smooth surface with 120 to 150 grit fine sandpaper until uniform
- Apply masonry primer and let dry per manufacturer instructions
- Apply first coat of exterior grade masonry paint with brush or roller
- Apply second coat after recommended drying time (usually 4 to 6 hours)
Color matching existing sills works if only one or two need repair. Bring a paint chip or photo to the paint store for computer matching. If you’re painting multiple sills, consider doing all of them for uniform appearance. Mismatched sills stand out more than slightly faded paint across all of them. Two coats of quality exterior masonry paint should last 5 to 7 years before needing a refresh.
Caulk the joints between sill and window frame with exterior grade silicone caulk rated for concrete and vinyl or wood. This joint’s where water most often sneaks behind the sill. Run a thin bead along the entire joint and smooth it with a wet finger. Apply clear concrete sealant over the entire painted sill for added protection. The sealant soaks into the paint and concrete, creating a water repellent surface that also resists staining. Reapply sealant every 2 to 3 years as part of preventive maintenance. You’ll know it’s time when water stops beading up on the surface.
Preventing Future Window Sill Damage
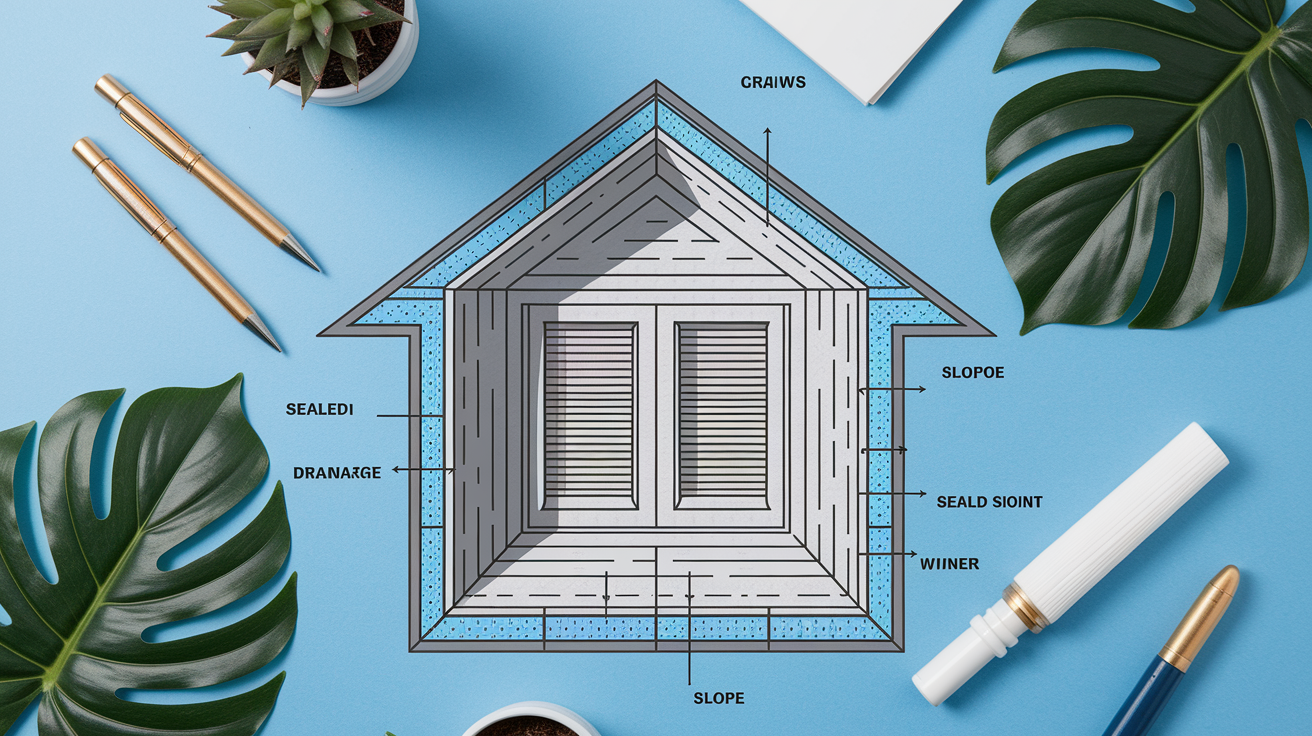
Prevention’s more cost effective than repeated repairs. An hour of maintenance now beats a weekend of repair work later.
Ensure window sills have adequate slope to direct water away from the building, preventing pooling that accelerates deterioration. The minimum is a 5 degree angle, which translates to about 1/8 inch drop per foot of sill length. Check the slope by placing a level on the sill. The bubble should sit slightly off center toward the window. If water pools on your sill after rain, you’ve got a drainage problem. During resurfacing repairs, build in proper slope with your concrete layer. On existing sills without damage, you can add a thin layer of self leveling concrete sloped correctly.
Maintain caulk joints between the sill and window frame to prevent water infiltration behind the concrete. Check these joints twice yearly and re-caulk whenever you see gaps, cracks, or separation. Water that gets behind the sill can’t dry out easily and causes hidden damage that shows up later as spalling and structural cracks. Pull out old deteriorated caulk completely before applying new. Leaving old caulk in place prevents proper bonding of the new bead.
Prevention practices to follow:
Inspect sills twice yearly (spring and fall) for early damage signs
Clean debris and leaves regularly so water can drain freely
Maintain proper drainage slope across the entire sill surface
Re-caulk joints between sill and frame every 2 to 3 years
Apply concrete sealant every 2 to 3 years to maintain water repellency
Address cracks immediately before they worsen and let water penetrate deeper
Freeze thaw cycle damage in cold climates requires special attention. Water that seeps into small cracks expands when it freezes, making the cracks wider. Do fall waterproofing before the first freeze to keep water out. Focus on sealing all cracks and joints before winter weather arrives. If you spot new cracks in spring after the thaw, repair them right away before the next winter cycle.
Proper ventilation around windows reduces condensation that contributes to concrete deterioration. Interior moisture that condenses on cold window frames can drip onto sills and create constant dampness. Make sure window weep holes aren’t blocked. These small openings at the bottom of the frame let condensation drain outside instead of onto the sill. If you see water stains or mold on the interior sill edge, you’ve got a condensation problem that needs airflow solutions.
When to DIY versus Hiring Professional Window Sill Repair

Assess damage complexity before starting work. Some repairs need specialized equipment or structural knowledge you won’t find at the hardware store.
DIY appropriate repairs include surface cracks less than 1/4 inch wide, minor chipping and pitting, cosmetic resurfacing, and basic caulking. These projects require only basic tools like brushes, putty knives, trowels, and materials available at any home center. If you can follow the prep and application steps, and you’ve got the patience for proper curing time, you’ll get professional quality results. Surface damage that doesn’t affect structural integrity is forgiving. Mistakes can be sanded down and redone without major consequences. A weekend DIYer with basic concrete experience can handle these repairs confidently.
Situations requiring professional help include structural cracks wider than 1/4 inch, extensive spalling exposing steel reinforcement, multiple sills needing repair, load bearing concerns, or building code compliance issues. Wide structural cracks may indicate foundation problems that need engineering assessment before any repair happens. Exposed corroded steel reinforcement means the damage goes deeper than surface repair can fix. Professionals may need to remove concrete, treat or replace rebar, and rebuild the sill. When you’re dealing with more than two or three damaged sills, the scope suggests a building wide issue worth professional diagnosis. Load bearing sills that support weight above them shouldn’t be modified without structural calculations.
| Repair Type | DIY Feasibility | Estimated Cost |
|---|---|---|
| Surface crack filling | High | $20 to $50 |
| Minor patching | High | $30 to $80 |
| Full resurfacing | Medium | $50 to $150 |
| Structural crack repair | Low | $200 to $500 professional |
Chartered surveyors can assess damage severity during property inspections if uncertainty exists. Level 2 or Level 3 RICS surveys specifically evaluate window sill condition and identify whether damage is cosmetic or structural. This assessment’s valuable if you’re buying a property with damaged sills and need to know repair costs before closing. Surveyors can also spot patterns across multiple sills that indicate underlying issues like foundation settlement or chronic moisture problems.
Common Window Sill Repair Mistakes to Avoid

Simple mistakes undermine even quality materials. Most repair failures happen because someone rushed through critical steps.
Rushed curing causes the most common failures. Not allowing the full 5 day cure time for concrete applications or the 2 day period for epoxy repairs leads to weak bonds and premature cracking. New concrete reaches about 70% strength after 7 days and continues gaining strength for weeks. Cut that time short and your repair stays soft enough to crack under thermal stress or impact. The same goes for epoxy. It may look dry after a few hours, but full chemical curing takes 48 hours. Load it too early or expose it to temperature extremes, and it can delaminate from the concrete. Wait the full time even when you’re anxious to finish the job.
Application errors include overfilling cracks without proper finishing, using indoor products for exterior repairs, and applying repair compounds in extreme temperatures or weather conditions. Overfilled cracks that aren’t smoothed properly create high spots where water collects and freezes. Indoor rated products break down under UV exposure and temperature swings within months. Most concrete and epoxy products specify an application temperature range between 50°F and 90°F. Outside that range, they don’t cure properly. Don’t apply materials if rain’s forecast within 24 hours. Water contamination during curing ruins adhesion.
Mistakes to avoid:
Applying materials to wet or damp surfaces that prevent proper bonding
Painting before full curing’s complete, trapping moisture inside
Neglecting to seal joints after repair, allowing water infiltration
Using incompatible products together that don’t bond or react badly
Patience during application and curing determines whether repairs last years or fail within months. The material costs for a proper repair run $50 to $150. The time investment’s maybe 6 to 8 hours spread over a week when you factor in prep, application, and curing periods. Rush it to save a few hours, and you’ll redo the whole job in a year when it fails. Follow the cure times, use the right materials for the conditions, and prep the surface properly. That’s the difference between a repair that outlasts your ownership and one that fails before you finish painting.
Final Words
Concrete window sill repair becomes straightforward once you match the right technique to your specific damage type.
Surface cracks and pitting respond well to caulk filling and patching, while vertical structural cracks need epoxy injection for lasting results.
The real secret isn’t fancy materials—it’s thorough surface prep, proper curing time, and waterproofing that prevents the next round of damage.
Take the assessment seriously, follow the sequence, and your repairs will outlast the next few winters without callbacks.
FAQ
Can you put a skim coat of concrete over existing concrete?
You can put a skim coat of concrete over existing concrete after proper surface preparation. Clean the surface thoroughly with a wire brush, remove all loose material, rinse, and let dry for 2 days. Apply concrete bonding agent with a paintbrush before adding your 3/8-inch-thick skim coat layer. The bonding agent creates adhesion between old and new concrete. Without it, the new layer will delaminate and fail. Cure the resurfaced sill for approximately 5 days before painting or sealing.
How much does it cost to repair a concrete window sill?
Concrete window sill repair costs depend on damage severity and whether you DIY or hire professionals. Surface crack filling runs $20-50 for materials, minor patching costs $30-80, and full DIY resurfacing runs $50-150. Professional structural crack repairs typically cost $200-500. Extensive damage requiring chartered surveyor assessment and professional repair will cost more. Material quality affects price, with epoxy mortar systems costing more than basic concrete patch but lasting significantly longer.
Can crumbling concrete be repaired?
Crumbling concrete can be repaired if the damage hasn’t compromised structural integrity or exposed corroded steel reinforcement. Remove all soft, crumbling material with a wire brush until you reach solid concrete. Sand the area with rough-grit sandpaper, rinse, and let dry for 2 days. Apply bonding agent, then rebuild the section with concrete patch compound or epoxy mortar. If crumbling is extensive or steel reinforcement is visible and corroded, professional assessment is needed before attempting repair.
How do you repair a damaged sill?
Repairing a damaged sill starts with accurate damage assessment to match the right repair method. For horizontal surface cracks and pitting, clean the area thoroughly, overfill cracks with silicone latex caulk by ¼ inch, then flatten with a putty knife. For vertical structural cracks, use an epoxy injection system with ports spaced ½ to 1 inch apart, filling from lowest to highest port. Allow repairs to cure fully before waterproofing and painting to prevent future moisture infiltration.