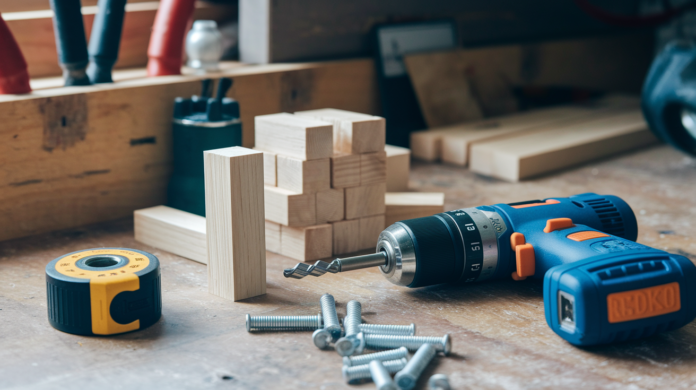

Ever wonder why your neighbor’s cabinets pulled out of the wall two years after installation? Skipped blocking. Cabinet blocking gives you solid wood attachment points inside wall framing instead of relying on drywall anchors that fail under load. This step-by-step guide walks you through measuring, cutting, and installing blocking correctly so your cabinets stay put for decades. You’ll learn proper height positioning, how to handle uneven walls, and when plywood backing beats individual blocking pieces. Get the blocking right now and you won’t be patching drywall and re-hanging cabinets later.
Essential Tools and Materials for Cabinet Blocking
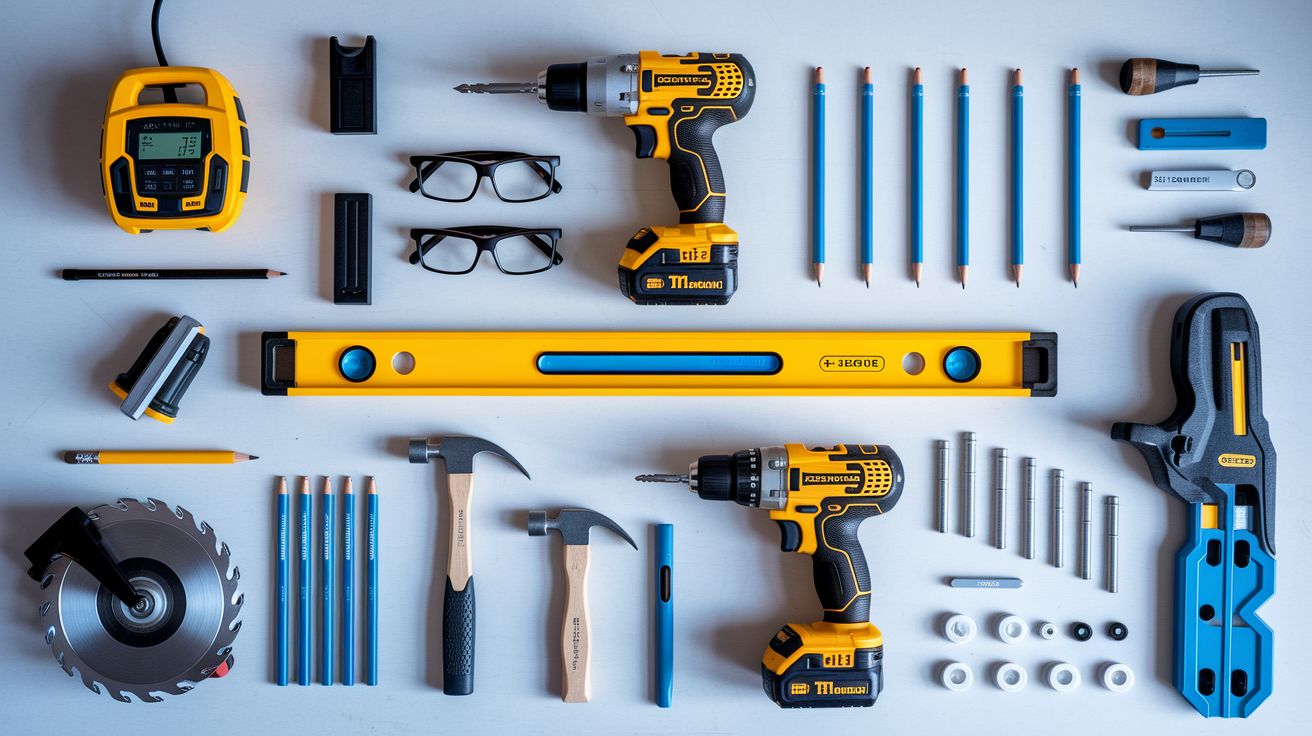
Get everything together before you start. Running back to your truck or making hardware store trips eats hours and kills your focus when you’re trying to hit exact measurements.
Required Tools:
- Stud finder (electronic models spot studs through drywall and flag wiring)
- Tape measure (25 footer minimum so you can measure full walls)
- Power drill with bits (drill pilots and drive screws without splitting lumber)
- Miter saw or circular saw (cuts blocking to exact length between studs)
- 4 foot level (checks horizontal alignment across multiple studs)
- Pencil and marking tools (mark stud locations and blocking heights)
- Safety glasses and hearing protection
- Hammer (taps blocking into position before you fasten)
- Utility knife (scores drywall for retrofit cuts)
- Drywall saw (cuts access holes in finished walls for retrofit work)
Lumber and Hardware Materials:
- 2×6, 2×8, or larger dimensional lumber (2×6 minimum, though 2×8 gives better screw hold)
- 3 inch wood screws (fasten blocking into studs)
- 1.5 inch nail plates (protect utilities from cabinet screws)
- Wood shims (level blocking on uneven surfaces)
- Scrap framing lumber (free blocking material if you’ve got cutoffs)
- 1/2 inch plywood sheets (alternative to blocking for long cabinet runs)
- Construction adhesive (optional, adds grip between blocking and studs)
Scrap framing lumber cuts your material costs way down if you’re working on new construction or have access to cutoffs from other projects. For kitchens with 10 feet or more of continuous cabinets, installing 1/2 inch plywood across the entire wall area behind the cabinets creates a solid backing surface and often costs less than buying multiple pieces of dimensional lumber. The plywood method also kills the risk of missing a blocking piece when you’re hanging cabinets later. Both wood and metal stud walls use the same wood blocking materials, though metal studs need pre drilling before driving screws to avoid stripping the thin metal.
Complete Step by Step Blocking Installation Workflow

Cabinet blocking means installing solid wood pieces horizontally inside wall framing to create secure attachment points for cabinets. This technique gives you strong, stable mounting by letting cabinet screws fasten directly into solid wood instead of relying on drywall anchors that pull out under load.
-
Locate and mark all wall studs using a stud finder, marking both edges of each stud with a pencil, then drawing a vertical line down the center where studs actually sit.
-
Check for existing utilities by looking for outlets, switches, and plumbing fixtures that show hidden electrical lines or pipes, then use a non contact voltage tester near any suspected wiring.
-
Measure and mark blocking height positions based on where your cabinet tops and bottoms will sit, marking horizontal lines across multiple studs with a 4 foot level so you get consistent height.
-
Measure stud spacing accurately between each pair of studs because framing rarely sits at perfect 16 inch centers. Actual spacing varies from 14.5 to 16.5 inches in most walls.
-
Cut blocking lumber to proper length so each piece fits snug between studs without forcing or gaps, cutting 1/8 inch short if studs are tight to avoid bowing the framing.
-
Position blocking horizontally between studs at your marked heights, holding each piece flat against the stud faces with the widest dimension facing out toward the room.
-
Check horizontal level alignment by placing your 4 foot level across the face of the blocking before fastening, adjusting as needed with shims behind the blocking.
-
Drill pilot holes through the blocking face into the stud at an angle, positioning two screws per stud connection about 1 inch from the blocking’s top and bottom edges.
-
Secure blocking to studs with 3 inch wood screws, driving screws until the blocking sits tight against studs without overdriving and crushing the wood.
-
Verify blocking is flush with stud faces by running your hand across the surface. Blocking that sticks out past the studs pushes drywall or cabinets away from the wall.
-
Install nail plates over blocking wherever plumbing or electrical lines run through or near the blocking path, protecting utilities from cabinet mounting screws that could puncture pipes or hit wiring.
-
Test stability by grabbing the installed blocking and pulling hard. Any movement means you don’t have enough fastening and need additional screws.
New construction blocking installs before drywall goes up, giving you clear sight lines and easy access to all framing members. Retrofit installations in finished walls require cutting out drywall sections, installing the blocking between exposed studs, then patching the drywall back in place with joint compound and tape. Retrofit work takes roughly three times longer and creates dust and debris, but it’s your only option when adding cabinets to existing rooms.
Check that blocking doesn’t move when you apply direct downward pressure before you install drywall or hang cabinets. Loose blocking defeats the entire purpose and lets cabinets sag or pull away from the wall once they’re loaded with dishes and food.
Determining Proper Blocking Height for Different Cabinet Types

Accurate measurements prevent misaligned cabinets and wasted blocking materials. Measure twice, cut once isn’t just a saying. It’s how you avoid tearing out wrongly placed blocking.
| Cabinet Type | Standard Height | Blocking Position |
|---|---|---|
| Kitchen Base Cabinets | 34.5 inches tall | Top edge at 34 inches from floor |
| Kitchen Upper Cabinets | 30 to 36 inches tall | 54 inches from floor (first row), 72 inches (second row), 90 to 108 inches (top row) |
| Bathroom Vanities | 30 to 32 inches tall | Top edge at 30 inches from floor |
| Office Cabinets | 30 inches tall | Top edge at 29 inches from floor |
| Tall Pantry Cabinets | 84 to 96 inches tall | Multiple rows every 18 to 24 inches vertically |
Install blocking with the top edge positioned where the cabinet top will sit, or install with the bottom edge where the cabinet bottom lands. Either method works as long as you’re consistent across the installation. Top edge blocking gives you a clear reference point when you’re hanging cabinets because you can rest the cabinet directly on the blocking during installation before driving screws.
Upper cabinets need multiple blocking rows because they’re taller and hold significant weight across their height. The first blocking row sits 54 inches from the floor, which is 18 inches above standard 36 inch base cabinets and provides support near the bottom of upper cabinets. A second row goes 18 inches higher at 72 inches, supporting the middle section. For 36 inch tall upper cabinets, add a third row at 90 inches to catch the top mounting rail. This spacing distributes cabinet weight across three solid attachment points instead of concentrating stress at just one height.
Blocking Installation for Uneven Walls and Sloped Floors
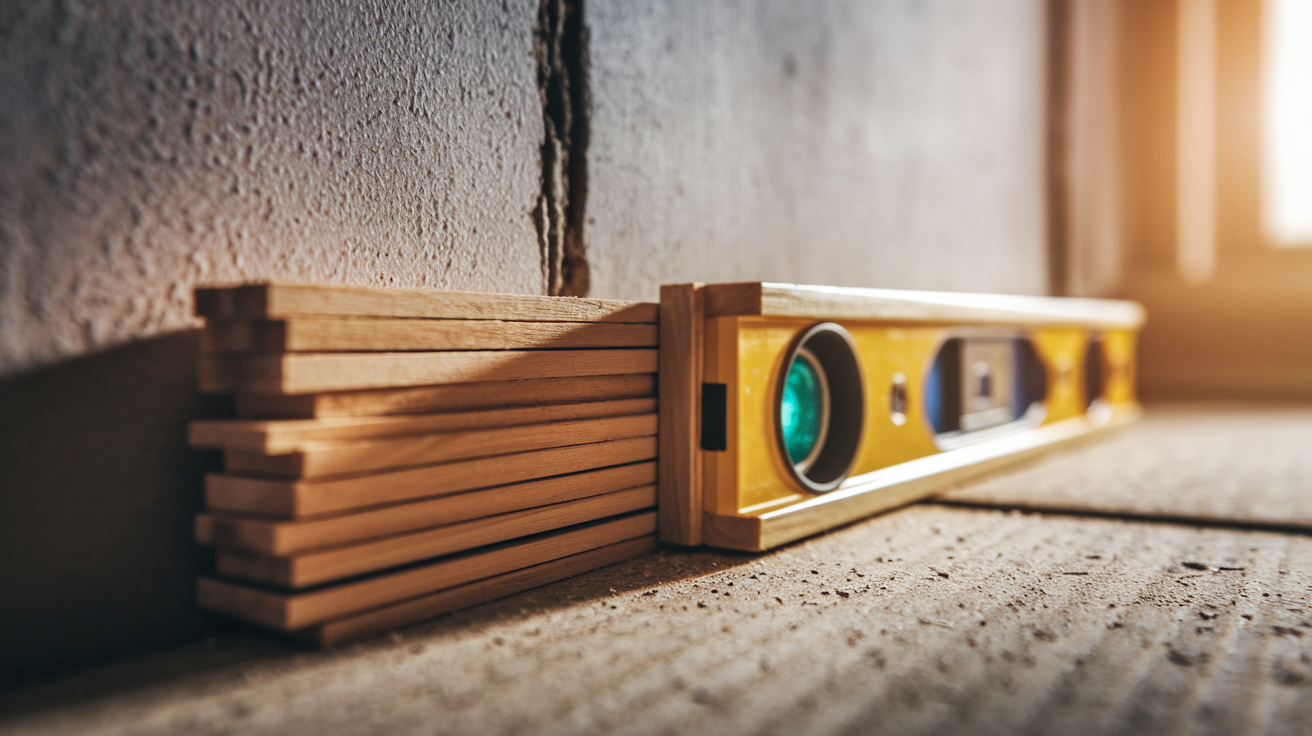
Most walls aren’t perfectly flat, and plenty of floors slope slightly from settling or original construction errors. Pretending everything is square and level leads to cabinets that look wrong and don’t close properly.
Check your wall for flatness by holding a long straightedge or taut string line along the wall surface at blocking height. Gaps behind the straightedge show low spots, and areas where it rocks show high spots. If variations exceed 1/4 inch, you’ll need to adjust blocking position to create a flat mounting plane for cabinets.
When floors slope up toward the rear wall, install blocking at a consistent distance away from the wall instead of tight against it. For a 1/2 inch floor slope, positioning blocking 1 inch off the wall keeps all blocking at the same height from the floor even though the wall itself angles. Use stacked pairs of shims behind the blocking to create exact spacing. Two pairs of shims stacked opposite directions makes a stable 1/4 inch spacer that won’t compress under screw pressure. This method keeps blocking level front to back so cabinets sit properly when you install them.
Out of plumb walls (walls that lean in or out) need blocking shimmed away from the wall surface at top or bottom to create a vertical mounting plane. Check plumb with a 4 foot level held vertically against the wall. If the wall leans out at the top, shim blocking thicker at the bottom. If it leans in at the top, shim thicker at the top of each blocking piece.
Installing blocking further from the wall increases your counter depth. Standard counters sit 24 inches deep, but blocking positioned 1 inch off the wall creates 25 inch deep counters. This works fine and actually gives you more workspace, but verify your cabinets will sit flush with nearby appliances or ranges that can’t move forward.
Alternative Plywood Backing Systems for Long Cabinet Runs

Plywood backing replaces individual blocking pieces with solid sheets that cover the entire wall area where cabinets will mount. This creates a continuous mounting surface with no gaps or missed blocking locations.
Plywood backing makes more sense than individual blocking when you’re installing 8 feet or more of continuous cabinets along one wall, when cabinets will hold heavy loads like dishes and small appliances, or when you’re building out an entire kitchen and have multiple walls of cabinets. Instead of measuring and cutting 15 to 20 individual blocking pieces, you install four or five plywood sheets and you’re done. Every cabinet screw hits solid wood no matter where you drill.
The three zone plywood installation method divides the wall into separate areas matched to cabinet heights. Install 1/2 inch plywood across the lower 28 inches of the wall for base cabinet backing, leaving the surface about 6 inches shorter than base cabinet height. Install standard drywall in the middle section between base cabinets and upper cabinets where nothing mounts to the wall. Install another plywood layer starting at 54 inches from the floor and extending up to cover the full height of your upper cabinets, usually another 36 to 42 inches. This gives you solid backing exactly where you need it without paying for plywood across wall sections that don’t carry any load.
Plywood backing costs more in materials than blocking. A 4×8 sheet of 1/2 inch plywood runs $40 to $60 versus $8 to $12 for an 8 foot 2×8. But installation goes faster because you’re not measuring stud spacing or cutting individual pieces. The continuous backing also spreads cabinet weight more evenly across studs and prevents load concentration. For heavy cabinets or installations where you’re not certain of final cabinet positioning, plywood backing provides more flexibility.
Retrofit Blocking Installation in Existing Finished Walls
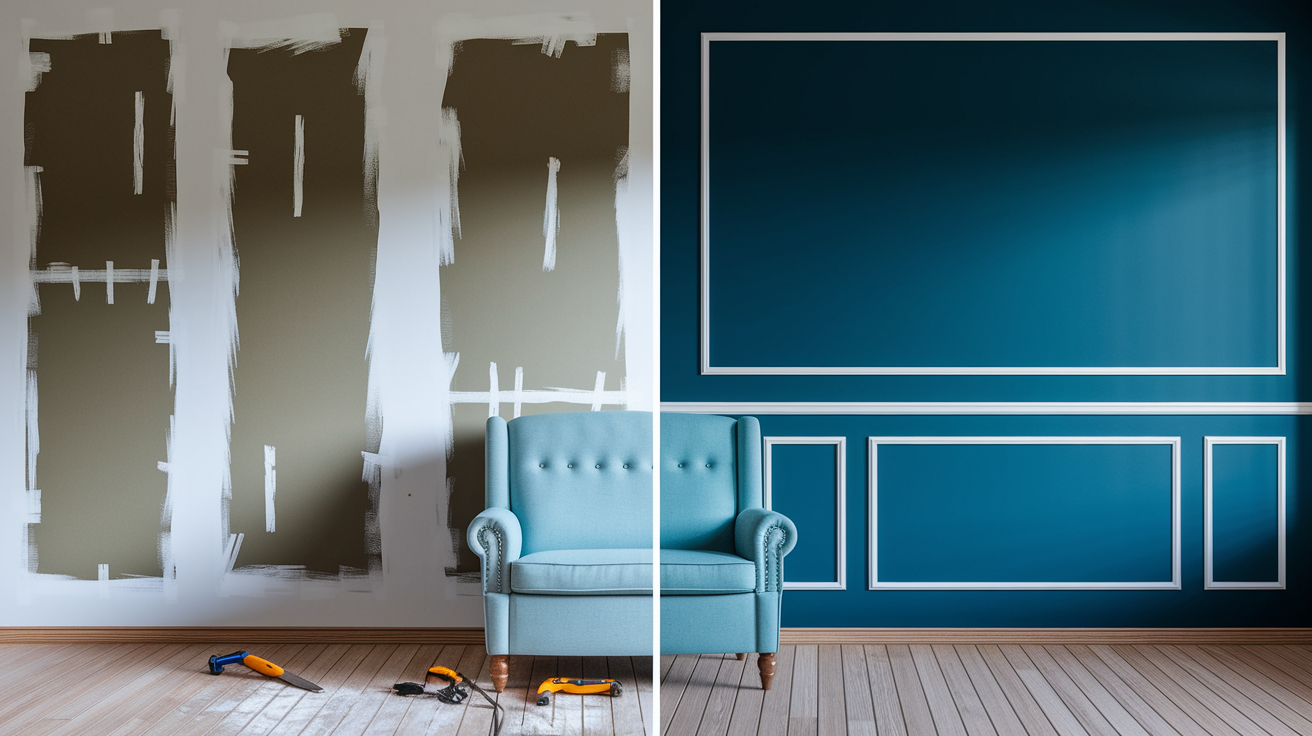
Adding blocking after drywall is already installed and painted is more work than new construction blocking, but it’s completely doable if you plan your cuts and take your time on the patching.
Mark your blocking locations on the finished wall surface using a stud finder and level, drawing horizontal lines where blocking needs to sit and vertical lines showing each stud location. Cut the drywall along your marked lines using a utility knife and drywall saw, removing rectangular sections large enough to work through, typically 6 inches tall by the full width between adjacent studs. Pull out the cut drywall sections and set them aside if they’re intact enough to reinstall, or have new drywall pieces ready to cut as patches. Install your blocking between the exposed studs using the same techniques as new construction: level positioning, pilot holes, 3 inch screws into studs, and nail plates where needed. Replace the drywall sections by screwing them to the blocking and adjacent studs, or install new drywall patches cut to fit the openings exactly. Tape all seams with paper drywall tape and joint compound, applying three coats with sanding between coats. Prime and paint the patched areas to match the existing wall finish.
Minimize drywall removal by cutting narrow horizontal access strips just wide enough to install blocking through, 4 to 6 inches tall instead of cutting out full sections between studs. This reduces patching work significantly but makes positioning and fastening blocking more difficult because you’re working through a limited opening. The tradeoff depends on whether you’d rather cut and patch more drywall or spend extra time wrestling blocking into position.
Skip full blocking installation and use alternative mounting methods when you’re only hanging a single cabinet or light fixture rather than a full kitchen. Heavy duty toggle bolts or snap toggle anchors rated for 100 plus pounds hold surprisingly well in 1/2 inch drywall without blocking. French cleats, matching beveled boards mounted to wall studs and cabinet backs, distribute weight well and allow you to hang cabinets by simply lifting them onto the wall cleat. These alternatives work great for one or two cabinets but aren’t practical for whole room installations where blocking makes more sense despite the extra work.
Common Cabinet Blocking Installation Mistakes to Avoid
Learning from typical errors saves you from pulling out and reinstalling blocking after cabinets don’t mount properly. Most blocking problems come down to poor planning or rushing through the installation.
- Using 2×4 lumber instead of 2×6 minimum doesn’t provide enough screw hold depth
- Driving only one screw per stud connection allows blocking to pivot and move
- Installing blocking at wrong heights so cabinet mounting rails miss the wood entirely
- Forgetting nail plates where pipes or wiring cross blocking paths, risking punctured utilities when cabinet screws go in
- Cutting blocking too short and leaving gaps that create weak spots in the mounting surface
- Skipping level checks and installing blocking that follows wavy stud lines
- Spacing blocking sections more than 24 inches apart horizontally, creating unsupported areas
- Not shimming behind blocking on uneven walls, leaving the blocking face at inconsistent distances from room
Undersized lumber means cabinet screws only engage 1.5 inches of wood instead of 3 plus inches with proper blocking. That’s the difference between a screw that holds under load and one that pulls out when the cabinet is fully loaded. Single screws per stud connection let blocking rotate when you’re driving cabinet screws into it, throwing off your level and making cabinet installation frustrating.
Prevent these mistakes by double checking measurements before cutting any lumber, using a checklist to verify each blocking piece is level and properly fastened before moving to the next section, and doing a final walk through where you tug hard on every blocking piece to confirm solid attachment. If blocking moves at all during your quality check, add screws until it doesn’t. Run your hand along the blocking face to feel for pieces that stick out past the stud plane. Take photos of the installed blocking before drywall goes up. This gives you a reference for exactly where the solid wood sits when you’re mounting cabinets weeks or months later.
Load Bearing Capacity and Cabinet Weight Distribution
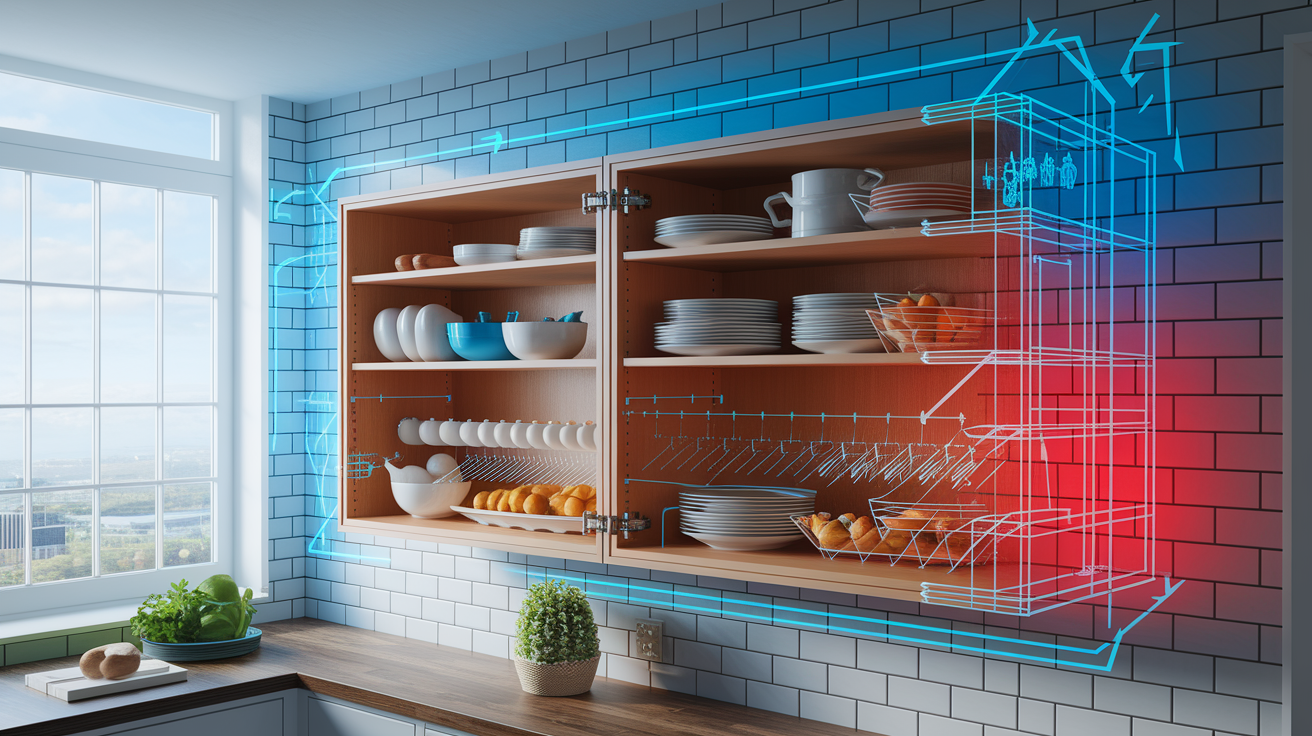
Understanding how much weight blocking needs to support prevents overloading and eventual failure. Cabinets feel light when empty but get heavy fast once you load them with dishes, canned goods, and kitchen equipment.
A standard 36 inch wide base cabinet weighs 60 to 90 pounds empty depending on construction quality and materials. Fill that same cabinet with stacks of plates, mixing bowls, and small appliances and the total weight jumps to 200 to 300 pounds. Upper cabinets weigh less, 30 to 50 pounds empty, but loaded with dishes and glassware they reach 150 to 200 pounds. The weight difference between empty and loaded cabinets is why proper blocking matters.
Blocking distributes cabinet weight to the wall studs instead of concentrating stress on a few drywall anchors. When you mount a cabinet directly to blocking, cabinet screws transfer weight into the blocking, and blocking screws transfer that weight into studs, which carry the load down to the foundation. This creates a solid load path that prevents sagging and pulling away from the wall over time. Without blocking, cabinet mounting screws rely on drywall to carry weight, but drywall crumbles under sustained loads above 50 pounds, which is why cabinets mounted with anchors alone often fail.
| Cabinet Type | Empty Weight | Loaded Weight | Recommended Blocking |
|---|---|---|---|
| Base Cabinets (36″ wide) | 60 to 90 lbs | 200 to 300 lbs | 2×8 blocking, 2 rows |
| Wall Cabinets (30″ wide) | 30 to 50 lbs | 150 to 200 lbs | 2×6 blocking minimum, 3 rows |
| Pantry Cabinets (24″ wide x 84″ tall) | 150 to 200 lbs | 400 to 600 lbs | 2×8 blocking, 4 rows minimum |
| Specialty Cabinets (glass doors, display) | 40 to 70 lbs | 100 to 180 lbs | 2×6 blocking, 2 rows |
Calculate total load by adding up the loaded weight of all cabinets mounting to one blocking section. If you’re running three 36 inch base cabinets on one wall, you’re looking at 600 to 900 pounds total that the blocking needs to support. Standard 2×8 blocking fastened to studs with two 3 inch screws per stud connection easily handles this load with a safety factor built in, but 2×4 or 2×6 blocking with single screws per connection doesn’t.
Beyond Kitchen Cabinets: Other Blocking Applications
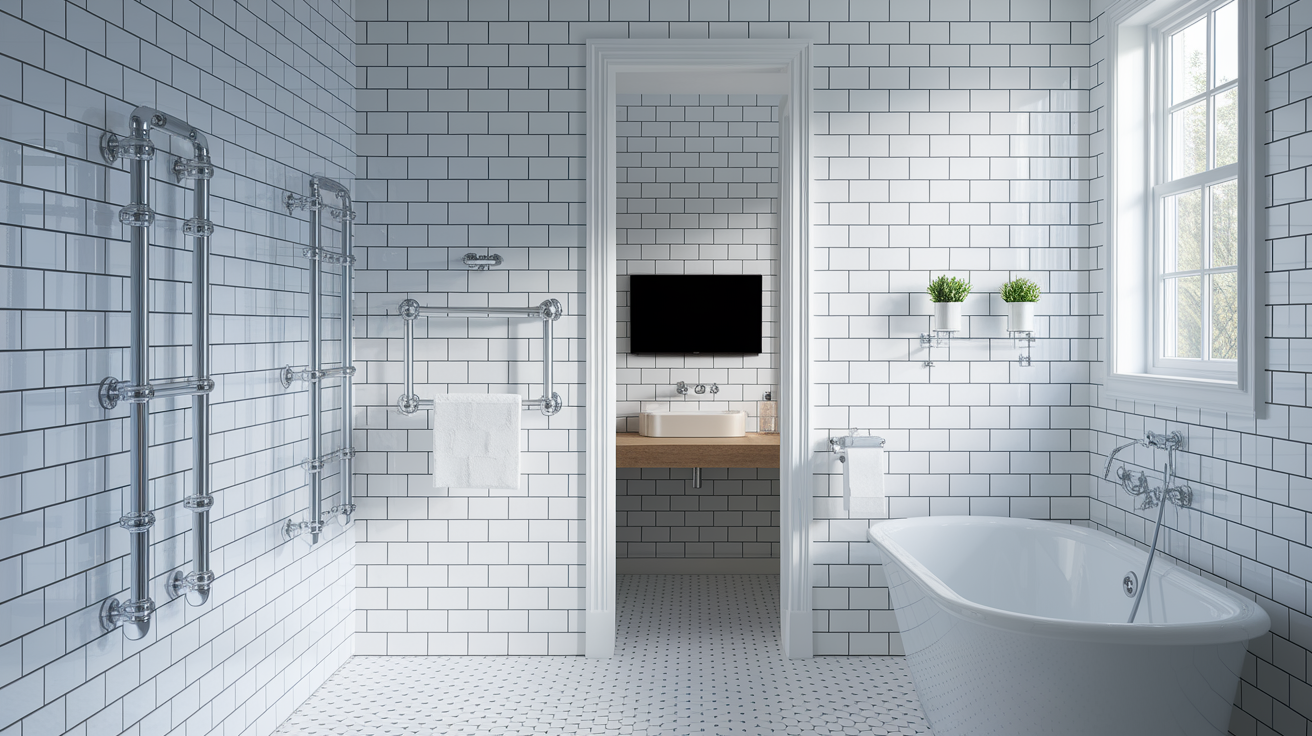
Blocking techniques work for any fixture that mounts to walls and carries significant weight or gets pulled on regularly. The same principles that keep cabinets secure apply to bathroom hardware, handrails, and mounted electronics.
- Bathroom towel bars need blocking to resist daily pulling force
- Toilet paper holders stay tight with backing instead of using hollow wall anchors
- Grab bars require solid backing per ADA codes and safety standards
- Handrails along stairs need blocking at mounting bracket locations
- TV wall mounts for screens over 40 inches should mount to blocking, not just studs
- Heavy picture frames and mirrors over 30 pounds need backing
- Chair rail and wainscoting install faster and hold better with continuous blocking
- Crown moulding backing gives nailing surface where ceiling joists don’t line up
- Floating shelves need solid blocking to cantilever weight without sagging
Bathroom grab bars are the most critical non cabinet blocking application because they prevent falls. Building codes require grab bars to handle 250 pounds of force in any direction, which standard drywall anchors can’t provide. Install 2×6 or 2×8 blocking horizontally at grab bar height, typically 33 to 36 inches from the floor, wherever grab bars will mount. This includes next to toilets, inside showers, and alongside bathtubs. Even if you’re not installing grab bars now, adding blocking during construction or renovation costs almost nothing and provides mounting options later.
Planning blocking during framing or renovation lets you add backing for future needs without knowing exact fixture locations. Install continuous blocking at common mounting heights: 48 inches for towel bars and coat hooks, 54 inches for upper cabinets and shelving, 65 inches for TV mounts and large artwork, and 33 to 36 inches for grab bars and handrails. These standard heights cover most fixture installations and give you solid attachment options anywhere along the wall.
Building Code Requirements and Professional Standards
Codes exist to prevent structural failures and injuries from improper installations. Following minimum standards ensures your blocking work won’t cause problems or fail inspections.
Most residential codes don’t specifically dictate cabinet blocking requirements because blocking is considered good practice rather than mandatory structural work. However, codes do address related issues: nail plates are required wherever wiring or plumbing runs within 1.25 inches of a stud or blocking face, protecting utilities from puncture. Fastener requirements typically specify wood screws must penetrate at least 1.5 inches into solid wood framing for structural connections. Blocking for grab bars and accessibility features must meet ADA standards requiring 250 pound load capacity in any direction.
When blocking crosses or sits near electrical boxes, plumbing runs, or HVAC ducts, install code required nail plates to prevent cabinet screws from hitting utilities later. These thin metal plates fasten over the blocking face wherever protected utilities run behind. Nail plates add 5 to 10 minutes to the job but prevent emergency service calls from punctured pipes or severed wires. Use 1.5 inch nail plates wide enough to extend past the blocking edges by 1/2 inch on each side.
Permits aren’t typically required for just installing cabinet blocking since it’s considered finish carpentry rather than structural work. However, permits may be required if you’re doing a full kitchen renovation, altering walls, or adding new electrical or plumbing. Check with your local building department before starting work. Requirements vary by jurisdiction and project scope.
Consult professionals when you’re uncertain about wall composition, especially in older homes that might have plaster and lath instead of drywall, when you need extensive blocking across multiple rooms and aren’t confident in your carpentry skills, when structural concerns exist about wall strength or previous modifications, or when renovation work involves moving walls or utilities. A carpenter can install blocking for a full kitchen in 2 to 4 hours versus a full day for a DIYer, and they’ll catch issues you might miss until cabinets are already hanging wrong.
Final Words
Cabinet blocking installation steps aren’t complicated, but they require careful measurement and attention to detail.
Get your materials ready, mark your heights accurately, and secure everything level before moving forward.
Whether you’re working with new construction or cutting into finished walls, proper blocking gives your cabinets the solid foundation they need to handle years of daily use without sagging or pulling loose.
Take your time with the prep work, and you’ll install cabinets with confidence.
FAQ
What is the 1 3 rule for cabinets?
The 1 3 rule for cabinets refers to positioning upper cabinets so the bottom sits approximately one-third of the distance between the countertop and ceiling, creating balanced visual proportions and functional workspace. This typically places the cabinet bottom 18 inches above the counter in standard kitchens with 8-foot ceilings.
How to install cabinets step by step?
To install cabinets step by step, first locate and mark wall studs, install blocking between studs at cabinet mounting heights, verify blocking is level and secure, position cabinets against the wall, drill pilot holes through cabinet backs into blocking, and fasten cabinets with wood screws through the blocking. Check level alignment throughout the process.
Where should blocking be placed?
Blocking should be placed horizontally between wall studs at heights matching cabinet mounting points: for base cabinets at 34 inches from the floor, and for upper cabinets at 54 inches above the floor for the lower row with additional rows spaced 18 inches apart. Position blocking flush with stud faces before drywall installation.
What are common mistakes when hanging cabinets?
Common mistakes when hanging cabinets include using undersized blocking lumber smaller than 2×6, failing to check level alignment during installation, incorrect height placement that doesn’t match cabinet dimensions, skipping nail plates where utilities run through blocking, and not verifying blocking is securely fastened to studs before mounting cabinets.
What size lumber is best for cabinet blocking?
The best size lumber for cabinet blocking is 2×8 or larger, though 2×6 is the minimum acceptable dimension. Larger blocking provides better screw holding capacity, supports heavier cabinet loads more effectively, and offers more surface area for secure cabinet attachment without risk of splitting.
Can you add blocking to finished walls?
You can add blocking to finished walls through retrofit installation by cutting access holes in drywall, installing blocking between studs, then patching and refinishing the drywall. This process is more complex than new construction blocking but necessary when adding cabinets to existing spaces without prior blocking.
How do you level cabinets on uneven floors?
To level cabinets on uneven floors, install blocking at a consistent height from the sloped floor, use stacked shims under cabinet sides to compensate for floor slope, and place shims behind cabinets to maintain plumb alignment. Measure from the high point of the floor to ensure cabinets sit level front-to-back and side-to-side.
Should blocking be installed before or after drywall?
Blocking should be installed before drywall in new construction for easiest installation with blocking positioned flush to stud faces. For retrofit work, drywall must be cut out to access stud bays, blocking installed, then drywall reinstalled and finished to match the existing wall surface.
What is the alternative to blocking for cabinet installation?
The alternative to blocking for cabinet installation is installing half-inch plywood sheets across the entire wall area behind cabinets, replacing drywall in those zones. This method works well for long continuous cabinet runs and provides solid attachment surface across the entire cabinet back without individual blocking pieces.
How much weight can cabinet blocking support?
Cabinet blocking can support several hundred pounds when properly installed with 2×6 or larger lumber securely fastened to wall studs. The actual capacity depends on blocking size, fastener quality, stud spacing, and how weight distributes across multiple attachment points, with larger blocking material providing greater load capacity.