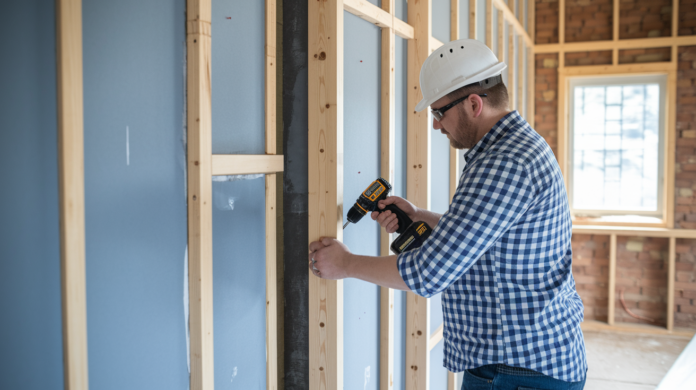

Ever watch a fully loaded upper cabinet peel away from the wall because someone trusted drywall anchors instead of real backing? Cabinet blocking is the hidden framework that turns a sketchy installation into one that holds for decades. It’s horizontal lumber installed between studs at exact mounting heights, giving every cabinet screw solid wood to bite into instead of drywall and hope. Without it, you’re gambling that a few toggle bolts will carry 200 pounds of dishes. With it, weight spreads across the whole wall, cabinets stay flat, and doors close right for years.
What Cabinet Blocking Is and Why It’s Essential
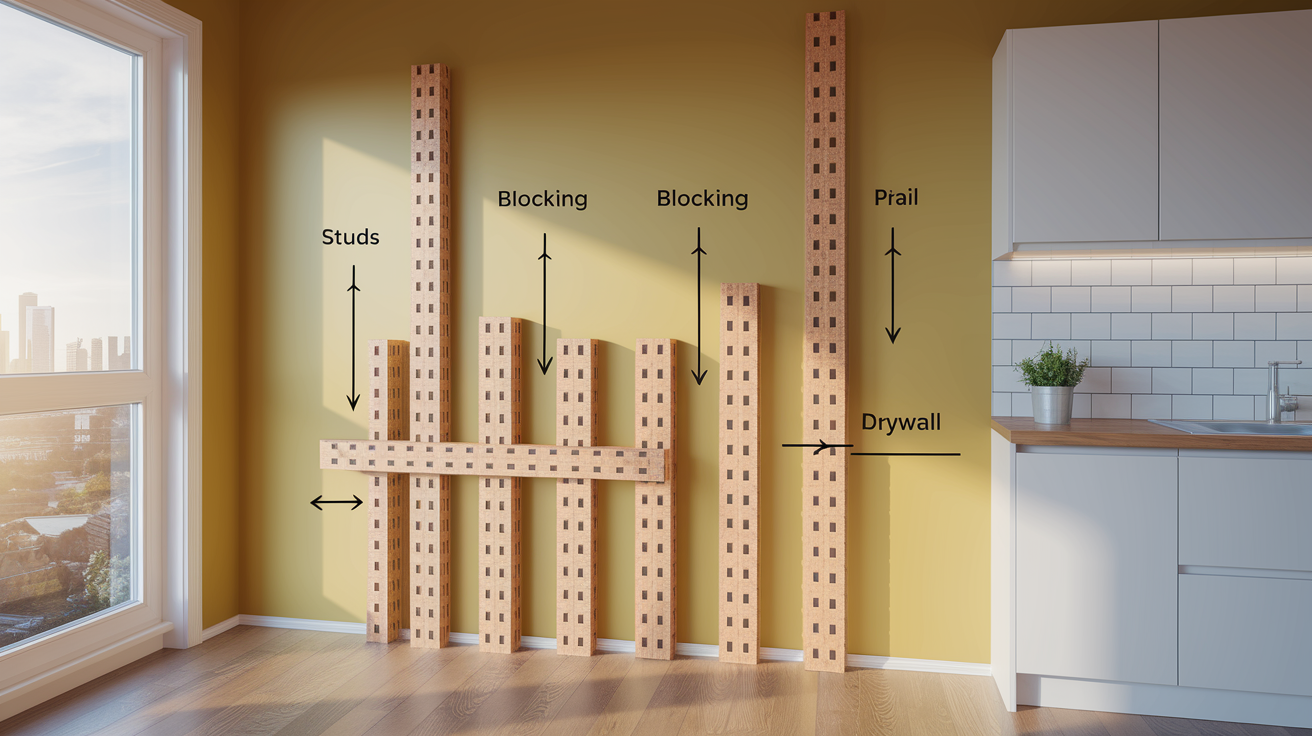
Cabinet blocking is horizontal backing material you install between wall studs behind drywall. It creates solid anchoring points for mounting kitchen cabinets. You put it in during the framing stage, after studs go up but before drywall crews arrive.
Without blocking, you can only fasten cabinets where they happen to line up with vertical studs. That rarely matches where your cabinet mounting rails actually need support. Blocking gives you continuous structural backing running horizontally at exactly the heights where your cabinet hardware needs to grab. Every cabinet screw bites into solid wood instead of drywall and wishful thinking.
Skip blocking and your cabinets loosen over time. Fasteners work their way out of studs or pull through drywall anchors. You’ll see gaps opening between cabinets and walls. Doors won’t close right because the cabinet box twisted. Worst case? Cabinets pull away from the wall entirely when you load them with dishes and canned goods. Upper cabinets filled with dinnerware can weigh 200 pounds or more. That weight concentrated on a few toggle bolts instead of proper blocking is asking for trouble.
Blocking distributes cabinet weight across multiple studs and prevents point loading that causes sagging. It’s the difference between an installation that holds for decades and one that becomes a callback or safety hazard.
Comprehensive Materials, Tools, and Dimensions Guide
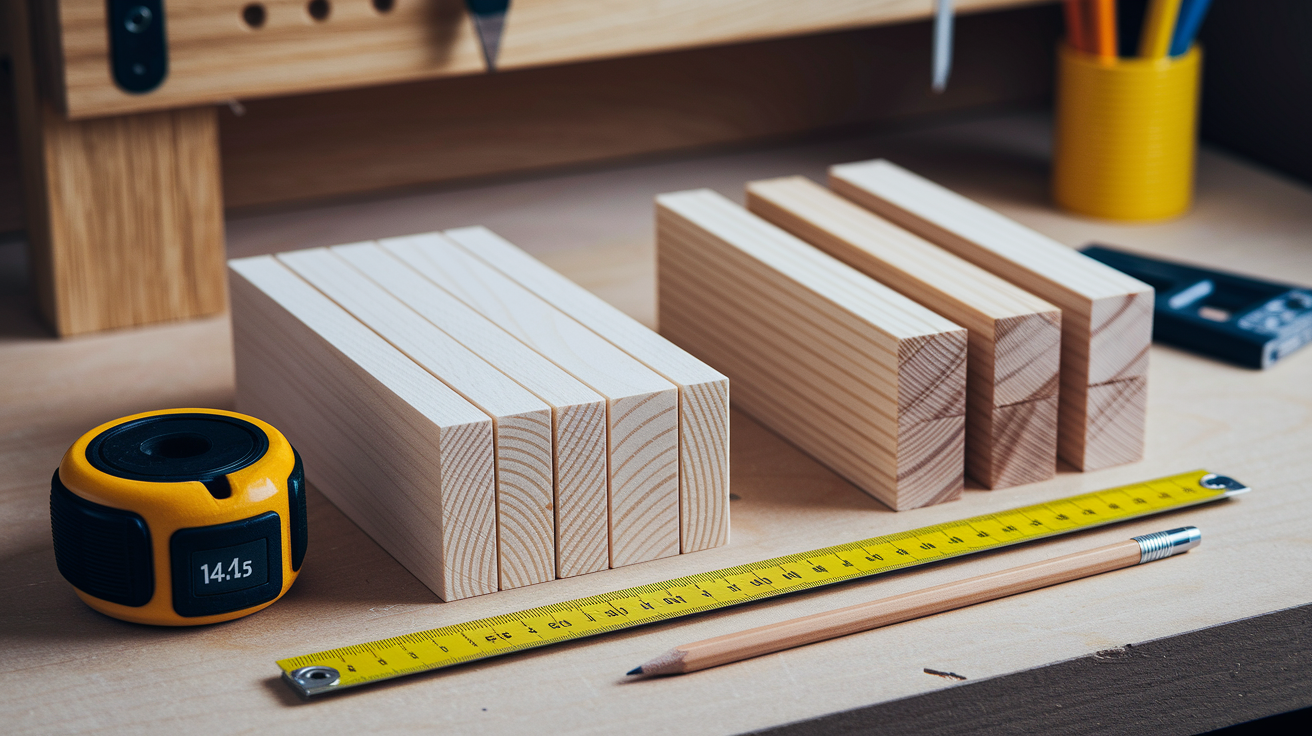
You’ve got two main material choices for cabinet blocking: plywood strips or dimensional lumber. Each works, but they handle differently and have distinct advantages depending on your wall cavity situation.
The professional grade method uses 3/4 inch plywood ripped into 6 inch wide strips. Plywood resists splitting when you drive screws into it, leaves more room in the wall cavity for insulation compared to full depth lumber, and stays flatter over time. Cut the strips to fit snugly between your studs. That’s typically 14.5 inches for standard 16 inch on center framing, or 22.5 inches for 24 inch spacing. Dimensional lumber like 2x4s or 2x6s is the traditional approach and works fine, especially if you’re face screwing instead of using pocket holes. Match the lumber thickness to your stud depth so blocking sits flush with stud faces.
Material Options:
3/4 inch plywood (6 inch strips) is your best overall choice. It resists splitting, leaves cavity space, requires pocket hole jig for clean installation. 2×4 dimensional lumber works for walls with 2×4 framing. Traditional choice. Easier to split when screwing into end grain. 2×6 dimensional lumber goes with 2×6 exterior walls, provides more screw holding surface, heavier to handle. 2×8 or 2×10 blocking is for situations requiring extra reinforcement behind particularly heavy cabinet runs or stone countertops. Full 3/4 inch plywood sheets are an alternative approach covering entire cabinet wall area. Expensive but eliminates placement concerns. OSB strips are a budget alternative to plywood, more prone to moisture damage if the wall gets wet during construction.
Now for tools. You’ll need both cutting equipment and fastening tools, plus measurement gear to get the blocking at the right heights.
Essential Tools:
Circular saw or miter saw for cutting blocking pieces to length between studs. Pocket hole jig if using plywood method. It creates angled pilot holes for hidden fastening. Kreg jig is the common choice. Drill or driver for driving pocket hole screws or face screws. Cordless 18V or 20V has enough power. 4 foot level confirms blocking runs horizontally. Longer is better for checking across multiple stud bays. Measuring tape, 25 foot, for marking cabinet heights and cutting blocking to length. Pencil and speed square for marking stud faces and cutting lines. Stud finder is optional but helpful for locating existing framing members if working in a remodel situation.
Safety glasses are non negotiable when cutting lumber or driving screws overhead. Work gloves save your hands when handling rough cut lumber. A dust mask matters if you’re cutting treated lumber or working in a closed up space.
Cabinet Blocking Placement Guide for All Cabinet Types
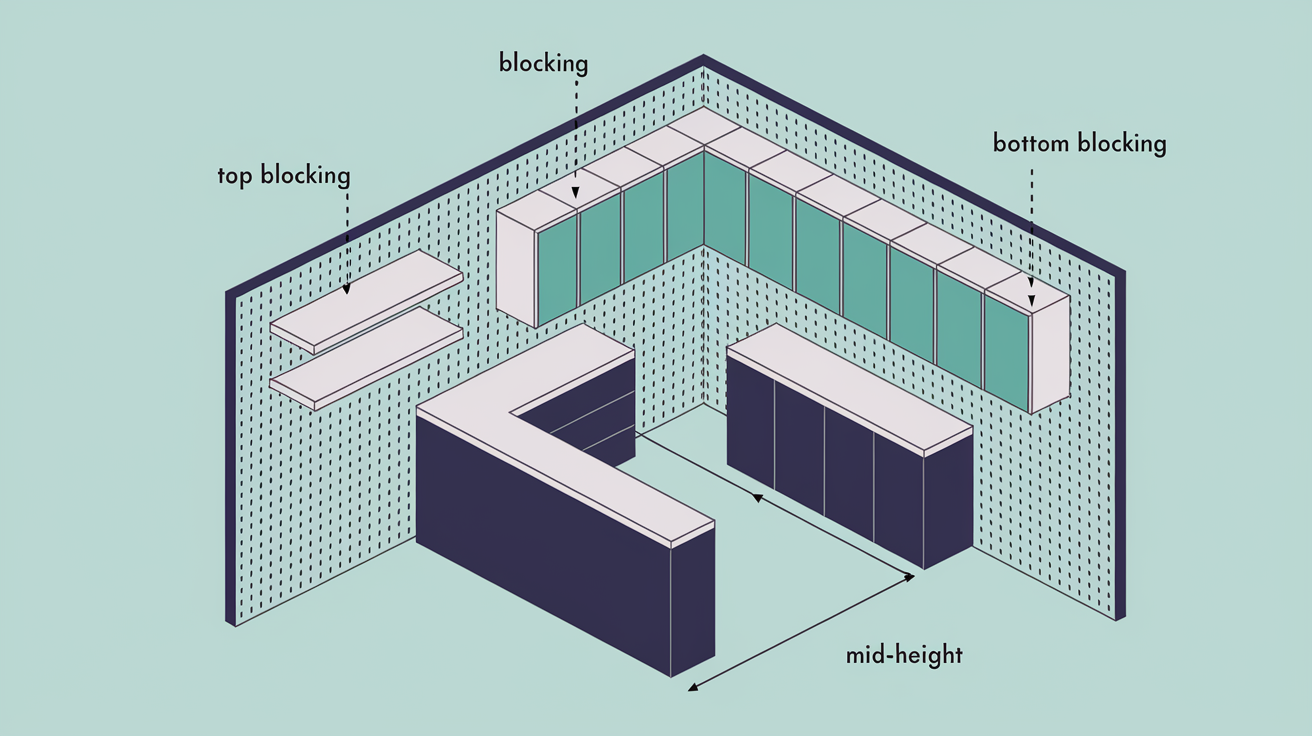
Blocking placement comes directly from your cabinet plan dimensions. You need to know the exact cabinet heights and how they’ll mount before you install a single piece of blocking. Moving it after drywall goes up means cutting holes and patching.
Standard kitchen cabinet dimensions drive where most blocking goes. Upper cabinets typically hang with the top at 84 inches from the finished floor. Or 54 inches above a standard 36 inch base cabinet with countertop. But you should verify against your actual cabinet specs before marking anything.
| Cabinet Type | Blocking Location | Height from Floor | Number of Rows |
|---|---|---|---|
| Upper cabinets (top rail) | At cabinet hanging rail | 82 to 84 inches | 1 |
| Upper cabinets (bottom rail) | At lower mounting points | 52 to 54 inches | 1 |
| Base cabinets | Top of cabinet box | 34 to 35 inches | 1 |
| Specialty (floating, peninsula ends) | Varies by application | Per cabinet design | 1 to 3 |
Standard upper wall cabinets need two rows of blocking. One near the top where the main hanging rail mounts, and one near the bottom to prevent the cabinet from tipping away from the wall when doors swing open loaded with dishes. If you’re installing 36 inch tall uppers instead of the standard 30 inch, adjust both blocking rows to match the actual cabinet mounting hardware locations. The upper row is critical for carrying weight. The lower row is critical for stability.
Base cabinets usually get one blocking row at the top of the cabinet box where it meets the underside of the countertop. This blocking isn’t carrying the cabinet weight since bases sit on the floor. But it prevents the cabinet from pulling away from the wall and gives you solid anchoring for the cabinet back. If you’re installing heavy stone countertops, consider adding mid height blocking to help secure the cabinet against the wall pressure from granite or quartz installation.
Peninsula cabinets with exposed end panels need vertical blocking at the end stud bay where you’ll be driving screws through the cabinet’s finished side into the wall. The blocking should run from just above the toekick to the underside of the countertop height. This keeps the end panel tight to the wall and prevents the visible gap that happens when there’s nothing but drywall to screw into.
Floating cabinets or European style frameless boxes with concealed mounting systems often require blocking that runs the full height of the cabinet. Check your cabinet manufacturer’s installation instructions for specific mounting hardware requirements. Some systems need blocking every 6 inches vertically, others use a continuous rail system that wants blocking at specific intervals.
Corner cabinets for lazy susans or blind corner storage need blocking that wraps around the corner studs. Mark both walls where the corner cabinet will mount and install blocking on each wall face. The diagonal corner itself usually doesn’t need blocking since the cabinet sides are getting fastened to perpendicular walls. But verify this against your cabinet configuration.
Installation Timing: When Blocking Goes In During Construction
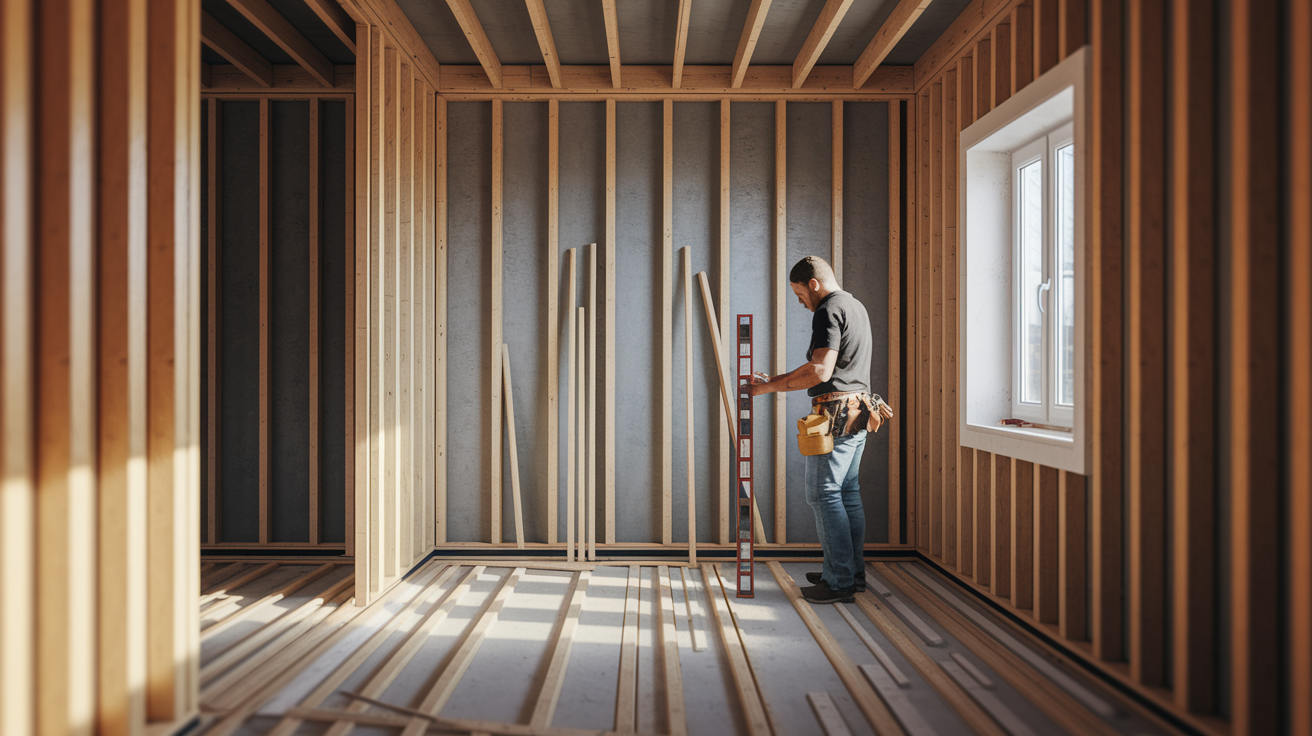
Blocking gets installed after the wall framing is complete but before the drywall crew shows up. Once drywall covers the studs, your chance to install proper blocking is gone without cutting access holes and patching later.
In new construction, blocking goes in during the rough framing inspection stage. Often at the same time as electrical and plumbing rough ins. The framer should leave the blocking installation for after the electrician and plumber have run their lines, or coordinate closely so blocking doesn’t get installed where a drain vent or electrical box needs to go. Some builders install blocking first thing after framing, then have the trades work around it. Either sequence works as long as everyone knows the plan and nothing conflicts. Walk the space with your cabinet plan before blocking goes in. Verify wall locations match the design. Mark the actual blocking heights on the studs.
In remodeling projects where walls are already closed up, you’ve got limited options. If you’re doing a full gut renovation and the drywall is coming off anyway, you’re back to new construction timing. Install blocking after demo exposes the studs, before new drywall goes up. For smaller remodels where you’re keeping existing walls, you’ll either need to open the wall in strategic locations to add blocking, or use alternative mounting methods.
The worst case scenario is trying to add blocking after drywall is installed and finished. That requires cutting horizontal access strips, installing blocking through the openings, then patching and refinishing the drywall. It’s doable but slow and messy. If you’re early enough in the planning to catch it, installing blocking before drywall is a 30 minute task that saves hours of retrofit work later. Coordinate with your electrician so blocking doesn’t land on outlet boxes or switch locations. Mark the electrical plan on the studs before blocking goes in. Adjust blocking heights slightly if needed to avoid conflicts with wire runs.
Step by Step Cabinet Blocking Installation Process
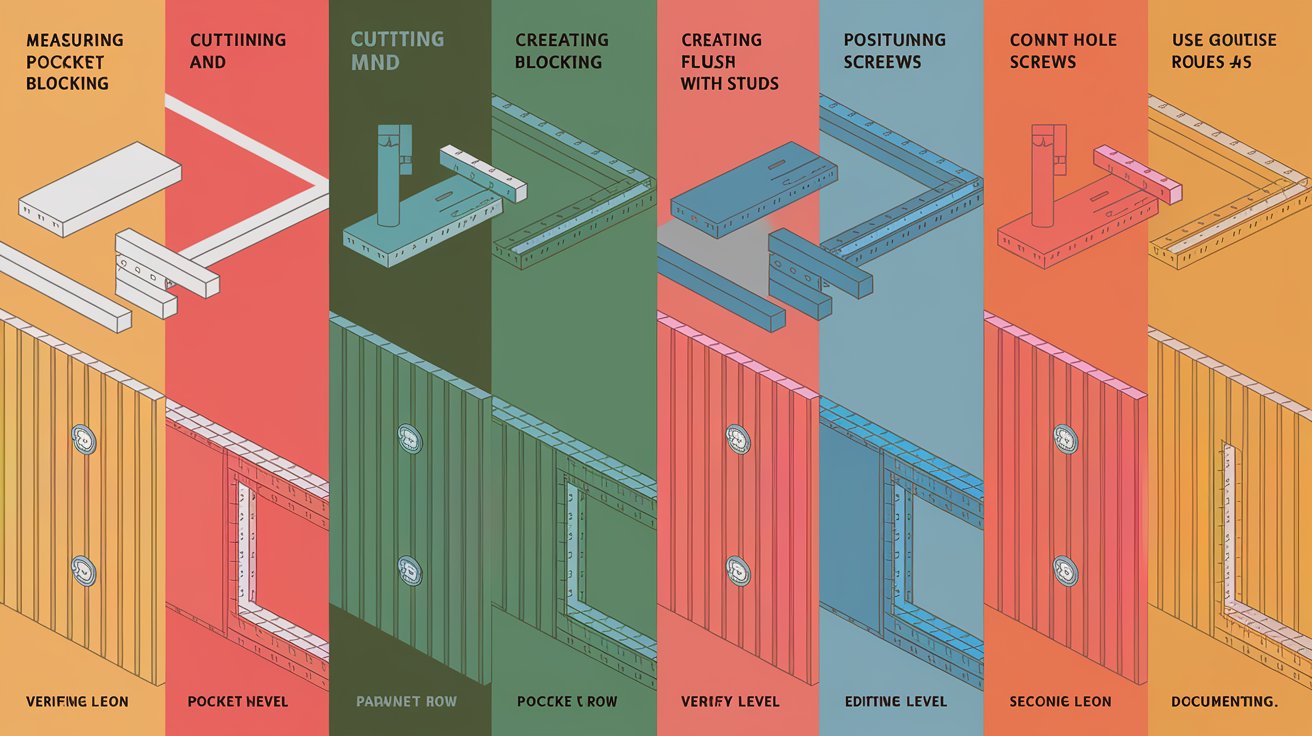
The pocket hole method keeps fasteners hidden and creates a clean connection between blocking and studs. It’s faster than trying to toenail blocking in place and gives you better pull out resistance than face screwing through the stud into the blocking end grain.
-
Measure and mark cabinet locations on wall studs. Use your cabinet plan to mark the exact heights where blocking needs to run. Mark both the top and bottom blocking rows for upper cabinets, typically 52 to 54 inches and 82 to 84 inches from the floor. Mark the single row for base cabinets at 34 to 35 inches. Use a 4 foot level to extend horizontal lines across multiple studs so you can see where each blocking piece will land. Measure low on the wall near the floor where the studs are least likely to be twisted or bowed.
-
Transfer measurements to blocking material. Measure the distance between stud faces in each bay. This is usually 14.5 inches for 16 inch on center framing, but verify each bay since framing isn’t always perfect. Mark your plywood strips or dimensional lumber to these exact lengths. Each piece needs to fit snug between studs but not so tight that it bows the studs inward.
-
Cut blocking pieces to fit between studs. Use a miter saw or circular saw to cut each piece to length. Label pieces if stud spacing varies so you know which bay each piece fits. Stack cut pieces near the wall where they’ll be installed.
-
Create pocket holes using pocket hole jig at both ends of each plywood strip. Set your pocket hole jig for 3/4 inch material and drill two pocket holes at each end of every blocking strip. Position them to angle the screws into the stud faces. The angled holes should be on what will become the back face of the blocking, the side facing the wall cavity, not the side facing the drywall. Plywood resists splitting better than solid wood when you create these angled pilot holes. That’s one reason it’s preferred over dimensional lumber.
-
Position blocking flush with stud faces at marked heights. Hold each blocking piece in position between studs with the front face perfectly flush with the front edges of the stud faces. This is critical because drywall will lay flat against both the studs and the blocking. If blocking sticks out even 1/8 inch proud of the studs, the drywall will bulge. If it’s recessed, you’ll have a weak spot.
-
Secure blocking to studs with pocket hole screws. Drive 1.25 inch coarse thread pocket hole screws through the angled pilot holes into the stud faces. Two screws per connection point gives you four screws total per blocking piece, two at each end. The angled screws pull the blocking tight against the studs while driving in, creating a solid connection. Because the screws are going into the stud face grain rather than end grain, you get much better holding power than traditional toenailing.
-
Check for level and adjust as needed. After securing each piece, lay your 4 foot level across the blocking to verify it’s running horizontally. Small variations won’t matter much. But if blocking is noticeably tilted, cabinets will hang crooked. If a piece is out of level, back out the screws on one end, adjust the height slightly, and re drive the screws.
-
Install second row for upper cabinets and verify all blocking is secure. Repeat the process for the second blocking row, maintaining consistent height across all stud bays. Test each connection by trying to wiggle the blocking. There should be zero movement. If any pieces feel loose, add additional screws or verify that screws hit solid stud material and aren’t driven into a split or knot.
After all blocking is installed, take photos showing the blocking locations before drywall installation. These photos become your reference later when you’re trying to find the blocking behind finished walls. If you’re using dimensional lumber instead of plywood and not using pocket holes, you can face screw through the stud into the end grain of the blocking with 3 inch construction screws. But this method is more visible from the side and gives less pull out resistance.
Load Bearing Capacity and Cabinet Weight Considerations
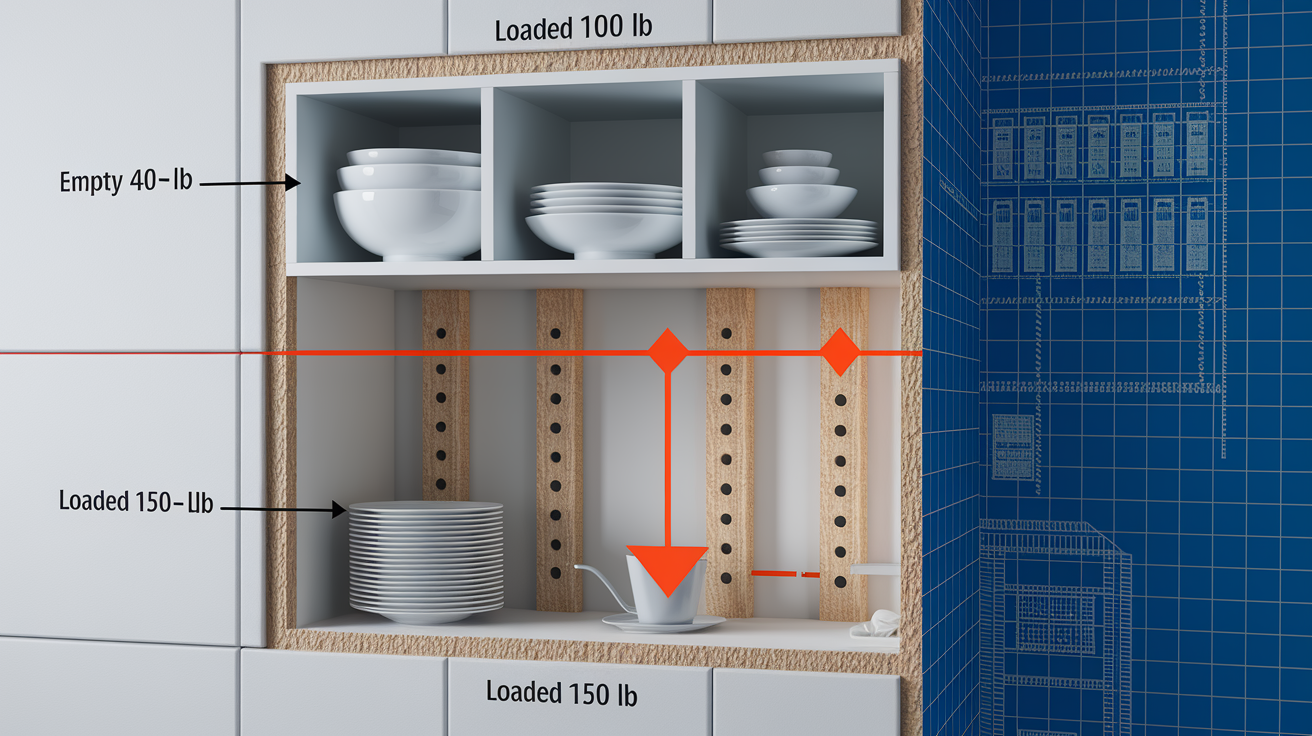
Blocking’s main job is spreading cabinet weight across multiple studs instead of concentrating all that load on one or two fasteners. A typical upper cabinet empty weighs 40 to 60 pounds. But fill it with dinnerware, canned goods, and small appliances, and you’re looking at 150 to 200 pounds hanging on the wall.
Standard blocking with proper installation handles typical cabinet loads without issue. The plywood or dimensional lumber transfers weight to studs through the pocket hole screws or face screws, and the studs carry the load down to the foundation. Each properly installed blocking connection can support several hundred pounds before failure.
When you’re installing particularly heavy cabinet configurations, add extra blocking rows between the standard top and bottom positions. Heavy stone countertops like granite or quartz create downward pressure that tries to pull cabinets away from the wall where they meet the countertop. An extra blocking row at mid height on upper cabinets, around 68 to 70 inches from the floor, gives you more anchoring points to resist this force. Long runs of cabinets spanning 10 feet or more also benefit from extra blocking since you’re distributing weight over a larger area. Add blocking for particularly heavy items to reinforce support. This applies to full height pantry cabinets, cabinets housing built in appliances, or custom cabinets loaded with granite or marble shelving.
Wall mounted appliances create their own blocking requirements. Range hoods need blocking at their specific mounting height and often benefit from wider blocking strips, 8 to 10 inches instead of 6 inches, to catch all the hood’s mounting holes. Over the range microwaves mount with a rear bracket at a specific height and need blocking positioned exactly where that bracket lands. Wall ovens require blocking that accounts for both the oven’s mounting flanges and the cabinet surrounding it. Check the appliance installation instructions for mounting requirements before installing blocking.
Building Codes and Professional Installation Requirements

Building codes typically don’t specify blocking for cabinet installation explicitly. But they do require that wall mounted fixtures be adequately secured. Most jurisdictions consider adequately secured to mean fastening that prevents the fixture from failing under expected loads. Blocking is the standard method for meeting that requirement. Some codes require cabinet blocking in commercial kitchens or multi family construction but leave it to builder discretion in single family homes.
The rough framing inspection may or may not include checking for cabinet blocking depending on your local inspector and whether blocking was called out on the approved plans. If your jurisdiction requires stamped plans from an engineer or architect, and those plans show blocking locations, inspectors will verify it’s installed as shown. If you’re building on a basic permit without detailed plans, blocking might not get inspected at all. But that doesn’t mean you should skip it. Document blocking locations with photos before drywall goes up, since proving proper installation later is impossible without cutting into finished walls.
Hiring a professional carpenter makes sense for several scenarios. If you’re installing cabinets in an older home where framing is irregular or damaged, a carpenter can assess structural conditions and adapt blocking placement to work with what’s there. Load bearing walls that are getting modified as part of a kitchen remodel need engineering review and proper reinforcement. This isn’t DIY territory. Complex kitchen layouts with multiple cabinet heights, floating sections, and custom configurations benefit from a carpenter’s experience positioning blocking to match actual cabinet mounting systems. If your remodel includes opening walls to add blocking after drywall is up, hiring a pro to handle the blocking installation, drywall patching, and finishing keeps the job moving. Usually looks better than DIY patch work too.
Common Blocking Installation Mistakes and How to Avoid Them
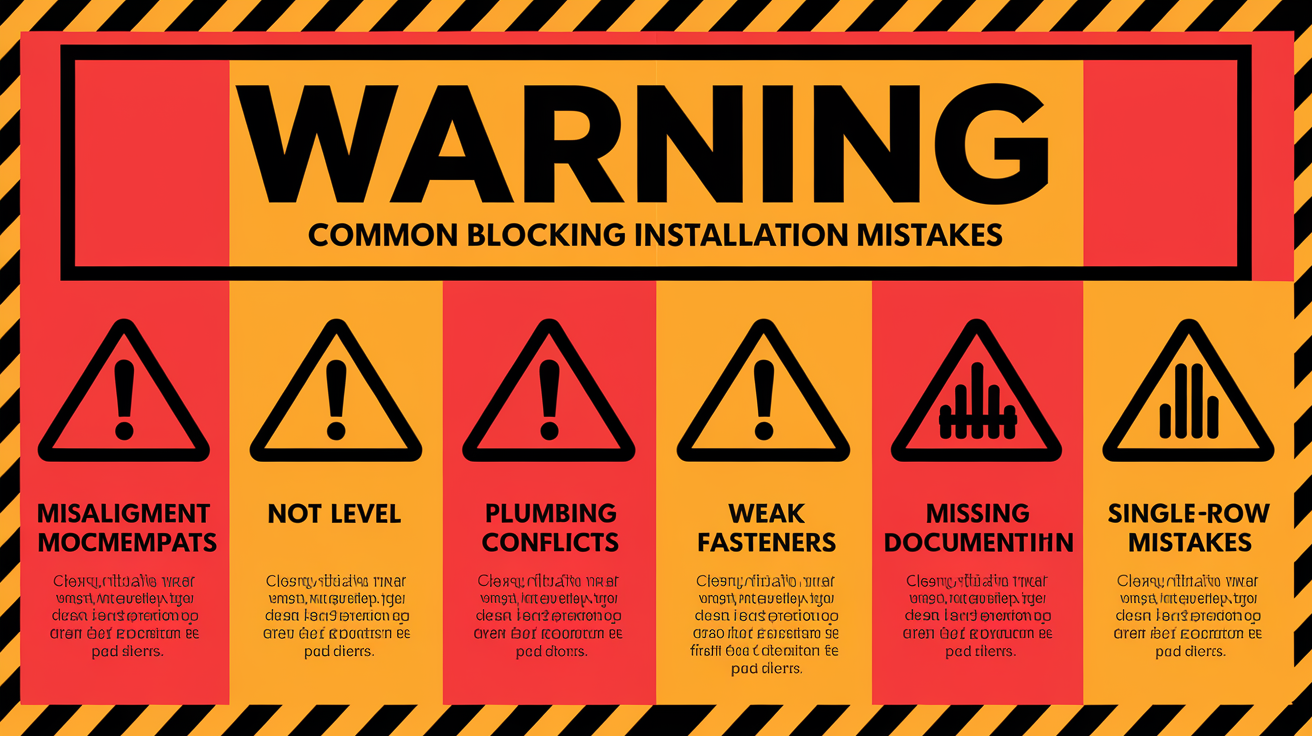
Blocking mistakes are expensive because you don’t discover them until cabinets go up. Fixing them means cutting into finished drywall. Most blocking problems come from inaccurate measurements or not thinking through how the cabinet actually mounts.
Common blocking mistakes to avoid:
Misaligning blocking height with actual cabinet mounting points. Measure from the finished floor height, including flooring thickness, not the subfloor. Verify cabinet dimensions before marking blocking locations. Off by 2 inches means your mounting screws miss the blocking entirely.
Failing to level blocking horizontally. Tilted blocking makes cabinets hang crooked. Check level on each piece and across multiple bays to catch problems before drywall covers everything.
Not checking for plumbing or electrical conflicts. Mark outlet and switch box locations before installing blocking. Avoid placing blocking where drain vents or water lines run. If blocking must share a stud bay with electrical, notch the blocking or adjust height slightly.
Installing blocking not flush with stud faces. Blocking that sticks out proud causes drywall bulges. Blocking set back creates a weak spot where screws bottom out in drywall instead of hitting wood. Flush means the front edge of blocking aligns perfectly with the stud faces.
Using inadequate fasteners or insufficient attachment points. Two screws per end minimum for plywood strips. Three inch screws minimum if face screwing dimensional lumber. Short screws or single screw connections work loose under cabinet weight.
Forgetting to photograph or document blocking locations. Before drywall goes up, photograph each wall showing blocking positions. Measure from fixed reference points like corners or doorways. Without documentation, finding blocking later is guesswork.
Installing only one row when cabinets need top and bottom support. Upper cabinets need two rows to prevent tipping. Skipping the lower row saves ten minutes during installation and costs hours of fixing loose cabinets later.
Walk through the blocking installation with your cabinet plan in hand before the drywall crew arrives. Double check heights. Verify blocking is level and flush. Confirm you’ve got two rows for uppers and coverage where appliances mount. Document everything with photos and measurements.
Blocking Alternatives for Retrofit and Existing Wall Situations

When walls are already finished and opening them isn’t practical, you’ve got several options for mounting cabinets securely. None are quite as good as proper blocking installed during framing. But they work when retrofit blocking isn’t worth the drywall repair work.
Strategic cabinet positioning to align with existing wall studs is the simplest alternative. Standard 16 inch stud spacing means you’ll hit a stud every 16 inches along the wall. If you can position cabinets so their mounting rails land on studs, you get solid attachment without blocking. This works better with modular cabinet systems where you have some flexibility in cabinet placement. Less well with custom layouts where cabinet positions are fixed by appliance locations and room dimensions. The limitation is you can only fasten where studs happen to fall, which might not match the cabinet’s optimal mounting points.
Heavy duty hollow wall anchors and toggle bolts provide the next level of support when you’re between studs. High quality metal toggles rated for 100 plus pounds each can work for lighter cabinets if you use enough of them and distribute the load across multiple anchors. This isn’t ideal for cabinets that will carry heavy loads. But it beats relying on drywall anchors alone.
| Alternative Method | Application | Weight Capacity | Installation Difficulty |
|---|---|---|---|
| Aligning with existing studs | Flexible cabinet layouts | Full capacity (limited by stud strength) | Easy, requires accurate stud finding |
| Toggle bolts (1/4 inch) | Light to medium cabinets | 100 to 150 lbs per bolt in 1/2 inch drywall | Moderate, requires precise drilling |
| French cleat systems | Upper cabinets, floating shelves | High when cleat is screwed into multiple studs | Moderate, requires level installation and cabinet modification |
| Surface mounted rails | European cabinet systems | Very high, rail spans multiple studs | Easy once rail is level and mounted |
| Opening wall sections to add blocking | Any situation where permanent solution needed | Full capacity (same as new construction blocking) | High, requires drywall cutting, blocking installation, and finishing |
Finding Existing Blocking Behind Finished Walls
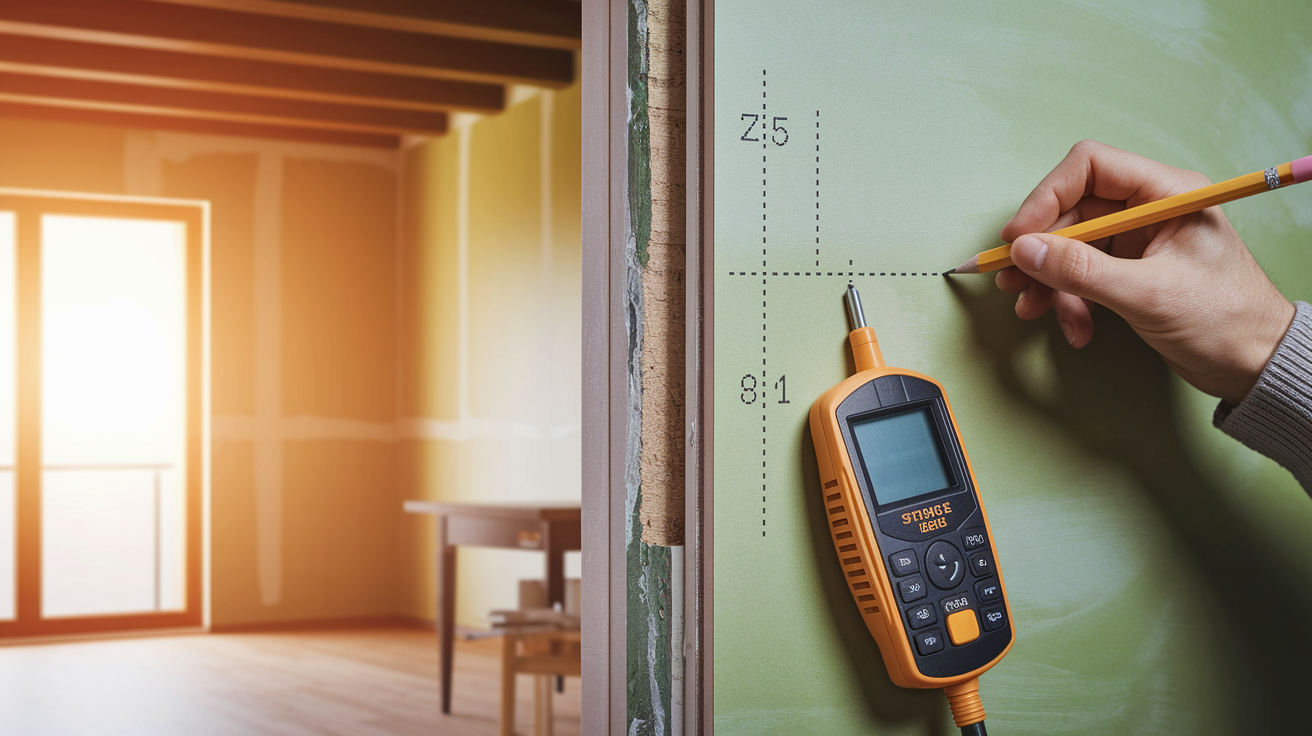
Knowing where blocking is located behind drywall before you start drilling cabinet mounting holes prevents the frustration of hitting studs when you expected blocking. Or missing blocking and driving screws into empty space. The challenge is that horizontal blocking looks like wall studs to most electronic stud finders.
The best approach is working from known standards and measurements. If you know your kitchen was built to standard cabinet heights, blocking for upper cabinets should be at roughly 54 inches and 84 inches from the finished floor. Measure up from the floor at these heights and mark horizontal lines where you expect blocking to run. Use a stud finder to locate vertical studs, then drill small test holes, 1/8 inch bit, at the blocking height between studs to confirm blocking is there.
Five techniques for locating existing blocking:
-
Electronic stud finder with deep scan mode. Set the finder to locate deeper framing members and scan horizontally along the wall at expected blocking heights. Blocking reads as a continuous horizontal signal instead of the vertical pattern you get from studs.
-
Measuring from known reference points. If you have construction drawings or photos from before drywall installation, measure from windows, doors, or corners to find blocking locations documented in those materials.
-
Using standard cabinet height assumptions. Upper cabinet blocking typically runs at 54 inches (lower rail) and 84 inches (upper rail) from finished floor. Base cabinet blocking runs at 34 to 35 inches. Mark these heights and probe with a small pilot hole to confirm.
-
Looking for fastener patterns in existing cabinets. If cabinets are already installed and you’re replacing them, examine where existing mounting screws are located. Clusters of screws at the same height across multiple cabinets indicate blocking location.
-
Using magnets to find drywall screws. Strong rare earth magnets can locate drywall screws in the blocking behind drywall. Scan horizontally at expected blocking heights. When you find drywall screws in a horizontal line, you’ve found where blocking runs.
Mark blocking locations clearly on the wall surface before cabinet installation begins. Use a level to extend horizontal reference lines across the full wall width. This gives you a visual guide when positioning cabinets and tells you exactly where solid backing exists for driving mounting screws.
Final Words
Blocking for kitchen cabinets isn’t complicated, but it demands precision and proper timing. Install it flush with your studs before the drywall goes up, use the pocket-hole method with 3/4-inch plywood strips when possible, and double-check your measurements against the actual cabinet plans.
If you skip blocking or place it wrong, you’re setting up future callbacks when cabinets sag or fasteners pull through drywall.
Take photos of your blocking locations before closing the walls. That simple step saves frustration during installation and makes cabinet mounting straightforward instead of a guessing game.
FAQ
Q: What height should blocking be for kitchen cabinets?
A: Blocking height for kitchen cabinets depends on cabinet type. Upper cabinets need two rows of blocking: one at approximately 84 inches from the floor for the top rail and another at 54 inches for the bottom rail. Base cabinets require a single blocking row positioned at roughly 34 inches from the floor where the cabinet backs attach to the wall.
Q: Should I install blocking for cabinets?
A: You should install blocking for cabinets to create solid attachment points that prevent sagging, wall damage, and loosening over time. Blocking distributes cabinet weight across multiple studs rather than relying on drywall alone, which significantly reduces the risk of installation failures and potential safety hazards from falling cabinets.
Q: How to block holes in a kitchen?
A: Blocking holes in a kitchen involves installing horizontal backing material between wall studs before drywall goes up. Cut 3/4-inch plywood into 6-inch strips, create pocket holes at each end, position the strips flush with stud faces at cabinet mounting heights, and secure them with pocket-hole screws to provide solid anchoring points.
Q: Where should blocking be placed?
A: Blocking should be placed horizontally between wall studs at heights that match cabinet mounting points. Position blocking flush with the front edge of studs so drywall lies flat. Upper cabinets need two horizontal rows for top and bottom attachment, while base cabinets require one row at the upper back edge where screws will penetrate.
Q: Can you install blocking after drywall is up?
A: You can install blocking after drywall is up by cutting access holes, adding blocking between studs, then patching and refinishing the wall. This retrofit approach is significantly more difficult and messy than installing blocking during framing. If walls are already closed, consider alternatives like aligning cabinets with existing studs or using heavy-duty toggle bolts.
Q: What thickness of plywood is best for cabinet blocking?
A: The best plywood thickness for cabinet blocking is 3/4-inch material cut into 6-inch wide strips. This thickness matches most stud dimensions, leaves room for wall insulation, and resists splitting better than solid wood when screws are driven through it. Thinner plywood won’t provide adequate support for loaded cabinets.
Q: Do base cabinets need blocking?
A: Base cabinets need blocking at the upper back edge where they attach to the wall, typically around 34 inches from the floor. While base cabinets sit on the floor and support countertops, blocking prevents them from pulling away from the wall over time and provides stability for items stored inside the cabinets.
Q: How do you find blocking behind drywall?
A: You find blocking behind drywall by using a stud finder set to detect horizontal members, measuring from known reference points based on standard cabinet heights, or using a strong magnet to locate screw heads driven through drywall into blocking. Photographing blocking locations before drywall installation makes finding them later much easier.
Q: What screws should be used to attach blocking to studs?
A: Use 2-1/2 inch pocket-hole screws to attach plywood blocking to studs when using the pocket-hole jig method. If face-screwing dimensional lumber blocking, use 3-inch construction screws driven through the blocking face into stud sides. Drive at least two screws per connection point to prevent the blocking from twisting or pulling loose.
Q: Is blocking required by building code for cabinets?
A: Blocking requirements for cabinets vary by jurisdiction, with some building codes mandating blocking for wall-mounted fixtures while others don’t specifically address it. Check your local building codes to meet municipal requirements. Even when not explicitly required, blocking is considered best practice for preventing cabinet failures and wall damage.
Q: Can you use 2×4 lumber instead of plywood for blocking?
A: You can use 2×4 lumber for blocking when wall cavities are deep enough and insulation isn’t a concern. Dimensional lumber works well with face-screwing attachment but is more likely to split than plywood when screws are driven into it. Match the blocking thickness to your stud depth for proper drywall support.