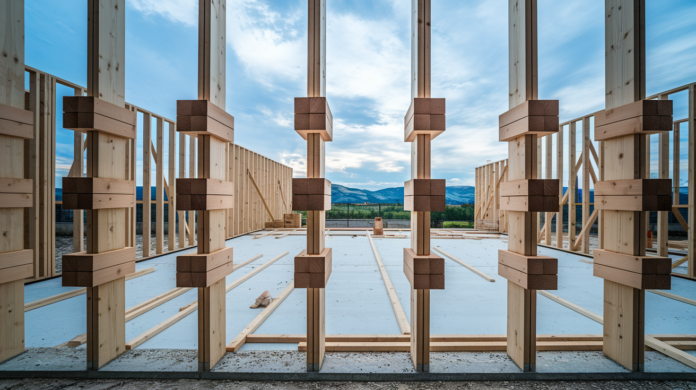

You probably think cabinet blocking is optional until the day a loaded upper cabinet rips free from the wall. That’s when you realize drywall anchors weren’t the answer. Blocking creates solid wood backing between your studs so cabinets anchor to actual structure instead of gypsum and hope. Without it, you’re setting up a failure that’s only a matter of time and weight. This guide covers exactly where blocking goes, what materials work best, and how to install it during framing or retrofit it later without destroying your walls.
Understanding Cabinet Blocking: Definition and Core Function
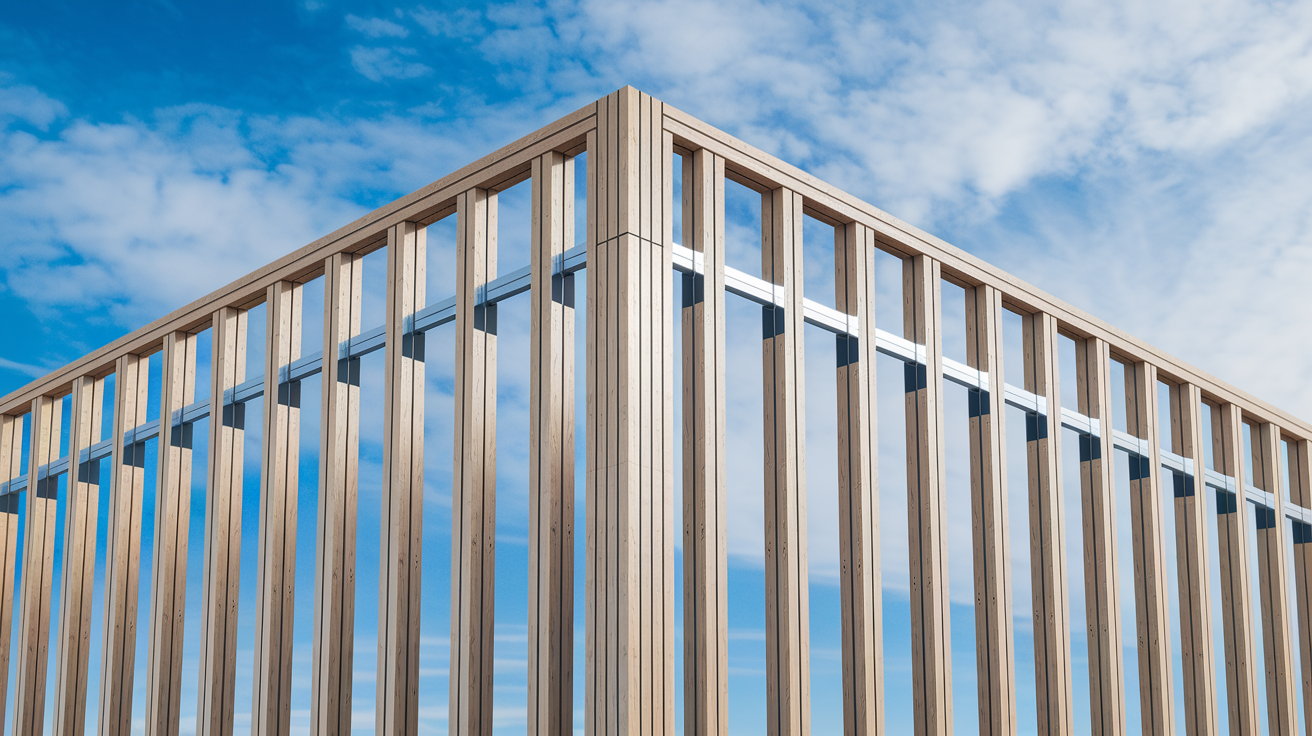
Cabinet blocking is basically horizontal wooden supports installed between your wall studs. They create solid mounting surfaces so cabinets can attach to actual structure instead of just drywall and anchors. Without blocking, cabinets fastened only through drywall will pull loose when loaded. That causes wall damage and turns into a safety problem.
Upper cabinets in a standard 8 foot ceiling setup typically need two blocking rows. One goes at about 84 inches from the floor for the top mounting rail, another at 54 inches for the bottom. Base cabinets get one row at roughly 34.5 inches, which lines up with where the cabinet back meets the wall. When you install blocking properly, it creates an uninterrupted mounting surface running across all the stud bays in your cabinet area. You should see continuous horizontal support spanning stud to stud, with each blocking piece fitting snug and secured flush to the stud faces.
Blocking Material Options and Dimensions for Cabinet Support
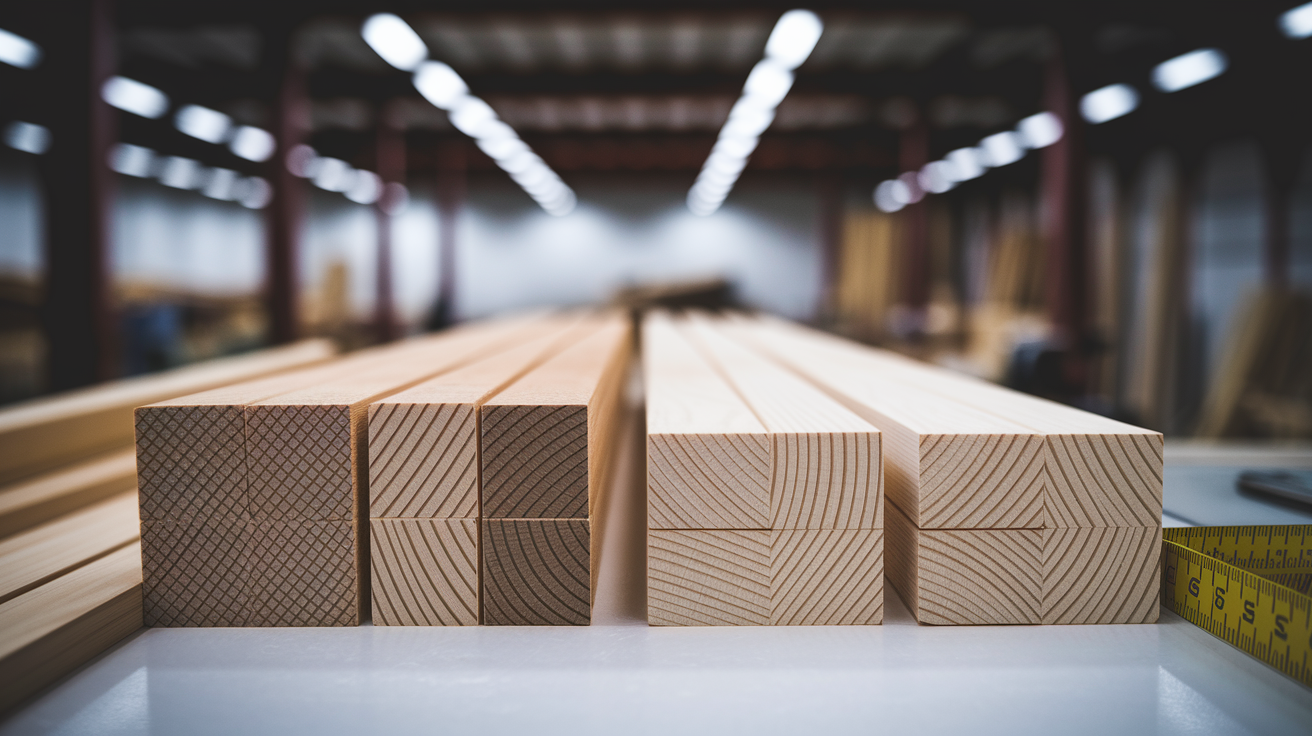
You’ve got two main material choices for cabinet blocking: dimensional lumber and plywood strips. Each one works better depending on your wall construction and what you prefer to work with.
Dimensional lumber (usually 2x4s or 2x6s) is the traditional blocking material. Cut these boards to fit snug between wall studs, which means 14.5 inches for standard 16 inch stud spacing. The lumber thickness needs to match your existing stud depth so blocking installs flush with the stud faces. A 2×4 wall gets 2×4 blocking. A 2×6 wall gets 2×6 blocking. This keeps the blocking from sticking out past the studs or sitting recessed behind them. Either situation creates mounting problems once drywall goes up.
Plywood blocking offers an alternative that lots of builders actually prefer. Rip 3/4 inch plywood into 6 inch wide strips and cut them to length for snug fit between studs. Plywood strips leave more cavity space for insulation compared to solid dimensional lumber. They’re also way less likely to split when you drive screws near the edges, which is a common problem with solid wood blocking that gets fasteners at both ends. The thinner profile means less material taking up space in the wall cavity while still giving you adequate support for cabinet mounting.
| Material Type | Typical Dimensions | Best Use |
|---|---|---|
| 2×4 lumber | 1.5″ x 3.5″ x 14.5″ | Standard 2×4 stud walls, maximum strength applications |
| 2×6 lumber | 1.5″ x 5.5″ x 14.5″ | 2×6 exterior or insulated walls, extra heavy cabinets |
| Plywood strips | 0.75″ x 6″ x 14.5″ | Insulated walls where cavity space matters, split prone situations |
All blocking material has to be cut precisely to fit between studs without gaps. If the blocking’s too short, it won’t provide adequate support at the connection points. If it’s too long and you have to force it into place, you risk bowing the studs. That creates framing problems showing up later.
Step by Step Blocking Installation During Rough Framing and Construction

Blocking installation happens during the rough framing phase in new construction. That’s after wall studs are erected but before electrical, plumbing, insulation, and drywall installation. This timing gives you easy access to stud bays and it’s way more cost effective than retrofit installation. You can see the entire wall structure, verify measurements easily, and install blocking without cutting into finished surfaces.
In renovation scenarios, gut renovations follow the same sequence as new construction. But partial remodels may require removing drywall sections to access stud bays, which dramatically increases labor and cost. Retrofit blocking can run $500 to 1000 versus $100 to 300 during the framing stage. The difference isn’t just material. It’s the added work of cutting drywall, patching, finishing, and potentially repainting entire walls.
The complete installation sequence follows this order:
-
Mark blocking heights on multiple studs using a level and measuring tape based on cabinet layout plans. Mark at least three studs to establish a consistent line across the wall.
-
Coordinate with your electrician and plumber to confirm blocking won’t interfere with outlets or plumbing rough in that will penetrate the wall later.
-
Measure exact distance between studs and account for actual spacing, not nominal dimensions. Real stud spacing often varies by 1/8 inch or more.
-
Cut blocking pieces to fit snugly between studs without forcing or leaving gaps. Test fit before cutting multiple pieces.
-
For dimensional lumber, position the block horizontally at marked height and toenail or face screw into stud sides using 3 inch construction screws.
-
For plywood strips, drill pocket holes at both ends using a pocket hole jig before installation.
-
Insert plywood blocking flush with stud faces and drive pocket hole screws to secure. The pocket holes angle the screws into the stud sides.
-
Verify blocking is level across multiple stud bays using a 4 foot level, not just individual pieces.
-
Install continuous blocking across the entire cabinet run for consistent mounting surface, not isolated pieces at random locations.
Fastening requirements matter for long term performance. Use a minimum of two screws per end for dimensional lumber blocking. One screw can allow rotation under load. Pocket screws for the plywood method provide strong connections without splitting because they enter from an angle rather than straight through end grain. Drive all fasteners until the blocking sits tight against the stud without gaps, but don’t overtighten and strip the wood.
Document blocking locations by photographing the wall before drywall installation. Include a tape measure in the photos showing exact heights from the floor. This reference helps later if you need to locate blocking for installing additional items or troubleshooting cabinet mounting issues. Without photos, finding blocking behind drywall becomes guesswork.
Always check for level before final fastening. Place your level across three or four stud bays to verify the blocking maintains consistent height. If one piece sits high or low, cabinet mounting rails won’t align properly. You’ll fight the installation trying to straighten cabinets that want to follow the crooked blocking. Confirm all blocking is secure before proceeding to the next construction phase. Go back and check each piece by trying to move it by hand.
Tools and Fasteners Required for Cabinet Blocking Installation

You need a 25 foot measuring tape for marking heights and measuring stud spacing, a 4 foot level to verify blocking runs level across multiple bays, and a circular saw or miter saw for cutting blocking to length. You’ll need a cordless drill/driver to install fasteners, a pencil for marking cut lines and stud locations, plus safety glasses to protect against sawdust and wood chips. Work gloves prevent splinters when handling rough cut lumber.
Fasteners and optional tools add capability depending on your chosen blocking method. Use 3 inch construction screws or 16d nails for dimensional lumber blocking. Screws provide better holding power and won’t back out over time like nails can. For the plywood method, you’ll need a pocket hole jig and matching pocket screws to create angled connections at blocking ends. A speed square ensures square cuts when sizing blocking pieces. In retrofit situations, a stud finder locates framing members behind existing drywall so you know where blocking needs to go.
Fastener specifications matter for structural performance:
- Use screws rated for structural applications, not just general purpose. Look for #9 or larger diameter screws with coarse threads.
- Minimum 3 inch length ensures adequate penetration through blocking and into studs for solid connections.
- Two fasteners minimum per blocking end prevents rotation and provides redundant support if one connection loosens.
- Galvanized or coated screws resist moisture damage in exterior walls or areas near plumbing.
- Avoid drywall screws which lack adequate shear strength and can snap under cabinet loads.
Proper fasteners are critical for load bearing capacity and long term cabinet security. Undersized or incorrect fasteners create weak points that fail under normal cabinet loading, especially in upper cabinets where gravity constantly pulls downward.
Retrofit Blocking Installation and Alternative Mounting Solutions
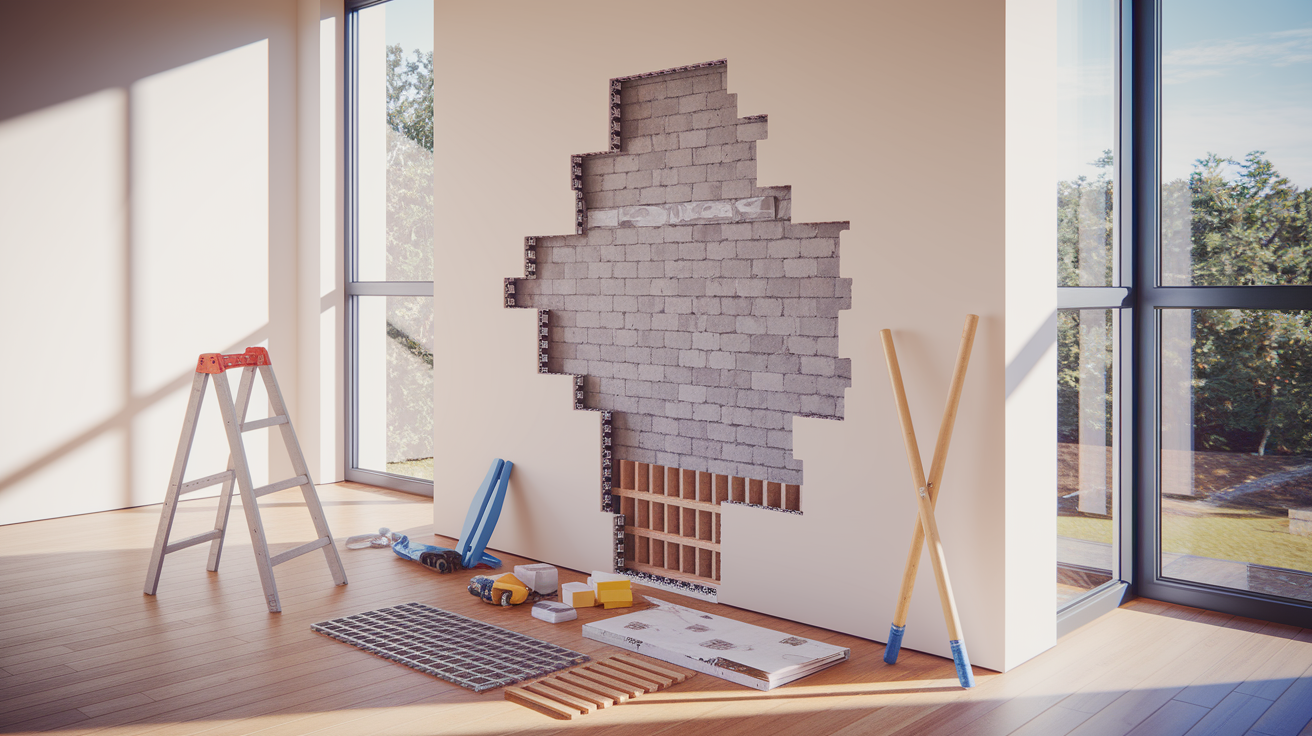
Retrofit blocking installation is more difficult but sometimes necessary during remodeling projects when drywall’s already installed. You’re essentially performing surgery on finished walls, which creates mess, requires repair work, and takes way more time than installing blocking during framing.
The retrofit process requires careful execution. Locate and mark stud positions using a stud finder, verifying locations by drilling small pilot holes. Cut out horizontal drywall sections at blocking heights, typically 3 to 4 inches tall and spanning from stud to stud in the cabinet area. Install blocking between studs using the same methods as new construction, making sure pieces fit tight. Then patch and finish the drywall sections, which means new drywall pieces, joint compound, sanding, primer, and paint that matches the existing wall. This approach often requires professional installation due to complexity and mess. If you’ve never patched drywall before, the repair work can look worse than the original problem.
Ledger board systems offer an alternative that avoids cutting into walls. Install a continuous horizontal board (typically a 1×4 or 1×3) directly across multiple studs where drywall already exists. This provides a mounting surface for cabinets without removing drywall. The ledger supports cabinet weight during installation and provides a level reference point for cabinet alignment, which is particularly useful for upper cabinet installation. You lose the invisible installation that hidden blocking provides, but if cabinets will cover the ledger completely, appearance doesn’t matter.
French cleat systems provide another solution that works well in retrofit situations. These consist of matching beveled boards. One mounts to the wall across multiple studs, one attaches to the cabinet back. The beveled edges interlock when you hang the cabinet, creating a strong hanging system that distributes load effectively across all the studs the cleat spans. French cleats allow easier cabinet removal for maintenance or replacement compared to traditional mounting. They don’t require removing drywall or cutting access holes. The main limitation is that both parts of the cleat system add thickness, so cabinets sit slightly farther from the wall than traditional mounting.
Heavy duty fastener alternatives work when no structural modifications are possible. Use heavy duty toggle bolts or Snaptoggle anchors rated for cabinet weight. Check the load rating and compare it to your loaded cabinet weight plus a safety margin. Locate and fasten directly into existing studs wherever possible, which limits attachment points but avoids drywall work entirely. This approach works for lighter cabinets and situations where perfect alignment isn’t critical.
Planning cabinet locations and blocking before drywall installation eliminates these challenges and added costs. But if you’re working with existing walls, these alternatives provide viable paths forward without major demolition.
Blocking Specifications for Heavy Cabinets and Countertop Loads
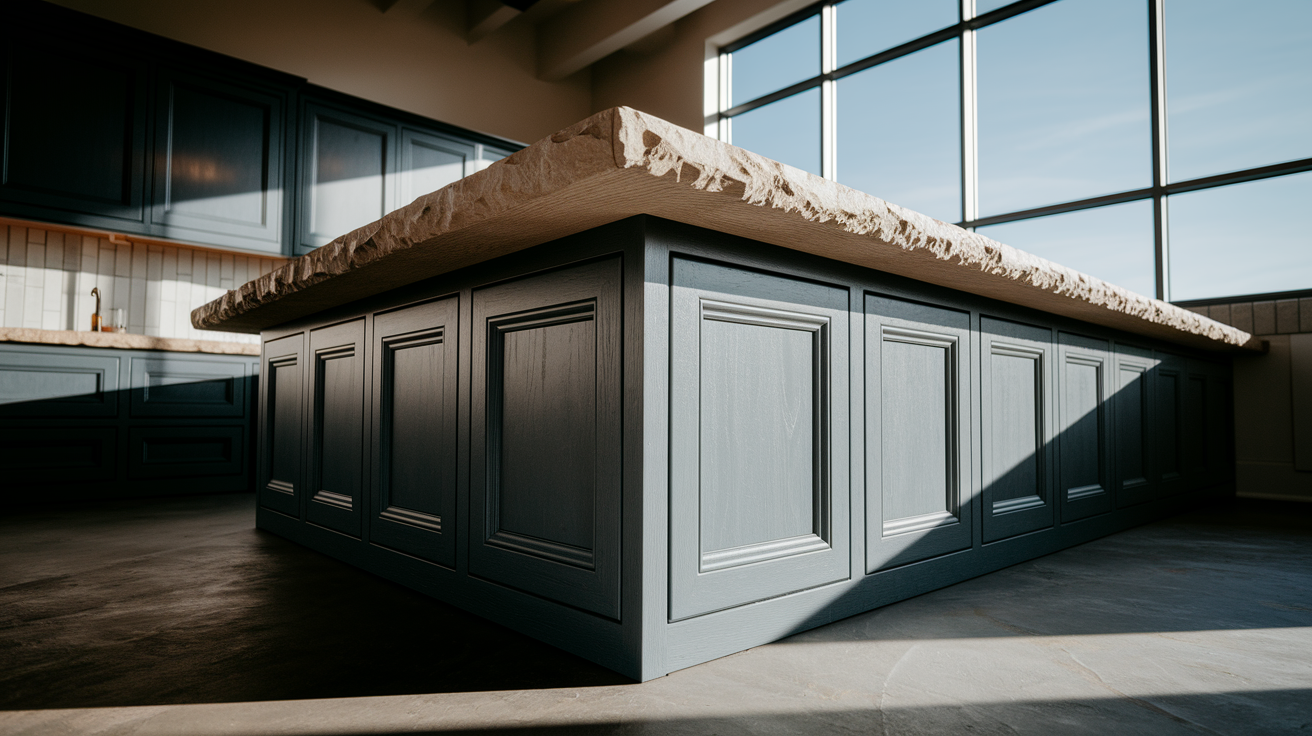
Standard blocking adequately supports typical cabinets, but heavy installations require additional considerations. Cabinets storing dishes or canned goods generate substantial point loads. Upper cabinets with granite or quartz countertops in peninsula installations carry significant weight that standard blocking wasn’t designed to handle. Cabinets wider than 36 inches span more wall area and need support across additional stud bays. Commercial settings with professional equipment and constant use demand stronger installation than residential applications.
Reinforcement methods address these heavier load requirements. Install double blocking (two pieces side by side) at critical mounting points where maximum load will occur. Use thicker blocking material, such as 2×6 instead of 2×4, which provides more material for screws to bite into and resists bending under load better than thinner stock. Add vertical blocking between horizontal pieces to create a grid pattern that spreads loads across more of the wall structure. Ensure blocking extends across at least three stud bays for wide cabinets, which distributes weight to multiple studs rather than concentrating force on one or two locations.
| Cabinet Scenario | Recommended Blocking Enhancement |
|---|---|
| Standard wall cabinets | Single 2×4 or plywood strip blocking at top and bottom rails |
| Cabinets with stone counters | Double 2×4 blocking or single 2×6 at top mounting rail |
| Extra wide cabinet runs (over 72 inches) | Continuous blocking across minimum 5 stud bays with vertical cross blocking every 32 inches |
| Commercial installations | 2×6 blocking at all mounting points, engineered blocking plan stamped by professional |
Cabinet manufacturer specifications sometimes include blocking requirements that should be followed. Check installation instructions for your specific cabinets. Some manufacturers void warranties if blocking doesn’t meet their specifications. When in doubt about whether standard or reinforced blocking is appropriate, calculate the loaded cabinet weight and add a 50% safety factor.
Common Blocking Mistakes That Compromise Cabinet Installation

Blocking mistakes discovered after drywall installation are expensive to correct. You either live with problem cabinets or tear out drywall to fix framing errors that should have been caught earlier.
Common blocking errors include installing blocking at incorrect heights that don’t align with cabinet mounting rails. Cabinets won’t attach securely because screws miss the blocking entirely. Failing to verify level across multiple stud bays causes cabinet installation problems when you can’t get cabinets level and aligned with each other. Using blocking material thinner than studs creates recessed mounting surface that drywall covers over, leaving you screwing into just drywall. Leaving gaps between blocking ends and studs reduces support because the blocking isn’t anchored solidly at both ends.
Insufficient fasteners allow blocking to shift under load. Using just one screw per end when you need two minimum creates this problem. Blocking placed where electrical outlets or plumbing are planned forces electricians or plumbers to cut through blocking or relocate fixtures. Using split or damaged lumber that won’t hold fasteners securely is another common error. Cracked wood lets screws pull through under stress. Installing blocking only at select studs rather than continuously across the cabinet run leaves gaps where cabinets can’t be properly secured.
Prevention strategies eliminate these problems before they become expensive fixes. Always work from detailed cabinet layout drawings with exact heights marked. Don’t estimate or measure from memory. Double check measurements before cutting blocking pieces. Measure twice, cut once isn’t just a saying. Verify blocking placement won’t interfere with electrical or plumbing rough in by consulting plans and coordinating with other trades. Use your level frequently during installation, not just at the beginning. Document blocking locations with photos before drywall goes up.
Inspection catches errors while correction is still simple. Check that all blocking is secure by trying to move each piece. If it shifts, add fasteners. Verify level by placing your level across multiple stud bays and looking for gaps under the level. Confirm positioning against your cabinet plans one more time. This final check before proceeding to the next construction phase prevents discovering blocking problems after it’s too late to fix them easily.
Building Code Requirements and Professional Standards for Cabinet Blocking
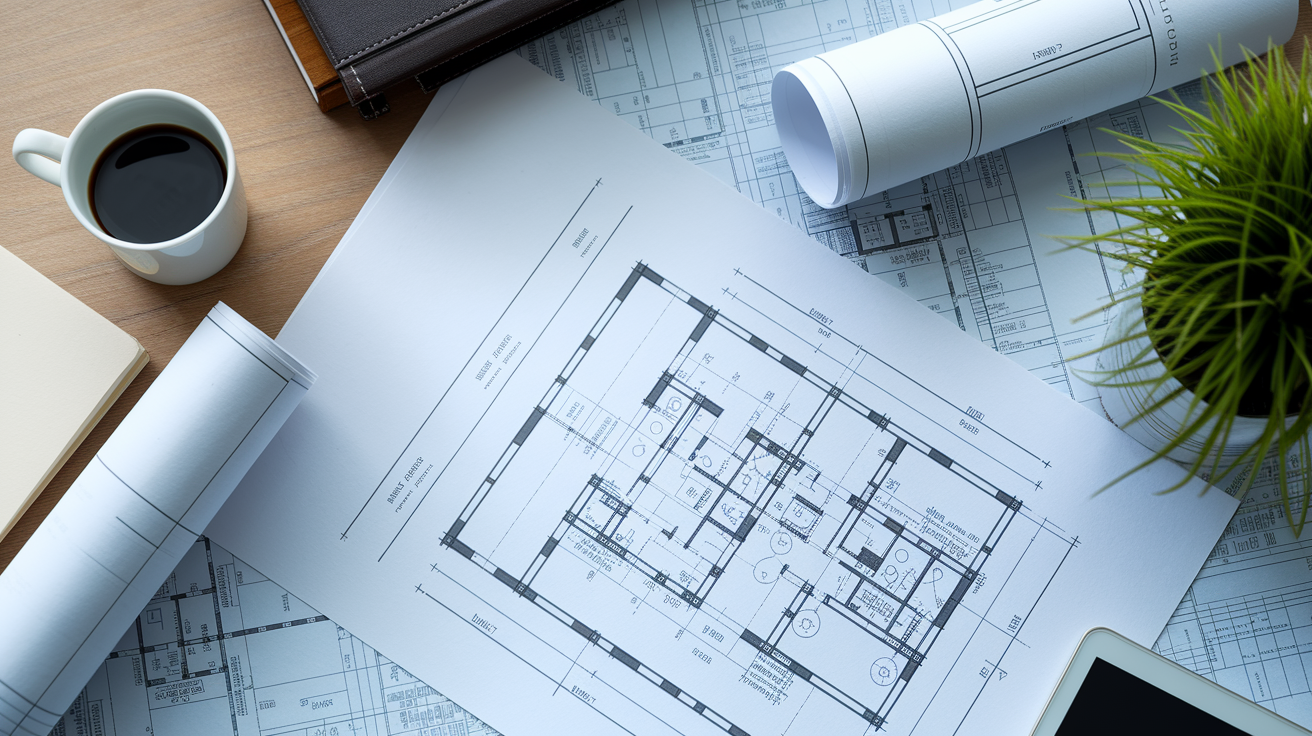
Specific cabinet blocking isn’t always explicitly addressed in residential building codes, but blocking falls under general framing requirements for providing adequate support for fixtures and finishes. Most jurisdictions require that wall mounted fixtures be properly supported by structural framing elements, which blocking provides. Blocking for safety features like grab bars does have specific code requirements. Grab bar blocking must support 250 pounds minimum under ICC A117.1 accessibility standards.
Professional standards go beyond minimum code compliance in many situations. Commercial installations typically require engineered blocking plans that specify blocking sizes, spacing, and fastening schedules. An engineer stamps the plans confirming the blocking design will support expected loads. Cabinet manufacturers may void warranties if blocking doesn’t meet their specifications, which are often more detailed than building codes. Professional installers follow industry best practices even when codes don’t mandate specific methods because proper blocking prevents callbacks and ensures long term performance.
When to hire professionals depends on project complexity and risk factors. Load bearing wall modifications require professional involvement because improper work can compromise structural integrity. Complex kitchen layouts with multiple cabinet types, heights, and configurations benefit from professional installation that accounts for all the variables. Retrofit installations in finished walls involve specialized skills in cutting, installing blocking, and making repairs invisible. Commercial or rental properties with liability concerns should use licensed contractors who carry insurance and stand behind their work.
Check local building codes before starting because requirements vary by jurisdiction. Some areas have specific blocking requirements for seismic zones. Others mandate permits and inspections for cabinet installation that includes structural modifications. A quick call to your local building department clarifies what’s required in your area.
Blocking Spacing and Continuous Support for Multiple Cabinet Runs
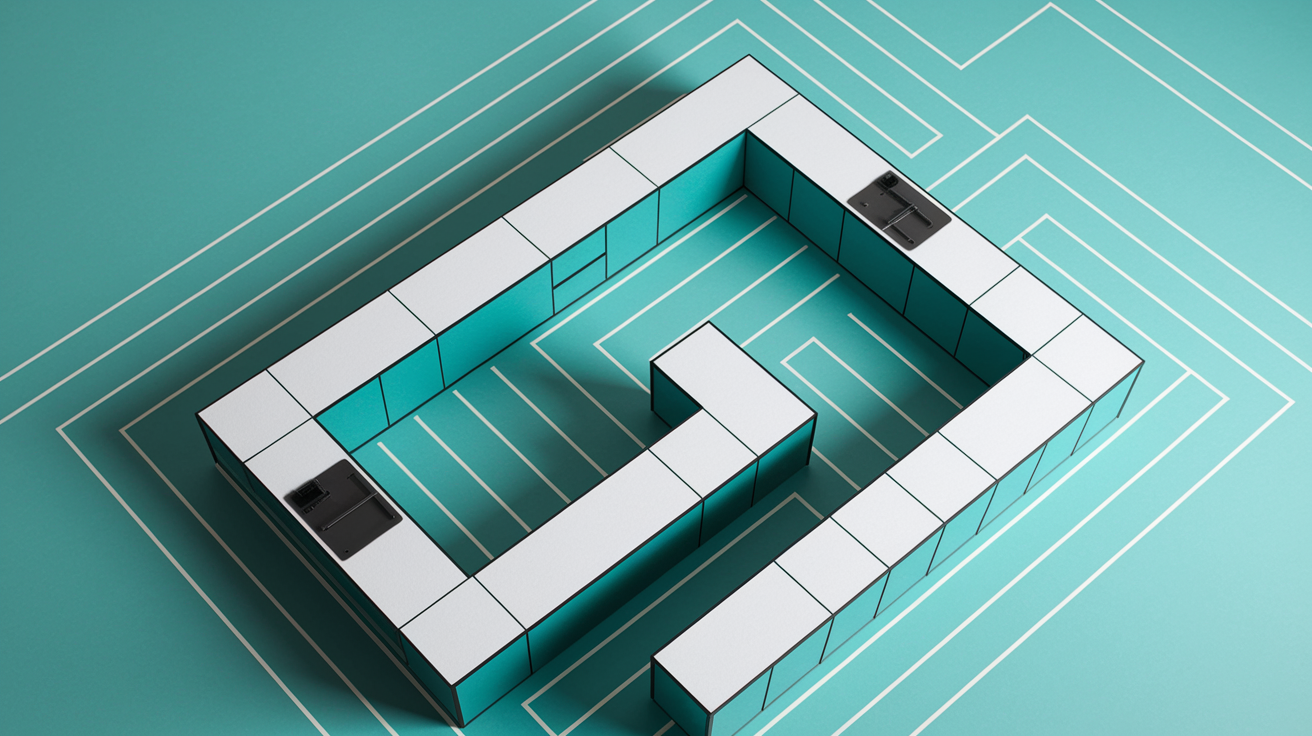
Cabinet runs longer than a single stud bay require continuous blocking. Blocking should extend uninterrupted across all studs in the cabinet area rather than isolated pieces at select locations. This ensures consistent mounting surface and prevents gaps where cabinets can’t be properly secured. If you install blocking at just a few studs, some cabinets end up with solid attachment points while others have only drywall between blocking locations.
L shaped and U shaped kitchen layouts need blocking that continues around corners. Corner cabinet areas may require additional vertical blocking for securing cabinet sides where cabinets meet at right angles. Blocking should overlap at corners to maintain continuity. Don’t leave a gap at the corner where two blocking runs meet. One approach uses a vertical block at the corner that both horizontal blocking pieces connect to, creating continuous support through the corner. Without this detail, the corner becomes a weak point where cabinets can shift or separate.
When blocking pieces must be joined in very long runs, joints should occur at stud locations with both pieces secured to the same stud. This maintains strength through the joint because each blocking piece is independently attached to structure. Avoid joints at locations where cabinet attachment screws will penetrate. If a screw goes into the joint between two blocking pieces, it might not get adequate bite in either piece. Plan blocking layout so joints fall between cabinet mounting points.
Planning blocking layout before installation prevents gaps and ensures every cabinet has adequate attachment points regardless of position in the run. Lay out your cabinet plan on the wall framing, mark where each cabinet will go, and verify blocking runs continuously behind all cabinet locations. If you spot a gap in coverage during planning, it’s simple to adjust. If you find the gap after cabinets arrive for installation, your options are limited and expensive.
Final Words
Blocking for cabinets transforms drywall into a structural mounting surface that keeps heavy loads securely attached for decades.
The work happens during rough framing, before walls close up, when it’s simple and affordable. Miss that window and you’re looking at drywall demolition, patching, and retrofit headaches that cost three times as much.
Measure cabinet heights carefully, install continuous blocking across the entire run, and verify everything’s level before the next trade shows up.
When you open those cabinet doors twenty years from now, proper blocking means they’ll still hang straight and solid.
FAQ
What height should blocking be for cabinets?
Blocking for cabinets should be installed at approximately 84 inches and 54 inches from the floor for upper cabinets (in standard 8-foot ceiling installations), and at approximately 34.5 inches for base cabinets where the cabinet back attaches to the wall.
Is blocking for cabinets necessary?
Blocking for cabinets is necessary to create secure mounting points between wall studs that prevent cabinets from loosening over time, avoid wall damage, and provide solid attachment surfaces rather than relying on drywall alone to support heavy loads.
Can you use 2×4 for cabinet blocking?
You can use 2×4 lumber for cabinet blocking as long as it matches your existing stud thickness and is cut to fit snugly between studs (typically 14.5 inches for standard 16-inch stud spacing) and secured with proper fasteners.
What is the difference between blocking and backing?
The difference between blocking and backing is that blocking refers to horizontal wooden supports installed between wall studs at specific heights for cabinet mounting, while backing typically refers to any supplemental material (including full plywood sheets or ledger boards) that provides mounting surface.
When should blocking be installed during construction?
Blocking should be installed during the rough framing phase in new construction after wall studs are erected but before electrical, plumbing, insulation, and drywall installation, as this timing allows easy stud bay access and is significantly more cost-effective than retrofit installation.
What screws should be used to secure cabinet blocking?
Cabinet blocking should be secured with 3-inch construction screws (or 16d nails) rated for structural applications, using minimum two fasteners per blocking end, and avoiding drywall screws which lack adequate shear strength for load-bearing applications.
Can blocking be added to existing walls?
Blocking can be added to existing walls through retrofit installation by cutting horizontal drywall sections at blocking heights, installing blocking between studs, and patching drywall, though this approach is more expensive and difficult than installation during framing.
What blocking material is best for cabinets?
The best blocking material for cabinets is either dimensional lumber (2x4s or 2x6s matching stud depth) or 3/4-inch plywood ripped into 6-inch strips, with plywood offering advantages including more insulation space and less tendency to split.
Do heavy cabinets require special blocking?
Heavy cabinets require reinforced blocking such as double blocking (two pieces side-by-side) at critical mounting points, thicker blocking material (2×6 instead of 2×4), or vertical blocking between horizontal pieces to create a grid for installations with stone countertops or commercial settings.
What are common mistakes when installing cabinet blocking?
Common cabinet blocking mistakes include installing at incorrect heights that don’t align with cabinet mounting rails, failing to verify level across multiple stud bays, leaving gaps between blocking ends and studs, and using insufficient fasteners that allow blocking to shift.
Should blocking be continuous across cabinet runs?
Blocking should be continuous across entire cabinet runs rather than isolated pieces at select locations to ensure consistent mounting surface and prevent gaps where cabinets can’t be properly secured, especially important for L-shaped and U-shaped kitchen layouts.
What alternatives exist when blocking cannot be installed?
When blocking cannot be installed, alternatives include ledger boards (continuous horizontal boards across multiple studs), French cleat systems that distribute load across studs, or heavy-duty toggle bolts and Snaptoggle anchors rated for cabinet weight when fastening directly to existing studs.