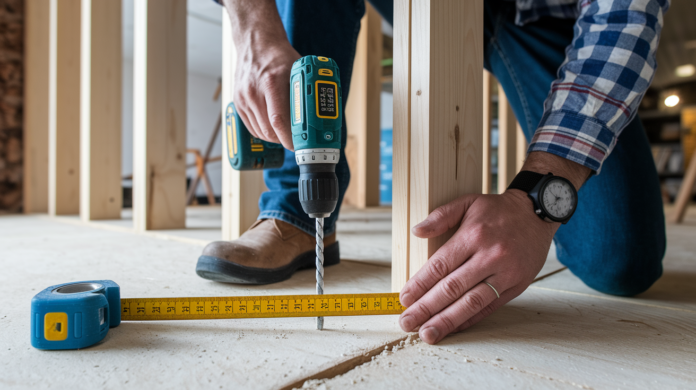

Most DIYers think you can just screw cabinets into drywall and call it good. Then six months later, the whole thing pulls away from the wall because there’s nothing solid behind the mounting screws. Blocking between studs solves this by giving you a continuous horizontal support surface exactly where your cabinets need to attach. This guide walks through the six steps to install blocking during framing or retrofit it later, including heights for different cabinet types and the fastening methods that actually hold.
How to Install Cabinet Blocking in Stud Walls

Blocking between studs for cabinets is just horizontal wood pieces installed between vertical wall studs so your cabinet mounting screws have something solid to bite into. Without it, cabinets only attach where they happen to line up with studs, which almost never matches where the manufacturer put the mounting rails. That leads to loose cabinets, torn up drywall, and potential collapse when you load them up.
You want to handle this during the framing stage in new construction, before drywall goes up. If you’re working on a renovation, you’ll need to cut out sections of the finished wall, install the blocking, then patch everything back. For material, use 2×6 lumber minimum. 2×8 is better for kitchen cabinets and other heavy installations. The lumber thickness should match your wall studs, typically 3 1/2 inches actual dimension for 2×4 framing. Scrap framing lumber works great and cuts down on waste.
The installation breaks down into six steps:
- Measure and mark cabinet locations at the right heights. That’s 54 inches above finished floor for the lower row on upper kitchen cabinets, 34 1/2 inches for base cabinet blocking.
- Cut lumber to fit between studs by measuring the exact distance between stud faces and subtracting 1/8 inch for easier fitting.
- Position blocking horizontally at your marked heights, keeping it flush with the front face of the studs.
- Secure to stud sides with 3 inch screws, driving two screws through the blocking into each stud connection.
- Check level before you commit. Unlevel blocking means unlevel cabinets later.
- Repeat for all mounting points your cabinet layout requires. Usually two rows for upper cabinets, one for base units.
You can fasten blocking two ways: toe screwing (driving screws at an angle through the face of the blocking into the stud) or pocket holes (drilling angled holes in the ends of blocking pieces with a pocket hole jig, then driving screws from behind). The pocket hole method leaves no exposed fasteners and looks cleaner. After securing each piece, check that it hasn’t bowed or twisted and still sits flush with the stud faces.
Required Materials and Lumber Selection
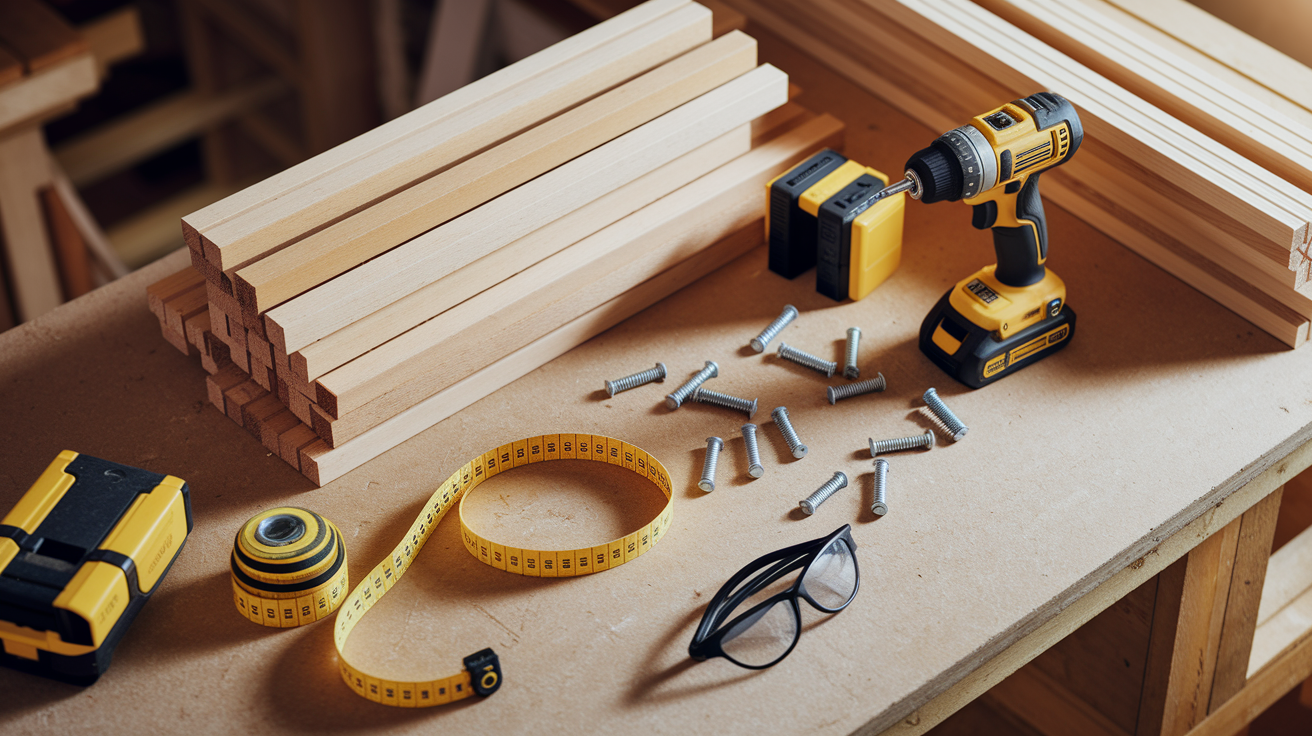
Picking the right blocking material starts with understanding minimum requirements and what’s actually better. Use 2×6 lumber as your absolute minimum for decent cabinet support, but 2×8 is better for heavier kitchen cabinets that’ll hold dishes, canned goods, and cookware. For really heavy installations like pantry cabinets or floor to ceiling storage, think about 2×10 blocking. The lumber thickness has to match your wall studs. If you’re working with 2×4 framing (actual 3 1/2 inches), your blocking should be the same dimension to sit flush. Scrap framing lumber works perfectly and helps reduce waste on site.
An alternative uses 3/4 inch plywood ripped into 6 inch wide strips instead of dimensional lumber. This gives you some benefits: plywood splits less than dimensional lumber when you’re driving fasteners near the ends, and the thinner profile leaves more cavity space for insulation in exterior walls. The 6 inch width gives you plenty of surface area for cabinet mounting screws while being economical with material.
Required Materials:
- 2×6, 2×8, or 2×10 dimensional lumber (quantity depends on cabinet run length and number of rows)
- Alternative option: 3/4 inch plywood sheets, ripped into 6 inch strips
- 3 inch deck screws or construction screws (roughly 4 per blocking piece)
- Pocket hole screws if using pocket hole jig method (1 1/4 inch for 3/4 inch material)
- Construction adhesive (optional, for extra strength)
- Metal nail plates (for protecting utilities behind blocking)
- Safety glasses
- Work gloves
- Hearing protection
Required Tools:
- Drill/driver or impact driver
- Circular saw or miter saw for cutting blocking to length
- Measuring tape (25 foot minimum)
- Carpenter’s square or speed square
- 4 foot level
- Stud finder (for retrofit installations)
- Pencil for marking
- Pocket hole jig (optional, for pocket hole fastening method)
Cost wise, scrap lumber wins when it’s available. On new construction, coordinate with the framing crew to set aside cutoffs in the right dimensions. If you’re buying lumber specifically for blocking, get the straightest pieces you can find. Warped or twisted blocking creates problems during cabinet installation.
Standard Blocking Heights for Cabinet Types
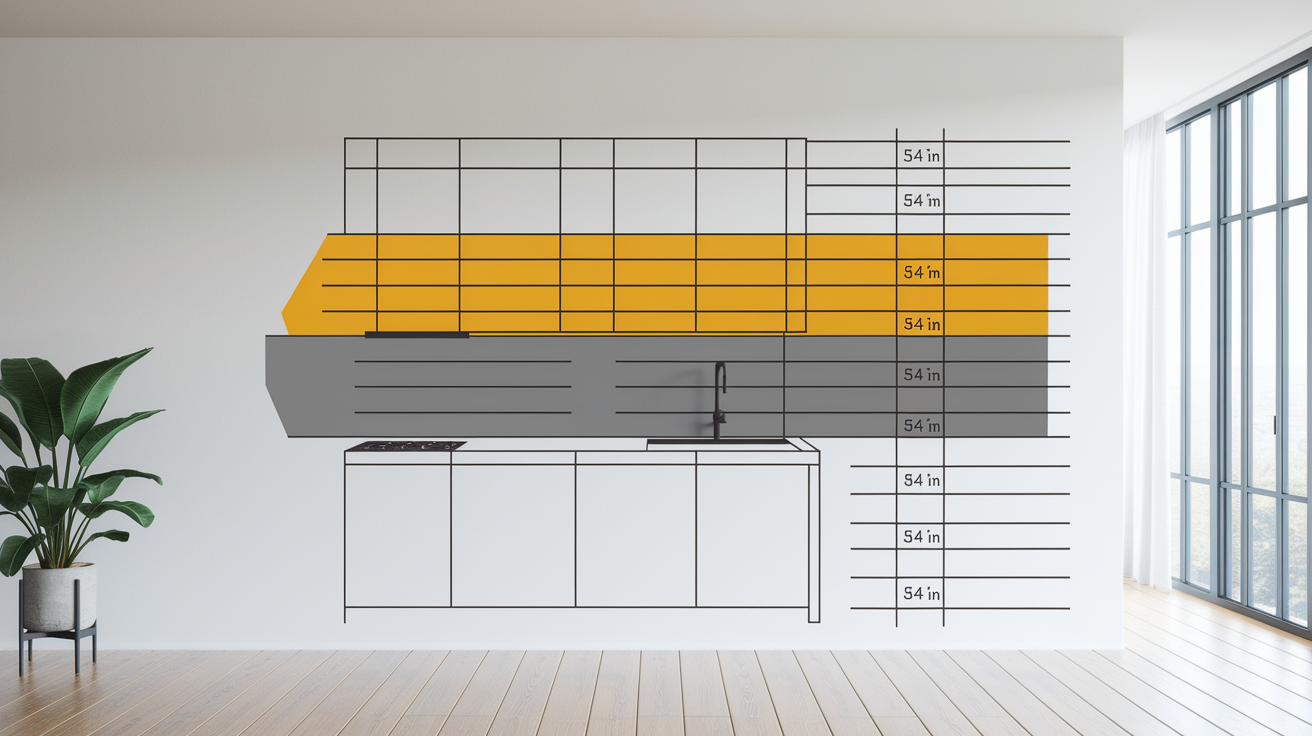
Precise height matters because cabinets mount to specific locations on their backs, usually a hanging rail at the top of upper cabinets and a nailer strip at the top of base units. If your blocking sits two inches above or below where the cabinet wants to attach, you’ve just created a problem that requires cutting out drywall and moving the blocking.
| Cabinet Type | Blocking Location | Height from Floor |
|---|---|---|
| Kitchen Base Cabinets | Centered at top of cabinet | 34 1/2 inches |
| Kitchen Upper Cabinets (Lower Row) | Bottom mounting rail | 54 inches (18 inches above base cabinets) |
| Kitchen Upper Cabinets (Upper Row) | Top mounting rail | 84 to 90 inches (varies with cabinet height) |
| Bathroom Vanities | Centered at top | 30 to 32 inches |
| Tall Pantry Cabinets | Multiple rows at 24 to 30 inch intervals | Varies based on cabinet design |
Upper cabinets need a two row blocking system for secure installation and proper weight distribution. The lower row catches the bottom mounting rail and takes most of the initial load. The upper row stops the cabinet from pulling away from the wall at the top, which is critical for preventing the cabinet from tipping forward. Both rows work together to create a rigid installation that won’t shift or sag over time.
For custom cabinet sizes, adjust these heights based on actual cabinet dimensions and mounting rail locations. Measure from the finished floor height, not the subfloor. That 3/4 inch difference matters. If you’re installing blocking before the finished floor goes in, add the floor thickness to your measurements. Standard measurements assume a 1 1/2 inch countertop and a 4 inch backsplash, with upper cabinets starting 18 inches above the counter surface.
Measuring and Locating Studs for New Construction

Working with exposed studs during new construction gives you a real advantage. You can see exactly what you’re dealing with and make precise measurements without guessing. No stud finder uncertainty, no surprises about spacing irregularities.
Standard stud spacing runs either 16 inches on center or 24 inches on center, measured from the center of one stud to the center of the next. But don’t assume. Verify the spacing by measuring from the corner to each stud location. Framing crews sometimes adjust spacing around windows, doors, or to land on specific measurements, and you need to know where those variations happen before you start cutting blocking. Mark blocking heights directly on the stud faces using a pencil, transferring the measurement from stud to stud with a 4 foot level held horizontally to keep consistent height across the entire wall.
Measurement Best Practices:
- Measure low on the wall where lumber is least likely to have crown or distortion when determining blocking placement
- Mark all studs at consistent heights using a level and straightedge spanning multiple studs
- Verify stud spacing before cutting any blocking pieces to length
- Account for irregular spacing near corners, windows, or doors where framing may vary
- Photograph blocking locations before drywall installation, including measurements from fixed reference points like door frames
Before drywall goes up, create reference marks that’ll stay visible afterward. Mark the top plate above the wall or write blocking heights and stud locations on the subfloor near the wall if it won’t be covered. Some builders snap chalk lines on the subfloor showing stud centers and blocking heights as a permanent reference.
Cutting and Fitting Blocking Between Studs
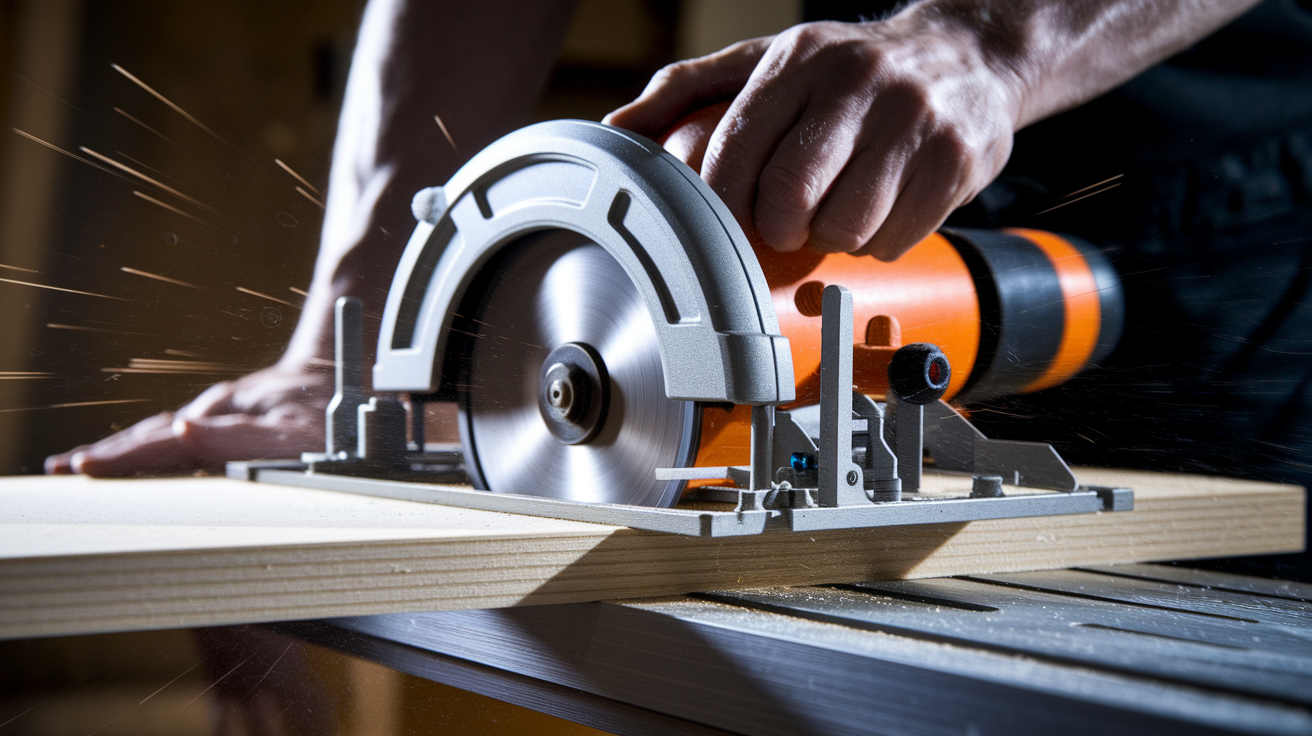
Accurate measurement prevents frustration during installation. An oversized piece means recutting. An undersized piece doesn’t give you adequate bearing surface against the stud faces.
Measure the exact distance between the inside faces of the studs where you’ll install each blocking piece. Standard 16 inch on center framing gives you about 14 1/2 inches between stud faces (16 inches minus 1 1/2 inches for the stud thickness). Subtract 1/8 inch from your measurement to allow easier fitting. Blocking that’s slightly short still provides full support when fastened, but blocking that’s too long will bow, twist, or refuse to fit between studs. Mark your cut line with a square to get a perpendicular cut.
Cut with a circular saw for speed on multiple pieces, or use a miter saw for precision. If you’re cutting many pieces to the same length, set up a stop block on your saw table to keep dimensions consistent.
Test fit each piece before installation. The blocking should slip between studs with light hand pressure, without forcing or pounding. If a piece binds, check for square cuts and verify your measurement. Minor adjustments can be made with a hand plane or a few passes with a saw to shave off a small amount. Remember that lumber thickness must match wall stud depth for the blocking to sit flush with the stud faces. If your blocking is thinner than the studs, it creates a low spot that won’t support cabinet mounting screws properly.
Securing Blocking to Wall Framing
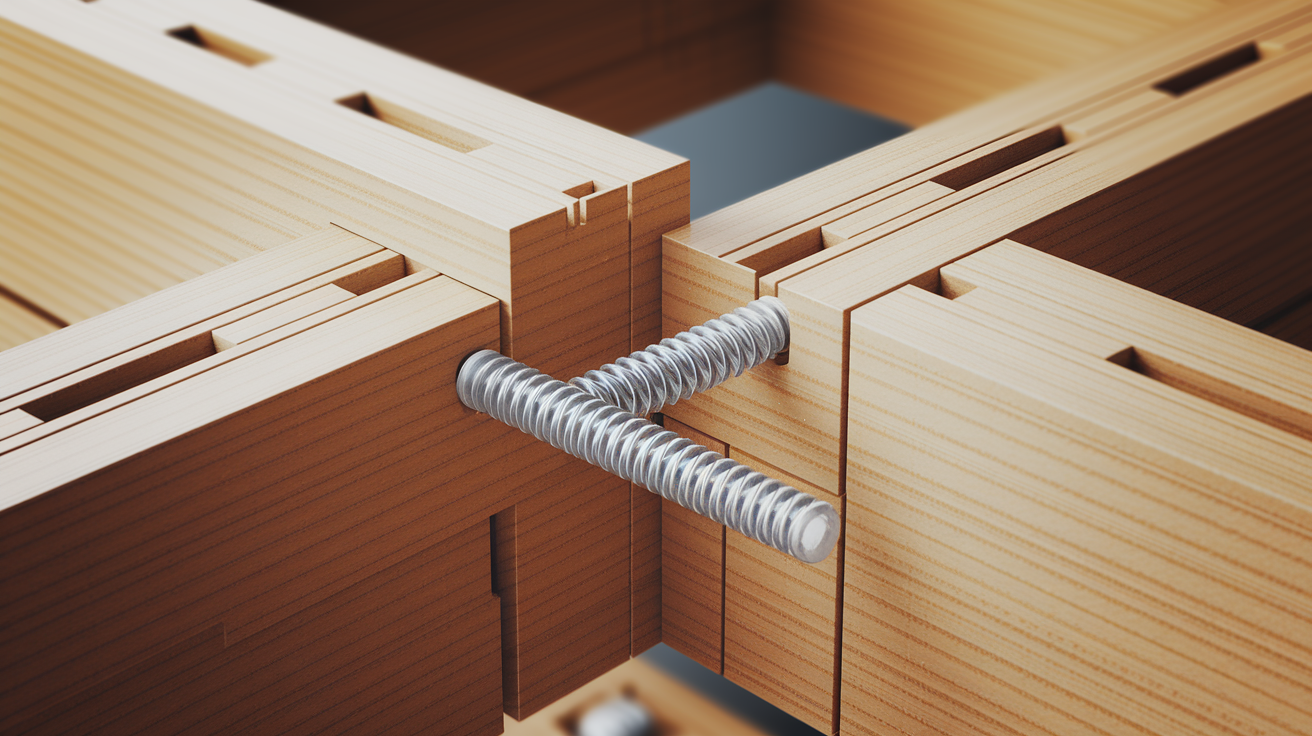
Position each blocking piece horizontally at the marked height, keeping the front face flush with the front face of the studs. This flush installation is critical. If blocking sits even 1/4 inch back from the stud face, drywall installers will have to shim it or notch the drywall, and you’ve created a weak point in the wall.
The toe screw method works for quick installation: hold the blocking in position, then drive 3 inch screws at an angle through the face of the blocking into the sides of the studs. Start the screw about one inch from the end of the blocking, angled toward the stud. Pre drill a small pilot hole (slightly smaller than the screw shaft diameter) to prevent splitting, especially when working near the ends of blocking pieces. Use a minimum of two screws per stud connection, one near the top edge and one near the bottom edge of the blocking.
The pocket hole method creates a cleaner installation with no exposed fasteners. Use a pocket hole jig to drill angled holes in both ends of each blocking piece before installation. Position the jig on the back face of the blocking (the face that’ll be against the drywall), one inch from each end. Drill the pocket holes, then position the blocking between studs and drive pocket hole screws from the back side into the stud faces. This method pulls the blocking tight against the studs without any visible screws on the front face.
Fastening Best Practices:
- Use two screws per stud connection for adequate holding power
- Add construction adhesive to the stud contact surfaces for extra strength and to eliminate any movement
- Countersink screw heads slightly below the surface so they don’t interfere with drywall installation
- Verify blocking doesn’t bow or twist when fastened. Sight down the length of the wall to spot any pieces that aren’t aligned.
After securing each piece, place your level across the blocking to verify it’s level in both directions. An unlevel blocking piece means unlevel cabinets later, and fixing it requires removing the blocking and starting over.
Retrofit Installation Through Finished Walls

Adding blocking to finished walls requires more care and creates dust and debris, but the installation follows the same fundamental principles once you’ve gained access to the framing.
Locating studs through finished drywall takes patience and verification. Electronic stud finders work by detecting changes in wall density, but they can give false readings near electrical wires or plumbing. Magnetic stud finders detect the metal fasteners holding drywall to studs and tend to be more reliable. The knock test (tapping the wall and listening for the solid sound over a stud versus the hollow sound between studs) works but requires practice. Look for electrical outlets, which are typically attached to the side of a stud. Check for nail pops in the drywall, which show fastener locations. Measure 16 or 24 inches from corners to predict stud locations, then verify with multiple detection methods before cutting.
Retrofit Installation Process:
- Locate and mark studs accurately using multiple verification methods. Confirm with at least two different techniques before cutting.
- Cut drywall horizontally between studs at the blocking heights, using a utility knife to score the paper face and a drywall saw to cut through.
- Install blocking through the access opening by tilting it into the cavity, positioning it at the correct height, and securing to stud sides with screws.
- Verify level before driving all fasteners. This is your last chance to adjust before finishing.
- Repair drywall with patches cut to fit the opening, secured with screws to the blocking, then finished with joint compound and sanding.
Minimize drywall damage by measuring carefully and cutting clean straight lines. Score the cut line multiple times with a sharp utility knife before using a saw. Clean cuts are easier to patch and create less dust. Some installers prefer cutting horizontal slots just tall enough to fit the blocking through (about 3 1/2 inches for 2×4 blocking), while others cut larger rectangles for easier access to fasten the blocking.
When to hire professionals: complex installations involving multiple blocking heights and long cabinet runs, older homes where you’re uncertain about framing methods or potential hidden utilities, any work involving load bearing walls where structural integrity is critical, or extensive wall modifications that require matching existing finishes perfectly. The cost benefit calculation favors professional installation when the risk of mistakes outweighs the labor savings, particularly when cabinet installation deadlines are tight.
Load Bearing Considerations for Cabinet Blocking
Typical cabinet loads create substantial forces on mounting points. Fully loaded upper kitchen cabinets can weigh 200 to 400 pounds when filled with dishes, glasses, and food storage. Base cabinets carry even more. Countertop material adds weight before you put anything in the drawers or on the shelves.
Standard blocking using 2×6 or 2×8 lumber handles most residential cabinet loads without issue, assuming proper installation and adequate fastening. The weight distributes across multiple mounting points. A typical upper cabinet attaches to the wall at four to six locations along its top and bottom mounting rails. This distribution means each fastener carries only a portion of the total load. A 300 pound loaded cabinet with six mounting points puts roughly 50 pounds of shear load on each screw, well within the capacity of properly installed 3 inch cabinet screws driven into solid blocking.
For heavy installations like floor to ceiling pantry cabinets, stone countertop support, or commercial grade appliances, reinforce with larger dimension lumber. Use 2×8 or 2×10 blocking instead of 2×6, install additional blocking rows at closer vertical spacing, or consider installing 1/2 inch plywood backing for the entire wall section behind the cabinet run. The plywood backing approach replaces drywall with a structural sheathing material that provides solid attachment across the full cabinet back, though it costs more in material.
Building codes typically don’t specify cabinet blocking requirements in detail, but they do require that cabinets be “adequately secured” to prevent tipping or falling. Load requirements vary by jurisdiction, and some areas have specific requirements for upper cabinets in seismic zones. Check with your local building department about any specific code requirements for cabinet installation. Proper fastener selection matters. Use cabinet mounting screws rated for the application, typically 3 inch screws with a washer head that won’t pull through cabinet mounting holes.
Safety Practices and Common Installation Mistakes

Before cutting into any wall or installing blocking, check for utilities. In new construction this is straightforward. You can see electrical wiring, plumbing pipes, and HVAC ducts running through the framing. In retrofit situations, turn off power to the work area and use a non contact voltage tester to verify wires are dead before cutting.
Install metal nail plates over any electrical wiring or plumbing that passes through or near blocking areas. These thin metal plates prevent cabinet mounting screws from penetrating utilities when cabinets are installed later. Most building codes require nail plates whenever wiring or plumbing runs within 1 1/4 inches of the face of a stud, and this requirement extends to blocking. Use 16 gauge steel plates at minimum, securing them with short nails or screws that don’t penetrate the utilities they’re protecting.
Safety Practices:
- Wear safety glasses when cutting and drilling to protect against wood chips and sawdust
- Use work gloves when handling lumber to prevent splinters and improve grip on heavy pieces
- Keep power tool cords clear of cutting paths and ensure a stable work surface
- Secure lumber properly before cutting. Never hold small pieces by hand near a saw blade.
- Disconnect power to circuits when working near electrical boxes, even if you’re just installing blocking nearby
Common Mistakes to Avoid:
- Installing blocking at wrong heights because you measured from subfloor instead of finished floor
- Failing to check level before permanent fastening. Unlevel blocking means unlevel cabinets.
- Misaligning blocking with where cabinet mounting rails will actually land
- Using undersized lumber that doesn’t provide adequate support for heavy cabinet loads
- Inadequate fastening with too few screws, creating weak connections that can fail
- Not accounting for drywall thickness when positioning blocking flush with stud faces
- Failing to install blocking flush with stud faces, creating high or low spots that interfere with drywall
Height mistakes require complete reinstallation. You can’t just move blocking up or down two inches after drywall is installed. Unlevel blocking causes cabinet alignment problems that become obvious when you’re trying to install a long run of upper cabinets and they won’t sit flush against each other. Inadequate fastening leads to cabinet failure when the blocking pulls loose from the studs under load.
Prevent these problems by documenting everything with photographs showing blocking locations, heights from fixed reference points, and any utilities you’ve protected with nail plates. Create a simple checklist for each wall: studs located and verified, heights measured from finished floor level, blocking cut to correct length, level verified before fastening, adequate screws installed, utilities protected. Stop and verify at each stage rather than rushing ahead.
Blocking for Specialized Cabinet Applications

The same blocking principles that secure kitchen cabinets work for various applications throughout a building, though heights and spacing requirements vary by the specific fixture or cabinet type.
Bathroom specific blocking differs from kitchen installations. Vanity cabinets typically install at 30 to 32 inches above the finished floor, accounting for the cabinet height and countertop. Medicine cabinets need blocking at eye level, usually 60 to 72 inches depending on the household’s average height and the cabinet dimensions. Linen cabinets that extend from floor to ceiling require multiple blocking rows spaced 24 to 30 inches apart vertically to support the full height. In bathrooms, moisture considerations matter. While standard dimensional lumber works fine inside wall cavities, ensure adequate ventilation to prevent moisture buildup that could lead to rot or mold in the blocking over time.
Laundry room upper cabinets follow similar principles to kitchen installations but may sit higher on the wall to clear washer and dryer tops. Garage storage systems often carry heavier loads than kitchen cabinets. Stored paint cans, tools, and equipment add up quickly. For garage applications, use 2×8 blocking minimum and install blocking rows at closer spacing. Entertainment center blocking for television mounts requires careful height calculation based on seating position and viewing angle, with blocking positioned to align with the mounting bracket attachment points.
This blocking method also works for wall hung items beyond cabinets: grab bars in bathrooms (critical for safety and subject to building codes), towel bars and toilet paper holders (which pull loose from drywall anchors over time), coat hooks in mudrooms, chair rails and crown moulding backing, and heavy artwork or mirrors. Install blocking at different heights to accommodate different fixture types, and document locations before covering with drywall.
Verifying Blocking Before Cabinet Installation
Before proceeding with cabinet installation, verify that all blocking is correctly positioned and ready to support the cabinets. This final check prevents mid installation discoveries that blocking is missing, at the wrong height, or not adequately fastened.
Blocking Verification Steps:
- Confirm all blocking heights match your cabinet specifications by measuring from finished floor to center of each blocking piece
- Check that all blocking is level and plumb using a 4 foot level. Any variation will transfer to cabinet alignment.
- Verify flush installation with stud faces by sighting down the wall and feeling for any high or low spots
- Ensure adequate fastening at all connections by checking that screws are tight and blocking doesn’t move when you push on it
- Mark blocking locations on drywall surface with light pencil marks at the ends of each blocking piece for reference during cabinet installation
- Photograph or document blocking positions with measurements from fixed reference points like doorways, corners, or windows
After drywall installation, locating blocking requires reference to your installation documentation. Use your photographs to identify the exact position of each blocking piece. Measure from fixed reference points like doorways or corners to locate blocking centers. A magnet will find the screws or nails used to fasten blocking to studs, confirming the location without drilling exploratory holes. Transfer these locations to the face of the drywall with light pencil marks that’ll be hidden behind cabinets after installation.
Walk through with your cabinet installation plans in hand before the cabinets arrive. Verify that blocking locations align with cabinet mounting rail positions shown on the cabinet specifications. If you’re installing cabinets that weren’t in the original plan, confirm blocking exists at the correct heights or add supplementary blocking if needed.
Alternative Methods When Blocking Isn’t Possible
Some situations make traditional blocking installation impractical due to cost, access limitations, or timing constraints. In these cases, alternative mounting methods can work if you understand their limitations.
Using existing studs as mounting points works when cabinets span multiple studs and the stud locations align reasonably well with cabinet mounting rails. A 30 inch wide upper cabinet installed on 16 inch on center framing will catch at least two studs, sometimes three. If the cabinet mounting rails land close to stud centers, you can fasten directly to studs without blocking. This approach works best for lighter cabinet installations and when cabinet widths are convenient multiples of stud spacing.
Heavy duty wall anchors provide another option when cutting into walls isn’t feasible. Toggle bolts rated for 50 to 100 pounds each can support upper cabinets in locations where blocking doesn’t exist, though you need multiple anchors per cabinet and must follow manufacturer’s installation instructions precisely. Hollow wall anchors like Snaptoggle or WallCloggle create a mechanical connection through drywall that distributes loads better than simple molly bolts, but they still don’t match the holding power of screws driven into solid blocking. These anchors work for specific applications like adding a small medicine cabinet or lightweight shelf to a finished wall where cutting drywall isn’t justified.
Accept alternatives based on weight and safety considerations. For light decorative shelving or small cabinets carrying minimal loads, wall anchors may suffice. For upper kitchen cabinets that’ll hold full dish sets and food storage, or for any installation where failure could cause injury, insist on proper blocking installed to studs. The few hours required to add blocking through a finished wall costs far less than repairing wall damage from a fallen cabinet or replacing broken dishes.
Final Words
Blocking between studs for cabinets turns a shaky installation into a solid one that lasts.
The work upfront—measuring heights, cutting lumber to fit, fastening it level—prevents loose cabinets, cracked drywall, and middle-of-the-night crashes.
If you’re framing new construction, do it now. If you’re retrofitting, the drywall repair is worth it for heavy upper cabinets.
Check your work with a level, photograph the blocking before you close up the wall, and mark stud locations so you can find them later.
Done right, your cabinets stay where you hang them.
FAQ
Should you add blocking between studs for cabinets?
You should add blocking between studs for cabinets because it creates solid attachment points that prevent cabinet failure, wall damage, and safety hazards. Blocking distributes weight across the framing instead of relying on toggle bolts or drywall anchors.
Should I install blocking for cabinets during new construction or retrofit?
You should install blocking for cabinets during the framing stage before drywall goes up in new construction. For retrofit situations, you’ll need to cut out drywall, install blocking between studs, then patch and refinish the wall.
Can you use 2×4 for cabinet blocking?
You can use 2×4 for cabinet blocking on light-duty applications, but 2×6 minimum is recommended for adequate support and 2×8 is preferred for kitchen cabinets. The blocking lumber thickness should match your wall studs for proper installation.
What blocking height should I use for upper kitchen cabinets?
The blocking height for upper kitchen cabinets requires two rows: the lower row at 54 inches from the floor and the upper row at 84 to 90 inches. This two-row system provides secure top and bottom attachment points.
What blocking height should I use for base cabinets?
The blocking height for base cabinets should be centered at 34.5 inches from the finished floor for standard kitchen installations. For bathroom vanities, center blocking at 30 inches to match the lower cabinet height.
How do I find studs through finished drywall for retrofit blocking?
You can find studs through finished drywall using electronic stud finders, magnetic finders to locate fasteners, knock tests, or by measuring 16 or 24 inches from corners. Verify stud locations with multiple methods before cutting drywall.
What fasteners should I use to secure blocking to studs?
You should use 3-inch screws minimum to secure blocking to studs, with two screws per stud connection. Drive screws at an angle through the blocking face into stud sides, or use a pocket-hole jig for cleaner installations.
Do I need nail plates when installing cabinet blocking?
You need nail plates installed over any electrical wiring or plumbing that passes through or near blocking areas. Nail plates prevent cabinet mounting screws from penetrating utilities later and are required by most building codes.
Can I use plywood instead of dimensional lumber for blocking?
You can use 3/4-inch plywood ripped into 6-inch wide strips instead of dimensional lumber for blocking. Plywood offers benefits of reduced splitting when fastening and provides more cavity space for insulation compared to solid lumber.
When should I hire a professional instead of installing blocking myself?
You should hire a professional for blocking installation when dealing with complex multiple fixtures, older homes requiring expert handling, load-bearing wall modifications, or extensive wall cutting. Professionals prevent costly mistakes in retrofit situations.