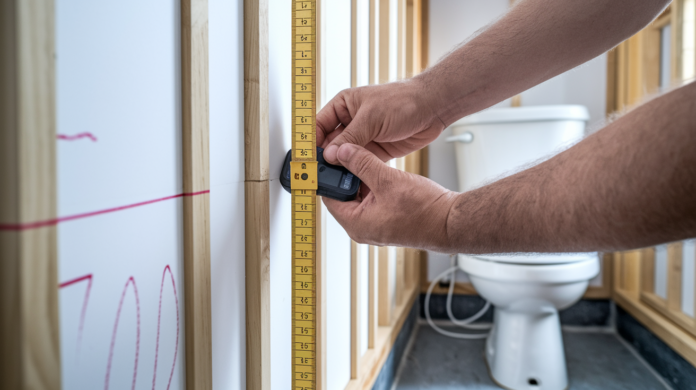

Rough in one toilet drain two inches off and you’ll spend the next decade staring at a crooked bowl or ripping out tile to move the flange. Bathroom plumbing rough in dimensions lock you into decisions before the walls close up, when mistakes are cheap to fix. Miss a measurement during framing and you’re either living with a fixture that doesn’t fit or scheduling a demolition party nobody wanted. This guide covers the standard rough in dimensions for toilets, sinks, showers, and tubs, plus the clearances and code details that keep inspectors happy and callbacks off your schedule.
Standard Rough In Measurements for Bathroom Fixtures
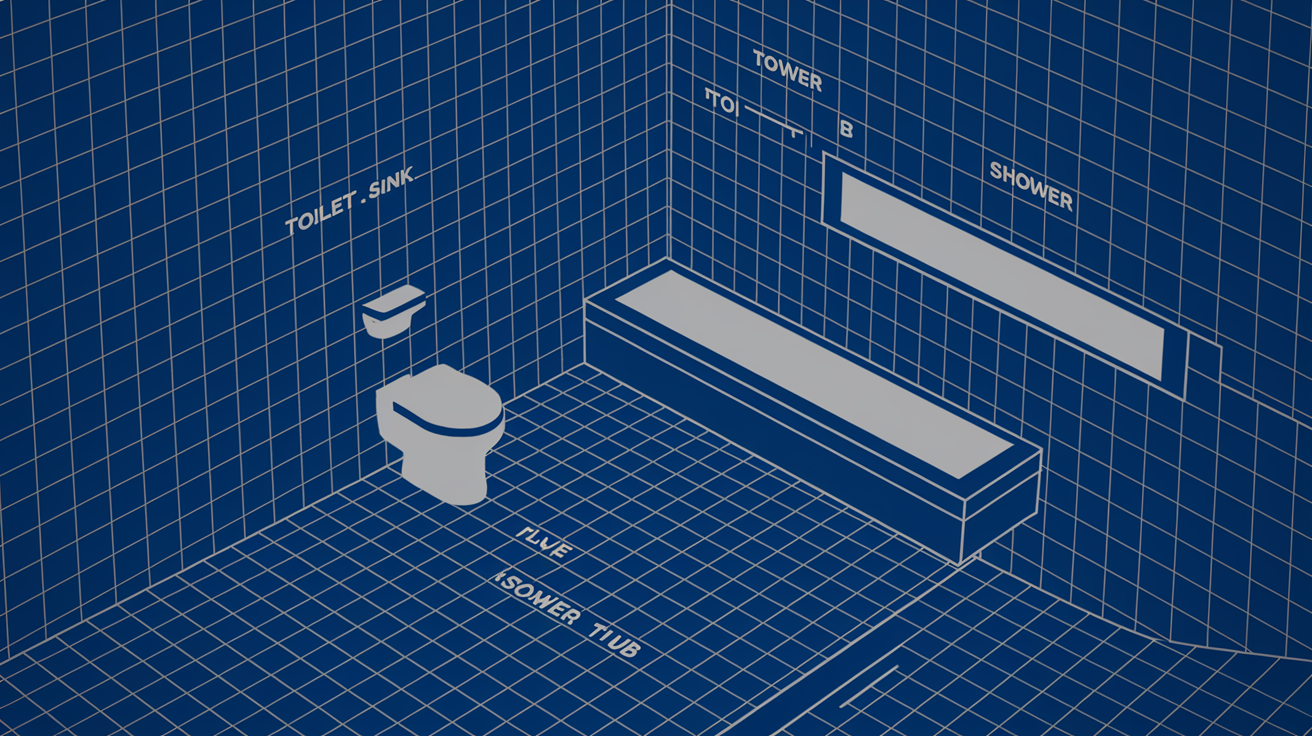
Rough in dimensions tell you where drains, supply lines, and vents need to go during framing, before you close up the walls. Get these wrong and you’re either tearing into finished drywall or dealing with fixtures that don’t fit.
| Fixture | Measurement Point | Distance from Wall/Floor | Pipe Size |
|---|---|---|---|
| Toilet | Drain centerline from finished wall | 12 inches (10″ or 14″ in some cases) | 3 inches (4 inches for long runs) |
| Toilet | Cold water supply from centerline | 6 inches left, 7 inches above finished floor | 1/2 inch |
| Toilet | Side wall clearance from centerline | Minimum 15 inches each side | N/A |
| Toilet | Front clearance from bowl edge | Minimum 21 inches | N/A |
| Bathroom Sink | Drain centerline height | 18 to 20 inches above finished floor | 1.5 inches |
| Bathroom Sink | Hot and cold supply lines | 2 to 3 inches above drain, 8 inches apart (hot left, cold right) | 1/2 inch each |
| Double Vanity | Bowl centerline spacing | Minimum 30 inches on center | 1.5 inches per drain |
| Shower | Mixing valve center height | 48 inches above finished floor | 1/2 inch supply lines |
| Shower | Showerhead center height | 80 inches (up to 84 inches for tall users) | 1/2 inch |
| Shower | Drain centerline | Per pan manufacturer specs | 2 inches |
| Bathtub | Water supply height | 20 to 22 inches above finished floor | 1/2 inch per line |
| Bathtub | Drain location from back wall framing | 10 to 14 inches | 1.5 inches (2 inches for tub-shower combos) |
| Bathtub | Spout height above tub rim | 4 to 6 inches | 1/2 inch supply |
| Bathtub | Valve height above floor | 28 to 36 inches | 1/2 inch supply lines |
These standards work for most residential bathrooms. Your local code might require different numbers, and some fixture models come with their own requirements that override what’s listed here.
Things to remember when measuring:
Always measure from finished wall surfaces, not bare studs. You’re accounting for drywall, cement board, and tile that gets added later.
Account for every layer. Half inch drywall adds directly to your number. Cement board adds another half inch. Tile can add 3/8 to 1/2 inch depending on thickness.
Check the manufacturer’s rough in specs for your exact fixture before drilling anything. Some models don’t follow standards.
Verify local code requirements with the building department. Cities and counties modify national codes all the time.
Measure to the centerline of the pipe, not the edge. Fixture connections reference the center point.
Fixture-Specific Installation Details and Code Requirements

Hitting the right measurements is one thing. But clearances, code compliance, and installation details specific to each fixture determine whether you pass inspection and whether the bathroom actually works right for years.
Toilet Installation Considerations
That 15 inch minimum clearance from toilet centerline to any side wall exists for a reason. It’s the minimum space you need for comfortable use and cleaning access. The 21 inches of clear space in front is code minimum, but 24 to 30 inches feels better and makes maintenance easier.
The closet bend under the toilet needs to be secured solidly to the subfloor with a closet flange that sits level with or slightly above the finished floor. If the flange ends up below the finished floor after you add tile, you’ll need a flange extender or you’re risking leaks at the wax ring.
Most residential toilets use 3 inch drain lines. Works fine for a single toilet on a short run. For longer horizontal runs, multiple toilets sharing a line, or when the main stack is already 4 inches, go with 4 inch drain pipe. Larger diameter prevents clogs and improves flow when there’s distance or volume involved.
Wax rings work, but wax free gasket seals are gaining favor for remodel work where you might need to pull and reset the toilet. Flange height matters more than which seal you use.
Vanity and Sink Installation Requirements
The P trap under the sink needs proper venting within distance limits that depend on drain size. A 1.5 inch trap arm (the horizontal pipe from trap to vent or drain connection) is typically limited to 3.5 to 6 feet before it needs a vent, depending on how your local code reads it. A 2 inch trap arm can run longer.
Double vanity installs require bowl centerlines spaced at least 30 inches apart. This gives you adequate counter space between sinks and keeps drain rough ins from interfering with cabinet structure. Align the drain rough in with the center of where the sink bowl will actually sit. Prevents headaches during install.
Pedestal sinks need backing secured between studs at mounting height to support the sink’s weight and anyone leaning on it. Without proper backing, drywall anchors won’t hold.
GFCI outlets get installed within 36 inches of the outside edge of each basin. That’s measured horizontally along the wall, not as a straight line through space.
Wet venting lets a lavatory drain do double duty as a vent for the toilet in the same bathroom group. Works as long as drain and vent sizing follows code tables. Simplifies rough in when running separate vent stacks is difficult in tight spaces.
Shower and Tub Installation Specifications
The shower valve body gets centered in the stud cavity depth with blocking behind it for solid support. Set the valve at the correct depth so the trim kit installs flush with finished wall after tile or panels go up. Too deep and trim won’t reach. Too shallow and it won’t cover.
Thermostatic valves maintain consistent temperature by sensing and adjusting for pressure changes in hot or cold supply lines. Pressure balanced valves shift the mix when one side loses pressure but don’t monitor actual temperature. Rough in dimensions are often the same, but valve body depth and blocking requirements can differ by manufacturer.
Handheld shower brackets need backing installed at 42 to 48 inches above finished floor, depending on user height. Body sprays require individual valve bodies or a diverter system, with rough in heights based on where you want spray contact.
Soap niches framed between studs typically land between 36 and 60 inches above the shower floor. 48 inches is common for waist high access. Coordinate niche framing with plumbing so supply lines and drain vents don’t block the cavity.
Grab bars require solid backing. Usually 2×6 or 2×8 blocking secured between studs, installed during rough in before walls close up. Typical grab bar locations are near the shower valve, along the long wall, and near the bench if you’re planning one.
For bathtubs, the spout drops 4 to 6 inches above the tub rim to prevent splashing and let the tub fill properly. Measure from the actual rim height of your tub after it’s set, not from the subfloor.
Valve height for tubs ranges from 28 to 36 inches above finished floor. 30 to 32 inches is common. Handles are typically spaced 4 inches left and right of the tub centerline.
You need minimum 18 inches clearance between the tub sidewall and any adjacent fixture or wall surface. This space allows cleaning access and meets code for maneuvering room.
Drain Waste Vent System Dimensions and Slope
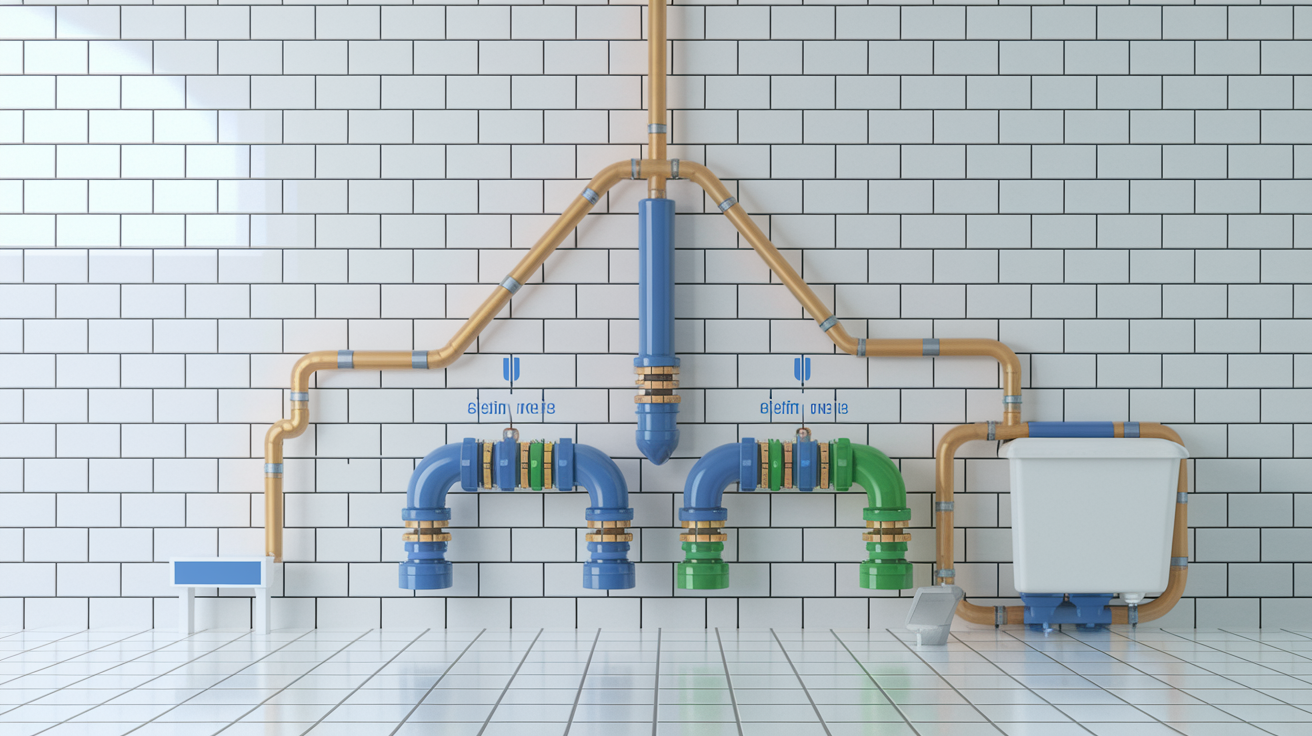
Every horizontal drain line needs to slope at 0.25 inch per foot toward the main drain stack or sewer line. That’s 1/4 inch drop for every 12 inches of run. This slope moves waste and water without leaving residue behind, but it’s not so steep that water outruns solids and leaves them stuck in the pipe. Too little slope causes clogs. Too much slope causes the same problem.
Vent pipes run vertical from the fixture drain until they reach at least 6 inches above the fixture’s flood level rim before you can offset them horizontally. Flood level rim is the highest point where water could overflow the fixture. This prevents wastewater from entering vent pipes during use or backflow events.
Trap arm length limits depend on pipe diameter and prevent siphoning. A 1.5 inch trap arm is typically limited to 3.5 to 6 feet before it must connect to a vent. A 2 inch trap arm can run longer, often up to 8 feet, depending on code. Wet venting allows one pipe to serve as both a drain for one fixture (like a sink) and a vent for another (like a toilet) within the same bathroom group, as long as pipe sizing follows code tables. Common in residential bathrooms where the lavatory wet vents the toilet.
Supply lines to fixtures are typically 1/2 inch diameter for adequate flow and pressure. Material choices include PEX (flexible, easy to run, freeze resistant), copper (durable, traditional, requires soldering), and CPVC (rigid plastic, glued connections). Each has installation quirks, but rough in dimensions stay consistent.
Shutoff valves for each fixture should be accessible without tearing into walls. For sinks, valves go in the vanity cabinet. For toilets, the valve’s usually on the wall behind and to the left of the bowl. For tubs and showers, an access panel in an adjacent room or hallway allows future service without demolition.
Hot water is always on the left when facing the fixture. Cold on the right. Code and convention.
In cold climates, supply lines need insulation where they run through unconditioned spaces, and exterior walls should be avoided entirely for plumbing if possible. Freezing pipes burst. Burst pipes flood.
Water hammer arrestors or air chambers near fixtures prevent the banging noise when valves close quickly. Installed on supply lines near washing machine valves, dishwashers, and sometimes shower valves.
Key drain, waste, vent, and supply rough in points:
Drain pipe sizing by fixture: toilets use 3 to 4 inches, bathroom sinks use 1.5 inches, showers use 2 inches, and tubs use 1.5 to 2 inches depending on whether it’s tub only or tub shower combo.
Cleanouts are required at the base of each drain stack and at changes in horizontal direction greater than 45 degrees. Allows access for clearing clogs without cutting pipe.
Maximum trap arm distances before venting: 1.5 inch drains typically need venting within 3.5 to 6 feet, 2 inch drains can run 8 feet or more depending on code.
Wet vent configuration for toilet lavatory bathroom groups allows the sink drain to vent the toilet if sized correctly per code tables. Simplifies vent layout.
Vent terminals extend through the roof and terminate outdoors, typically at least 6 inches above the roof surface and away from windows or air intakes.
Branch line connection order to the main stack: connect the highest fixtures first as you work down the stack. Prevents lower fixtures from affecting upper ones.
Pressure testing with air or water (often 50+ PSI) before covering walls confirms there are no leaks in the drain, waste, vent, or supply systems.
ADA Compliance and Accessible Bathroom Rough In
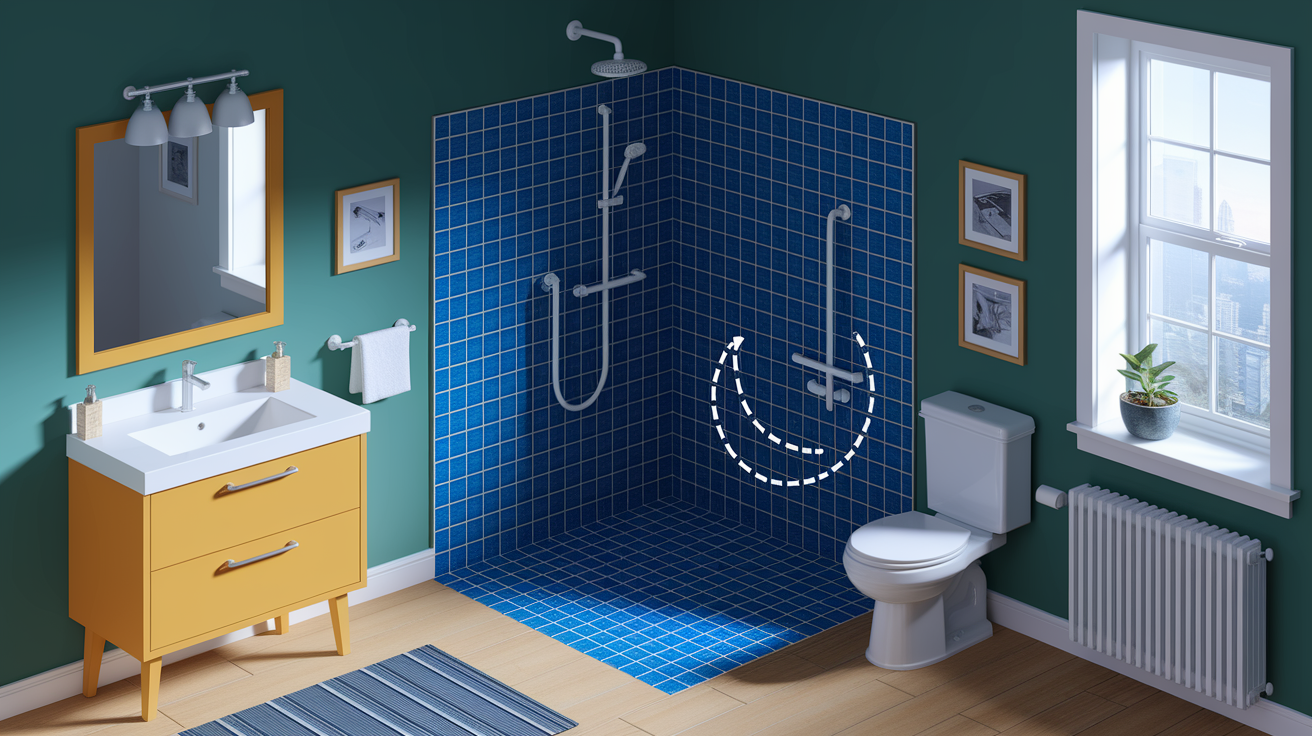
ADA compliance is required for commercial bathrooms and multi family common areas. It’s often incorporated into residential construction for aging in place planning or resale value. Planning accessibility features during rough in is easier and cheaper than retrofitting later.
Shower controls get mounted no higher than 48 inches and no lower than 38 inches from the shower floor to meet ADA reach range requirements. Controls should be positioned toward the shower entrance so a user can turn on water and adjust temperature before entering the spray zone.
Toilet rough in for accessible bathrooms often requires increased side clearance for wheelchair transfer. Reinforcement backing for grab bars gets installed at specific locations: one bar 33 to 36 inches above the floor on the side wall, 42 inches long, starting 12 inches from the back wall. One bar on the back wall, 36 inches long, centered on the toilet. These aren’t suggestions. They’re dimensional requirements with inspection consequences.
| Fixture/Feature | Standard Dimension | ADA Requirement | Difference |
|---|---|---|---|
| Shower valve height | 48 inches typical | 38 to 48 inches maximum | Lower range required for seated reach |
| Toilet centerline clearance | 15 inches minimum to side wall | 16 to 18 inches preferred for transfer | Extra space allows wheelchair positioning |
| Forward approach clearance | 21 inches in front of bowl | 48 inches minimum for wheelchair approach | More than double the space |
| Grab bar backing locations | Not typically required | Side wall and back wall per ADA specifications | Blocking must be installed during framing |
| Sink knee clearance | Vanity cabinet blocks space | 27 inches high, 30 inches wide, 19 inches deep minimum | Wall-hung or modified vanity required |
| Accessible turning radius | 36 inches typical hallway width | 60-inch diameter clear floor space | Significant layout impact, often requires 5×5 foot bathroom |
Local codes may have additional accessibility requirements beyond federal ADA standards, especially for specific building types or occupancy classifications.
Wet Wall Construction and Backing Requirements
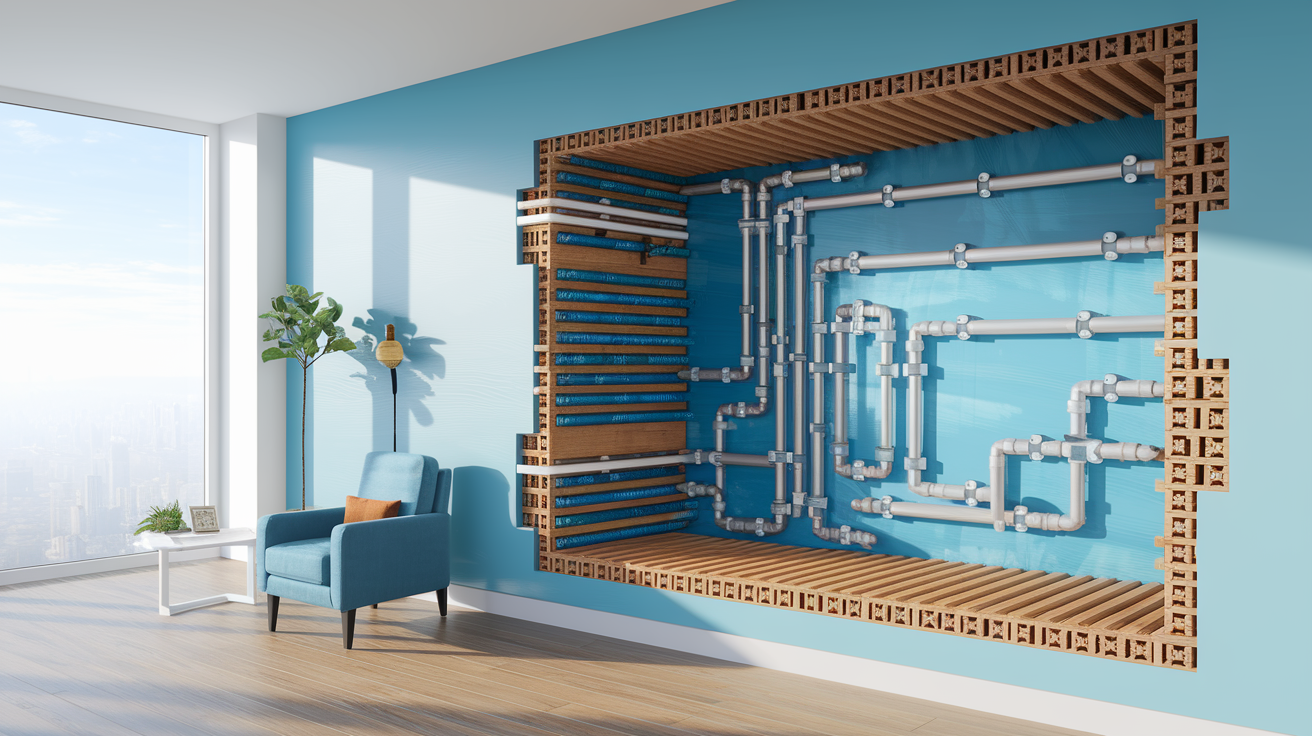
Wet walls are framed with 2×6 studs instead of standard 2x4s to create enough cavity depth for drain stacks, vent pipes, and supply lines to run vertically without notching or drilling through load bearing members. You need a wet wall wherever a toilet, tub, or shower drain stack runs vertically, or where multiple supply and drain lines share the same wall cavity.
Backing for accessories and grab bars gets installed before drywall or cement board goes up. You can’t add solid support after walls are closed. Grab bars require 2×6 or 2×8 blocking positioned horizontally between studs at mounting height. Towel bars, toilet paper holders, and robe hooks can use smaller blocking or site built backing, but solid wood is always better than trusting drywall anchors alone.
Access panels for tub and shower valves should be framed into the wall behind the valve body. Typically in a closet or hallway on the opposite side of the plumbing wall. This allows future service to the valve cartridge, diverter, or supply lines without demolishing tile. Access panels are especially important for whirlpool tubs and air tubs that have pumps and additional plumbing or electrical connections.
Wet wall and backing considerations:
2×6 framing is required for wet walls when 3 inch or 4 inch drain stacks run vertically, or when multiple supply lines and drain branches share the cavity. 2×4 walls can’t accommodate large drains without compromising structure.
Backing height for common accessories: towel bars at 48 inches, toilet paper holders at 26 inches, grab bars per ADA specs at 33 to 36 inches, shower shelves and soap dishes between 36 and 60 inches.
Medicine cabinet rough in depth needs to coordinate with plumbing. Recessed cabinets need a stud cavity free of obstructions, typically requiring the cabinet to be offset from sink supply lines.
Shower niche framing and waterproofing get completed during rough in. The niche is framed between studs, lined with waterproof membrane, and sloped slightly toward the shower to drain water.
Subfloor notching for drain pipes is limited to one sixth of the joist depth on the top edge, and no more than one third if the notch is in the outer third of the joist span. Deeper cuts require joist reinforcement or relocation of the drain line.
Floor joist drilling for supply lines: holes can be up to one third the joist depth and must be centered in the joist depth, at least 2 inches from the top or bottom edge to prevent weakening.
Building Code Variations and Inspection Requirements

The International Plumbing Code (IPC) and Uniform Plumbing Code (UPC) provide baseline standards adopted across most of the U.S. But local jurisdictions amend these codes frequently. Your city or county may require different pipe sizes, slopes, vent configurations, or materials than the next town over.
The rough in inspection happens after plumbing is installed but before walls are closed with drywall or cement board. Inspectors check that drain lines have proper slope (usually with a level or laser), pipes are supported correctly with hangers or strapping at code specified intervals, fittings are the correct type for the application (no street elbows where they’re not allowed), and vent terminations comply with distance rules from windows, doors, and lot lines. They’ll also verify the system holds pressure during a test. Typically 50+ PSI for at least 15 minutes with air or water.
Finished wall thickness affects every rough in measurement because you’re working from bare studs but fixtures mount to finished surfaces. A wall with 1/2 inch drywall puts the finished surface 1/2 inch out from the stud face. Add 1/2 inch cement board and 3/8 inch tile, and you’re 1 3/8 inches out from the stud. That’s nearly an inch and a half of offset to account for when positioning valve bodies, drains, and supply stubs.
Inspection and code compliance details:
Schedule the rough in inspection before covering walls. Most jurisdictions won’t allow work to proceed until plumbing is approved, and uncovering finished work for inspection is expensive.
Pressure testing requirements typically call for 50 PSI or more of air or water pressure held for 15 minutes to 2 hours depending on local code. Any drop in pressure indicates a leak that must be found and repaired.
Test caps and plugs get installed on all drain and vent openings before the pressure test. These screw in or push in fittings seal the system temporarily.
Documentation and photography of rough in work before covering is valuable for future remodels or service. Photos of exact pipe locations prevent accidental punctures when hanging cabinets or shelves.
Common code violations that fail inspection: inadequate slope on horizontal drains, missing cleanouts at stack bases or direction changes, improper venting or wet venting, and insufficient pipe support allowing sagging.
Common Plumbing Rough In Mistakes and Corrections
Mistakes happen most often when work is rushed, when assumptions replace verification, or when someone measures without confirming the exact fixture model specs. A wrong measurement during rough in costs more than getting it right the first time.
The most common error is measuring from bare studs rather than from where the finished wall surface will be. If you rough in a toilet flange exactly 12 inches from the stud face, and then add 1/2 inch drywall and 1/2 inch tile, the actual distance from finished wall to flange is now 11 inches. The toilet won’t fit right. You’ll be either chipping tile or using an offset flange to make it work.
Mismatched toilet rough ins are especially painful. Most modern toilets are designed for 12 inch rough in, but older homes sometimes have 10 inch or 14 inch rough ins. Offset flanges can shift the toilet position by an inch or two, but they reduce flow diameter, can trap debris, and may violate code in some jurisdictions. They’re a last resort, not a solution you plan to use.
| Common Mistake | Problem Created | Prevention Strategy | Correction Option |
|---|---|---|---|
| Measuring from studs instead of finished wall | Fixture doesn’t align, trim doesn’t fit, rough-in is off by wall thickness | Always add finished wall thickness to measurements before marking stud locations | Offset flange for toilets, escutcheon plates for valves, trim extensions for shower valves |
| Wrong toilet rough-in dimension (10″ or 14″ instead of 12″) | Toilet won’t fit, or sits too far from wall | Verify fixture rough-in specs before drilling, check if remodel involves old plumbing | Offset flange (limited correction), or purchase toilet designed for existing rough-in |
| Shower valve too shallow or too deep | Trim kit won’t install, or valve is recessed behind finished wall | Measure valve body depth and add finished wall thickness, use adjustable valve bodies | Valve extension kit, or cut back finished wall and add blocking to reposition |
| Drain slope inadequate (less than 0.25 inch per foot) | Slow drainage, clogs, standing water in pipes | Use level or laser to verify slope before securing pipes, allow extra drop where possible | Remove and reinstall drain line with correct slope, may require lowering sections |
| Trap arm too long before vent connection | Siphoning of trap water, sewer gas entry, failed inspection | Follow maximum trap arm distance tables based on pipe diameter and local code | Add vent closer to trap, or increase drain pipe diameter if code allows longer runs |
| Supply lines interfere with vanity cabinet | Cabinet won’t fit against wall, or requires cutting cabinet back | Review vanity cabinet specs and interior layout before roughing in supply stubs | Relocate supply stubs, or notch cabinet (weakens structure), or use offset supplies |
Detailed dimensioned drawings and manufacturer specification sheets eliminate most rough in mistakes. Spending an extra hour verifying measurements and fixture details before cutting prevents expensive corrections after walls are closed and tile is up.
Final Words
Getting your bathroom plumbing rough in dimensions right the first time saves you from expensive callbacks and frustrated conversations with tile setters.
Measure from finished surfaces, not studs. Verify your fixture specs before you drill. Test your slopes and pressure before you close the walls.
If local codes vary from these standards, follow your inspector’s requirements. Take photos of everything before you cover it up.
Done right, your rough-in becomes invisible infrastructure that works for decades without a second thought.
FAQ
What are the measurements for rough-in bathroom plumbing?
Rough-in measurements for bathroom plumbing include a 12-inch toilet drain centerline from finished wall, toilet supply 6 inches left and 7 inches above floor, sink drain 18-20 inches high, sink supplies 8 inches apart, shower valve at 48 inches, and showerhead at 80 inches above floor.
What is the 135 rule in plumbing?
The 135 rule in plumbing isn’t a standard industry term for bathroom rough-in work. You’re likely thinking of slope requirements: horizontal drain pipes must slope at 0.25 inch per foot (roughly 1/4 inch drop per 12 inches) toward the main line to prevent clogs and ensure proper drainage.
Are most toilets 10 or 12 rough-in?
Most toilets use a 12-inch rough-in measured from the finished wall to the drain centerline. Older homes sometimes have 10-inch or 14-inch rough-ins, so always measure your existing setup before buying a replacement toilet to avoid expensive corrections or offset flanges.
What is the golden rule for bathroom layouts?
The golden rule for bathroom layouts is maintaining minimum clearances: 15 inches from toilet centerline to side walls, 21 inches clear space in front of toilets, and 18 inches of buffer between fixtures. These dimensions ensure code compliance, user comfort, and proper fixture operation.
How do you measure rough-in from finished wall vs studs?
Rough-in measurements always start from the finished wall surface, not the studs. Account for drywall thickness (typically 1/2 inch) plus cement board and tile in wet areas, which can add another 5/8 to 1 inch, making the total offset from studs around 1 to 1.5 inches.
What size drain pipe does a toilet require?
A toilet drain requires a 3-inch diameter pipe as the standard size. Some installations use 4-inch lines for longer drain runs or when multiple fixtures connect to the same branch, which improves flow and reduces clog risk on extended horizontal runs.
How high should shower controls be mounted?
Shower controls should be mounted at 48 inches above the finished shower floor for standard installations. ADA-accessible showers require controls between 38 and 48 inches, and all control placements must allow operation from outside the direct water spray for safety.
What is wet venting in a bathroom?
Wet venting allows one pipe to serve as both a drain for one fixture and a vent for another within the same bathroom group. The lavatory commonly wet-vents the toilet, reducing the number of vent pipes needed and simplifying the drain-waste-vent system installation.
How far can a trap arm extend before needing a vent?
A trap arm distance before requiring a vent depends on pipe diameter: a 1.5-inch trap arm is limited to a few feet, while a 2-inch trap arm can run longer. Exceeding maximum trap arm length causes slow drainage and siphoning that breaks the trap seal.
What backing is needed during bathroom rough-in?
Backing during bathroom rough-in includes solid blocking for grab bars, towel bars, toilet paper holders, shower accessories, recessed niches, and medicine cabinets. Install all backing between studs before drywall goes up, typically using 2×6 or 2×8 lumber secured to framing.
Do you need a rough-in inspection before covering walls?
Most jurisdictions require a rough-in inspection before covering plumbing with drywall or tile. Inspectors verify proper slope, secure pipe support, correct fittings, vent termination, and pressure test results, so schedule the inspection after rough-in is complete but before closing walls.
What is the standard spacing for double vanity sinks?
Double vanity sink bowls require a minimum of 30 inches on center spacing for code compliance and comfortable use. This measurement ensures adequate counter space between bowls and allows proper drain rough-in alignment for both fixtures without interference.