
Here’s the intro paragraph:
Most cabinet installers don’t figure out their walls can’t hold the load until the screws start pulling through. If you’re mounting upper cabinets or shelving, you need something solid behind the drywall, either blocking or furring strips. Blocking works when you’re framing new walls or willing to tear into finished ones. It carries serious weight. Furring strips go over existing drywall without demo, but they can’t handle what blocking can. Your choice depends on whether you’re building new, how much weight you’re hanging, and whether you want to cut open walls or avoid the mess.
Comparing Cabinet Blocking and Furring Strips: Key Differences and Selection Guide
Picking between cabinet blocking and furring strips comes down to what you’re building, how much weight you’re hanging, whether you care about insulation, and what you want to spend. If you’re framing walls from scratch, blocking slots right into the work you’re already doing. If you’re dealing with finished walls, furring strips let you add a mounting surface without tearing everything apart. Both give you something solid to screw into, but they’re not the same when it comes to strength, cost, or how much work they take.
Your choice affects how long your cabinets stay put and what you’ll pay to get them up. Blocking wins on strength and costs less in new builds, but you need open stud bays. Furring strips work over drywall and play nice with continuous insulation, but they can’t hold what blocking can.
Cabinet Blocking: Strengths and Limitations
Blocking does one thing really well. It carries weight. It ties directly into wall framing, spreading cabinet loads across studs without asking drywall or anything else to help. For double stacked upper cabinets loaded with dishes, blocking stops sagging and keeps screws from pulling through over the years. It’s cheap in new construction because you can use scrap framing lumber that would’ve ended up in the dumpster. Two horizontal blocking rows behind upper cabinets give you top and bottom fastening points, a full height mounting surface that won’t shift or flex.
Blocking handles heavy stuff that furring strips just can’t. Wine racks with all that bottle weight concentrated in one spot, stone countertop support on upper cabinets, grab bars that need to take a sideways yank without ripping free. When you sink a 3 inch cabinet screw into 2×6 or 2×8 blocking, you get full thread engagement in solid wood that’s bolted to the frame.
The downsides are pretty clear. You need open stud bays, which means blocking only works during framing or after you’ve torn out drywall. Retrofit blocking means cutting holes in your finished wall, installing the wood, then patching and refinishing drywall. Expensive. Messy. Solid dimensional lumber takes up some cavity space where insulation would go, though it’s not a huge deal. And blocking requires planning when you’re still framing. If you don’t install it before drywall goes up, your options get narrow real fast.
Furring Strips: Strengths and Limitations
Furring strips work for retrofit jobs without major demo. You can attach 1×3 or 1×4 strips over existing drywall, creating a mounting surface without cutting into walls. This works well when you’re adding continuous rigid foam to interior walls. The furring strips give you something to nail into over the foam layer. Furring also fixes wavy walls through shimming, letting you create a level plane even when the framing behind it looks like a roller coaster.
For lightweight cabinets, open shelving, or decorative wall mounted units, furring strips support enough weight with simpler install. It’s more DIY friendly than blocking. You don’t need framing experience, just the ability to find studs, cut strips to length, and drive screws through the strip into the stud behind it.
Furring strips don’t hold what blocking does. They rely on two connection points: the fasteners going through to wall studs, and the strip’s own strength. This double dependency limits safe weight. If you’re hanging heavy upper cabinets or double stacked units, furring strips introduce risk. The strips also complicate electrical outlet and fixture placement. When you add furring over insulation, outlets need extension boxes or you have to move them to sit flush with the new wall surface. Building codes may require fire blocking for walls over 10 feet in either direction when foam sits between studs and wallboard, adding labor and material.
Pick blocking for new construction and anything with heavy upper cabinets. Pick furring strips for retrofit work, continuous insulation setups, or lightweight cabinet installs where easy installation matters more than maximum load capacity.
Load Bearing Capacity and Structural Performance Comparison

Solid blocking sends cabinet weight directly to wall framing through continuous contact. A 2×6 (minimum) or 2×8 (better) board installed horizontally between studs creates a landing zone where cabinet screws bite into solid wood that’s mechanically connected to the structure. When you load upper cabinets with dishes, weight transfers through the cabinet, through the screws, into the blocking, and into the studs. Direct load path with no reliance on drywall or anything in between. This makes blocking better for heavy applications and double stacked upper cabinet installations where total weight can hit 150 pounds per linear foot when fully loaded.
Furring strips (usually 1×3, 1×4, or sometimes 2×4 boards) create a different load path. The strip itself has to resist bending under cabinet weight, and the fasteners have to hold the strip to the wall. If either connection fails, the cabinet comes down. This double dependency limits how much weight furring strips can safely carry. A 1×3 furring strip has way less bending strength than a 2×6 blocking board, and its attachment to studs through drywall introduces a weak point. For lightweight wall cabinets or open shelving, furring strips perform fine. For heavy loads, they introduce risk.
Blocking lets 3 inch cabinet screws go fully into solid wood backing with complete thread engagement. Roughly 2.5 inches of grip in a 2×8 after you account for cabinet rail thickness.
Blocking matters for applications that demand distributed force resistance. Grab bars have to take sudden sideways pulls without ripping free, and blocking spreads that force over a big area of wall framing. Wine racks concentrate bottle weight in small zones, creating point loads that can hit 50 pounds per square foot. Stone countertops supported on upper cabinets transfer weight through cabinet boxes into wall mounting points. Blocking prevents long term settling or fastener creep. Furring strips work for lightweight wall cabinets, decorative cabinet installations, and open shelving where total weight stays under 75 pounds per linear foot.
Two blocking strips behind upper cabinets give you top and bottom fastening points, distributing weight across the full cabinet height. Base cabinets need only one blocking row at the top because the floor carries most of their weight. Furring strips at 24 inch on center spacing may require coordination with cabinet layout. If cabinet edges don’t land on a strip, you need bridging strips to create fastening points.
When to Use Blocking vs Furring Strips in New Construction
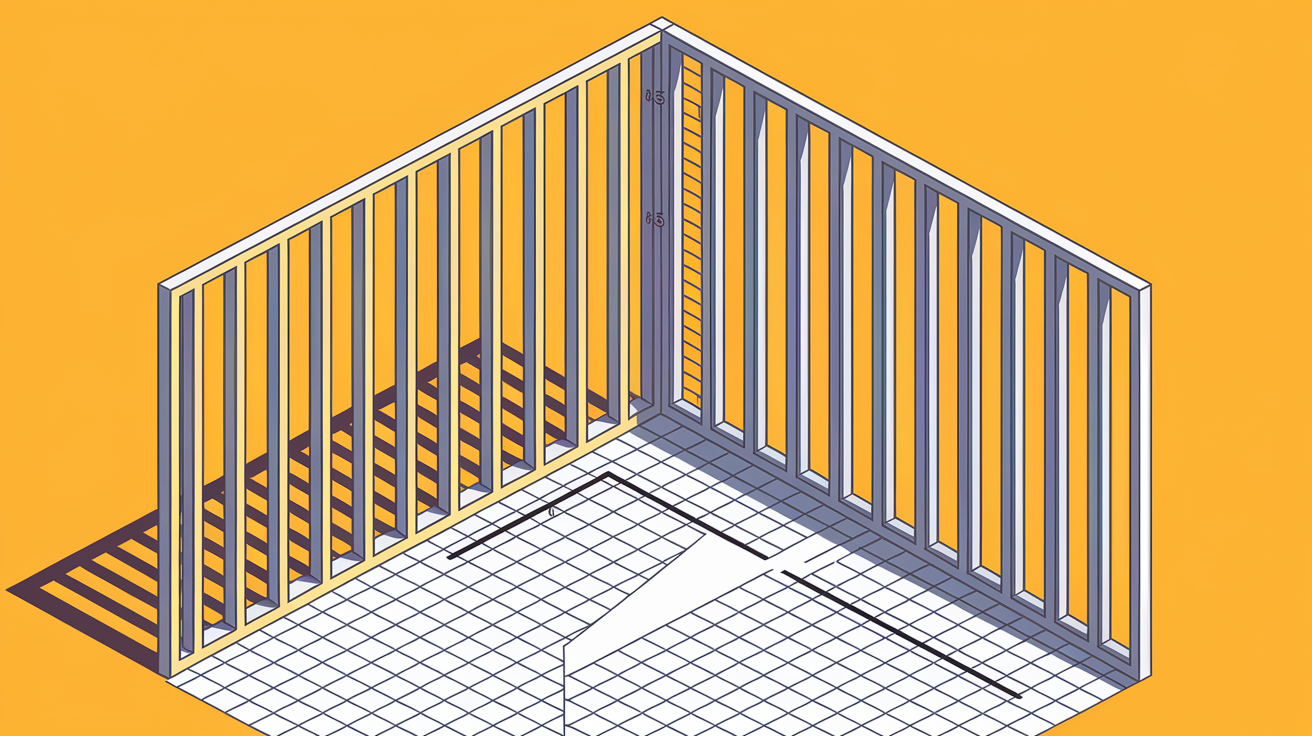
Blocking is the default in new construction because stud bays are open and you can get to them. You install solid wood framing members horizontally between studs during wall framing, creating secure attachment points before drywall goes up. This timing makes blocking cheaper and easier than any retrofit method. You can use scrap framing lumber to cut waste, and the labor adds only minutes per cabinet run. A 3 inch cabinet screw driven into 2×6 blocking provides way more holding power than toggle bolts or drywall anchors, and you don’t waste time hunting for studs during cabinet install.
Standard blocking heights follow cabinet dimensions. Base cabinets sit 30 inches tall for bathroom vanities and office desks, or 36 inches for kitchen cabinets. You install one blocking row at the cabinet top, 30 or 36 inches above the finished floor depending on what you’re building. Upper kitchen cabinets need two blocking rows. The lower row sits 54 inches above the floor (18 inches above a 36 inch base cabinet), and the upper row lines up with the cabinet top. For 36 inch tall upper cabinets, that upper row sits 90 inches above the floor. If you’re stacking a third row of cabinets, add another blocking row 36 inches above the second. Blocking placement should put either the top of the blocking at the cabinet top or the bottom of the blocking at the cabinet bottom. Pick one and stick with it for drywall installation.
Furring strips show up in new construction when you’re building a wall assembly with continuous insulation. If the design calls for rigid foam on the interior of studs, furring strips over the foam give you a nailing surface for drywall and cabinets. Horizontal 2×4 strapping at 24 inches on center creates a 5 inch cavity for insulation while providing solid cabinet blocking points. This approach can hit around R30 thermal performance. Furring strips also adjust wall depth without changing framing. If you need to bring a wall surface out by an inch to line up with an adjacent room, furring strips do that without rebuilding studs.
Retrofit Cabinet Mounting: Blocking vs Furring Strip Solutions
Adding blocking to finished walls means cutting out drywall, installing the wood between studs, then patching and refinishing the wall. You’ll cut horizontal strips of drywall at blocking heights, verify stud locations, fasten blocking flush to stud faces, then install new drywall sections and finish the seams. It’s disruptive, dusty, and expensive. Figure several hours of labor plus drywall finishing that stretches the project timeline by days while mud dries.
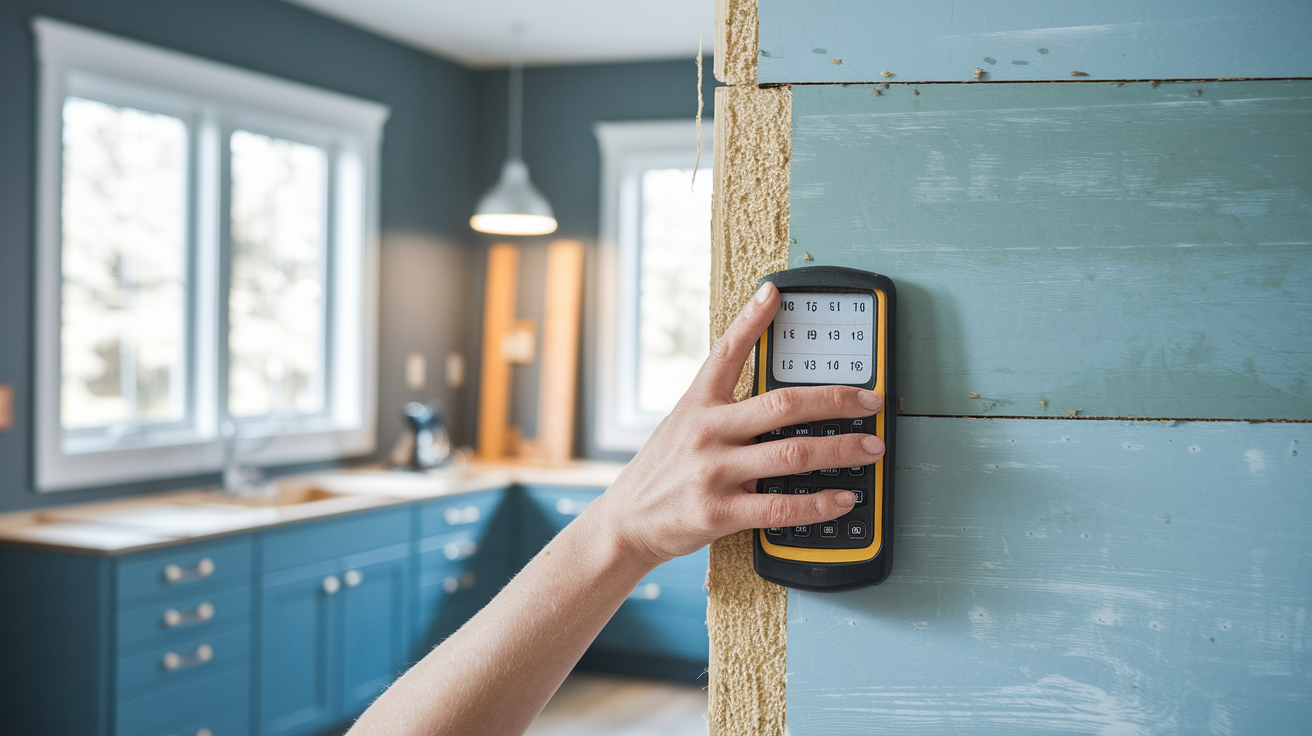
Furring strips offer a less invasive retrofit option. You find studs with a stud finder, mark horizontal lines at cabinet mounting heights, cut strips to length, and fasten them through the existing drywall into studs. No demo required. The finished wall stays intact, and you create a new mounting surface in a few hours. The tradeoff is less load capacity compared to blocking, but for many cabinet installations, furring strips provide enough strength without the mess and cost of tearing walls open.
Alternative retrofit solutions skip both blocking and furring strips. French cleats create a fast, easy, effective mounting system. You install one cleat on the wall, another on the cabinet back, and the two interlock to distribute weight across a wide area. WingIts are specialized anchors that provide mounting strength in hollow walls where blocking is absent, but they cost way more than screws into blocking. Some builders verify that each cabinet location has two studs available as nailers, photograph stud locations before drywall goes up, then use magnets to find studs later through finished walls. This approach works if stud spacing lines up with cabinet dimensions.
Retrofit blocking justifies the extra work when you’re installing heavy upper cabinets, double stacked units, or cabinets that will carry serious long term loads. For lightweight installations or when budget kills demo, furring strips or alternative mounting methods make more sense.
Material Specifications: Comparing Blocking and Furring Strip Options
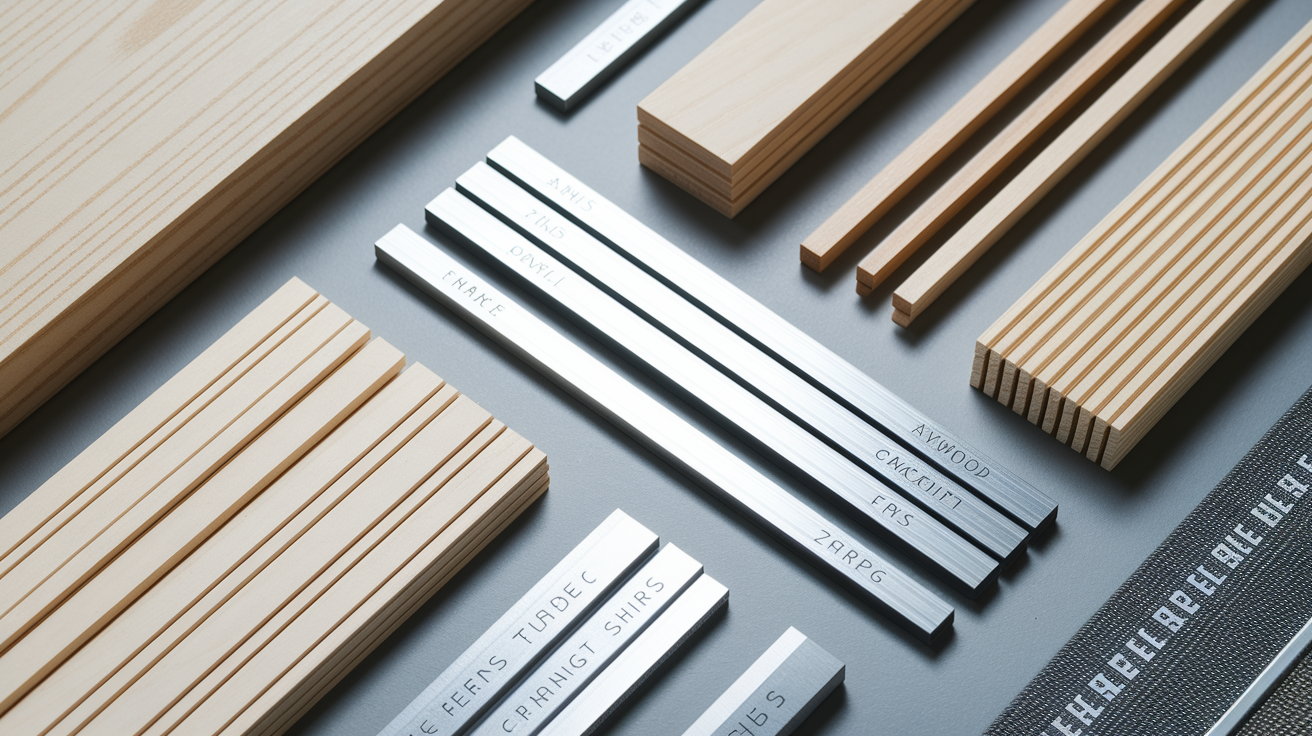
Material selection determines load capacity, thermal performance, and how easy install goes. Blocking materials need to provide solid fastening surfaces that won’t compress or split under screw torque. Furring strip materials balance strength with ease of installation and thermal bridging concerns.
Both methods offer multiple material choices suited to different applications and budgets.
| Material Type | Dimensions | Best Application | Method | Advantages |
|---|---|---|---|---|
| 2×6 blocking | 1.5″ x 5.5″ | Minimum spec for base cabinets | Blocking | Adequate strength, uses scrap lumber |
| 2×8 blocking | 1.5″ x 7.25″ | Upper cabinets, heavy loads | Blocking | Preferred strength, wide fastening surface |
| 3/4″ plywood strips | 0.75″ x 6″ | Between stud blocking | Blocking | Less insulation displacement, won’t split |
| Full sheet 1/2″ plywood | 4′ x 8′ x 0.5″ | Long cabinet runs | Blocking | Continuous backing, shear panel integration |
| 1×3 furring | 0.75″ x 2.5″ | Light cabinets, shelving | Furring | Low cost, easy to work |
| 1×4 furring | 0.75″ x 3.5″ | Standard cabinet furring | Furring | Better bending resistance than 1×3 |
| 2×4 furring strapping | 1.5″ x 3.5″ at 24″ o.c. | Over continuous insulation | Furring | Creates 5″ insulation cavity, R30 potential |
| 16 gauge galvanized metal strap | 1.5″ wide | Thermal bridge elimination | Furring | No thermal bridging, doesn’t rot |
Plywood offers advantages over dimensional lumber for blocking. A 3/4 inch plywood strip cut 6 inches wide leaves more room for cavity insulation than a 2×8, and plywood won’t split when you drive screws near edges. You can cut plywood strips from scrap sheets, making good use of materials that might otherwise get wasted. Plywood strips cut precisely and install predictably. They don’t have the twist, bow, or crown you sometimes see in dimensional lumber. For long cabinet runs, full sheets of 1/2 inch or 3/4 inch plywood nailed and glued directly to studs provide continuous backing. The thicker 3/4 inch sheets increase holding power for heavier installs like wine racks.
Metal strap furring eliminates thermal bridging compared to wood furring. A 16 gauge galvanized metal strap conducts far less heat than a 2×4, reducing energy loss through the wall assembly. Metal strapping also eliminates rot concerns in moisture prone areas. Pre routed foam panels like Dow Wallmate come with grooves for 1×3 furring at 24 inch on center spacing in 1.5 inch and 2 inch thick panels sized 2×8 feet. These products line up furring spacing with standard framing layouts, simplifying installation when you’re adding continuous insulation.
Complete Installation Guide: Blocking and Furring Strip Methods

Installation method determines project success and long term cabinet performance. Blocking requires precision during the framing stage when studs are exposed. Furring strips demand careful layout and fastening to get level mounting surfaces.
Blocking needs access to open stud bays and fits into the framing sequence. Furring can be installed on finished walls using stud finders and layout marks.
Cabinet Blocking Installation Process
The plywood strip blocking method preserves insulation space while providing solid fastening surfaces. This approach works well in standard 2×4 or 2×6 wall framing.
- Measure cabinet dimensions and mark blocking heights on studs using a level and measuring from the finished floor height.
- Cut plywood strips 6 inches wide or select appropriate dimensional lumber (2×6 minimum, 2×8 better for upper cabinets).
- Drill pocket holes at both strip ends using a pocket hole jig set for 3/4 inch material (plywood) or 1.5 inch material (dimensional lumber).
- Fit strips snugly between studs at marked heights. Strips should contact both studs with no gaps.
- Attach flush to stud faces using pocket hole screws, typically 2.5 inch screws for 3/4 inch plywood or 3 inch screws for dimensional lumber.
- Install two strips for upper cabinets, one at the top fastening point and one at the bottom, typically 30 to 36 inches apart depending on cabinet height.
- Install single row for base cabinet tops at 30 to 36 inches above finished floor depending on cabinet spec.
- Verify blocking alignment. Either the top of the blocking should sit at the cabinet top or the bottom of blocking should sit at the cabinet bottom for consistent drywall installation.
- Install nail plates over blocking where utilities (plumbing or electrical) may be present to protect lines from screws driven through blocking during cabinet installation.
Full sheet plywood application provides comprehensive backing for long cabinet runs. Cut plywood to wall dimensions, apply construction adhesive to stud faces in a serpentine pattern, then nail sheets directly to studs using 8d nails at 12 inches on center. This method works in both wood framed and metal stud walls. Metal stud framing accepts the same wood blocking materials as wood framed walls. Make sure blocking sits flush with stud faces. If blocking sticks out past the stud face, drywall won’t lie flat. If blocking sits behind the stud face, screws won’t grab properly during cabinet installation.
Furring Strip Installation Over Walls
Furring strip installation adapts to retrofit situations or works with continuous insulation strategies. This method creates a mounting surface without accessing stud bays.
- Plan horizontal furring layout at 24 inches on center to match standard framing spacing and provide enough cabinet support.
- Find and mark wall studs using a stud finder, verifying each stud location by drilling a small pilot hole or using multiple stud finder passes.
- Verify cabinet layout lines up with furring spacing. Cabinet edges should land on furring strips, or plan bridging strips between horizontal runs where cabinets need fastening points.
- Check walls for level using a 6 foot level, finding high and low spots that need shimming to create a flat mounting plane.
- Cut horizontal furring strips to length, typically room width minus 1 inch for end clearance.
- Attach to studs with appropriate fasteners. 3 inch screws when furring over 1 inch foam, 2.5 inch screws when attaching directly to studs through drywall, making sure each fastener goes at least 1.5 inches into framing.
- Install shims behind strips as needed to create level mounting plane. Use composite shims that won’t compress over time, placing shims at each fastener location where gaps exist.
Electrical boxes need coordination when adding furring over foam insulation. Boxes installed flush with existing drywall will sit back behind the new furring and cabinet surface. You’ll need to add deep box extensions that bring receptacles and switches forward, or move boxes to the new wall depth. Extension boxes add depth without rewiring, but check local code to see if extensions are allowed for your specific application. If you’re adding more than 1.5 inches of furring depth, moving boxes often makes more sense than stacking multiple extensions.
Fire blocking codes apply when foam insulation sits between studs and wallboard in assemblies where furring creates a gap. Many jurisdictions require horizontal fire blocking at 10 foot intervals in either direction to stop fire spread through cavities. Use 2×4 blocks installed flat between furring strips, or apply mineral wool batt sections that seal the cavity. High density rock wool resists fire better than wood blocks. It won’t burn, melt, or release toxic smoke during a building fire, and it keeps structural integrity at temperatures where wood blocking fails.
Fastener Selection: Screws, Bolts, and Cabinet Attachment Hardware
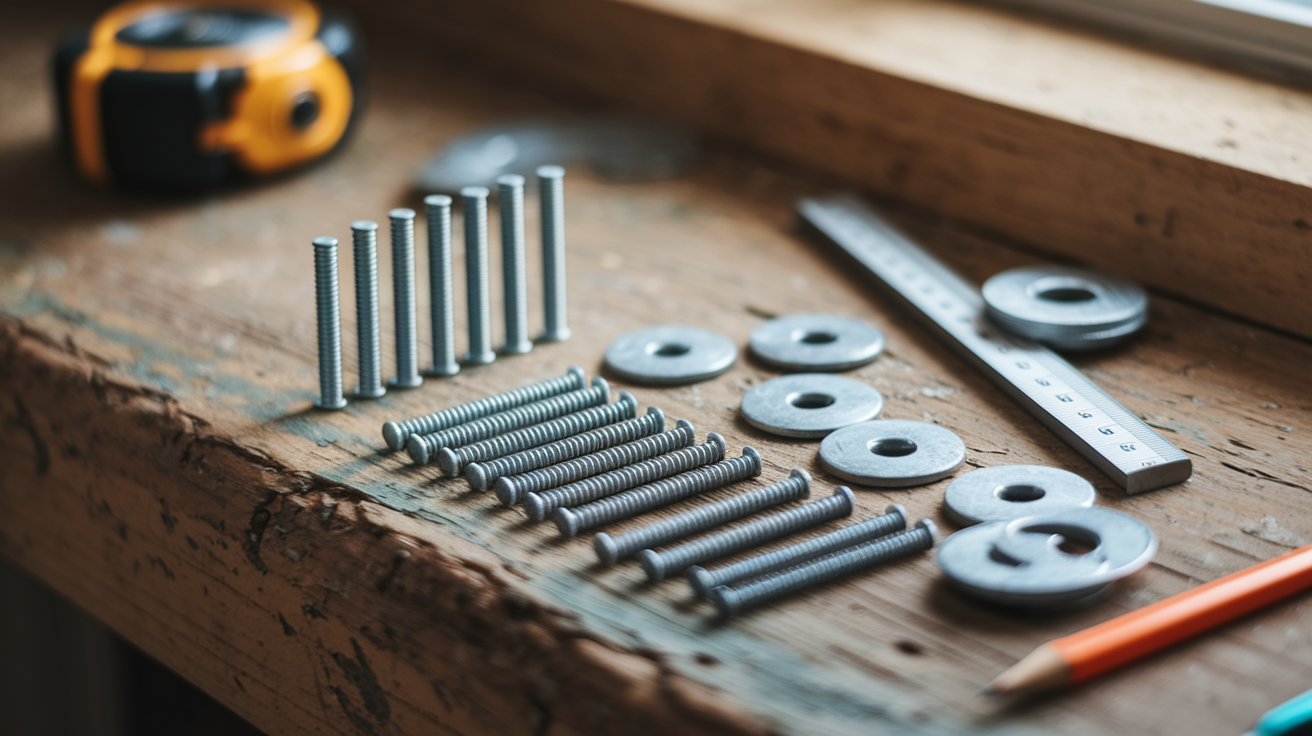
Cabinet screws need enough length to go through the cabinet rail, through drywall, and into blocking with at least 1.5 inches of thread engagement in solid wood. Standard 3 inch cabinet screws work for most installs where 1/2 inch drywall covers blocking. If you’ve installed 5/8 inch drywall or furring strips add depth, step up to 3.5 inch screws. Too short and cabinets pull loose over time as screw threads work free under load cycles.
Pocket hole screws secure blocking to studs during installation. Use 2.5 inch coarse thread pocket hole screws for 3/4 inch plywood blocking into wood studs. For dimensional lumber blocking (2×6 or 2×8), use 3 inch coarse thread screws that give you enough grip without bottoming out in the pocket hole. Fine thread screws work for metal stud applications. The tighter thread pitch grabs thin metal better than coarse threads.
Nail plates over blocking protect hidden utilities from cabinet screws. Install 1.5 inch wide x 16 gauge galvanized nail plates centered over any blocking location where electrical wiring, plumbing supply lines, or drain vents pass through or near the blocking. Plates should cover the potential screw penetration zone, typically a 3 inch wide area since cabinet screws may angle slightly during installation. Without nail plates, a screw driven through blocking can punch through a water line or pierce electrical wiring, creating expensive damage and safety hazards.
| Fastener Type | Length | Application | Blocking or Furring |
|---|---|---|---|
| Cabinet mounting screws | 3 inches | Cabinets into blocking through 1/2″ drywall | Blocking |
| Extended cabinet screws | 3.5 inches | Cabinets into blocking through 5/8″ drywall or over furring | Both |
| Pocket hole screws (coarse) | 2.5 inches | Plywood blocking to wood studs | Blocking |
| Pocket hole screws (coarse) | 3 inches | Dimensional lumber blocking to wood studs | Blocking |
| Pocket hole screws (fine) | 2.5 to 3 inches | Blocking to metal studs | Blocking |
| Furring strip screws | 2.5 inches | Furring through drywall into studs | Furring |
| Extended furring screws | 3 to 4 inches | Furring over 1 to 2″ foam into studs | Furring |
Code Requirements and Building Inspector Considerations for Cabinet Mounting

Fire blocking requirements apply when furring strips create a cavity over foam insulation. Many codes require horizontal fire stops at 10 foot intervals in either direction to prevent fire spread through wall cavities. These stops typically use 2×4 blocks installed flat between furring strips, or mineral wool sections that seal the cavity. The requirement kicks in when foam insulation sits between studs and the wallboard, creating a potential path for fire to travel behind finished surfaces. Check local code. Some jurisdictions waive fire blocking for cavities less than 2 inches deep or assemblies with specific foam types rated for exposed applications.
Nail plates over blocking protect utilities from screw penetration during cabinet installation. Code requires protection for any plumbing or electrical lines within 1.25 inches of a stud face or blocking surface. Install 16 gauge galvanized steel plates at least 1.5 inches wide over blocking where utilities pass through or run parallel to the blocking location. Plates must extend beyond the pipe or wire by at least 2 inches on each side. Without proper nail plate protection, a 3 inch cabinet screw can pierce a water line, creating flooding and structural damage, or punch into electrical wiring, creating shock and fire hazards.
Shear panel integration comes into play when using full plywood backing. In seismic or high wind zones, building officials may count continuous plywood cabinet backing as part of the lateral force resisting system if properly nailed to studs at code specified spacing. This can reduce or eliminate separate shear panel requirements in cabinet areas, simplifying construction and reducing material costs. Inspectors will check nail schedule, plywood grade, and edge nailing to confirm the assembly meets shear values. If cabinet backing qualifies as shear paneling, removing or modifying that plywood later requires engineering review to make sure the building keeps enough lateral strength.
Working With Uneven Walls: Shimming Techniques for Both Methods
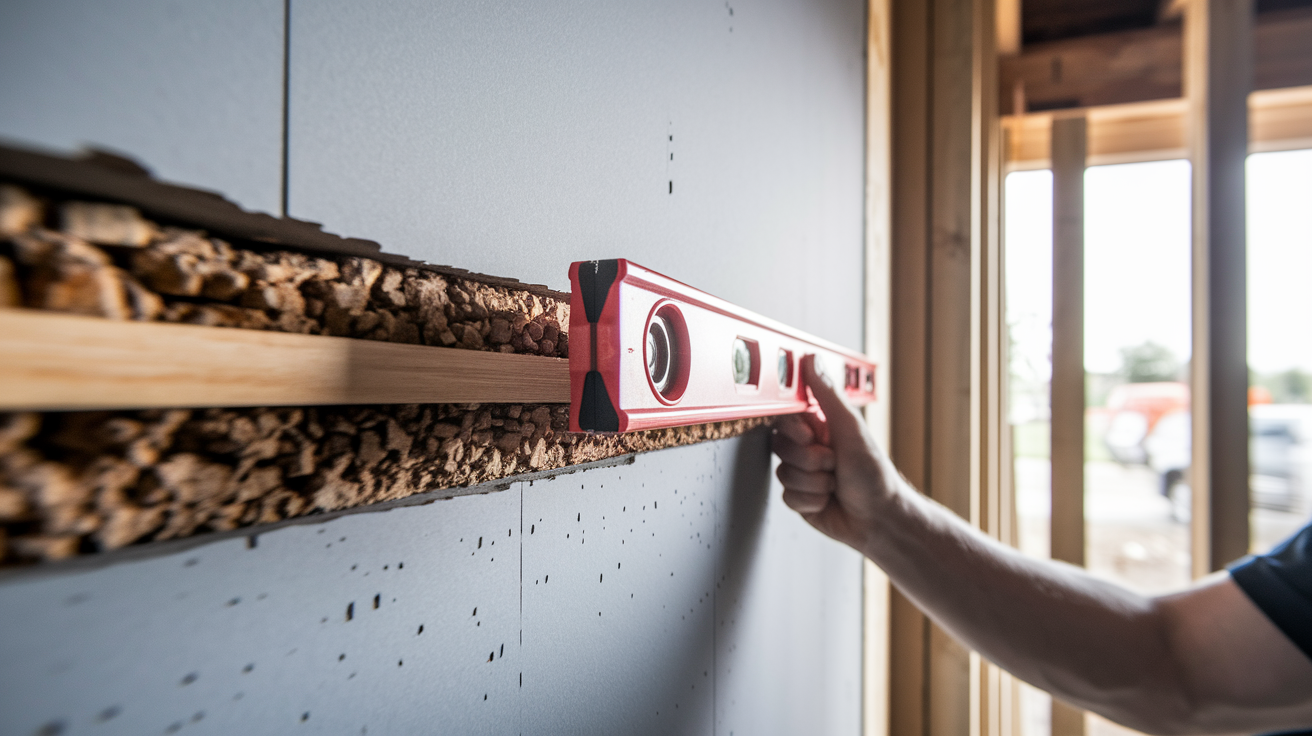
Blocking installed flush to stud faces may still need shimming if wall framing is out of plumb. Even when blocking sits perfectly flush during installation, studs that lean, bow, or twist create an uneven mounting surface after drywall goes up. You’ll find this when you hold a long level against the finished wall and see gaps. Shimming behind cabinets during installation fixes minor problems, but walls more than 1/4 inch out of plumb over 8 feet of height need correction before cabinets go up.
Furring strips offer easier adjustment for uneven walls through smart shim placement behind the strips before you fasten them. As you install each furring strip, run a 6 foot level along its length and find low spots. Place composite shims behind the strip at these locations, then drive fasteners through the strip and shim into studs. This technique creates a level mounting plane even when the wall behind it isn’t plumb. Furring strips basically float on shims, creating a new reference surface that fixes wall problems.
Proper shimming techniques use tapered composite shims placed at each fastener location where gaps exist between the furring strip and the wall. Don’t rely on a single shim to fix large gaps. Stack shims in opposite orientations to create a stable support that won’t compress. Wood shims compress over time and can split when you drive screws through them. Composite shims keep their thickness under fastener pressure and won’t break down from moisture exposure. Space shims at 16 inch intervals along the furring strip for upper cabinet applications, or 24 inch intervals for base cabinets where floor support carries most of the weight.
Tolerance levels for cabinet installation allow up to 1/8 inch deviation over 8 feet of horizontal or vertical distance. Beyond that, cabinets won’t hang level without noticeable gaps at the ceiling or visible tilts that mess up door operation. Walls needing more than 1/4 inch of shimming over 8 feet need correction beyond simple shim techniques. Consider adding thicker furring strips that give you more adjustment range, or installing a separate strapping layer that creates an entirely new wall plane corrected to level and plumb before cabinet installation starts.
Insulation Coordination: Cavity Space With Blocking vs Furring

Solid blocking partially displaces cavity insulation where the wood takes up space that would otherwise hold fiberglass batts or blown cellulose. A 2×8 blocking board installed horizontally between studs in a 2×6 wall reduces insulation thickness by 7.25 inches of width at that spot. Over the full wall height, this displacement typically affects less than 10 percent of total cavity volume because blocking runs take up only narrow horizontal bands. The structural benefits usually beat the minor thermal penalty, especially for upper cabinets that need solid support.
Plywood blocking preserves more insulation space than dimensional lumber. A 3/4 inch plywood strip cut 6 inches wide displaces far less cavity volume than a 2×8 board. The thinner plywood lets insulation fill around the blocking more completely, keeping better thermal performance. You can pack fiberglass batts or blown insulation right up to plywood blocking edges, getting nearly continuous cavity fill. This makes plywood strips particularly useful in energy efficient construction where thermal envelope performance matters.
Furring strips over continuous rigid foam insulation maintain the full thermal envelope while providing cabinet mounting surfaces. This approach installs rigid foam board directly against studs, then adds furring strips over the foam. The foam layer provides uninterrupted insulation across the entire wall area, including cabinet zones. A Connecticut installation used R19 fiberglass in 2×6 stud bays plus two 1 inch layers of foil faced polyisocyanurate foam with 5/4 inch wood strapping over the foam as a nail base. This assembly hit high thermal performance with no thermal bridging through cabinet mounting points and showed no moisture problems after 30 years. Horizontal 2×4 strapping at 24 inches on center over rigid foam creates a 5 inch total cavity depth that accommodates insulation values approaching R30 while providing solid cabinet blocking points.
R value implications depend on the method and materials. Blocking in a standard 2×6 wall (R19 cavity insulation) with 2×8 blocking at upper cabinet heights reduces overall wall R value by roughly 5 percent. Plywood blocking reduces it by about 2 percent. Furring strips over continuous foam maintain design R value across the full wall because insulation isn’t displaced. When thermal performance drives the project (net zero homes, passive house standards, or extreme climate construction), favor furring over continuous insulation rather than blocking that interrupts the thermal envelope. When structural requirements dominate (heavy stone countertops, double stacked cabinets, or grab bars), choose blocking despite the minor thermal penalty.
Cost Analysis: Material and Labor Comparison
Material costs for blocking lumber run $3 to $8 per linear foot depending on lumber choice. A 2×6 costs roughly $0.50 per linear foot, making an 8 foot blocking run about $4 in materials. A 2×8 runs $0.75 per linear foot, so the same run costs $6. Plywood blocking cut from 3/4 inch sheets costs about $1 per linear foot when you optimize cuts and use scrap. Furring strips cost less. 1×3 boards run $0.30 per linear foot, 1×4 boards cost $0.40 per linear foot, and 2×4 boards (for strapping applications) cost $0.50 per linear foot. A typical kitchen with 20 linear feet of upper cabinets needs roughly 40 linear feet of blocking (two rows), totaling $20 to $32 in materials for dimensional lumber or $40 for plywood strips. Furring strips for the same install run $12 to $20 depending on material choice.
Blocking in new construction adds minimal cost when using scrap lumber left over from framing. You’re already on site during framing with tools and crew in place. Installing blocking takes 15 to 30 minutes per cabinet run, adding almost nothing to the overall project timeline. Retrofit blocking involves serious drywall repair expenses. You’ll pay a carpenter to cut out drywall sections, install blocking, then pay a drywall finisher to patch, tape, and finish the repairs. Total retrofit blocking labor runs $200 to $400 per wall depending on wall length and access difficulty. Material waste from cutting drywall and getting rid of debris adds another $50 to $100.
Labor time for blocking in new construction runs 15 to 20 minutes per 8 foot run during the framing stage, when you’re already working with open stud bays and have material cut to length. This time includes measuring, cutting, pocket hole drilling, and installation. Furring strip installation over finished walls takes slightly less time, about 10 to 15 minutes per 8 foot run because you skip the pocket hole step and simply fasten through the face of the strip into studs. Retrofit blocking labor jumps to 2 to 3 hours per wall: 30 minutes to cut drywall, 30 minutes to install blocking, 45 minutes for initial drywall patching, plus return trips for taping and finishing coats that stretch the timeline by 2 to 3 days while mud dries.
Total project cost implications favor blocking in new construction and furring strips in retrofit situations. A new construction kitchen with 30 linear feet of cabinet runs (upper and base) costs $30 to $50 in blocking materials and $50 to $75 in labor. The same installation using retrofit blocking costs $400 to $600 including demo and drywall repair. Furring strips in retrofit cost $50 to $80 in materials and $150 to $200 in labor, making them the economical retrofit choice. The structural benefits of blocking justify higher retrofit costs only for heavy upper cabinets, double stacked installations, or situations where future loads may increase beyond original design.
Tool Requirements for Blocking and Furring Strip Installation
Tool requirements directly affect whether you’ll DIY the installation or hire out. Blocking demands more specialized equipment than furring strips.
Blocking installation tools:
- Circular saw or miter saw for cutting blocking to length between studs (cuts need to be accurate within 1/16 inch for snug fit)
- Pocket hole jig with drill bit and driver bit (Kreg K4 or similar clamp style jig works well)
- Cordless drill/driver with adjustable clutch for driving pocket hole screws without overdriving
- 4 foot or 6 foot level for marking consistent blocking heights across multiple stud bays
- Measuring tape (25 foot minimum) for layout and verification
- Speed square for marking cut lines square to board edges
- Pencil or marking crayon for layout marks on studs
- Safety glasses and hearing protection for cutting operations
Furring strip installation overlaps many of the same tools but eliminates the pocket hole jig requirement. You’ll need a circular saw or miter saw for cutting strips to length, drill/driver for fastening through strip faces directly into studs, level for verifying installation plane, measuring tape, and marking tools. Add a stud finder capable of locating studs through drywall and insulation. Electronic stud finders with deep scan modes work better than magnetic models when locating studs behind foam board. If you’re installing furring over rigid foam, you’ll also need a utility knife or foam saw for trimming insulation around outlets and fixtures, and possibly a chalk line for laying out furring locations across long walls. Composite shims for leveling uneven sections add a few dollars but are essential for professional results.
Special Considerations
Final Words
Both cabinet blocking vs furring strips deliver solid mounting when matched to your project type and load demands.
Blocking wins for new construction with open walls and heavy upper cabinets that need serious structural backing. Furring strips handle lighter loads and retrofit work without tearing into finished walls.
Pick the method that fits your timeline, what you’re hanging, and whether you’re building from scratch or working around existing drywall. Get the prep right, use proper fasteners, and your cabinets stay put for decades.
FAQ
Is cabinet blocking necessary?
Cabinet blocking is necessary for safely supporting heavy upper cabinets, double-stacked installations, and cabinets loaded with dishes or stone countertops. While you can mount lightweight cabinets to studs alone, blocking distributes weight directly to structural framing and prevents future sagging or failure.
Where to place cabinet blocking?
Cabinet blocking placement depends on cabinet type. Upper cabinets require two horizontal rows: the lower row centered 54 inches above the floor, and the upper row centered at the cabinet top. Base cabinets need a single row placed at the cabinet top height.
What is the best backing for cabinets?
The best backing for cabinets is solid wood blocking, using 2×6 lumber minimum or 2×8 preferred, installed between wall studs during framing. For retrofit situations or continuous insulation needs, 3/4-inch plywood strips fitted snugly between studs provide excellent support while preserving more insulation space than dimensional lumber.
Can you hang cabinets on furring strips?
You can hang lightweight cabinets on furring strips if the strips are properly attached to wall studs at 24 inches on center using fasteners that penetrate into framing. Furring strips work for lighter wall cabinets and open shelving but aren’t suitable for heavy upper cabinets or double-stacked installations.
What thickness should furring strips be for cabinets?
Furring strips for cabinets should be 1×3 or 1×4 lumber for lightweight applications, or 2×4 horizontal strapping for heavier loads. The strips must be fastened to wall studs with screws that penetrate at least 1.5 inches into framing for secure attachment.
How far apart should cabinet blocking be installed?
Cabinet blocking should be installed in two horizontal rows for upper cabinets: one row at 54 inches above the floor for bottom fastening, and another row at the cabinet top for upper fastening. This spacing provides top and bottom attachment points that distribute weight across the entire cabinet height.
Can you install blocking after drywall is up?
You can install blocking after drywall is up, but it requires cutting out sections of drywall, installing the blocking between studs, then patching and finishing the drywall. This retrofit approach is significantly more expensive and labor-intensive than installing blocking during new construction with open stud bays.
What size lumber for cabinet blocking?
The minimum lumber size for cabinet blocking is 2×6, with 2×8 or larger preferred for heavy upper cabinets and double-stacked installations. Alternatively, 3/4-inch plywood strips cut 6 inches wide provide excellent support while leaving more room for insulation and reducing splitting compared to dimensional lumber.
Do you need blocking for base cabinets?
You need blocking for base cabinets only at the cabinet top where upper cabinets will attach or where wall-mounting is required. Base cabinets sit on the floor and carry their weight through legs or toe kicks, so they don’t require the same wall support as upper cabinets.
How do you attach furring strips to a wall?
You attach furring strips to a wall by locating wall studs with a stud finder, marking horizontal lines at 24 inches on center, then fastening the strips to studs with screws that penetrate at least 1.5 inches into framing. Shim behind strips as needed to create a level mounting plane.
What’s better for uneven walls, blocking or furring strips?
Furring strips are better for uneven walls because you can easily place shims behind the strips to create a level mounting plane without disturbing the wall framing. Blocking installed flush to stud faces may still require cabinet shimming if walls are out of plumb.
Can you use plywood instead of lumber for blocking?
You can use 3/4-inch plywood strips cut 6 inches wide instead of dimensional lumber for blocking. Plywood blocking leaves more room for insulation, is less likely to split than solid lumber, and makes effective use of scrap materials while providing equivalent holding power for cabinet screws.
How much weight can furring strips hold for cabinets?
Furring strips can hold lightweight wall cabinets and open shelving when properly attached to studs, but they have lower load capacity than solid blocking because they rely on both the strip attachment and the underlying wall structure. For heavy upper cabinets or double-stacked installations, solid blocking is required.
Do you need blocking for French cleat cabinet mounting?
You need blocking or a strong mounting surface for French cleat cabinet mounting because the cleat distributes weight horizontally along its length. Solid blocking between studs at the cleat height provides the best support, though furring strips can work for lighter cabinet applications.