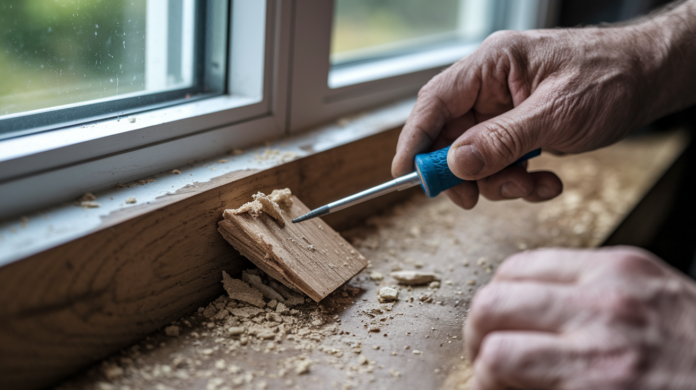

Ever notice how rotted window sills always show up at the worst time, usually when you’re trying to sell or right before winter hits? That soft, spongy wood didn’t happen overnight. It started months or years ago with a failed caulk joint or peeling paint that let water creep in. If you ignore it, the rot spreads into the jambs and framing, turning a $50 repair into a $500 replacement. Fix it now with the right method, and you can stop the damage, rebuild structural strength, and get another 15 to 20 years from that sill.
Assessing Window Sill Rot Damage Before You Start
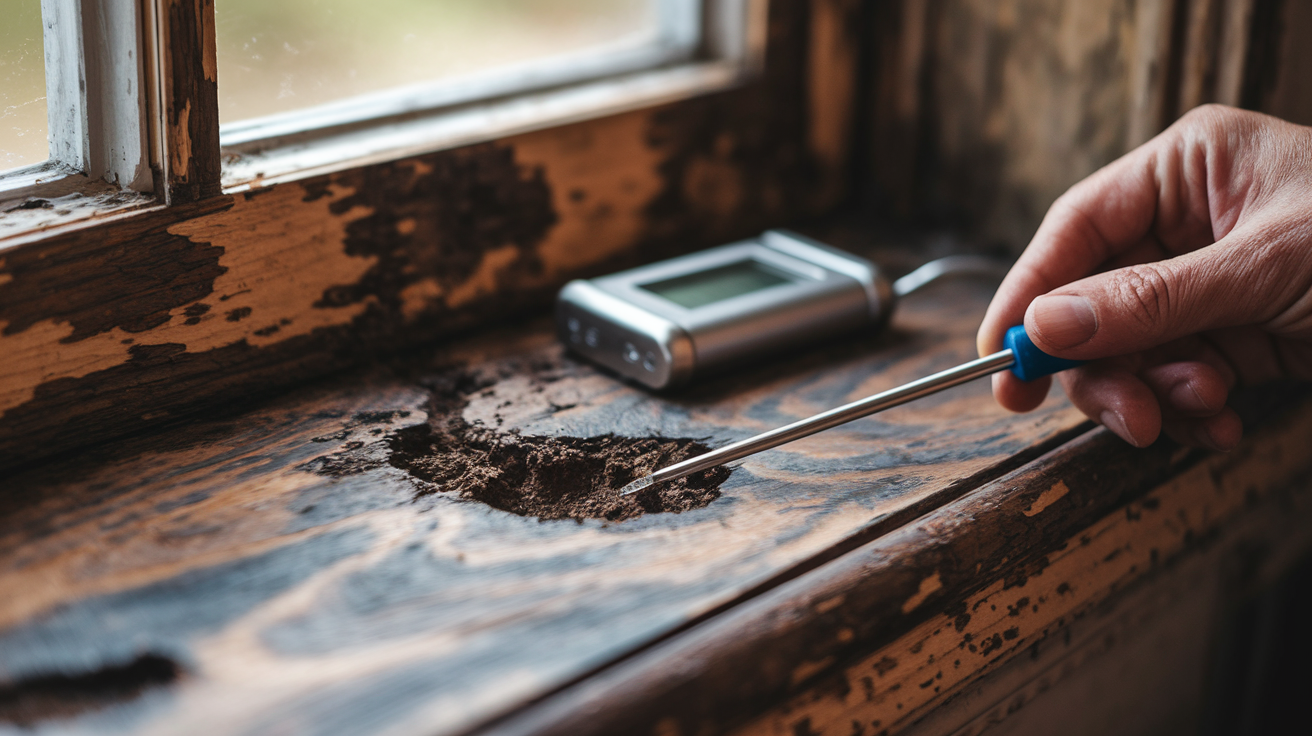
Proper assessment saves you from repair failures. Miss the full extent of rot or skip measuring moisture levels, and your epoxy will fail within months. Trapped moisture under new filler creates perfect conditions for fungal decay to spread even faster than before you started.
Use a screwdriver or awl to probe the wood. Push the tip into suspected areas with moderate pressure. Healthy wood resists and feels solid. Rotted wood feels soft and spongy. The tool sinks in with little effort, like pushing into a foam block. Test multiple spots across the sill surface, especially corners where water pools. If the tool penetrates more than a quarter inch, you’ve found active rot that needs removal.
Watch for these visual warning signs before you even touch the wood:
Darker discoloration that looks like water stains or shadows in the grain. Dark streaks running vertically from the window frame down the sill. Gray patches that contrast with the natural wood color. Cracked paint that exposes bare wood underneath. Blistered paint with bubbles that feel soft when pressed. Failing caulk that’s shrunk away from joints or crumbled into pieces.
Check moisture content with a pin-type or pinless moisture meter before starting repairs. Insert pin probes into the wood or hold the scanner flat against the surface. Wood must be dried to maximum 17 percent moisture content before applying treatments. Anything above that threshold means water is still active in the wood fibers. If your meter reads above 17 percent, you need to identify the moisture source, stop the leak, and let the area dry completely. Use a heat gun or hair dryer to speed drying, or tent the area and wait several days.
Once you start removing damaged wood, excavate at least one inch beyond visible rot to ensure all compromised wood fibers are removed. That extra margin prevents rot from creeping back under your repair.
Repairing Your Rotted Window Sill: Complete Step-by-Step Process
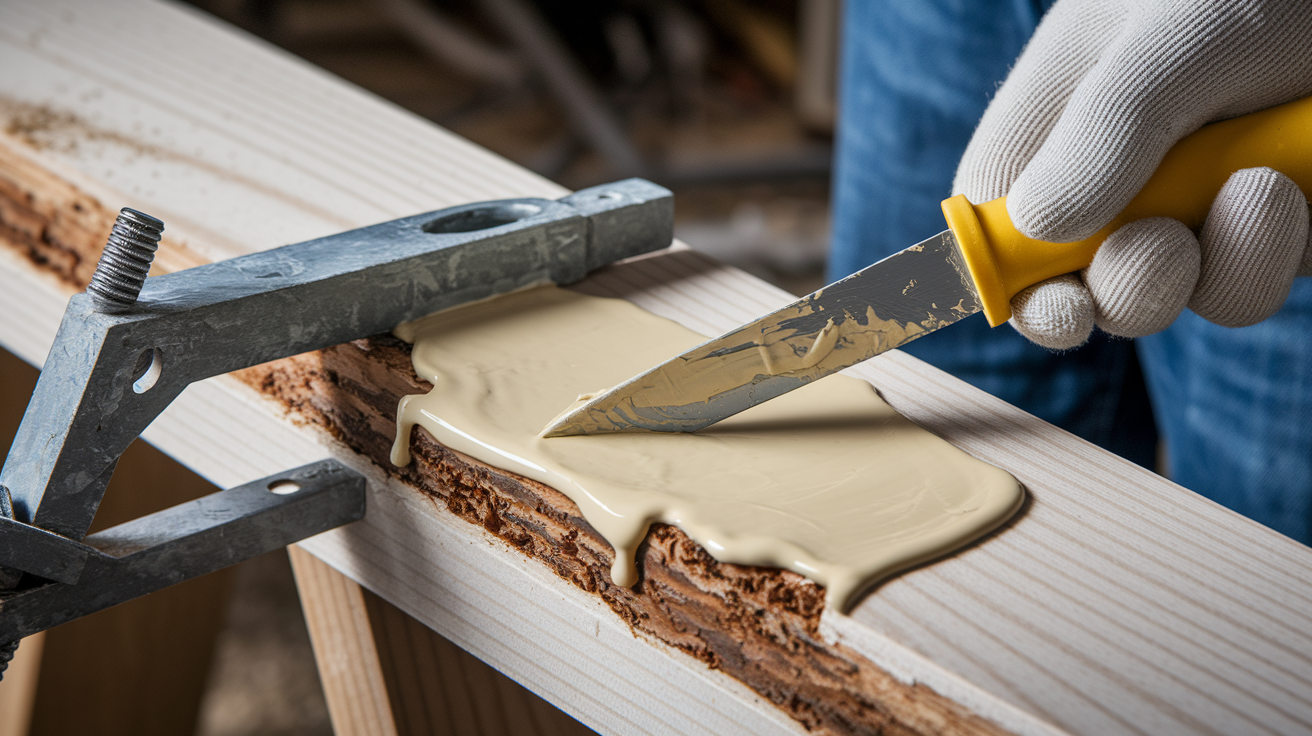
The approach you choose depends on how much of the sill is damaged. Small confined rot areas, anything smaller than a softball, can be repaired with a patch and fill method using wood hardener and epoxy. Larger damage that runs along the entire front of the sill or affects more than half the structural depth requires partial or complete sill removal. If rot has spread into the window jambs or frame, you’re looking at a full replacement job.
Here’s the essential repair sequence from start to finish:
Assess damage extent using the screwdriver test and visual inspection. Measure moisture content with a meter and confirm it’s below 17 percent. Remove all rotted wood plus one inch beyond visible damage. Drill injection holes and apply wood hardener to stabilize remaining fibers. Fill the void with two-part epoxy, building up in layers and overfilling slightly. Sand the cured epoxy through three progressively finer grits. Apply exterior grade primer to bare wood and epoxy surfaces. Seal all joints with silicone caulk and finish with two coats of exterior paint.
Choose epoxy repair when less than 50 percent of the sill’s structural wood is compromised and the rot hasn’t spread into adjacent trim or the window frame. The epoxy bonds chemically with wood fibers and cures into a waterproof material that’s actually stronger than the original wood. You can drive screws directly into hardened epoxy without splitting.
Choose full replacement when more than half the sill is gone, when rot has spread to the jambs, or when the remaining wood feels spongy even after drying. Trying to save a sill that’s structurally compromised just delays the inevitable and wastes your time.
A properly executed epoxy repair lasts 15 to 20 years if you maintain the paint and caulk. Full replacement with rot resistant wood like cedar or PVC can last 30 years or more with the same maintenance routine.
Essential Tools and Materials for Window Sill Rot Repair

Safety equipment isn’t optional when you’re cutting rotted wood and sanding epoxy. Old paint may contain lead, and epoxy dust irritates lungs. Use a NIOSH approved respirator rated for organic vapors and fine particles, not a basic dust mask. Wear safety glasses with side shields and nitrile gloves that resist solvents.
| Repair Phase | Tools & Equipment | Materials | Estimated Cost |
|---|---|---|---|
| Safety | NIOSH respirator, safety glasses, nitrile gloves, hearing protection | N/A | $40–$60 |
| Removal | Oscillating multi-tool with wood blade, chisel set, pry bar, shop vacuum, moisture meter | N/A | $120–$180 (if purchasing tools) |
| Preparation | Cordless drill with 1/8-inch bit, plastic needle syringes, chip brush, paint thinner | Liquid wood hardener (LiquidWood or equivalent) | $35–$50 |
| Rebuilding | Mixing sticks, disposable cups, putty knife set, utility knife | Two-part epoxy filler (WoodEpox or marine-grade), replacement lumber (cedar/PVC if needed), 3.5-inch deck screws, construction adhesive | $45–$90 |
| Finishing | Sanding block, random orbital sander (optional), paintbrushes, caulk gun | Sandpaper (80, 120, 220-grit), exterior primer, acrylic latex paint, silicone caulk | $40–$65 |
If you don’t already own power tools, expect to spend an additional $120 to $180 for an oscillating multi-tool and cordless drill. These tools are useful for dozens of other home repairs, so the investment pays off beyond this single project.
Removing Rotted Wood from Your Window Sill
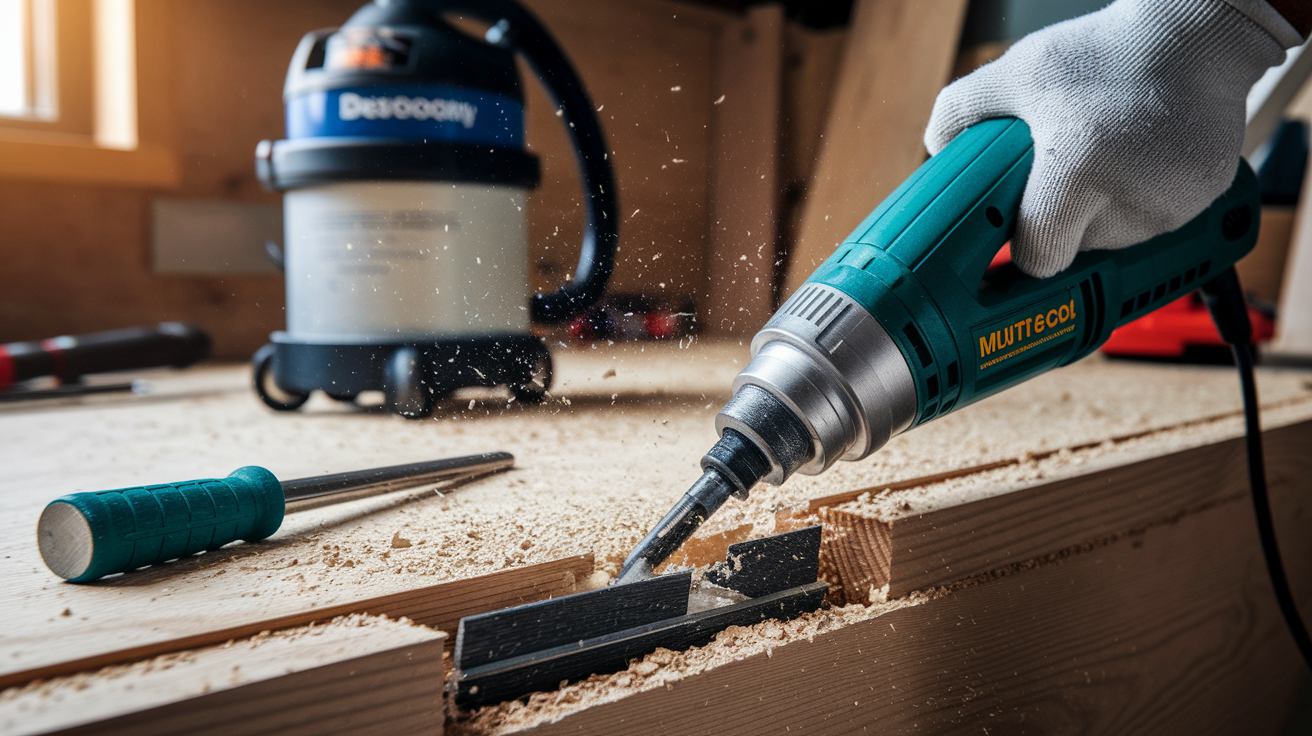
Remove all affected material plus one inch beyond visible rot. That extra margin ensures you’ve excavated all compromised wood fibers. If you stop at the visible edge, microscopic fungal decay continues spreading under your repair. Within a year, you’ll see the rot resurface around the patch.
An oscillating multi-tool with a wood cutting blade gives you precision for detail work without damaging surrounding trim or siding. Hold the tool at a shallow angle and work slowly to avoid tear out. For extensive damage that runs along the entire front of the sill, a circular saw works well for cutting the damaged section flush with the siding. Set the blade depth to match the sill thickness, usually 3/4 to 1 inch, and make your cut. You want a clean removal that leaves the house structure intact.
For hand tool work in tight corners or around window frames, use a sharp chisel and mallet. Angle the chisel with the bevel facing the waste wood, not the good wood you’re keeping. Tap gently and let the tool do the work. A pry bar helps lift out chunks of rotted material once you’ve made relief cuts with the chisel or saw.
Make clean cuts at the damage edges to leave an even surface of hard wood. The epoxy bonds best to solid wood with a defined edge, not ragged or fuzzy surfaces. After removing the rot, vacuum out all dust and loose debris. Blow out the drilled holes and crevices with compressed air if you have it. The cleaner the surface, the stronger the bond between wood hardener, epoxy, and remaining structure.
Applying Wood Hardener to Stabilize Remaining Structure

Wood hardener is a thin liquid that soaks into partially decayed wood fibers and hardens them chemically. It creates a solid base for the epoxy to bond to. Without this step, the remaining spongy wood continues degrading and the epoxy eventually separates from the substrate.
Follow these five steps for maximum penetration:
Drill 1/8 inch diameter holes spaced one inch apart across the affected area, stopping when you hit hard wood or reach halfway through the thickness. Fill a plastic needle syringe with liquid wood hardener and insert the tip deep into each drilled hole. Push the plunger slowly while backing the syringe out to minimize air pockets and ensure the consolidant fills the void completely. Use a cheap chip brush to coat all remaining exposed wood surfaces after filling the holes. Wait for the hardener to become tacky, usually 30 minutes to two hours depending on temperature, before applying epoxy filler.
Test for tackiness by touching the surface lightly with a gloved finger. It should feel slightly sticky but not wet. If you apply epoxy too soon, the wet hardener gets sponged out and you lose penetration. If you wait too long and the hardener fully cures to a hard shell, the epoxy won’t bond as well.
This stabilization step is critical for long term epoxy adhesion. The hardener penetrates deep into the wood grain and locks the fibers in place. Once cured, it forms a rigid substrate that prevents the epoxy from flexing and cracking over time.
Rebuilding Window Sills with Two-Part Epoxy Filler
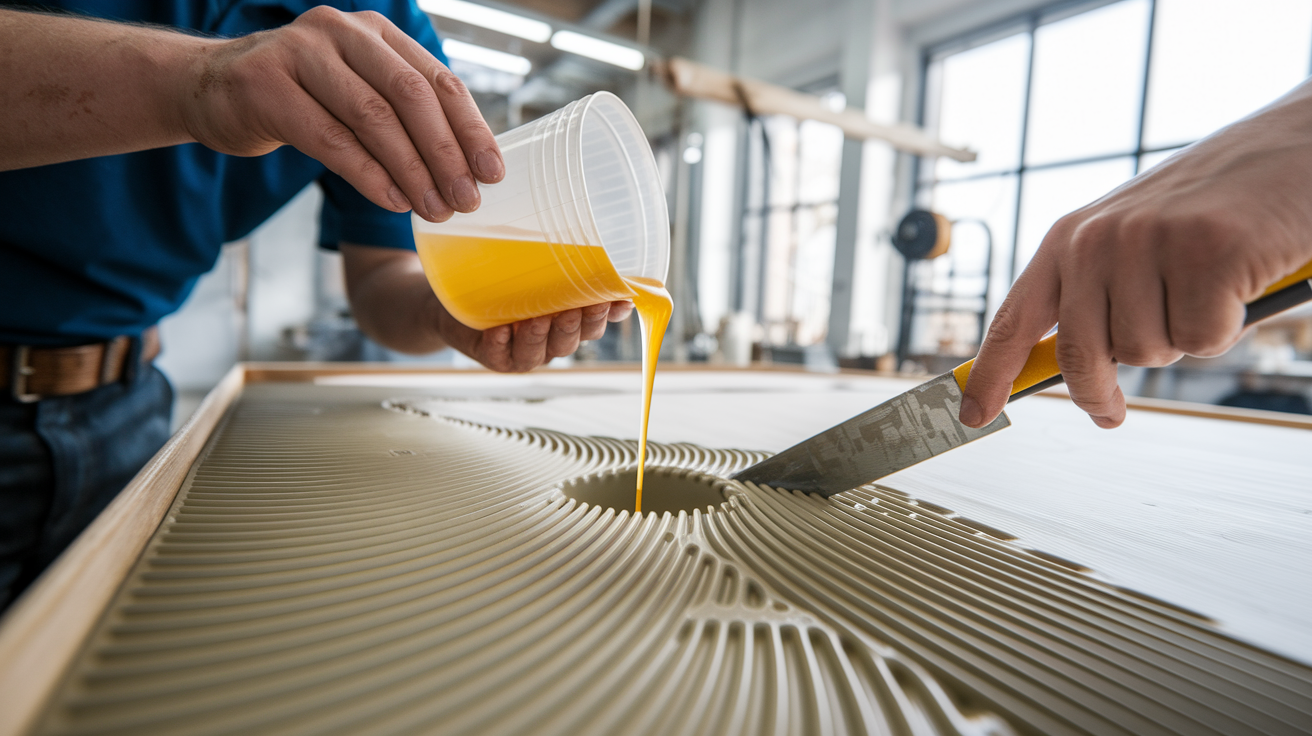
Marine grade two-part epoxy outperforms standard wood putty because it forms a chemical bond with wood fibers and cures into a waterproof material stronger than the original wood. Standard wood putty is just sawdust and binder. It absorbs moisture and shrinks over time. Bondo hardens quickly but traps moisture underneath and creates further rot, making it a poor choice for exterior repairs that see weather exposure.
Mix epoxy in small batches you can apply within 5 to 10 minutes. The working time shortens in warm weather and lengthens in cold. Measure the resin and hardener according to the manufacturer’s ratio, usually 1:1 by volume. Stir thoroughly for at least two minutes until the color is uniform with no streaks. Scrape the sides and bottom of your mixing cup to ensure complete blending.
Fill voids from the bottom up in layers to reduce air bubbles. Press the epoxy firmly into the cavity with a putty knife, working it into all corners and undercuts. Overfill the repair area slightly, about 1/8 inch above the surrounding surface, to provide extra material for final shaping and sanding. The epoxy will shrink minimally as it cures, and you want to avoid low spots that collect water.
For shaping soft epoxy before it hardens, use liquid wood hardener as a thinner. Dip your putty knife or a disposable brush in the hardener and use it to smooth the epoxy surface. This prevents the material from tearing or sticking to your tools. Work quickly. Epoxy sets faster in larger masses than in thin layers. A thick buildup might harden in 15 minutes while a thin skim coat stays workable for 30 minutes.
Allow the epoxy to cure for a full 24 hours before sanding and shaping. Don’t rush this step even if the surface feels hard after a few hours. The epoxy needs time to reach full chemical cure and maximum strength. Hardened epoxy is durable enough that you can drive screws directly into it without pre drilling.
Sanding and Shaping Your Epoxy-Repaired Window Sill
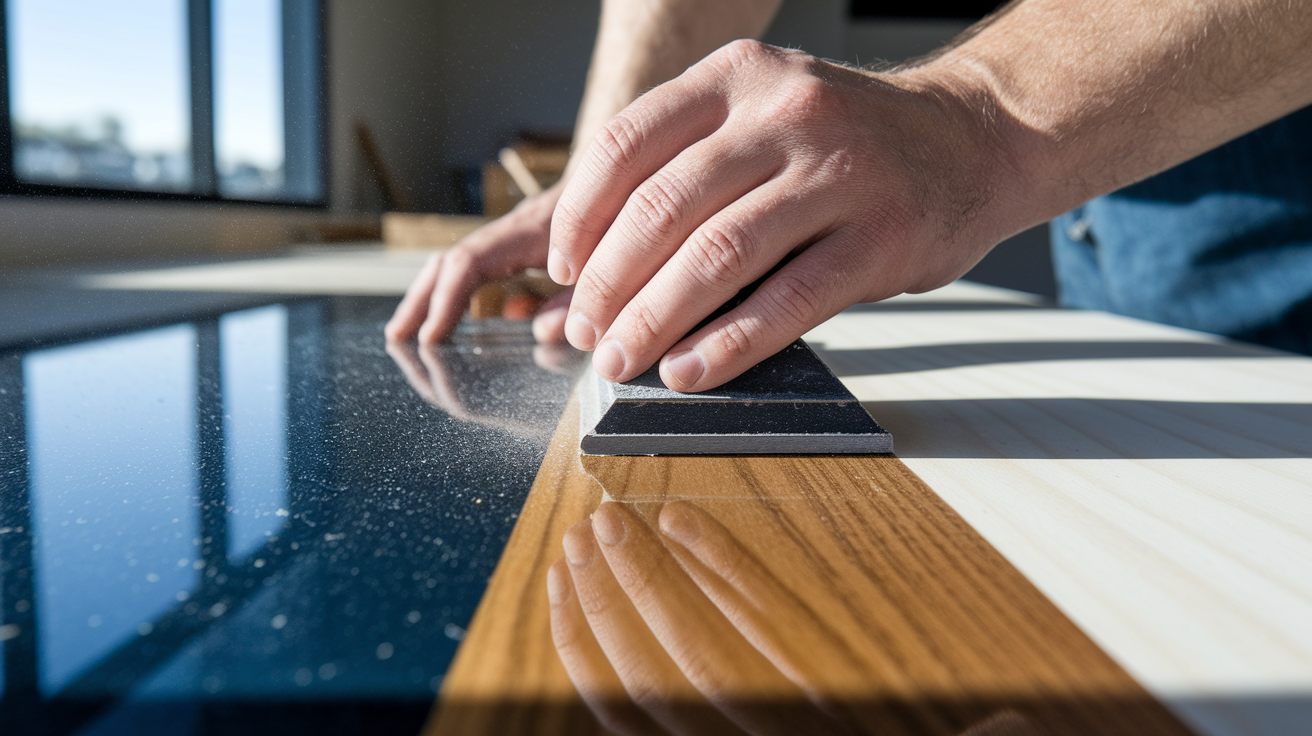
Wait for full cure before you start sanding. If you sand too early while the epoxy is still soft inside, you’ll create surface scratches that are difficult to remove later and may pull uncured material out of the repair.
Start with 80 grit sandpaper to knock down high spots and rough edges. Use a sanding block or random orbital sander and work in overlapping passes. Check your progress frequently by running your hand over the repair. You’re looking for a smooth transition between epoxy and wood with no sharp edges or bumps.
Progress to 120 grit sandpaper once the major shaping is done. This intermediate grit removes the scratches left by the 80 grit and starts blending the repair. Finish with 220 grit for seamless blending. The surface should feel smooth to the touch with no visible scratches or ridges.
Check that the sill maintains its proper slope angle, typically around 15 degrees from front to back. Water needs to run off the front edge, not pool on the surface. If your repair has altered the slope, reshape it now with coarse sandpaper before moving to finer grits.
Installing Replacement Wood for Extensively Rotted Sills
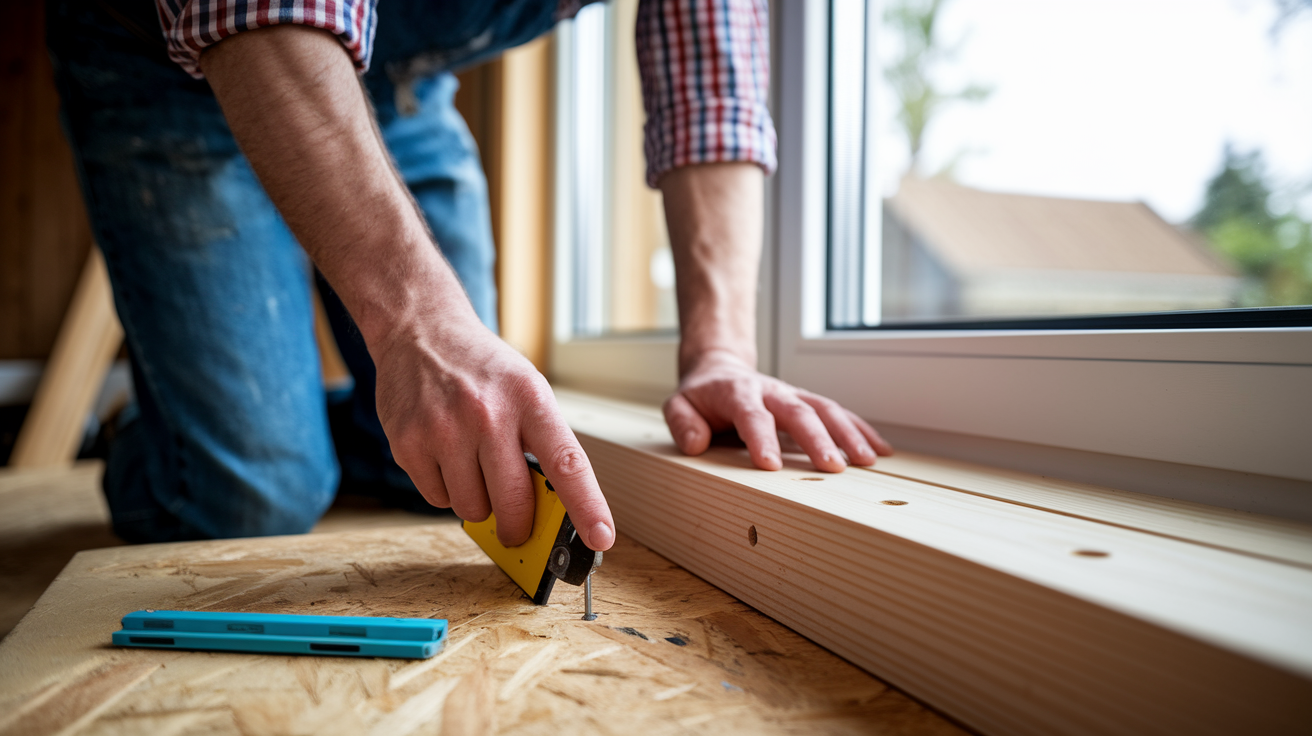
Consider full replacement when more than 50 percent of the structural wood is gone or rot has spread into the main window frame. At that point, trying to patch the damage costs more time and materials than installing a new piece of rot resistant lumber.
Select rot resistant material that matches the original sill thickness, usually 3/4 inch to 1 1/2 inches depending on your window type and house age. Choose from these options:
Cedar. Naturally rot resistant, easy to work with, accepts paint and stain well, moderate cost. Pressure treated wood. Very rot resistant, requires time to dry before painting, lowest cost. Redwood. Excellent rot resistance, beautiful grain, higher cost and limited availability in some regions. White oak. Dense and durable, naturally water resistant, challenging to cut and shape. Solid PVC. Never rots, requires no painting, highest cost but virtually maintenance free.
Cut the replacement piece to length and match the sill slope angle along the back edge. Use a table saw or circular saw with the blade tilted to 15 degrees. Test fit the piece before applying adhesive. It should sit flush against the window frame and house siding with no gaps larger than 1/8 inch.
Drill pilot holes every 12 inches across the front of the replacement sill. This prevents the wood from splitting when you drive screws. Apply a bead of waterproof construction adhesive along the back edge and underside of the replacement piece, then press it firmly into position. Drive 3.5 inch deck screws through the pilot holes and into the house framing. Use galvanized or stainless fasteners that won’t rust.
Countersink screw heads at least a quarter inch below the surface so you can fill the holes with epoxy filler. Fill all gaps between the replacement sill and adjacent surfaces. Any opening is a path for water intrusion. Sand the filled areas smooth once the epoxy cures.
Priming and Painting Your Repaired Window Sill
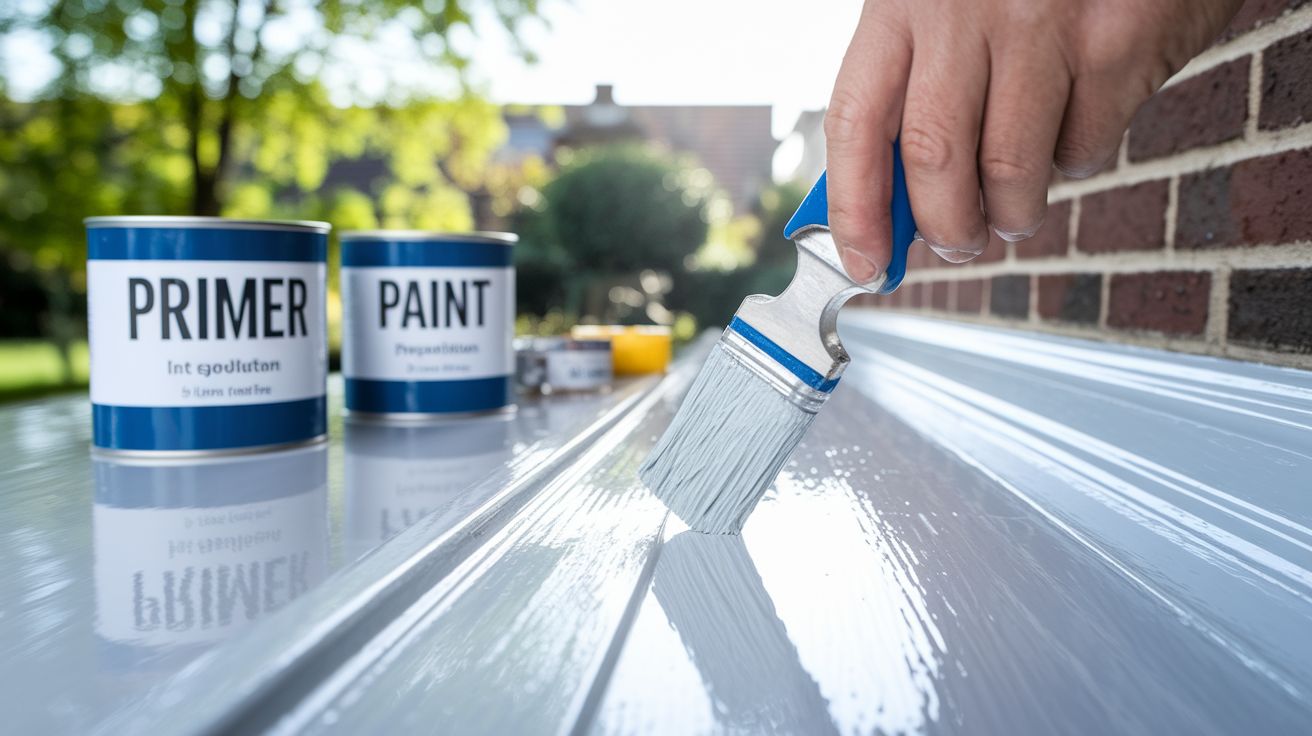
Exterior grade primer creates uniform surface adhesion across both the epoxy repair and any bare wood. Without primer, the paint absorbs unevenly and you’ll see color differences between patched and original areas. Epoxy is non-porous and paint struggles to grip it without a primer layer that’s formulated to bond to both wood and synthetic materials.
Apply primer with a high quality brush, working it into all cracks and joints. Don’t thin the primer. Use it straight from the can for maximum coverage and adhesion. Let the first coat dry according to the manufacturer’s instructions, usually two to four hours depending on temperature and humidity. Check for any spots where the wood grain or epoxy color shows through, and apply a second primer coat to those areas.
Select a premium acrylic latex exterior paint designed to expand and contract with temperature changes. Cheap paint cracks within a season on exterior wood that sees direct sun and rain. Apply two coats minimum, letting each coat dry fully before adding the next. The first coat seals the surface, the second provides color uniformity and weather protection. Use long smooth strokes and avoid overloading the brush, which creates drips and sags.
Let the final paint coat cure for at least 48 hours before applying caulk. The paint needs time to harden and form a moisture barrier. If you caulk too soon, solvents trapped under the caulk bead can soften the paint and cause adhesion failure.
Sealing and Weatherproofing to Prevent Future Window Sill Rot

Caulk selection matters for durability. Use 100 percent silicone or advanced polymer caulk that remains flexible through temperature swings and doesn’t shrink over time. Standard latex caulk cracks and separates within two years on exterior joints that move with seasonal wood expansion.
Apply caulk to these six critical sealing points:
Sill to frame joint where the horizontal sill meets the vertical window frame. Sill to trim connection on both side edges where trim molding contacts the sill. Sill to siding gap at the back edge where the sill meets the house exterior. End caps where the sill terminates against vertical trim or siding. Nosing edge along the front drip edge if there’s a gap or crack. Apron board junction underneath the sill if your window has that detail.
Cut the caulk tube nozzle at a 45 degree angle to create a bead size that matches your joint width, usually 1/4 inch for most window sill gaps. Hold the gun at a 45 degree angle and push the bead forward into the joint rather than pulling it. Tool the bead smooth with a wet finger or caulk tool within a few minutes before it skins over.
Maintain the proper slope for water drainage. The sill should angle down from back to front at roughly 15 degrees so water runs off the front edge instead of pooling on the surface. If your repair has flattened this slope, reshape it during the sanding phase before painting.
Install or verify drip cap and flashing integrity above the window. A drip cap is a metal or plastic piece that directs water away from the top of the window frame. Without proper flashing, water runs down the wall and soaks into the sill from above. Check that the drip cap extends past the window trim and slopes away from the house. If it’s missing or damaged, install new flashing before declaring the repair complete. Any epoxy or paint layer will trap moisture if water can still get behind it, so your weatherproofing strategy must direct water away from the repair, not just seal the surface.
Maintenance Schedule to Protect Your Window Sill Investment
Annual inspections catch damage early when a simple caulk bead or paint touch up prevents major rot. Schedule your inspection after the rainy season ends when you can see how the window handled water exposure.
Follow this five point seasonal maintenance routine:
Post rainy season inspection. Walk around the house and visually check all window sills for signs of water damage, discoloration, or paint failure. Caulk condition check. Run your finger along all caulk joints and look for cracks, shrinkage, or gaps where the caulk has pulled away from the wood or frame. Paint integrity assessment. Look for cracked, blistered, or peeling paint that exposes bare wood. These spots let moisture penetrate even if the underlying wood still looks solid. Drainage verification. Pour a cup of water on the sill surface and watch how it runs off. Water should flow smoothly to the front edge without pooling in low spots. Moisture testing. Use your moisture meter on suspect areas. Any reading above 15 percent means water is getting in and you need to find the source.
Repainting schedules depend on your climate and paint quality. In regions with intense sun and frequent rain, plan to repaint window sills every three to five years. In milder climates with less weather exposure, quality paint can last six to eight years. Don’t wait for widespread paint failure. Touch up small chips and cracks as soon as you spot them. A quick touch up takes ten minutes and prevents water from reaching the wood.
Inspect caulk every two years and replace any joints showing cracks or separation. Caulk fails before paint in most cases because the joint movement stresses the material. Scrape out old caulk completely before applying new, and make sure surfaces are clean and dry for proper adhesion.
Cost and Time Comparison: DIY Repair Versus Professional Service
Total repair time depends on damage extent, drying time between steps, and your experience level. A small epoxy patch repair might take one full day spread across three calendar days due to curing time. Full sill replacement can stretch to two weekends when you factor in lumber shopping, cutting, fitting, and finishing work.
| Repair Type | DIY Time Required | Professional Time | Professional Cost Range |
|---|---|---|---|
| Epoxy patch repair | 6–8 hours over 3 days | 3–4 hours same day | $150–$300 per window |
| Partial replacement | 10–12 hours over 4 days | 4–6 hours over 2 days | $250–$450 per window |
| Full sill replacement | 14–18 hours over 5 days | 6–8 hours over 2 days | $400–$700 per window |
Skill level considerations affect whether time savings justify hiring a professional. If you have basic carpentry skills and own the necessary tools, DIY saves you 60 to 70 percent on labor costs. If you need to buy all the tools and you’ve never mixed epoxy or cut lumber, the learning curve adds frustration and the risk of mistakes that cost more to fix than the original repair. A professional brings speed, experience, and often a warranty on the work.
Hidden costs of DIY mistakes include wasted materials from improper mixing, damage to surrounding trim from careless tool work, and poor weatherproofing that leads to recurring rot within a few years. If you’re uncertain about your ability to execute the repair correctly, the professional route is often cheaper in the long run.
When to Call a Professional Instead of DIY Window Sill Repair
The 50 percent damage threshold is your first decision point. When more than half the sill’s structural wood is compromised, a professional carpenter can assess whether the window frame itself is sound or needs replacement along with the sill.
Call a professional when you encounter any of these seven scenarios:
Rot has spread to adjacent jambs or vertical trim requiring coordination with the window installation. Structural sill damage threatens the load bearing capacity of the window opening. Multiple windows across the house show rot, suggesting a systemic water management problem. Second story locations require scaffolding or ladder work you’re not comfortable with. Historic window preservation demands matching original profiles and joinery techniques. You lack the carpentry tools or workspace to safely cut and install replacement lumber. Uncertainty about repair scope and you need professional diagnosis before committing to a repair strategy.
Structural concerns and load bearing implications require professional assessment. Window sills carry the weight of the window unit and in some cases contribute to the house’s lateral bracing system. A sill that’s lost more than half its structural depth may need temporary support during replacement to prevent the window from sagging or the framing from shifting. Professionals know how to shore up openings safely and size replacement lumber to match structural loads.
Professionals assess frame integrity by removing trim and inspecting the rough framing behind the window unit. If rot has spread into the jack studs or header, the repair escalates beyond a simple sill replacement into structural carpentry. They check whether the window unit itself is failing and allowing water infiltration that no amount of sill repair can fix. In those cases, window replacement is the only permanent solution.
Final Words
Window sill rot doesn’t fix itself, but now you know how to repair window sill rot the right way.
You’ve got the assessment steps to find hidden damage. You understand when epoxy works and when replacement makes more sense. And you know the tools and sequence to get it done without callbacks.
The real win is preventing the next round of rot with proper slope, caulking, and drainage. Check your work annually, especially after wet seasons, and touch up failing paint before water gets behind it again.
Done right, your repair outlasts the original sill.
FAQ
Can you repair a rotted window sill?
You can repair a rotted window sill if the damage is confined to less than 50 percent of the sill and hasn’t spread into the window frame or jambs. Small isolated rot areas respond well to epoxy filler repairs, while larger damage sections may require partial wood replacement using rot-resistant lumber like cedar or PVC.
How do you treat a rotten window sill?
You treat a rotten window sill by first removing all compromised wood plus one inch beyond visible damage, then applying liquid wood hardener to stabilize remaining fibers. After the hardener cures, rebuild the missing section with two-part marine-grade epoxy filler, sand smooth, prime bare wood, and seal all joints with silicone caulk.
How do you fix rotted wood without replacing it?
You fix rotted wood without replacing it by excavating all soft material back to sound wood, drilling holes into the remaining structure, and injecting liquid wood hardener deep into the grain. Once tacky, apply two-part epoxy filler in layers from bottom up, overfilling slightly to allow for final shaping and sanding after full cure.
What causes a windowsill to rot?
A windowsill rots when persistent moisture from rain, condensation, or failed caulking soaks into bare or damaged wood and stays wet long enough for fungal decay to take hold. Common entry points include cracked paint, gaps between the sill and frame, missing drip caps, improper drainage slope, and deteriorated sealant around trim connections.
What moisture level is safe before treating rotted wood?
Wood must be dried to a maximum of 17 percent moisture content before applying wood hardener or epoxy treatments, measured with a moisture meter. Treating wet wood traps moisture inside, which prevents proper chemical bonding and allows rot to continue spreading beneath the repair surface.
How long does epoxy filler take to cure on window sills?
Epoxy filler requires a full 24 hours to cure completely before sanding, shaping, or applying primer. Larger epoxy masses set faster than thin applications, but rushing the process by sanding early can tear the material and compromise the structural bond with surrounding wood.
When should you replace a window sill instead of repairing it?
You should replace a window sill instead of repairing it when more than 50 percent of the structural wood is compromised, rot has spread into the window frame or jambs, or the sill feels spongy across its entire length. Full replacement with rot-resistant lumber prevents repeated repair callbacks and addresses hidden moisture damage.
What type of wood works best for window sill replacement?
Cedar, pressure-treated lumber, redwood, white oak, and solid PVC work best for window sill replacement because they resist moisture and fungal decay better than standard pine or fir. Match the replacement thickness to your existing sill and cut a 15 percent slope angle along the back edge for proper water runoff.
Why is wood hardener necessary before applying epoxy filler?
Wood hardener is necessary before applying epoxy filler because it penetrates and stabilizes partially degraded wood fibers, creating a solid substrate for chemical bonding. Without hardener treatment, epoxy can pull moisture out of soft wood or delaminate from weak fibers, causing repair failure within months.
How do you prevent window sill rot from returning?
You prevent window sill rot from returning by sealing all joints with 100 percent silicone caulk, maintaining proper drainage slope, installing or repairing drip caps above the window, and inspecting paint and caulk annually after the rainy season. Address any cracked paint or failed sealant immediately before water infiltrates bare wood.
What tools do you need for window sill rot repair?
You need an oscillating multi-tool or circular saw for cutting damaged wood, a drill with 1/8-inch bit for hardener injection, plastic syringes for deep penetration, 80-grit through 220-grit sandpaper for progressive smoothing, and a NIOSH-approved respirator when sanding epoxy or removing old paint.
Can you use Bondo instead of epoxy for window sill repair?
You should not use Bondo for window sill repair because it hardens quickly but traps moisture against wood and lacks the waterproof properties needed for exterior exposure. Bondo creates conditions for continued rot beneath the surface, while marine-grade two-part epoxy forms a chemical bond and cures into waterproof material stronger than original wood.