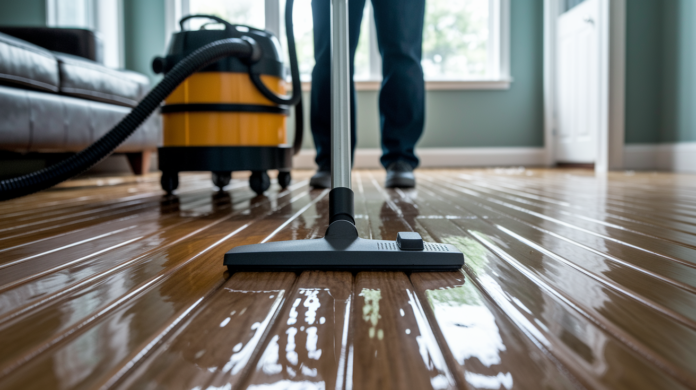

Most hardwood floors that sat underwater for 24 hours are still salvageable if you move fast and dry them correctly. The catch? You’ve got about 48 hours before permanent damage sets in, and most people waste that window guessing instead of acting. This guide walks you through emergency water extraction, the salvage versus replace decision, and proven drying methods that actually work. You’ll learn when DIY makes sense, when to call a pro, and how to use a moisture meter so you’re not refinishing boards that haven’t finished drying yet.
Emergency Assessment and Response
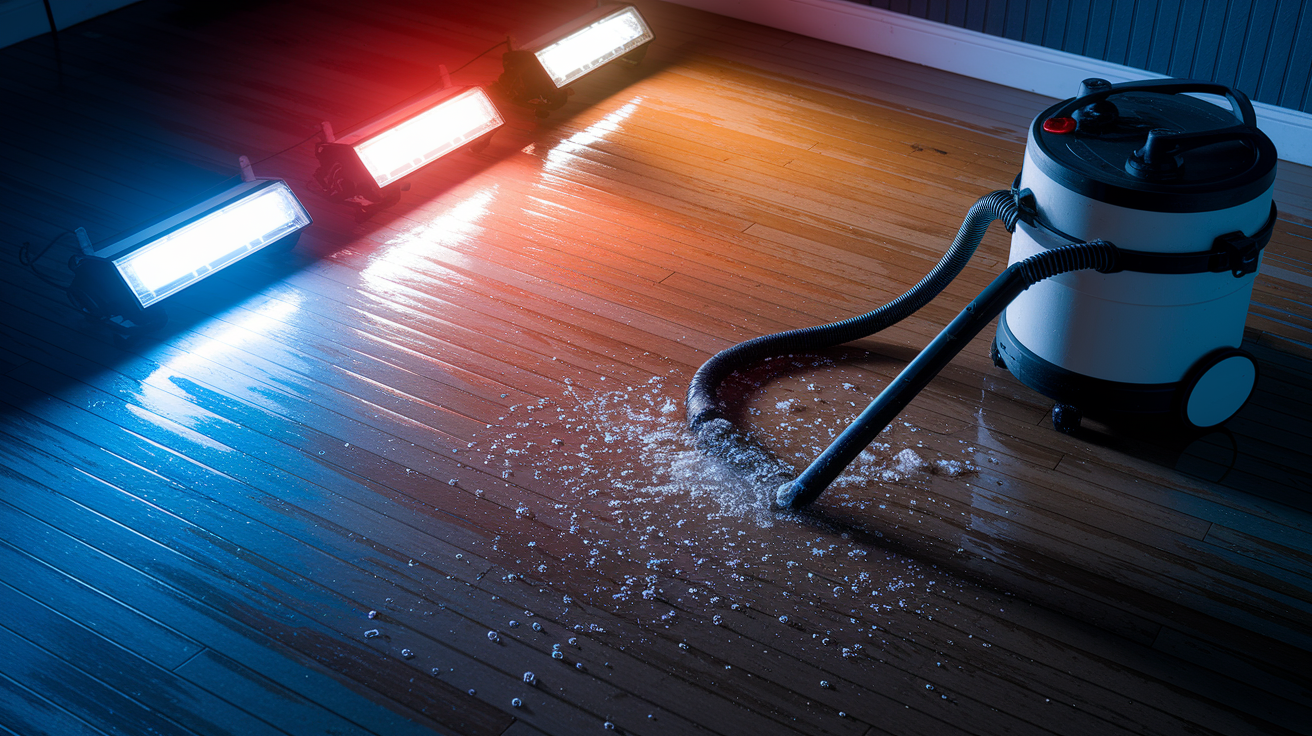
Within the first 24 hours after flooding, your chances of saving hardwood floors drop fast. Quick action and a realistic damage assessment determine whether you’ll restore the floor or tear it out. Both steps matter equally. Move fast, but also look carefully at what you’re working with before committing to a salvage plan.
-
Disconnect power to the flooded area at the circuit breaker. Standing water and electricity create electrocution risk. Unplug all appliances and electronics in the affected space. If you can’t safely reach the breaker panel without walking through water, call an electrician or your utility company.
-
Remove all furniture, rugs, and wet items from the floor. This creates working space and removes materials that trap moisture against the wood. Wet carpets, cardboard boxes, and fabric items keep humidity high and slow drying.
-
Extract standing water immediately using a wet vacuum and squeegee. Start in one corner and work systematically across the room. Use the squeegee to push water into concentrated pools where the vacuum can pick it up more efficiently. Empty the vacuum tank frequently. This takes longer than you’d expect.
-
Conduct a quick visual inspection while the floor is still wet. Look at board edges to check if they’re cupping (raised at the seams with a wavy appearance). Check whether boards are lifting away from the subfloor or pulling fasteners. Probe with your finger to find soft spots that indicate rot starting.
-
Open windows and position fans to move air across the wet floor. Cross ventilation speeds evaporation. If outdoor humidity is high, skip the open windows and run a dehumidifier instead.
-
Take photos and videos of the flooded area from multiple angles. Document water depth marks on walls, close ups of floor damage, and the water source if visible. Your insurance adjuster will need this before you start repairs.
Your initial inspection tells you whether salvage makes sense. Boards showing cupping without lifting fasteners usually recover after proper drying. If flooding lasted under 48 hours and you can start extraction within a few hours of the event, salvage odds improve. Watch for boards that have buckled upward or pulled away from the subfloor. Those typically need replacement. Any visible rot, black staining, or soft spots mean the wood structure is breaking down.
Contamination level affects your salvage decision. Clean water from a supply line or rainwater is easiest to handle. Dry it fast and the floor often recovers. Gray water from washing machines or dishwashers contains detergents and some bacteria, requiring antimicrobial treatment but still salvageable with proper cleaning. Black water from sewage backups or river flooding carries dangerous pathogens and often requires professional remediation or complete replacement, especially if boards stayed submerged.
The 48 hour window determines permanent damage in most cases. After two days underwater, the unfinished underside of hardwood planks absorbs so much moisture that boards swell beyond recovery. Fasteners pull out, adhesive fails in glue down installations, and mold starts growing deep in the wood grain. Make your salvage versus replace decision within that first day while you still have real options.
Deciding Between DIY Salvage and Professional Restoration

After your initial assessment, match your situation against available resources and realistic timelines to decide who handles the work.
| Situation | DIY Approach | Professional Required |
|---|---|---|
| Minor water exposure (under 2 hours) | Extract water with wet vacuum, run fans and dehumidifier, monitor moisture levels daily | Not typically needed unless subfloor damage suspected |
| Moderate flooding (2 to 24 hours standing water) | Possible with rental equipment (commercial dehumidifier, multiple fans) and patient monitoring | Faster results and better moisture tracking with professional equipment |
| Severe flooding (over 24 hours) | Usually inadequate. Household equipment can’t generate enough air movement or moisture extraction | Commercial air movers and dehumidifiers essential to prevent mold and structural failure |
| Contaminated water (gray or black water) | Health risk too high for untrained handling. Improper cleaning spreads pathogens | Required for safe disinfection, proper disposal, and mold prevention protocols |
| Large affected area (over 200 sq ft) | Overwhelming for single person operation. Drying takes too long without multiple commercial units | Professional crews cover large areas efficiently with staged equipment placement |
Professional restoration companies bring specialized equipment that changes outcomes. Commercial dehumidifiers remove 10 to 20 times more moisture per day than hardware store rental units. Air movers (high velocity fans) create laminar airflow across floors that pulls moisture from wood much faster than box fans. Moisture meters give you actual numbers instead of guessing. Pros use pin type meters that penetrate the wood surface and pinless meters that scan through flooring to check the subfloor. Infrared cameras locate hidden moisture pockets trapped under cabinets or inside walls before mold starts growing. Hygrometers track room humidity levels so technicians can adjust equipment in real time. HEPA filtration systems scrub airborne mold spores during drying to prevent contamination of your HVAC system and other rooms.
Cost becomes the deciding factor for many homeowners. Professional water damage restoration typically runs $3 to $7 per square foot for drying services, plus additional costs for board replacement, sanding, and refinishing if needed. A 300 square foot room might cost $900 to $2,100 just for professional drying, or $2,500 to $5,000 for complete restoration including refinishing. Homeowners insurance often covers this if the flood resulted from a sudden event like a burst pipe. Check your policy for water damage coverage specifics and deductible amounts. Compare that against DIY attempts with inadequate equipment that leave hidden moisture, leading to mold remediation costs of $1,500 to $4,000 later, or complete floor replacement at $8 to $15 per square foot. An initial investment in proper restoration usually costs less than fixing failed DIY work, and your insurance might cover professional services while they won’t cover a second attempt after you make it worse.
Drying Water Damaged Hardwood Floors Effectively
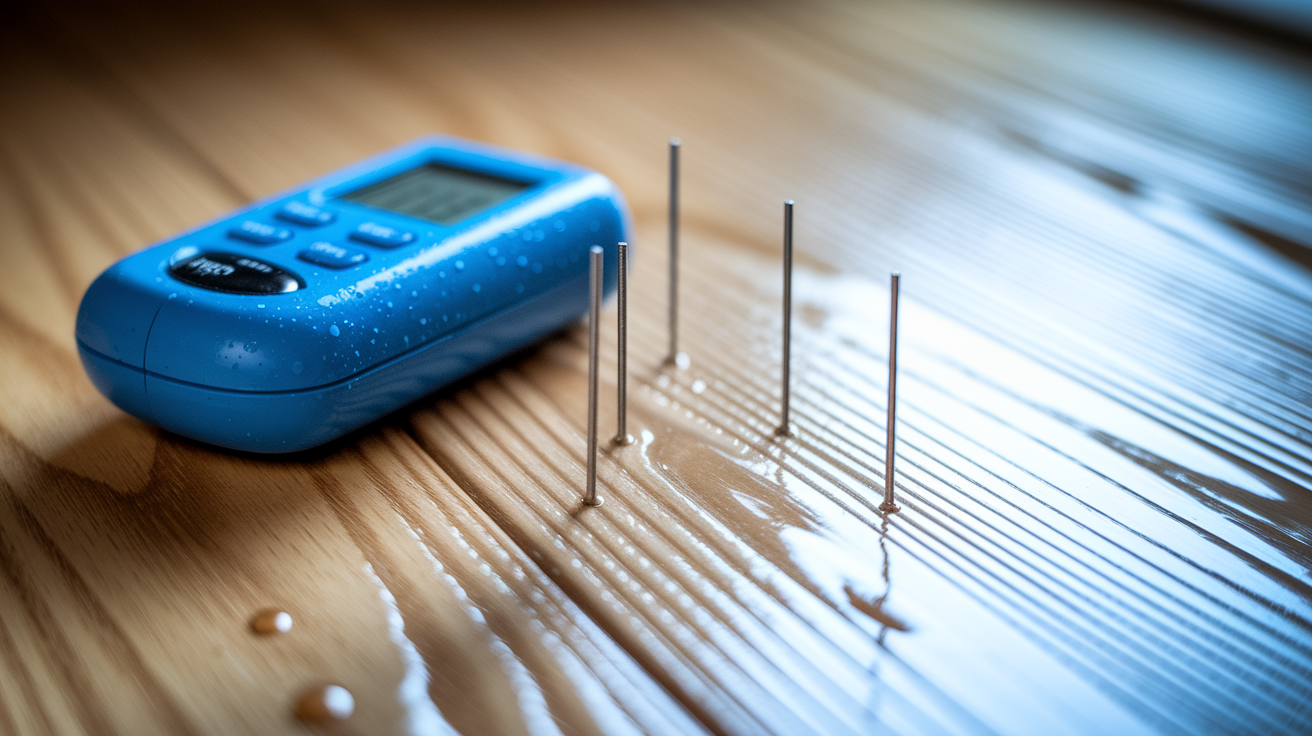
Proper drying determines everything that follows. Rush it and you’ll sand floors that later crown into a worse problem. Skip moisture monitoring and you’ll seal moisture under new finish where it feeds mold growth. Adequate drying means the wood returns to its pre flood moisture content throughout its entire thickness, not just the surface.
Professional Rapid Drying Method
Commercial restoration companies position multiple air movers to create continuous airflow across wet floors, typically placing units every 10 to 15 feet around the room perimeter angled toward the center. Industrial dehumidifiers run around the clock, removing 150 to 200 pints of moisture per day compared to 30 to 50 pints for household models. Technicians take moisture readings twice daily with calibrated meters, mapping which areas are drying and which need equipment repositioned. Temperature control matters too. Warmer air holds more moisture, so pros often maintain room temperature at 75 to 80°F while drying. This approach typically dries floors in 3 to 10 days depending on initial saturation level and wood thickness. Insurance companies usually cover professional drying services when flood damage stems from covered perils like burst pipes or appliance failures. The crew removes equipment once moisture readings drop to 6% to 9% moisture content (normal for most hardwood species in climate controlled homes) and stay consistent across the entire floor.
DIY Gradual Drying Method
Without commercial equipment, wood dries naturally over 2 to 12 months depending on how much water it absorbed and your climate conditions. Position household fans to blow air across the floor surface continuously. Run a dehumidifier rated for your room size, emptying the collection bucket twice daily or connecting a drain hose to a floor drain. Open windows when outdoor humidity is lower than indoor humidity. Check weather apps for relative humidity readings. Aim to maintain indoor relative humidity between 30% and 50% throughout the drying period. Temperature helps. 68 to 72°F balances drying speed against energy costs. This slow approach works for minor water exposure where boards show slight cupping but no lifting or buckling. You’ll need patience and consistent monitoring. Some homeowners accelerate natural drying to 4 to 8 weeks using multiple fans and a quality 50 pint dehumidifier running continuously.
Monitoring Moisture Levels
Buy or rent a moisture meter with pins that penetrate the floor surface. The two pin design costs $30 to $100 for basic models, enough for homeowner use. Take readings in at least 10 different locations spread evenly across the affected area, not just near the edges. Write down each reading with location notes. Normal moisture content for oak flooring in most homes runs 6% to 9%. Other species vary slightly (maple 6% to 8%, walnut 7% to 9%). Check the manufacturer’s specifications for your particular wood species. You need consistent readings throughout the entire floor, not just the driest spots, before proceeding. Take readings at different times of day for several days. If numbers fluctuate more than 1% to 2%, the wood is still releasing moisture. Don’t forget the subfloor. Remove a floor register or heating vent to access the subfloor from below, or pull up a board in a closet or under an appliance to check underneath. Subfloor moisture must also return to normal (typically 8% to 12% depending on material) before you reinstall flooring or refinish.
Don’t start sanding because the surface feels dry to your hand. Interior moisture takes weeks or months to equalize and escape. Sanding wet floors now means they’ll continue shrinking and moving after you apply new finish, cracking the finish and creating gaps you didn’t plan for.
Cleaning and Disinfecting Flooded Hardwood Floors

Cleaning must happen immediately after you extract standing water, before drying equipment goes to work. Dried contaminants become harder to remove, and bacteria multiplies fast in damp wood during the drying period.
| Water Type | Contaminants | Cleaning Protocol |
|---|---|---|
| Clean Water (Category 1) | None. From supply lines, rain, or condensation. No sewage or chemical contact | Scrub with pH neutral hardwood floor cleaner diluted per label instructions. Rinse with clean water and squeegee excess. No disinfectant needed. |
| Gray Water (Category 2) | Detergents, food particles, bacteria from washing machines, dishwashers, or sump pump failures | Scrub with antimicrobial cleaner safe for hardwood (check label for wood safe formulation). Follow with disinfectant rated for porous surfaces. Rinse thoroughly. |
| Black Water (Category 3) | Sewage, toilet overflow, river/floodwater with pathogens, pesticides, and heavy metals | Professional grade disinfectants required. Often needs professional handling due to health hazards. May require complete board replacement rather than cleaning. |
Start with a stiff bristled scrub brush or deck brush to agitate the floor surface. Work in 4 foot by 4 foot sections, scrubbing along the wood grain to avoid scratching the finish. For clean water flooding, use a pH neutral hardwood floor cleaner diluted to manufacturer specifications. Brands like Bona or Murphy Oil Soap work when properly diluted. Pour cleaning solution into a bucket, dip your brush, scrub thoroughly, then squeegee the dirty solution into a pile for vacuum extraction. For gray water, switch to antimicrobial cleaners that specifically state they’re safe for hardwood floors. Products containing quaternary ammonium compounds (quats) kill bacteria without damaging wood finishes. Never use straight bleach or bleach based cleaners. They strip floor finish and leave permanent white or yellow stains that won’t sand out without removing significant wood. After scrubbing with cleaner, go over the floor again with clean rinse water to remove chemical residues that might interfere with refinishing later.
Apply antimicrobial treatment during the drying phase to prevent mold growth while moisture levels are still elevated. Spray on antimicrobial products designed for flood restoration create a protective barrier on the wood surface. These treatments don’t stop drying or interfere with later refinishing. Address odor issues with enzyme based odor eliminators made for porous surfaces. They break down organic matter causing smells rather than just masking them. If contaminated water left a strong sewage or chemical odor that persists after cleaning, you might need to replace affected boards because the contamination penetrated too deep to clean effectively.
Repairing Cupped and Warped Hardwood Floor Boards

Before you touch sandpaper to cupped boards, verify complete dryness with your moisture meter. Take readings in the cupped boards and in unaffected areas. They should match within 1%. If cupped boards still read 2% or more higher than the rest of the floor, wait another week and test again.
Cupping creates a wavy appearance across the floor where board edges are raised higher than centers, forming a concave cup shape on each board’s surface. You’ll feel the raised seams when you run your hand across perpendicular to the grain. Crowning is the opposite. Board centers are higher than edges, creating a convex crown shape. Crowning happens when you sand a cupped floor before it dries, removing the raised edges. Later, when the wet board centers finally dry and shrink, what you left in the middle now sticks up higher than the edges you already sanded away.
-
Verify complete dryness throughout the floor with consistent moisture readings. Take readings in 10 to 15 locations. Write them down. They should all fall within 1% to 2% of each other and match the normal moisture content for your wood species (usually 6% to 9% for most hardwoods). If readings vary more than 2%, wait longer.
-
Use a drum sander with 40 grit sandpaper to level the cupped boards. Start with coarse grit to remove the raised edges efficiently. Work along the grain direction, overlapping each pass by half the drum width. Take your time. You’re removing wood strategically to create a flat surface. If you’ve never used a drum sander, practice on scrap boards first or hire this part out. Drum sanders are aggressive and easy to gouge with.
-
Progress through 60 grit and then 80 grit sandpaper to smooth the surface. Each finer grit removes the scratches from the previous grit. After 80 grit, use an orbital sander with 100 grit and then 120 grit for final smoothing. Vacuum between each grit change so you’re not grinding old coarse particles into your fresh work.
-
Apply wood stain if desired to match existing color or refresh the entire floor. Test stain color on an inconspicuous area first. If only spot repairing a section, stain color rarely matches perfectly due to wood age and sun exposure, so you might need to sand and refinish the entire floor for uniform appearance.
-
Apply three to four coats of polyurethane or your chosen floor finish. Water based polyurethane dries faster (2 to 4 hours between coats) but builds slower. Oil based polyurethane takes 8 to 24 hours between coats but creates a more durable finish with fewer coats. Lightly sand between coats with 220 grit sandpaper to ensure adhesion. Wait 24 to 72 hours after final coat before replacing furniture.
Water stains appear as dark or gray discoloration where tannins in the wood reacted with water and minerals. Light sanding often removes surface staining, but deep staining that penetrates through the finish into the wood requires sanding down to bare wood and applying oxalic acid wood bleach before refinishing. Contamination staining from dirty floodwater might not bleach out. Test a small area first. Minor gaps between boards that appear during drying happen because boards shrink as they lose moisture. Gaps under 1/8 inch typically close back up as the wood reacclimates to normal indoor humidity over the next few months. Gaps wider than 1/8 inch might need wood filler in matching color, applied after complete drying but before final finish coats.
The repair process from final moisture reading to refinishing completion typically takes 3 to 5 days for DIY work. One day for sanding through all grits, one day for staining if needed, and two to three days for finish coats depending on dry time. Let the floor acclimate under finish for at least 48 hours before moving furniture back, and use felt pads under all furniture legs to protect the fresh finish.
Replacing Individual Hardwood Floor Planks
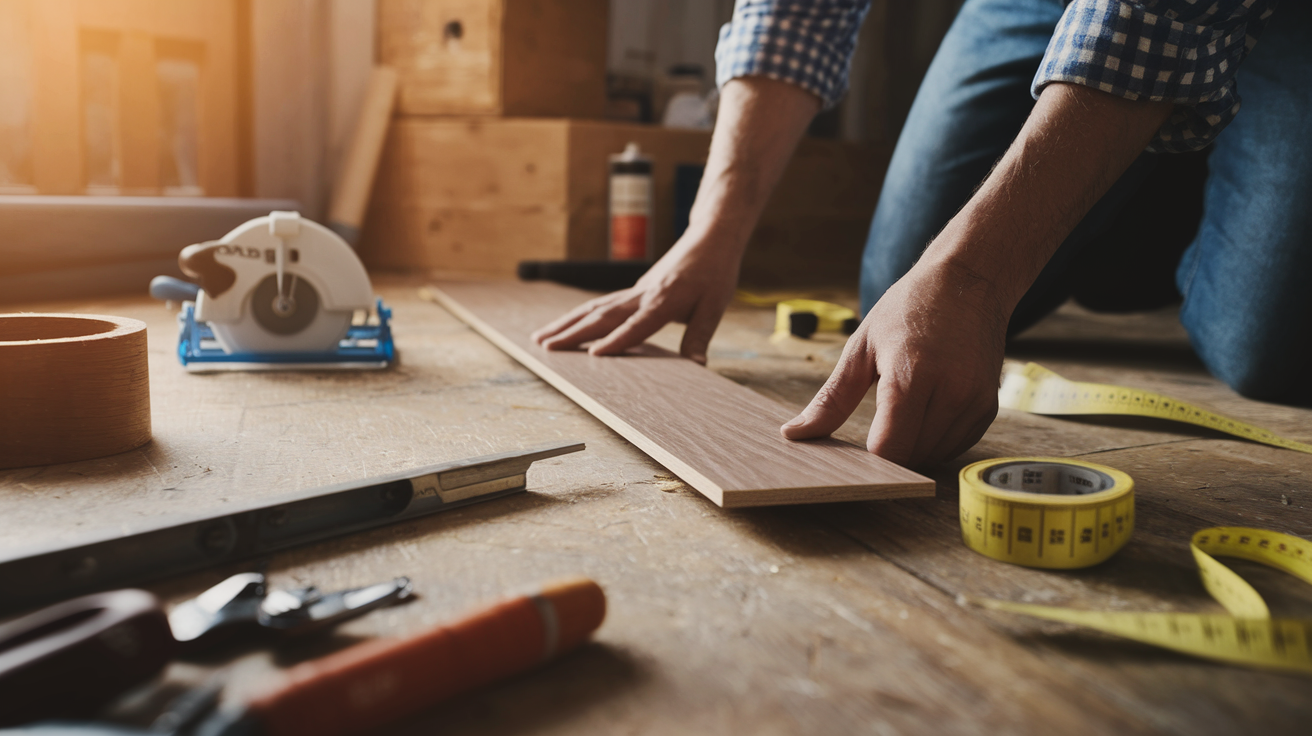
When boards stayed underwater long enough to develop soft spots, pulled fasteners, or severe buckling that won’t flatten after drying, selective replacement salvages the rest of your floor without the cost of full tearout.
Replace boards rather than repair when you find visible rot (wood that’s soft, crumbly, or dark with decay), boards that lift more than 1/2 inch above surrounding boards even after drying, or fasteners that pulled completely through the board and won’t hold when redriven. Severe buckling creates permanent compression damage in wood fibers that won’t reverse even with perfect drying.
-
Identify and mark all damaged boards requiring replacement. Use painter’s tape to mark board ends so you remove full boards, not partial planks that leave weak spots.
-
Remove damaged planks carefully without harming surrounding boards. For tongue and groove floors, use a circular saw set to board thickness (usually 3/4 inch) to cut lengthwise down the center of each damaged board. Pry up the pieces with a flat bar, working from the center cut toward edges. For nail down floors, pull or cut nails before removal. For glue down floors, use a heat gun to soften adhesive, then work a putty knife under the board while heating.
-
Inspect and repair subfloor underneath removed boards. Look for water damage, soft spots, mold growth, or sagging. Replace damaged subfloor sections with new plywood or OSB matching original thickness. Make sure replacement subfloor is dry (moisture content under 12%) before installing new flooring over it.
-
Source matching hardwood species and finish. Take a sample board to flooring suppliers to match species (oak, maple, hickory, etc.), width, and thickness. Check if your existing floor is solid hardwood or engineered. They install differently. Finding exact finish match is nearly impossible for aged floors, so plan to sand and refinish the entire room after board replacement for uniform color.
-
Acclimate replacement boards to room conditions for 48 to 72 hours. Stack boards with spacers between each piece in the room where they’ll be installed. This lets them adjust to your home’s temperature and humidity so they don’t shrink or swell after installation.
-
Install replacement boards using the same method as original installation. For nail down floors, face nail the first course (row) and blind nail through the tongue at 45 degrees for remaining courses, 8 to 10 inches apart. For glue down floors, spread urethane flooring adhesive with a notched trowel and press boards firmly into place. For floating floors, click replacement boards into the locking system. You might need to remove multiple surrounding boards to access the locking mechanism for mid floor replacements.
Matching wood species matters more than you’d think. Red oak and white oak look similar but have different grain patterns and densities. Maple is lighter and harder than oak. Hickory shows dramatic color variation within single boards. Taking a sample to the supplier prevents mismatches. Even exact species matches will show color differences between new and aged wood. Sun exposure darkens most woods over years, and aged finish yellows. These differences disappear when you sand and refinish everything together. Some homeowners intentionally scatter replacement boards throughout the room rather than clustering them, making color variations less obvious until they can refinish.
Installation method affects difficulty significantly. Nail down solid hardwood is most forgiving for DIY replacement. Pull the damaged boards, nail down new ones, done. Glue down installation requires careful adhesive application and immediate cleanup of squeeze out before it hardens. Floating floors with click lock systems often require disassembling surrounding boards to access the damaged area, then reassembling. It’s tedious but doesn’t require specialized tools. If your original installation used construction adhesive between the subfloor and hardwood, replacement becomes much harder because removing damaged boards often damages the subfloor.
Insurance Claims and Documentation for Flooded Hardwood Floors

Contact your insurance company within 24 hours of discovering flood damage, before you start cleanup beyond immediate safety measures like water extraction.
-
Photograph and video all affected areas before water removal. Shoot wide angles showing the entire room and close ups of damaged boards, standing water depth marks on baseboards, and flooring details. Take photos from multiple angles. Document every room with water damage, not just the worst area.
-
Identify and document the water source. Take photos of the burst pipe, failed appliance hose, or roof leak that caused flooding. If the source isn’t obvious, note that in your documentation. It helps investigators determine coverage.
-
Photograph subfloor and underlayment damage. If you can access the area from below (basement or crawlspace), document damage to joists, subfloor underside, and insulation. If you remove flooring during cleanup, photograph what’s underneath.
-
Save receipts for emergency equipment rentals and materials. Keep records of wet vacuum rentals, dehumidifier costs, fans, cleaning supplies, and anything else you purchase for immediate response. Insurance often reimburses emergency measures even if the primary damage isn’t fully covered.
-
Document professional service estimates. Get written estimates from at least two restoration companies and two flooring contractors for repair costs. Detailed estimates with line item breakdowns support your claim better than verbal quotes.
-
Maintain a timeline log of all remediation activities. Write down dates and times when flooding occurred, when you started cleanup, when professionals arrived, when equipment was running, and when repairs began. Include moisture meter readings with dates. This shows you acted promptly to mitigate damage.
-
Photograph completed restoration. Document the finished work with the same thoroughness as initial damage photos. This proves the scope of repairs and validates your expense claims.
Standard homeowners insurance policies typically cover sudden and accidental water damage like burst pipes, appliance hose failures, and roof leaks from storm damage. Most policies pay for professional water extraction, drying services, antimicrobial treatment, and floor refinishing or replacement needed due to covered water damage events. What’s usually not covered: gradual leaks you should have noticed and fixed (like a slow appliance leak over months), flooding from external sources like rivers or heavy rain (that requires separate flood insurance through NFIP or private carriers), and maintenance related failures like old pipes that finally burst. Policy limits vary widely. Check your coverage limits for water damage specifically, and understand your deductible amount since it comes out of your restoration costs first. Some policies cap coverage for certain categories of damage even when the cause is covered.
Work directly with your insurance adjuster and provide estimates from licensed restoration contractors to support your claim. Don’t start major repairs before the adjuster inspects unless the damage is actively worsening. Take emergency steps to stop ongoing damage, but leave evidence visible for inspection. Professional estimates carry more weight than DIY cost projections, so get written quotes even if you plan to do the work yourself.
Preventing Future Hardwood Floor Flood Damage
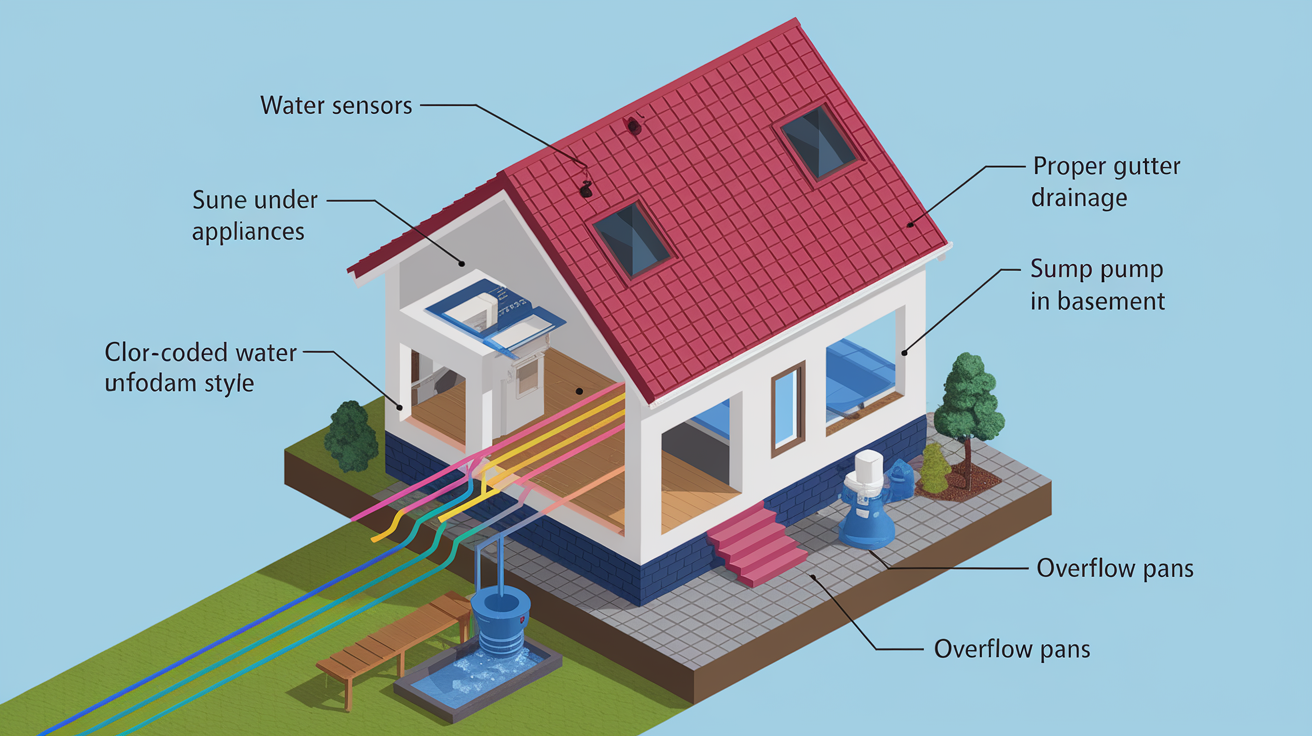
Spending 2 to 3 hours on prevention measures now beats spending weeks on restoration and thousands on repairs after the next flood event.
• Install overflow drain pans under water heaters, washing machines, dishwashers, and refrigerators with ice makers. These shallow plastic trays with drain outlets catch leaks before they spread across floors. Route the drain line to a floor drain or sump pit. Pans cost $15 to $40 at hardware stores and install in 10 minutes per appliance.
• Inspect and replace appliance water supply lines every 5 years. Rubber washing machine hoses fail frequently. Replace them with braided stainless steel lines rated for 1,200 PSI or higher. Check dishwasher hoses for cracks and refrigerator lines for kinks. Shut off water supply valves when you go on vacation to prevent undetected leaks.
• Install water leak detection sensors in vulnerable areas. Place battery powered leak sensors under sinks, near water heaters, behind toilets, and next to washing machines. Models with WiFi connectivity (Flo by Moen, Phyn, Roost) send phone alerts immediately when water is detected. Basic sensors cost $10 to $20 each. Smart models run $50 to $100.
• Maintain proper grading around your foundation so ground slopes away from the house. Aim for 6 inches of drop over the first 10 feet from the foundation. Fill settled areas with compacted soil. Poor grading lets water pool against foundation walls and seep into basements or crawlspaces under hardwood floors.
• Keep gutters and downspouts clear and extend them at least 4 to 6 feet from the foundation. Clogged gutters overflow during heavy rain, dumping water against your foundation. Downspout extensions prevent pooling near the house. Check and clean gutters twice yearly, more often if you have trees nearby.
• Winterize pipes in unheated areas before freezing temperatures arrive. Drain garden hose bibs and shut off interior shutoff valves feeding them. Insulate pipes in crawlspaces, attics, and exterior walls with foam pipe insulation. Let faucets drip during extreme cold to prevent ice formation in pipes. Frozen pipes burst when they thaw, releasing water into walls and floors.
• Maintain indoor relative humidity between 30% and 50% year round. Use dehumidifiers in summer in humid climates, humidifiers in winter in dry climates. Wood stays dimensionally stable in this range, reducing the expansion and contraction cycles that stress finish and create gaps for water entry.
• Apply fresh polyurethane coating every 3 to 5 years. Floor finish protects wood from water penetration. Worn finish lets water soak into wood quickly during spills or leaks. Re coating is cheaper than refinishing and adds years to floor life.
Basement flooding prevention requires additional measures since water intrusion from outside is more likely. Install or maintain a sump pump with a battery backup system so it keeps running during power outages that often accompany storms. Test sump pumps quarterly by pouring a bucket of water into the sump pit to confirm the float switch activates and the pump discharges properly. Install a backup sump pump if your basement has flooded previously. French drains (perimeter drain systems) around the foundation collect groundwater and route it to the sump pit before it can enter the basement. This is a bigger project requiring excavation but solves chronic basement seepage issues.
Keep emergency supplies ready so you can act immediately if flooding happens despite prevention efforts. Store a wet vacuum in an accessible location, not buried in a storage room. Keep a working dehumidifier and two or three box fans available. Have a moisture meter on hand so you can start monitoring drying progress without waiting to rent or buy equipment. Store the phone number for a water damage restoration company you’ve researched in advance. You don’t want to be searching for contractors during an emergency. Build a quick response plan your whole household knows: who shuts off water at the main valve, where the electrical panel is, where emergency equipment is stored, and who calls insurance first.
Final Words
Speed separates salvage from replacement when learning how to salvage hardwood floors after flooding.
Get the water out fast, assess honestly, and dry completely before touching sandpaper or refinish.
If you catch it early and the boards aren’t buckled or rotted, most solid hardwood can come back with patience and the right sequence.
Skip steps or rush the drying, and you’re looking at crowning, mold, or a full tear-out instead of a save.
Trust your moisture meter, not your timeline. When the readings say it’s dry and the floor’s stable, you’ve got a fighting chance at keeping what you have instead of replacing it all.
FAQ
Can hardwood floors be saved after a flood?
Hardwood floors can be saved after a flood if water is removed within 48 hours, contamination level is clean or gray water, cupping hasn’t lifted fasteners, and no rot or mold has developed.
How to fix a hardwood floor that got slightly waterlogged?
A slightly waterlogged hardwood floor is fixed by extracting all standing water with a wet vacuum, drying thoroughly with dehumidifiers and fans for weeks to months, monitoring moisture levels with a meter, then sanding and refinishing once completely dry.
How long does it take for wood floors to warp from water damage?
Wood floors begin warping from water damage within hours as unfinished undersides absorb moisture faster than finished tops, causing cupping. Permanent buckling and severe warping typically develop after 48 hours of water exposure.
What happens if water gets under hardwood floors?
Water getting under hardwood floors causes the unfinished underside to absorb moisture and expand faster than the finished top, creating cupping with raised seams. Prolonged exposure enables bacteria and mold growth in the wood grain and damages the subfloor.
How do you tell if water-damaged hardwood is salvageable?
Water-damaged hardwood is salvageable if cupping hasn’t pulled fasteners loose, flooding duration was under 48 hours, boards aren’t buckling or showing rot, and contamination is clean water rather than sewage or gray water.
What moisture level is safe before sanding water-damaged hardwood?
Moisture content readings throughout the entire floor must match the pre-flood baseline (typically 6-9% for most climates) and remain consistent for several days before sanding to prevent crowning after the wood fully dries.
Should you use bleach to clean flooded hardwood floors?
You should not use bleach to clean flooded hardwood floors because bleach-based products permanently stain floor finishes. Use pH-neutral hardwood floor cleaners for clean water flooding and antimicrobial disinfectants safe for hardwood for contaminated water.
How long should hardwood floors dry after water damage?
Hardwood floors should dry for weeks with professional equipment or 2-12 months using household dehumidifiers and fans, depending on air circulation, temperature, and humidity. Complete dryness verified by moisture meter readings is required before repairs.