

Most installers get this backward and spend years repairing the consequences. The answer depends entirely on whether you’re using a prefab pan or building a traditional mud bed, and installing the wrong sequence creates direct pathways for moisture to migrate into wall cavities. Get it right from the start by matching your installation order to your base type, sealing the critical junction where walls meet the shower deck, and building in the small gaps that prevent wicking and allow materials to move without cracking.
Installation Sequence: Prefab Base vs. Mud Pan Approach

The correct installation order depends entirely on your shower base type. Prefabricated bases and traditional mortar pans require opposite sequences to prevent moisture damage.
| Method | Installation Order | Gap Requirement | Moisture Control |
|---|---|---|---|
| Prefab Base Method | Base first, then backer board | 1/8 inch above flange | Board sits on flange, prevents wicking |
| Mud Pan Method | Backer board first, then mortar pan | 1/2 inch above finished deck | Membrane must bridge junction |
For prefabricated shower pans made from acrylic, fiberglass, or composite materials, you’ll install and level the base first. Connect the drain assembly per manufacturer specs and let any adhesive or mortar bed cure completely. That’s typically 24 to 48 hours. After the base is locked in, cut your backer board to fit the walls, trimming sheets so they rest on the pan’s flange while keeping a 1/8 inch gap above the lip. This gap lets the tub or base flex when it’s full of water without pushing against the wall assembly and causing boards to bow.
Here’s what that looks like step by step. Install and level the shower base using a mortar bed or adjustable feet. Connect the drain assembly, then run a water test to make sure it seals. Cut backer board to fit with that 1/8 inch gap above the flange. Fasten backer to studs and apply waterproofing membrane over the junction.
Traditional mud or mortar pan construction flips this around. You install wall backer board first, running sheets down to the subfloor level instead of stopping short. Create your pre-slope layer, which is a mortar bed sloped toward the drain at 1/4 inch per foot, then install the pan liner, bringing it up the walls and over the curb. Build the final mortar bed over the liner to finished height, set the drain assembly, and keep a 1/2 inch gap between the top of the finished mortar deck and the bottom edge of your backer board. This gap stops moisture from wicking up into the wall cavity through capillary action, which is water traveling through tiny gaps in porous materials.
Install backer board all the way down to subfloor level on all walls. Build the pre-slope layer and install the waterproof pan liner up the walls. Create the final mortar bed over the liner with proper slope to the drain. Apply waterproofing membrane that bridges the wall-to-floor junction.
Why does sequence matter? It comes down to water’s behavior. With prefab pans, installing the base first creates a clear stopping point for the backer board and eliminates direct contact between the board bottom and standing water. The flange acts as a positive barrier. Any water hitting the wall assembly runs down the waterproofing membrane and onto the pan surface rather than into the wall cavity. With mud pans, the backer-first approach allows traditional wet-set construction methods but creates a direct pathway for moisture to climb into walls unless you install a continuous waterproofing membrane that bridges the junction between vertical and horizontal surfaces.
Moisture control determines long-term durability no matter which method you pick. Both approaches work when you do them right, but each has a primary failure point. For prefab installations, failure typically happens when installers skip the waterproofing membrane entirely or mess up the junction where board meets flange. For mud pans, failure happens when the gap between finished deck and backer board bottom doesn’t exist or when the waterproofing membrane doesn’t create a continuous seal across that transition.
Materials Required for Backer Board and Shower Base Installation
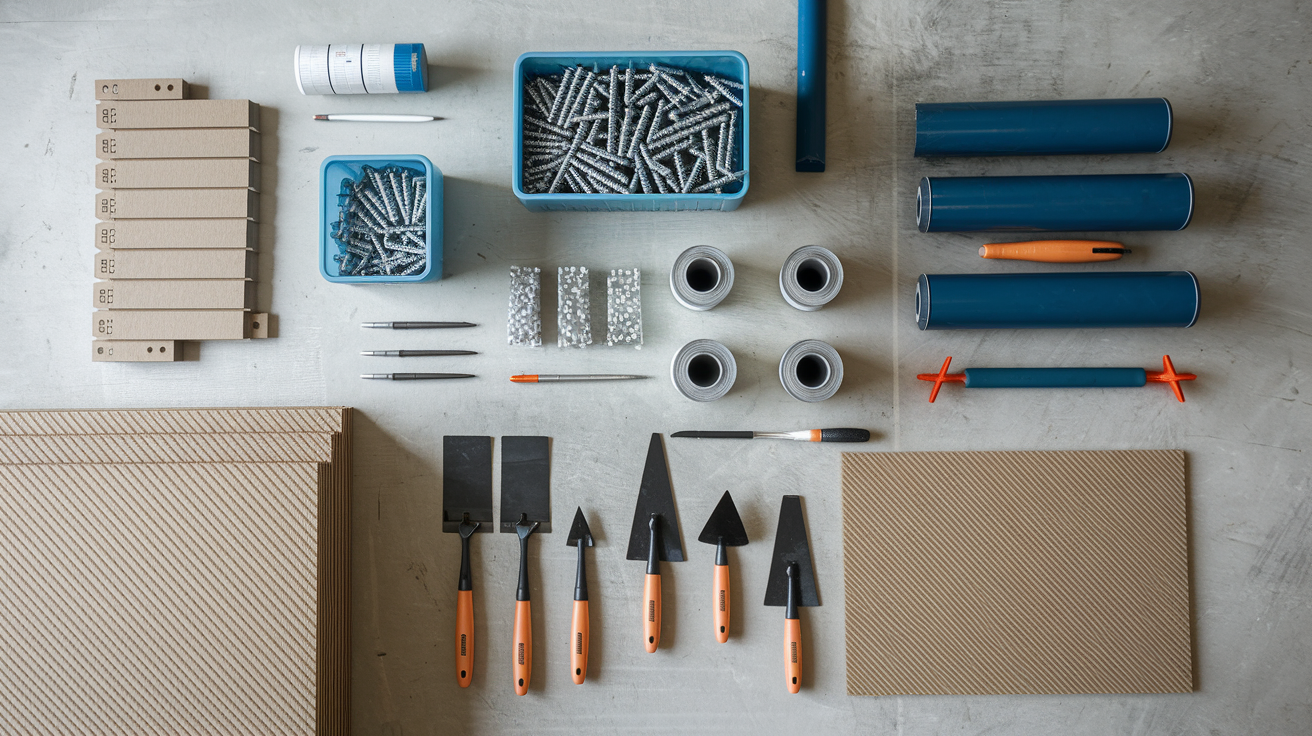
Gathering all materials before you start prevents mid-project delays and makes sure you have the right products for your chosen installation method.
You’ll need backer board sheets. Cement board like Durock runs about 10 dollars per 3×5 foot sheet. Fiber cement like Hardibacker costs similar. Glass mat gypsum is another option. Foam boards like Kerdi Board, Wedi Board, or GoBoard run around 40 dollars per sheet. Get corrosion-resistant fasteners. RockOn screws with high/low thread configuration work for cementitious boards. Foam boards need manufacturer-specific screws with large washers. Grab a countersinking bit for cement board installation to recess screw heads without fracturing the board.
For waterproofing, sheet type like Wedi Subliner Dry or Kerdi DS works better than liquid options. If you’re going with topical systems, three coats of liquid membrane like RedGard does the job. You’ll need alkali-resistant fiberglass mesh tape for all seams and corners. Thinset mortar, modified for foam boards and general cement board use. Unmodified specifically for Schluter Kerdi systems. A utility knife with fresh blades and a straightedge for scoring and snapping boards. Corded drill with appropriate bits for your fastener type.
Don’t forget a 4-foot level for checking plumb and flat wall surfaces. Measuring tape and pencil for layout. 100 percent silicone sealant for movement joints after tiling. If you’re building a mud pan system, you need pan liner material and mortar mix for the mud bed. For the prefab method, you need the actual prefabricated shower base with integrated or separate drain assembly.
Prefabricated and mud pan systems require different material subsets, so verify your approach before buying. Building a mud pan? You’ll need the liner, mortar mix, and pre-slope materials. Installing a prefab base? Skip those items but you’ll need the actual pan unit and any setting materials the manufacturer specifies.
Material costs vary quite a bit by board type. Standard cement board runs around 10 dollars per sheet, making it the budget pick. Fiber cement costs similar to standard cement or up to 1.5 times more depending on brand. Foam backer boards cost about four times more than cement boards but reduce labor time and eliminate some waterproofing steps depending on the system.
Subfloor and Surface Preparation Before Shower Installation
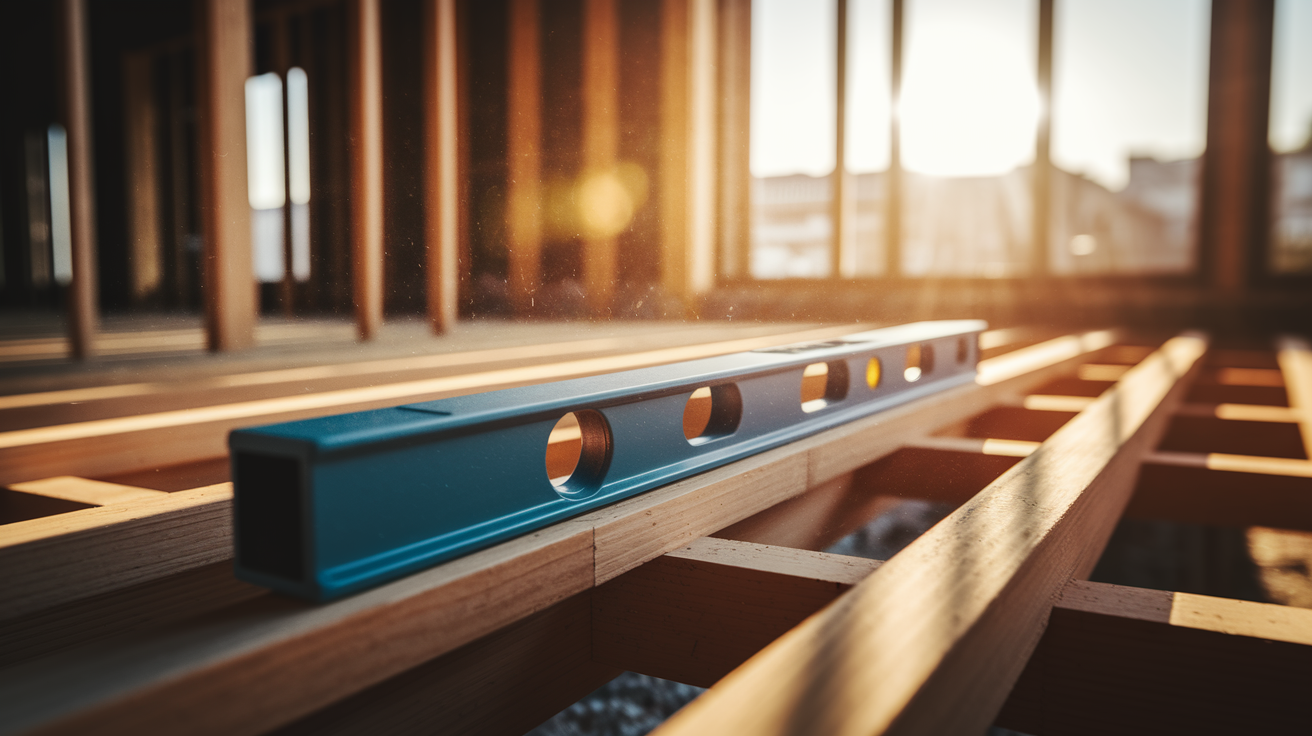
Proper substrate preparation prevents tile lippage, structural flex, and moisture condensation problems that become visible only after the job is complete.
Check that wall stud spacing is 16 inches on center maximum. 12 inches is preferred for foam boards to reduce flex. Check wall plumb using a 4-foot level and straightedge on all surfaces. Strengthen floor joists if needed to support the combined weight of mortar, tile, water, and occupants. Add blocking between studs at all horizontal backer board seams for solid support.
Insulate exterior walls with 1 inch polystyrene foam sealed at seams with polyurethane caulk plus full batt insulation in stud cavities. Verify the subfloor is level, structurally sound, and free from bounce or deflection. Remove all old tile, backer board, damaged framing, or compromised materials completely. Address any existing moisture damage, rot, or mold before installing new materials. Add horizontal blocking at 16-inch vertical intervals for foam board installations to improve rigidity.
Exterior wall preparation requires special attention because temperature differences between heated interior air and cold exterior surfaces cause condensation behind the backer board no matter what membrane type you use. Never install backer board over uninsulated exterior masonry or concrete walls. Add 1 inch of polystyrene foam board sealed at all seams with polyurethane sealant, then frame a stud wall in front of the foam and fill stud cavities with fiberglass or mineral wool batts. This double-layer approach prevents warm, moisture-laden bathroom air from reaching the cold exterior surface where it would condense into water.
Skipping prep steps creates problems that surface during or after tiling. Installing backer board over studs that aren’t plumb causes tile lippage, which is one edge of a tile sitting higher than the adjacent tile. That makes the finished surface look wavy and unprofessional. Insufficient floor support creates flex and movement that cracks grout lines and loosens tiles. Uninsulated exterior walls cause moisture condensation behind the waterproofing membrane, leading to mold growth and rot in the framing that you won’t see until significant damage has occurred.
Proper Backer Board Installation Techniques for Shower Walls
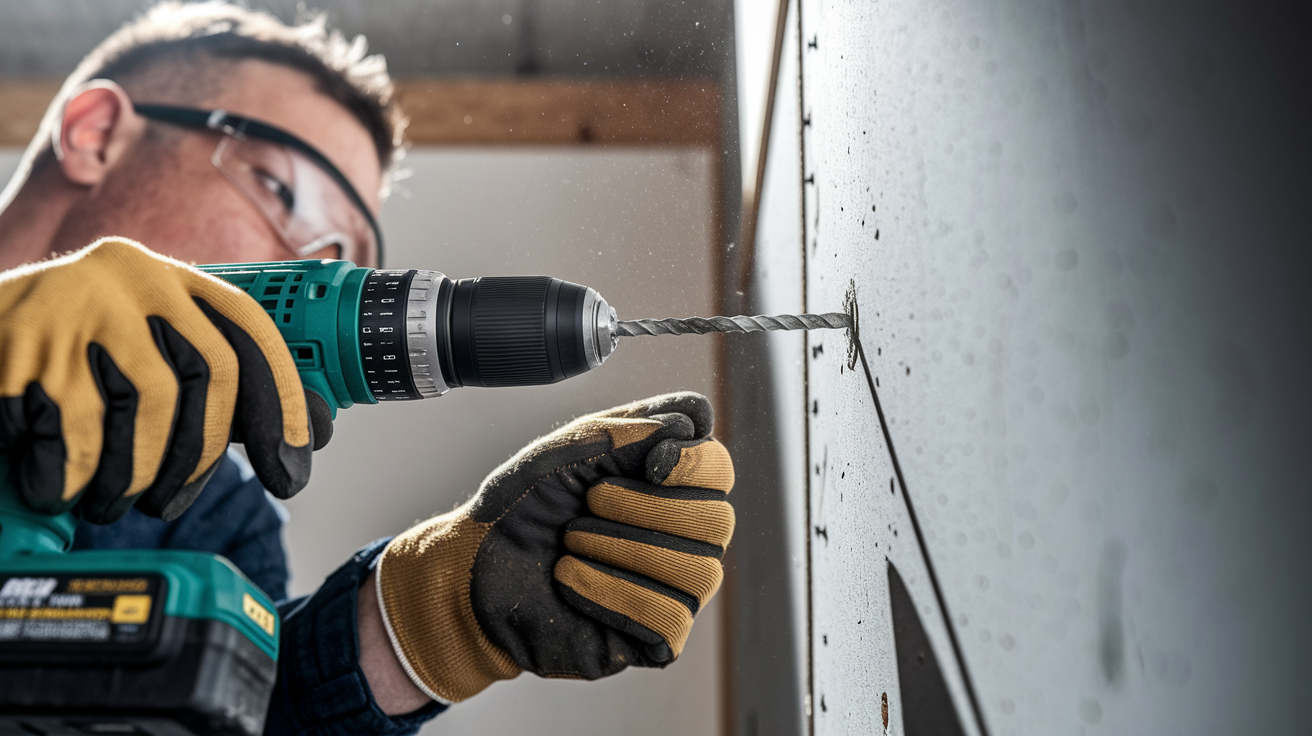
Correct fastening and positioning creates a solid substrate that won’t flex, move, or allow tiles to come loose over time.
Start by verifying stud spacing and adding blocking where needed. Every edge of every backer board sheet must land on solid framing. If your layout leaves an edge floating between studs, add a 2×4 block between studs at that height to provide support.
Fastener selection and spacing directly affect long-term performance. Use corrosion-resistant screws specifically designed for backer board. Don’t use drywall screws, which will rust and fail in wet environments. Drive screws every 8 to 12 inches along each stud, or at maximum 16 inches on center for foam boards. Each screw must penetrate the stud by at least 1 inch to provide adequate holding power. For cement boards, use a countersinking bit to recess screw heads slightly below the surface without fracturing the board edges. Drive screws until they sit flush or slightly recessed, but don’t overtighten or you’ll crack the brittle cement material.
Board positioning requires attention to wall flatness and plumb. Before fastening any sheets, check walls with a long straightedge to identify high spots or dips. High spots create tile lippage later when you can’t get full thinset coverage behind tiles. Low spots require shimming behind the backer board or using medium-bed mortar during tile installation to fill gaps. Every sheet must be plumb both vertically and across the wall face to prevent tile from looking crooked when grouted.
Foam boards require horizontal blocking at 16-inch vertical intervals between studs to prevent the relatively soft material from flexing when you press on walls or push against them during cleaning. Add 2×4 blocks between each pair of studs at mid-height on 8-foot walls, or at thirds on taller installations.
| Board Type | Fastener Spacing | Special Requirements |
|---|---|---|
| Cement board | 8-12 inches on studs | Countersink bit to prevent fracturing |
| Fiber cement | 8-12 inches on studs | Countersink bit, respirator for cutting silica dust |
| Glass mat | 8-12 inches on studs | Stop collar on drill to prevent over-driving |
| Foam board | 12-16 inches maximum | Large washers, horizontal blocking at 16-inch intervals |
After all sheets are fastened, verify wall flatness again with a straightedge. Any bumps or dips greater than 1/8 inch across a 4-foot span will cause tile installation problems and should be addressed before waterproofing.
Waterproofing Methods Between Backer Board and Shower Base

Backer board resists water but doesn’t stop water vapor or liquid water from passing through over time, so additional waterproofing is required for all installations.
Sheet membrane systems like Wedi Subliner Dry at 0.05 perms or Kerdi DS provide superior vapor control compared to liquid options. These plastic or rubberized sheets install over the backer board with thinset mortar, overlapping at seams and wrapping around corners in continuous sheets. The extremely low perm rating means almost zero moisture passes through, which prevents water vapor in bathroom air from reaching the backer board and framing behind it. Foam boards themselves range from 0.36 to 0.5 perms, making them 10 times more permeable than dedicated sheet membranes. That’s why most foam board installations still require a separate waterproofing layer unless you’re using cement-faced foam like Wedi Board in non-exterior applications.
Liquid membrane application using products like RedGard requires more labor but works well when applied correctly. Start by applying fiber tape to all joints between sheets, inside corners, and outside corners. The tape provides reinforcement and prevents the liquid membrane from bridging over gaps where it might crack when movement occurs. Apply the first coat of liquid membrane with a roller or brush, working it into the tape and covering all surfaces. Allow it to dry completely. For RedGard, you’ll see a color change from pink to red. Then apply a second coat. After the second coat dries, inspect for thin spots or missed areas and apply a third coat to make sure you have complete coverage. Three coats minimum provides reliable waterproofing.
The critical detail for both sheet and liquid systems is the overlap at the shower base flange. Waterproofing must extend down the wall and lap onto the shower side of the flange lip by at least 2 inches. This directs water that gets behind tiles down onto the pan surface rather than into the wall cavity behind the flange. For prefab pans, the backer board sits on or just above the flange with a 1/8 inch gap, and waterproofing membrane wraps over the board bottom edge and sticks to the flange face. For mud pans with the backer board stopped 1/2 inch above the finished deck, waterproofing extends down to bridge that gap and ties into the pan liner material.
Topical membrane systems like RedGard or Kerdi used with prefab pans allow the backer board bottom to embed slightly into the transition area because that junction never sees standing water. The pan itself contains all water, and the membrane prevents any splash or spray from penetrating behind the wall assembly.
Expansion Gaps and Joint Treatment for Shower Backer Board
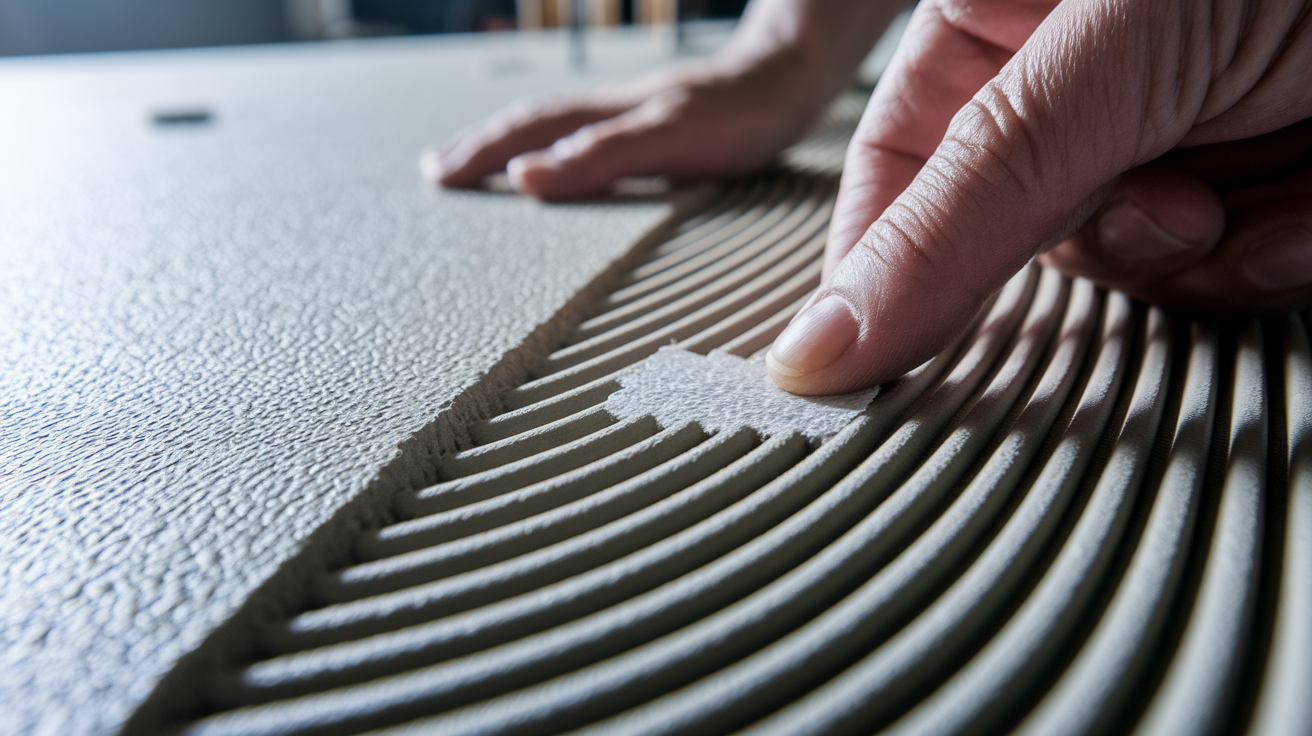
Different materials expand and contract at different rates, so gaps prevent stress cracks and allow materials to move independently.
Backer board, shower pans, and tubs all respond differently to temperature and moisture changes. Cement boards expand very little. Acrylic and fiberglass pans expand quite a bit when filled with hot water. Providing space for this movement prevents boards from bowing, tiles from cracking, and grout from breaking loose.
Gap specifications vary by location but follow consistent principles. Leave 1/16 to 1/8 inch between backer board sheets on flat walls where panels meet edge to edge. This narrow gap provides space for minor expansion while remaining small enough to bridge easily with mesh tape and thinset. At corners where walls meet at 90 degrees, keep 1/16 to 1/8 inch between sheets. Most important is the 1/8 inch gap above the shower base lip where horizontal pan meets vertical wall. This gap allows the pan to flex when someone fills the tub or stands in the shower without pushing the wall assembly upward and causing boards to bow or crack.
The taping process reinforces joints and creates a continuous substrate for tile installation. Use only alkali-resistant fiberglass mesh tape. Never paper tape, which will deteriorate in wet conditions. Mix thinset mortar to a peanut butter consistency. Using a taping knife, fill the gap between sheets with thinset first, pressing mortar into the space so it creates a solid bridge. Immediately press mesh tape into the wet thinset, centering it over the joint. Apply additional thinset over the tape with smooth, even strokes that feather the edges out onto the surrounding board surface. The goal is a flat, continuous surface with no ridges or bumps that would prevent tiles from sitting flat.
Critical joints requiring tape include vertical seams between sheets on the same wall, horizontal seams where sheets stack one above another, inside corners where two walls meet at 90 degrees, and outside corners where walls meet at 90 degrees or where knee walls project into the shower space.
Walls-to-ceiling transitions get different treatment. After tiling is complete, fill this junction with 100 percent silicone caulk instead of thinset or grout. The caulk remains flexible, allowing the ceiling to move independently from walls as the house settles or seasonal humidity changes cause materials to expand and contract. Silicone prevents water from running up walls and behind the ceiling plane while accommodating movement that would crack rigid grout.
Common Installation Mistakes with Shower Backer Board Sequence
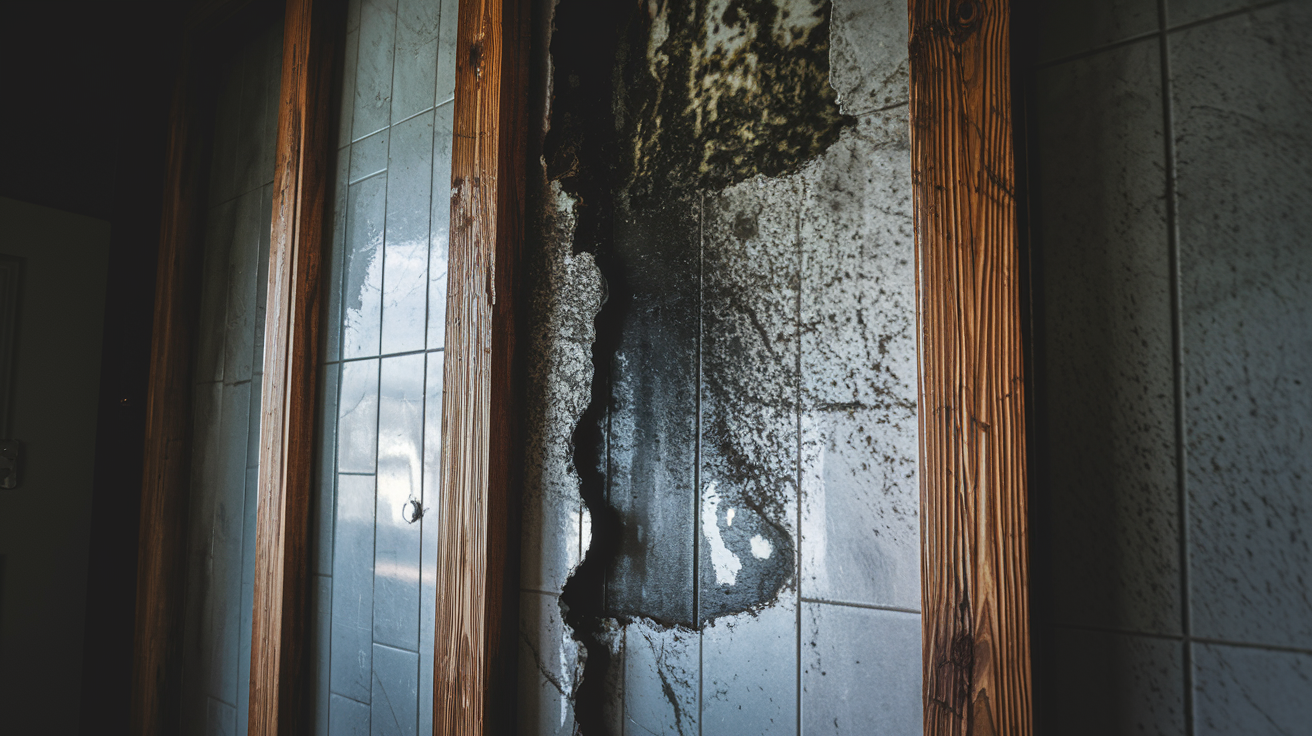
Installation sequence errors cause the majority of shower failures, requiring expensive tear-out and complete rebuilds within a few years.
Installing backer board before the prefab pan creates a moisture wicking pathway where the board bottom edge contacts the pan surface or sits in the setting bed. Water moves up through this contact point through capillary action, saturating the bottom of the backer board and eventually the wooden studs behind it. This leads to rot, mold growth, and structural damage that isn’t visible until tiles start loosening or walls develop soft spots.
Skipping waterproofing membrane entirely relies on the backer board to stop water, which it can’t do. Backer board resists water damage to itself but does not prevent water vapor or liquid water from passing through. Without a membrane, moisture reaches wooden framing where it causes rot and creates conditions for mold growth.
Using drywall screws instead of corrosion-resistant fasteners designed for wet areas allows screws to rust and lose holding power. Drywall screws rust through within 2 to 5 years in wet conditions, allowing backer board to pull away from studs and creating flex that cracks tiles and grout.
Filling the gap above the shower base lip with thinset prevents the pan from flexing when filled with water. The rigid thinset acts like a clamp, forcing the pan to push upward against the wall assembly. This causes backer board to bow outward, creates diagonal cracks in tiles, and eventually breaks the waterproof seal at the wall-to-pan junction.
Pressing backer board tight against the vertical portion of a shower pan liner creates a direct wicking pathway for moisture to climb from the pan area into wall cavities. Even small amounts of water trapped between the liner and backer board can wick up through the porous cement board material, saturating the bottom edges and allowing moisture to reach wooden framing.
Using drywall or moisture-resistant “greenboard” in wet areas repeats the building failures of the 1960s through 1980s when these materials were standard. Both have paper faces that absorb water vapor, delaminate from the gypsum core, and create conditions for mold growth behind tiles. Modern building science has proven these materials inappropriate for wet areas.
Installing backer board over uninsulated exterior walls allows warm, moisture-laden bathroom air to reach cold exterior surfaces where it condenses into liquid water. This condensation occurs behind the waterproofing membrane, saturating insulation and wooden framing. The damage progresses hidden from view until rot causes structural failure or mold growth becomes severe enough to smell.
These mistakes share common consequences. Moisture intrusion behind the waterproof barrier. Structural deterioration of wooden framing. Mold growth in wall cavities. Complete shower failure requiring tear-out to bare studs. Repair costs typically run 5,000 to 15,000 dollars depending on the extent of damage, far exceeding the cost of correct installation the first time.
Following manufacturer instructions exactly for the specific products you’re using prevents most errors. When instructions conflict with general advice, manufacturer specifications take precedence for warranty coverage and local building code compliance.
Tile Installation Over Properly Sequenced Backer Board
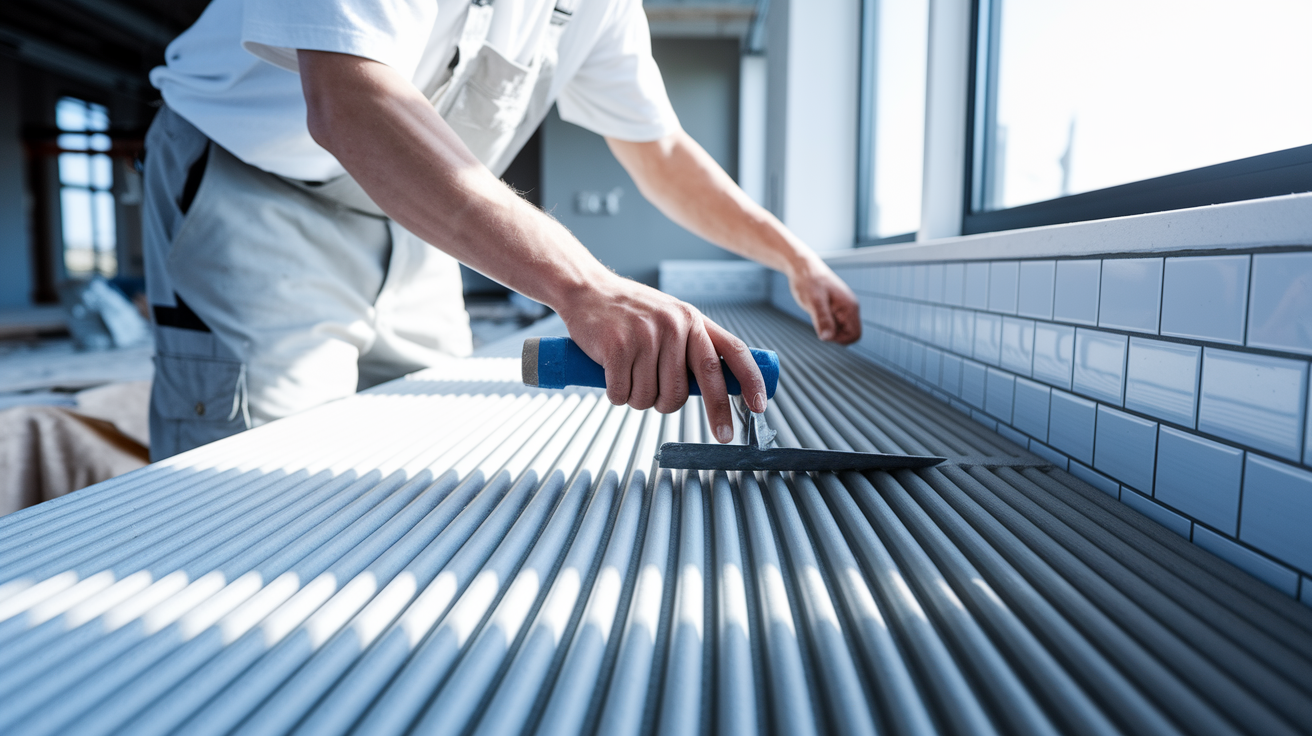
Correctly installed backer board with proper waterproofing creates a stable, moisture-resistant substrate that prevents tile installation problems and makes sure everything lasts.
Thinset selection depends on your backer board type and waterproofing system. Modified thinset containing polymer additives works for most cement board and foam board installations. The polymers improve adhesion and flexibility, reducing the risk of tiles coming loose when minor movement occurs. Unmodified thinset without polymer additives is required specifically for Schluter Kerdi systems including Kerdi Board backer and Kerdi membrane waterproofing, because the membrane traps moisture that would normally evaporate from modified thinset, preventing proper cure. For walls with minor irregularities that weren’t completely flattened during backer board installation, medium-bed mortar provides extra thickness to compensate for dips and high spots when setting larger tiles.
Application technique affects bonding strength and prevents hollow spots behind tiles that lead to cracking. Select a notched trowel appropriate for your tile size. Smaller tiles need smaller notches, larger tiles require deeper notches to get proper coverage. Hold the trowel at 45 degrees and comb thinset onto the wall in straight lines, creating uniform ridges. For tiles larger than 8×8 inches, back-butter each tile by spreading a thin layer of thinset on the back and combing it with the flat side of the trowel to make sure the entire back surface contacts mortar. Press tiles firmly into place with a slight twisting motion, then verify full coverage by occasionally pulling a tile back off to check that thinset has compressed across the entire back with no voids.
Tile installation best practices include verifying backer board is flat and all screws are secure before spreading any thinset. Use appropriate trowel notch size. That’s 1/4 inch square notch for tiles up to 8×8 inches, 3/8 inch square notch for tiles 8×8 to 12×12 inches. Keep consistent grout joint spacing using tile spacers or leveling clips. Check for hollow spots by tapping tiles with knuckles and listening for a solid sound versus hollow ring. Allow thinset to cure for 24 to 48 hours before grouting. Manufacturer specifications vary.
Tiles between 4×4 and 12×12 inches work best on vertical shower walls. Smaller tiles increase grout joint length, which can become a maintenance issue over time. Larger tiles become heavy and require excellent wall flatness to prevent lippage where one edge sits higher than adjacent tiles.
Building Code and Inspection Requirements for Shower Base Installation
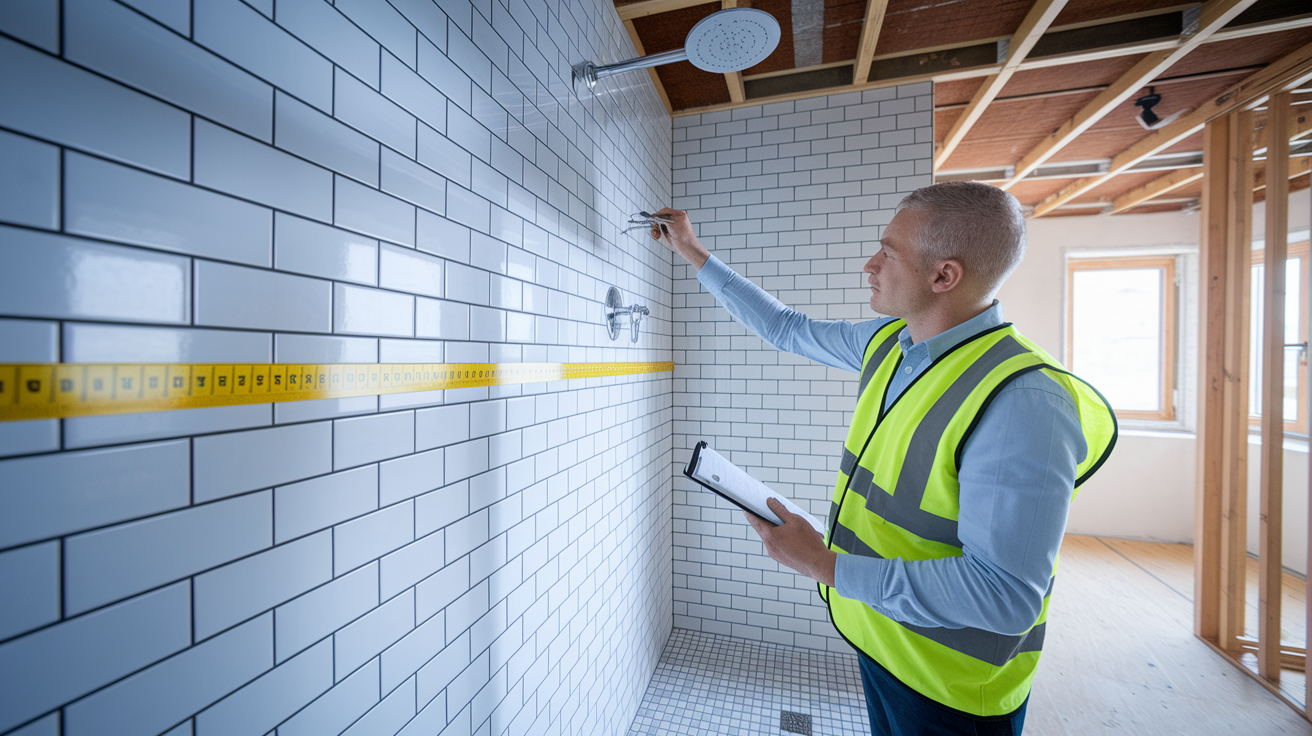
Following local building codes keeps things safe, protects resale value, and maintains warranty coverage on materials and labor.
Most jurisdictions enforce minimum standards for wet area construction, though specific requirements vary by location. Common code requirements include minimum 1/2 inch backer board thickness in shower areas. Thinner materials lack adequate structural rigidity. Maximum stud spacing of 16 inches on center for wall support. Minimum 1 inch fastener penetration into wooden studs or blocking. Waterproofing membrane or coating required behind all tile in wet areas.
Vapor barrier specifications for exterior walls at 0.05 to 0.5 perms maximum to prevent condensation. Proper shower drain connection with P-trap and vent. Minimum shower pan liner extending 6 to 9 inches up walls for mud pan systems. Blocking or solid backing required at all backer board seams and at fixture mounting locations like grab bars or shower valves. Curb height minimum of 2 inches to contain water.
Typical inspection points occur in phases throughout construction. The first inspection happens after framing and blocking are complete but before any backer board installation. Inspectors verify stud spacing, adequate blocking, proper vent pipe installation, and that the subfloor is sound. The second inspection typically occurs after waterproofing membrane is applied but before tile installation begins. This lets inspectors verify the membrane extends properly, overlaps correctly at seams, and ties into drain assemblies or curbs appropriately. Final plumbing inspection verifies drain connections, tests for leaks, and confirms proper water flow and drainage.
Manufacturer warranty requirements often exceed minimum code standards. Many backer board and waterproofing membrane manufacturers require professional installation or strict adherence to published instructions to maintain warranty coverage. Review warranty terms before starting work. If DIY installation voids warranty coverage, factor that risk into your decision about hiring professionals versus doing the work yourself.
Document your installation process with photos at each phase, particularly of waterproofing details, drain connections, and any areas that will be hidden by tile. These photos provide evidence of proper installation if problems occur later and disputes arise about warranty coverage or code compliance. They also serve as reference if you need to make repairs or modifications years later and want to understand what’s behind the finished surfaces.
Timeline and Curing Requirements for Shower Base and Backer Board

Rushing shower installation by skipping cure times leads to failures in adhesion, waterproofing performance, and structural integrity.
Each layer of a shower assembly needs adequate time to cure or set before you add the next layer. Mortar, thinset, and waterproofing membranes cure through chemical reactions that require time to develop full strength. Interrupting these processes produces weak bonds that fail prematurely.
Framing and preparation takes 1 to 2 days. That includes verifying and correcting stud spacing, adding blocking, insulating exterior walls, and making sure the subfloor is level and sound.
Shower base installation and cure times depend on type. Prefabricated acrylic or fiberglass pans need 1 day to install, level, connect the drain, and secure in place. Setting bed mortar requires 24 to 48 hours to cure before you can install backer board above it. Traditional mud pan systems require 3 to 5 days total. 1 day to build the pre-slope, 1 day to install the liner and blocking, 1 day to pour the final mortar deck, and 2 to 3 days for the mortar to cure hard enough to support traffic.
Backer board installation takes 1 to 2 days. That involves cutting sheets to fit, fastening to studs with proper spacing, and adding blocking where needed. Small showers with simple layouts go faster than large walk-in showers with niches, benches, and multiple corners.
Waterproofing application and cure takes 1 day to apply, 24 to 72 hours to cure depending on product. This varies quite a bit by system type. Sheet membranes need 24 hours for the thinset adhesive behind them to cure. Liquid membranes like RedGard require 24 to 48 hours between coats, meaning a three-coat system takes 3 to 4 days total when you include application time.
Tile installation takes 2 to 4 days depending on shower size. That includes time for cutting, fitting, and setting all wall and floor tiles with proper layout to minimize visible cuts.
Grout cure before use takes 24 to 72 hours. This makes sure grout reaches full strength before water exposure. Using the shower too early can wash grout out of joints or prevent proper curing that reduces final strength and stain resistance.
Final silicone application and cure takes 1 day to apply, 24 hours to cure. This seals movement joints at corners, wall-to-ceiling transitions, and wall-to-base junctions. Silicone needs 24 hours minimum to develop a waterproof seal before water exposure.
Total project timeline typically runs 7 to 14 days for DIY installation working evenings and weekends, or 5 to 8 days for professional crews working full days. Complex showers with custom niches, benches, and intricate tile patterns take longer than simple three-wall alcove installations.
Proper installation and maintenance yields a 10 to 30 year lifespan for shower assemblies, making the time investment during construction worthwhile. Rushing the job to save a few days often results in failures within 3 to 5 years that require complete tear-out and rebuild at far greater expense than the original installation.
Shower Curb Installation Relative to Backer Board and Base
The shower curb retains water inside the shower area, creates the transition between wet and dry bathroom floor, and supports door tracks or glass panels if you’re installing an enclosure.
For prefabricated pan systems, the curb is typically integrated into the base unit as a molded lip along the front edge, or supplied as a separate component that attaches to the pan before any wall work begins. These curbs install as part of the base installation phase. Set and level the entire pan assembly including the curb, connect the drain, secure everything in place, and allow setting materials to cure. After the base is stable, install wall backer board down to meet the top edge of the curb, keeping proper gaps and waterproofing at the junction.
Traditional mud pan systems reverse the sequence. After wall backer board is installed extending to the subfloor, frame the curb using 2×4 lumber laid flat to create the threshold. The curb framing sits on top of the subfloor, typically secured with construction adhesive and a few fasteners. Build the curb to finished height. That’s typically 4 to 6 inches above the bathroom floor, 2 inches minimum above the shower floor. Cap the curb framing with cement board pieces cut to fit, or form the curb shape directly in mortar during the pan construction. Install the pan liner so it extends up and over the curb on the shower side, wraps over the top, and extends down the bathroom side. Build the final mortar deck inside the shower sloping to the drain, and tile over the entire assembly including the curb top and faces.
Waterproofing continuity at the curb represents the most common leak point in shower construction. Sheet membranes must extend from the shower floor, up the curb face on the inside, over the top, and down the outside face onto the bathroom floor. Liquid membranes require extra coats at the curb because vertical and horizontal surfaces meet at 90-degree corners where the membrane must bridge the corner without thinning or creating weak spots. Apply fiber tape to all corners where curb faces meet the top and where curb meets floor surfaces, embed it in the first membrane coat, then apply two additional coats with complete coverage.
Tile-ready prefabricated curbs made from extruded polystyrene foam with cement coating simplify installation and reduce leak risk compared to site-built lumber-framed versions. These units install on top of the pan liner in mud pan systems or attach directly to prefab pan flanges, providing a ready-to-tile surface with factory-formed corners and consistent dimensions. They cost more than lumber framing but eliminate multiple construction steps and common error points.
Maintenance Checks After Backer Board and Shower Base Installation
Proper installation requires vigilant ongoing maintenance to hit the 10 to 30 year lifespan potential of modern shower assemblies.
Regular inspection points help you catch small problems before they become major damage. Check grout lines for cracks every 6 months by running your finger along joints to feel for voids or loose material. Inspect caulk joints at inside corners and where tile meets the shower base for gaps, separation, or mildew growth. Look for discoloration on bathroom walls next to the shower or on ceiling surfaces below an upstairs shower.
Test for soft spots by pressing firmly on walls in multiple locations, especially near corners and at the base. Verify the drain flows freely without standing water remaining in the pan after use. Check for standing water in corners or along walls after showering that doesn’t drain toward the center drain. Reseal grout lines annually if using cement-based grout products to maintain water resistance and stain protection. Replace silicone caulk every 2 to 3 years at movement joints before it separates from surfaces or develops mildew.
Warning signs of hidden moisture problems require immediate investigation. Persistent musty smells that don’t go away after cleaning suggest mold growth behind walls or under tile. Mold appearing repeatedly at grout lines even after thorough cleaning indicates moisture passing through from behind. Loose tiles that move when you press on them mean water has reached the thinset layer and weakened the bond. Discoloration spreading from corners across larger wall areas shows water migrating through wall cavities behind the waterproof surface.
Water-resistant products extend maintenance intervals and improve performance. Epoxy grout or products like Mapei Flexcolor CQ provide superior stain resistance and water resistance compared to standard cement grouts. These materials cost more initially but require less frequent resealing and resist mildew growth better than conventional options. Use 100 percent silicone caulk at all movement joints, corners, and transitions rather than acrylic or latex caulk which doesn’t remain flexible or waterproof as long.
Call a professional when you notice signs of structural movement. That’s tiles cracking in patterns, walls moving when you push on them. Persistent leaks you can’t locate. Water damage spreading beyond the immediate shower area into adjacent rooms or floor levels. These situations indicate failures behind the finished surfaces that require investigation and repair before damage extends further. Attempting DIY repairs without understanding the underlying cause often makes problems worse by hiding symptoms while damage continues spreading.
Final Words
The answer to “do you install backer board before shower base” comes down to your pan type.
Prefab bases go in first, then trim backer board to rest on the flange with that critical 1/8 inch gap.
Mud pan systems reverse the order, but you’ll need bulletproof waterproofing at the wall-to-floor junction to prevent wicking.
Get the sequence right, respect those cure times, and don’t skip the membrane work.
Do it once, do it right, and you’re looking at decades of reliable service instead of a callback next year.
FAQ
Should the backer board touch the shower pan?
Backer board should not touch the shower pan directly. For prefab pans, maintain a 1/8 inch gap above the pan flange to prevent board bowing and allow movement when the pan is loaded. For traditional mud pans with liners, leave a 1/2 inch gap above the finished deck to prevent moisture wicking from the pan up into the wall assembly.
What are common mistakes when installing cement board?
Common cement board installation mistakes include using drywall screws instead of corrosion-resistant fasteners, over-tightening screws causing board fractures, skipping supplemental blocking where board edges meet between studs, and failing to countersink screws flush. Installing over non-flat or out-of-plumb walls leads to tile lippage. Skipping waterproofing membranes over cement board causes long-term moisture intrusion.
What are common shower tiling mistakes?
Common shower tiling mistakes include installing backer board before a prefab pan (creates wicking), filling the expansion gap above the shower base with thinset (prevents movement), pressing backer tight against pan liners (moisture pathway), skipping waterproofing entirely, using wrong thinset type (modified vs unmodified), and installing over uninsulated exterior walls causing condensation damage.
Do you install shower pan or drywall first?
You install the shower pan first when using prefabricated bases, then trim backer board to rest on the pan flange maintaining a 1/8 inch gap. Never use drywall in wet shower areas. For traditional mud pan systems with mortar beds, install cement backer board first extending to the subfloor, then build the mortar pan afterward, though this requires careful waterproofing at the wall-to-floor junction.