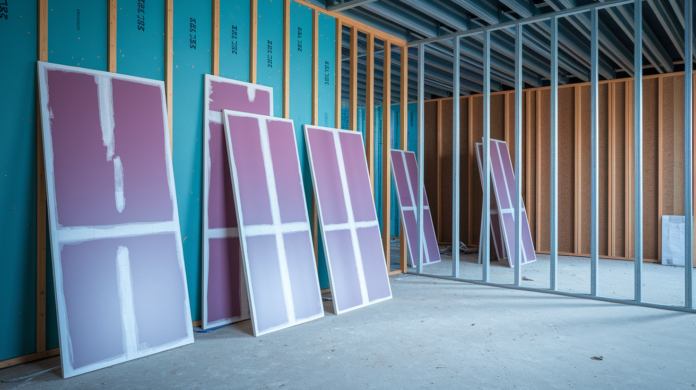

Most contractors think mold resistant drywall is just regular drywall with a fancy color, and that mistake costs them callbacks when bathrooms steam up or basements stay damp. Half inch mold resistant panels swap paper facing for fiberglass mat and treat the gypsum core to resist moisture, which stops mold from taking hold when humidity climbs. This guide walks through what makes these panels different, which brands perform best, how to hang them without compromising the mold resistance, and when regular drywall is actually fine.
Specifications, Dimensions, and Performance Comparison of 1/2 Inch Mold Resistant Drywall

Half inch mold resistant drywall matches regular drywall specs, so you can use the same methods you already know. Every panel runs 4 feet wide and 1/2 inch thick. Lengths come in 8, 9, 10, and 12 feet to suit different wall heights and cut down on waste. A standard 4×8 sheet weighs somewhere between 50 and 60 pounds depending on who made it and what’s in the core. One person can wrangle it into place, but it’s easier with help.
Edge profiles come marked with a suffix on the part number. The code tells you what you’re getting: N means tapered edge for standard finishing, G indicates tapered type X with fire rating, C is square edge type X, and U marks tapered fire rated panels. Part numbers use 12M as the prefix for half inch products. You’ll see codes like 12M12-N for a 12 foot tapered edge panel or 12M08-G for an 8 foot type X option. Fire ratings change by product line. Standard mold resistant panels offer no fire rating. Type X versions give you one hour fire resistance in approved assemblies.
Half inch thickness handles most residential wall jobs where studs sit 16 inches on center. It’s what you want for bathroom walls, basement finishing, and laundry rooms in houses. Building codes usually allow 1/2 inch on walls but might ask for 5/8 inch on ceilings, fire rated assemblies, or commercial projects where you need more rigidity and fire protection. The thicker 5/8 inch panels get identified by part numbers starting with 58M, like 58M08-C or 58M12-G. They weigh about 20 percent more and cost roughly 15 to 25 percent more per sheet.
Use 5/8 inch when ceiling joists run 24 inches on center, when building codes require type X construction in attached garages or between dwelling units, or when you need the extra sound dampening and structural stability that comes with added mass. Check your local building department. Jurisdictions add amendments that might call for specific thicknesses in moisture areas or fire rated locations.
| Specification | Details |
|---|---|
| Thickness | 1/2 inch (12.7 mm) |
| Width | 4 feet (48 inches) |
| Length Options | 8, 9, 10, and 12 feet |
| Weight Range | 50-60 lbs per 4×8 sheet |
| Edge Types | Tapered (-N), Tapered Type X (-G), Square Edge Type X (-C), Tapered Fire-Rated (-U) |
| Fire Rating | Standard (no rating) or Type X (1-hour) |
| Part Number Prefix | 12M series |
| Feature | 1/2 Inch | 5/8 Inch |
|---|---|---|
| Typical Use | Interior walls, 16 inch stud spacing, residential bathrooms and basements | Ceilings, 24 inch joist spacing, commercial, fire rated assemblies |
| Fire Rating | Standard or Type X available | Typically Type X with 1 hour rating |
| Weight | 50-60 lbs per 4×8 sheet | 70-75 lbs per 4×8 sheet |
| Cost Difference | Base pricing for mold resistant | 15-25% more than 1/2 inch |
| Code Requirements | Acceptable for most residential walls | Required for certain fire assemblies and ceiling spans |
How Mold Resistant Drywall Works: Construction and Performance

Mold resistant drywall swaps the paper facing found on regular drywall for a fiberglass mat facing bonded to a specially treated gypsum core. The fiberglass mat removes the cellulose material that mold spores feed on. That’s why traditional paper faced drywall grows mold so easily when it gets damp. The gypsum core gets treated with moisture resistant additives that slow down water absorption and prevent the panel from turning soft and crumbly when humidity climbs. Together, these two things create a panel that resists mold colonization even when bathrooms steam up or basements stay damp for extended periods.
Manufacturers use color coding on the face material so you can tell products apart on the jobsite without checking every part number. The color shows through the fiberglass mat and makes it obvious which panels go where when you’re working fast.
Green board is the older moisture resistant technology that uses a green paper facing over a water resistant gypsum core. It slows down moisture penetration compared to regular drywall, but the paper facing still provides food for mold if conditions stay wet long enough. Green board works fine in areas with moderate moisture exposure like powder rooms with good ventilation or kitchen walls away from sinks. But it’s not truly mold resistant because of that paper layer.
Purple board is the newer paperless option with fiberglass mat facing and antimicrobial additives in both the facing and core. It handles higher humidity levels and resists mold growth better than green board because there’s no cellulose for spores to latch onto. For bathrooms with showers, basement walls below grade, laundry rooms, and any space where moisture hangs around, purple board is the better call. Half inch thickness comes in both green and purple versions, so match the product to the moisture load you expect in that room.
Mold resistant drywall resists mold colonization when moisture levels fluctuate, but it’s not waterproof and won’t survive standing water, active leaks, or flood conditions. If a pipe bursts behind the wall or the shower pan fails and water pools against the panels, you’ll still get damage that requires replacement. The mold resistance buys you time and protection against normal humidity, not catastrophic water events. You still need proper ventilation to move damp air out. You still need to fix leaks and control moisture sources. No drywall product can compensate for bad building practices.
Top Brands, Pricing, and Where to Purchase
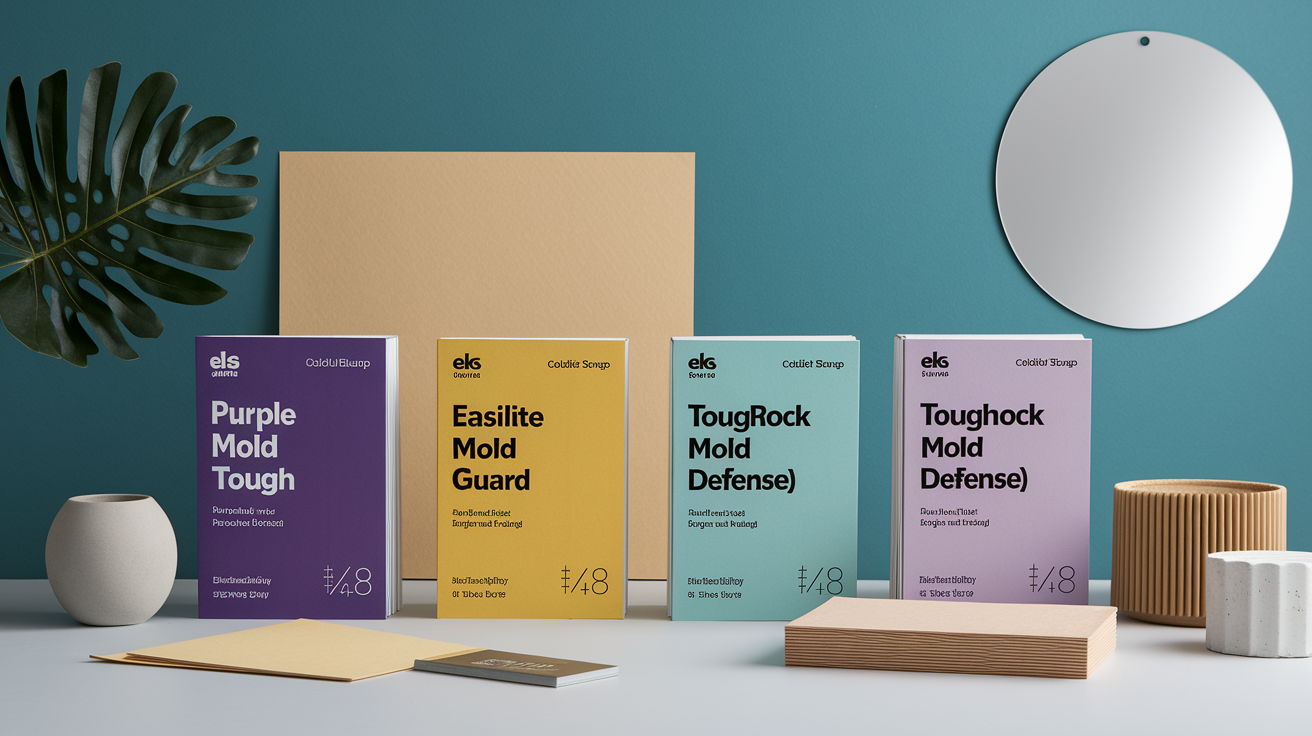
Several major manufacturers produce half inch mold resistant drywall with different product lines aimed at various performance levels and price points. Performance varies by brand, mostly in how much moisture the panels handle before mold resistance starts to degrade and how well the fiberglass facing takes joint compound during finishing.
National Gypsum Purple (M2Tech) is the original purple board with fiberglass mat facing and moisture resistant core. It’s widely available and tested across millions of installations. Known for good compound adhesion and consistent performance.
USG Sheetrock Brand Mold Tough comes in both green paper faced and purple paperless versions. The purple line uses fiberglass mat facing with antimicrobial treatment throughout the core.
CertainTeed EasiLite Mold Guard uses a lightweight formula that reduces panel weight by about 15 percent without sacrificing mold resistance. Easier to handle on ceilings and upper walls.
Georgia-Pacific ToughRock Mold-Guard gives you fiberglass faced panels with a dense core formulation. Slightly harder surface that resists impact damage better in high traffic areas.
Continental Building Products Mold Defense offers East Coast availability with competitive pricing. Uses standard fiberglass mat facing with treated gypsum core.
Half inch mold resistant drywall typically costs 20 to 50 percent more than standard paper faced drywall, depending on brand and whether you’re buying retail or through a contractor account. A 4×8 sheet of standard 1/2 inch drywall runs around 10 to 13 dollars retail, while the same size in mold resistant purple board costs 14 to 20 dollars at big box stores. Contractor pricing through building supply houses drops that to roughly 11 to 16 dollars per sheet when you buy in volume. Type X fire rated versions add another 2 to 4 dollars per sheet compared to standard mold resistant panels.
Panel length affects both the per sheet price and your overall project cost because longer sheets reduce the number of butt joints you need to finish. A 4×12 sheet costs about 30 percent more than a 4×8, but if you’re covering 9 foot walls, the 10 foot or 12 foot panels eliminate horizontal seams and save taping time. Fire rating bumps the cost up because type X panels use additional fire retardant additives in the core.
To calculate how many sheets you need, measure the square footage of wall or ceiling area, divide by 32 for 4×8 sheets or 40 for 4×10 sheets, then add 10 to 15 percent for waste from cuts, damage, and mistakes. A 12×14 bathroom with 8 foot ceilings has about 380 square feet of wall area, so you’d need roughly 12 sheets of 4×8 with waste factored in.
Home Depot and Lowe’s stock a few common sizes in purple board, usually just 4×8 and sometimes 4×12 in half inch thickness, which works if you need a handful of sheets for a small bathroom remodel. Specialty building material suppliers like 84 Lumber, Stock Building Supply, or regional lumberyards carry a wider selection with more length options, different edge types, and fire rated versions. Contractor supply houses like Builders FirstSource or local pro yards offer better pricing but may require you to set up an account. Some won’t sell to homeowners without a contractor license.
Online ordering through suppliers works if you know exactly what part number you need, but freight shipping on drywall gets expensive fast. Local pickup usually makes more sense unless you’re ordering a full pallet.
Time your order to arrive one or two days before you plan to hang it so panels can acclimate but don’t sit around collecting damage. Call ahead to verify stock, especially for lengths over 8 feet, because suppliers don’t always keep 10 and 12 foot panels on hand.
Compare delivery fees against your time and vehicle capacity since drywall doesn’t fit in most cars. A delivery charge of 50 to 75 dollars beats renting a truck twice. Store panels flat and off the ground in a dry space, ideally in the room where they’ll be installed, to prevent warping and moisture absorption before installation.
Check part numbers against your plan to verify thickness, length, and edge type before accepting delivery. Returns on drywall are a hassle. Ask about return policies up front since many suppliers charge a restocking fee or won’t take back panels once they leave the yard.
Look for products that meet ASTM C1396 standards for gypsum board and ASTM D3273 for mold resistance testing, which verifies the panels passed standardized laboratory exposure to mold spores under high humidity. Type X fire rated panels should carry a UL certification or equivalent testing lab approval showing they meet one hour fire resistance requirements in the specific wall or ceiling assembly you’re building. Most manufacturers back mold resistant drywall with a limited warranty covering mold growth on the panel surface for one to five years. The warranty requires proper installation, ventilation, and excludes damage from leaks, flooding, or building envelope failures.
Best Applications for 1/2 Inch Mold Resistant Drywall Installation
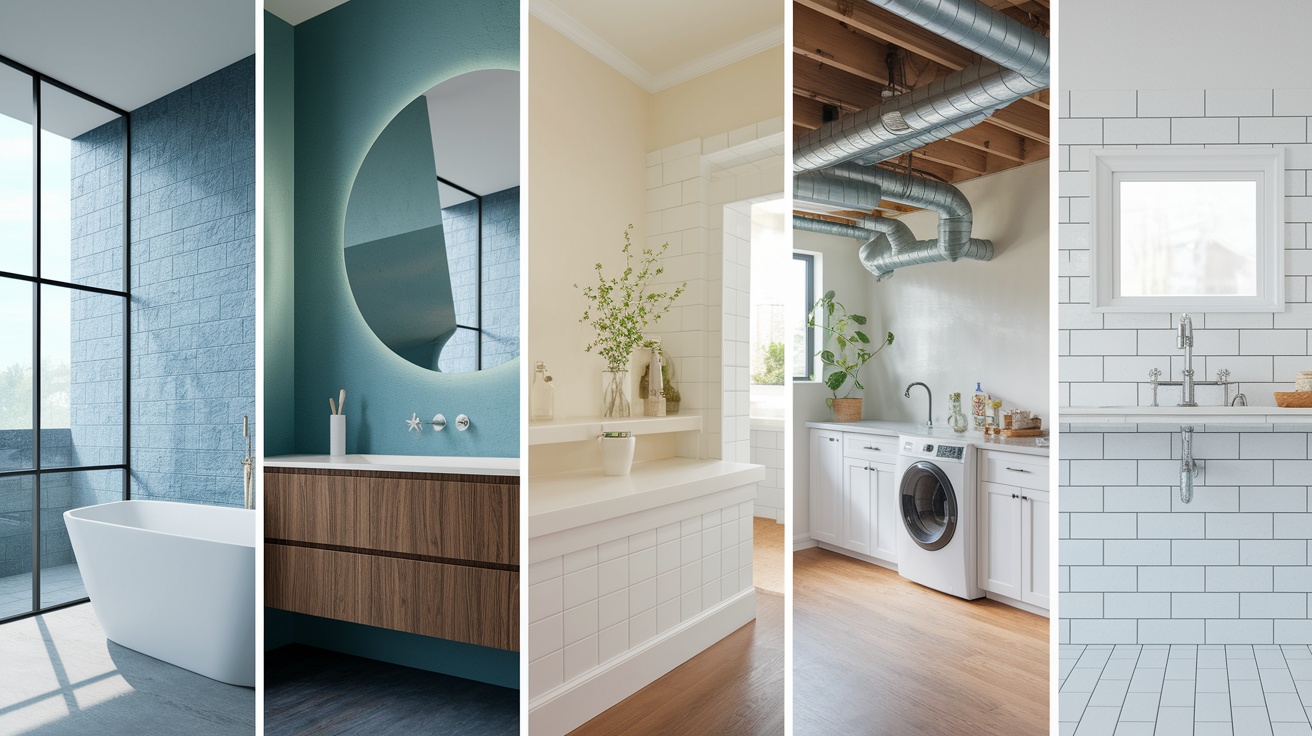
Half inch mold resistant drywall belongs on interior walls in any room where moisture shows up regularly but you’re not dealing with direct water contact or commercial structural requirements. Residential bathrooms with tubs and showers are the most common application since steam and humidity cycle through those spaces every day.
Basement walls, especially below grade sections where concrete foundations wick groundwater and summer humidity condenses on cool surfaces, benefit from the mold resistance. Standard drywall would grow mold within a year or two in most climates. Laundry rooms see regular moisture from dryer vents, washing machine humidity, and occasional appliance leaks, making them another smart location for half inch mold resistant panels.
Full bathrooms with tub or shower enclosures work well on all walls except the wet area inside the shower itself. Basement walls finished over foundation or exterior grade insulation need it, particularly below grade sections. Laundry rooms and mudrooms where wet clothes, boots, and exterior door traffic increase moisture are good candidates. Powder rooms and half baths where ventilation might be limited benefit too. Kitchen walls adjacent to sinks and dishwashers, but not in the backsplash zone behind ranges or sinks, are worth considering. Closets in bathrooms or basements where air circulation is poor and humidity migrates from adjacent rooms should get mold resistant panels.
Half inch panels don’t work for ceilings when joists run wider than 16 inches on center because the span is too long and the panels will sag over time. Most ceiling framing uses 24 inch spacing, which requires 5/8 inch drywall for proper support and to meet deflection limits in building codes.
Fire rated assemblies between an attached garage and living space, between dwelling units in duplexes or condos, or in mechanical rooms typically require 5/8 inch type X panels to achieve the one hour rating. Check your local code before assuming half inch will pass inspection. Inside shower surrounds and tub enclosures, use cement board or another tile backer rated for direct water exposure. Even mold resistant drywall isn’t designed to handle water running down the face every day.
Complete Installation Guide: Preparation Through Finishing
Installing mold resistant drywall follows the same basic sequence as regular drywall with a few differences in how the fiberglass mat facing behaves during fastening and finishing. Proper technique preserves the mold resistant properties and prevents callbacks for failed seams or surface defects.
Preparation and Acclimation
Store panels flat on a level surface at least 4 inches off the ground, stacking them face to face and back to back to prevent warping. Let them sit in the room where you’ll install them for 24 to 48 hours so the core can adjust to the temperature and humidity. This reduces the chance of fastener pops and seam cracking later.
The room should be at least 50 degrees and ideally closer to the temperature and humidity level the space will maintain after you’re done. Run the HVAC if it’s installed or use temporary heat in cold weather.
Check the framing moisture content with a pin type or pinless moisture meter before hanging anything. Wood studs should be below 19 percent moisture content. If you’re framing over concrete or CMU in a basement, the masonry should be under 12 percent. Moisture trapped behind drywall defeats the whole point of using mold resistant panels. Verify stud spacing with a tape measure because inconsistent spacing causes fastener placement problems and weak spots where panels don’t land on solid backing.
Fastening and Hanging Techniques
Mark stud locations on the floor and ceiling so you know where to drive screws without hunting for framing after the panel is up. Use 1 1/4 inch coarse thread screws for wood studs or 1 1/4 inch fine thread screws for metal studs. Set your screw gun clutch so the screw head dimples the surface just enough to sink below flush without breaking through the fiberglass mat. The mat is tougher than paper so it doesn’t tear as easily, but overdrive the screws and you’ll lose holding power.
Drive screws 8 inches apart on ceilings and 12 inches apart on walls, starting from the center of the panel and working outward to avoid trapping humps. Keep fasteners at least 3/8 inch from panel edges and 1 inch from cut ends. When cutting panels, score the face with a utility knife, snap the core, then cut the back facing. The fiberglass mat takes more pressure to score than paper facing does, so make two or three passes with the knife if needed to get a clean break.
Stand panels vertically on walls to minimize horizontal butt joints, which are harder to finish smooth than tapered edge joints. If you can’t avoid butts, stagger them so they don’t line up across the room and create a visible ridge. Hang ceiling panels perpendicular to joists for the strongest span. Use a helper or a drywall lift for ceilings because trying to muscle a 50 pound panel overhead alone is how you end up with crooked seams and sore shoulders.
Joint Compound Application and Taping
Use setting type joint compound (like Durabond or EasySand) or an all purpose ready mix compound rated for use with fiberglass faced panels. Some older formulas don’t bond as well to the smooth fiberglass surface, so check the label.
The first coat embeds the tape and fills the screw dimples. Center paper tape or fiberglass mesh tape over the seam, press it into a thin bed of compound, and squeegee out excess with a 6 inch knife to leave just enough compound to hold the tape flat.
Let the embedding coat dry completely, which takes 24 hours for ready mix or whatever the bag says for setting compound. Second coat goes on with an 8 or 10 inch knife, feathering the edges 6 to 8 inches past the tape on each side. Third coat uses a 12 inch knife and feathers another 2 to 4 inches beyond the second coat to blend the joint into the surrounding surface. Butt joints need extra width, sometimes three coats with a 12 inch knife to hide the hump.
Inside corners use creased paper tape embedded in compound on both sides of the corner. Outside corners get metal or vinyl corner bead fastened every 8 inches with screws or crimps, then covered with compound the same as joints. Each coat needs to dry fully before the next one or you’ll pull up soft compound and create gouges.
Sanding and Surface Preparation
Sand with 120 grit paper on a pole sander or hand sander, using light pressure to knock down ridges and blend edges without digging into the fiberglass facing. The facing doesn’t sand as easily as paper, so if you gouge it, you create a depression that shows through paint. Wear a respirator because gypsum dust is fine and hangs in the air for hours.
After sanding, wipe down the surface with a slightly damp sponge or cloth to remove dust. Let it dry, then check for imperfections with a work light held at a low angle to the wall, which highlights any ridges or dimples you missed. Fill defects with a skim coat of compound, let it dry, sand smooth, and dust again.
The fiberglass mat has a slightly different texture than paper. If you’re finishing only part of a room with mold resistant and the rest with standard drywall, the texture difference might show through flat paint. It’s not a big problem with eggshell or satin finishes, but something to think about.
Priming and Painting
Prime the finished surface with a PVA drywall primer or a stain blocking primer if you’re worried about stains bleeding through. In high moisture areas like bathrooms, use a primer that’s mold and mildew resistant to add another layer of protection. Let the primer dry according to the label, usually two to four hours.
Paint with a moisture resistant or bathroom grade paint in satin, semi gloss, or gloss sheen. Flat paint holds moisture and dirt. Two coats usually provide full coverage and durability. If you want texture, apply an orange peel or knockdown texture over the primed surface before the final paint coat, but make sure the texture compound is compatible with high moisture areas.
Skip the temptation to use cheap flat paint in a bathroom or basement just because the sheen looks nicer. You’ll be repainting in two years when mold starts growing on the paint surface instead of the drywall. The drywall did its job, but the paint failed.
Common installation mistakes that compromise mold resistance include overdriving fasteners so screws punch through the facing and create moisture entry points, skipping acclimation so panels warp after installation and crack at seams, applying compound too thick so it takes a week to dry and traps moisture, and forgetting to seal seams at corners and penetrations where air leaks let humid air migrate into the wall cavity.
If moisture gets behind the panels through gaps around pipes, electrical boxes, or the top and bottom plates, the mold resistance on the face doesn’t help. Proper installation means airtight seams and controlled ventilation to remove moisture before it builds up.
For someone comfortable with basic carpentry and willing to work carefully, hanging mold resistant drywall is a reasonable DIY project. But the finishing work takes practice to get smooth results. Hiring out the taping and finishing while doing the demolition, framing, and hanging yourself is a solid middle path that saves money and avoids bad looking walls.
Building Code Requirements and Compliance for Mold Resistant Drywall
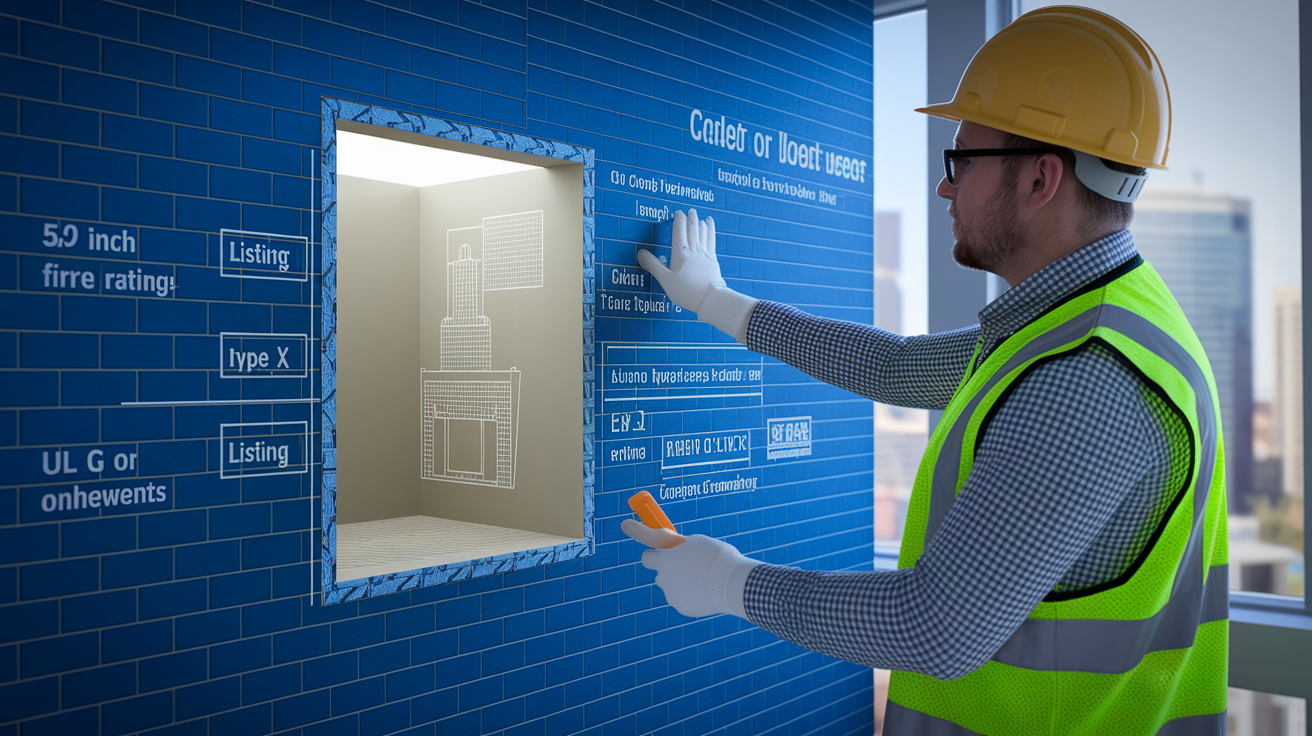
Building codes in many jurisdictions now require mold resistant drywall in bathrooms, particularly around tubs and showers where moisture exposure is routine. The International Residential Code doesn’t mandate it nationwide, but states and cities add amendments based on regional climate and moisture problems. What’s required in Florida or the Pacific Northwest might be optional in Arizona.
Check with your local building department before you order materials. Inspectors will flag standard drywall in a bathroom if the code requires mold resistant, and you’ll be tearing it out.
Fire rated assemblies in attached garages, between dwelling units, and sometimes in mechanical rooms or furnace closets require type X drywall, which means 5/8 inch in most cases to achieve the one hour rating. Half inch type X panels exist and meet the fire resistance standard in some tested assemblies, but verify with your building official that the specific product and framing assembly you’re using has a UL listing or equivalent approval.
Fire ratings come from tested assemblies, not just the drywall alone. The stud spacing, insulation, and fastener pattern all matter. Don’t assume you can substitute 1/2 inch for 5/8 inch in a fire rated wall without checking the documentation.
Ventilation codes work alongside mold resistant drywall to control moisture at the source instead of just resisting the consequences. Most codes require bathrooms to have either a window that opens or a mechanical exhaust fan rated to move at least 50 cubic feet per minute, running either on a switch or continuously. Basements often need ventilation or dehumidification to keep humidity below 60 percent, especially below grade where concrete walls conduct moisture from the soil. Installing mold resistant drywall without adequate ventilation just slows down the mold problem instead of preventing it.
Maintenance and Inspection of Installed Mold Resistant Drywall
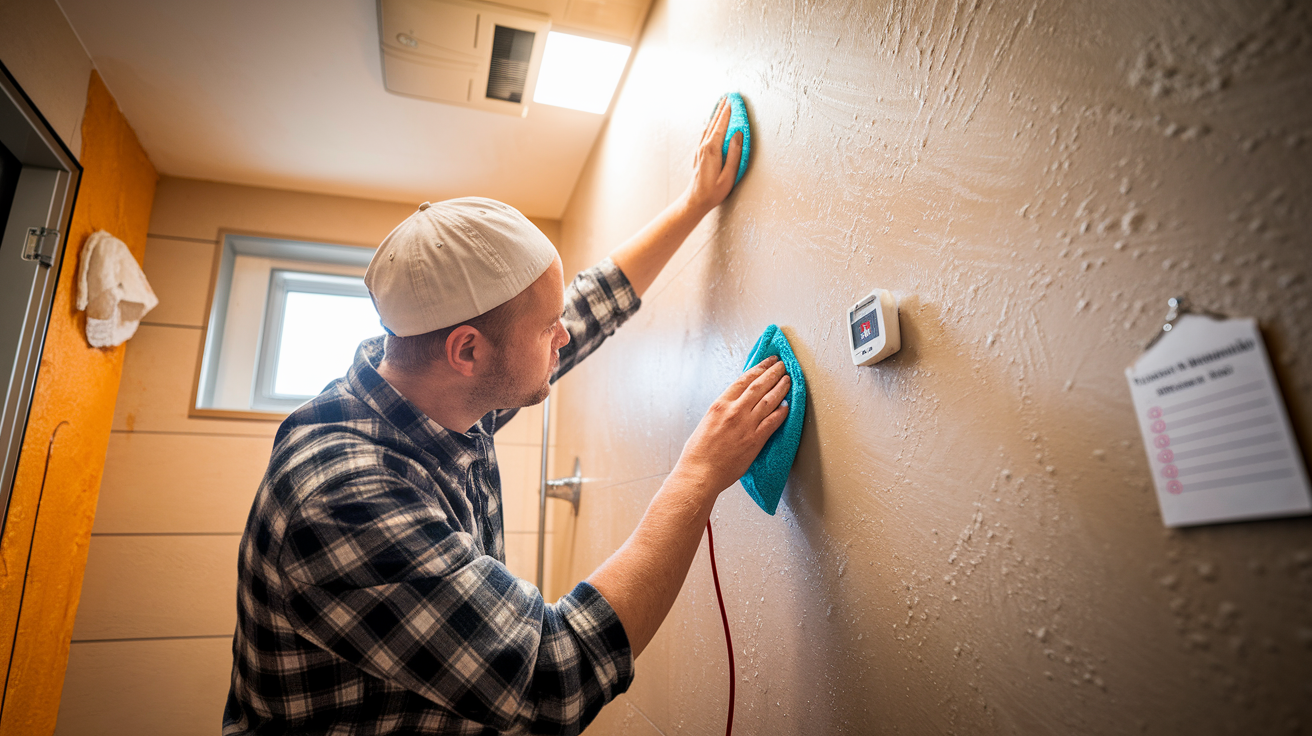
Clean mold resistant drywall with a damp cloth and mild detergent, avoiding abrasive cleaners or scrub brushes that can damage the fiberglass facing or the paint. For bathroom walls that accumulate soap scum or hairspray residue, use a bathroom cleaner that doesn’t contain bleach in high concentrations, since bleach can degrade the finish coat over time.
Wipe down surfaces after showers if moisture tends to condense on walls. Run the exhaust fan during and for at least 20 minutes after showers to move humid air out before it soaks into anything. The drywall resists mold, but it still benefits from lower ambient moisture levels.
Inspect walls and ceilings every three months in high moisture areas like bathrooms and basements, looking for water stains, soft spots, cracks at seams, or any visible mold growth on the surface. Water stains usually mean a leak behind the wall or above the ceiling. Trace the stain back to the source and fix it before the drywall gets saturated.
Soft spots indicate the gypsum core has absorbed water and lost strength, which means the panel will crumble and needs replacement. Visible mold on the paint surface suggests the moisture level in the room is too high for the ventilation system to handle, or there’s a hidden moisture source like a plumbing leak or missing vapor barrier.
Mold resistant drywall eventually fails if it gets hit with repeated water exposure from chronic leaks, basement flooding, or failed waterproofing. Once the core stays wet for more than a few days, even the treated gypsum starts to break down and the mold resistance can’t stop fungal growth in a saturated environment.
If you have a flood, pull baseboards and drill inspection holes low on the wall to check if water wicked up into the drywall. Wet drywall below the flood line usually needs to come out and get replaced, even if it’s mold resistant. The cost of trying to dry it in place and hoping it survives isn’t worth the callback when mold shows up six months later.
Repair is an option if the damage is isolated to a small area like a single panel around a leaky valve. But if moisture has spread across multiple studs or up more than a couple feet, replacement is the reliable fix.
Final Words
1/2 mold resistant drywall handles most residential moisture challenges when you match the thickness to your framing and apply it in the right locations.
The fiberglass mat facing and treated core work together to resist mold, but they’re not a substitute for fixing leaks or improving ventilation.
Choose your edge type and length based on your wall height and whether you need fire rating. Install it like standard drywall, but pay attention to the differences in how the surface takes joint compound.
If you prep the studs, seal the seams right, and keep airflow moving through the space, you’re building a more durable assembly that won’t need a callback for mold issues down the road.
FAQ
Is it worth it to get mold-resistant drywall?
Mold-resistant drywall is worth the investment in moisture-prone areas like bathrooms, basements, and laundry rooms where humidity regularly exceeds normal levels. The 20-50% price premium pays off by preventing costly mold remediation and repeat drywall replacement jobs down the road.
Do you need mold-resistant drywall in a half bathroom?
You need mold-resistant drywall in a half bathroom if the room lacks proper ventilation or experiences regular humidity buildup from showers and baths. Even powder rooms benefit from mold-resistant panels when they’re located in basements or areas with poor air circulation.
What type of drywall is mold-resistant?
Mold-resistant drywall types include purple board with paperless fiberglass mat facing and treated gypsum core, and green board with moisture-resistant core but standard paper facing. Purple board offers superior mold resistance because it eliminates the cellulose food source mold spores need to grow.
How thick is mold-resistant drywall?
Mold-resistant drywall comes in 1/2 inch and 5/8 inch thickness options, with half-inch being standard for residential walls with 16-inch stud spacing. The 5/8 inch thickness is required for fire-rated assemblies, commercial applications, and ceilings with wider joist spacing per building codes.
Where should you use 1/2 inch mold-resistant drywall?
You should use 1/2 inch mold-resistant drywall on interior walls in bathrooms, finished basements, laundry rooms, mudrooms, kitchens, and any residential space with elevated humidity levels. Half-inch panels work on walls with standard 16-inch stud spacing but may not meet ceiling span requirements.
Can you install mold-resistant drywall yourself?
You can install mold-resistant drywall yourself if you have basic drywall hanging skills, though the fiberglass mat facing requires adjusted finishing techniques compared to paper-faced panels. Proper sealing and moisture management are critical in wet areas, so consider hiring a professional for taping and finishing if uncertain.
Does mold-resistant drywall need special primer?
Mold-resistant drywall needs moisture-blocking primer designed for high-humidity areas before painting to maintain the panel’s moisture resistance properties. Standard drywall primer won’t provide adequate protection in bathrooms and basements where humidity levels regularly spike above normal.
How long does mold-resistant drywall last?
Mold-resistant drywall lasts 20-30 years when properly installed with adequate ventilation and no standing water exposure, similar to standard drywall lifespan. The material resists mold growth from humidity but will fail if subjected to repeated water leaks, flooding, or moisture sources left unaddressed.
What’s the difference between purple board and green board?
Purple board features paperless fiberglass mat facing with antimicrobial-treated core for superior mold and moisture resistance, while green board has moisture-resistant core but retains standard paper facing that mold can still colonize. Purple board is the better choice for high-humidity bathrooms and basements.
Do building codes require mold-resistant drywall?
Building codes in many jurisdictions now require mold-resistant drywall in bathrooms and other wet areas, though requirements vary by location and local amendments to international building codes. Always check with your local building department before starting bathroom or basement finishing projects.