
Most window sill repairs fail because people treat the symptom instead of removing the real problem hidden underneath. You can fill a soft spot with wood putty all day long, but if rotted wood stays trapped beneath the patch, the decay keeps spreading and the repair crumbles within months. Wood rot isn’t a cosmetic issue you cover up. It’s a structural breakdown that requires complete excavation of compromised material, treatment of remaining fibers, and rebuilding with waterproof epoxy systems that actually bond to damp surfaces. This guide walks through testing for hidden damage, removing every bit of soft wood, and applying marine-grade consolidants and fillers that stop rot permanently instead of buying you six more months.
Testing Your Window Sill for Rot Damage

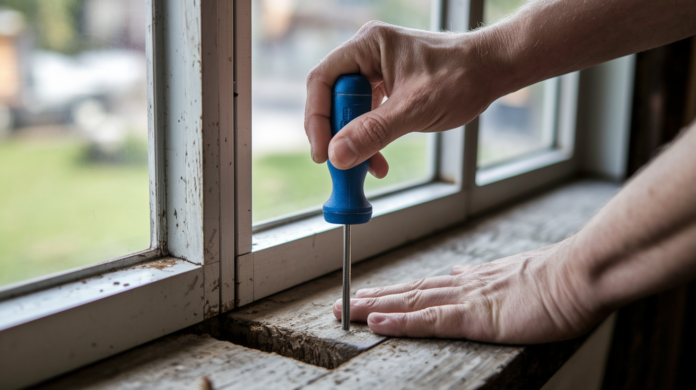
Grab a flat head screwdriver or awl and press it firmly into any area of the sill that looks suspicious. Healthy wood resists penetration and feels solid. The tool might leave a small dent but won’t sink in. Rotted wood feels soft, spongy, and lets the tool push in easily, sometimes crumbling around the entry point. Test multiple spots across the sill surface, along the edges, and in corners where water tends to collect.
If the screwdriver sinks in more than 1/8 inch without much resistance, you’ve found rot that needs attention. Check several locations to map how far the damage extends. Rot rarely stays confined to one small area. The sill might look fine on top but be completely compromised underneath, especially near the window frame junction where water gets trapped.
Contact a window repair professional before proceeding if the rot extends into the vertical or horizontal window frame members surrounding the sill, if more than half the sill’s thickness is soft, or if you’re uncertain about what you’re finding. At that point, the damage has moved beyond a simple sill repair and into structural territory that affects how the window functions.
What Causes Wood Rot in Window Sills
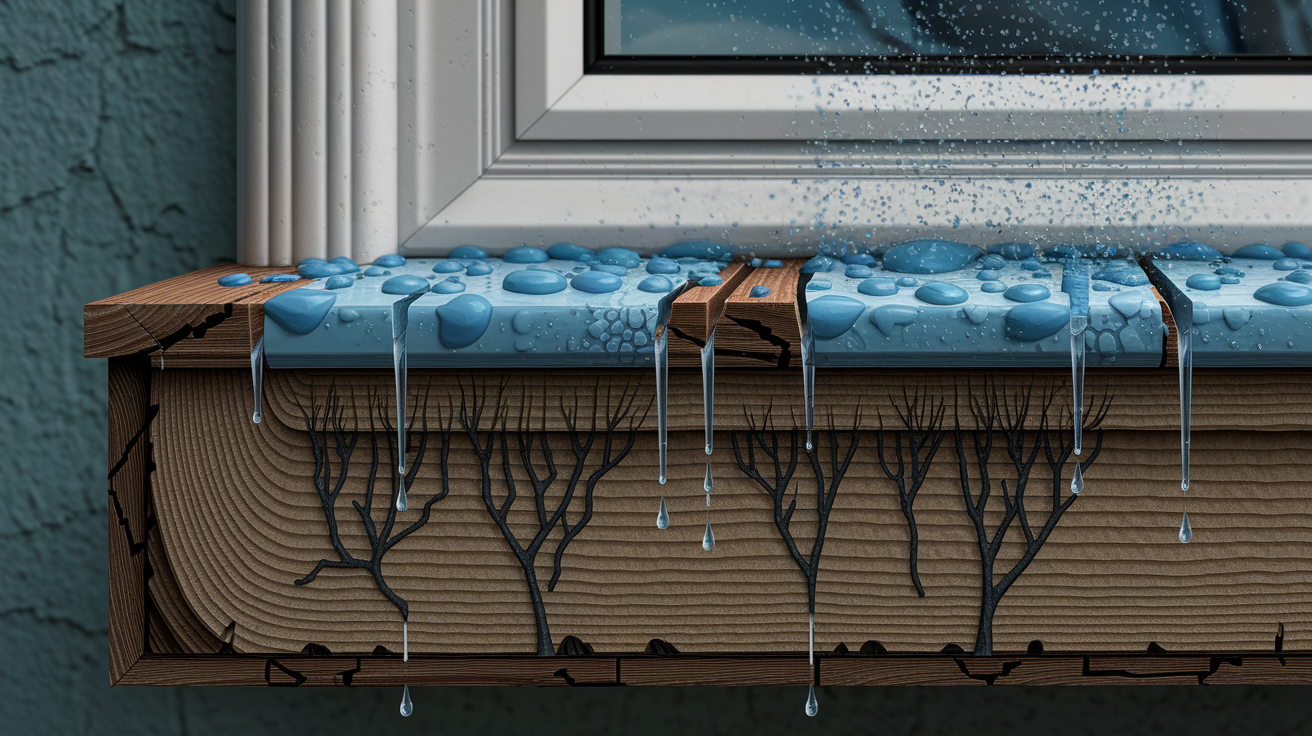
Most window sill rot starts with chronic water exposure through failed caulk joints, missing drip caps, cracked paint, or inadequate pitch angle that prevents proper drainage. Water enters through these openings and sits against the wood grain, unable to dry out between rain events or morning condensation cycles.
Once moisture penetrates past the paint or sealant, it becomes trapped between wood fibers where air can’t reach. This creates ideal conditions for wood destroying fungi that feed on the cellulose in the wood cells, breaking down the structure from the inside while the surface still looks mostly intact.
Watch for these visual indicators that moisture has infiltrated and early rot is developing:
- Dark streaks or discoloration that follow wood grain patterns
- Gray patches that look different from the surrounding finish
- Blistered or peeling paint that bubbles up from trapped moisture underneath
- Scaly texture where the wood surface has started to separate into layers
- Soft spots that feel different when you press on them
Exterior sills face direct exposure to rain, snow, ice, and UV radiation that breaks down protective coatings. Interior damage usually signals condensation issues from high indoor humidity or failed weatherproofing that’s letting water work through from the outside. Water follows the path of least resistance, often traveling along hidden routes before showing up as visible damage.
Aluminum cladding can either hide existing rot from view for years or trap moisture against wood surfaces and accelerate decay beneath what looks like an intact exterior. By the time you notice soft spots or staining, the rot underneath the metal has often spread much further than the visible signs suggest.
Tools and Materials for Window Sill Repair

Marine grade two part epoxy systems are the professional standard for structural wood repair because they offer waterproofing, structural strength, and the ability to bond with partially decayed wood. Products like Abatron LiquidWood (consolidant) and WoodEpox (filler) provide capabilities that standard wood putty and automotive fillers like Bondo completely lack. Putty doesn’t bond to damp wood and has no structural capacity, while Bondo traps moisture against the wood surface and causes further rot.
For removing damaged material, you need an oscillating multi tool with a wood cutting blade for precision cuts that don’t damage surrounding good wood, a sharp chisel for excavating soft material, a pry bar for leverage when pulling away larger sections, and a screwdriver or awl for probing questionable areas.
| Material Category | Recommended Products | Purpose |
|---|---|---|
| Consolidants | LiquidWood, penetrating epoxy hardener | Penetrates and hardens partially decayed wood fibers |
| Fillers | WoodEpox, marine-grade structural epoxy | Rebuilds missing sections with waterproof structural material |
| Preservatives | Boracare, Copper-Green, Woodlife | Treats remaining wood to prevent future fungal growth |
| Finishing | Exterior-grade primer, premium acrylic latex paint | Seals repair and surrounding wood from moisture |
Safety equipment isn’t optional when working with two part epoxy systems. Wear a respirator mask rated for organic vapors, nitrile protective gloves that resist chemical penetration, and safety glasses to protect from splashes. Work in a well ventilated area. Open windows on opposite sides of the room to create cross ventilation, or use a fan to move air if you’re working in a confined space.
Removing Rotted Wood from Your Window Sill
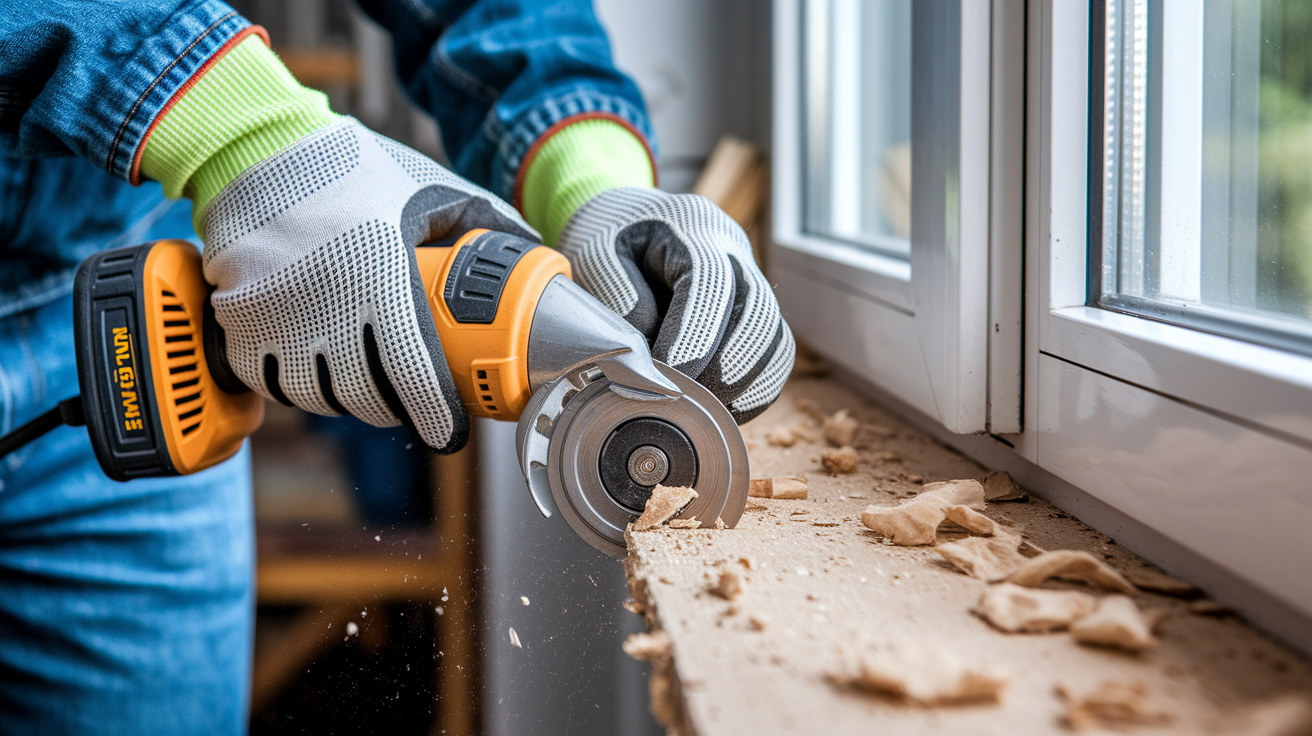
Incomplete rot removal is the most common reason repairs fail within a year or two. Even small amounts of remaining soft wood allow the fungal decay to continue spreading beneath the new filler, eventually compromising the entire repair. You can’t trap rot under epoxy and expect it to stop. You have to remove every bit of compromised material.
Use an oscillating multi tool to make clean boundary cuts that define the removal area, then chisel away all soft, spongy material until only firm wood remains. Work slowly and test frequently with a screwdriver. When you hit solid wood that resists penetration, you’ve found the edge of the damage. Extend your removal at least 1 inch beyond the last visible signs of rot to make sure you’ve cleared the transition zone where wood is weakened but not obviously soft.
Verify complete removal by probing the remaining wood with a screwdriver or awl in multiple locations. Healthy wood should resist penetration and sound solid when tapped, making a sharp click rather than a dull thud. If you find any areas that feel questionable, remove more material. It’s better to create a larger cavity that gets properly filled than leave marginal wood that fails later.
Remove all wood debris, dust, and loose fibers from the cavity using a shop vacuum followed by a stiff wire brush. The consolidant needs direct contact with clean wood fibers to penetrate properly, and any loose material prevents good bonding. Wipe down the cavity edges with a dry cloth to remove fine dust the vacuum missed.
Applying Wood Hardener and Consolidant Treatment

Liquid consolidant penetrates and hardens partially decayed wood fibers that are too soft to support filler but too sound to justify removing.
- Verify wood moisture is 17% maximum using a moisture meter. Readings above that prevent proper consolidant penetration and bonding
- Drill 1/8 inch diameter holes approximately 1 inch apart in areas of marginal wood around the cavity perimeter to increase penetration depth
- Fill drilled holes using plastic needle syringes, pushing the plunger while slowly withdrawing the syringe to minimize air pockets
- Apply consolidant with a disposable chip brush to all exposed surfaces in the cavity and surrounding wood
- Allow complete drying between coats and apply additional coats as needed until the wood stops absorbing liquid
If wood moisture exceeds 17%, use a heat gun on low setting to drive out excess moisture, moving constantly to avoid scorching the surface. You can also wait for natural drying if time allows. A few days in dry weather usually brings exterior wood down to acceptable levels. Test again with the moisture meter before applying consolidant.
Wait for the consolidant surface to become slightly tacky before applying filler, especially if this is your first time working with two part epoxy systems. The tacky stage indicates the consolidant has penetrated and started its chemical reaction but still has active bonding sites. Applying filler during this window creates a chemical bond between layers rather than just mechanical adhesion. Full cure takes a minimum of 24 hours for maximum hardness and screw holding capacity.
Rebuilding the Sill with Epoxy Filler
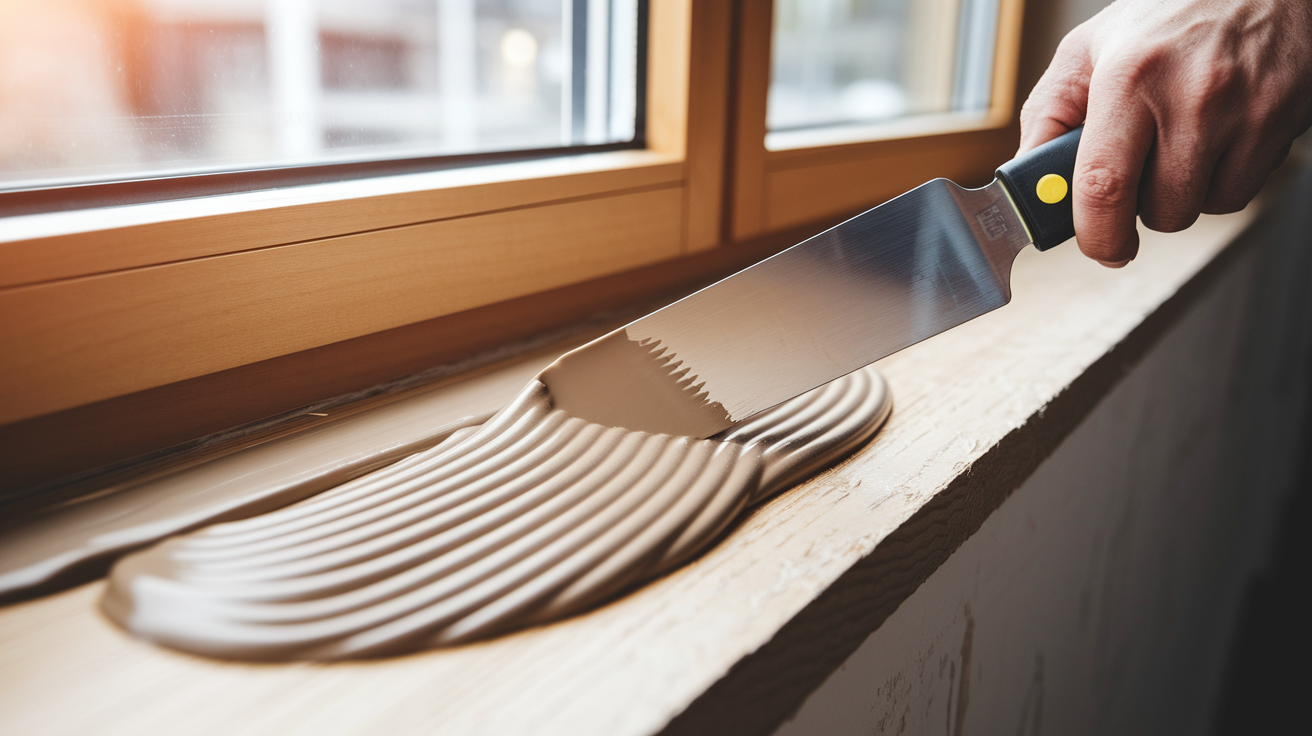
Mix small batches of two part epoxy that you can apply within 5 to 10 minutes. Once you combine the resin and hardener, the chemical reaction starts generating heat and the working time clock is running. Large batches waste expensive material because the epoxy sets up in the mixing container before you can use it all.
Press filler firmly into the cavity from bottom to top, working in layers if the damage is deep. Push material into corners and against consolidant treated surfaces, eliminating air pockets that create weak spots. Pack it in like you’re filling a gap with caulk. Firm pressure that compresses the material and ensures contact with all surfaces.
Intentionally build the patch slightly above the final sill profile. Overfilling by 1/8 to 1/4 inch gives you extra material for shaping during the finishing stage. It’s much easier to sand or scrape away excess than try to add filler to low spots after everything has cured hard.
Use LiquidWood consolidant as a thinner while the epoxy is still workable. Dip a putty knife or shaping tool in consolidant and smooth the epoxy surface, preventing tearing and creating a closer approximation of the final contour. This technique also helps feather the edges where new filler meets old wood.
Larger masses of two part epoxy generate more heat and set faster than thin layers because the chemical reaction is exothermic. A thick patch might be hard in 4 to 6 hours, while a thin skim coat stays workable longer. Don’t load or sand the repair for a full 24 hours regardless of how hard it feels. The epoxy needs time to reach maximum strength.
Sanding and Shaping Your Repaired Sill
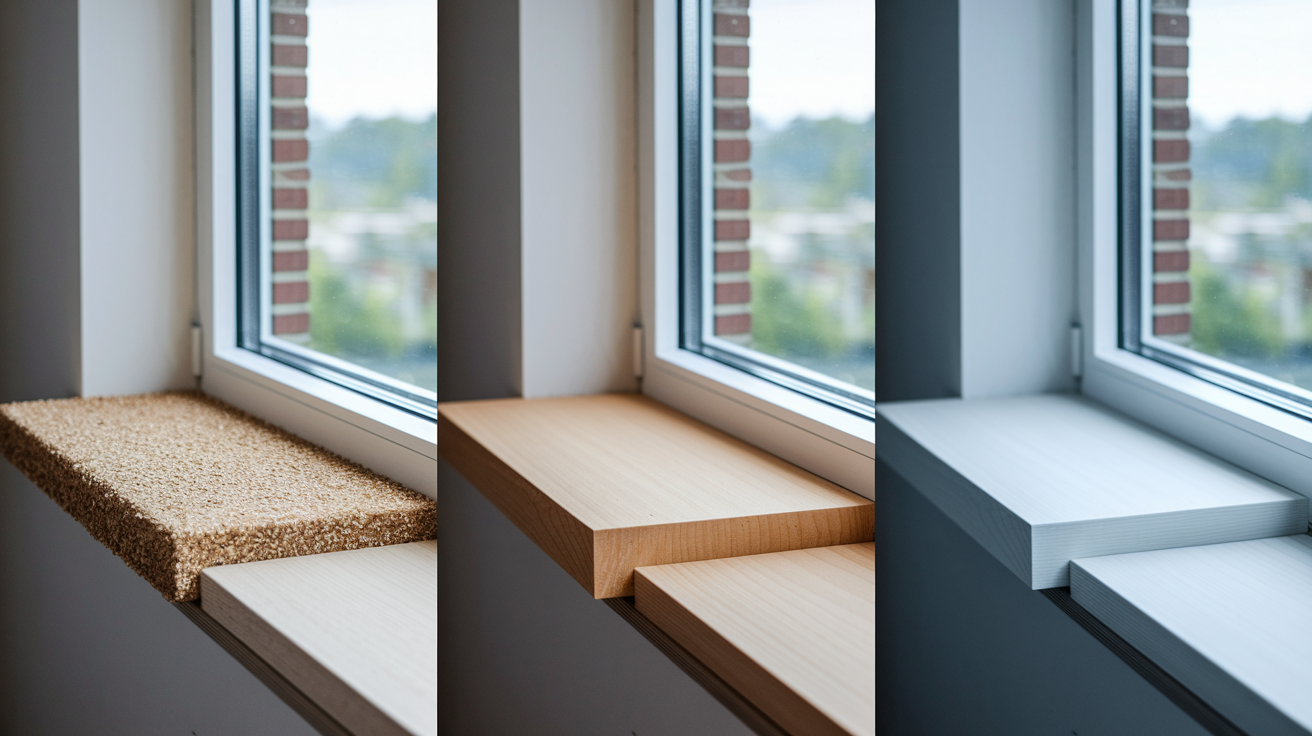
Cured epoxy is harder than most wood species, so you need aggressive initial shaping before moving to finer grits. Going straight to 120 grit sandpaper on a thick epoxy buildup just loads up the paper and wastes time.
- Use wood rasps and files first to establish basic contours and remove the bulk of excess material
- Apply 80 grit sandpaper to level surfaces and refine the profile closer to the original sill shape
- Progress to 120 grit for surface smoothing and removing rasp marks
- Finish with 220 grit for final blending and feathering edges into surrounding wood
Feathering the repair edges into surrounding wood creates an invisible transition line that disappears under paint. If you leave a hard ridge where epoxy meets wood, angled light will cast a shadow along that line and make the repair obvious. Sand in overlapping strokes that cross the boundary in both directions, gradually reducing pressure as you move onto original wood.
Priming and Painting Your Window Sill
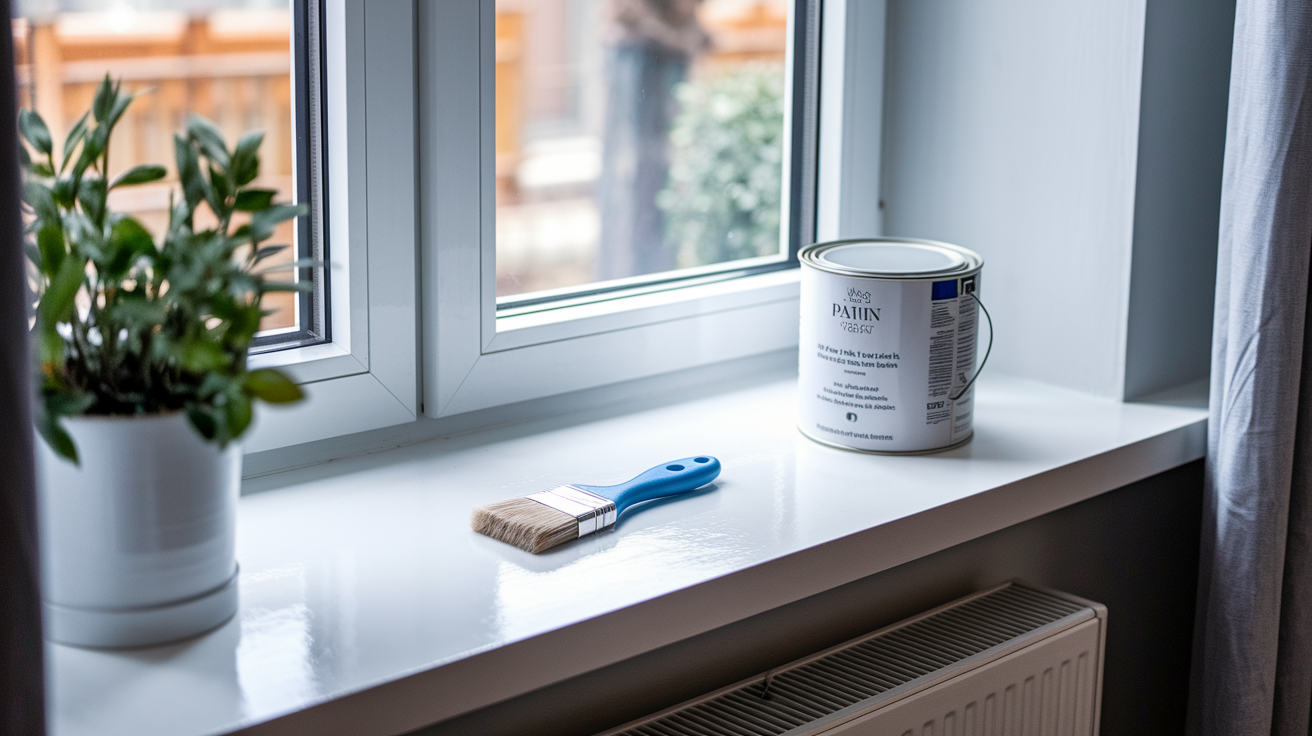
Exterior grade primer seals both the porous epoxy surface and any exposed wood, creating uniform absorption for topcoats. Without primer, the epoxy and wood absorb paint at different rates, creating differential sheen that reveals the repair boundaries. You’ll see dull patches where wood soaked up paint and glossy areas where epoxy rejected it.
Use premium acrylic latex exterior paint formulated to flex with temperature driven expansion and contraction. Cheap paint becomes brittle in cold weather and cracks at the wood epoxy interface where two different materials meet. The paint needs to move with both materials through daily and seasonal temperature swings without losing adhesion.
Apply at least two coats for adequate protection and color opacity, sanding lightly between coats with 220 grit to remove brush marks and nibs. Let each coat dry completely before sanding. Rushing this step leaves marks that show through the final finish.
For partial repairs on painted sills, test your paint match on an inconspicuous area first. Small repair areas are easier to blend with existing finishes than full replacements because you’re only matching a limited zone. This is particularly valuable for historic window preservation where maintaining original material matters.
Sealing and Weatherproofing Your Window Sill
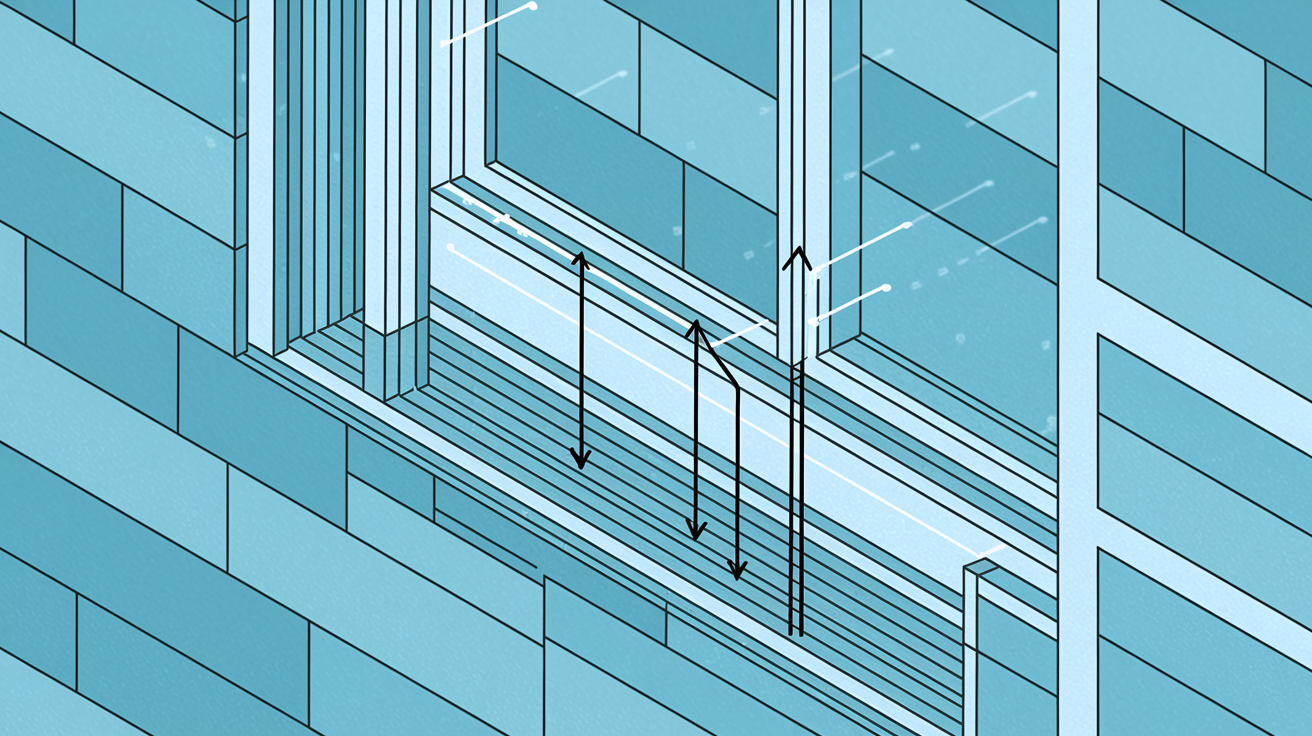
Weatherproofing is the most important prevention measure because even perfect repairs fail if water finds entry points through gaps or failed sealant.
Critical sealing locations:
- Sill to frame joint where horizontal sill meets vertical window jamb
- Sill to trim connection at interior and exterior casing
- Sill to siding interface where sill ends meet wall cladding
- Any fastener holes or end grain exposures that create moisture entry paths
Use 100% silicone or advanced polymer caulk rated for exterior exposure and UV resistance. These materials maintain flexibility through freeze thaw cycles without cracking, splitting, or pulling away from joints. Standard acrylic latex caulk hardens over time and fails after a few seasons of temperature extremes.
Apply caulk in a continuous bead without gaps, tool smooth with a wet finger or caulk shaping tool, and allow a full 24 hour cure before exposing to moisture or reattaching trim. Check that the sill maintains proper pitch angle sloping away from the window. Even a 5 degree slope makes the difference between water sheeting off versus pooling on the surface. If the sill is flat or slopes backward toward the window, water will sit there until it finds a crack to penetrate.
When to Replace Instead of Repair Your Window Sill
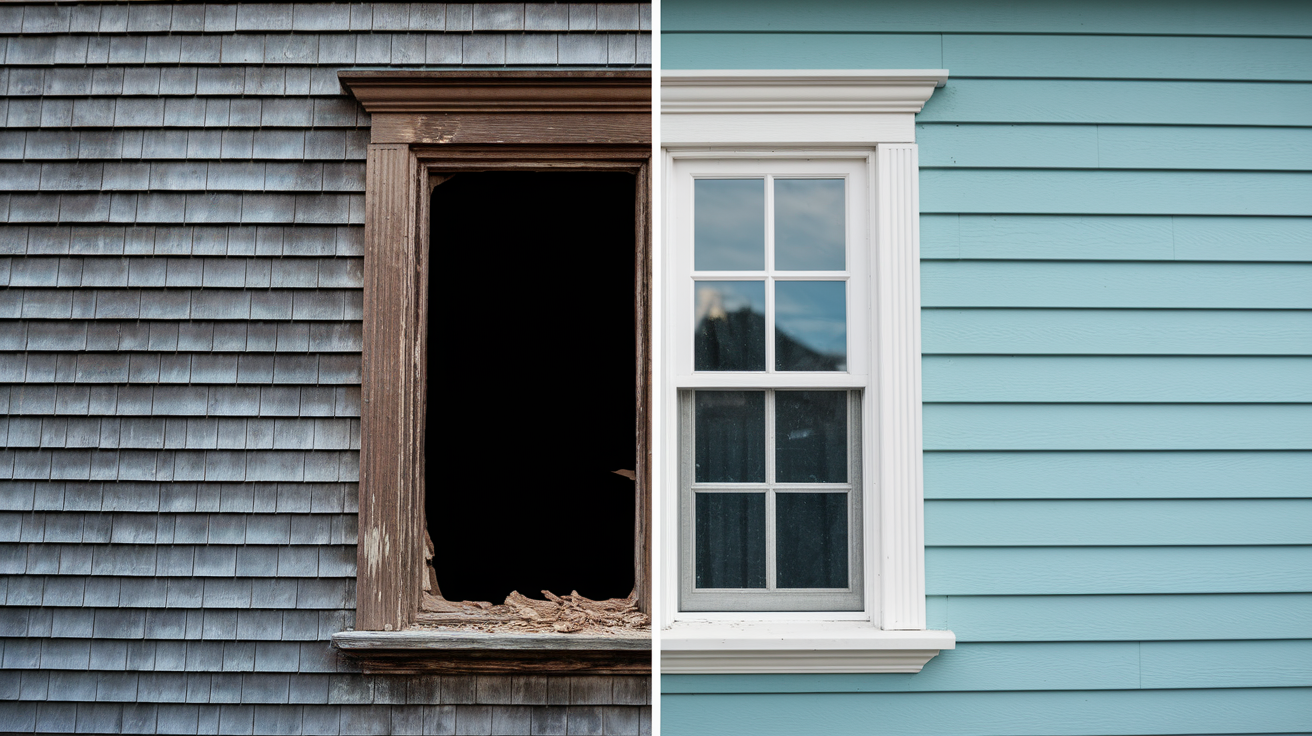
When rot extends into the window frame itself (the vertical jambs or horizontal head that surround the sill) or has destroyed more than 50% of the sill’s structural cross section, epoxy repair cannot restore adequate strength. At that point, the damage has compromised the window’s ability to function as both a structural element and a water barrier, and full replacement becomes necessary despite higher cost.
Material options for replacement sills depend on exposure conditions and visibility. Pressure treated lumber works for buried applications or locations with constant moisture exposure but tends to warp and check. Rot resistant species like cedar or redwood cost more but look better in visible applications and machine cleanly for precise fits. Composite and PVC alternatives eliminate future rot concerns entirely but don’t accept fasteners as well as solid wood.
| Material Type | Best Application | Lifespan | Cost Level |
|---|---|---|---|
| Pressure-treated lumber | Buried or high-moisture locations | 20-30 years | Low |
| Cedar or redwood | Visible exterior applications | 25-40 years | Medium-high |
| Composite | Zero-maintenance installations | 30-50 years | Medium |
| PVC | Maximum moisture resistance | 40+ years | Medium-high |
The replacement process requires full removal of the damaged sill, cleaning and assessing the frame for hidden damage, precise measurement of the actual opening rather than the warped old sill, cutting new stock slightly long so you can trim to exact fit, securing with appropriate fasteners, then caulking all joints and applying finish coats. Depending on access and complexity, replacement typically takes a few hours for a simple sill up to a full day if you’re working around difficult trim details or discovering additional frame damage.
Preventing Future Window Sill Rot
Most window sill rot is preventable through simple annual maintenance focused on keeping water away from vulnerable wood surfaces. The cost of a tube of caulk and an hour of inspection time is nothing compared to repairing extensive rot damage or replacing entire sills.
Properly sized overhangs and functional drip caps direct water away from the sill surface rather than allowing rain to run directly onto horizontal wood where it sits until it penetrates. A 1 inch drip cap positioned correctly can extend sill life by decades simply by preventing direct water contact during storms.
Annual post rainy season inspection routine:
- Inspect all caulk joints for cracks, gaps, or separation from wood surfaces
- Assess paint integrity for peeling, blistering, or cracking that exposes bare wood
- Verify that drainage paths are clear and water flows away from the sill
- Confirm the sill maintains proper pitch angle away from the window
- Check drip cap function, positioning, and attachment
- Probe suspicious areas with an awl to test for early rot while damage is still surface level
Catching problems early (while damage is limited to the paint layer or outer 1/8 inch of wood) allows simple preservation treatments or minor touch ups instead of extensive epoxy repairs. Maintaining proper ventilation around windows also reduces condensation that contributes to interior sill damage, especially in bathrooms, kitchens, and other high humidity spaces.
Cost and Time Expectations for Window Sill Work
DIY epoxy repair typically costs $100 to $200 for materials including a two part epoxy system, oscillating tool blades, sandpaper, primer, and paint. The timeline runs less than 36 hours of actual work spread across 2 to 3 days to allow for curing time between the consolidant application, filler application, and paint coats.
Replacement costs jump significantly compared to repair. DIY replacement runs $150 to $400 depending on whether you choose pressure treated lumber at the low end or rot resistant hardwood or composite materials at the high end. Professional replacement ranges from a few hundred dollars for a simple exterior sill to a couple thousand per window when damage extends into the frame and requires carpentry work on structural members.
| Approach | Material Cost | Labor Cost | Total Time |
|---|---|---|---|
| DIY Repair | $100-$200 | $0 | Less than 36 hours over 2-3 days |
| DIY Replace | $150-$400 | $0 | Few hours to full day |
| Pro Repair | Included | $200-$500 | 1 day typical |
| Pro Replace | Included | $400-$2000+ | 1-3 days depending on extent |
Professional epoxy repair services can save up to 90% versus full replacement costs while completing work faster than most DIY attempts. Experienced contractors have specialized equipment, know the common failure points specific to your region’s climate, and can spot hidden damage that homeowners often miss until it becomes a bigger problem.
Final Words
Catching rot early makes wood window sill repair straightforward with marine-grade epoxy systems and basic tools. The probe test tells you exactly where you stand.
If more than half the sill is soft or rot has reached the frame, replacement beats repair. For localized damage, two-part consolidant and filler restore strength for a fraction of replacement cost.
The real win is fixing the water source. Seal every joint, confirm proper pitch, and check caulk annually after the rainy season.
Do that, and this repair holds for years.
FAQ
Q: How do you repair a damaged wooden window sill?
A: To repair a damaged wooden window sill, remove all rotted wood with a chisel or oscillating tool, apply penetrating wood consolidant to stabilize remaining wood, fill the cavity with marine-grade two-part epoxy filler, sand smooth, then prime and paint with exterior-grade coatings.
Q: What is the best wood filler for window sills?
A: The best wood filler for window sills is a marine-grade two-part epoxy system like Abatron LiquidWood and WoodEpox, which provides structural strength, complete waterproofing, and bonds with partially decayed wood—capabilities that standard wood putty and automotive fillers lack for exterior applications.
Q: Can wooden window sills be replaced?
A: Wooden window sills can be replaced when rot has spread into the window frame or destroyed more than 50 percent of the sill’s structural cross-section. Replacement involves removing the damaged sill, cleaning the frame, cutting new pressure-treated or rot-resistant lumber to fit, and securing with fasteners before caulking and painting.
Q: Can rotted wood windows be repaired?
A: Rotted wood windows can be repaired if damage is confined to the sill and less than half the structural wood is compromised. Use a two-part epoxy system to consolidate remaining wood and rebuild damaged sections, but replace entirely if rot extends into the window frame itself or destroys the majority of the sill.
Q: How do you test a window sill for rot?
A: Test a window sill for rot by pressing a screwdriver or awl firmly into suspected areas—healthy wood resists penetration and feels solid, while rotted wood feels soft and spongy. Probe multiple locations across the sill surface to map the damage extent before deciding on repair or replacement.
Q: What causes wood rot in window sills?
A: Wood rot in window sills is caused by chronic water exposure from failed caulk joints, missing drip caps, cracked paint, or inadequate pitch angle that prevents drainage. Moisture enters through these openings, becomes trapped between wood fibers, and creates ideal conditions for fungal growth that feeds on wood cellulose.
Q: How long does window sill epoxy take to cure?
A: Window sill epoxy takes a full 24 hours minimum to cure before sanding, shaping, or applying load. The consolidant must become tacky before applying filler, and larger epoxy masses generate more heat and set faster than thin layers during the curing process.
Q: When should you replace a window sill instead of repairing it?
A: Replace a window sill instead of repairing when rot has spread into the main window frame or more than 50 percent of the sill’s structural wood is compromised. Epoxy repair cannot restore adequate strength when damage is this extensive, making full replacement necessary for structural integrity.
Q: How much does window sill repair cost?
A: Window sill repair costs range from one hundred to a couple hundred dollars for DIY materials including epoxy, tools, and finishes. Professional repair services cost less than replacement while potentially saving up to 90 percent compared to full window replacement, which ranges from a few hundred to a couple thousand dollars per window.
Q: What prevents window sill rot?
A: Preventing window sill rot requires annual inspection after the rainy season to check caulk condition, paint integrity, drainage paths, and proper sill pitch away from the window. Install overhangs and drip caps to direct water away from wood surfaces, and address caulk cracks immediately as they are primary moisture entry points.