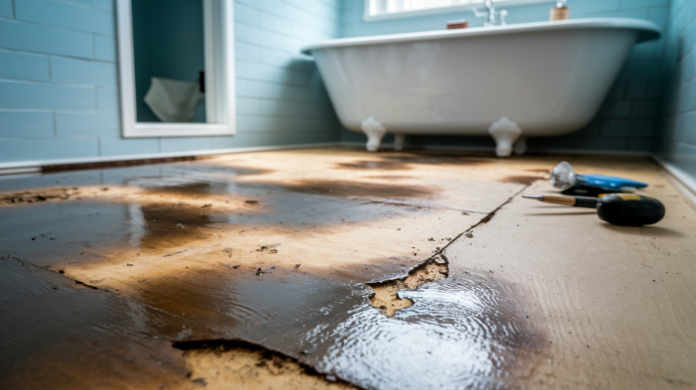

Skip the tile until you fix what’s underneath. Most bathroom floor failures happen because damaged subfloor got covered instead of replaced. If your current floor feels soft near the toilet, smells musty, or shows water stains, you’re looking at rot that will crack every tile you set. Proper bathroom subfloor replacement means identifying all the damage, removing it completely, and installing moisture-rated materials that can handle years of humidity and occasional leaks without turning into a sponge.
Identifying Damage and Selecting Materials for Bathroom Subfloor Replacement
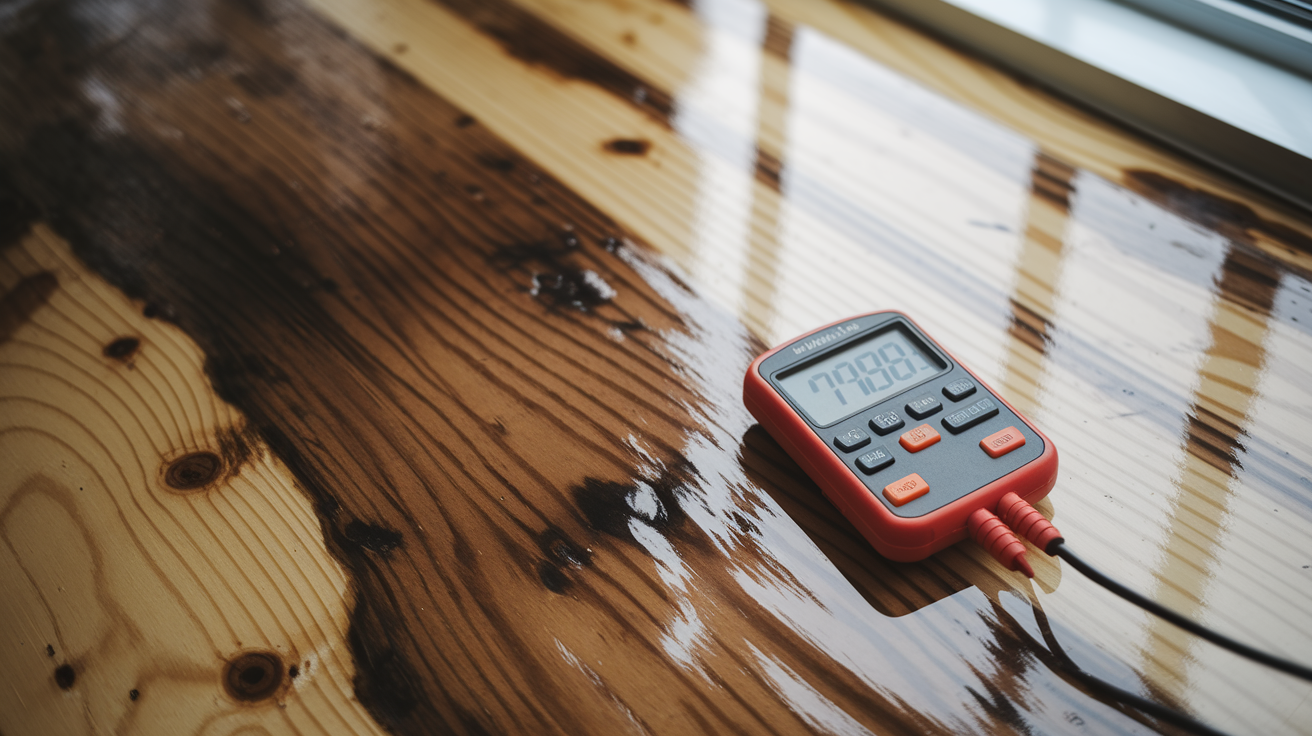
Water damage is why bathroom subfloors fail before tile goes down. Catch it early and pick the right materials. You’ll avoid cracked tiles, mold growth, and doing this all over again in a few years.
Before you touch any tile, inspect the entire bathroom floor. Here’s what means you need replacement:
• Soft spots when you press down hard or walk across the floor
• Discoloration like dark stains, yellowing, or water rings on the subfloor or the ceiling below
• Musty odors that won’t go away no matter how much you clean
• Visible mold in black, green, or white fuzzy patches
• Sagging areas where the floor dips toward fixtures
• Squeaky floors that creak and move when they didn’t before
• Visible rot where wood crumbles or pulls apart when you poke it with a screwdriver
Get a moisture meter. Press the pins into the subfloor in multiple spots, especially near the toilet flange, tub, and shower. Readings above 14% mean the wood’s too wet for tile. Above 19% means you’ve got active water intrusion that needs fixing before you do anything else.
Walk the entire floor and press down hard in a grid pattern every 12 inches. Bounce on one foot near fixtures where leaks happen. If the floor flexes more than a slight give, or you see fasteners popping up, the structure underneath needs work. Use a flashlight to check from below if you can access a basement or crawlspace. Look for water stains, delamination where plywood layers are separating, and sections where the wood looks darker.
If rot extends to the floor joists, if there’s significant sagging across multiple joist bays, or you’re unsure whether the framing can support tile weight, call a structural contractor. Foundation issues, major beam rot, or termite damage go beyond typical bathroom repairs.
For bathroom subfloor replacement, you’ve got options but not all plywood works in wet environments. Exposure 1 or Exterior rated plywood is the minimum for residential bathrooms where you’ll install waterproofing membranes above. These ratings mean the adhesive bonding the plywood layers can handle moisture without delaminating.
Standard plywood works in bathrooms only when paired with proper waterproofing above it. Marine grade plywood costs more but uses waterproof glue throughout, making it better if your bathroom has a history of leaks or you’re installing a curbless shower. Pressure treated plywood is overkill for most bathroom subfloors and can interfere with adhesive bonding for tile.
Thickness matters as much as moisture rating. You need minimum 5/8 inch nominal plywood when joists are spaced 16 inches on center. If your joists are 24 inches apart, you’ll need thicker subfloor or a specific combination approved by the APA Engineered Wood Association. The subfloor must be thick enough to prevent deflection that cracks tile.
Three different standards govern tile underlayment specs: the TCNA 2015 Handbook, ANSI A108.01, and the APA Engineered Wood Association guide. They don’t always agree. When in doubt, follow your tile manufacturer’s installation instructions because they control warranty coverage. Skip their specs and the tile fails? You’re paying for replacement yourself.
One critical point: cement backer board is underlayment, not structural subfloor. It goes on top of plywood for moisture resistance and a stable tile base. Don’t confuse it with the structural layer that carries floor loads.
| Material Type | Thickness | Best Application | Moisture Resistance |
|---|---|---|---|
| Exterior Plywood | 5/8″ minimum | Standard bathroom subfloor with waterproofing membrane | Good when properly sealed |
| Marine-Grade Plywood | 5/8″ minimum | High-moisture areas, shower surrounds, leak-prone bathrooms | Excellent – waterproof glue throughout |
| Exposure 1 Plywood | 5/8″ minimum | Residential bathrooms in dry climates with membrane protection | Adequate with proper waterproofing |
| Cement Backer Board | 1/4″ to 1/2″ | Underlayment over structural plywood, not load-bearing | Excellent – designed for wet areas |
Removing Existing Flooring and Damaged Subfloor Safely
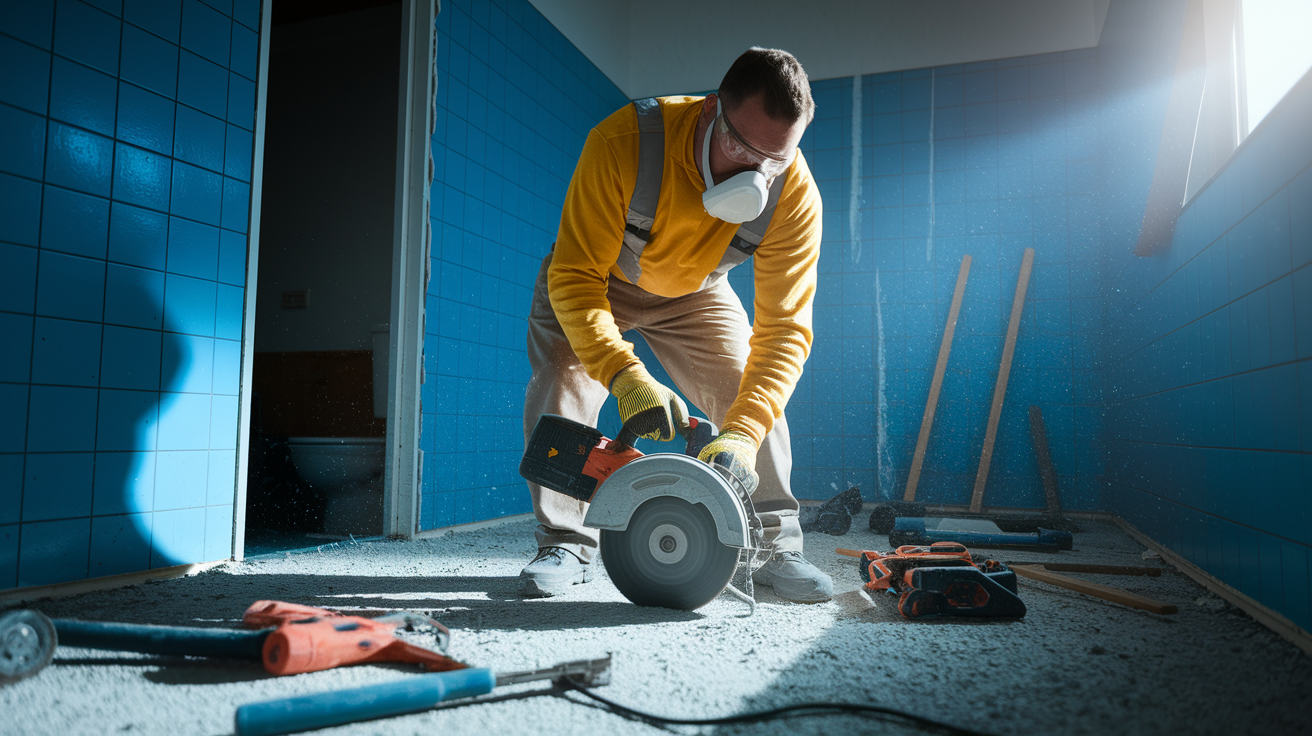
Before you start tearing things out, gear up. You’ll need a respirator rated for dust and mold, safety glasses, heavy work gloves, and knee pads. Old bathroom subfloors often harbor mold spores that become airborne during demo.
The toilet flange and plumbing fixtures are expensive to replace if you damage them. Work carefully around these areas. Gather your tools first: flat pry bar, circular saw set to the exact depth of your flooring and subfloor, reciprocating saw for tight corners, hammer, and a shop vacuum to control dust as you work.
Here’s the removal sequence that prevents damage to good framing and plumbing:
- Turn off the water supply at the fixture shutoff valves or main line and actually test that it’s off
- Remove the toilet by unbolting it from the flange, lifting straight up, and immediately stuffing a rag in the drain opening to block sewer gas
- Remove existing tile or flooring using the pry bar starting at doorways or transitions where you can get underneath edges
- Cut damaged subfloor sections using the circular saw with blade depth set precisely to avoid cutting joists underneath. Cut between joists to create removal sections you can handle
- Inspect all joists underneath for rot, water staining, soft spots, or structural damage before installing new subfloor
- Clean the work area completely, removing all debris, protruding nails, and dried adhesive from the top of joists
Dispose of moldy materials in sealed plastic bags immediately. Don’t let them sit in your workspace where spores can spread. Set up a fan in a window blowing outward to maintain negative pressure and keep contaminated air moving outside.
Now inspect those floor joists carefully. Damaged joists compromise the entire floor system. Standard joist spacing is 16 inches on center, though older houses sometimes have 24 inch spacing. Wider spacing requires thicker subfloor and underlayment combinations to prevent deflection.
Test deflection by standing in the middle of each joist span and bouncing. Ceramic tile requires floor deflection not exceeding L/360 under 50 pounds per square foot. That means if a joist spans 120 inches, it shouldn’t deflect more than 0.33 inches under load. Natural stone tile is less forgiving and requires L/720, which would be 0.17 inches for that same span. If the floor bounces noticeably when you walk across it, you’ve got deflection problems that will crack tile.
Look for soft wood, dark water staining, or white rot that crumbles when you push a screwdriver into it. If damage is limited to surface discoloration without soft spots, the joist is probably fine. Deeper rot means sistering a new joist alongside the damaged one. Cut a new joist the same dimension as the existing one, apply construction adhesive to one face, and fasten it to the damaged joist every 12 inches with 3 inch structural screws.
For sagging floors or bouncy spans, install blocking between joists at mid span. Cut 2×10 or 2×8 blocks to fit snugly between joists and toenail them in place. This shares loads between adjacent joists and dramatically stiffens the floor. Heavy stone tile or large format porcelain may require blocking even when joists appear sound. If you’re seeing cracks in multiple joists, settlement issues, or rot extending to beams and rim joists, stop and call a structural engineer.
Installing Subfloor and Underlayment Layers for Tile
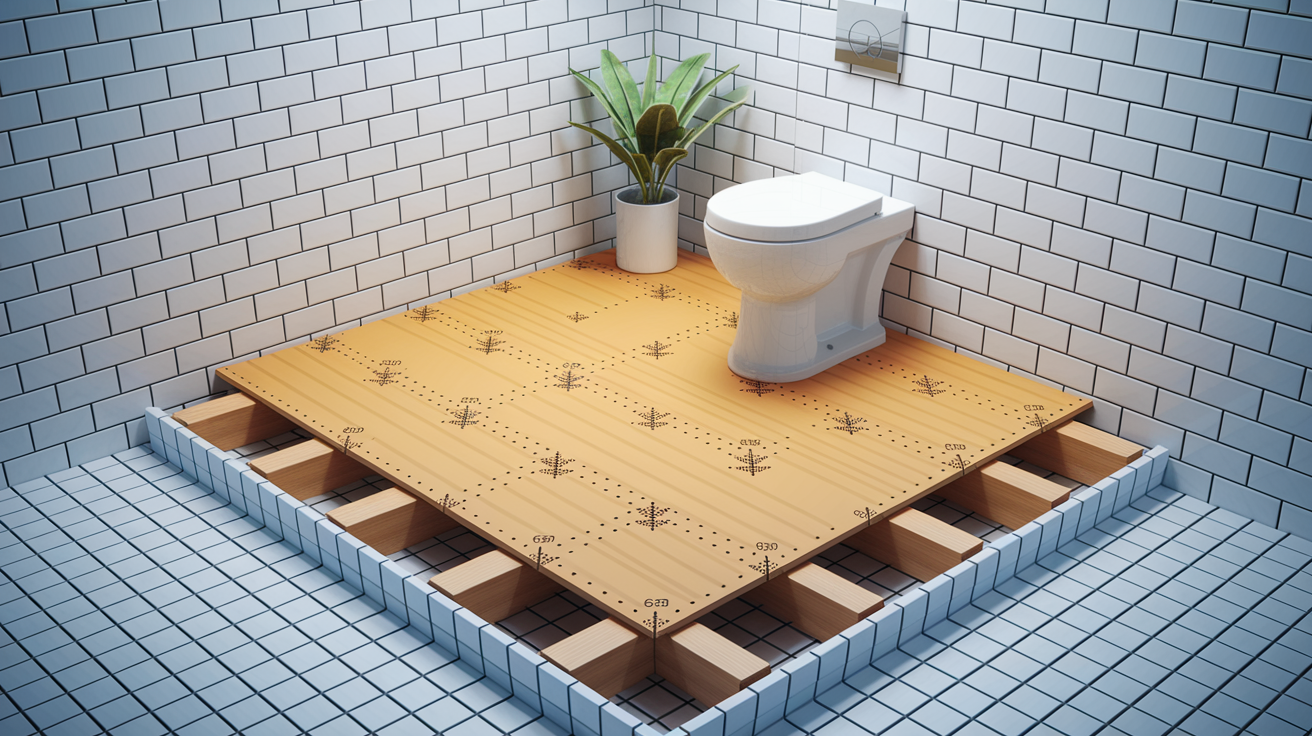
Tile installations use a two layer system: structural plywood subfloor that carries loads and spans joists, plus cement backer board underlayment that provides a moisture resistant, stable surface for thin set mortar bonding.
The plywood layer must be installed perpendicular to the floor joists. This orientation shares loads between multiple joists and stiffens the floor. But here’s the critical part most people get wrong: never fasten underlayment into the joists themselves. Fasteners driven through plywood into joists create hard spots in the floor that don’t flex with the surrounding subfloor. When the floor moves even slightly, those fasteners pop upward and crack tiles directly above them.
Your fastener choice matters. Without construction adhesive, use screws instead of nails with 3 inch spacing along all panel edges and 6 inch spacing in the field. Screws pull panels tight and create a stiffer assembly than nails. If you use construction adhesive between layers, you can switch to minimum 4d ring shank nails with 6 inch maximum edge spacing and 8 inch field spacing. The adhesive does most of the work.
Construction adhesive creates a stronger floor but makes future removal nearly impossible. The subfloor and underlayment essentially become one permanent sandwich. If you want future access to plumbing or electrical, skip the adhesive and use closer screw spacing for strength.
Minimum screw length is 1.5 inches for typical combined thickness of 1.25 inches. This penetrates fully through the underlayment into the subfloor below without reaching joists. Mark all joist locations with chalk lines before you start installing underlayment so you know exactly where NOT to fasten.
Critical installation specs for plywood underlayment:
• Space all panels 1/8 inch apart from each other to allow for wood expansion without buckling
• Leave 1/4 inch gap around the entire perimeter at walls and plumbing fixtures for the same reason
• Offset panel ends in adjacent rows by minimum 16 inches so seams don’t line up creating weak lines across the floor
• Install all fasteners 3/8 inch from panel edges to prevent splitting
• Keep fasteners only in the subfloor layer between joists, never penetrating into joists themselves
• With no adhesive: 3 inch edge spacing, 6 inch field spacing using screws
• With adhesive: 6 inch edge spacing, 8 inch field spacing using minimum 4d ring shank nails
• Mark joist locations with chalk lines before starting so you know where to avoid fastening
The plywood layer reinforces the subfloor between joists, which matters because ceramic tile is completely inflexible. Any floor movement translates directly into cracked tiles and grout.
Now for the cement backer board layer. This is underlayment, not structural replacement. Its job is moisture resistance and providing a suitable surface for thin set mortar to bond.
Cement board comes in 1/4 inch and 1/2 inch thicknesses. The 1/4 inch version works for most bathroom floors where you want to minimize height change at transitions. Use 1/2 inch when you need to build up floor height to match adjacent rooms or when manufacturer instructions require it for large format tiles.
Install cement backer board following these steps:
- Apply thin set mortar to the plywood subfloor using the flat side of a trowel to create a thin, even layer
- Set cement board panels into the wet thin set, pressing firmly to ensure full contact without voids underneath
- Stagger joints so they don’t align with the plywood seams below
- Fasten with cement board screws driven flush with the surface every 8 inches in the field and 6 inches along edges
- Maintain the same 1/8 inch gaps between panels and 1/4 inch perimeter gaps used for the plywood layer
- Tape all seams with alkaline resistant mesh tape and fill with thin set mortar, feathering smooth
Allow the thin set under and between cement board panels to cure for at least 24 hours before walking on the floor or applying waterproofing membranes. Rushing this step creates voids under the cement board that lead to tile cracking when weight transfers to those unsupported areas.
Creating a Level and Crack-Resistant Surface for Tile
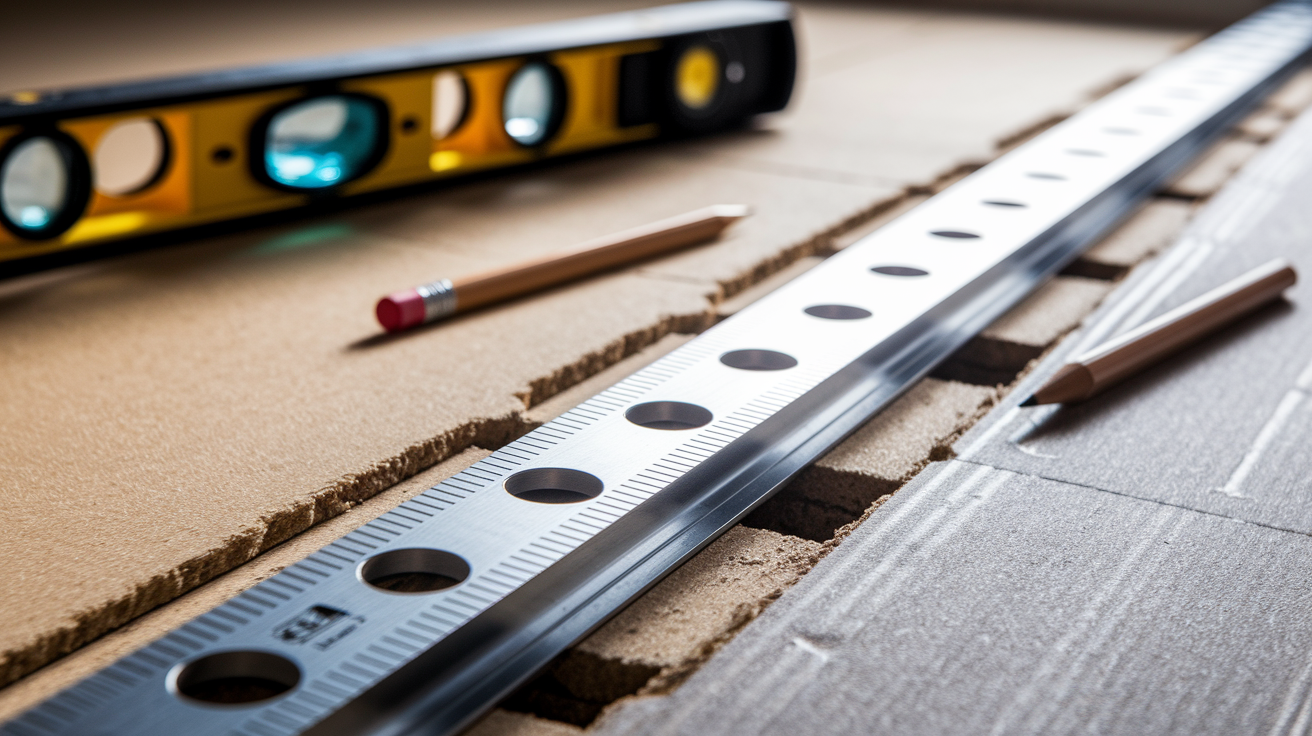
A level surface isn’t just about appearance. It’s about preventing tile lippage where edges of adjacent tiles don’t align. More importantly, high and low spots create stress concentrations in the tile that cause cracking and grout failure.
Check your subfloor with a 10 foot straightedge or level. Acceptable variance is 1/4 inch over 10 feet for most tile installations. Large format tiles over 15 inches require even stricter tolerances, typically 1/8 inch over 10 feet. Place the straightedge in multiple directions across the floor and use a flashlight to see gaps underneath. Mark high spots with chalk.
If the floor slopes more than the acceptable variance, you have three options. For minor issues under 1/4 inch, sand down high spots or add shims under low areas before installing underlayment. For moderate issues between 1/4 and 1/2 inch, add an extra layer of plywood in low sections, feathering the transition. For anything over 1/2 inch, use self leveling compound after the cement board installation.
Self leveling compound is a cement based liquid that flows across the floor and seeks its own level before hardening. Mix it according to package directions, prime the cement board surface first if required by the manufacturer, then pour the compound starting at the far corner and work toward the exit. It typically self levels within 15 minutes and is ready to walk on in a few hours, but wait 24 hours before tile installation.
Every seam between plywood panels and cement board sections must be flush, not creating ridges or valleys. Raised seams telegraph through thin set and create high spots that prevent tiles from sitting flat. If you find raised seams after installation, grind them down with a masonry rubbing stone or rent a concrete grinder for larger areas.
The bounce test tells you if the floor is stiff enough for tile. Stand in the middle of the room and shift your weight from one foot to the other. Jump lightly. If you see or feel significant flex, the floor won’t support tile without cracking. Go back and check joist spacing, add blocking between joists, or sister additional lumber to increase load bearing capacity.
Deflection is the enemy of tile installations. The L/360 standard means the floor can deflect up to 1/360th of the span length under 50 pounds per square foot combined live and dead load. For a 12 foot span (144 inches), that’s 0.4 inches of deflection. That sounds like a lot, but tile is brittle and even smaller movements crack grout joints and tiles over time.
Natural stone requires L/720, which is half the deflection allowed for ceramic. Stone tiles are often thicker and heavier, but they’re also more brittle with natural fracture planes. If you’re installing marble, granite, or slate, the subfloor must be twice as stiff as for ceramic tile.
Uncoupling membranes like Schluter Ditra separate the tile layer from the subfloor, allowing each to move independently. The membrane has a waffle pattern that anchors into thin set below and above, but the tile assembly can shift slightly without transferring stress to the subfloor. This dramatically reduces cracking from minor floor movement, seasonal expansion, or deflection within acceptable limits. Install uncoupling membrane directly over the cement board following manufacturer instructions, and your tile installation becomes far more forgiving.
Expansion gaps around the perimeter allow the entire assembly to expand without pushing against walls. Leave 1/4 inch minimum between cement board and walls, filled later with flexible caulk not grout. Transitions to other rooms need similar treatment. Hard grout connections between tile floors and other surfaces create stress concentrations that crack. Use flexible transition profiles or caulk at all boundaries.
Installing Moisture Barriers and Waterproofing Membranes
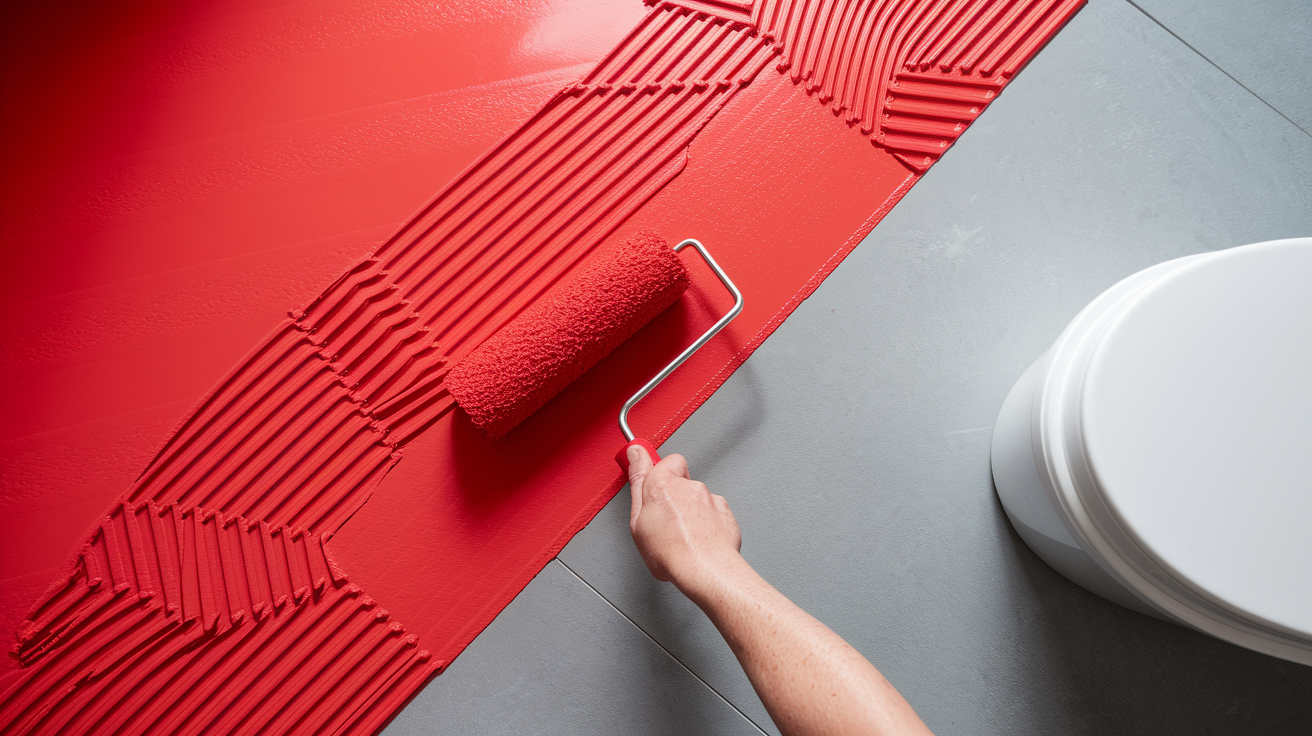
Moisture barriers and waterproofing membranes are different products that solve different problems. Moisture barriers are plastic sheeting installed under the subfloor to stop ground moisture from rising into the floor assembly. Waterproofing membranes go over the subfloor to stop water from penetrating down into the wood.
In bathrooms, you’re primarily concerned with waterproofing membranes above the subfloor. These prevent shower spray, tub overflow, and fixture leaks from reaching the wood structure. Vapor barriers below the subfloor matter mainly in crawlspace or basement installations where ground moisture rises. If your bathroom is above a conditioned basement with concrete slab, you typically don’t need vapor barrier below.
Liquid applied membranes like RedGuard, AquaDefense, or Hydroban go on with a paint roller or brush. Apply two coats perpendicular to each other for complete coverage. The first coat soaks into the cement board surface, the second coat creates a waterproof film. Pay special attention to corners, seams, and around the toilet flange and drain penetrations. These membranes cure in 1 to 4 hours between coats and are ready for tile in 24 hours.
Sheet membranes like Schluter Kerdi or similar products are fabric or plastic sheets that install with thin set mortar. Spread thin set on the cement board, press the membrane into it firmly with a float to eliminate air bubbles, and immediately apply thin set over the top. Sheet membranes work faster than liquid applied products and create uniform thickness. They’re especially useful in shower pans and complex areas with multiple penetrations.
Uncoupling membranes like Schluter Ditra provide both waterproofing and crack isolation. The waffle grid design with fleece backing creates a waterproof layer while allowing independent movement between tile and subfloor. You get two benefits: protection against bathroom moisture and protection against minor floor deflection. Install it with thin set below and above according to manufacturer instructions. Seal all seams with manufacturer specified sealing bands and corners.
The step everyone skips is sealing penetrations and corners. Spread liquid membrane or thinset three inches on both sides of every seam between cement board sheets. Apply extra coats in corners where walls meet floors. Wrap toilet flanges and drain penetrations with membrane extending onto the pipe and outward onto the cement board at least four inches. Use preformed corners and sealing bands from the membrane manufacturer instead of trying to improvise. A pinhole leak at a penetration ruins everything.
| Product Type | Application Method | Drying Time | Best For |
|---|---|---|---|
| Liquid Membrane (RedGuard, AquaDefense) | Paint roller or brush, two coats perpendicular | 1-4 hours between coats, 24 hours before tile | Flexible application, detail work around fixtures |
| Sheet Membrane (Kerdi, Noble Seal) | Thin-set mortar below and above membrane | Immediate – no cure time for membrane itself | Fast coverage, uniform thickness, shower pans |
| Uncoupling Membrane (Ditra, Ditra-XL) | Thin-set below with flat trowel, thin-set above with square notch | 24 hours before tile installation | Waterproofing plus crack isolation, heated floors |
| Vapor Barrier (Polyethylene sheet) | Stapled or taped below subfloor before installation | None – mechanical installation | Crawlspaces and basements to block ground moisture |
Preparing Subfloors for Different Tile Types and Weights
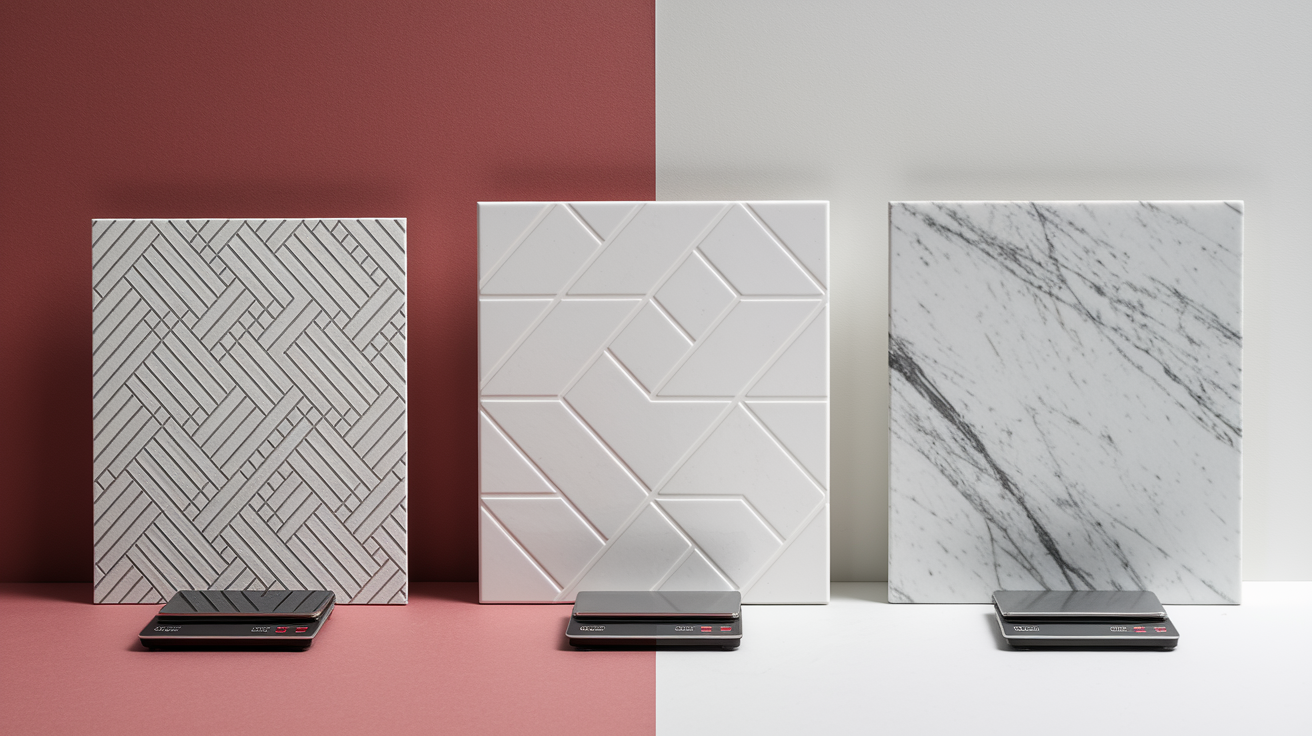
Ceramic tile weighs around 4 pounds per square foot for standard thickness. Porcelain is denser at 5 to 6 pounds per square foot. Natural stone varies wildly, from 6 pounds for slate to over 10 pounds per square foot for thick granite or marble. These weight differences directly affect your subfloor requirements.
Large format tiles over 15 inches on any side are heavier per piece and create larger unsupported spans between thin set ridges. They require stricter deflection standards (L/720 instead of L/360) and thicker thin set application to ensure full coverage without voids. If your subfloor barely meets deflection requirements for standard ceramic, it won’t handle large format porcelain.
The floor joist spacing and subfloor thickness combination must match your tile weight. A floor built to code for vinyl flooring won’t necessarily handle stone tile. Joists at 16 inch centers with 5/8 inch plywood and 1/2 inch cement board work for standard ceramic and porcelain up to 18 inches square. Heavier installations require closer joist spacing, thicker subfloor, or additional support.
Natural stone’s deflection requirement of L/720 means the floor must be twice as stiff as for ceramic tile. If you’re installing 1 inch thick marble in a large room, verify that your joist span and spacing can handle the load without excessive deflection. You might need to add mid span blocking, sister additional joists, or install additional subfloor layers to achieve the required stiffness.
What different tile types require from your subfloor:
• Standard ceramic tile (up to 12×12 inches) needs minimum deflection L/360, standard 16 inch joist spacing, 5/8 inch subfloor plus cement board underlayment, weight about 4 pounds per square foot
• Porcelain tile (up to 15×15 inches) needs minimum deflection L/360, standard requirements usually adequate, weight 5 to 6 pounds per square foot with denser body requiring better thin set coverage
• Natural stone (any size) needs minimum deflection L/720, requires stiffer subfloor than ceramic, weight 6 to 10+ pounds per square foot, more brittle with natural cleavage planes
• Large format tile (over 15 inches) needs minimum deflection L/720 regardless of material, requires flatter substrate (1/8 inch in 10 feet), thicker thin set application, weight varies but pieces are heavy and awkward
• Mosaic and small tile (under 6 inches) needs standard L/360 deflection, more forgiving of minor substrate irregularities because small pieces conform better, lighter weight but labor intensive installation
Cost Breakdown for Bathroom Subfloor Replacement Projects

Material costs for subfloor replacement vary based on bathroom size and damage extent, but typical 5×8 foot bathroom falls between specific ranges. Exterior rated plywood runs $35 to $50 per sheet, cement backer board costs $10 to $20 per sheet, and you’ll need fasteners, thin set mortar, and waterproofing membrane.
For a complete DIY material list in a standard bathroom, budget $200 to $400 depending on whether you choose standard or premium materials. Professional installation adds labor costs that typically exceed material costs by 2 to 3 times. The tradeoff is speed, warranty coverage, and peace of mind that structural and waterproofing details are correct.
| Cost Category | DIY Cost Range | Professional Cost Range |
|---|---|---|
| Materials (plywood, cement board, fasteners) | $200 – $400 | $250 – $500 (contractor pricing) |
| Demolition and disposal | $50 – $100 (disposal fees, bags) | $300 – $600 (labor and disposal) |
| Structural repairs (sistering joists, blocking) | $100 – $300 (lumber and hardware) | $400 – $1,200 (depends on extent) |
| Installation (subfloor and underlayment) | $0 (your labor) | $600 – $1,200 |
| Waterproofing membrane application | $50 – $150 (material only) | $200 – $400 (material and labor) |
Professional installation makes sense when you find structural damage beyond simple subfloor replacement. If joists are compromised, if you’re dealing with plumbing relocations, or if building permits require licensed contractor work, the professional cost includes liability insurance and warranty coverage that protects you if something goes wrong. Hidden costs appear when you open walls and find mold remediation needs, additional framing repairs, or electrical work. Budget an extra 20% beyond estimates for contingencies. In renovation work, you discover problems you can’t see until demolition exposes them.
Timeline and Curing Requirements Before Installing Tile
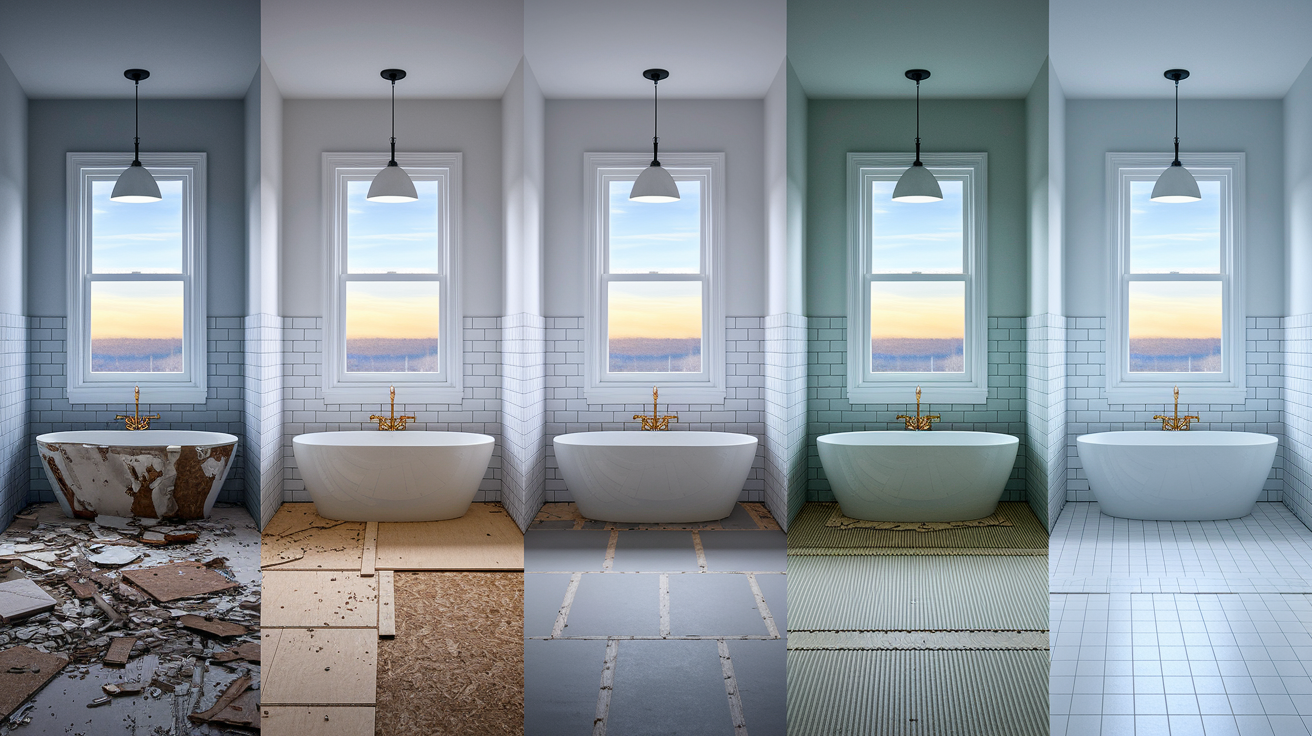
Rushing subfloor replacement leads to callbacks, cracked tiles, and wasted money. Materials need time to cure, dry, and stabilize before tile installation begins.
Environmental conditions matter throughout the project. Maintain room temperature between 50°F and 90°F for proper curing of adhesives, mortar, and membranes. High humidity slows drying times for liquid membranes and self leveling compounds. Run a dehumidifier in damp conditions and provide ventilation with fans to move air without creating drafts that cause uneven drying.
Realistic timeline for a standard bathroom subfloor replacement:
- Demolition and disposal (1 day), which includes removing toilet, existing flooring, and damaged subfloor, disposing of debris properly, cleaning work area
- Structural repairs including joist sistering or blocking (1 to 2 days), allow extra time if you’re waiting for inspections or if repairs are extensive
- Subfloor installation with plywood underlayment (1 day), including cutting panels, fastening according to specifications, and verifying level and deflection
- Waterproofing membrane cure time (24 to 48 hours minimum), liquid membranes require full cure before foot traffic or thin set application, sheet membranes are faster
- Cement board installation and thin set cure (24 hours minimum), don’t walk on it or stress seams until thin set reaches initial set
- Final preparation and ready for tile (after completing all previous curing), verify surface is clean, level, and meets deflection requirements
Materials need acclimation before installation. Store plywood and cement board in the bathroom or adjacent room for 48 hours before use so they adjust to the temperature and humidity conditions where they’ll be installed. Wood products expand and contract with moisture changes. Installing cold materials from outdoor storage into a warm bathroom causes expansion after installation that can buckle panels if you didn’t leave adequate gaps.
Common Mistakes That Compromise Tile Installation Success
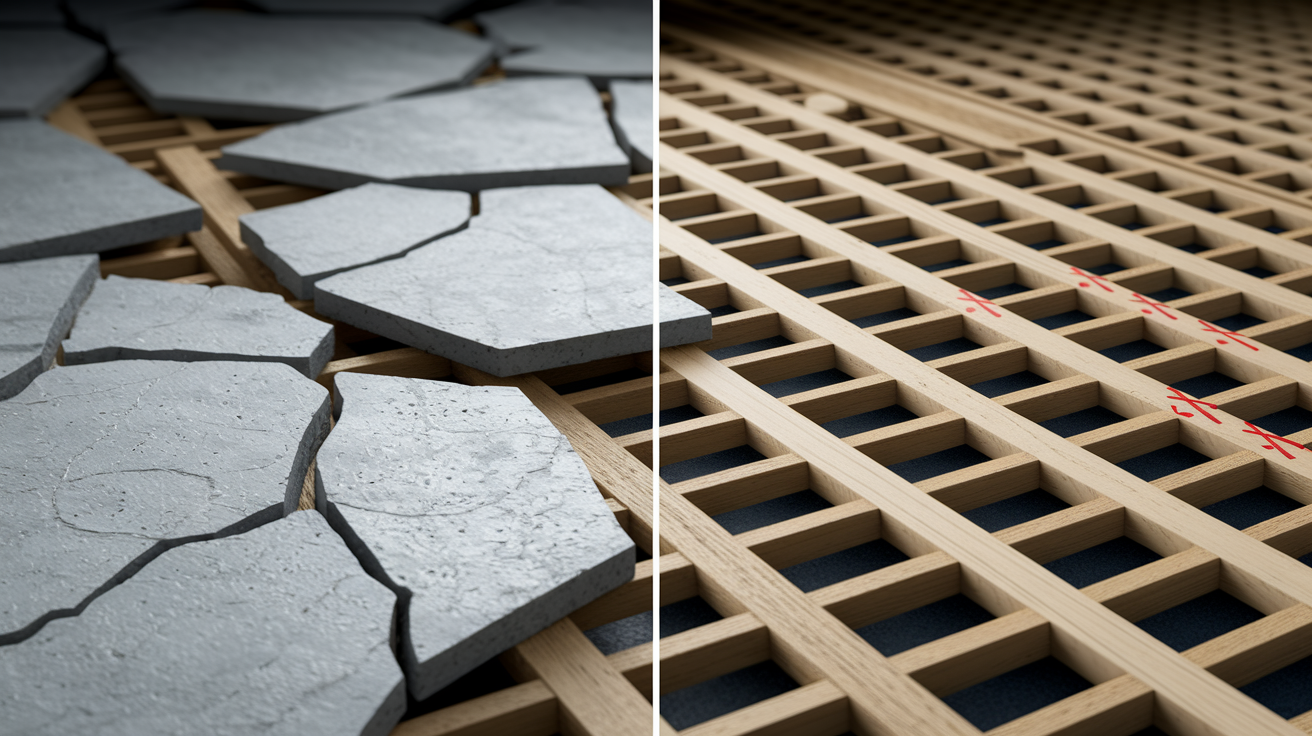
Most tile failures trace directly back to subfloor prep errors that seemed minor during installation but create major problems once tile is installed.
• Fastening underlayment into joists creates hard spots that pop fasteners upward when the floor flexes, cracking tiles directly above those fasteners
• Inadequate deflection control means floors that bounce or flex beyond L/360 (or L/720 for stone) will crack tiles and grout no matter how perfect the tile installation
• Skipping moisture barriers in wet areas lets unprotected wood subfloors absorb water from shower spray and leaks, leading to rot and mold that requires tearing everything out
• Wrong plywood grade for bathroom use results in interior grade plywood with moisture sensitive adhesives delaminating in bathroom humidity even without direct water contact
• Insufficient curing time between layers creates soft spots and bonding failures with thin set mortar and liquid membranes that don’t fully cure
• Improper spacing between panels causes plywood and cement board to buckle without adequate expansion gaps when they expand with humidity changes
• Ignoring damaged joists underneath means rotten or cracked joists don’t support loads properly, causing progressive sagging that breaks tiles even with adequate subfloor thickness
• Wrong fastener spacing or length results in loose panels from too few fasteners creating flex, while fasteners too long penetrate into joists causing the hard spot problem
• Inadequate ventilation during installation traps moisture from wet materials that can’t escape, prolonging cure times and keeping wood damp longer than necessary
• Ignoring building codes and permit requirements because some jurisdictions require permits for structural work, and skipping inspections leaves you liable if the work fails
Three conflicting standards exist for tile underlayment: TCNA 2015 Handbook, ANSI A108.01, and APA Engineered Wood Association guidelines. They don’t always agree on joist spacing, subfloor thickness, or deflection limits. When standards conflict, follow your tile manufacturer’s installation instructions because they control warranty coverage. If you deviate from manufacturer specs and the tile cracks, they’ll deny your warranty claim and you’ll pay for replacement materials and labor.
Building codes vary by location, particularly for moisture barriers, ventilation requirements, and structural load calculations. Check local requirements before starting work. If you’re selling the house within a few years, unpermitted work can derail sales when inspectors find it.
When to Hire a Professional vs DIY Subfloor Replacement

DIY subfloor replacement requires intermediate carpentry skills, appropriate tools including circular saw and drill, and realistic timeline expectations. A standard 5×8 foot bathroom takes an experienced DIYer about three full days spread over a week when accounting for curing times. First timers should budget five days of actual work plus waiting periods.
Call a professional when you encounter these scenarios: structural damage extending beyond simple subfloor rot into joists and beams, requirements for building permits that need licensed contractor signatures, warranty protection that requires professional installation, or extensive plumbing relocations affecting drain and supply lines. If you’re unsure about joist condition, deflection calculations, or moisture barrier requirements, a professional assessment costs $150 to $300 and prevents expensive mistakes.
The value calculation depends on project complexity and your skill level. A straightforward subfloor replacement with no structural complications and basic square room layout is DIY friendly. You’ll save $800 to $1,500 in labor costs. Complex projects with multiple penetrations, structural sistering requirements, custom waterproofing details, or difficult access make professional installation worthwhile. Professionals complete in 2 to 3 days what takes DIYers a week or more.
Liability matters more than most people realize. If your DIY subfloor work fails and causes water damage to rooms below, your homeowner’s insurance might not cover repairs for work done without permits or outside code compliance. Professional contractors carry liability insurance covering their installation work. If they make mistakes, their insurance pays for corrections and any resulting damage.
Building permits typically require licensed contractor work for structural modifications, major plumbing changes, and electrical relocations. You can often do finish work yourself, but structural subfloor replacement affecting load bearing members needs permit approval in most jurisdictions. Inspectors verify joist sizing, spans, and connections meet code. Skipping permits might work until you sell the house and the buyer’s inspector flags unpermitted work.
Certain tile manufacturers void warranties if installation doesn’t follow their specifications exactly, and some specs explicitly require professional installation. Large format tiles over 15 inches, natural stone installations, and premium porcelain often carry these requirements. Read warranty terms before starting work. A failed tile installation requiring complete removal and reinstallation costs far more than hiring professionals initially.
Professional assessment benefits even committed DIYers. Pay a contractor for 1 to 2 hours of consultation to review your plan, verify deflection calculations, recommend materials, and identify potential complications. That $150 to $300 investment prevents mistakes that cost thousands to fix after tile installation is complete.
Final Words
Bathroom subfloor replacement before tiling isn’t a corner you can cut. Your tile is only as good as what’s underneath it.
Work through the inspection, choose the right materials for the moisture level, and follow the fastener spacing rules. Skip the step where you fasten into the joists. Give everything time to cure.
If the joists are questionable or the deflection test feels bouncy, bring in a structural opinion before you tile.
Do it right now, and you won’t be tearing it out in two years.
FAQ
Q: What do you put over the subfloor before tiling?
A: Over the subfloor before tiling, you put cement backer board as underlayment, along with a waterproofing membrane like RedGuard or an uncoupling membrane like Schluter Ditra. The cement board creates a stable, moisture-resistant base, while the waterproofing protects against water damage.
Q: Can you tile directly on the subfloor in a bathroom?
A: You should not tile directly on the subfloor in a bathroom. Proper tile installation requires cement backer board over the structural plywood subfloor, plus a waterproofing membrane. Skipping these layers leads to tile cracking, water damage, and subfloor rot.
Q: Does the subfloor need to be replaced if it gets wet?
A: The subfloor needs replacement if it gets wet only when moisture causes soft spots, visible rot, swelling, or mold growth. Use a moisture meter to check levels. If readings exceed 12-14% after drying time, or if physical damage is present, replacement is necessary.
Q: What is the minimum plywood thickness for bathroom subfloor under tile?
A: The minimum plywood thickness for bathroom subfloor under tile is 5/8-inch nominal plywood rated as Exposure 1 or Exterior grade. Thickness requirements depend on joist spacing, with 16-inch centers being standard. Thinner plywood fails deflection tests and causes tile cracking.
Q: How do you check if a subfloor is strong enough for tile?
A: You check if a subfloor is strong enough for tile by performing a bounce test and measuring deflection. The floor should not flex more than L/360 under 50 pounds per square foot for ceramic tile, or L/720 for natural stone. Excessive bounce means inadequate support.
Q: Should you use construction adhesive when installing subfloor for tile?
A: You should use construction adhesive when installing subfloor for tile if you want maximum stiffness and deflection control. With adhesive, you can use fewer fasteners. However, adhesive makes future floor removal difficult, so consider long-term plans before applying it.
Q: How long does subfloor need to dry before installing tile?
A: Subfloor needs to dry until moisture levels drop below 12-14% before installing tile. This typically takes 24-48 hours after waterproofing membrane application, and another 24 hours after cement board installation. Use a moisture meter to verify dryness before proceeding with tile.
Q: What fastener spacing is required for plywood underlayment under tile?
A: Fastener spacing required for plywood underlayment under tile is 3-inch spacing along edges and 6-inch spacing in the field without adhesive. With construction adhesive, you can use 6-inch edge spacing and 8-inch field spacing. Never fasten underlayment into joists to prevent tile cracking.
Q: Do you need waterproofing under tile in a bathroom?
A: You need waterproofing under tile in a bathroom to protect the subfloor from moisture damage and prevent mold growth. Use liquid membranes like RedGuard, sheet membranes like Schluter systems, or uncoupling membranes like Ditra. Waterproofing is essential in high-moisture areas.
Q: What’s the difference between subfloor and underlayment for tile?
A: The difference between subfloor and underlayment for tile is that subfloor is the structural plywood layer attached to joists, while underlayment is the cement backer board installed over the subfloor. The subfloor provides strength, and the underlayment creates a stable, moisture-resistant tile base.
Q: How much does bathroom subfloor replacement cost before tiling?
A: Bathroom subfloor replacement cost before tiling ranges from $200-500 for DIY materials in a small bathroom, or $800-2,500 with professional installation. Costs increase with structural joist repairs, larger bathrooms, premium materials, and extensive water damage requiring mold remediation.
Q: Can you install tile over OSB subfloor in a bathroom?
A: You can install tile over OSB subfloor in a bathroom only if you add proper underlayment and waterproofing. However, exterior-rated plywood is preferred over OSB for bathrooms because OSB swells more when wet. Always install cement backer board and waterproofing membrane over any subfloor.