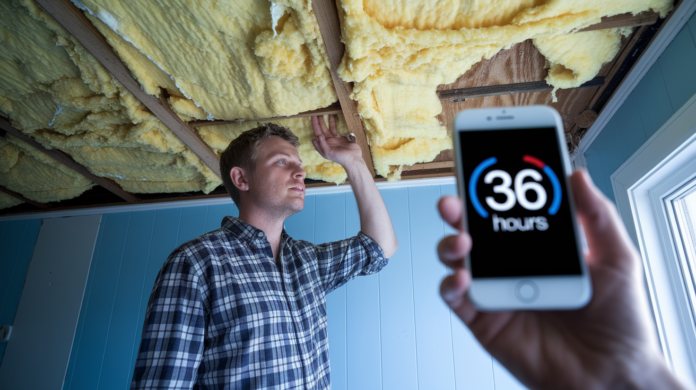

Most homeowners wait too long to replace wet insulation, thinking they’ve dodged the problem once surfaces look dry. That’s a mistake. Insulation hides moisture damage where you can’t see it, and what looks fine from the outside can be growing mold colonies, losing R-value, or slowly rotting your framing. The real question isn’t if you should replace water-damaged insulation, it’s whether you caught it early enough to have a choice. This guide walks through the critical timeline, contamination categories, and material-specific signs that tell you replacement is mandatory, not optional.
Critical Timeline: Immediate Action Requirements After Water Exposure
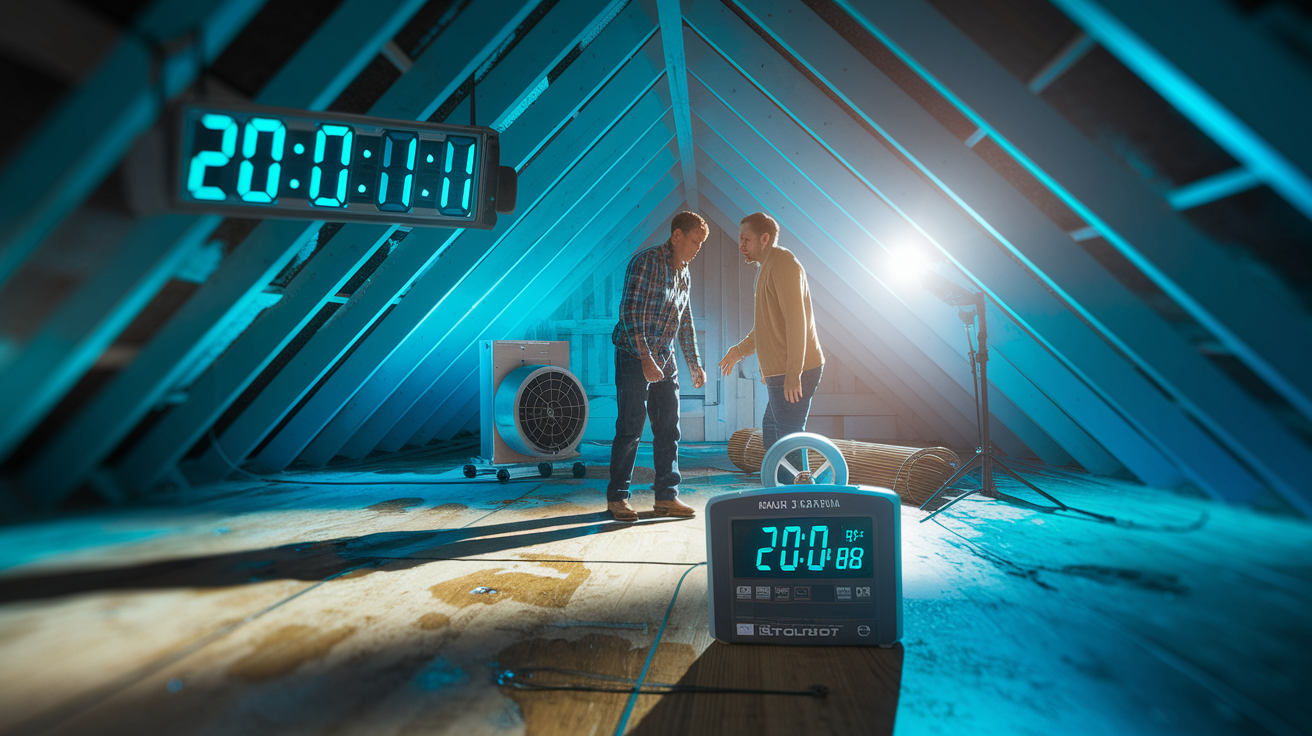
The first 24 to 48 hours after water exposure is your make or break window for deciding whether insulation can be saved. Once that window closes, mold spores start setting up camp in wet insulation, turning a water problem into a health problem that’s gotta come out.
Hour by hour, here’s what you’re looking at:
- Hour 0 to 24: You’re in assessment mode. Find the leak source, shut it down, document everything, get standing water out, and get air moving.
- Hour 24 to 48: Decision time. A pro needs to look at it and tell you if it’s salvageable based on what type of insulation you’ve got, what kind of water hit it, and how soaked it is.
- Hour 48 to 72: Mold spores start developing. Even if the surface looks dry, microscopic growth begins, especially in cellulose and compressed fiberglass.
- Beyond 72 hours: You’re replacing it. EPA and CDC both say once active mold colonies establish, the material is contaminated.
- Timeline unknown: Replace immediately. If you can’t confirm when water contact happened, assume contamination and get it out.
That 24 to 48 hour window exists because mold needs moisture, something organic to feed on, and time. Wet insulation is basically a perfect mold farm. According to EPA and CDC guidelines, mold can colonize porous building materials in this timeframe when moisture levels go over 20 percent and temperatures stay above 40°F. Every hour you wait after water exposure increases contamination risk and cuts down your chances of saving anything.
If you don’t know the leak timeline (common with slow roof leaks, hidden pipe drips, or stuff that happens while you’re on vacation), replacement is the only safe call. You can’t verify how long moisture’s been sitting there, which means you can’t rule out active mold growth inside the insulation where you can’t see it. Unknown timing automatically means replacement wherever you find moisture evidence.
What you do in the first 24 hours directly impacts whether you’re ripping everything out. Immediate water extraction, fixing the leak source, and running commercial fans creates the only scenario where certain insulation types might be saved. Wait past this window, and even materials that could potentially be salvaged (like closed cell spray foam) need professional moisture testing to confirm hidden contamination hasn’t developed.
Water Contamination Categories That Determine Replacement Necessity
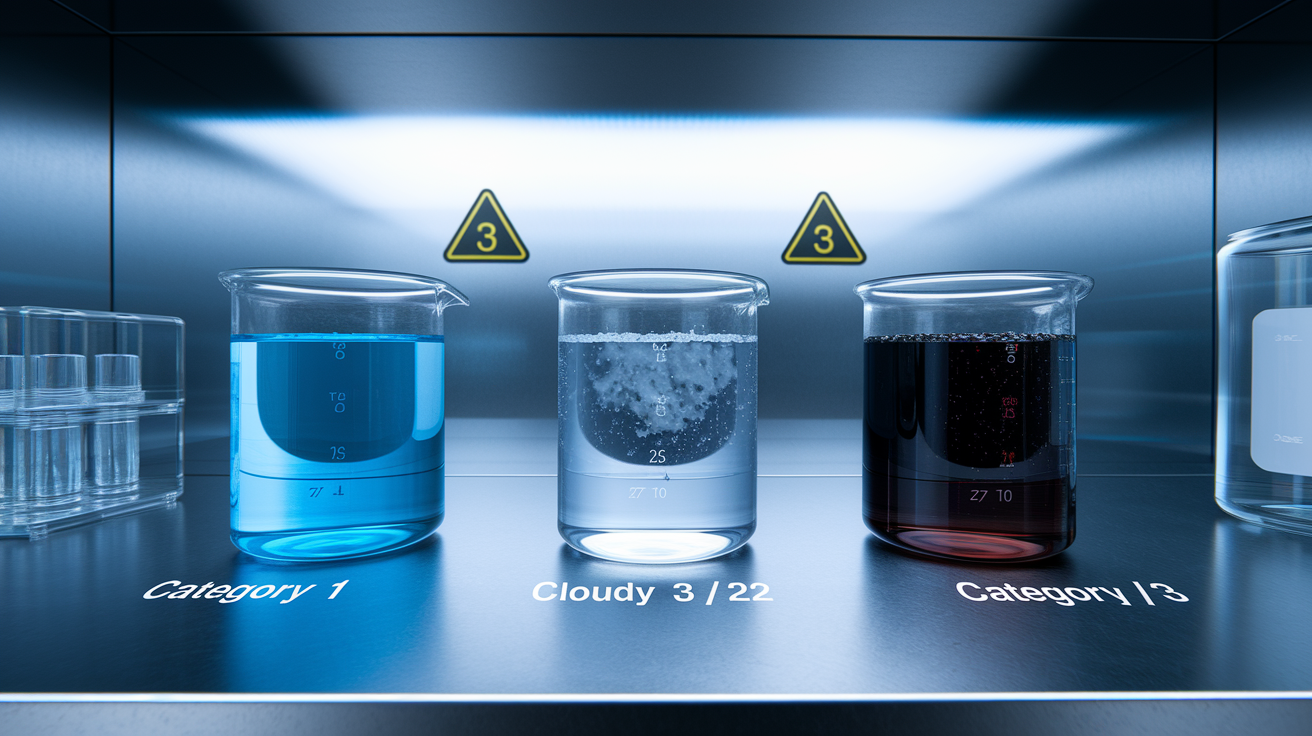
The IICRC S500 standard breaks water damage into three contamination categories, and this classification overrides everything else. Even if your insulation type could theoretically dry within 48 hours, contaminated water contact means immediate removal no matter what.
Category determines replacement because contamination introduces pathogens, chemicals, and toxins that stay in insulation fibers even after drying. The health risk from contaminated insulation can’t be eliminated through drying, dehumidification, or surface cleaning. Once contamination happens, the material becomes a permanent hazard that’s gotta be removed and disposed of properly according to local regulations.
| Water Category | Source Examples | Replacement Required |
|---|---|---|
| Category 1: Clean Water | Supply line breaks, rainwater through roof, overflowing sinks with clean water | Depends on insulation type and 48 hour timeline. Salvage possible in limited scenarios. |
| Category 2: Gray Water | Washing machine discharge, dishwasher overflow, toilet overflow with urine only, sump pump backups | Yes. Contains bacteria and chemical contaminants that pose health risks. |
| Category 3: Black Water | Sewage backups, flooding from rivers or streams, toilet overflow with feces, prolonged Category 2 water (48+ hours) | Yes. Immediate replacement mandatory due to pathogens, parasites, and toxic contamination. |
Health risks escalate dramatically with each category. Category 2 gray water contains bacteria that cause gastrointestinal illness, skin infections, and respiratory problems when you disturb it during removal. Category 3 black water brings E. coli, hepatitis, leptospirosis, and other serious pathogens. Any insulation touched by Category 2 or Category 3 water can’t be safely salvaged, and trying to dry it in place creates airborne health hazards throughout your home as contaminated particles circulate through HVAC systems.
Insulation Material Response and Upgrade Considerations: Fiberglass Versus Cellulose Versus Spray Foam
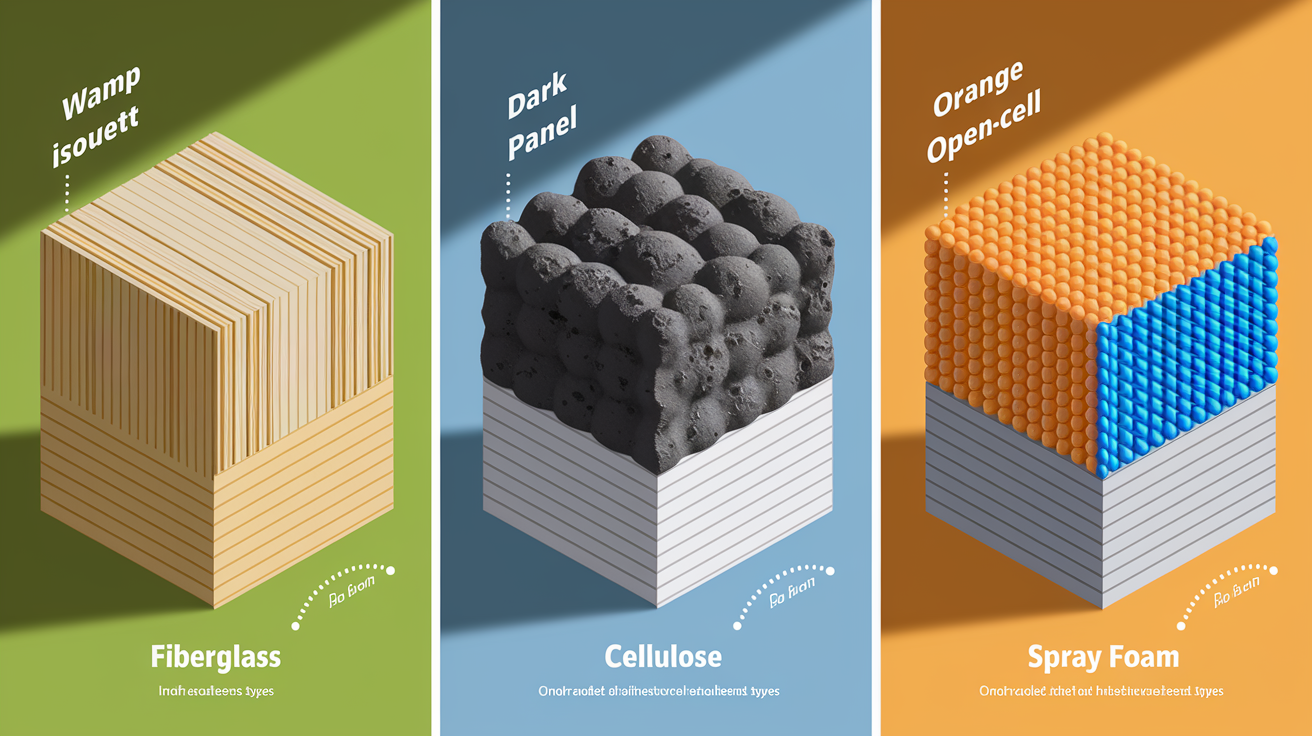
Material type determines whether wet insulation can be saved, and understanding how different materials respond helps you make informed decisions during that critical 48 hour window. Water damage also gives you a chance to upgrade to higher performance materials that resist future moisture events and improve long term energy efficiency.
Fiberglass Insulation Water Damage Response
Fiberglass batts are made of spun glass fibers that don’t chemically absorb water, but the material traps moisture within its structure through capillary action. Water collects between the glass fibers and becomes really difficult to remove even with fans and dehumidifiers. The surface might look dry while moisture persists deep inside the batt, causing problems you can’t see.
Wet fiberglass loses thermal performance immediately because water’s a natural heat conductor, transferring warm air through the insulation instead of blocking it. Compression from water weight further reduces effectiveness by collapsing the air pockets that provide R value. Once compressed, fiberglass batts rarely bounce back to their original loft even after drying.
You can potentially salvage fiberglass if it gets moderately wet from clean water (Category 1), you catch it within 24 hours, and you can remove the batts to dry in direct sunlight or a warm space with airflow. If batts stay thoroughly soaked beyond 48 hours or stay compressed in place, you’re replacing them to prevent surrounding wood moisture damage and mold growth on paper backing. Fiberglass density makes complete drying nearly impossible once thoroughly saturated.
Cellulose Insulation Absorption and Replacement
Cellulose insulation is made of pulverized paper treated with fire retardants, and it acts like a sponge when water hits it. The plant fiber construction absorbs moisture rapidly and holds onto it for extended periods, making cellulose the least salvageable common insulation type.
Once wet, cellulose can’t regain its loft or R value. The material compacts under its own weight when saturated, and even after drying, it stays compressed and ineffective. Small sections of cellulose can theoretically be removed, spread out with adequate space, and dried over 10 days or longer, but this only works for limited areas you catch immediately. Most water damage scenarios exceed this salvage threshold.
Cellulose creates an ideal mold and mildew breeding environment because it combines cellulose (an organic food source), moisture, and darkness. Mold growth happens within a few days instead of several weeks with other materials. This accelerated contamination timeline means cellulose insulation almost always needs replacement when wet, regardless of water category or how fast you found it.
Spray Foam: Open Cell Versus Closed Cell Differences
Closed cell spray foam resists water absorption better than any other common insulation type and can sometimes be salvaged after water exposure. The material’s dense cellular structure prevents moisture from penetrating, causing water to bead on the surface rather than soak in. If only surface contact occurred with clean water, closed cell foam can often be dried and remain effective.
Open cell spray foam behaves completely differently. It acts like a sponge and absorbs water into its structure similar to cellulose. The open cellular design allows moisture penetration that requires removal and replacement. Don’t assume spray foam can be salvaged without understanding which type you have.
Even closed cell spray foam needs professional moisture testing after water exposure. Water damage around spray foam can still cause hidden mold growth or structural rot in surrounding materials like studs or sheathing. The foam itself might be fine while the wood framing behind it develops serious contamination. Professional inspection with moisture meters and thermal imaging confirms whether the entire assembly is dry or if hidden damage exists.
Replacement gives you an opportunity to upgrade to materials that resist future moisture events and improve building envelope performance. If your water damaged area shows vulnerability to repeated incidents (basement flooding zone, roof valley prone to ice dams, bathroom with recurring plumbing issues), upgrading materials makes financial sense.
Upgrade material options:
- Closed cell spray foam for maximum moisture resistance and energy efficiency. Creates air and vapor barrier while providing superior R value per inch, particularly valuable in flood prone basements or roof assemblies.
- Mineral wool (rock wool) for water resistant fiber insulation. Sheds water better than fiberglass, maintains R value when damp, and resists mold growth without chemical treatments.
- Rigid foam boards for basements and below grade applications. XPS and polyiso boards resist moisture absorption and prevent thermal bridging through foundation walls.
- Enhanced vapor barriers and moisture management systems. Proper moisture control prevents insulation damage by stopping water before it reaches the material.
Visual and Physical Signs Indicating Insulation Replacement
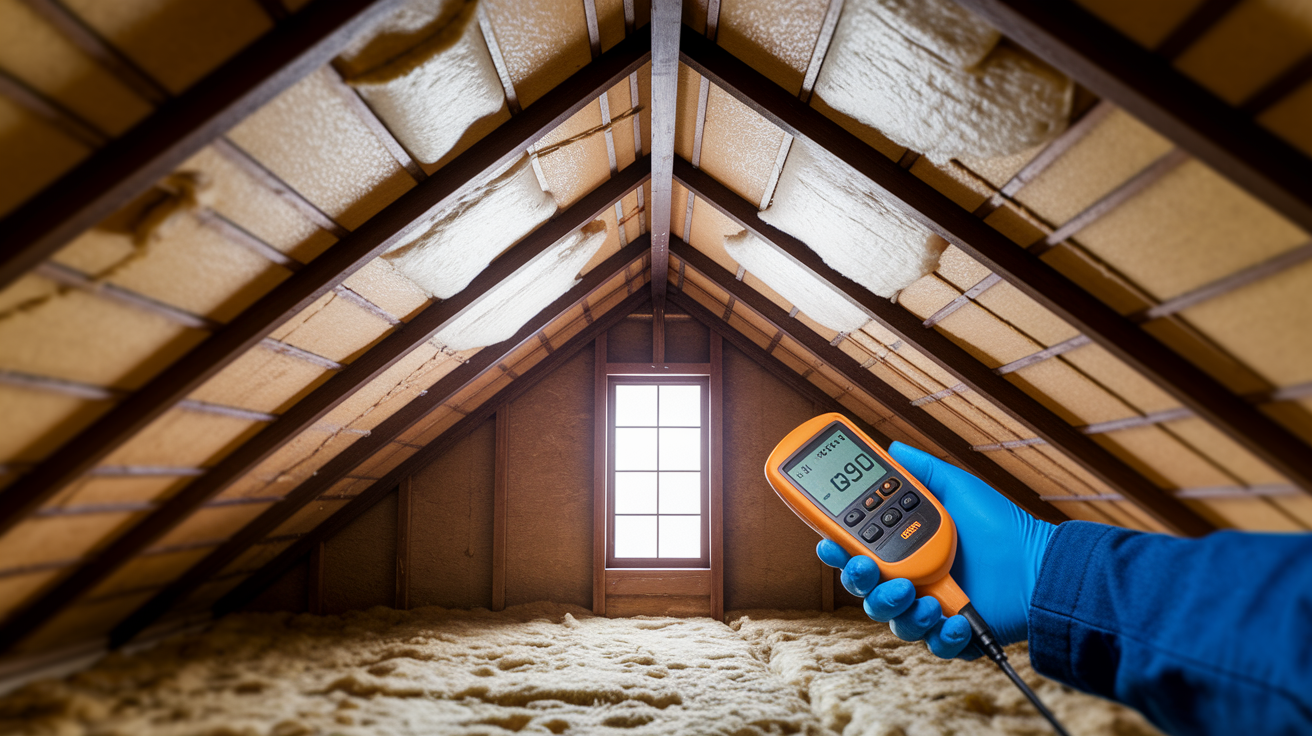
Visual inspection is your first assessment step for determining whether wet insulation needs replacement. Observable signs reveal both current damage and ongoing moisture problems that’ll worsen without intervention.
Replacement indicators:
- Visible sagging or drooping from ceiling or wall cavities. Saturated insulation adds weight that pulls material away from framing.
- Brown or yellow discoloration patterns. Water stains mean moisture’s wicking through insulation and transferring to drywall.
- Compressed or matted appearance. Loss of loft means air pockets collapsed and R value dropped.
- Persistent musty or damp odor. Smell indicates active microbial growth even when mold isn’t visible.
- Visible mold spots or dark patches. Black, green, or white growth confirms contamination requiring immediate removal.
- Cold spots or temperature inconsistencies. Thermal camera or hand check reveals areas where wet insulation lost effectiveness.
- Increased energy bills post water event. Heating or cooling costs spike when insulation performance drops.
- Physical wetness that persists beyond 48 hours. Material that stays damp this long can’t dry properly in place.
Even one indicator from this list warrants professional inspection and likely requires replacement. Multiple indicators confirm replacement necessity. The signs often show up together because water damage creates cascading effects. Wetness leads to compression, compression causes cold spots, moisture enables mold growth, and mold produces odors. Catching early warning signs before visible mold appears offers the best chance to limit replacement scope and cost.
Location Specific Replacement Considerations for Attics, Basements, and Crawl Spaces
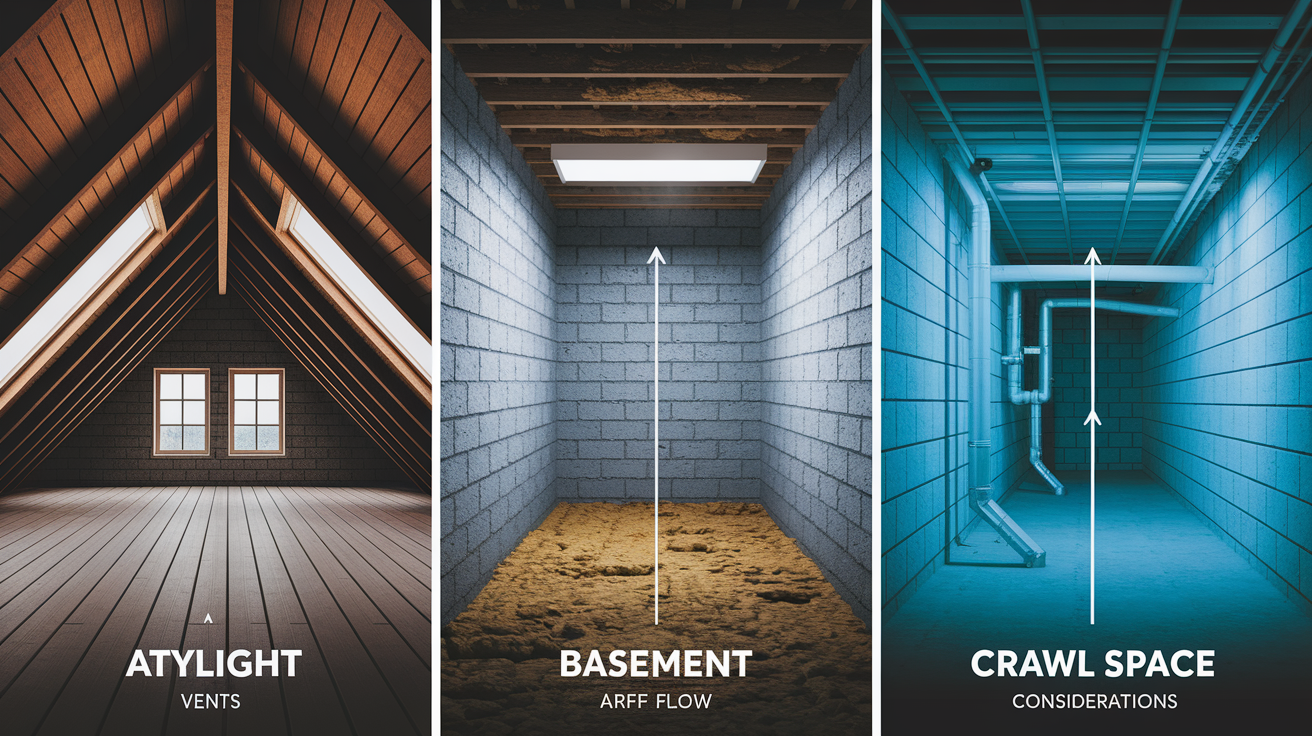
Insulation location dramatically affects both replacement urgency and the complexity of removal and installation. Where water damaged insulation sits determines drying potential, contamination risk, and whether DIY assessment is even possible.
Attic Insulation After Roof Leaks
Attic insulation benefits from gravity driven drainage and natural ventilation that assist drying, making this location the most favorable for potential salvage if conditions align. Water runs downward through blown in or batt insulation rather than pooling, and attic vents allow airflow that carries moisture away.
Roof leaks are the most common attic water source, typically introducing Category 1 clean water unless the leak saturates old insulation harboring years of dust and rodent contamination. Accessibility in most attics allows direct inspection and moisture testing without demolition. If you catch a roof leak within hours, extract standing water immediately, and deploy fans plus dehumidifiers, certain insulation types might dry enough to avoid replacement.
That said, attic insulation still needs replacement if it stays wet beyond 48 hours, compresses and loses loft, or shows any mold development. The relatively favorable drying conditions don’t override fundamental material limitations or contamination risks.
Basement and Foundation Wall Insulation
Basement insulation faces the worst moisture conditions and almost always requires replacement after water contact. Flooding introduces Category 2 or Category 3 contaminated water, concrete walls transmit moisture into insulation through capillary action, and basements lack natural ventilation needed for drying.
Trapped moisture becomes the defining problem in below grade applications. Even if surface insulation appears to dry, moisture persists in the concrete behind it and continues wicking into insulation materials. Foundation walls stay cold year round, creating condensation potential whenever humid air contacts them. This constant moisture source means wet basement insulation rarely dries to safe levels.
Basement flooding creates immediate replacement scenarios regardless of insulation type. The contamination level, lack of drying potential, and ongoing moisture concerns make salvage attempts both ineffective and unsafe.
Crawl Space Insulation Challenges
Crawl space insulation combines the worst aspects of both attics and basements. Difficult access like attics, but moisture conditions like basements. High humidity environments, ground moisture transmission, and restricted ventilation create ideal conditions for mold growth in wet insulation.
Floor joist insulation in crawl spaces often contacts both water damage from above (plumbing leaks, HVAC condensate) and moisture from below (ground vapor, puddles from poor drainage). This dual exposure means insulation gets wet from multiple sources and stays wet due to constant humidity. Inspection difficulty compounds the problem because you often can’t see the full extent of damage without crawling through tight spaces.
Ground moisture contamination presents additional concerns. Water sitting on crawl space floors evaporates and saturates insulation from below. Even if the initial water event was Category 1 clean, prolonged ground contact reclassifies it as Category 2 due to soil bacteria and chemical contamination.
Professional Assessment and Remediation: When Expert Intervention Becomes Necessary
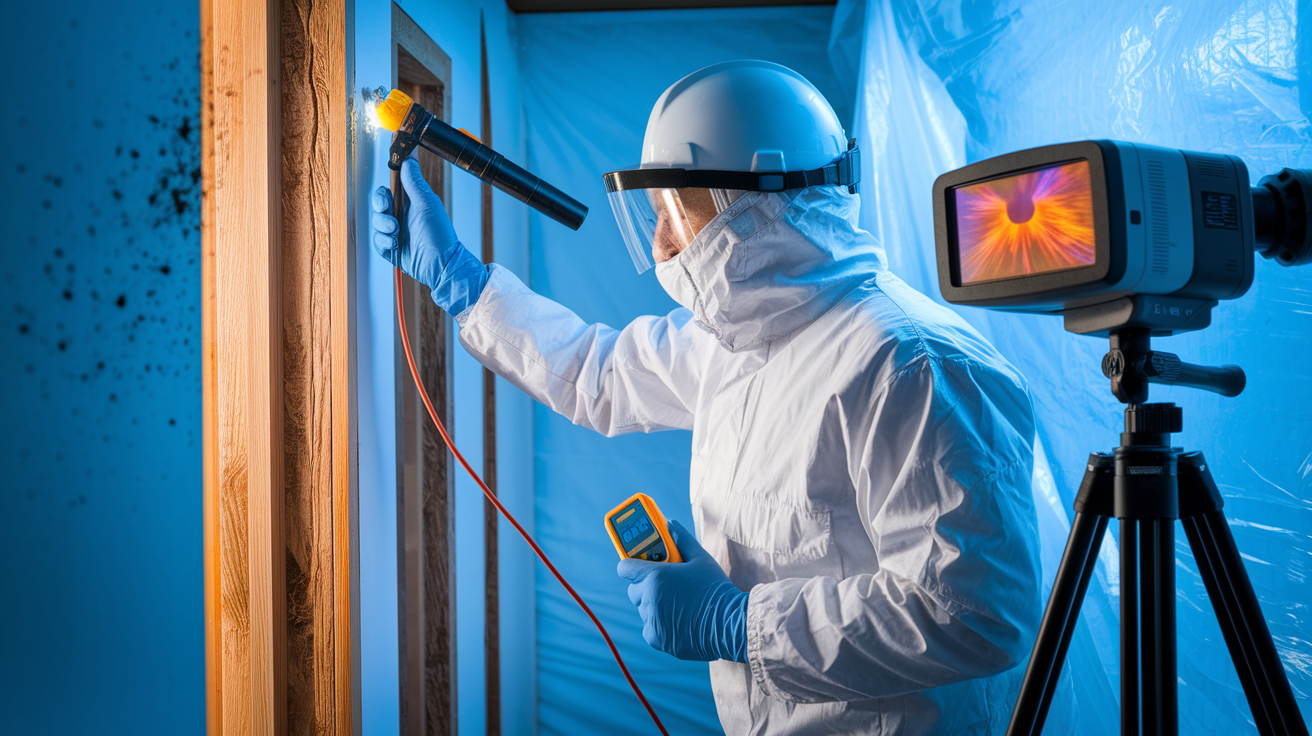
Most homeowners want to assess water damage themselves to avoid unnecessary professional costs, and initial visual inspection is a reasonable first step. But professional detection capabilities reveal hidden moisture and contamination that visual inspection can’t identify. Certain water damage scenarios require expert intervention from the start for safety and thoroughness.
Professional detection tools:
- Pin type and pinless moisture meters for material readings. Pin meters penetrate surfaces for accurate moisture content percentages, while pinless meters scan through materials without damage.
- Infrared thermal imaging cameras for temperature differentials. Identify cold spots indicating trapped moisture, air leaks, and insulation gaps invisible to the eye.
- Invasive probes for cavity and wall interior testing. Specialized tools drill small access points for moisture readings inside closed wall or ceiling assemblies.
- Humidity sensors for ambient moisture levels. Track whether space is drying properly or if humidity remains elevated indicating ongoing moisture source.
- Borescope cameras for visual inspection inside closed cavities. Fiber optic cameras thread through small holes to view inside walls without full demolition.
Visual inspection only reveals surface conditions. Fiberglass density makes internal moisture assessment impossible without professional equipment. Moisture meters determine if insulation is truly dry or if water persists deep within. Pros also assess structural components beyond insulation (studs, joists, sheathing, and drywall) because wooden structures surrounding wet insulation also become wet and must dry thoroughly to prevent hidden mold growth.
Thermal imaging detects temperature differentials that indicate moisture even after insulation appears visually dry. Cold spots show where water damaged insulation lost thermal performance or where moisture persists and evaporative cooling drops surface temperature. Water damage around spray foam can still cause hidden mold growth or structural rot in surrounding materials that only thermal imaging and invasive probing can identify.
Scenarios requiring professional remediation:
- Any Category 2 or Category 3 water contamination. Health risks from gray water and black water require professional containment, PPE, and disposal protocols.
- Insulation in wall cavities or inaccessible areas. DIY drying with household fans can’t reach inside wall or ceiling cavities effectively. Professionals inject dry air directly into cavities using specialized equipment.
- Visible mold growth or strong musty odors. Active mold requires containment to prevent spore spread and PPE to protect workers from exposure.
- Water damage exceeding 10 square feet. EPA recommends professional remediation beyond this threshold due to scope and contamination risk.
- Insulation in contact with electrical systems. Electrical hazards require qualified professionals to de energize circuits and safely work around wiring.
- Structural damage or sagging building components. Saturated insulation adding weight to compromised framing needs structural assessment before removal.
Professional containment barriers prevent mold spores and dust from spreading during removal, using plastic sheeting and negative air pressure machines that exhaust contaminated air outside. Technicians use PPE during removal to avoid exposure to mold and contaminants (respirators, goggles, gloves, and disposable coveralls protect against health hazards). High powered equipment dries framing and wall cavities to IICRC standards after insulation removal, typically achieving moisture content below 15 percent before new insulation installation.
Contaminated or degraded insulation should be professionally removed and disposed of to minimize health risks. Bagging wet moldy insulation yourself releases spores throughout your home, exposes you to pathogens without proper PPE, and may violate disposal regulations for contaminated materials in your area.
Combined Health and Performance Consequences of Delaying Replacement
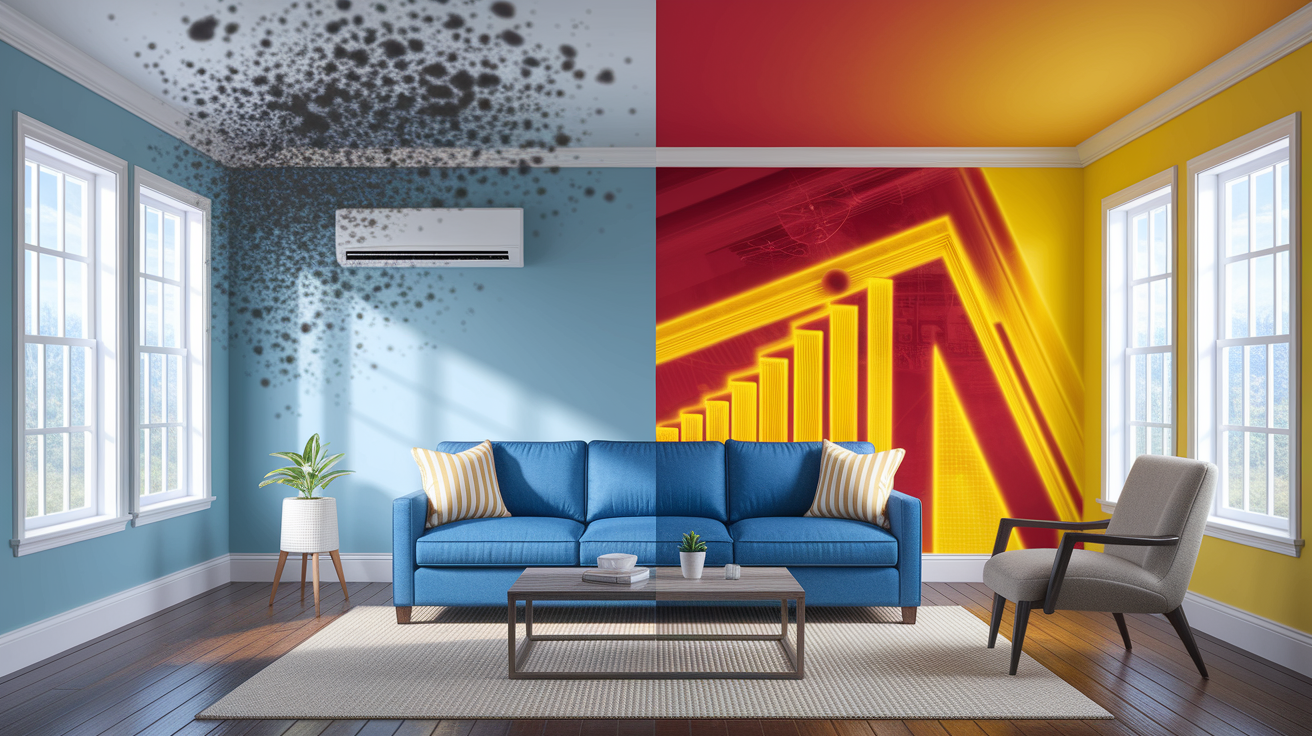
Delaying wet insulation replacement creates two interconnected problems. Occupant health risks from mold and contamination, plus building performance degradation that increases energy costs and causes structural damage. Both consequences worsen over time, making early replacement significantly more cost effective than waiting.
Mold spores from wet insulation circulate through HVAC systems, spreading contamination from one wet area throughout your entire home. Return air vents pull air from rooms, pass it through HVAC equipment, and distribute it to every supply register in the house. If wet insulation is growing mold near a return vent, spores get pulled into the system and broadcast to bedrooms, living areas, and other spaces far from the original water damage.
Respiratory risks from mold exposure include allergic reactions, asthma attacks, chronic sinus infections, and respiratory infections. Certain molds produce mycotoxins that cause neurological symptoms and immune suppression. Vulnerable populations (children, elderly, and immunocompromised individuals) face the most serious health consequences, but even healthy adults experience symptoms from prolonged exposure to moldy insulation.
Microbial contamination extends beyond visible mold. Category 2 and Category 3 water introduce bacteria and viruses that persist in insulation even after surface drying. Pest infestations in older insulation compound contamination through tunneling, urine, droppings, and nesting, creating health hazards when particles become airborne through HVAC systems during furnace or air conditioning operation.
Drying contaminated insulation doesn’t eliminate health hazards because the contaminants remain in the material. Dead mold spores and bacterial fragments still trigger allergic and respiratory responses. Chemical contaminants from gray water and sewage persist in fibers. Only complete removal eliminates the health risk once contamination occurs.
Thermal performance loss begins immediately when insulation gets wet because water acts as a natural temperature conductor. Heat transfers through wet insulation at 10 to 20 times the rate of dry insulation, essentially eliminating R value until the material dries. Compressed insulation can’t regain its original effectiveness. Cellulose stays compacted and fiberglass loses loft permanently once water weight collapses the material.
Moisture transfer to surrounding building materials creates cascading damage beyond the insulation itself. Wet insulation transfers moisture into drywall through wicking, causing paper facing to separate, gypsum to crumble, and paint to bubble or peel. Saturated insulation adds weight leading to sagging ceilings or warped floors where floor joists flex under the load. Wood framing that stays damp develops rot and loses structural capacity, requiring far more expensive repairs than simple insulation replacement would have cost.
Energy efficiency loss translates directly to increased heating and cooling costs that continue until insulation is replaced. Thermal bridging and cold spots from compromised insulation force HVAC systems to run longer cycles to maintain temperature, driving up utility bills month after month. The energy cost penalty often exceeds the initial replacement cost within one or two years, making delayed replacement financially counterproductive even without considering health risks.
Financial Planning: Insurance Coverage and Replacement Cost Factors

Insurance coverage and replacement costs are interconnected factors that affect both the timing of insulation replacement and the materials you ultimately install. Understanding coverage limitations and cost components helps you make informed financial decisions during an already stressful water damage event.
Insurance claim process:
- Document water damage immediately with photos and videos. Capture leak source, standing water, affected insulation areas, and surrounding damage before cleanup begins. Date stamp all documentation.
- Contact insurance company within 24 to 48 hours of discovery. Prompt notification protects claim validity and starts the professional assessment process.
- Obtain professional inspection and moisture assessment. Third party documentation from licensed contractors establishes damage extent and replacement necessity for claims adjusters.
- Get written estimates from licensed remediation contractors. Multiple bids demonstrate fair pricing and prevent insurance disputes about repair costs.
- Maintain all receipts and communication records. Document emergency mitigation expenses, hotel stays during remediation, and all correspondence with insurance company and contractors.
Typical homeowner policies cover sudden water events like pipe bursts, roof damage from storms, and appliance failures. Insurance claims may be denied if quick professional action isn’t taken after water damage. Insurers expect reasonable mitigation efforts to prevent additional damage. Waiting several days before calling professionals or attempting DIY repairs that fail can jeopardize coverage.
Coverage typically excludes gradual damage from slow leaks, flooding from ground water or rivers (requires separate flood insurance), and neglect situations where deferred maintenance caused the water intrusion. Most policies also deny claims for mold remediation if the mold resulted from failure to address known water damage promptly. Reading your specific policy language and understanding deductibles helps set realistic financial expectations before filing claims.
Proper professional replacement maintains home value and supports future resale by providing documentation that water damage was correctly remediated. Disclosure requirements in most states mandate revealing past water damage to buyers, and professional restoration records demonstrate the issue was properly resolved rather than covered up.
| Cost Component | Typical Range (per sq ft) | Notes |
|---|---|---|
| Water extraction/drying | $3.50 to $7.00 | Emergency mitigation costs separate from replacement, typically covered by insurance |
| Old insulation removal | $1.00 to $2.50 | Higher for contaminated materials requiring special containment and disposal |
| Structural drying | $2.00 to $4.00 | Drying framing and cavities to prevent mold, includes equipment rental and monitoring |
| New insulation installation | $1.50 to $6.00 | Varies by material type. Blown fiberglass/cellulose cheapest, closed cell spray foam most expensive. |
| Optional upgrades | $3.00 to $12.00 | Closed cell spray foam, mineral wool, enhanced vapor barriers, or moisture management systems |
Emergency mitigation costs (water extraction and initial drying) are separate line items from replacement costs, and insurance typically covers both when water damage results from a covered peril. Mitigation happens in the first 24 to 48 hours and focuses on preventing additional damage. Replacement occurs after structural components dry to acceptable levels and addresses permanently damaged materials that can’t be salvaged.
Upgrading materials during replacement rather than installing like for like replacements makes financial sense when the damaged area showed vulnerability to moisture problems. Spending an additional $3 to $6 per square foot for closed cell spray foam in a basement that floods periodically provides long term moisture resistance and energy savings that justify the upfront cost. Replacing damaged fiberglass with identical fiberglass in a roof valley prone to ice dams sets up the same failure pattern to repeat in the future.
Replacement Process: From Removal Through New Installation

Professional insulation replacement follows a multi stage process requiring proper sequencing to ensure thorough moisture removal, contamination control, and code compliant installation that performs as expected.
Complete replacement process:
- Address and repair leak source (roof, pipe, foundation). Replacement makes no sense if active water intrusion continues, so source repair happens before insulation work begins.
- Set up containment barriers and negative air pressure. Plastic sheeting seals work area from rest of home, HEPA filtered exhaust fans create negative pressure that prevents contaminated air from spreading to clean areas.
- Remove compromised insulation wearing proper PPE. Respirators, goggles, gloves, and disposable coveralls protect workers from mold spores, fiberglass particles, and contaminants during removal.
- Extract remaining moisture from cavities and structural components. High volume fans, commercial dehumidifiers, and specialized drying equipment remove water from spaces insulation previously occupied.
- Dry framing, studs, and surrounding materials to acceptable moisture levels (typically below 15%). Moisture meter readings confirm wood members reached safe levels before new insulation installation, preventing trapped moisture problems.
- Inspect and repair any structural damage to wood components. Replace rotted sill plates, sistered compromised joists, treat minor wood decay, ensuring sound structure before insulation installation.
- Apply vapor barriers or moisture control measures as needed. Install poly sheeting, housewrap, or other moisture barriers as required by building code and climate zone.
- Install new insulation material following building codes and manufacturer specifications. Proper density for blown insulation, full cavity fill for batts, correct thickness for spray foam applications, achieving specified R values without gaps or compression.
Prevention Strategies to Protect Replacement Insulation Investment

Prevention protects the financial and performance investment you just made in replacement insulation. Proactive measures address the conditions that caused water damage in the first place.
Prevention measures:
- Schedule annual roof inspections before weather seasons. Catch worn shingles, failed flashing, and compromised valleys before they leak during heavy rain or snow melt.
- Install water leak detection sensors near water heaters and appliances. Smart sensors alert you to leaks within minutes, allowing response during the critical 24 hour window before major damage occurs.
- Maintain proper attic and crawl space ventilation. Ridge vents, soffit vents, and crawl space vents remove moisture and prevent condensation that degrades insulation over time.
- Use dehumidifiers in high moisture areas (basements, crawl spaces). Keep relative humidity between 30 and 50 percent to prevent condensation and mold growth.
- Inspect and maintain plumbing systems, especially older pipes. Replace corroded supply lines, insulate pipes in unconditioned spaces, and fix minor leaks before they become major failures.
- Ensure proper grading and drainage away from foundation. Soil should slope away from house at minimum 6 inches over 10 feet, downspout extensions carry roof water at least 5 feet from foundation.
- Clean gutters and downspouts regularly. Clogged gutters overflow during rain and pour water down exterior walls, saturating insulation in wall cavities.
- Seal basement walls and install sump pumps where needed. Waterproofing coatings on interior foundation walls plus functioning sump systems prevent groundwater intrusion.
- Monitor indoor humidity levels (maintain 30 to 50% relative humidity). Hygrometers track conditions that promote mold growth or create condensation on cold surfaces that drips onto insulation.
Final Words
Water-damaged insulation won’t fix itself, and waiting makes everything worse.
The 24-48 hour window is real. After that, you’re fighting mold, not just moisture.
If you’re asking when to replace insulation after water damage, the contamination level and material type give you the answer fast. Category 2 or 3 water means replacement, no debate. Cellulose and open-cell foam almost always need to go. Even fiberglass that looks okay probably isn’t.
Get a moisture meter reading if you can. If you can’t, or if anything smells off, call someone who knows what they’re looking at.
Fix it once, upgrade if it makes sense, and move on to the next job.
FAQ
Do I need to replace insulation if it gets wet?
You need to replace wet insulation in most cases, especially if it stays wet beyond 48 hours or contacts contaminated water. Fiberglass and cellulose lose their insulating ability when wet, compress permanently, and create mold risks. Only closed-cell spray foam might be salvageable after professional moisture testing, but even then surrounding materials may need attention.
How much does it cost to insulate a 2000 sq ft attic?
Insulating a 2000 sq ft attic costs between $1,700 and $4,500 depending on material choice and existing conditions. Fiberglass batts run cheapest at roughly $0.85 to $1.50 per square foot installed, while blown cellulose costs $1.00 to $1.75, and spray foam ranges from $1.50 to $3.50 per square foot for professional installation.
Should I replace 20 year old insulation?
You should replace 20 year old insulation if it shows compression, sagging, discoloration, pest damage, or if your energy bills have climbed noticeably. Old insulation loses R-value over time from settling and compression. Replacement also gives you a chance to upgrade to better moisture-resistant materials like closed-cell spray foam or mineral wool.
Can mold grow in insulation when it gets wet?
Mold can grow in wet insulation within 24 to 48 hours according to EPA and CDC guidelines. Cellulose insulation creates an ideal mold environment and can develop growth within just a few days. Even fiberglass, which doesn’t absorb water directly, traps moisture that feeds mold on surrounding dust, paper backing, and structural materials.
What type of water damage requires immediate insulation replacement?
Category 2 gray water and Category 3 black water require immediate insulation replacement regardless of material type or drying potential. This includes sewage backups, flooding, and water containing chemicals or biological contaminants. IICRC S500 standards recommend removing all insulation that contacts contaminated water due to health risks that drying cannot eliminate.
How long does it take for wet insulation to dry out?
Wet insulation rarely dries properly without professional equipment, and the 48-hour window before mold growth makes natural drying impractical. Fiberglass holds moisture deep in its fibers even when the surface appears dry. Cellulose acts like a sponge and cannot regain its loft or effectiveness once water-compacted, making replacement more practical than drying attempts.
What are signs that wet insulation needs replacement?
Signs that wet insulation needs replacement include visible sagging or drooping, brown or yellow discoloration, compressed or matted appearance, persistent musty odors, visible mold spots, cold spots in rooms, increased energy bills after a water event, and physical wetness lasting beyond 48 hours. Even one indicator warrants professional inspection and likely replacement.
Does homeowners insurance cover wet insulation replacement?
Homeowners insurance typically covers wet insulation replacement from sudden water events like burst pipes or storm damage, but excludes gradual leaks, flooding, and maintenance neglect. You must document damage immediately with photos, contact your insurer within 24 to 48 hours, and obtain professional inspection. Claims may be denied if you delay professional action after discovering water damage.
Can I dry wet insulation myself or do I need a professional?
You cannot effectively dry wet insulation yourself because household fans cannot reach moisture inside wall cavities or deep within insulation fibers. Professionals use moisture meters, thermal imaging, invasive probes, and high-powered drying equipment to reach IICRC standards. Any contaminated water, hidden moisture, or areas exceeding 10 square feet require professional remediation for safety and effectiveness.
What happens if I don’t replace water-damaged insulation?
If you don’t replace water-damaged insulation, mold spores circulate through your HVAC system creating respiratory risks, the insulation loses permanent R-value causing higher energy bills, moisture transfers to surrounding studs and drywall causing structural damage, and the added weight from saturation can cause sagging ceilings or warped floors. Health risks increase for children, elderly, and immunocompromised individuals.