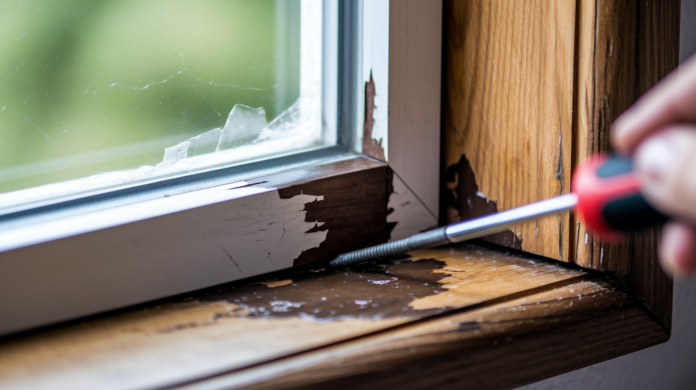

You can’t fix a rotted window sill by just painting over it. The decay keeps spreading under whatever coating you apply, and within months you’re back where you started with bubbled paint and soft wood. Real repair means removing compromised material, hardening what’s left with consolidant, and rebuilding the profile with epoxy filler. This guide walks through the exact sequence professionals use to restore sills so they stay solid for years, not seasons. You’ll learn how to test for hidden rot, when repair makes sense versus replacement, and how to avoid the moisture traps that bring the problem right back.
Identifying Deterioration Signs in Your Window Sill
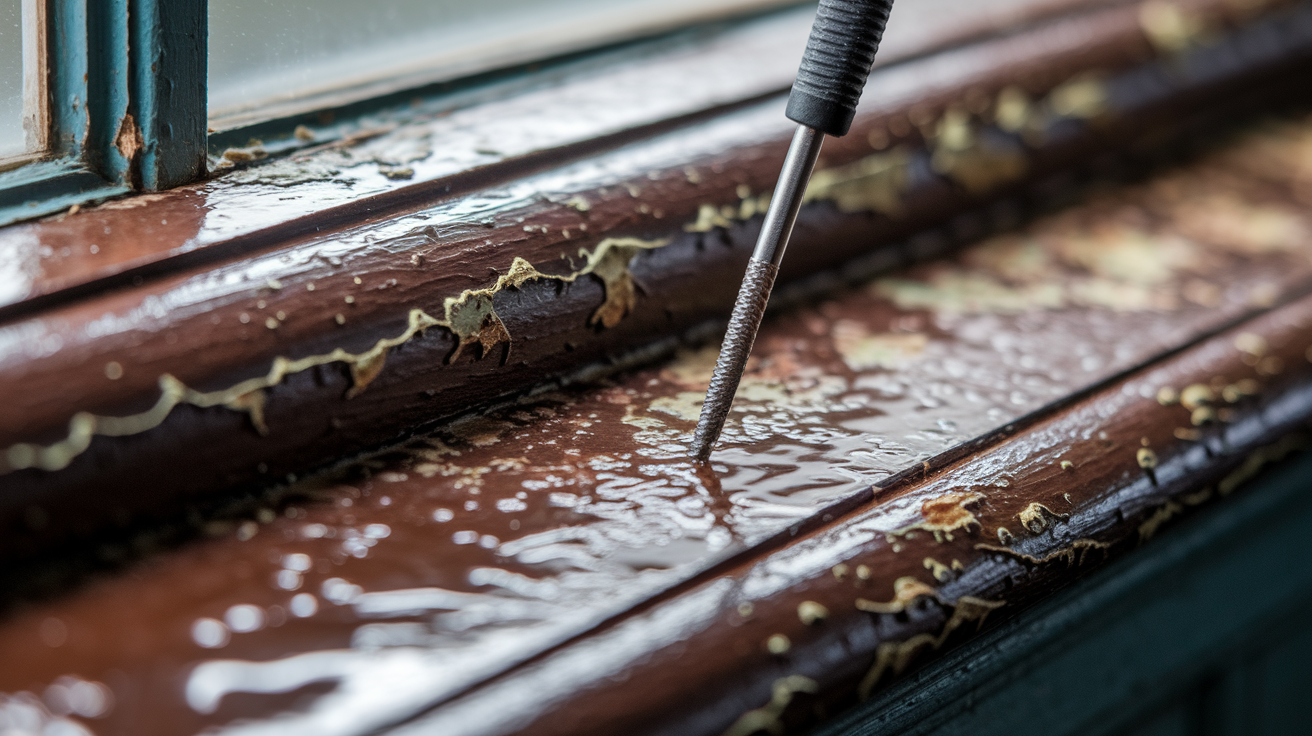
Catching rot early saves money and keeps you from dealing with structural problems later. A good inspection tells you whether you’re looking at a cosmetic fix or something that needs real work.
Watch for these signs:
Darker discoloration. Brown or black patches that look wetter than the wood around them.
Paint problems. Bubbled, cracked, or scaly texture that lifts away from the surface.
Caulk failure. Sealant pulling away from joints or crumbling when you touch it.
Dark streaks. Water stains running down from the sill or pooling at corners.
Gray patches. Areas where wood looks weathered or ashen compared to protected sections.
Surface distortion. Swollen areas or depressions that shouldn’t be there.
The most reliable test uses a screwdriver or awl to probe corners and joints where water collects. Push the tool into suspect areas with moderate pressure. Healthy wood resists and feels solid. Rotted wood gives way easily, sometimes sinking half an inch or more. Focus on spots where the sill meets vertical trim and anywhere caulk has failed, since those joints trap moisture longest.
Aluminum cladding makes inspection harder because it hides what’s underneath. You might see perfect looking metal while the wood behind it has turned to mush. On clad windows, pay extra attention to the bottom edge where cladding meets glass and at corner returns. If the metal feels loose or you can slide a knife blade behind it, moisture has probably gotten to the wood.
Schedule your inspection right after the rainy season ends. That’s when water damage from previous months becomes most visible, with swelling and discoloration at their peak before summer drying begins.
Tools and Materials Required for Window Sill Restoration

Getting the right gear before you start prevents mid project runs to the hardware store. And it keeps you from compromising repair quality.
| Category | Item | Purpose |
|---|---|---|
| Safety Gear | NIOSH approved respirator | Filters wood dust and epoxy particles during sanding and application |
| Safety Gear | Safety goggles and work gloves | Protects eyes from debris and hands from chemical irritation |
| Removal Tools | Oscillating multi tool with wood blade | Makes precise cuts when removing decayed sections |
| Removal Tools | 3 in 1 scraper and screwdriver | Removes old caulk and probes rotted wood |
| Application Tools | Plastic needle syringes | Injects consolidant deep into drilled holes |
| Application Tools | Cheap chip brush and putty knife | Coats surfaces and spreads filler material |
| Materials | Two part liquid consolidant (Abatron LiquidWood) | Penetrates and hardens rotted wood fibers |
| Materials | Two part epoxy filler paste (Abatron WoodEpox) | Fills voids with structurally sound material that accepts screws |
Abatron products are the professional standard for consolidant and epoxy repairs. LiquidWood soaks into compromised fibers and re hardens them chemically. WoodEpox fills larger voids with material strong enough to hold fasteners. Some DIYers reach for Bondo wood filler because it’s cheaper and sets fast, but people with decades of experience report that Bondo traps moisture against the wood underneath. That creates new rot that brings you right back to square one. The quick setting feature that seems convenient becomes a problem when your first batch hardens before you’ve finished spreading it, forcing you to mix more and waste material.
For a typical single sill repair, expect to use about a 6 ounce container of filler material. Consolidant goes further since it penetrates rather than fills, so an 8 ounce bottle handles multiple sills. Most home centers don’t stock Abatron products, but woodworking specialty stores and online retailers carry them. Buy both components at once so you’re not waiting on shipping mid project.
Understanding Wood Rot Types and Fungal Decay Patterns

Fungal decay needs three things to survive. Wood, oxygen, and moisture above 17 percent. Remove any one and the decay stops spreading. Since you’re not pulling out the sill completely or sealing it in a vacuum chamber, moisture control becomes your target.
Recognize these decay patterns.
Brown rot. Breaks down cellulose in wood cells, leaving behind brittle material that crumbles into chunks or cubes when squeezed. Common in structural lumber.
White rot. Attacks lignin that binds wood fibers, creating stringy, spongy texture that tears rather than breaks cleanly.
Grain following. Decay spreads along wood grain faster than across it, often traveling several inches beyond visible damage.
Surface versus deep rot. Outer layers can look intact while the interior has hollowed out, especially under paint or cladding.
Corner concentration. Joints and end grain absorb moisture fastest, so rot typically starts at sill ends and spreads inward.
Wood moisture content at or below 17 percent creates conditions where fungi can’t reproduce. They might stay dormant in the wood, but they won’t advance. That’s why drying wet wood completely before applying consolidant matters. If you seal in moisture above that threshold with epoxy, you’ve just created a terrarium for continued decay under your repair.
Early intervention prevents the most expensive outcome, where rot spreads from the sill into the window frame itself. Once decay reaches the frame, you’re looking at window replacement rather than sill repair. Compromised wood fibers spread through grain like an infection, which explains why removal needs to extend at least an inch beyond visible damage. What looks like a small corner problem during initial inspection often doubles in size once you start cutting away soft wood.
Understanding whether you’re dealing with surface decay or structural compromise changes your approach. Surface rot that hasn’t penetrated more than a quarter inch deep responds well to consolidant treatment alone. Deeper rot needs removal and filling to restore strength.
Step by Step Process for Window Sill Rot Restoration

The repair breaks into four phases. Removing compromised wood, stabilizing what remains, filling voids, and shaping the surface. Skipping steps or rushing creates repairs that fail within a year.
-
Test moisture content with a meter to confirm readings at 17 percent maximum. If wood is wetter, use a heat gun or hair dryer to force drying, or tent the area with plastic and wait for natural drying.
-
Remove old caulk along all joints using a 3 in 1 scraper, peeling away both the bead and any residue stuck to the wood and frame.
-
Extract rotted wood by cutting at least 1 inch beyond visible decay. Soft areas mean compromised fibers even if color looks okay. Keep removing until you hit wood that resists the screwdriver test.
-
Force drying if needed. If moisture readings won’t drop, hit the area with a heat gun on medium setting, moving continuously to avoid scorching. Check readings every 15 minutes.
-
Clean the surface with a damp cloth to remove dust and loose debris. Let it dry completely before moving to the next step.
-
Drill holes using a 1/8 inch bit in a staggered pattern, spacing them about an inch apart at downward angles into sound wood around the damaged area. Stop drilling when you hit solid wood or reach halfway through the piece.
-
Inject consolidant into drilled holes using plastic syringes, filling each hole until liquid pools at the surface. Then brush LiquidWood over remaining affected areas with a cheap chip brush.
-
Wait for tackiness. Give the consolidant time to soak in and start setting up. When the surface feels tacky rather than wet, it’s ready for filler. Too soon and you’ll sponge out the consolidant with your putty knife.
-
Mix epoxy in small batches. Combine WoodEpox components in quantities you can apply within 5 to 10 minutes. Chemical reaction starts immediately and you’ll waste material if the batch hardens in your mixing cup.
-
Fill from bottom up in layers, which pushes air bubbles out as you work. Slightly overfill the area, leaving material proud of the finished surface. WoodEpox sets faster in thick sections than when spread thin.
-
Wait 24 hours for full cure. Don’t rush this. Epoxy continues hardening for a full day, and working it early creates a gummy mess.
-
Progressive sanding starting with 80 grit to knock down high spots and shape the repair, moving through 120 grit, then finishing at 220 grit for smooth integration with surrounding wood.
Proper moisture measurement prevents the most common failure mode where trapped water continues rotting wood under your repair. Work in a well ventilated area since consolidant fumes build up quickly in enclosed spaces. Open windows and use a fan to move air through the work zone.
Timing between consolidant and filler application makes the difference between a bonded repair and one that delaminates. When LiquidWood reaches the tacky stage, it creates a mechanical grip for the epoxy paste. Apply filler too soon and your putty knife drags wet consolidant out of the wood pores. If the epoxy starts tearing as you tool it smooth, brush a thin coat of LiquidWood over the soft WoodEpox surface, which lubricates the epoxy and prevents the drag.
LiquidWood doubles as a thinner for WoodEpox when you need smoother consistency for final surfacing. Mix a few drops into your filler batch or brush it over the surface right before final tooling for easier shaping.
Complete Sill Replacement for Extensive Rot Damage
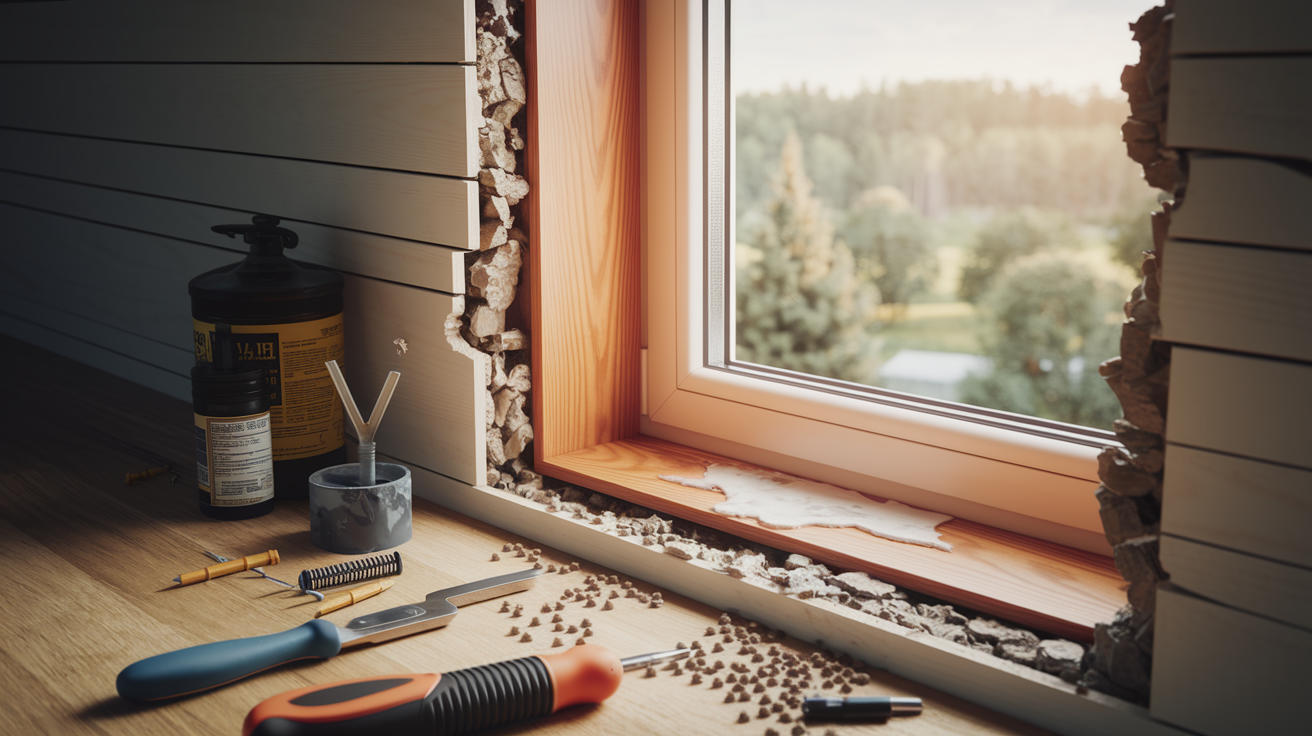
When rot exceeds 50 percent of the sill’s structural wood or has spread into the window frame, consolidant and filler won’t restore adequate strength. At that point you’re removing and replacing sections or the entire sill.
Material options for replacement sections:
Pressure treated lumber. Chemically resistant to decay, affordable, accepts paint well, but requires time to dry before finishing.
Cedar. Naturally rot resistant oils, easy to work, stable, mid range cost, beautiful grain if leaving natural.
Redwood. Superior rot resistance, dimensionally stable, premium price, increasingly difficult to source.
Composite materials. Won’t rot ever, consistent dimensions, moderate cost, but appearance doesn’t match traditional wood closely.
PVC cellular trim. Zero rot potential, pre primed or solid color, lightweight, but thermal expansion can create gaps and it dents more easily than wood.
Splicing in a new section starts with cutting out the damaged area in a clean rectangular opening. Apply exterior construction adhesive to mating surfaces, then secure the replacement piece with galvanized screws driven at angles through the patch into solid surrounding wood. Space screws every 4 inches along the joint. Once the adhesive sets, blend the seam with epoxy filler, feathering it across the joint and sanding smooth. This approach works when rot hasn’t reached the frame and the majority of the sill remains solid.
Measuring for a replacement section requires accounting for the sill’s slope, which sheds water forward. Use a sliding bevel gauge to capture the angle, then transfer that to your saw setup. Cut the replacement slightly long, test fit it, and trim to exact length. Most sills have a decorative nosing or drip edge on the front that you’ll need to replicate with a router if you’re replacing the entire piece. Fit checks matter more here than with interior trim since gaps allow water penetration.
Professional contractors become necessary when rot extends into the rough opening, structural framing shows damage, or the window itself needs removal for access. Those scenarios involve flashing details, air sealing, and potential structural repairs that put the project beyond typical DIY scope.
Priming, Painting, and Sealing Window Sill Repairs
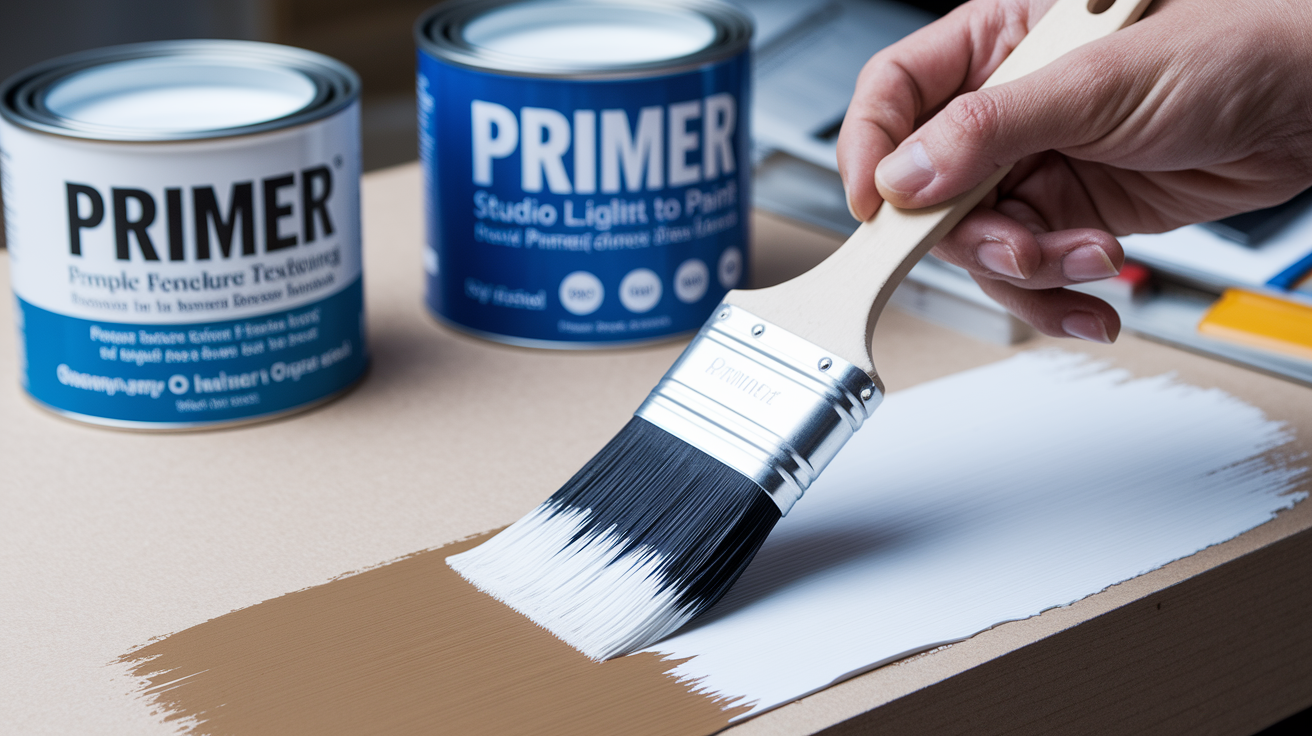
The finish coat isn’t decoration. It’s the moisture barrier that determines whether your repair lasts two years or twenty.
| Step | Product Type | Application Notes |
|---|---|---|
| Sanding preparation | 220 grit sandpaper final pass | Smooth surface improves primer adhesion and prevents rough texture telegraphing through paint |
| Primer selection | Exterior grade oil based or acrylic primer | Seals both epoxy and surrounding wood, prevents tannin bleed on cedar or redwood |
| Paint coats | Premium acrylic latex exterior paint, minimum two coats | First coat seals, second coat provides UV and moisture protection |
| Caulk application | 100% silicone or advanced polymer caulk | Applied after primer, before final paint coat for best adhesion |
| Drying time | 24 hours between coats minimum | Humidity and temperature affect cure time, check product label for conditions |
Acrylic latex exterior paint flexes with thermal expansion better than oil based alternatives. Window sills see extreme temperature swings from summer sun to winter cold, expanding and contracting daily. Paint that can’t move with that cycle cracks, creating pathways for moisture. The premium designation matters here because cheap exterior paint uses less binder and more filler, which means it chalks and weathers faster. Spend the extra money on a brand known for durability.
Three critical caulking locations seal the sill system against water intrusion. First, the joint between the sill bottom and the window frame creates a dam that stops water running down the glass from reaching wood. Second, sill edges where they meet vertical trim need sealing since that’s where wind driven rain penetrates. Third, the sill to siding joint underneath needs attention because water that bypasses the sill top can still rot the wood from below if it wicks up through that gap. Use 100 percent silicone for joints that stay underwater during rain, or advanced polymer caulk where you need paintability.
Primer’s role extends beyond paint adhesion. It seals both the epoxy repair and surrounding wood with a uniform surface that prevents differential moisture absorption. Without primer, the epoxy and wood absorb paint at different rates, creating a visible patch even after multiple coats. Oil based primer blocks tannins better on cedar and redwood, but acrylic primer works fine on pine and fir if you’re avoiding oil based products.
Preventing Future Window Sill Rot and Water Damage
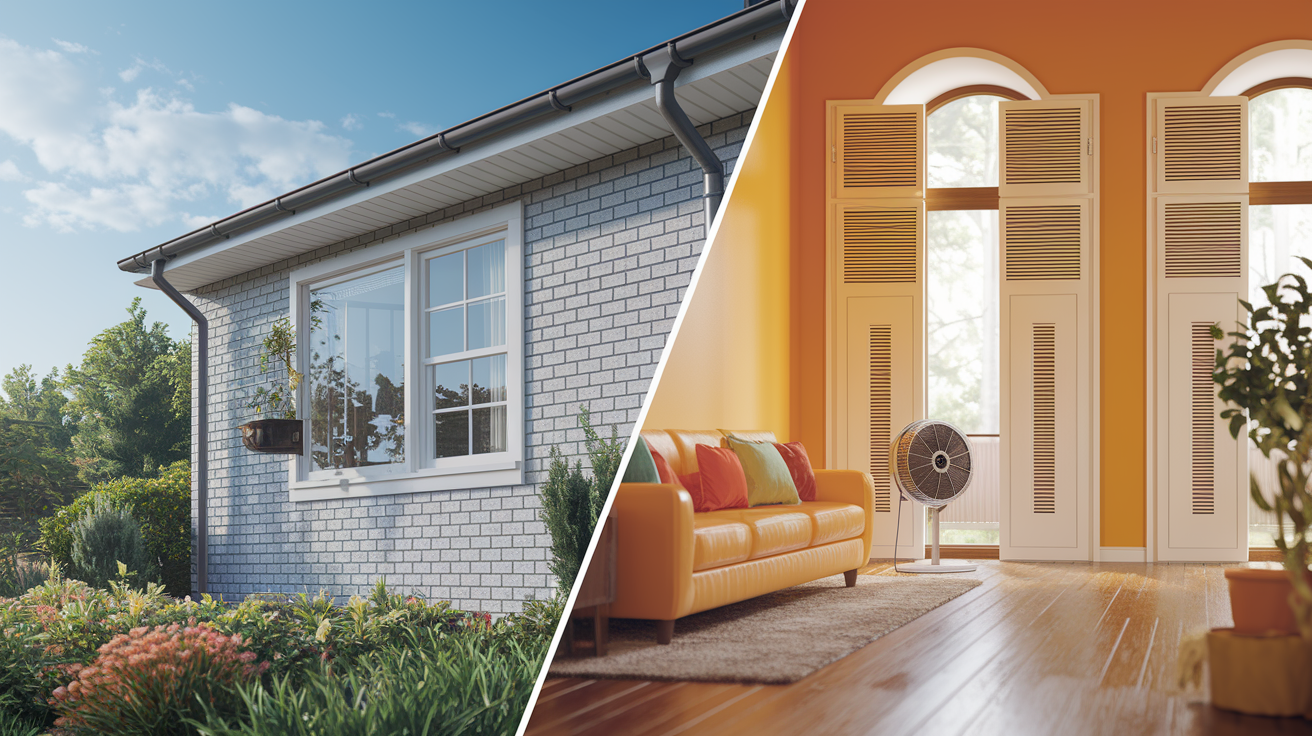
Moisture drives every rot problem. Prevention focuses on keeping water away from wood and ensuring any moisture that does reach the sill can dry out before decay starts.
Eight prevention measures that extend sill lifespan:
Install drip caps above windows to direct water away from the sill rather than letting it sheet down the glass.
Annual post winter inspections to catch paint and caulk failures before they allow water penetration.
Caulk integrity checks twice yearly, re sealing any joints where caulk has pulled away or cracked.
Paint condition monitoring for the chalking, cracking, or peeling that signals the moisture barrier is failing.
Gutter maintenance to prevent overflow that soaks sills on lower floors.
Proper ventilation in rooms with high humidity to reduce condensation on interior sills.
Condensation management through bathroom and kitchen exhaust fans that vent outside, not into attics.
Address underlying moisture sources rather than just painting over problems.
The paint over cracks mistake traps moisture that’s already penetrating the wood. When you see paint failure, it’s a symptom of water intrusion that’s been happening for months. Applying fresh paint without removing failed coating, drying the wood, and resealing joints just locks that moisture in place against the wood where it continues feeding decay. The “quick fix” accelerates the problem.
North facing windows and aluminum clad installations face higher rot risk from different mechanisms. North exposures don’t get direct sun, so they stay wet longer after rain and morning dew doesn’t evaporate as quickly. Combined with wind driven rain that hits that wall harder, those sills see more moisture hours per year. Aluminum cladding creates a different problem where water gets behind the metal through failed caulk at the glass, then has nowhere to escape. The cladding blocks drying to the outside, wood stays above 17 percent moisture content for extended periods, and decay progresses hidden until someone finally probes through the metal and discovers mush.
Develop a seasonal inspection routine that checks windows after wet weather ends. Walk the exterior with a screwdriver, probe the corners, look for caulk gaps and paint problems. Catch moisture intrusion early and you’re looking at a tube of caulk and a quart of paint. Wait until you see visible rot and you’re in for a weekend repair project.
Cost Breakdown and DIY Versus Professional Comparison

Material costs for consolidant and epoxy repairs run lower than replacement labor, but your time investment increases significantly with the repair approach.
| Repair Scope | DIY Cost | Professional Cost | Time Required |
|---|---|---|---|
| Minor surface repair (under 25% damage) | $40 to $80 | $150 to $300 | 4 to 6 hours |
| Moderate rot (25 to 50% damage) | $80 to $150 | $300 to $600 | 8 to 12 hours |
| Extensive rot (over 50% damage) | $150 to $250 | $600 to $1,200 | 12 to 16 hours |
| Full sill replacement | $200 to $400 | $800 to $1,800 | 16 to 24 hours |
Material costs for a single sill consolidant repair include about $30 for an 8 ounce bottle of LiquidWood, $25 for a 6 ounce container of WoodEpox, $8 for primer, $15 for paint, and $8 for caulk, totaling around $85. That container of epoxy handles one moderately damaged sill. If you’re fixing multiple windows, the consolidant goes further since injection holes use small amounts, but you’ll need additional epoxy for each sill. Add another $20 for consumables like brushes, sandpaper, and syringes.
Professional labor costs vary by region but typically run $75 to $150 per hour. A contractor doing a moderate repair needs 3 to 4 hours on site, which explains the $300 to $600 range. That rate includes their expertise in identifying hidden damage, their warranty on workmanship, and insurance coverage if something goes wrong. The expertise factor matters most when decay has spread beyond what’s visible or when you’re unsure whether repair or replacement makes more sense.
Skill level requirements for DIY consolidant repairs sit at moderate. If you’ve done basic woodworking, used epoxy products before, and can follow multi step processes carefully, you’ll manage fine. The trickiest part is judging when you’ve removed enough rotted wood and timing the consolidant to filler sequence. Replacement work requires more carpentry skill since you’re cutting angles, fitting pieces, and matching profiles. Realistic time estimates assume a weekend project where you remove and prep on Saturday, apply consolidant and let it cure overnight, then fill and finish on Sunday with final sanding and painting the following weekend.
Special Considerations for Exterior Versus Interior Sills
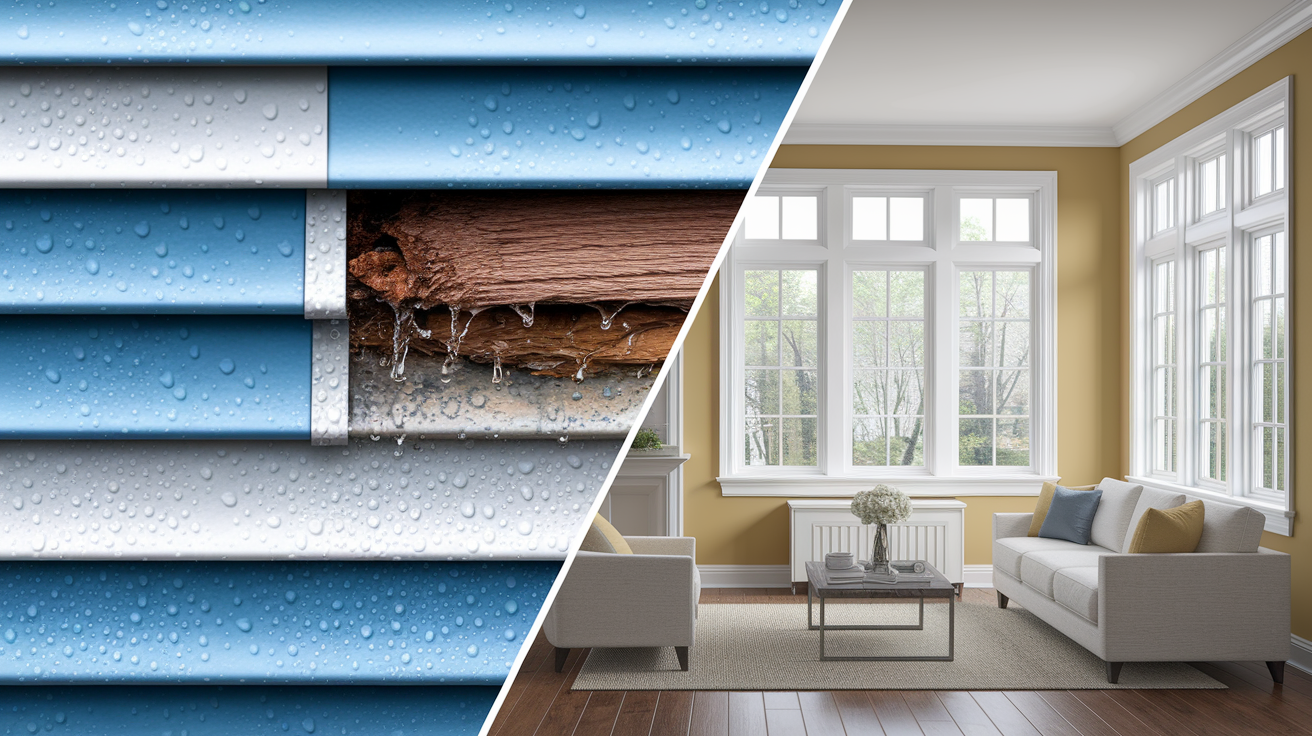
Failure patterns differ dramatically between exterior sills exposed to weather and interior sills that see condensation from indoor humidity.
Six contrasts between exterior and interior challenges:
Direct rain exposure (exterior) versus condensation from temperature differential (interior).
UV degradation of finishes (exterior) versus humidity from cooking, showers, and plants (interior).
Drainage plane design (exterior) versus lack of drip edges on interior sills.
Aluminum cladding concealment (exterior) versus visible paint failure (interior).
Wind driven moisture (exterior) versus static moisture collection (interior).
Seasonal inspection after storms (exterior) versus year round humidity monitoring (interior).
Aluminum cladding on exterior sills creates a concealment problem where the metal looks perfect while wood underneath has decayed to the point of structural failure. Water enters through failed sealant at the glass to cladding joint, runs down behind the aluminum, and can’t escape or dry since the metal blocks airflow. You won’t see paint bubbling or discoloration that normally signals rot. The first indication is often a spongy feeling when you lean on the sill or step on it during window cleaning. At that point, damage is extensive. If you have clad windows, pull back corner returns annually to inspect wood condition underneath, or drill a small inspection hole that you can plug with color matched caulk.
Condensation on interior sills comes from chronic humidity meeting cold glass in winter. Single pane windows and older double pane units with failed seals collect moisture that runs down to the sill and sits there, soaking into wood faster than it can dry. Unlike exterior sills that get wet then dry between rain events, interior condensation happens daily throughout heating season. The solution isn’t better paint. It’s ventilation that moves humid air out and temperature management that keeps glass surfaces above the dew point. Run bathroom exhaust fans during and after showers, use kitchen vents while cooking, and consider a dehumidifier if indoor humidity stays above 50 percent in winter.
North facing exterior sills get less solar drying, stay wet longer, and face prevailing storm directions in most regions. That combination means they’ll rot first when other exposures still look fine. Focus prevention efforts there. Premium paint, frequent caulk checks, and drip cap installation that other orientations might not need.
Alternative Materials for Rot Resistant Window Sill Installation

Moving beyond traditional softwood pine reduces maintenance cycles and eliminates rot as a recurring problem if you’re replacing rather than repairing.
| Material | Rot Resistance | Cost Level | Maintenance |
|---|---|---|---|
| Cedar | High (natural oils repel decay) | Medium ($4 to $8 per linear foot) | Repaint every 5 to 7 years |
| Redwood | Very high (tannins resist fungi) | High ($8 to $15 per linear foot) | Repaint every 7 to 10 years |
| Pressure treated pine | High (chemical preservative) | Low ($2 to $4 per linear foot) | Repaint every 4 to 6 years |
| Composite | Absolute (no organic material to decay) | Medium ($6 to $10 per linear foot) | Clean annually, no painting |
| PVC cellular trim | Absolute (plastic matrix) | Medium ($5 to $9 per linear foot) | Clean annually, paint optional |
| Aluminum clad | High (metal protects wood core) | High ($12 to $20 per linear foot) | Minimal, check caulk yearly |
Natural rot resistance in cedar and redwood comes from extractives, oils and tannins that discourage fungal growth. Those compounds concentrate in heartwood, the darker colored center of the tree. Sapwood, the lighter outer rings, doesn’t contain the same protection and will rot like any softwood. When buying cedar or redwood, specify all heart or clear vertical grain to ensure you’re getting the decay resistant portion. Standard grades mix sapwood and heartwood, which means part of your sill is protected and part isn’t.
Pressure treated lumber gets its rot resistance from chemical preservatives forced deep into the wood under pressure. Modern treatments use copper based compounds that are safer than the arsenic formulations used decades ago. The protection is reliable but comes with tradeoffs. The wood is wet when you buy it and needs drying before finishing, copper can corrode certain metal fasteners requiring stainless steel or coated screws, and the green brown color telegraphs through paint if you don’t use a stain blocking primer.
Composite and PVC offer no rot peace of mind since there’s no organic material for fungi to consume. Both materials accept paint but don’t require it for protection. The appearance difference is real though. Composites and PVC don’t have wood grain, and the color is either solid throughout or has a photo printed surface layer. Up close, they read as manufactured rather than natural. Repairability becomes an issue if you damage them later since epoxy doesn’t bond as reliably to plastic surfaces.
Aluminum capping as a protective overlay sounds ideal. Metal prevents moisture reaching wood. But installation quality determines success. If caulk fails at seams or the glass joint, water gets behind the capping and stays trapped. The aluminum blocks drying, and you end up with the same hidden rot problem described earlier. Use aluminum capping only if you’re committed to annual sealant inspections.
Final Words
Rotted window sill repair starts with honest assessment and the right products. When you probe corners and find soft wood, you’ve caught the problem before it spreads into the frame.
Mix your consolidant, drill your holes, and give the epoxy a full day to cure. Skip the Bondo. Use products designed to harden wood and shed water, not trap it.
Prime every surface, caulk the critical joints, and check your work after the next heavy rain. You’ll know it’s done right when water runs off instead of soaking in.
FAQ
Can you repair a rotted window sill?
You can repair a rotted window sill using two-part epoxy systems when rot affects less than 50 percent of the structural wood and hasn’t spread into the main window frame. First remove decay at least 1 inch beyond visible damage, drill holes for consolidant penetration, inject wood hardener to stabilize remaining fibers, then fill voids with epoxy paste. Allow 24 hours curing time before sanding and finishing with exterior primer and paint.
How much does it cost to replace a rotted window sill?
Replacing a rotted window sill costs between $150 and $400 for DIY material expenses including rot-resistant lumber, construction adhesive, fasteners, primer, and paint. Professional contractor replacement typically runs $300 to $800 per sill depending on material choice and regional labor rates. Minor epoxy repairs cost $50 to $100 in materials when damage is under 50 percent and you’re doing the work yourself.
How do you fix rotted wood without replacing it?
You fix rotted wood without replacing it by removing decay 1 inch beyond visible damage, drilling 1/8-inch holes at downward angles spaced 1 inch apart, then injecting two-part liquid consolidant that penetrates and hardens weakened fibers. After consolidant becomes tacky, fill voids with two-part epoxy paste from bottom up in layers, overfilling slightly. Allow 24 hours curing before shaping with rasps and progressive sanding from 80-grit to 220-grit, then prime and paint.
Can you replace just the sill of a window?
You can replace just the window sill by cutting out the damaged section and splicing in pressure-treated wood or rot-resistant species like cedar using exterior construction adhesive and galvanized screws. Blend seams with epoxy filler for smooth transition, then prime and paint to match existing window. This works when rot hasn’t spread into the main window frame or jambs, keeping replacement limited to the horizontal sill component.
When should you replace a window sill instead of repairing it?
You should replace a window sill when rot exceeds 50 percent of structural wood, has spread into the main window frame, or when probing reveals soft spots throughout the sill thickness. Replacement becomes necessary if decay reaches jambs or trim connections where structural integrity is compromised. If healthy wood after removal measures less than half the original sill depth, full replacement prevents future failure.
What causes window sill rot?
Window sill rot is caused by moisture content above 17 percent creating conditions for fungal decay to break down wood fibers. Common moisture sources include failed caulk allowing water penetration at frame joints, missing or damaged drip caps that don’t direct rain away, condensation from indoor humidity on cold surfaces, and trapped water behind aluminum cladding. North-facing windows face higher rot risk from reduced drying between rain events.
How long does epoxy window sill repair last?
Epoxy window sill repairs last 10 to 20 years when properly executed with complete rot removal, adequate consolidant penetration, full curing time, and quality exterior primer and paint protection. Longevity depends on eliminating the original moisture source through improved flashing, caulking, and drainage before repairs. Repairs fail prematurely when underlying water intrusion continues or when epoxy is applied to wood above 17 percent moisture content.
What’s the difference between wood consolidant and wood filler?
Wood consolidant is a low-viscosity liquid that penetrates deep into compromised wood fibers to harden and stabilize them from within, while wood filler is a paste that fills voids and rebuilds missing material on the surface. Apply consolidant first through drilled holes and surface brushing to strengthen remaining wood structure, then use epoxy filler after consolidant becomes tacky to rebuild shape. The consolidant prevents filler from being absorbed like a sponge into damaged wood.
Do you need a respirator for window sill repair?
You need a NIOSH-approved respirator for window sill repair to protect against wood dust during removal and sanding plus chemical vapors from two-part epoxy consolidants and fillers. Work in well-ventilated areas and wear the respirator during all cutting, drilling, consolidant injection, and epoxy mixing steps. Safety goggles and work gloves complete basic PPE for handling rotted wood that may contain mold spores and chemical products with skin irritants.
Why does Bondo fail on window sills?
Bondo fails on window sills because it traps moisture against wood surfaces and creates further rot according to experienced builders, making it unsuitable for long-term exterior repairs. While Bondo wood filler hardens quickly and is easy to sand, it doesn’t penetrate and stabilize wood fibers like epoxy consolidants, leaving weakened structure underneath. For lasting repairs, use two-part epoxy systems specifically designed for exterior wood restoration that allow moisture vapor transmission.