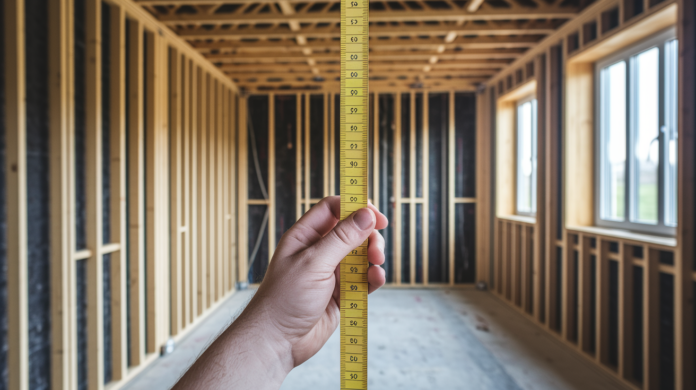

Ever watch a fully loaded cabinet rip clean off a wall? It happens more often than you’d think, and the root cause isn’t usually weak cabinets. It’s the blocking behind the drywall, or the complete lack of it. Residential code doesn’t spell out exact blocking requirements for cabinets, but that doesn’t mean you can skip it. Without solid blocking placed at the right heights and properly fastened to studs, you’re counting on drywall anchors to do a job they were never built for.
Blocking Placement Standards for Kitchen Cabinets
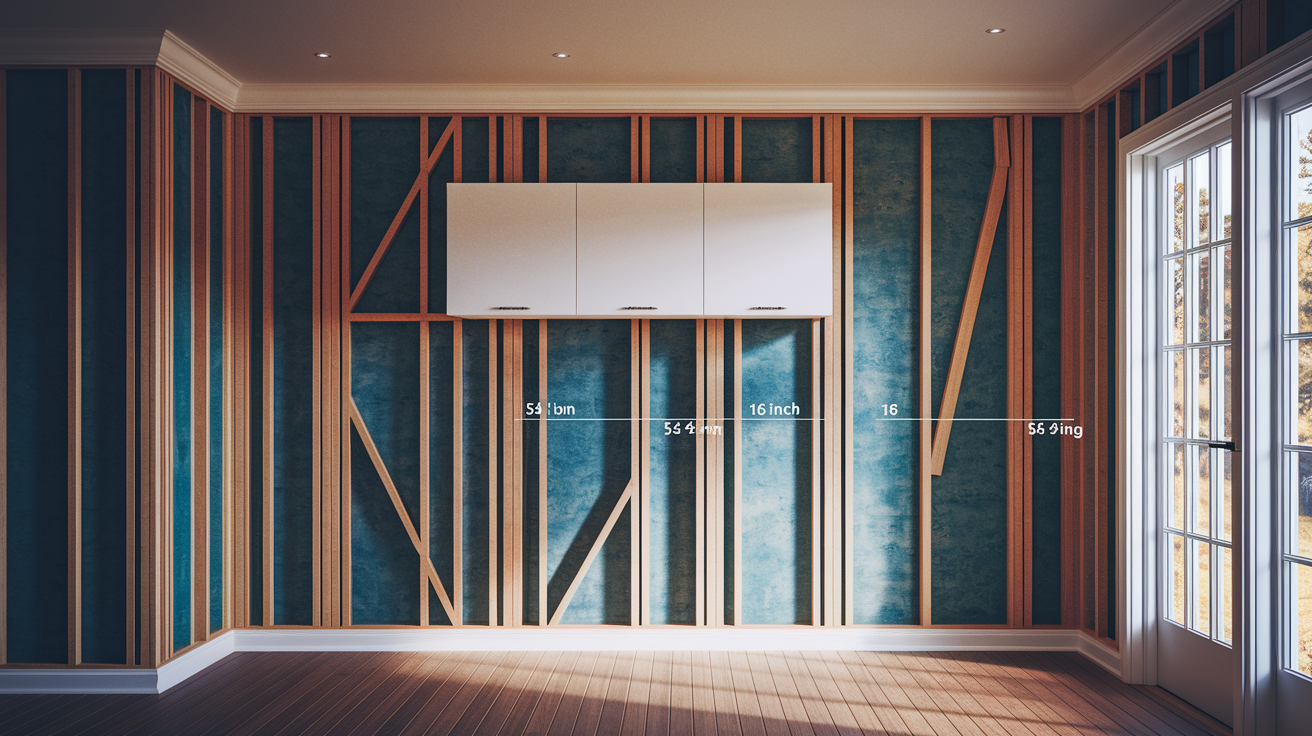
Kitchen cabinet installations need solid blocking attached to wall framing. Standard residential codes don’t actually mandate specific blocking placement, but you’ll want it anyway. Wall cabinets typically need blocking between 54 and 84 inches from the finished floor, which puts the blocking right behind the cabinet’s hanging rail. That way your screws bite into solid material instead of just drywall.
Upper cabinet heights change based on your ceiling height and cabinet size. Standard 30 inch cabinets need blocking at roughly 54 inches. 42 inch cabinets require blocking starting around 66 inches.
Base cabinets benefit from blocking at two key heights. Just below the countertop height at 34 to 36 inches for upper attachment points, and near the toe kick at 4 inches for lower cabinet stabilization. The upper blocking supports the cabinet structure where it meets the wall and helps distribute the load from countertops and contents. Lower blocking prevents the cabinet from shifting away from the wall over time.
| Cabinet Type | Blocking Height from Floor | Horizontal Placement | Lumber Size | Fastening Specification |
|---|---|---|---|---|
| Wall Cabinets (30″ Standard) | 54-60 inches | Centered on cabinet back, full width of run | 2×4 or 2×6 | #10 x 3″ screws, 16″ o.c. into studs |
| Wall Cabinets (42″ Uppers) | 66-72 inches | Centered on cabinet back, full width of run | 2×6 or doubled 2×4 | #10 x 3″ screws, 16″ o.c. into studs |
| Built-In Microwave Mounting | 48-54 inches (verify appliance specs) | Match microwave bracket locations | 2×6 or 2×8 | #10 x 3.5″ screws, 12″ o.c. into studs |
| Base Cabinet Upper Support | 34-36 inches | Along top rail of cabinet back | 2×4 | #10 x 2.5″ screws, 16″ o.c. into studs |
| Base Cabinet Toe Kick | 4 inches | Along bottom of cabinet footprint | 2×4 | #10 x 2.5″ screws, 24″ o.c. into studs |
| Peninsula/Island Support | 34-36 inches (counter height) | Where cabinet meets wall or half-wall | 2×6 | #10 x 3″ screws, 12″ o.c. into studs |
| Pantry Cabinets | Multiple heights: 24″, 48″, 72″ | Full width at each blocking level | 2×6 or doubled 2×4 | #10 x 3.5″ screws, 12″ o.c. into studs |
| Specialty Appliance Mounting | Per manufacturer specifications | Match appliance mounting bracket pattern | 2×6 or 2×8 | #10 x 3.5″ screws, 12″ o.c. into studs |
Blocking to framing connections require screws that penetrate at least 1.5 inches into solid wood studs or engineered lumber. Standard practice uses #10 structural screws, 3 to 3.5 inches long, driven through the blocking face into wall studs at maximum 16 inch spacing for standard loads. Heavy cabinet runs with stone countertops or tall pantry units call for tighter fastener spacing at 12 inches on center. Doubled blocking material increases the attachment surface and spreads the load across more fasteners.
Blocking must catch at least two wall studs in any cabinet section. That means the blocking needs to span a minimum of 32 inches when studs are 16 inches on center. If blocking falls between studs, install additional vertical nailers or adjust the blocking position to hit solid framing. The connection between blocking and studs carries the entire cabinet load, so fasteners driven at an angle or only partially embedded create weak points that fail under sustained weight.
Cabinet to blocking attachment uses Torx head structural grade screws in gold or bronze finish to blend with prefinished plywood interiors, typically #8 to #10 diameter and 2.5 to 3 inches long depending on cabinet back thickness and blocking depth. These screws drive through the cabinet’s hanging rail or cleat into the blocking, with at least four fasteners per cabinet unit and additional fasteners every 16 inches along wider cabinets. Trim drive screws work for cabinet to cabinet connections through face frames because they leave smaller, less noticeable holes than standard cabinet screws. They don’t need the same shear strength since they’re just holding cabinets together, not to the wall.
Installation Methods and Load-Bearing Standards
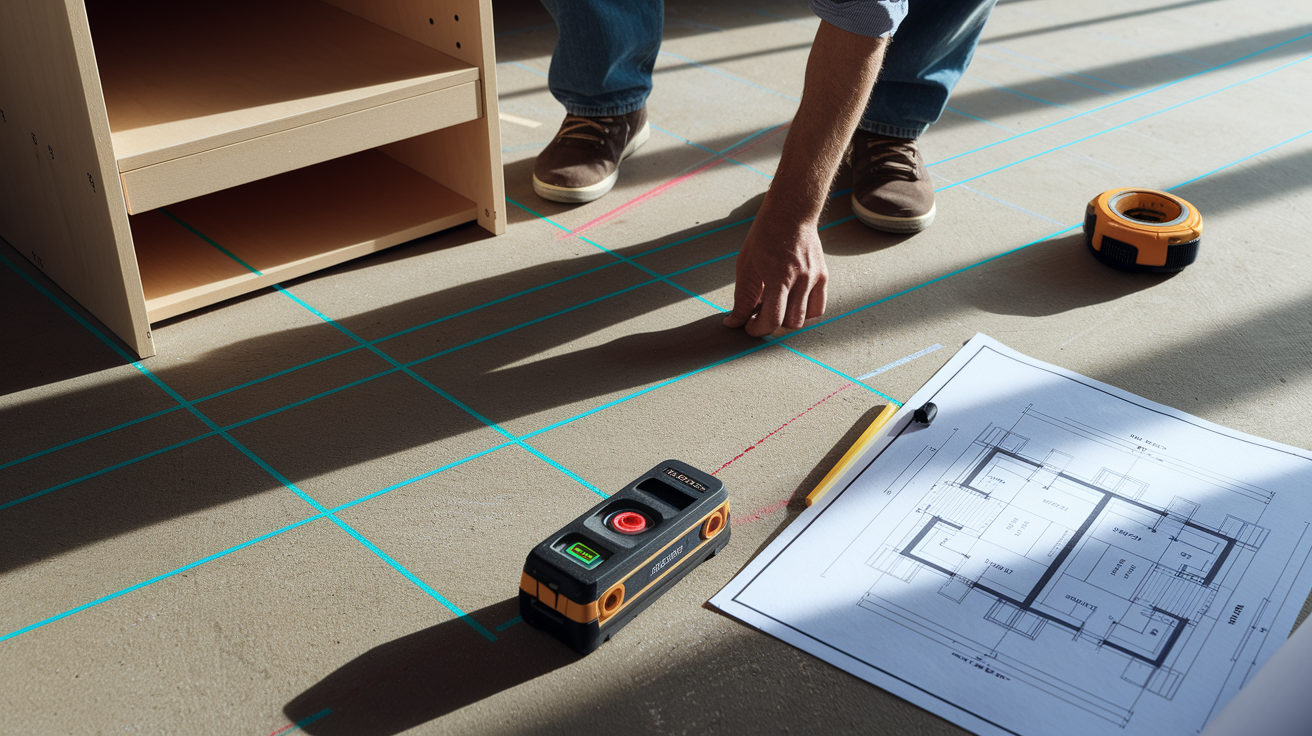
Proper blocking installation starts before drywall goes up, when you can still verify stud locations and make adjustments without cutting into finished walls.
Pre-Installation Layout and Coordination
Mark the full cabinet layout directly on the subfloor using a permanent marker. Draw the exact footprint of every base cabinet, island, and peninsula before any rough in work begins. This floor map shows plumbers and electricians exactly where to avoid running pipes and wiring. It catches conflicts between cabinet dimensions and structural elements while you can still move things around.
Laser levels reveal high and low spots in the floor that affect base cabinet installation. Shoot a level line around the room at your finished floor height and measure down at multiple points to find where shimming or floor prep will be needed.
Upper cabinet wiring gets stubbed out 2 to 3 inches higher than where the cabinet will meet the wall. That lets you notch the drywall behind the cabinet and pull the wire down to the correct height inside the cabinet rather than drilling through blocking or trying to fish wire through finished walls. Coordinate blocking heights with the electrical and HVAC layout, especially around range hoods where ductwork and wiring both need clear paths through the wall cavity. If a beam or header runs through your blocking zone, you’ll need to adjust blocking height or add vertical nailers that tie into the header.
Blocking Installation Sequence and Verification
Start by marking blocking heights on the wall studs using a laser level, then cut blocking pieces to span at least two studs with tight fitting end cuts that sit flat against each stud face. Install blocking with the wide face against the studs so cabinet screws have maximum material to bite into, and drive fasteners straight in rather than at angles. After installing each blocking section, pull on it hard to test for movement. Blocking that shifts under hand pressure will fail under cabinet weight.
Check blocking alignment with a straightedge before drywall goes up. A bowed or twisted blocking piece telegraphs through to the finished cabinet installation and creates gaps between the cabinet and wall. If one section of blocking sits proud of the others, either reattach it with better fastener placement or plane it flush. Support boxes built to 19 7/16 inches tall can temporarily position upper cabinets at the correct height during installation, which helps you verify that your blocking placement matches the cabinet dimensions before you commit to screw locations.
Common Installation Errors to Avoid
Inadequate fastener penetration happens when installers use screws that are too short or don’t reach solid wood behind the stud face. This leaves the blocking held by just the outer growth ring. It shows up as cabinets that sag or pull away from the wall after loading. Improper blocking spacing creates sections where cabinets have no solid attachment point, forcing installers to use drywall anchors or toggle bolts that don’t carry the same load as screws into blocking.
Misaligned blocking heights cause upper cabinets to sit too high or too low. That throws off the standard 18 inch backsplash dimension and creates awkward gaps between base and upper cabinets that can’t be hidden with trim. Insufficient blocking material for heavy loads (using single 2x4s for granite countertops or using blocking that doesn’t span enough studs for a long cabinet run) leads to flex and movement that cracks tile, loosens screws, and creates callbacks. These issues fail inspections in commercial work and create safety hazards in any installation where cabinets could detach under load.
Load bearing capacities depend on blocking size, fastener spacing, and how many studs the blocking spans. Standard 2×4 horizontal blocking with screws at 16 inches on center typically handles 50 to 75 pounds per linear foot, which covers most wall cabinets with dishes and dry goods. Heavy applications like built in microwaves, wall ovens, or upper cabinets in commercial kitchens need 2×6 blocking or doubled 2x4s. That increases capacity to 100 to 150 pounds per linear foot when fasteners are tightened to 12 inch spacing. Base cabinet blocking sees less direct load since the cabinet floor sits on the subfloor, but upper attachment blocking still needs to resist the cabinet pulling away from the wall when someone leans on the counter or when the cabinet is fully loaded.
Blocking material selection and moisture content affect long term performance, since wet lumber shrinks as it dries and loosens fasteners. Use kiln dried framing lumber at the same moisture content as your wall studs, and avoid pressure treated lumber inside the building envelope where it’s unnecessary and takes longer to reach equilibrium moisture content. Fastener spacing and screw depth work together. Screws that penetrate 2 inches into solid wood at 12 inch spacing outperform screws with 1.5 inch penetration at 16 inch spacing, but the practical limit is the lumber thickness and the risk of splitting when you overdrive fasteners near board ends.
ADA Compliance and Accessibility Blocking Standards
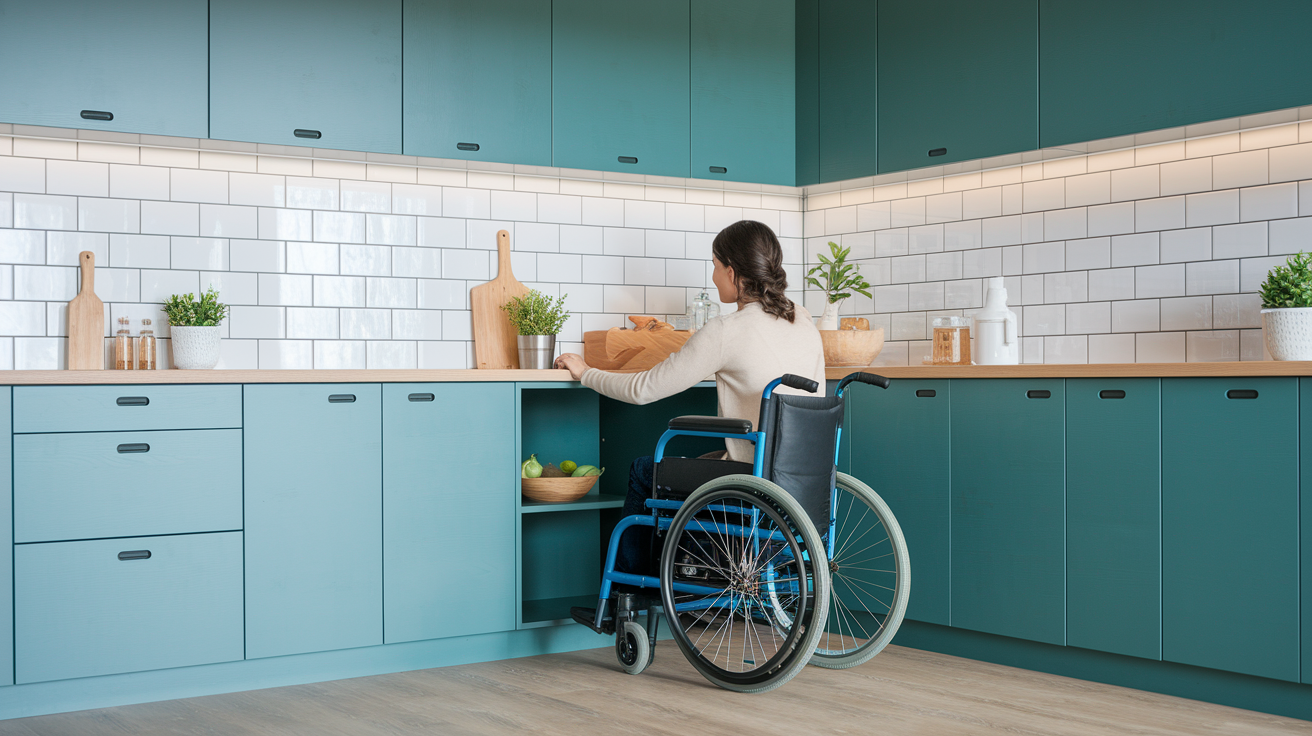
ADA requirements enacted in 1990 changed kitchen design to eliminate barriers for wheelchair users and people with limited mobility. That affects blocking placement when you’re building accessible kitchens. Lower cabinets in ADA installations can’t exceed 34 inches from floor to counter height, compared to the standard 36 inch height in typical kitchens. That moves the blocking down by 2 inches and changes countertop installation procedures. Upper cabinets must have bottom shelves positioned no more than 48 inches above the floor so someone seated in a wheelchair can reach stored items without assistance.
Blocking placement for ADA kitchens prioritizes open knee space and reduced mounting heights. Some wall sections that would normally receive upper cabinets get left open or fitted with shallow cabinets that don’t extend as far from the wall. The blocking for these shallow uppers sits at 40 to 48 inches instead of the 54 to 60 inch height used in standard installations. The reduced depth means less leverage pulling on the wall attachment, but you still need solid blocking because the lower height puts the cabinets within reach of more force from users who might grab them for support.
Toe kick blocking for accessible base cabinets requires 9 inches of height and 6 inches of depth at the base of lower cabinets to provide wheelchair footrest clearance. This deeper recess means standard 4 inch blocking won’t work. You need to set blocking back from the cabinet face or omit lower blocking entirely in accessible sections where knee space clearance of 27 inches underneath counters is required. Where cabinets don’t need open knee space, install blocking at the standard 4 inch height but verify that the cabinet construction provides the full 9 inch tall toe kick.
Five essential ADA blocking specifications:
- Upper cabinet blocking at 40 to 48 inches from floor for cabinets with bottom shelves at maximum 48 inch reach height
- Lower cabinet blocking at 32 to 34 inches from floor for counters at maximum 34 inch height
- Omitted or recessed lower blocking in knee space sections requiring 27 inch vertical clearance
- Blocking setback of 6 inches minimum in toe kick zones requiring wheelchair footrest clearance
- Reinforced blocking at 33 to 36 inches height for grab bar mounting in accessible sink areas, using 2×6 or 2×8 lumber
Commercial Kitchen Blocking Code Differences

Commercial kitchens operate under stricter code enforcement than residential work, with blocking requirements that account for heavier equipment, health department regulations, and public safety standards. Wall hung commercial equipment like stainless steel shelving, pot racks, and heavy duty cabinets creates loads that exceed residential cabinet weight. That pushes blocking requirements toward engineered solutions with documented load capacities rather than rule of thumb framing practices. Local health departments may require smooth, non porous surfaces behind commercial food prep areas, which affects blocking installation and means you might need to wrap blocking with stainless steel or install removable access panels for future equipment changes.
Load bearing standards in commercial work often require engineer stamped drawings for equipment over a certain weight threshold, typically 200 pounds or more for wall mounted items. The blocking design needs to match the engineer’s specifications for lumber dimensions, fastener types, spacing, and connection methods. Deviating from those specs during installation creates liability and fails inspection. Commercial grade fasteners include through bolts with backing plates on the opposite side of the wall, lag screws into solid blocking, and sometimes steel angle brackets that distribute loads across multiple studs.
Building inspectors for commercial projects verify blocking installation before drywall or wall finish goes up, checking that blocking locations match the approved plans and that fastener spacing meets specifications. You’ll need to call for a rough in inspection at the blocking stage, which means having your blocking layout clearly marked and ready to measure. Commercial inspectors also verify that blocking material meets fire rated assembly requirements if the kitchen is part of a rated fire separation. That might require fire treated lumber or non combustible alternatives in some assemblies.
Four major differences between commercial and residential blocking codes:
- Load documentation requirements: Commercial work requires submitted load calculations and engineer approval for blocking that supports equipment over specified weight limits, while residential installations rely on prescriptive framing practices
- Fastener specifications: Commercial blocking uses through bolts, structural lag screws, or engineer specified fasteners with documented shear and tension ratings, compared to standard wood screws in residential work
- Inspection checkpoints: Commercial projects require blocking inspection before concealment, with photographic documentation often required, while residential work may not have dedicated blocking inspections
- Material fire ratings: Commercial kitchen blocking may need to maintain fire resistance ratings of the wall assembly, requiring treated lumber or non combustible alternatives not typically specified in residential construction
Local Building Code Variations in Blocking Requirements

The International Residential Code (IRC) and International Building Code (IBC) don’t contain specific cabinet blocking mandates for standard residential installations. That surprises many installers who assume blocking is a code requirement. Standard residential cabinets attached directly to wall studs with appropriate fasteners meet structural requirements without separate blocking, though this assumes studs are accessible at the cabinet attachment points and the wall assembly isn’t compromised by plumbing or electrical penetrations. Blocking becomes code required when accessibility standards apply, when commercial kitchen loads exceed standard residential assumptions, or when local amendments to the base codes add specific requirements.
But blocking is industry best practice even when it’s not code required. It guarantees solid attachment points regardless of stud spacing, provides more surface area for fastener distribution, and creates a better installation for long term performance and customer satisfaction. Professional cabinet installers include blocking in their rough in requirements because it makes installation faster and produces better results than trying to hit studs or using drywall anchors in areas where studs aren’t positioned behind the cabinet.
IRC and IBC serve as model codes that local jurisdictions adopt and modify, which means your city or county might have amendments that add blocking requirements not found in the base code. Some jurisdictions require blocking for all wall cabinets over a certain weight or for any cabinet installation over a certain height, while others defer to manufacturer installation instructions and make those instructions code enforceable. The variations come from local experience with failures, regional construction practices, and how conservative the local building official wants to be about structural attachments.
Research your local code requirements by reviewing the adopted building code edition and local amendments before designing your blocking layout. Assumptions based on the base IRC or IBC might miss jurisdiction specific rules. Permit applications for kitchen remodels typically trigger plan review where blocking requirements get identified, but checking requirements during the design phase prevents surprises after framing starts. Some jurisdictions require blocking details on submitted plans while others only inspect the installed work. Knowing which applies in your area affects how much documentation you need to prepare.
Five steps to verify local blocking code requirements before starting work:
- Contact your local building department and request the specific code edition adopted in your jurisdiction plus any local amendments that affect cabinet installation or blocking requirements
- Review manufacturer installation instructions for your specific cabinets, since some jurisdictions make these instructions code enforceable regardless of base code requirements
- Check if your project requires accessibility compliance under ADA or local accessibility codes, which triggers specific blocking requirements even if general residential work doesn’t mandate blocking
- Verify permit and inspection requirements for your scope of work, including whether blocking must be inspected before concealment or if photos are required for record
- Discuss blocking expectations with the inspector assigned to your area before installation, since local interpretation of general structural requirements sometimes results in blocking being required even when codes don’t explicitly mandate it
Blocking Requirements for Specialty Cabinet Applications
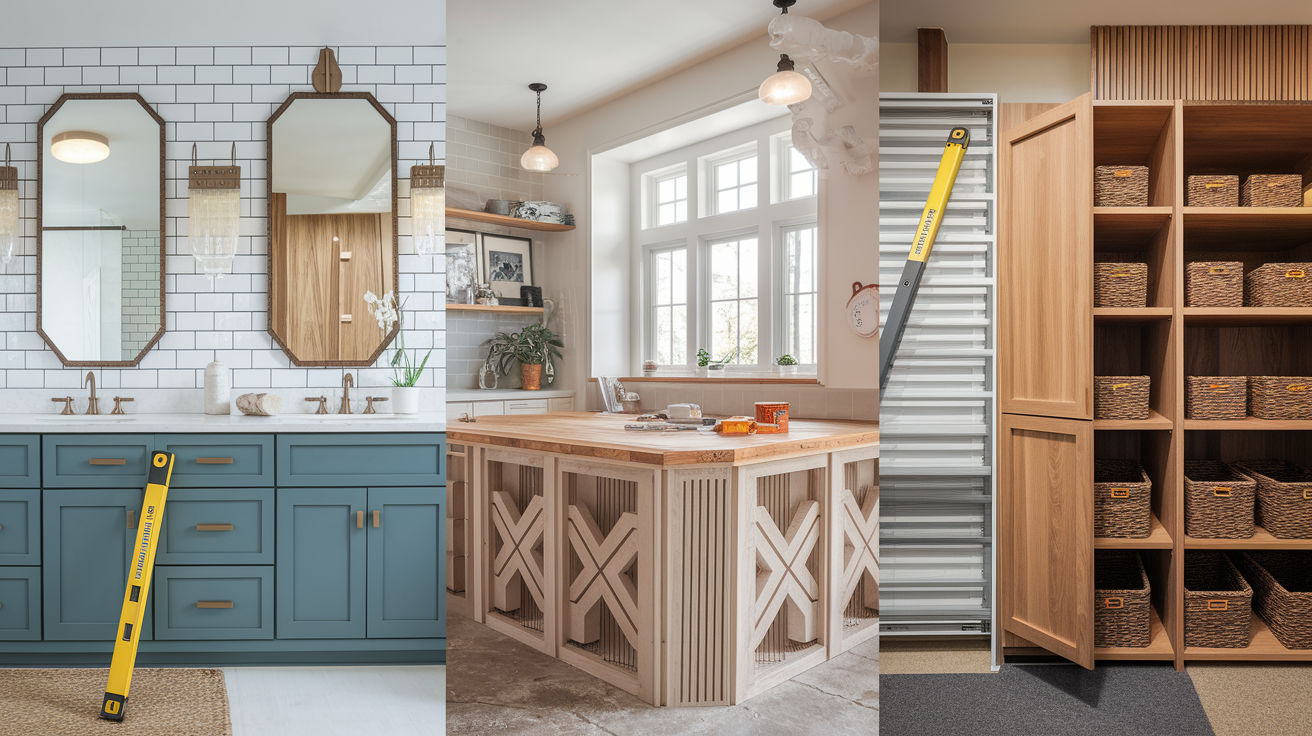
Bathroom vanity blocking differs from kitchen standards because vanities typically sit on the floor with full support from below. That reduces the wall attachment load compared to wall hung cabinets. Standard vanity installations only need blocking at the upper attachment points, around 30 to 32 inches from the floor where the vanity meets the wall. But bathroom blocking often extends to grab bar anchoring considerations when the vanity is installed in an accessible bathroom. That requires 2×6 or 2×8 blocking at 33 to 36 inches height positioned to allow grab bar mounting within reach of the toilet and shower. This grab bar blocking needs to span at least two studs and should extend 6 inches beyond the planned grab bar length on each side to allow adjustment during final installation.
Island and peninsula cabinets need blocking where they attach to walls or half walls, but most of the cabinet structure is freestanding and relies on the base cabinet frame for stability. Peninsula blocking typically sits at 34 to 36 inches to catch the cabinet at counter height where it meets the wall, using 2×6 lumber to handle the leverage from someone leaning on the peninsula or from the cantilever effect of the counter overhanging the cabinet. Island cabinets connected to walls or columns need blocking at all attachment points, with wiring coordination critical since code requires conduit for any wiring exposed within island cabinets. Upper cabinet wiring gets stubbed out higher than the cabinet to wall meeting point, allowing you to notch drywall and pull wiring to the correct elevation inside the cabinet rather than drilling through blocking or fishing wire after installation.
Corner cabinets create blocking challenges because the cabinet back doesn’t sit flat against framing in most corner configurations. Lazy susan corner base cabinets typically attach at the face frame where the cabinet meets adjacent cabinets, with minimal wall contact that doesn’t require dedicated blocking. Upper corner cabinets that use diagonal or L shaped designs need blocking at both walls, positioned to catch the cabinet back at the same height as adjacent cabinet blocking to maintain alignment across the entire cabinet run.
Pantry and tall cabinet blocking handles concentrated weight in a vertical format, which creates higher loads per linear foot of blocking than standard base or wall cabinets. Install blocking at multiple heights (typically at 24 inch vertical intervals or at 24, 48, and 72 inches from the floor) to distribute the load and prevent the tall cabinet from flexing away from the wall at mid height. Use 2×6 blocking or doubled 2x4s for pantries, especially when the cabinet will hold canned goods or small appliances that create high point loads on individual shelves. Fasten pantry blocking with screws at 12 inch spacing instead of the standard 16 inch spacing to account for the increased total load.
Final Words
Cabinet blocking code requirements aren’t as cut-and-dried as you might expect. Most residential installations don’t trigger explicit IRC or IBC mandates, but accessibility projects, commercial kitchens, and heavy-load applications absolutely do.
Your local jurisdiction might layer on extra rules, so verify before you frame.
Even when code doesn’t force it, blocking is the difference between cabinets that stay put for decades and ones that sag or pull loose after a few years. Get the heights right, use proper fasteners, and check your work before drywall goes up. Do that, and your cabinets will pass inspection and hold strong through years of real use.
FAQ
Do cabinets require blocking?
Cabinets do not require blocking by most residential building codes, but blocking is industry best practice for structural integrity and safe load-bearing capacity. Without blocking, installers must locate and fasten directly to wall studs, which limits screw placement options and complicates achieving level installations on irregular walls.
What height do you put blocking for kitchen cabinets?
Wall cabinet blocking is typically placed between 54 and 84 inches from the floor, depending on cabinet size and mounting configuration. For standard 30-inch wall cabinets above 36-inch base cabinets, blocking should run horizontally at approximately 54 inches to allow proper screw placement through cabinet backs.
Where should blocking be placed?
Blocking should be placed horizontally at heights that align with cabinet rail locations and vertically to provide continuous fastening surfaces between studs. For wall cabinets, position blocking to match top and bottom mounting rails, typically 3 to 4 inches from cabinet edges, ensuring screws penetrate blocking centers for maximum holding strength.
Is fire blocking required by code?
Fire blocking is required by code at specific locations to prevent vertical flame spread through wall cavities, but cabinet blocking serves a different structural purpose. Fire blocking must be installed at floor levels, ceiling joists, and wall penetrations per IRC Section R302.11, while cabinet blocking provides fastening surfaces and is considered best practice rather than code-mandated.
What size lumber is used for cabinet blocking?
Cabinet blocking typically uses 2×4 lumber for standard wall cabinets and 2×6 or doubled 2×4 for heavy applications like stone countertops or large pantry cabinets. Blocking lumber should match wall stud depth to provide full-thickness fastening surface and maintain consistent wall plane for drywall installation.
How far apart should blocking fasteners be spaced?
Blocking fasteners should penetrate framing members at maximum 16-inch spacing on center with minimum 1.5-inch penetration into solid wood. Use structural screws rather than nails for blocking attachment, as screws resist withdrawal forces better when cabinets are loaded with dishes, cookware, and stored items.
Can you install cabinets without blocking?
You can install cabinets without blocking by fastening directly to wall studs, but this method limits screw placement and makes shimming more difficult on uneven walls. Direct-to-stud installation works when studs align with cabinet rail locations, though blocking provides more fastening options and easier levelness adjustments during installation.
What’s the difference between blocking and nailers?
Blocking and nailers serve the same structural purpose of providing solid fastening surfaces, with “blocking” typically referring to horizontal framing members and “nailers” often describing vertical supports. Both terms are used interchangeably in cabinet installation, though nailers sometimes specifically indicate lumber added after initial framing for attachment points.