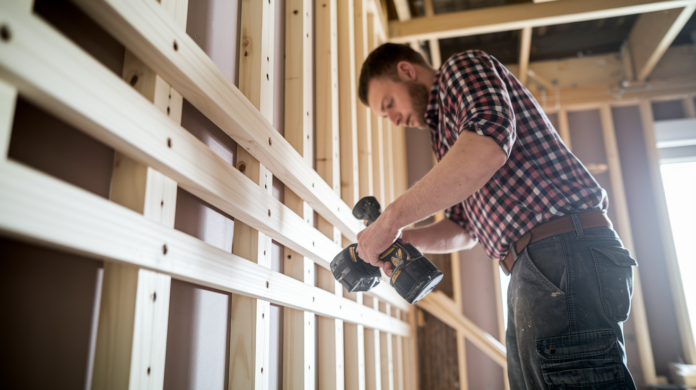

Ever watched a heavy kitchen cabinet rip right out of a wall and shatter dishes across the floor? That disaster starts during framing, not cabinet installation. Wood blocking gives you solid attachment points where cabinet screws actually need to land, instead of hoping you hit a narrow stud or gambling on hollow wall anchors that can’t handle real weight. Install blocking between studs before drywall goes up, and you’ll mount cabinets confidently knowing every screw bites into solid lumber that distributes hundreds of pounds safely across your wall frame.
Understanding Wood Blocking and Installation Essentials
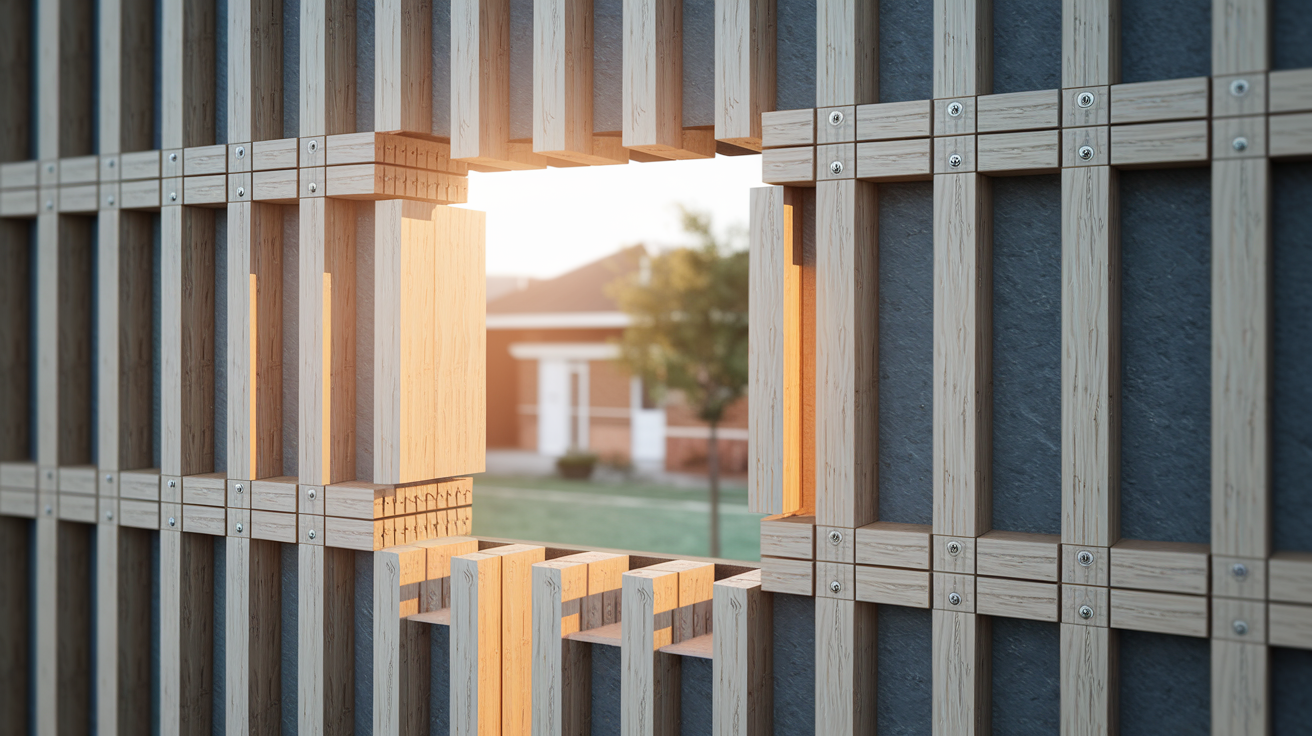
Wood blocking (sometimes called nailers or backing) is horizontal lumber installed between wall studs to give you solid attachment points for cabinets and heavy fixtures. You position the blocking at specific heights based on your cabinet plans, cut it to fit snugly between studs, and secure it with screws driven into the stud sides. These solid lumber pieces go in before drywall, creating a mounting surface exactly where cabinet screws will land during installation. Without this prep, you’re trying to hit narrow studs with every screw or relying on hollow wall anchors that can’t handle real weight.
Install blocking after framing wraps up but before you hang drywall. In new construction, this is your window. The studs are exposed, you can measure freely, and you’re not cutting into finished walls. For renovation work, install blocking during gut remodels when walls are already opened. Planning blocking locations based on your actual cabinet layout saves time versus trying to retrofit blocking later. Measure where your cabinets will hang, mark those heights on the studs, and install blocking while you’ve got easy access.
Blocking creates solid attachment points that distribute cabinet weight across multiple studs instead of concentrating everything on a single fastener. When you drive a cabinet screw through the cabinet rail, through drywall, and into solid blocking, that screw has something substantial to grip. The blocking prevents cabinets from loosening over time as weight and daily use work against the mounting screws. Without adequate blocking, mounted cabinets can pull away from walls, damage drywall, and potentially injure people. Upper cabinets loaded with dishes put hundreds of pounds on their mounting points.
Blocking is necessary for heavy kitchen cabinets, bathroom vanities, and any wall-mounted storage in hollow walls. If you’re mounting lightweight open shelving and you’ve got studs landing exactly where the shelf brackets need them, you might get by without blocking. Everything else benefits from proper blocking, especially in kitchens where cabinet weight plus contents can exceed 200 pounds per cabinet.
Step-by-Step Installation Process with Materials and Fasteners

The installation process breaks down into selecting materials, measuring locations, cutting lumber, preparing fastening points, positioning pieces level, and securing everything firmly to the studs.
Select Blocking Materials
Use 2×6 lumber as your minimum blocking material. A 2×6 gives you 5.5 inches of actual width, which provides decent screw retention when mounting cabinets later. Better yet, use 2×8 or 2×10 lumber for wider blocking that catches cabinet screws more reliably and handles heavier loads without stress. Scrap framing lumber works perfectly for blocking and cuts down on material waste. If you’re framing with 2×6 studs, your leftover cutoffs from window headers or other framing work will match the stud depth.
A modern alternative uses 3/4 inch plywood cut into 6 inch wide strips instead of dimensional lumber. Plywood strips leave more room in wall cavities for insulation because they’re thinner than 2x lumber. Plywood also resists splitting when you drive screws near the ends, which happens constantly with blocking. Cut plywood strips from a full sheet, and you’ll get consistent width across all your blocking pieces. Match your blocking thickness to your wall stud depth so everything sits flush. If you’re working with 2×4 studs (actual depth 3.5 inches), you can’t use full depth 2×6 blocking without it protruding past the stud faces.
Measure and Mark Blocking Locations
Start by measuring your cabinet heights from your cabinet specifications, not from generic standards. Kitchen uppers might be 30, 36, or 42 inches tall depending on the design. Mark stud locations using a stud finder, then draw level guidelines across the studs at your blocking heights. For help locating studs accurately, check out How to Find Wall Studs. Measure low on the wall near the floor where lumber is least likely to be bowed or twisted. Studs can distort as they dry, and measuring at multiple heights helps you catch those variations. Reference your actual cabinet specifications for mounting rail locations. Most cabinets have mounting rails at top and bottom, but verify before assuming.
Cut Blocking to Length
Measure the distance between studs at the height where blocking will sit. Standard stud spacing is 16 inches on center, but don’t trust it. Measure each bay individually because spacing varies, especially near corners and around openings. Cut blocking for a snug fit, about 1/8 inch shorter than your measurement so it slides into place without forcing. Use a circular saw or miter saw to make square cuts. Square ends matter because they maximize contact area with the stud sides.
Prepare Fastening Points
Use a pocket hole jig to drill angled holes in both ends of each blocking piece. Pocket holes let you drive screws at an angle through the end of the blocking into the stud, which pulls the blocking tight and gets rid of any protruding screw heads on the face. If you’re not using pocket holes, you’ll drive screws through the face of the blocking into the stud, which works fine but requires pilot holes to prevent splitting. Drill pilot holes slightly smaller than the screw shaft diameter. Without pilot holes, forcing screws through solid lumber near the end grain will split the wood.
Position and Level Blocking
Place blocking at your marked height between two studs. Check level in both directions, horizontal across the length and perpendicular to make sure the blocking isn’t twisted. The blocking needs to sit flush with the stud faces, not recessed and not sticking out. If it’s recessed, drywall screws might not reach it. If it protrudes, drywall won’t sit flat. Make adjustments by shimming behind the blocking or planing down high spots before you drive any screws permanently.
Secure Blocking to Studs
Drive 3 inch construction screws through the blocking sides into the studs, or use pocket hole screws if you’ve prepped with the jig. Put at least two screws into each stud, one high and one low on the blocking face. Construction screws are hardened and won’t snap under stress like drywall screws will. Drywall screws are brittle and designed for light duty fastening. Make sure both ends are secured firmly and the blocking doesn’t shift when you pull on it. Test each piece by yanking down on it with both hands. If it moves at all, add more screws.
Use 3 inch construction screws for installing blocking, not drywall screws. Construction screws or deck screws have the shear strength to handle blocking loads. Pocket hole screws work as an alternative if you’ve set up for that method. Later, when you’re mounting cabinets to the blocking, you’ll need 2.5 to 3 inch cabinet screws that penetrate the blocking by a minimum of 1.5 inches for secure attachment. Calculate from the back of your cabinet rail through drywall (typically 1/2 inch) and into blocking. A 3 inch screw through 1/2 inch drywall from a 3/4 inch cabinet rail gives you about 1.75 inches into the blocking, which meets the minimum with a small safety margin.
Standard Blocking Heights for Different Cabinet Types
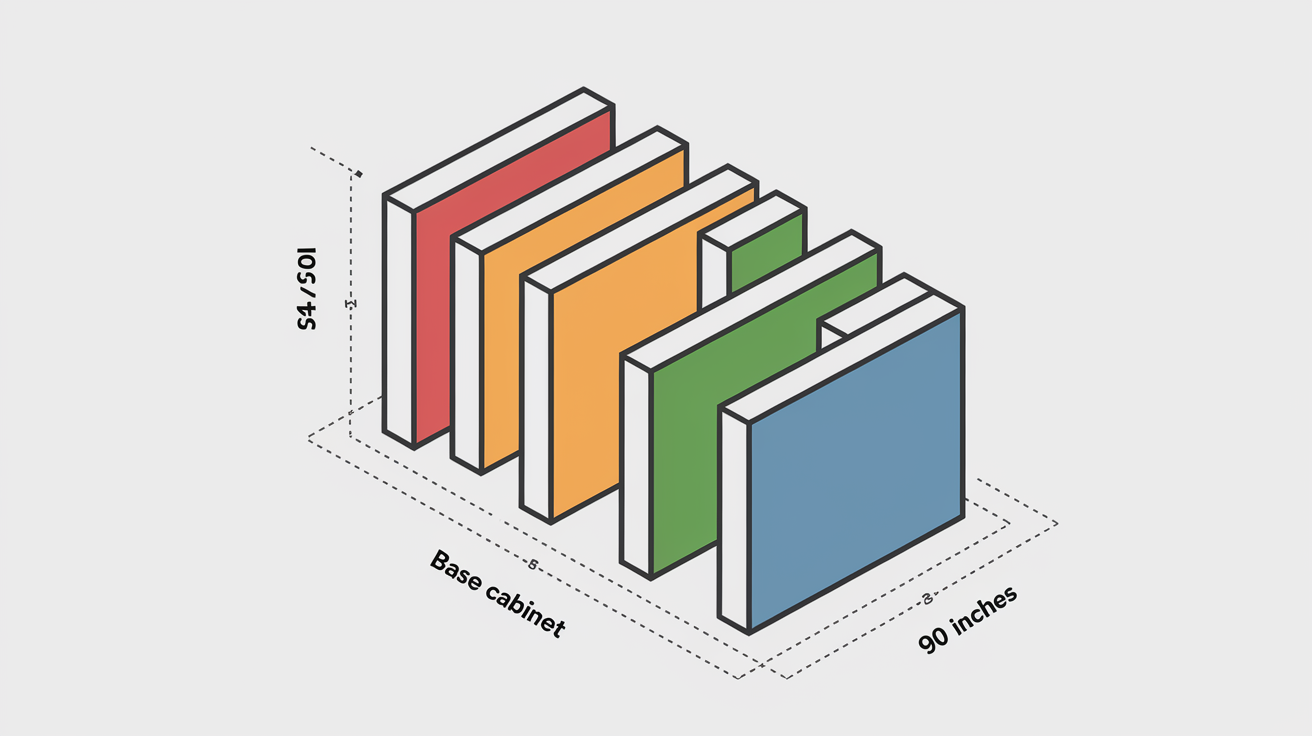
Upper kitchen cabinets require two rows of blocking to catch the mounting rails at the top and bottom of the cabinet box. Install the lower blocking row with its center at 54 inches above the finished floor. That’s 18 inches above standard 36 inch base cabinets, which is where the bottom of upper cabinets typically hang. The upper blocking row centers at 90 inches above the floor for standard 36 inch tall upper cabinets. If your uppers are 30 inches tall, adjust that upper row down to 84 inches. If you’re installing 42 inch tall cabinets, move the upper blocking to 96 inches. Always measure based on your actual cabinet specifications and where the mounting rails land on those specific boxes. Some cabinet systems use French cleat hanging systems or other rail configurations that need blocking at different heights.
Base cabinets need one row of blocking installed at the top where the cabinet mounting rail sits. Kitchen base cabinets are typically 34.5 inches tall, so center blocking at 34.5 inches above the finished floor. Bathroom vanities run shorter, usually 30 to 32 inches tall, so adjust your blocking height down to match. The blocking needs to land behind the cabinet’s mounting rail, which is usually a horizontal piece of wood or metal near the top back edge of the cabinet. If you’re working with frameless European style cabinets versus face frame American cabinets, verify the mounting rail locations because they differ. Account for cabinet rail mounting systems when measuring. Some cabinets have adjustment mechanisms that give you a few inches of play, but don’t count on that to fix poorly placed blocking.
| Cabinet Type | Blocking Height from Floor | Number of Rows |
|---|---|---|
| Kitchen Upper Cabinets | 54″ (lower) and 90″ (upper) | 2 |
| Kitchen Base Cabinets | 34.5″ | 1 |
| Bathroom Vanity | 30″ | 1 |
| Laundry Room Uppers | 54″ (lower) and 84-90″ (upper) | 2 |
Tools Required for Blocking Installation
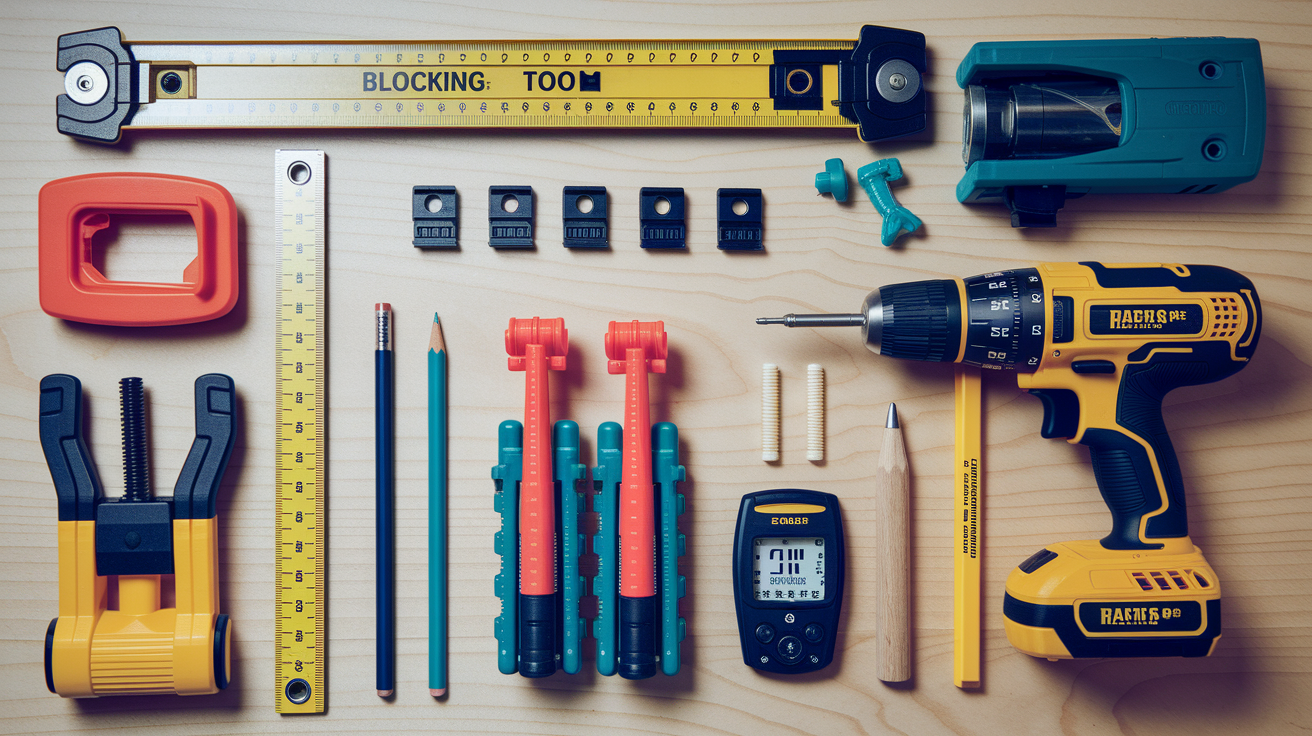
You’ll need measuring and marking tools, cutting tools, fastening tools, and leveling equipment. Most of these are basic carpentry items you already own if you’re doing framing work. A few specialty items make the job faster but aren’t strictly required.
- Measuring tape: 25 foot tape for measuring stud spacing and blocking heights
- Level: 4 foot level for checking blocking alignment horizontally and ensuring it’s not twisted
- Circular saw or miter saw: For cutting blocking to length with square, clean cuts
- Drill and driver: Cordless drill for pilot holes and driving screws, or a dedicated impact driver for faster fastening
- 3 inch construction screws: Hardened screws rated for structural fastening, not drywall screws
- Pocket hole jig (optional): Creates angled holes for hidden fastening and pulls blocking tight against studs
- Clamps: Hold blocking in position while you check level and drive the first screws
- Pencil: Mark stud locations and blocking heights on framing
- Stud finder (for retrofit work): Locates studs behind drywall when you can’t see framing directly
- Square: Verify cut ends are square and blocking sits perpendicular to studs
Wear safety glasses whenever you’re cutting lumber or driving fasteners. Wood chips and metal fragments fly unpredictably. Work gloves protect your hands when handling rough cut lumber and prevent splinters. If you’re cutting treated lumber, add a dust mask because treated lumber releases chemicals when cut.
Installing Blocking in Finished Walls (Retrofit Method)
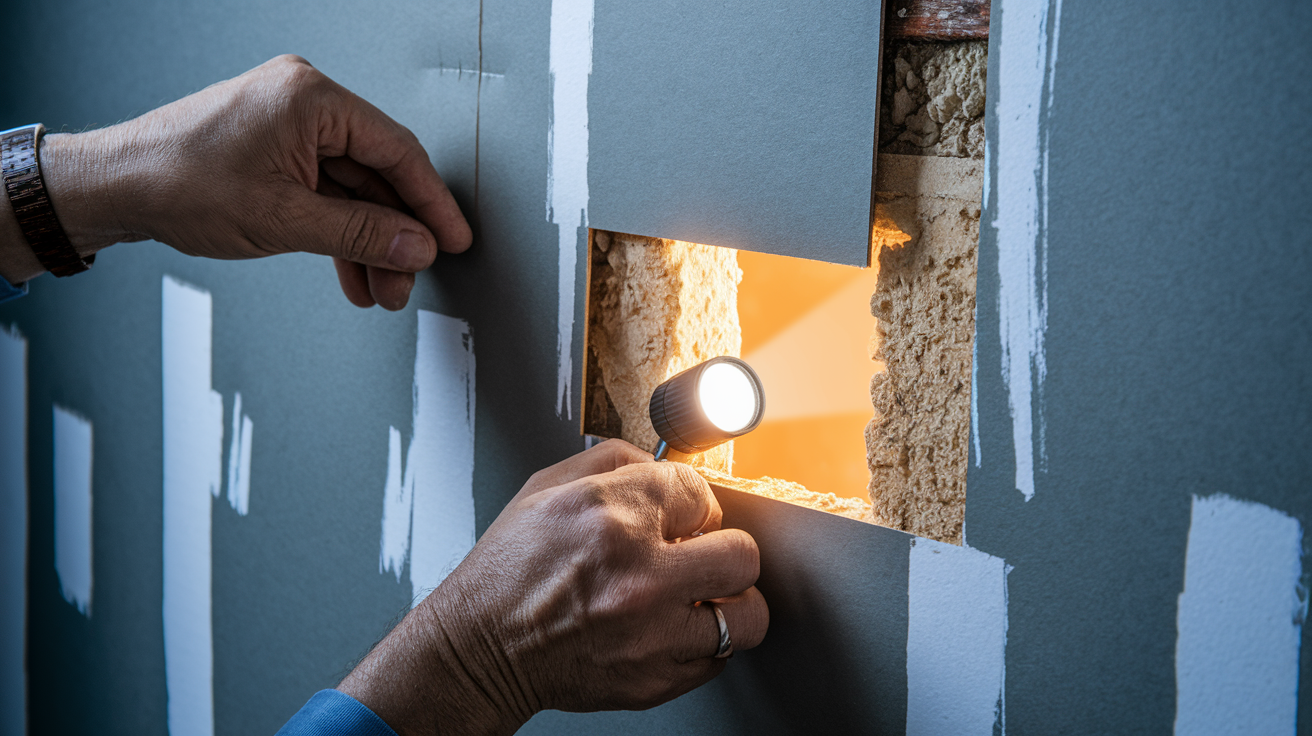
Retrofit blocking becomes necessary when you’re adding cabinets to existing walls that were never prepped with blocking. This happens in older homes, during kitchen remodels that keep existing walls, or when converting a room to a new purpose that needs mounted storage.
Locate the studs behind the finished drywall using a stud finder. Mark the stud centers with light pencil lines. Calculate where blocking needs to sit based on your cabinet specifications and mark horizontal cut lines across multiple stud bays at those heights. You’ll cut horizontal strips of drywall at each blocking height, creating access openings that expose the stud sides where blocking will attach. Make your cuts wide enough that you can fit blocking between studs and drill screws at an angle, typically a 3 to 4 inch tall horizontal strip.
Install blocking pieces through the access openings by cutting them to length, pre-drilling pocket holes or fastening points, then positioning them between studs and driving screws to secure them. The work is awkward because you’re reaching through narrow openings and working at angles. Shine a work light into the wall cavity so you can see what you’re doing. Check that blocking sits flush with stud faces even though you can’t see most of the installation. Feel with your fingers along the stud edge to verify position.
Patch the drywall access strips with new drywall pieces cut to fit the openings. Secure the patches with drywall screws into the studs and the edges of existing drywall. Apply drywall tape over the seams, then coat with joint compound. Sand smooth after drying, apply additional coats as needed, then prime and paint to match the existing wall. The whole retrofit process adds significant labor compared to installing blocking during framing, but it’s the only option for finished walls without tearing them down completely.
Alternative Methods for Non-Standard Installation Scenarios
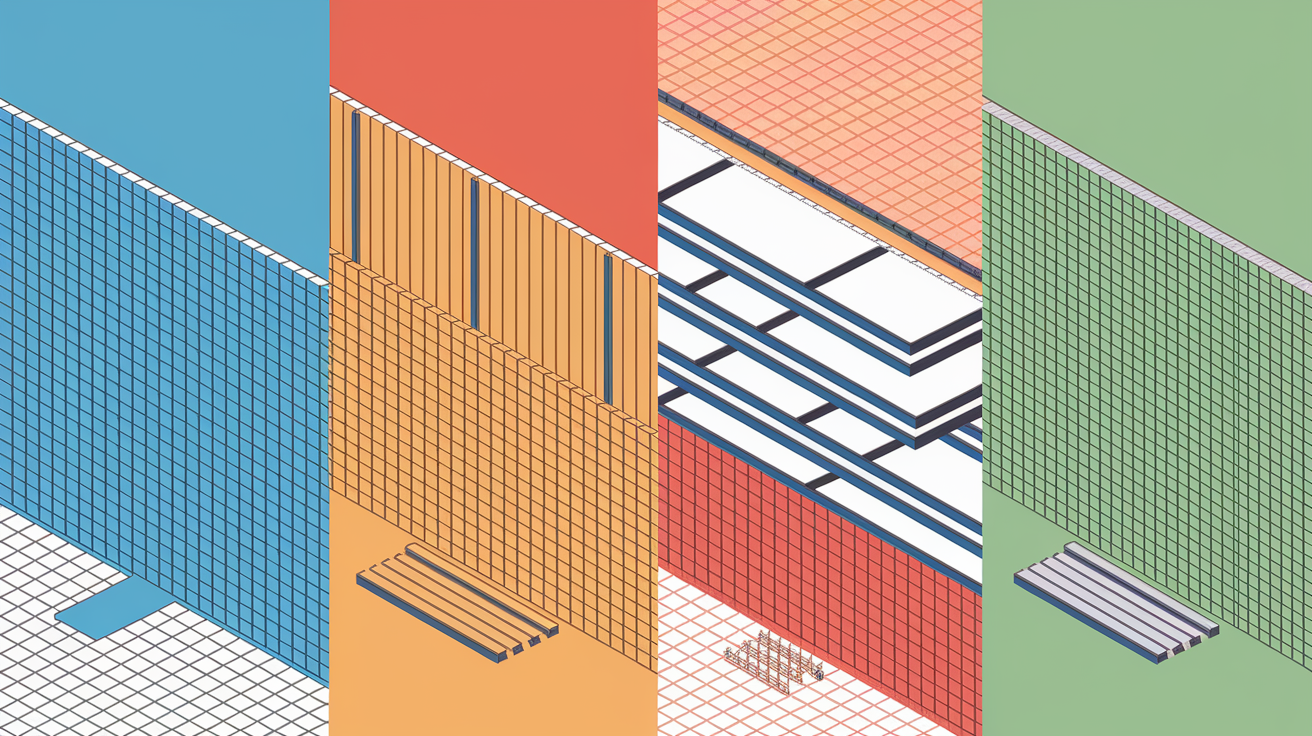
Instead of installing individual blocking pieces between studs, you can install full 3/4 inch or 1/2 inch plywood sheets directly on the stud wall in cabinet areas, replacing drywall entirely. Cut the plywood to cover the full cabinet run from floor to ceiling or just from base cabinet height to upper cabinet ceiling. Screw the plywood to every stud with screws at 12 inch spacing. This creates continuous backing for cabinet mounting without trying to hit specific blocking locations. The plywood surface lets you drive cabinet screws anywhere within the cabinet footprint and know you’re hitting solid material. You’ll need to finish the edges where plywood meets drywall, but the mounting advantage is significant for complex cabinet layouts.
Standard stud spacing at 16 inches or 24 inches on center doesn’t always align with cabinet mounting rails. A 30 inch wide cabinet might have mounting rails at 27 inches apart, which means only one rail lands on a stud. Add blocking pieces between studs specifically where cabinet mounting rails fall but studs don’t exist. Measure your cabinet rail locations, transfer those measurements to the wall, and install vertical or horizontal blocking to catch those orphan mounting points. You’re not blocking the entire wall, just filling in gaps where cabinets need support but framing doesn’t provide it. This selective blocking approach uses less material than continuous blocking while still giving every cabinet mounting point something solid to grab.
Ledger board systems use a continuous horizontal rail attached to blocking or studs, then hang upper cabinets from the ledger. Install blocking or make sure studs are positioned correctly for ledger attachment. The ledger spans across multiple cabinets and transfers their weight to the wall at predictable fastening points. French cleats provide strong mechanical interlock for heavy cabinet installations by using mating 45 degree beveled boards, one mounted to the wall and one to the cabinet. The cleat system needs solid blocking or studs to support its weight. If you’re hanging cabinets that will hold stone countertops or building a floor to ceiling pantry cabinet fully loaded with canned goods, install extra blocking at closer spacing to reinforce the support structure.
- Traditional blocking: Individual pieces between studs at specific heights. Good for standard cabinet layouts with known mounting points. Uses minimal material.
- Full plywood backing: Continuous plywood sheets replacing drywall in cabinet zones. Gets rid of stud finding, allows mounting anywhere. Higher material cost, more finishing work at edges.
- Selective blocking with studs: Uses existing studs for most mounting points, adds blocking only where needed. Efficient material use, requires careful measurement and planning.
- Ledger board systems: Horizontal rail carries cabinet weight, transfers to wall at concentrated points. Simplifies cabinet hanging, requires strong ledger attachment.
- French cleats: Mechanical interlock system for heavy loads. Very strong, allows easy cabinet removal, needs solid backing at correct height.
Heavy cabinet installations need extra planning beyond standard blocking. Calculate cabinet weight including likely contents. A full depth pantry cabinet 24 inches deep and 84 inches tall can hold 400 pounds of dry goods. Stone countertops on upper cabinets add 100 plus pounds concentrated at the top of the cabinet box. When cabinet loads exceed normal ranges, double up blocking by installing two pieces side by side, or use thicker blocking material like 2×10 or 2×12 lumber.
Securing Blocking When Metal Studs Are Present

Metal studs are common in commercial buildings, condominiums, and some modern residential construction where steel framing replaces wood. The studs are C channel or track shaped steel pieces that are lighter and straighter than wood but don’t accept wood screws directly.
Wood blocking is still the preferred material for cabinet attachment even when working with metal stud framing. Cut wood blocking to fit between the metal studs just like you would with wood framing. Use self tapping metal screws designed specifically for fastening into steel studs. These screws have sharp points and aggressive threads that cut into the metal and create a secure connection. Drive screws through pre-drilled holes in the wood blocking into the metal stud. Pre-drill the blocking with a bit slightly smaller than the screw diameter to prevent the wood from splitting when you drive screws near the ends of the blocking pieces.
Match your blocking depth to the metal stud depth so blocking sits flush with the stud faces. Metal studs come in various depths, commonly 3.5 inches (matching 2×4 dimensions) or 6 inches (matching 2×6 dimensions). Use 2×4 blocking for 3.5 inch metal studs and 2×6 blocking for 6 inch metal studs. The blocking must be tight between studs without gaps. Metal studs are straighter than wood studs, so your blocking fit should be very consistent across the entire installation.
Protecting Utilities When Installing Blocking
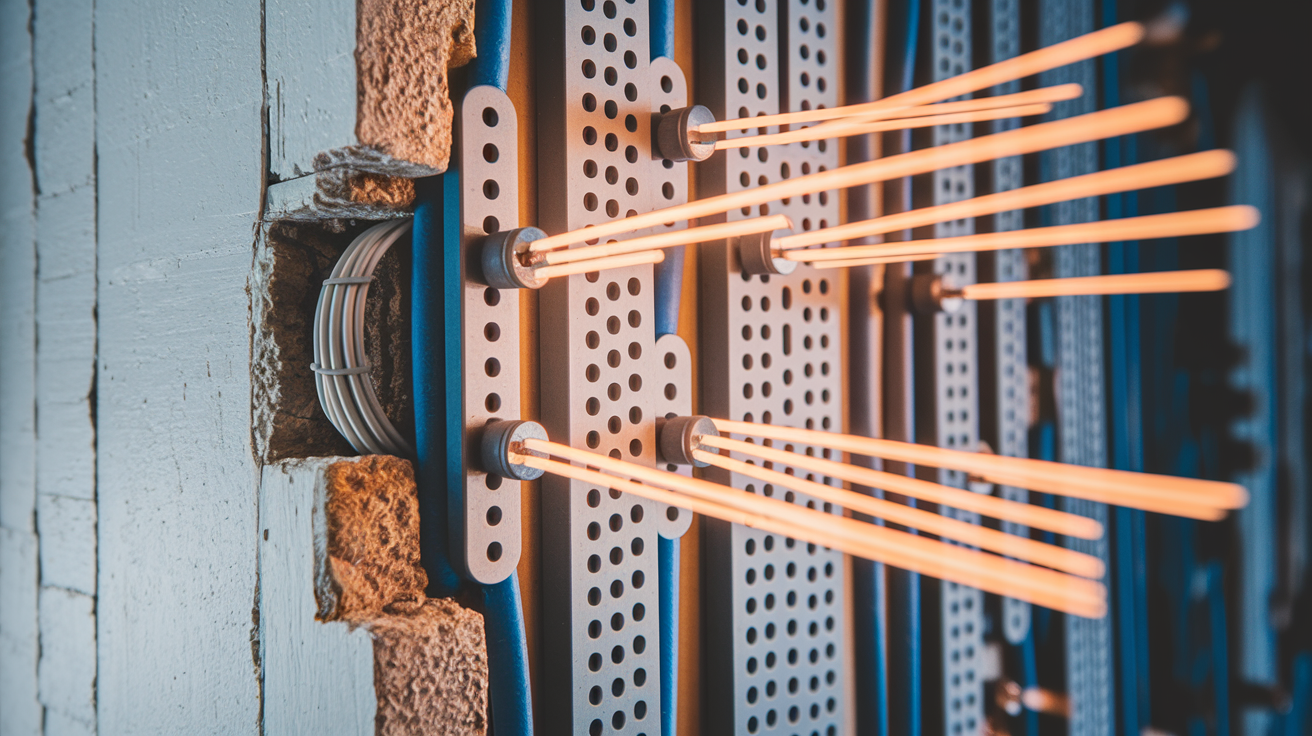
Check for electrical wiring, plumbing pipes, and HVAC ducts behind the wall before you cut blocking or drill any holes. Electrical wiring typically runs horizontally between studs at outlet and switch heights, then vertically up or down studs to reach other floors. Plumbing supply and drain lines often run in the same wall cavities as kitchen and bathroom cabinets because that’s where the fixtures are located. Turn off electrical power to the work area at the breaker panel before you start working. If you’re not sure which breaker controls the area, turn off the main breaker. You don’t want to drill into a live wire.
Install nail plates over blocking anywhere utilities pass behind it. Nail plates are thin metal plates that cover the stud face and blocking face in areas where wires or pipes might be vulnerable to screws or nails. When you mount cabinets later and drive 3 inch screws through the drywall into blocking, those screws could penetrate into the wall cavity. If a wire or pipe sits close to the back side of the blocking, the screw might hit it. Metal nail plates prevent screw penetration and protect utilities from damage. Install plates before hanging drywall so they’re sandwiched between drywall and framing.
Local building codes specify requirements for protecting utilities in walls. Most codes require nail plates when wiring or pipes are within 1.25 inches of the stud or blocking face. Check your local code for exact requirements. Take photographs of utility locations, blocking positions, and nail plate installations before you close up the walls. These photos are valuable records if you need to verify installation later or if an inspector has questions during the inspection process.
Common Blocking Installation Mistakes to Avoid
Most blocking mistakes happen because people rush through what seems like simple carpentry work. The framing is done, drywall is waiting, and blocking feels like a minor detail. But blocking errors create real problems during cabinet installation when you can’t fix them without tearing out drywall.
- Installing blocking at wrong heights: Measure cabinet specifications twice before cutting or installing anything. Double check your math for each cabinet type. Uppers, lowers, vanities all have different mounting heights.
- Forgetting to level blocking before fastening: A level sitting on blocking should show dead center on the bubble. If blocking is tilted, cabinets will be tilted. Check level before you drive any permanent screws.
- Using undersized lumber: 2×4 blocking doesn’t have adequate strength for heavy cabinet loads. Minimum is 2×6, better is 2×8 or 2×10 for solid screw retention.
- Not securing both ends of blocking to studs: A blocking piece with one end secured and one end floating will rotate under load. Two screws at each end, minimum, into solid stud material.
- Installing blocking not flush with stud faces: Blocking that protrudes prevents drywall from sitting flat. Blocking that’s recessed might not be reachable by cabinet mounting screws. Both ends and the middle should be flush with stud faces.
- Overlooking utilities behind installation area: Driving screws into electrical wiring or plumbing lines creates dangerous conditions and expensive repairs. Look before you drill.
- Using wrong screw types or lengths: Drywall screws are brittle and snap under stress. Use construction screws or structural screws rated for the load you’re supporting.
- Insufficient blocking for heavy cabinets: Calculate weight and add extra blocking rows or double thickness blocking for pantries, cabinets with stone tops, or any installation holding more than 200 pounds.
Before you hang drywall, photograph every blocking installation with stud locations visible in the frame. Mark blocking heights on the floor with permanent marker so you can reference them later if needed. Double check all measurements against your cabinet specifications one more time. Pull on every blocking piece to verify it doesn’t move under hand pressure. If blocking shifts when you pull it, it’ll shift when cabinets are loaded. Add more screws or reinstall any questionable pieces before closing up the walls.
Additional Applications Beyond Cabinet Installation

Blocking provides secure mounting for any heavy wall mounted item that loads the wall structure beyond what hollow wall anchors can support. The same installation principles that make cabinet blocking work also apply to dozens of other mounting scenarios throughout a building.
- Television mounts: Flat screen TVs over 40 inches need blocking behind mounting brackets. Block at the bracket height, typically 60 to 70 inches above floor for living room viewing.
- Towel bars: Bathroom towel bars get pulled on constantly and work loose without solid backing. Install blocking at standard towel bar heights, 48 inches for hand towels, 36 inches near showers.
- Grab bars: Blocking for grab bars near toilets and in showers is often required by building codes for accessible bathrooms. Position blocking for vertical and horizontal grab bar configurations.
- Stair handrails: Wall mounted handrails need blocking at the rail height, typically 34 to 38 inches above the stair nosing. Run continuous blocking following the stair slope.
- Heavy artwork and mirrors: Large framed artwork and bathroom mirrors benefit from blocking to spread load. Block at expected hanging heights based on room use.
- Chair rails: Decorative chair rails at 32 to 36 inches above the floor need backing so they don’t loosen. Install continuous blocking at chair rail height.
- Crown molding backing: Complex crown molding installations sometimes need blocking at ceiling height for solid fastening. Install blocking where studs don’t land behind molding attachment points.
- Floating shelves: Heavy duty floating shelves with concealed brackets need blocking behind the bracket locations. Verify bracket spacing with shelf specifications.
During construction planning, coordinate blocking locations with the homeowner or design plans for all wall mounted fixtures. Walk through each room and mark blocking heights for everything that will hang on walls: TVs in bedrooms, shelving in home offices, coat hooks in mudrooms, handrails on stairs. Installing all blocking during framing costs almost nothing in extra labor but saves you tons of retrofit work later. If plans might change or future uses are uncertain, install blocking at common heights anyway. 54 inches, 68 inches, and 34 inches cover most mounting scenarios.
Building Code Requirements and Professional Installation Considerations
Local building codes may specify requirements for blocking installations including minimum lumber sizes, fastener types and spacing, and blocking placement for specific applications. Some jurisdictions require permits for wall modifications even in single family residential construction. Check with your local building department before starting work to verify whether permits are needed and what inspections are required. Building inspectors often want to see framing and blocking before drywall installation so they can verify proper installation and utility protection. Schedule inspections at the appropriate stage and don’t close up walls until inspection is complete and approved.
DIY blocking installation is appropriate for straightforward single wall cabinet runs in new construction where the framing is exposed and the cabinet layout is simple. If you’re comfortable with basic carpentry tools and can measure accurately, blocking installation is within reach for most homeowners. The work is repetitive and follows clear steps: measure, cut, level, screw. Take your time and verify measurements twice. If you’re working on your own home during a renovation where you’ve already removed drywall, adding blocking while walls are open is a natural extension of the project.
Professional installation is recommended for complex scenarios that increase risk or difficulty. Load bearing walls require structural understanding to avoid compromising wall strength when cutting into studs or adding blocking. Older homes often have unexpected framing configurations, knob and tube wiring, or plaster walls that complicate blocking installation. If your cabinet layout involves complex angles, multiple wall runs, or coordination with soffits and bulkheads, professionals bring layout expertise that prevents errors. Extensive wall modifications that affect multiple rooms or require moving utilities should be handled by licensed contractors who understand structural and code requirements. When cabinets will hold particularly heavy loads (full height pantries, cabinets with granite countertops, commercial kitchen installations) structural engineers may need to assess the installation and specify blocking requirements.
Compare the cost of DIY material plus your time against professional installation quotes. Blocking materials are inexpensive. A few hundred dollars in lumber and screws for a typical kitchen. Professional installation might cost $500 to $1500 depending on complexity and regional labor rates. Factor in warranty and liability protection that comes with professional installation. If blocking fails and cabinets fall, professional installation usually includes liability coverage while DIY installation leaves you responsible for any damage or injury.
Final Words
Wood blocking for cabinet installation creates the solid foundation your cabinets need to stay secure for decades. Cut your blocking to fit snugly between studs, check level before fastening, and use 3-inch screws driven into both studs.
Install it before the drywall goes up and you’ll save yourself a retrofit headache later.
Match your blocking heights to your actual cabinet specs, protect any utilities with nail plates, and test the blocking by pulling hard on it before you close the wall.
Get this prep work right and your cabinets will mount fast, hang straight, and stay put.
FAQ
Do you need to install blocking for cabinets?
You need to install blocking for cabinets when mounting them on walls where studs don’t align with cabinet attachment points or when working with hollow walls that can’t support cabinet weight directly. Blocking creates solid mounting surfaces and prevents cabinets from loosening over time.
How high to put blocking for kitchen cabinets?
Blocking for kitchen cabinets should be positioned at 54 inches from the floor for the lower row of upper cabinets and at 90 inches for the upper row. Base cabinet blocking typically centers at 34.5 inches above the floor to align with standard cabinet heights.
What is the 1-3 rule for cabinets?
The 1-3 rule for cabinets isn’t a standard construction term in professional cabinet installation. You might be thinking of spacing requirements, which typically call for fastening cabinets at multiple points with screws penetrating blocking by at least 1.5 inches for secure attachment.
Where should blocking be placed?
Blocking should be placed horizontally between wall studs at heights that match cabinet mounting rails, typically 54 inches and 90 inches from the floor for upper cabinets and 34.5 inches for base cabinets. Install blocking before hanging drywall during new construction or through access openings during retrofit projects.
Can blocking be installed in existing walls?
Blocking can be installed in existing walls through retrofit methods, which require cutting horizontal strips of drywall at blocking heights, installing the blocking through access openings, then patching and finishing the drywall. This approach is more labor-intensive than installing blocking during new construction.
What size lumber works best for cabinet blocking?
The best lumber for cabinet blocking is 2×6 minimum, with 2×8 or 2×10 preferred for better screw retention and load support. You can also use 3/4-inch plywood strips cut 6 inches wide, which split less than solid lumber and leave more room for insulation.
How do you secure blocking to wall studs?
You secure blocking to wall studs by driving 3-inch construction screws through the blocking sides into the studs, ensuring the blocking sits flush with the stud faces. Use at least two screws at each end and test stability by pulling firmly on the installed blocking.
Does blocking work with metal studs?
Blocking works with metal studs using self-tapping metal screws designed for steel studs instead of standard construction screws. Pre-drill the blocking to prevent splitting and match blocking depth to metal stud depth for proper alignment with drywall.