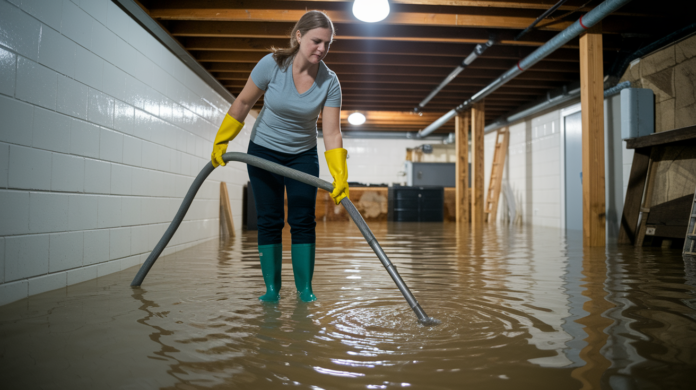

The first hour after floodwater enters your home is when most people make decisions that either protect their family or create dangers that didn’t exist before. Rushing into standing water to save belongings, flipping breakers without checking for hazards, or waiting too long to document damage all turn a bad situation worse. This guide walks you through the exact sequence of safety checks, documentation steps, and water removal methods that protect both people and property after a flood, starting with the critical actions that prevent injury and ending with drying strategies that actually stop mold before it starts.
Critical First Actions in the First Hour After Home Flooding

The first 60 minutes after you find flood damage decide both your safety and how bad the long-term damage gets. Panic creates mistakes, but a clear safety-first sequence protects you and limits what comes next.
Before you do anything else, follow these steps in order:
-
Stay outside if you’re not already inside. Wait for official clearance from authorities before entering a flooded home. If you’re already inside when flooding starts, get to higher ground immediately.
-
Look for structural damage from the outside. Check for warping door frames, foundation cracks, sagging rooflines, or walls that look off. Any visible structural damage means evacuate now and call emergency services.
-
Shut off the main electrical panel only if you can reach it without stepping in water. The breaker box should be accessible without walking through standing water. If water surrounds the panel or reaches within three feet of it, leave immediately and call a licensed electrician. Never touch a breaker box that’s wet or surrounded by water. Electricity in water doesn’t give you a second chance.
-
Check for gas leaks by smell. Natural gas smells like rotten eggs or sulfur. If you smell it, don’t flip any switches or use anything that could create a spark. Get out and call the gas company from outside.
-
Do not walk through standing water. Floodwater often contains sewage, chemicals, bacteria, and sharp debris you can’t see below the surface. Hidden structural damage like weakened floors or missing floorboards can also lurk beneath the waterline.
-
Document immediate hazards from a safe distance. Use your phone to take photos and videos of the flooding, water level, and any visible damage, but only from areas you can reach safely without entering contaminated water.
-
Call 911 if anyone is injured or trapped. Emergency services take priority over property damage every time.
-
Evacuate if you have any doubt about safety. Structural damage, electrical hazards near water, gas leaks, or rapidly rising water all require immediate evacuation.
These safety protocols must be complete before any cleanup begins. Yes, mold starts growing within 24 to 48 hours, but that clock only matters if you survive to worry about it. Secure the scene first, then address the water. Rushing into a flooded home without following this sequence turns a property problem into a life threatening emergency.
Documenting Flood Damage for Your Insurance Claim

Your insurance company needs proof before they’ll pay, and once you start removing water and throwing things out, that evidence disappears. Documentation must happen before cleanup, not after.
The difference between coverage and denial often comes down to how well you document what happened. Standard homeowners insurance typically covers sudden water damage like burst pipes but excludes flooding from external water sources like rivers, storm surge, or overwhelmed drainage systems. External flooding requires separate flood insurance through the FEMA National Flood Insurance Program. Know which policy applies to your situation before you file, because calling the wrong insurance company first creates confusion and delays.
Follow these documentation steps immediately after ensuring safety:
-
Photograph the water source and entry point. Capture where water entered the home and what caused it. Broken pipe, failed sump pump, basement window, door threshold. Insurance adjusters need to see the cause.
-
Take wide angle shots of every affected room. Stand in doorways and corners to capture the full extent of flooding in each space. Get the ceiling, walls, and floor in every shot.
-
Shoot close-ups of damaged walls, floors, ceilings, and belongings. Document water lines, staining, warping, and saturation. Capture serial numbers and brand names on damaged appliances and electronics.
-
Record a video walkthrough with timestamp. Walk through the entire affected area narrating what you see and where water reached. Your phone automatically timestamps video files, creating a verifiable record.
-
Create a written inventory with item descriptions and estimated values. List everything damaged including approximate age and purchase price. “Living room couch, gray sectional, bought 2019 for approximately $1,200” works better than “couch.”
-
Collect and photograph receipts for any emergency services. If you called a plumber to stop the water or a restoration company for emergency extraction, document what you paid and when. These emergency expenses are often reimbursable.
Contact your insurance company within 24 hours of discovering damage. Have your policy number ready, along with photos showing the extent of damage and a preliminary list of affected areas. The insurance company will ask when you discovered the damage, what caused it, whether you’ve taken steps to prevent further damage, and whether the home is currently livable. They’ll either send an adjuster to inspect in person or request you submit documentation electronically.
Keep every receipt related to flood response. Emergency plumbers, restoration companies, cleaning supplies, equipment rentals, even hotel stays if you can’t live in the home. Photograph these receipts and store copies somewhere the flood can’t reach them. Document temporary repairs like boarding broken windows or tarping roof damage with before and after photos. Insurance policies typically require immediate action to prevent secondary damage, so these temporary fixes protect both your home and your claim approval.
Essential Protective Equipment for Flood Cleanup

All floodwater should be treated as contaminated until proven otherwise. Even clear looking water that started from a clean source picks up bacteria, chemicals, and sewage once it runs across floors, through walls, and into crawlspaces.
You need this protective equipment before touching anything wet:
-
Waterproof rubber boots minimum 12 inches tall. Boots keep contaminated water away from your skin and prevent puncture wounds from nails, glass, or debris hidden underwater. Steel toe boots add protection if you’re moving heavy saturated materials.
-
Heavy duty waterproof gloves rated for elbow length. Standard dishwashing gloves don’t cut it. You need gloves that stay waterproof when submerged and extend past your wrists to prevent water from running down your arms.
-
N95 or N99 respirator masks, not dust masks. Floodwater creates airborne bacteria and mold spores as it evaporates. Paper dust masks don’t filter these hazards. Get respirators with nose clips that seal against your face.
-
Safety goggles or face shields. Splashing contaminated water into your eyes during cleanup causes infections. Standard glasses or sunglasses don’t provide adequate protection.
-
Long sleeved shirts and long pants in synthetic materials. Cotton soaks up contaminated water and stays wet. Synthetic fabrics dry quickly and create a barrier between floodwater and your skin.
-
Hard hat if structural damage is present. Wet ceiling materials, loosened fixtures, and weakened framing can fall without warning. If you saw structural damage during your initial assessment, wear head protection.
-
First aid kit within reach. Cuts and scrapes during flood cleanup need immediate attention to prevent infection. Keep bandages, antiseptic, and antibiotic ointment accessible.
-
Proper disinfection supplies including bleach and clean buckets. You’ll need these to create sanitizing solutions. Have them staged before you start removing water.
Boots prevent contaminated water contact and protect your feet from punctures as you walk through debris fields you can’t see clearly. Gloves create a barrier against bacteria, viruses, and chemicals common in floodwater while protecting your hands from sharp objects like broken glass, nails, and splintered wood. Respirator masks filter airborne contaminants released as water evaporates and disturbed materials begin growing mold. Eye protection prevents splash contamination when you’re pumping water, moving saturated materials, or applying disinfectants.
If sewage is involved, from toilet overflow, sewer backup, or outdoor flooding that contacted ground contaminated with animal waste, upgrade to hazmat level protection and seriously consider calling professionals instead of handling it yourself. Category 3 contaminated water creates health risks that exceed what standard protective equipment can safely handle.
Removing Standing Water and Beginning the Drying Process
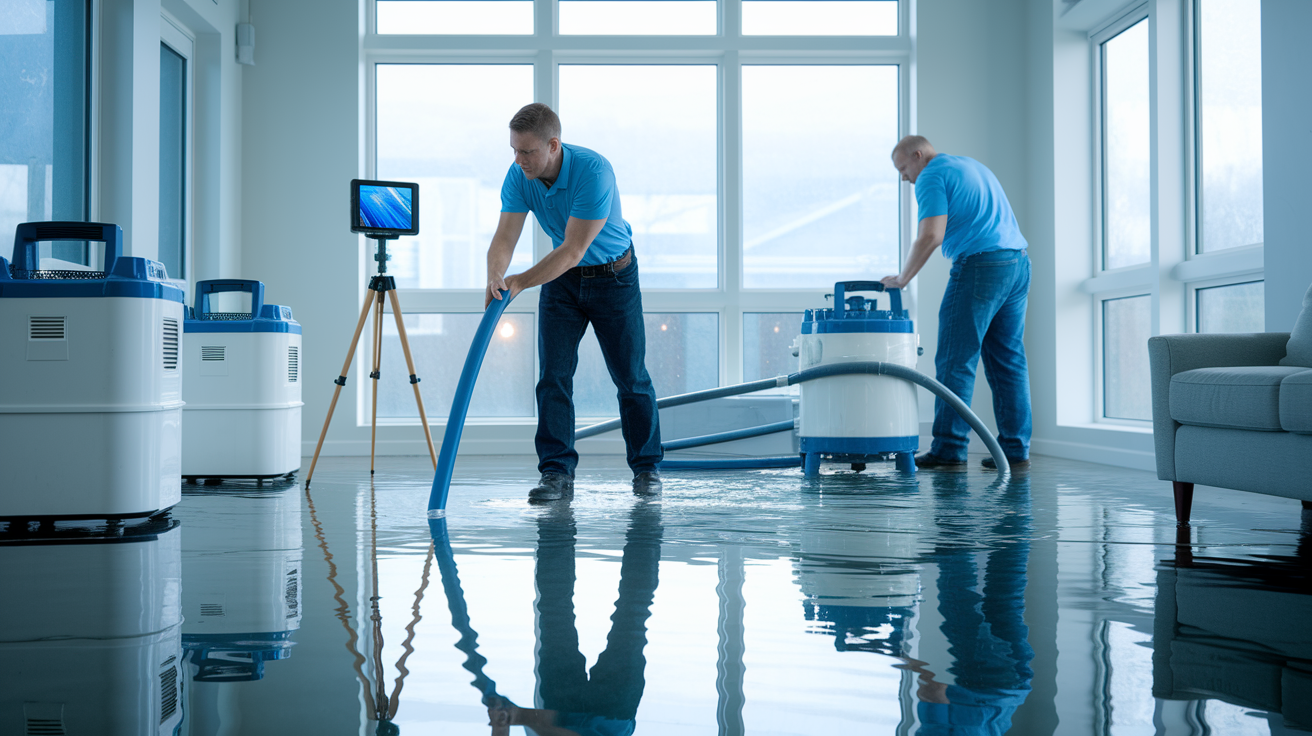
Once safety protocols are in place and documentation is complete, get the water out. Every hour water sits in your home increases structural damage and pushes you closer to the 24 to 48 hour mold growth window.
Start with whatever equipment you can access quickly. Wet dry vacuums handle shallow flooding and are easier to control than pumps in finished living spaces. For deeper water, submersible pumps move more volume faster. A decent pump removes hundreds of gallons per hour while a shop vac manages maybe 10 to 15 gallons before you’re emptying it. If you’re pumping out a flooded basement, discharge the water away from your foundation so it doesn’t just flow back in.
The gap between consumer drying equipment and professional gear is significant. Professional dehumidifiers extract up to 30 gallons of moisture daily compared to 5 to 10 gallons from the units you rent at the hardware store. Industrial air movers push 3 to 4 times more air than household fans, creating the velocity needed to dry inside wall cavities and under flooring. IICRC certified restoration companies use thermal cameras to see moisture hidden behind walls, hygrometers to measure humidity levels in materials, and moisture meters to confirm dryness before reconstruction begins. DIY methods can’t reach moisture trapped inside walls, under flooring, or in furniture. You’re drying surfaces while hidden moisture keeps working.
Here’s what you can do immediately to start the drying process:
-
Open windows and doors for cross ventilation, but only if the outside humidity is lower than inside. Introducing humid outdoor air into a drying space works against you.
-
Run every dehumidifier you can get your hands on continuously. Empty collection buckets frequently or connect drain hoses to avoid overflow.
-
Position fans to maximize air circulation across wet surfaces, not just moving air around the room. Angle fans at 45 degrees toward wet walls and floors.
-
Remove soaked materials like rugs, boxes, and movable furniture to outdoor drying areas or unaffected rooms with good ventilation.
-
Raise remaining furniture on blocks above wet floors using bricks, plastic tubs, or aluminum foil to prevent additional wicking and staining.
The drying process typically takes 3 to 5 days depending on how much water you’re dealing with, what materials got wet, weather conditions, and ventilation quality. Maintaining indoor temperature between 70 to 80 degrees Fahrenheit accelerates evaporation without creating the warm, humid environment mold loves. Cooler temperatures slow drying. Hotter temperatures combined with high humidity create ideal mold conditions.
Understanding Floodwater Contamination Categories

Not all floodwater is equally dangerous, and contamination level determines how you handle cleanup and whether DIY is even safe. The restoration industry uses three categories to classify water damage based on health risk.
Category 1: Clean Water Sources
Category 1 water comes from sanitary sources like supply lines, broken pipes, or rainwater that hasn’t contacted the ground or contaminated surfaces. This is the least dangerous classification and presents minimal health risk if handled promptly. Clean water flooding requires basic precautions, protective boots and gloves, but you can safely handle cleanup yourself if the volume is manageable. Think of a burst washing machine supply line or a water heater that failed and drained onto the floor.
Category 2: Gray Water Contamination
Category 2 water contains bacteria and chemicals that require thorough disinfection and protective equipment. Sources include washing machine discharge, dishwasher overflow, or toilet overflow containing only urine. Gray water won’t kill you, but it will make you sick if you don’t handle it properly. You need waterproof gloves, boots, and eye protection at minimum. Everything gray water touches requires disinfection with bleach solution, not just cleaning. Air out the space aggressively and monitor for odors that indicate bacterial growth.
Category 3: Black Water Dangers
Category 3 water presents serious health hazards and almost always requires professional handling. Black water comes from sewage backup, toilet overflow containing feces, sump pump failure that backs up sewage, or any outdoor flooding from rivers, streams, or storm surge. This water contains harmful bacteria, viruses, parasites, and toxic chemicals. Extended exposure causes serious illness. Black water contamination requires the highest level protective equipment, hazmat suits, respirators, and face shields, along with extensive sanitization protocols after water removal. Materials like drywall, insulation, and carpet that contact black water usually can’t be properly disinfected and must be removed completely.
All outdoor flooding should be treated as Category 3 regardless of how clean it looks. Once water runs across the ground, through storm drains, or from natural waterways, it picks up everything along the way. Fertilizers, pesticides, automotive fluids, animal waste, and industrial runoff. Clear water from a flooded creek still carries serious contamination risks.
Deciding What Can Be Saved and What Must Go

Flood recovery means making fast decisions about salvageability while documenting everything for insurance. Some materials can be saved with quick action. Others need to go immediately before they spread contamination or mold.
| Material/Item Type | Can Be Saved? | Action Required |
|---|---|---|
| Hardwood floors | Sometimes | Professional drying needed within 48 hours, depends on water exposure time |
| Laminate flooring | Rarely | Usually swells and delaminates, replace in most cases |
| Carpet and padding | No | Discard immediately, nearly impossible to properly dry and disinfect |
| Drywall | No if saturated | Remove at least 12 inches above visible water line, wicks upward |
| Upholstered furniture | Rarely | Professional assessment only, often can’t be fully disinfected |
| Wood furniture | Often | Dry thoroughly in well-ventilated area, treat for mold if needed |
| Important documents | Often | Freeze in sealed bags, then professional restoration service |
| Electronics | Maybe | Do not power on, professional evaluation required |
| Insulation | No | Remove and replace, loses thermal resistance and grows mold |
| Baseboards and trim | No | Remove and replace, holds moisture against wall framing |
| Clothing and linens | Often | Wash immediately with hot water and bleach, discard if mold present |
| Non-porous items (metal, plastic) | Yes | Clean thoroughly and disinfect with bleach solution |
Move salvageable items to well ventilated drying areas as quickly as possible. Outdoor drying works well if weather permits. Direct sun and airflow dry materials faster than indoor conditions. If you’re drying items indoors, choose unaffected rooms with good air circulation and space items apart so air reaches all surfaces. Place items on blocks, hang them on lines, or prop them at angles that promote drainage. Don’t stack wet items. This traps moisture between surfaces and accelerates mold growth.
Photograph every item before you discard it. Your insurance company may question why you threw out a piece of furniture or electronics without getting it professionally evaluated. Photos showing saturation, contamination, or early mold growth justify disposal decisions.
Preventing Mold Growth in the Critical 48 Hour Window
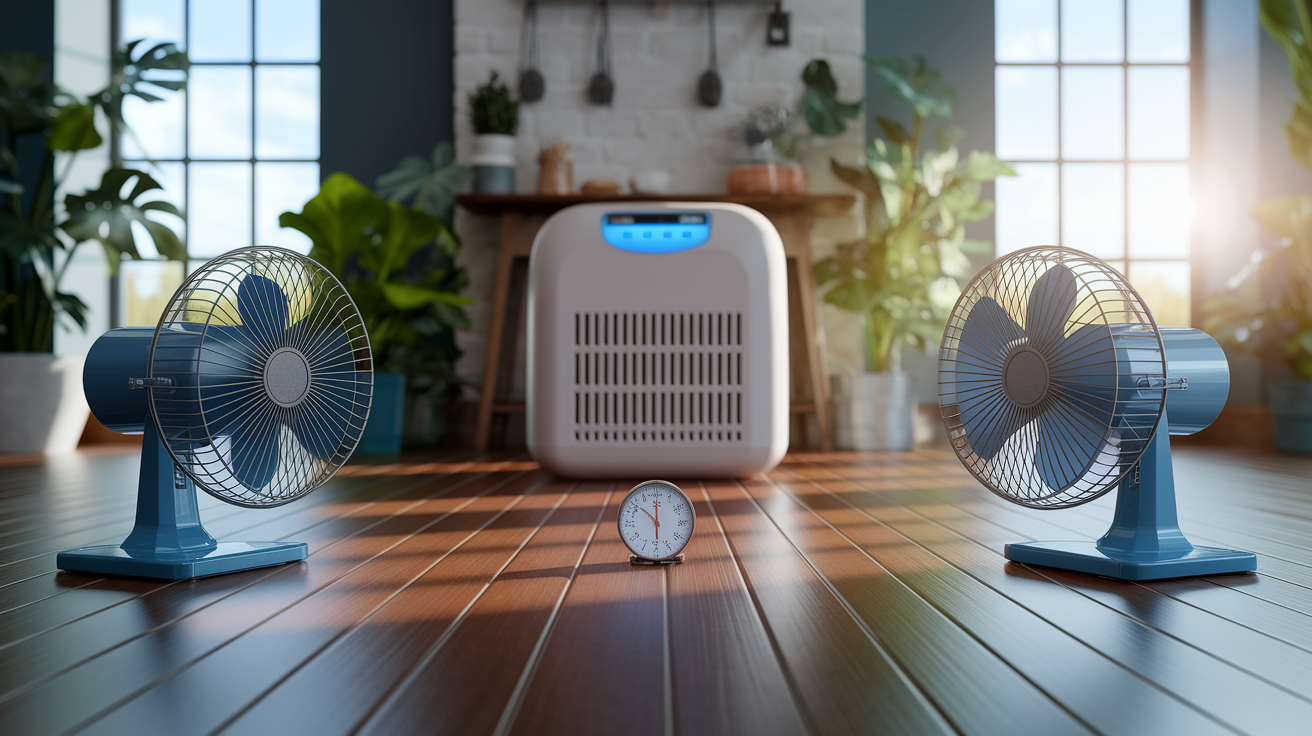
Mold spores begin developing within 24 to 48 hours after water exposure, creating a hard deadline for all drying actions. This isn’t a guideline or general timeframe. It’s the point where you shift from preventing mold to dealing with active growth.
Temperature and humidity control both matter, but not in the way most people think. Maintaining indoor temperature between 70 to 80 degrees Fahrenheit accelerates evaporation without creating the warm, humid environment mold thrives in. Temperatures below 70 degrees slow drying significantly. Temperatures above 80 degrees combined with high humidity actually encourage mold growth even while speeding evaporation. You need warmth to move moisture out of materials, but not so much heat that you’re creating a greenhouse.
Humidity management requires strategic thinking, not just blasting air around. Open windows for cross ventilation only when outside humidity is genuinely lower than inside. Check weather reports or use a hygrometer to measure both. If it’s muggy outside and you’re running dehumidifiers inside, opening windows introduces the moisture you’re trying to remove. Close up and rely on mechanical dehumidification instead. When conditions favor natural ventilation, create cross breeze patterns by opening windows on opposite sides of the affected area.
Maximize air circulation with these specific steps:
-
Position fans at 45 degree angles toward wet surfaces, not straight on. Angled airflow pushes moisture off surfaces and moves it toward dehumidifiers or ventilation points.
-
Create cross breeze patterns by placing fans to pull air in one opening and push it out another. Air movement matters more than air speed.
-
Run your HVAC system on fan only mode if it’s safe to operate. This circulates air through the entire home, preventing isolated moisture pockets. Don’t run heating or cooling cycles until you’ve verified the system didn’t get contaminated.
-
Remove standing water before relying on air movement. Fans and dehumidifiers can’t overcome active puddles. Water must be extracted first, then air drying removes what’s left in materials.
-
Monitor moisture in hidden areas like wall cavities, crawlspaces, and under cabinets. These spaces don’t get airflow even when you’re running fans, so they dry last and grow mold first.
Early mold development announces itself with a musty, earthy odor before you see visible growth. Any persistent musty smell after water removal means you’ve missed moisture somewhere and spores are already developing. You might also see discoloration on walls, ceilings, or floors. Usually black, green, or white patches that weren’t there before flooding. Either condition requires immediate professional assessment. Once mold establishes, DIY cleaning just spreads spores. You need containment, removal, and treatment that exceeds homeowner capability.
Disinfecting and Sanitizing Flood Affected Surfaces
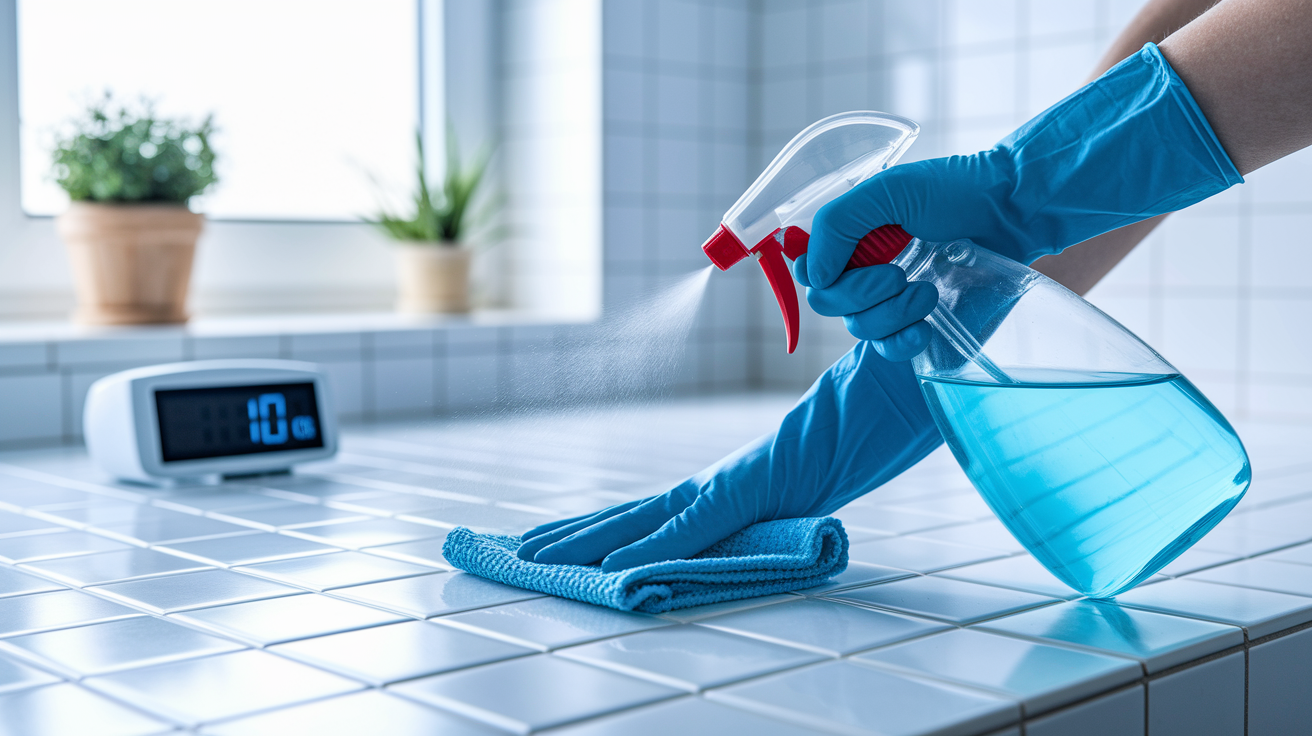
Removing visible dirt isn’t the same as killing bacteria and pathogens. You need both. Cleaning gets rid of what you can see. Disinfecting kills what you can’t.
The difference matters because floodwater carries bacteria, viruses, and chemicals that survive on surfaces even after they look clean. Wiping down a wall removes mud but leaves bacterial contamination that spreads through your home and makes people sick. Proper sanitization requires specific chemical contact time and application methods.
Mix 1 cup of household bleach into 5 gallons of clean water for effective disinfecting solution. Stronger concentrations don’t work better and can damage materials or create dangerous fumes. Apply this solution to hard, non porous surfaces and allow 10 minutes of contact time before rinsing. Ten minutes isn’t a suggestion. Bleach needs that contact time to kill pathogens. Wiping it off after 30 seconds accomplishes nothing.
Hard surfaces like ceramic tile, concrete, metal fixtures, and sealed wood can be disinfected and saved. Porous materials like drywall, insulation, carpet, and upholstered furniture that contacted contaminated water usually can’t be properly disinfected and need removal instead. Bleach doesn’t penetrate deep into porous materials where moisture and bacteria hide. You end up with a clean surface covering contaminated material underneath.
Follow this sequence for proper disinfection:
-
Remove all loose debris and sediment first. Sweep, vacuum, or shovel out mud, dirt, and solids before applying any water or cleaning solutions.
-
Wash surfaces with detergent and clean water to remove remaining soil. Regular dish soap and scrub brushes work fine for this step.
-
Rinse thoroughly with clean water and let drain. You want a clean surface before disinfectant application.
-
Apply bleach solution generously and let sit for exactly 10 minutes. Set a timer. Don’t rush this step.
-
Rinse again with clean water to remove bleach residue. Bleach left on surfaces continues breaking down materials and creates respiratory irritation.
-
Allow surfaces to air dry completely. Don’t close up walls or replace materials until everything is verified dry.
When sewage exposure is involved, extensive contamination covers multiple rooms, or household members have compromised immune systems, antimicrobial treatment by professionals becomes necessary. Professional treatment includes EPA registered antimicrobial agents applied with proper equipment, containment protocols to prevent cross contamination during cleaning, and verification testing to confirm sanitization success. This level of treatment exceeds what homeowners can safely accomplish with hardware store supplies.
When to Call Professional Flood Restoration Services
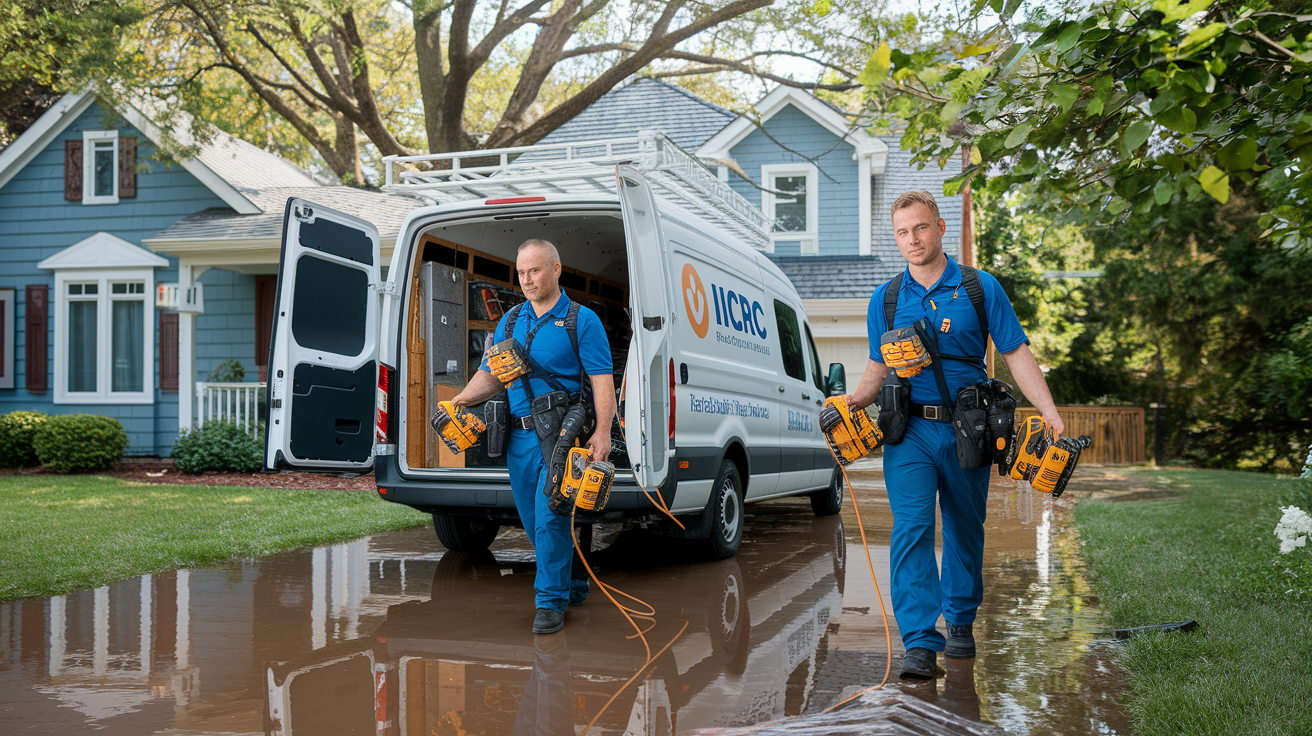
Some flood situations exceed what you can handle safely or effectively with consumer equipment and weekend labor. Knowing when to step back and call professionals prevents secondary damage that costs more than the restoration service would have.
Call IICRC certified restoration professionals immediately when you’re facing:
- Flooding deeper than 2 inches covering significant floor area. Water volume overwhelms homeowner extraction methods
- Sewage or Category 3 contaminated water involvement. Health risks require professional handling and specialized equipment
- Water affecting multiple rooms or levels. Coordinating drying across large areas needs industrial air movers and dehumidifiers
- Inability to identify or stop the water source. Professionals bring diagnostic tools and contractor networks
- Visible structural damage like sagging ceilings, buckling floors, or cracked foundations. Safety issue requiring engineering assessment
- Flooding inside wall cavities or under subfloors. Hidden moisture requires thermal imaging and professional drying systems
- Mold already visible or strong musty odors present. Established mold needs containment and removal beyond surface cleaning
Professional restoration companies bring capabilities you can’t replicate with rental equipment. Thermal imaging cameras see moisture hidden behind walls and under floors without demolition, showing exactly where water traveled and what materials are saturated. Moisture meters verify when materials have returned to normal moisture content instead of guessing based on how they feel. Industrial dehumidifiers pull 30 gallons of water daily from the air compared to the 5 to 10 gallons consumer models manage. Air movers designed for structural drying push enough velocity to dry inside wall cavities and under flooring where household fans just move surface air.
IICRC certification matters because it confirms technicians follow industry best practices and current water damage restoration techniques. Insurance companies prefer working with IICRC certified professionals because certification ensures compliance with standards that protect claim outcomes. When a certified company documents their process with moisture readings, photo evidence, and equipment logs, insurance adjusters can verify work was done properly. Emergency response teams from certified companies typically arrive within 60 to 90 minutes, bringing truck mounted extraction equipment and staging industrial drying gear while water is still present.
The analysis often favors professional restoration over DIY attempts. Hidden moisture you miss with household drying methods leads to mold growth, wood rot, and structural deterioration that costs many times more to fix than professional drying would have cost initially. Restoration companies know which materials can be saved with aggressive drying and which need immediate removal. They prevent the common homeowner mistake of closing up walls with moisture still trapped inside because surface materials feel dry.
Managing Health and Safety Risks During Flood Cleanup
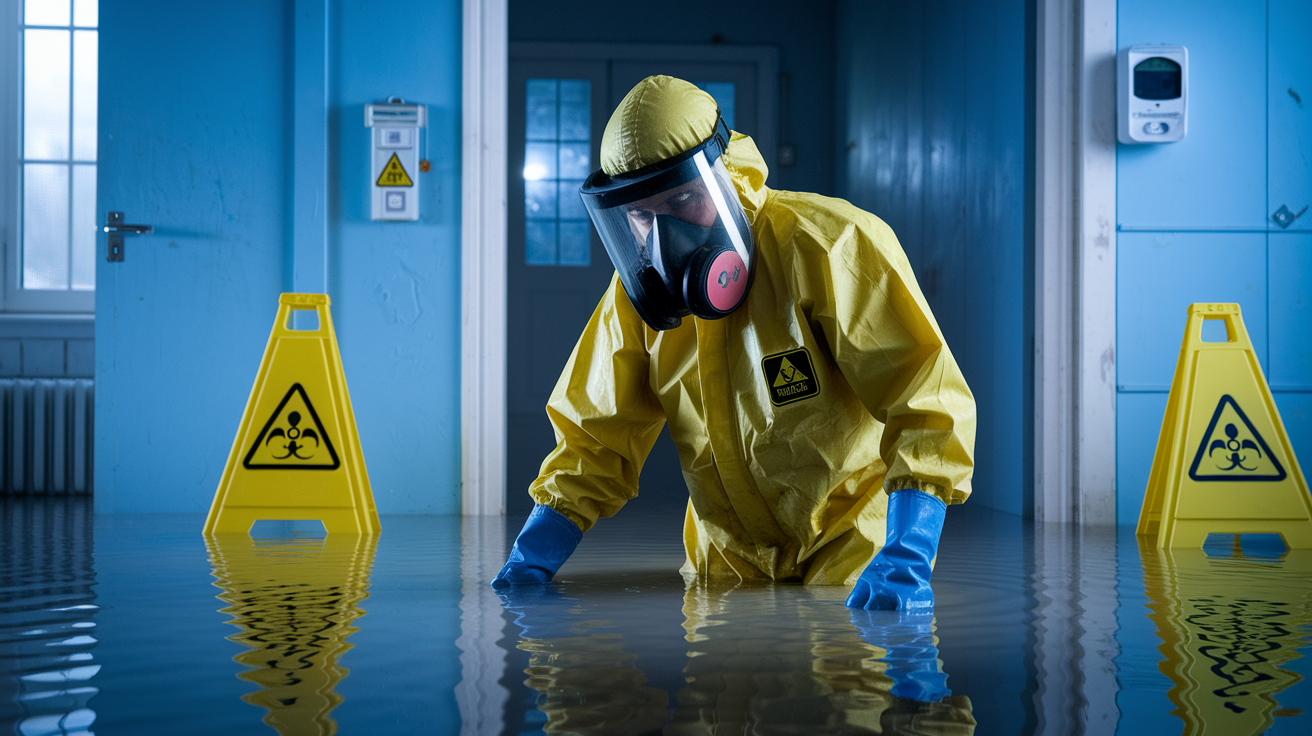
The stress and urgency of flood cleanup pushes people to work fast and overlook basic health precautions that prevent injuries and illness. Slow down enough to avoid creating medical emergencies on top of property damage.
Watch for these health risk categories and take the indicated precautions:
-
Contaminated drinking water. Municipal water systems can become compromised during widespread flooding. Use bottled water for drinking, cooking, and ice until local authorities confirm water testing shows your supply is safe. Boiling water kills bacteria but doesn’t remove chemical contamination.
-
Compromised food storage. Discard anything that lost refrigeration for more than 4 hours or contacted floodwater directly. This includes canned goods if floodwater reached the cans. You can’t reliably disinfect the seals and rims.
-
Wet medications. Consult your pharmacist about replacing any prescription or over the counter medications that got wet. Moisture compromises medication potency and safety even if packaging looks intact.
-
Electrical shock hazards. Maintain distance from outlets, switches, and appliances in wet areas even after shutting off power. Assume all electrical components are energized until an electrician confirms otherwise.
-
Physical injury from debris. Wear sturdy closed toe boots with thick soles and clear pathways before moving heavy saturated materials. Waterlogged drywall and insulation weigh far more than dry materials and cause back injuries.
-
Carbon monoxide from generators. Run generators outdoors only with exhaust directed away from windows, doors, and vents. Carbon monoxide is odorless and deadly. Don’t run generators in garages, basements, or near home openings even with doors open.
-
Fatigue and dehydration during cleanup. Take regular breaks every 30 to 45 minutes when working in protective equipment. Waterproof gear traps heat and leads to heat exhaustion. Drink water frequently even if you don’t feel thirsty.
-
Children and pets in affected areas. Keep them completely away from flood cleanup areas until professionals or health inspectors declare the space safe. They’re more vulnerable to contaminants and more likely to touch their faces with contaminated hands.
Seek medical attention immediately if you experience cuts or puncture wounds during cleanup. Contaminated water introduces tetanus and infection risks that require professional care. Watch for respiratory issues like persistent coughing, wheezing, or shortness of breath that indicate mold or chemical exposure beyond what your protective equipment filtered. Skin rashes, hives, or itching signal contaminated water contact that needs evaluation. Headache, dizziness, weakness, or nausea during cleanup may indicate carbon monoxide poisoning. Get outside into fresh air and call 911.
Understanding Flood Damage Repair Timelines and Costs
Flood recovery happens in phases, each with different timeframes and activities. Understanding the full sequence helps you plan displacement, coordinate contractors, and set realistic expectations with family members or tenants.
| Recovery Phase | Typical Duration | Primary Activities |
|---|---|---|
| Emergency response | Hours 0 to 24 | Safety assessment, power shutoff, water source control, initial documentation, emergency service calls |
| Water extraction | Days 1 to 2 | Pumping standing water, wet vac removal, initial material removal, salvageable item relocation |
| Drying and dehumidification | Days 3 to 7 | Industrial dehumidifiers and air movers running continuously, moisture monitoring, ventilation management |
| Demolition and sanitization | Days 5 to 10 | Removing unsalvageable materials, cutting drywall above water lines, disinfecting all surfaces, mold treatment if needed |
| Reconstruction | Weeks 2 to 8+ | Installing new drywall, flooring, baseboards, painting, refinishing, preventative upgrades like improved drainage or sump systems |
Temporary repairs happen during the emergency response phase and protect against secondary damage while you wait for permanent fixes. Boarding up broken windows prevents weather and security issues. Tarping roof damage stops additional water intrusion. Covering exposed wall cavities with plastic sheeting controls humidity. Document all temporary repairs with photos showing damage before the repair, the temporary fix in place, and receipts for materials and labor. Insurance companies typically reimburse these costs because policies require immediate action to prevent further damage. Before and after photos prove you acted responsibly to minimize loss.
Displacement costs become significant if flooding makes your home uninhabitable. Most homeowner insurance policies include Additional Living Expenses coverage that reimburses temporary housing, storage fees for your belongings, meals you wouldn’t normally pay for, and other costs resulting from being unable to live in your home. Review your policy to understand coverage limits and required documentation. Keep detailed receipts for every displacement related expense. Hotel bills, restaurant meals, laundromat costs, storage unit rental, even extra fuel driving from temporary housing to work. Many homeowners underestimate displacement duration and don’t track these costs carefully, losing thousands in reimbursable expenses.
Save receipts for absolutely everything from the first emergency plumber call through final reconstruction completion. Insurance reimbursement requires documentation. Create a dedicated folder, physical or digital, where every flood related receipt goes immediately. This includes emergency service calls, equipment rental, cleaning supplies, protective equipment, replacement materials, contractor labor, professional services like document restoration, and all displacement costs. Photograph receipts the day you get them as backup in case paper receipts fade or digital files corrupt.
Protecting Important Documents and Irreplaceable Items
Choosing what to save when everything is wet and time is running out creates difficult emotional decisions on top of crisis management. Documents, photographs, and sentimental items require different treatment than building materials.
Handle document salvage in this specific sequence:
-
Carefully remove documents from water without trying to separate pages that are stuck together. Pulling stuck pages apart while wet causes tearing and ink transfer. Leave them together for now.
-
Rinse visible mud or debris off with clean water if the documents contacted contaminated floodwater. Gently run clean water over surfaces without rubbing.
-
Blot excess water with clean towels using gentle pressure. Don’t wipe. This smears ink and damages paper fibers. Pat and press instead.
-
Separate individual documents by placing wax paper or freezer paper between them. This prevents them from sticking together as they dry or freeze.
-
Freeze documents in sealed plastic bags if professional restoration will be delayed more than 48 hours. Freezing stops deterioration, prevents mold growth, and gives you time to arrange professional help. Frozen documents keep for months without additional damage.
-
Photograph important documents before any handling if possible. Birth certificates, property deeds, titles, insurance policies, and legal papers can often be reissued if you have photos proving what they said.
-
Contact professional document restoration services for irreplaceable items. These specialists use freeze drying, chemical treatments, and controlled environmental chambers to recover documents consumer methods can’t save.
Going forward, create a waterproof emergency kit in a location flood risk doesn’t reach. Top floor closet, elevated garage storage, or off site storage at a family member’s home all work. Include copies of critical documents: insurance policies, birth certificates, social security cards, property deeds, vehicle titles, marriage certificates, passport copies, medical records, and financial account information. Add USB drives with digital copies of important photos and documents. Update this kit annually as documents change and new family photos accumulate.
Wet photographs present special challenges because they stick together permanently if you let them air dry in contact with each other. Frozen wet photographs often recover better than air dried ones. Gently rinse mud off photo surfaces with clean water, place wax paper between individual photos, and freeze in sealed bags. Professional photo restoration services can often recover images from severely damaged photographs once they’re stabilized through freezing. Don’t attempt to separate stuck photos yourself. Professionals have chemical treatments and specialized equipment that improve recovery success.
Final Words
Safety comes first, documentation comes second, and speed matters for everything after that.
What to do immediately after a flood in your home boils down to this: shut off power if it’s safe, document everything before you touch it, suit up in proper protective gear, and start water removal within hours, not days.
The 48-hour mold clock starts ticking the moment water stops rising. Every decision you make in that window, from salvaging belongings to positioning fans, either prevents future damage or sets you up for a longer, costlier recovery.
Work the plan. Check your work. And know when to call in the pros.
FAQ
Q: What should you do immediately after your house floods?
A: Immediately after your house floods, shut off the main electrical power if you can safely reach the breaker box without stepping in standing water, evacuate if you see structural damage like cracks or warping, and avoid walking through contaminated floodwater. Call emergency services if needed, then contact your insurance company to report the damage before starting any cleanup work.
Q: How long does it take to dry out a house after a flood?
A: Drying out a house after a flood typically takes 3 to 5 days with proper equipment and ventilation, depending on how much water entered, what materials got wet, weather conditions, and air circulation. Professional dehumidifiers extract up to 30 gallons daily compared to 5 to 10 gallons from consumer models, which speeds the process significantly.
Q: Can you flush a toilet during a flood?
A: You should not flush a toilet during active flooding if you have a septic system or if sewage backup is occurring, as this can worsen contamination and spread black water throughout your home. Wait until local authorities confirm the sewer system is functioning properly and floodwaters have receded before using plumbing fixtures.
Q: What is the first action to take when your house floods?
A: The first action when your house floods is ensuring personal safety by staying out of standing water near electrical outlets or appliances, shutting off power at the main breaker only if safe to access, and checking for visible structural damage from outside before entering. Never step into a flooded area until electricity is confirmed off and the structure appears stable.
Q: Why must you document flood damage before cleanup begins?
A: You must document flood damage before cleanup begins because insurance companies require photographic evidence of all damage to approve claims and determine coverage amounts. Take wide-angle shots of each room, close-ups of damaged materials, video walkthroughs with timestamps, and create written inventories with estimated values before removing any water or wet items.
Q: What protective equipment do you need for flood cleanup?
A: Flood cleanup requires waterproof rubber boots at least 12 inches high, heavy-duty elbow-length gloves, N95 or N99 respirator masks, safety goggles, long-sleeved synthetic clothing, and accessible first aid supplies. All floodwater should be treated as contaminated with bacteria, chemicals, and sewage regardless of its appearance or source.
Q: When does mold start growing after a flood?
A: Mold starts growing within 24 to 48 hours after floodwater exposure, making rapid water removal and drying critical for prevention. Maintain indoor temperature between 70 to 80 degrees Fahrenheit, run dehumidifiers continuously, position fans to maximize air circulation, and open windows only when outside humidity is lower than inside to stay ahead of spore development.
Q: What building materials must be removed after flooding?
A: After flooding, you must remove and discard carpet and padding, drywall at least 12 inches above the water line, soaked insulation, baseboards, trim, and any porous materials that stayed wet for over 48 hours. These materials wick water upward, cannot be properly dried or disinfected, and become breeding grounds for mold and bacteria.
Q: How do you properly disinfect surfaces after a flood?
A: Properly disinfecting surfaces after a flood requires washing with detergent first, rinsing, applying a solution of 1 cup bleach per 5 gallons water, letting it sit for 10 minutes contact time, rinsing again, and air drying completely. This process only works on hard, non-porous surfaces like tile, concrete, and metal.
Q: What is the difference between clean water and black water flooding?
A: Clean water flooding comes from broken supply pipes or rain without ground contact and has minimal health risks, while black water contains sewage, toilet overflow with feces, or outdoor floodwater with serious contaminants requiring professional handling. All outdoor flooding should be treated as black water regardless of appearance due to unknown ground contaminants.
Q: When should you call professional flood restoration services?
A: You should call professional flood restoration services when flooding exceeds 2 inches deep, involves sewage or contaminated water, affects multiple rooms, shows visible structural damage, or if you cannot identify the water source. Professionals use thermal cameras, industrial dehumidifiers extracting 30 gallons daily, and moisture meters to detect hidden water DIY methods miss.
Q: Can hardwood floors be saved after flooding?
A: Hardwood floors can sometimes be saved after flooding if professional drying equipment is used quickly, while laminate flooring usually cannot recover and requires replacement. The decision depends on how long the floor stayed wet, water contamination level, and whether cupping or warping has started.
Q: What health risks exist during flood cleanup?
A: Health risks during flood cleanup include contaminated drinking water requiring bottled water use, tetanus from cuts on debris, respiratory problems from mold exposure, carbon monoxide poisoning from indoor generator use, and bacterial infections from contact with sewage-contaminated floodwater. Seek medical attention for any cuts, breathing difficulties, or skin rashes during cleanup.
Q: How do you salvage wet important documents after flooding?
A: Salvaging wet important documents requires carefully removing them without separating stuck pages, rinsing off mud with clean water, gently blotting excess moisture, separating individual sheets with wax paper, and freezing them in sealed bags if professional restoration will be delayed. Photograph all documents as digital backup before handling them.
Q: What temporary repairs should you make after flooding?
A: Temporary repairs after flooding include boarding up broken windows, covering roof damage with tarps, and stopping any ongoing water intrusion to prevent secondary damage. Document all temporary repairs with before and after photos and keep receipts, as insurance policies typically require immediate mitigation action and may reimburse emergency expenses.