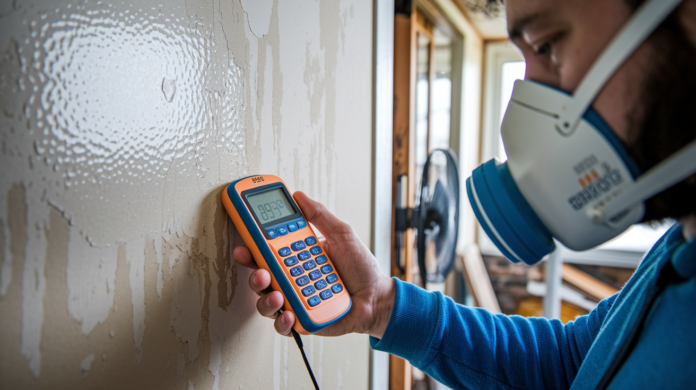

Here’s your intro paragraph:
Most people think water stains are just cosmetic problems you can paint over, but that approach usually fails within weeks when the discoloration bleeds right back through. Successful stain removal depends on fixing the moisture source first, confirming the drywall is structurally sound and completely dry, then using the right sequence of cleaning, priming, and painting to permanently seal the damage. This guide walks you through the assessment process to separate surface stains you can remove from structural damage that needs replacement, then shows you exactly how to prep, treat, and finish flood damaged drywall so the stains stay gone.
Assessing Flood Damage Severity Before Removing Stains
Water stains on drywall break into two groups that need totally different approaches. Surface stains are cosmetic problems where you’ve got discoloration on intact, solid drywall. These you can clean and repaint. Structural compromise is a safety problem where water has actually weakened the drywall itself, creating conditions where the wall can’t do its job and might be hiding worse issues. The difference matters because you can remove stains from sound drywall, but cleaning won’t restore compromised material.
Your drywall needs replacement instead of stain removal if you see:
- Sagging or bulging spots showing the paper facing has pulled away from the gypsum core
- Soft areas when you press with your palm that don’t bounce back
- Crumbling texture when you rub the surface or edges
- Heavy mold coverage beyond just the surface, visible when you scrape lightly
- Musty smell that won’t go away even after total drying and ventilation
- Discoloration covering more than half the wall section
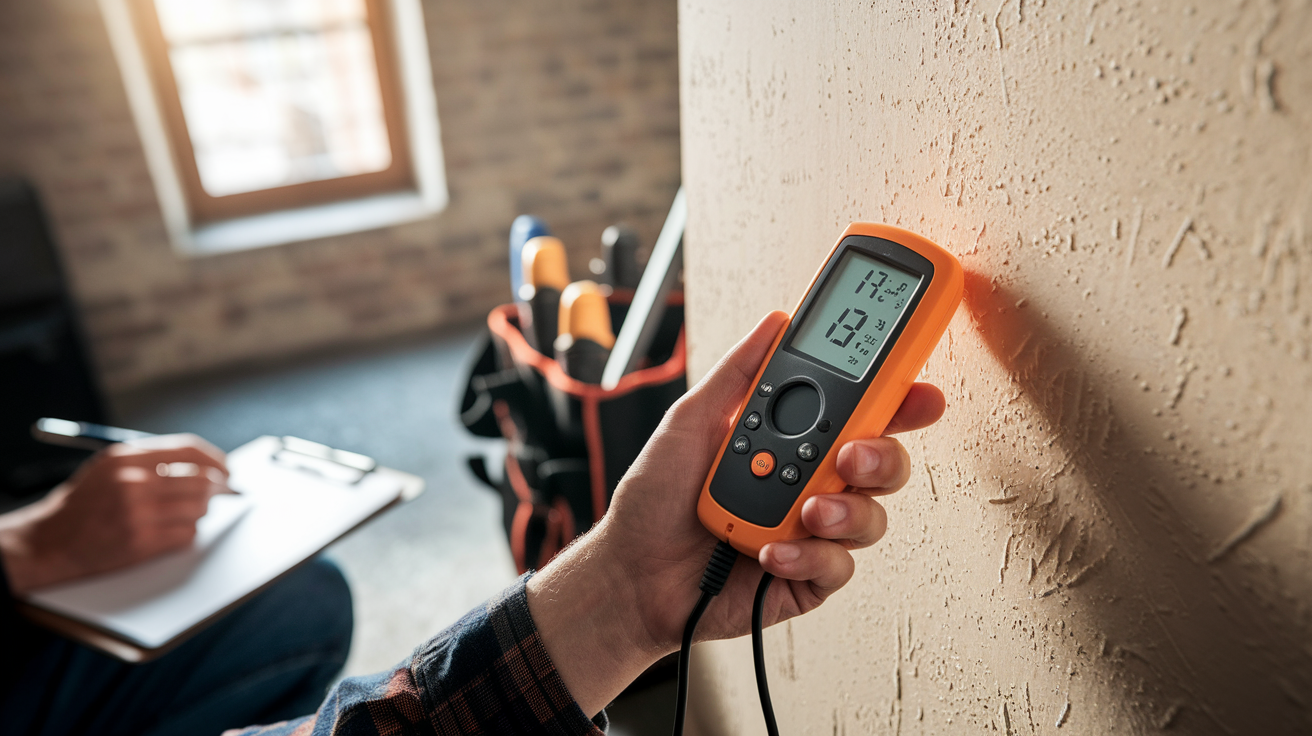
Use a moisture meter on several spots across the stained area to confirm drywall has dried below 15% moisture before you do any cleaning. Insert the pins or hold the scanner flat against the wall at different locations including the stain center, edges, and surrounding areas that look dry. If any reading goes over 15%, keep drying with fans and dehumidifiers. Moisture trapped inside will defeat any surface treatment and create perfect conditions for mold.
Cosmetic water stains on solid, completely dry drywall can be removed with the right approach and materials. If the wall feels firm when pressed, doesn’t crumble when touched, shows no signs of coming apart or sagging, and registers below 15% moisture throughout the affected area, you’re dealing with a surface stain that’ll respond to proper cleaning, priming, and painting.
Safety Precautions for Post-Flood Drywall Stain Removal

Flood damaged materials carry health risks beyond the obvious visible damage. Mold spores go airborne during cleaning and sanding, and floodwater residue might contain bacteria, chemicals, or sewage contamination that stays hazardous even after the water’s gone and materials dry.
You need this protective equipment before starting any stain removal:
- N95 or N100 respirator rated for mold spore filtration, not just a dust mask
- Waterproof gloves extending past your wrists to prevent skin contact with cleaning solutions and contaminated surfaces
- Safety goggles with side shields protecting against splashes and airborne particles
- Long sleeves and long pants in materials you can wash in hot water afterward
- Closed toe shoes with non slip soles
- Ventilation with box fans positioned to push air from clean areas toward affected areas and outside through windows
- Drop cloths to contain dust and prevent tracking contamination to clean areas
Floodwater falls into three contamination categories that determine whether DIY cleaning makes sense. Category 1 clean water comes from supply lines, rain, or condensation and presents minimal health risk. Category 2 gray water comes from dishwashers, washing machines, or toilet tanks with no feces and may contain bacteria requiring careful handling and disinfection. Category 3 black water includes sewage, river flooding, or standing water that contacted soil for extended periods. This contaminated water requires professional sanitization and antimicrobial treatment, not DIY cleaning. If you’re unsure which category applies to your flood damage, treat it as contaminated and call for professional assessment.
Keep air moving throughout the entire cleaning process. Position fans to create cross ventilation that pulls fresh air in from unaffected areas and pushes contaminated air outside through windows or doors. Don’t recirculate air within the affected space. You’re trying to remove airborne mold spores and chemical vapors, not redistribute them.
Identifying and Fixing Water Sources Before Stain Removal
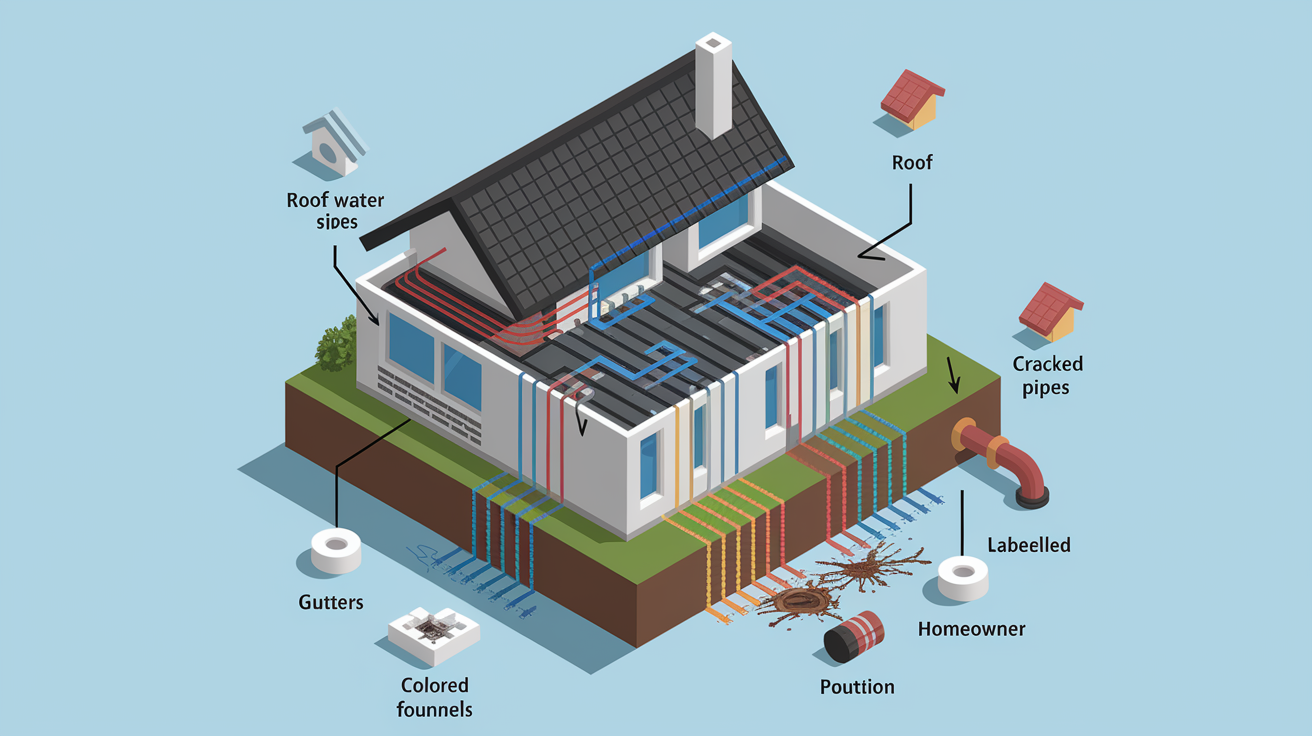
Removing water stains without fixing the moisture source guarantees recurring damage within weeks or months. You’ll spend time and money cleaning, priming, and painting only to watch stains come back as water keeps entering through the same path. This is the mandatory first step before any cleaning or repair work starts. Identify where water entered, repair or eliminate that pathway, and verify the fix holds before touching the cosmetic damage.
Common water sources after flood events include:
- Compromised roof shingles or flashing allowing rain penetration through the roof deck into attic or ceiling spaces
- Damaged or separated gutters directing concentrated water flow against foundation walls
- Cracked foundation allowing groundwater seepage during heavy rain or high water table conditions
- Burst or leaking pipes from freeze damage during flooding or power outages
- Failed pipe joints or connections loosened by water pressure changes or building movement
- Leaking appliances including water heaters, dishwashers, and washing machines damaged by flood conditions
- Damaged window or door seals allowing wind driven rain penetration
- Condensation from poor ventilation in humid conditions following flood events
For plumbing related water damage, follow this repair sequence before addressing cosmetic issues. Turn off the water supply to the affected area at the nearest shutoff valve. Cut out the broken pipe section at least 6 inches beyond visible damage on both sides to reach sound pipe. Install replacement pipe or fittings using appropriate connectors for your pipe material. PEX, copper, or PVC each need specific joining methods. Restore water supply slowly and inspect all new connections for leaks, watching for several minutes under full pressure. Then let the area dry completely with moisture meter confirmation before starting cosmetic repairs.
If the water source isn’t immediately obvious through visual inspection, call a licensed plumber for professional leak detection. Hidden leaks behind walls, under slabs, or in crawl spaces need specialized equipment to locate without destructive exploratory demolition.
Step by Step Water Stain Removal from Post Flood Drywall
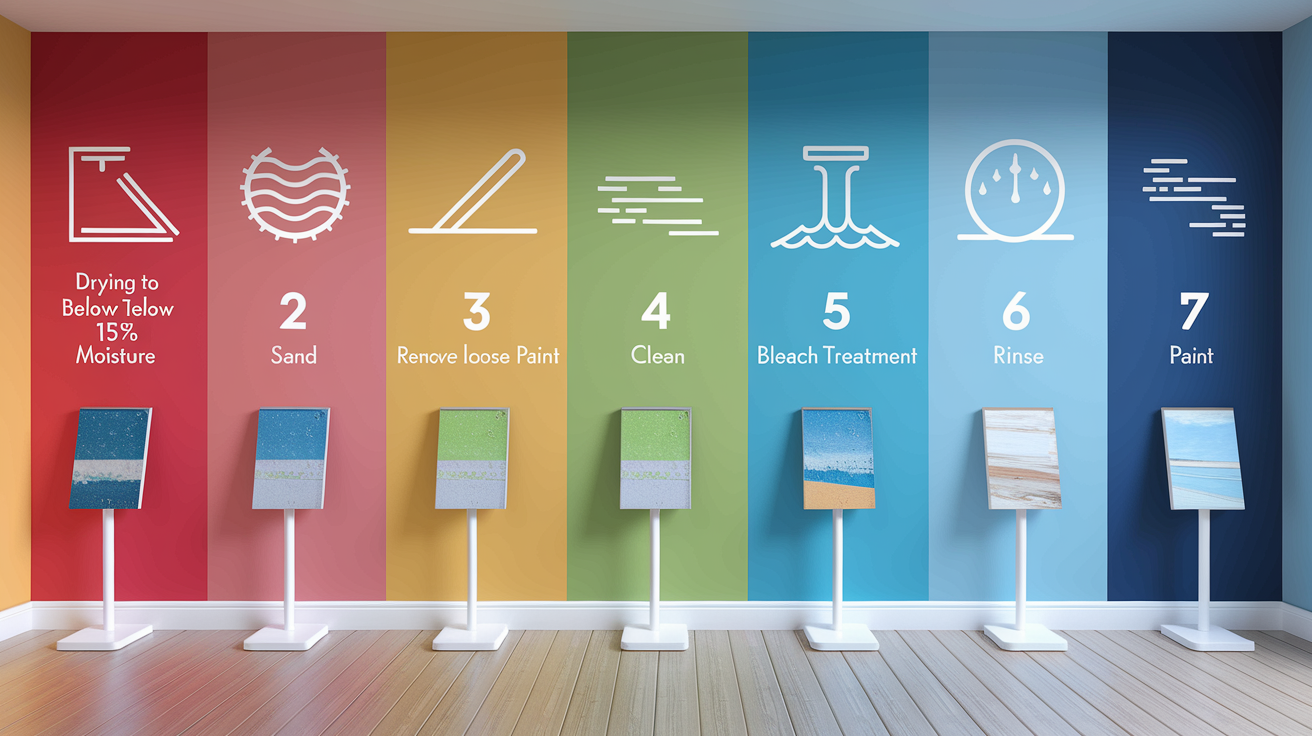
Successful stain removal requires the wall to be completely dry first. This typically takes 3 to 5 days with fans and dehumidifiers running continuously, though humid conditions or heavier water exposure may require 7 days or more. Trying to clean or paint damp drywall traps moisture inside, creating ideal conditions for mold growth beneath your fresh paint.
Complete water stain removal process:
- Ensure complete drying with moisture meter readings below 15% at multiple points including stain center, edges, and surrounding areas
- Remove loose or flaking paint with a paint scraper, working gently to avoid gouging the underlying drywall paper
- Sand the stained area with 120 grit sandpaper until smooth, feathering the edges where intact paint meets damaged areas
- Clean the surface with mild detergent and warm water using a sponge, removing dust and any remaining surface contamination
- Apply bleach solution in 1 to 3 ratio, one part bleach to three parts water, for stubborn stains and mold traces using a spray bottle or sponge
- Rinse thoroughly with clean water and allow to dry completely, typically 4 to 6 hours
- Apply stain blocking primer in two coats, allowing each coat to dry per manufacturer instructions before applying the next
- Paint with interior latex paint matching your existing wall color
This process works for surface stains only. Cosmetic discoloration on structurally sound drywall that passed the assessment criteria. Structural damage requires different treatment covered in replacement sections. Don’t try to save money by skipping the stain blocking primer step. Regular primer won’t prevent tannins and water soluble stain compounds from bleeding through your fresh paint, and you’ll be repainting within weeks when ghostly stain outlines reappear.
Required Materials and Tools for Drywall Stain Removal
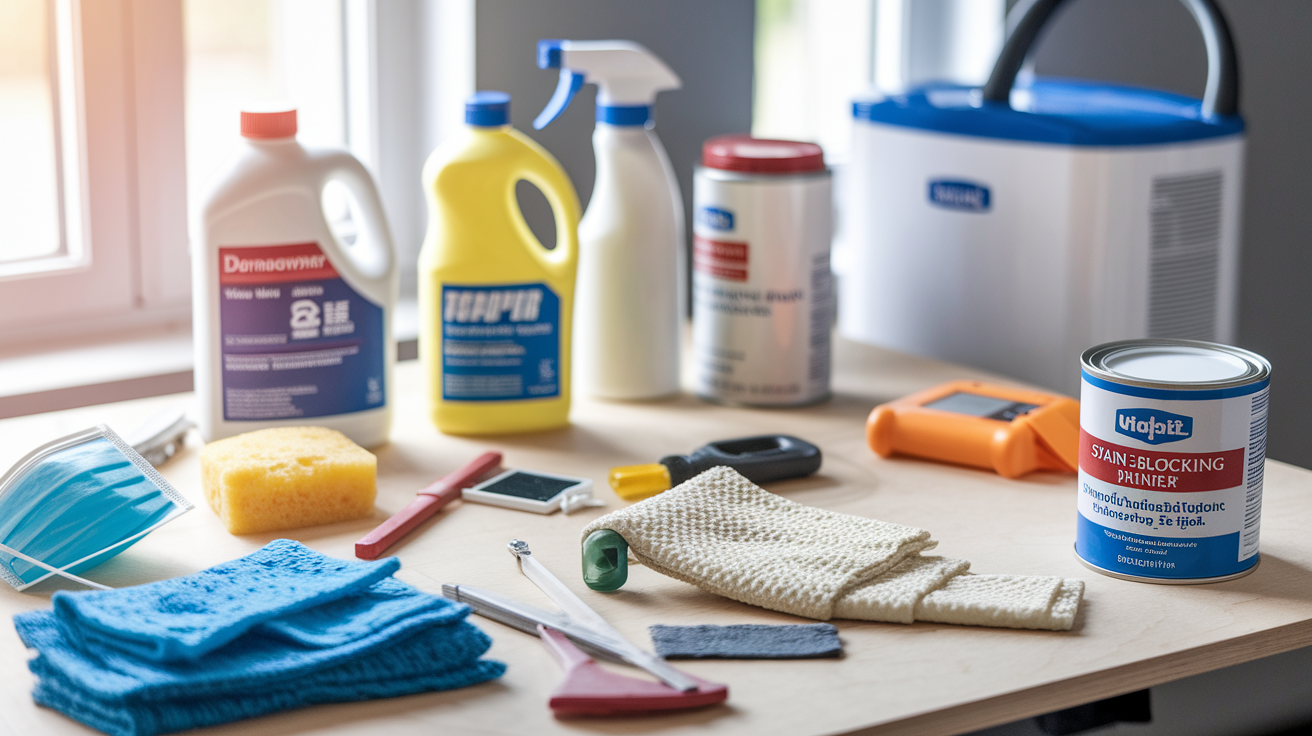
Having all materials ready before you start prevents mid project delays when stores are closed or you discover you’re missing something critical. Purchase everything in a single trip, keeping your receipts in case you overestimate quantities.
| Material Category | Specific Items | Purpose |
|---|---|---|
| Cleaning agents | Mild detergent, household bleach or hydrogen peroxide, TSP cleaner | Surface cleaning, mold treatment, stain breakdown |
| Surface prep tools | Paint scraper, 120 grit sandpaper, 220 grit sandpaper, sanding block | Remove damaged paint, smooth surface, feather edges |
| Application tools | Spray bottle, cleaning sponge, microfiber cloths, bucket | Apply solutions, rinse, wipe surfaces |
| Drying equipment | Box fans, dehumidifier | Initial drying, humidity control during work |
| Primers | Oil based or shellac stain blocking primer like Kilz, Zinsser BIN, or equivalent | Seal stains, prevent bleed through, prepare for paint |
| Paint supplies | Interior latex paint, paint roller, angled brush, paint tray | Final finish matching existing walls |
| Safety gear | N95 respirator, waterproof gloves, safety goggles | Respiratory protection, skin protection, eye protection |
| Testing tools | Moisture meter, pin type or pinless | Verify complete drying before and during process |
Stain blocking primer is critical because regular primer won’t prevent water stains from bleeding through your finish paint. Water stains contain tannins and dissolved minerals that are water soluble. When you apply water based primer or paint over them, you’re reactivating those compounds and giving them a pathway to migrate through the new coating. Oil based or shellac based stain blocking primers create an impermeable barrier that physically separates the stain from your finish paint.
Kilz Original oil based and Zinsser BIN shellac based are the two most reliable options. Both smell strong and require adequate ventilation, but they work. Water based “stain blocking” primers marketed for convenience don’t perform as reliably on serious water stains. They’re fine for minor discoloration but not flood damage. If you’re sensitive to solvent odors, use shellac based primer with alcohol cleanup rather than oil based with mineral spirits cleanup. The shellac version dries faster and the alcohol smell dissipates quicker than oil based solvents.
When to Replace Drywall Instead of Removing Stains

Some flood damage goes beyond cosmetic repair. Trying to clean and paint severely compromised drywall wastes your time and money while leaving structural and health hazards in place that’ll fail eventually. Drywall costs roughly $12 to $15 per sheet and replacement takes a few hours. Trying to salvage material that’s already failing makes no practical sense.
Replace drywall rather than attempting stain removal when:
- Drywall stays soft or spongy after complete drying, indicating permanent absorption and core damage
- Visible sagging or bulging shows the paper facing has separated from the gypsum core and won’t re adhere
- Crumbling or disintegrating texture when touched lightly with your fingers
- Black mold growth penetrating beyond the surface, visible when you gently scrape with a putty knife
- Persistent musty odor after thorough drying and cleaning indicates mold inside the wall cavity
- Water exposure exceeded 48 hours before drying began, allowing deep saturation and probable mold establishment
- Contaminated Category 3 floodwater exposure from sewage, river water, or standing water with soil contact
The basic replacement process for damaged sections: cut out the damaged area in a rectangular shape extending to the nearest wall studs on each side using a drywall saw or utility knife. Fasten the new drywall piece to the exposed studs using drywall screws spaced 12 inches apart around the perimeter and 16 inches apart in the field. Apply paper joint tape to all seams, then cover with joint compound using a 6 inch taping knife. After the first coat dries, typically 24 hours, apply a second coat with an 8 inch knife, feathering the edges wider. Sand smooth with 120 grit sandpaper when completely dry, then prime and paint.
Drywall replacement is manageable DIY for small areas under 4 square feet. You’re working with a single piece, limited seam taping, and straightforward finishing. Larger sections benefit from professional installation because proper finishing and texture matching across multiple seams requires practice and specific techniques. A professional taper can finish a large patch invisibly while DIY finishing often shows slight irregularities at the seams even after painting.
Mold Prevention During Water Stain Removal

Water damaged drywall’s porous nature creates ideal mold growth conditions if moisture and humidity aren’t controlled throughout the restoration process. Mold spores are present everywhere in normal indoor air. What determines whether they colonize is available moisture, organic material to consume (the paper facing on drywall provides this), and time. Mold can begin active growth within 24 to 48 hours of water exposure and continues spreading if you don’t eliminate the moisture sustaining it.
Mold prevention steps during water stain removal:
- Begin drying within 24 hours of the flood event to minimize the window for mold establishment on wet materials
- Maintain indoor humidity below 50% using dehumidifiers running continuously during the entire restoration period, not just until surfaces feel dry
- Ensure continuous air circulation with box fans even after the surface appears dry. Moisture trapped in wall cavities needs airflow to escape
- Apply bleach solution at 1 to 3 ratio or commercial antimicrobial treatment to all water contacted surfaces before priming, even if no visible mold appears
- Use mold resistant primer containing mildewcide as an additional protection layer between treated surface and finish paint
- Monitor treated areas for 2 to 3 weeks after completion for any musty odors or new discoloration indicating hidden growth behind your repairs
Antimicrobial treatment by professionals becomes necessary for contaminated Category 3 water situations. Sewage backup, river flooding, or standing water that contacted soil for extended periods introduces bacteria and pathogens beyond what household bleach solution safely addresses. Professional restoration companies use EPA registered antimicrobial products designed for specific contamination types, with application methods and dwell times that ensure effective sanitization. This isn’t optional for health hazard situations. It’s the difference between safe occupancy and ongoing exposure risk.
Stain blocking primers containing mildewcide provide ongoing protection in areas prone to moisture or humidity. These primers include antimicrobial additives that inhibit mold growth on the painted surface even if humidity rises or minor condensation occurs. They’re particularly valuable in bathrooms, basements, or exterior walls where moisture risk continues after your initial restoration work. Check the product label for “mildew resistant” or “contains mildewcide” rather than assuming all stain blocking primers include this feature.
Timeline and Cost Expectations for DIY Stain Removal

Proper water stain removal can’t be rushed if you want permanent results rather than temporary cosmetic fixes. Adequate drying eliminates the moisture that causes stains to reappear, and proper curing times for primers and paints allow each layer to form the chemical bonds that create a durable finish.
| Project Phase | Time Required | Approximate Cost |
|---|---|---|
| Complete drying phase | 3 to 7 days | $0 to $50 for dehumidifier rental if needed |
| Safety equipment purchase | 0 days, one time purchase | $20 to $40 |
| Cleaning and mold treatment | 1 day | $10 to $25 for solutions |
| Surface preparation and sanding | 2 to 3 hours | $15 to $30 for tools and sandpaper |
| Stain blocking primer application | 1 day including drying time | $25 to $45 for quality primer |
| Final painting | 1 day including drying time | $20 to $40 for paint |
| Total curing before completion | 1 additional day | $0 |
The total timeline runs 5 to 10 days start to finish with total DIY costs between $110 and $230 for an average sized repair covering 20 to 40 square feet. Professional services for the same work range $300 to $800 depending on extent, accessibility, and regional labor rates. The cost difference reflects labor charges and overhead rather than dramatically different material usage.
Most of the timeline is passive drying and curing time where you’re not actively working. Actual hands on work totals about 6 to 8 hours spread across the timeline: 1 hour for initial cleaning and mold treatment, 2 to 3 hours for scraping and sanding, 1 hour for primer application, 1 hour for painting, plus 1 to 2 hours for equipment setup and cleanup. You’re supervising the drying process and waiting for coatings to cure, not constantly working.
Professional services justify their cost in several situations despite the price premium. Extensive damage across multiple walls or rooms benefits from professional efficiency and equipment that completes in days what takes weeks for DIY work. Difficult ceiling stains requiring scaffolding or extension work carry fall risks that professionals manage with proper equipment and insurance. Contaminated water situations requiring specialized antimicrobial treatment need professional grade products and application methods. Time constraints where you need the space functional quickly make professional speed worth the investment. If you’re comparing $500 professional cost against 10 days of your time managing DIY work, calculate what those 10 days cost you in lost work time or project delays elsewhere.
Professional Assessment for Extensive Flood Damage
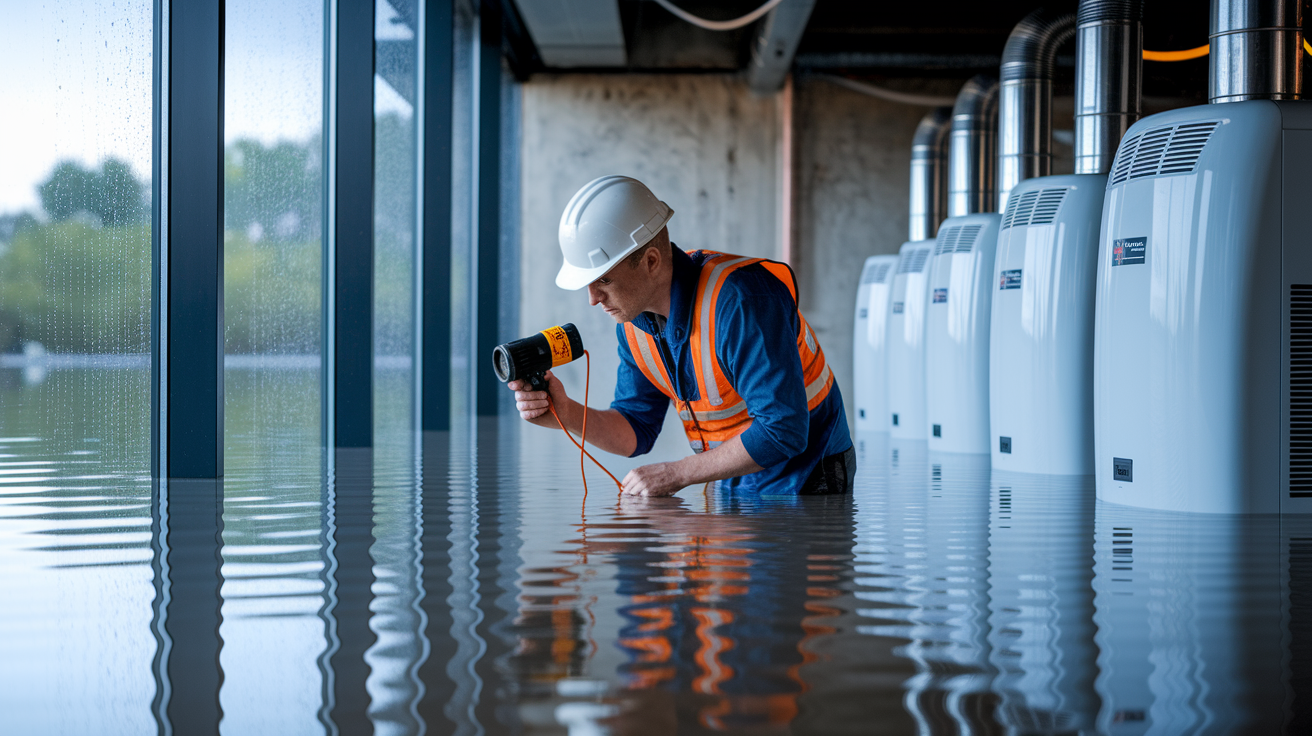
While surface stain removal is often appropriate for DIY work, certain flood damage scenarios require professional water damage restoration companies with specialized equipment, expertise, and insurance documentation capabilities. Professionals bring industrial grade drying equipment, moisture mapping technology, and systematic processes that address hidden damage you might miss in a visual only inspection.
Situations requiring professional assessment rather than DIY stain removal:
- Water damage affecting more than one room or covering over 100 square feet of wall surface
- Ceiling stains indicating roof damage or upper floor water intrusion where access and safety become concerns
- Category 3 contaminated water from sewage backup, river flooding, or standing water with soil contact
- Inability to identify the moisture source after thorough visual inspection of obvious leak points
- Persistent moisture meter readings above 15% after 7 days of continuous fan and dehumidifier drying
- Visible mold growth covering more than 10 square feet, which indicates established colonies requiring professional remediation
- Structural concerns including sagging floors, compromised framing, or load bearing wall damage
- Insurance claim situations requiring professional documentation with before photos, moisture mapping, and itemized restoration estimates
Professional restoration companies provide advantages beyond just labor and speed. Industrial dehumidifiers and air movers dry spaces in 2 to 3 days that might take homeowners 7 to 10 days with consumer equipment. Thermal imaging cameras and moisture mapping technology locate hidden water in wall cavities, under flooring, and in ceiling spaces where surface inspection reveals nothing. Antimicrobial treatments for contaminated situations use EPA registered products with proven efficacy against specific pathogens. Proper insurance documentation includes before photos, moisture readings at multiple locations, detailed scope of work, and itemized estimates that support your claim and prevent disputes. Guaranteed work with written warranties protects you if problems emerge months later.
Most professional restoration companies provide free assessment quotes that include moisture inspection, damage scope, and written estimates. You’re not committed to hiring them. The assessment helps you make an informed decision about whether DIY work is truly appropriate or whether the situation demands professional intervention. Even if you proceed with DIY work after a professional assessment, you’ve gained valuable information about hidden damage, proper drying targets, and realistic timelines.
Final Words
Water stains don’t have to be permanent reminders of flood damage.
Once you’ve confirmed the drywall is structurally sound, completely dry, and the moisture source is fixed, removing those stains becomes a straightforward process. Scrape, sand, clean, prime with a stain blocker, and paint.
The key is being honest about what you’re dealing with. If the wall feels soft, smells musty, or shows signs of deep mold penetration, cleaning won’t cut it.
But for surface stains on solid, dry walls, knowing how to remove water stains from drywall after flood damage saves you from unnecessary replacement costs while getting your space back to normal.
Take your time with the prep work, don’t skip the stain-blocking primer, and the results will last.
FAQ
How do you get water marks out of drywall?
You get water marks out of drywall by first confirming the wall is completely dry (below 15% moisture content), removing any loose paint with a scraper, sanding the stained area smooth, cleaning with mild detergent, applying bleach solution for stubborn stains, then priming with stain-blocking primer before painting.
How do you dry out drywall after a flood?
You dry out drywall after a flood by removing standing water immediately, running fans to circulate air across wet surfaces, using dehumidifiers to reduce indoor humidity below 50%, and maintaining continuous airflow for 3-7 days until a moisture meter confirms readings below 15%. Start drying within 24 hours to prevent mold.
How long does it take for walls to dry out after a flood?
Walls typically take 3-7 days to dry out after a flood with proper airflow and dehumidification. Drying time depends on water saturation depth, humidity levels, ventilation quality, and wall assembly. Use a moisture meter to confirm readings below 15% rather than relying on visual dryness or time estimates.
Is drywall ruined if it gets wet?
Drywall is ruined if it gets wet when it remains soft or spongy after complete drying, shows sagging or bulging, has crumbling texture, develops mold penetrating beyond the surface, or was exposed to contaminated Category 3 floodwater. Structurally sound drywall that dries completely within 48 hours can often be cleaned and repainted.
What is the difference between surface stains and structural damage on drywall?
Surface stains are cosmetic discoloration on dry, firm drywall that can be cleaned and painted over. Structural damage involves soft spots when pressed, sagging sections, crumbling texture, or delamination where the paper separates from the gypsum core, requiring replacement rather than cleaning. Press the wall to check firmness.
Can you use regular primer on water-stained drywall?
You cannot use regular primer on water-stained drywall because stains will bleed through standard latex primer. Use oil-based or shellac-based stain-blocking primers like Kilz to seal water stains and prevent them from showing through topcoat paint. Two coats of stain-blocking primer work better than multiple regular primer coats.
When should you replace drywall instead of cleaning water stains?
You should replace drywall instead of cleaning water stains when the wall remains soft after drying, shows visible sagging or bulging, has black mold penetrating the surface, smells musty after thorough cleaning, stayed wet for more than 48 hours, or was exposed to sewage or contaminated floodwater requiring professional sanitization.
What safety equipment do you need for cleaning flood-damaged drywall?
You need an N95 or N100 respirator mask, waterproof gloves, safety goggles, long sleeves and pants, and closed-toe shoes for cleaning flood-damaged drywall. Proper ventilation with fans directing air outside prevents airborne mold spore exposure. Category 3 contaminated water damage requires professional intervention with specialized protective equipment.
How do you know if flood damage is Category 3 contaminated water?
You know flood damage is Category 3 contaminated water if it involves sewage backup, river or stream flooding, toilet overflow with feces, or standing water that sat for multiple days developing bacterial growth. Category 3 water requires professional antimicrobial treatment and sanitization, not DIY cleaning, because of serious health hazards.
What causes water stains to return after painting drywall?
Water stains return after painting drywall when the moisture source wasn’t fixed before cosmetic repair, the wall wasn’t completely dry before painting, or regular primer was used instead of stain-blocking primer. Active moisture problems and inadequate priming both cause stain bleed-through requiring additional surface preparation and proper primer application.