
Most window sills fail because water sits where it shouldn’t, and by the time you notice the damage, rot’s already eating the wood from the inside. You’ve got a choice: cut out the bad section and glue in new wood, or stabilize what’s there with epoxy and rebuild the surface. Epoxy works when rot hasn’t taken over more than half the sill and the wood around the damage is still firm. This guide walks through which epoxy products hold up outdoors, how to prep so the repair actually bonds, and how to shape the final surface so it sheds water instead of trapping it.
When Epoxy Repair Works Best for Your Window Sill Damage
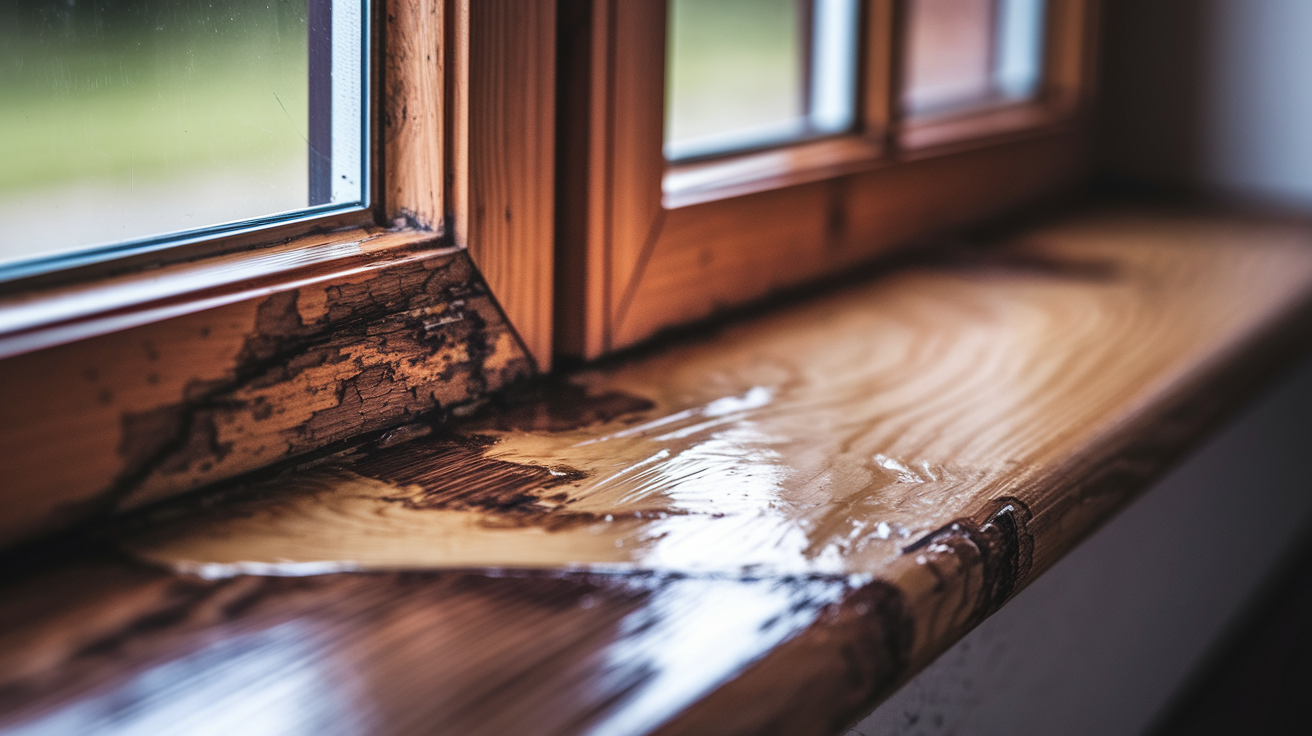
Window sills get hammered by rain, sun, ice, and humidity. Water sneaks beneath paint and caulk, sits against bare wood, and starts rotting.
That rot spreads. A soft spot the size of a quarter becomes a soggy section that crumbles when you jab a screwdriver into it. Ignore it long enough and the damage moves into the jambs, the stool, and the trim. Now you’re looking at carpentry instead of repair.
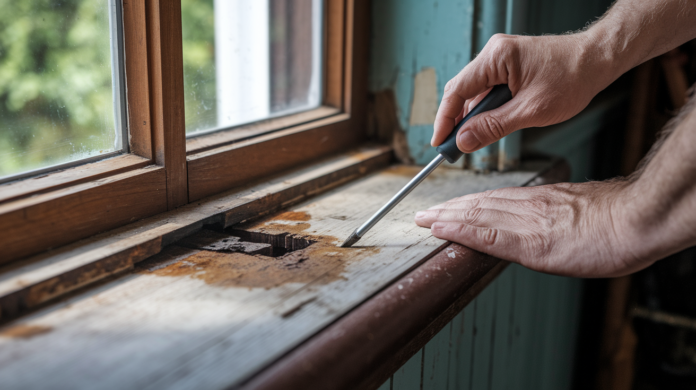
You can tell if epoxy will work by probing the damage with an awl or screwdriver. Push the point into anything that looks soft, stained, or cracked. If the tool sinks in easy, that’s rot. If it hits resistance after a shallow dent, the wood underneath is still good. Epoxy works when you’ve got solid wood surrounding the damaged area. You’re stabilizing what’s there and filling what’s gone. If more than half the sill is punky, or if rot spread to the framing, epoxy won’t save it.
Epoxy makes sense for small to moderate damage where the sill still has some backbone. If you can cut out the rotted material and expose firm wood all around the repair zone, you’re good. If the whole thing flexes when you press on it, plan on replacement.
Best Epoxy Products and Systems for Window Sill Repairs
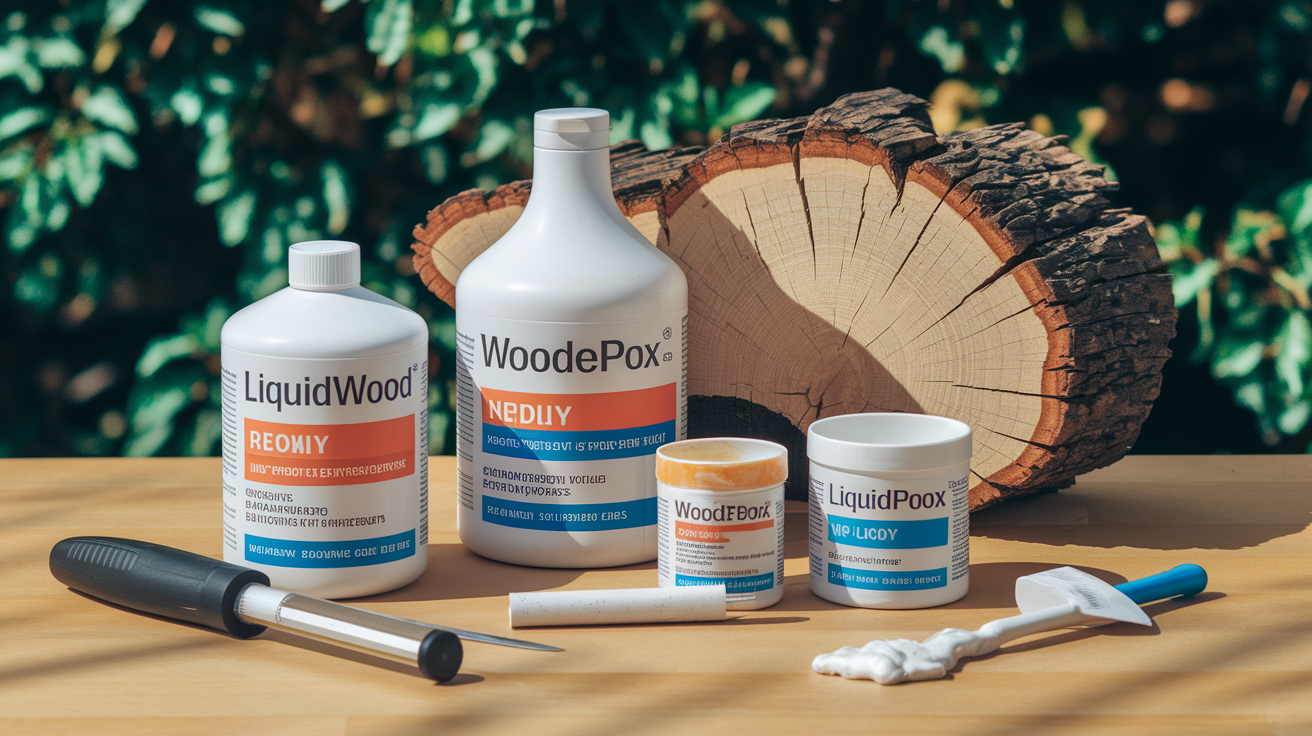
Window sill repair epoxy comes in two parts. The first is a liquid consolidant that soaks into damaged wood fibers and hardens them from the inside. The second is a paste filler that rebuilds missing material and shape. You can’t skip one and expect the other to hold. The consolidant strengthens what’s left. The filler replaces what’s gone.
Abatron LiquidWood and WoodEpox are the most reliable products for exterior sill repairs. LiquidWood is the liquid consolidant. It’s got a syrup consistency and soaks deep into rotted wood. Once it cures, it locks the wood fibers into a stable base that won’t absorb more water. WoodEpox is the paste filler. It’s got a play doh consistency you can mold, trowel, or pack into voids. Both mix at 1:1 ratio, equal parts A and B. Minwax High Performance Wood Filler is another two part epoxy that works for smaller repairs or build up situations where you’re adding material to a prepped surface.
| Product Type | Purpose | Consistency | Mixing Ratio |
|---|---|---|---|
| Liquid Consolidant (LiquidWood) | Penetrates and strengthens rotted wood, acts as primer for filler | Syrup-like, pourable | 1:1 (equal parts A and B) |
| Paste Filler (WoodEpox) | Rebuilds missing material, can be shaped and molded | Play-doh, moldable | 1:1 (equal parts A and B) |
| Combination Features | Filler can be thinned with consolidant or acetone for fine cracks | Adjustable from pourable to paste | Varies by application needs |
Quality wood epoxy products contain zero VOCs, which matters when you’re working near open windows or in tight spaces. You still need ventilation and gloves, but you’re not dealing with solvent fumes that stick around for days.
Tools and Safety Equipment Needed for Window Sill Epoxy Repairs

Get everything staged before you open the epoxy. Once you mix it, the clock’s running.
Tools Required:
- Awl or screwdriver for damage assessment
- Paint scraper or chisel
- Power drill with 1/4 inch bit
- Putty knife or trowel
- Surform plane or coarse rasp
- Files in various shapes
- 80 grit sandpaper
- 120 grit sandpaper
- Paintbrushes
- Moisture meter
Safety Equipment:
- Chemical resistant rubber gloves
- Safety glasses
- OSHA approved organic vapor respirator
- Acetone for cleanup
- Plastic sheeting or drop cloths
Work in a well ventilated area or wear the respirator. Uncured epoxy isn’t something you want to breathe or get on your skin, even if it’s low VOC.
Complete Step-by-Step Application Process for Epoxy Window Sill Repair
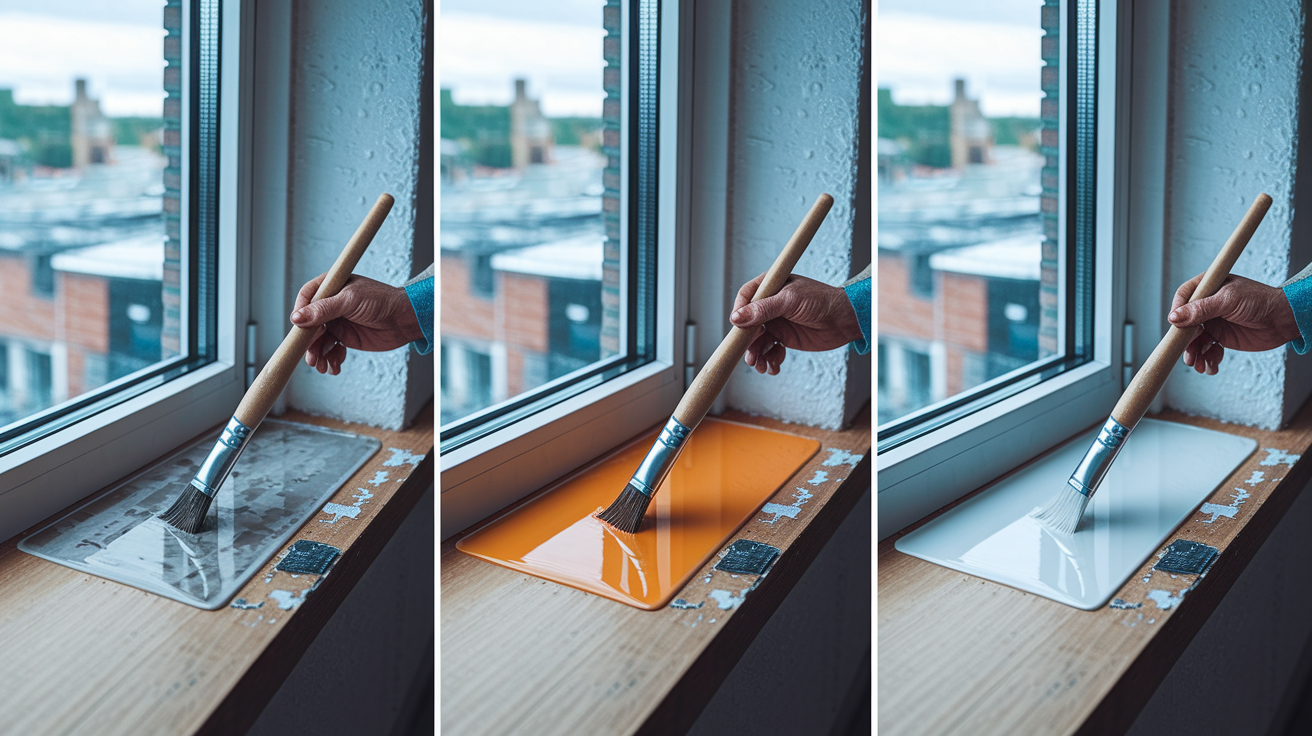
The repair moves through three phases: preparation, consolidant application, and filler application. You can’t rush any of them. Skipping steps or cutting cure times short guarantees the repair will fail.
The steps follow a specific order for a reason. If you apply filler before the consolidant cures, you’re gluing putty to wood that’s still changing. If you skip drilling holes, the consolidant won’t penetrate. Follow the sequence.
Surface Preparation and Moisture Control
Preparation decides whether the repair lasts two years or twenty.
- Strip old paint and caulk from damaged area using a scraper or chisel
- Remove all rotted wood until only solid wood remains. If the scraper sinks in, keep cutting
- Let wood dry for minimum one week or until moisture content reaches 12 to 15 percent
- Check moisture with moisture meter. Arid climates may read below 10 percent, humid climates like Florida should read below 14 percent
- Clean surface thoroughly to get rid of dust and debris
- Drill 1/4 inch holes spaced 1 inch apart around damaged area to let consolidant penetrate
- Wipe surface with acetone to ensure clean bonding surface
Applying Liquid Consolidant
The consolidant soaks into the wood and turns spongy fibers into something solid enough to hold filler. It also primes the surface so the filler bonds instead of just sitting on top.
- Mix equal parts A and B of liquid consolidant in 1:1 ratio
- Let it sit for 15 minutes after mixing before application
- Pour consolidant into drilled holes until wood is saturated. It should pool briefly before soaking in
- Apply more consolidant to surface of damaged area with a brush
- Reapply as wood absorbs consolidant. Multiple applications may be necessary as dry wood keeps drinking
- Cover repair with plastic tent and let cure minimum one week
The consolidant hardens the wood from the inside out. What felt soft and punky before will feel solid and slightly waxy after cure. That’s the base you’ll build on.
Mixing and Applying Filler Compound
Now you’re rebuilding the shape of the sill. The filler replaces what rot took away.
- Mix equal parts A and B of filler compound for 2 to 3 minutes until completely blended. No streaks, no swirls
- Working time at 70 degrees F is about 30 minutes before hardening begins
- For large cavities, fill with wood blocks first to conserve epoxy. Coat the blocks with consolidant, let them tack up, then butter them with filler and press into place
- Press filler firmly into cavity with putty knife to get rid of air pockets
- Overfill repair area to allow for shaping and sanding later
- Shape roughly with gloved fingers while still workable. Get close to final profile but leave material to refine
- For fine cracks, thin filler with LiquidWood or Acetone until it flows into the gap
Temperature changes everything about working time. At 70 degrees you’ve got about half an hour. In hot sun, that drops to 15 minutes. In cold weather, you might get an hour. If you’re working in cold conditions and need faster cure, use a hair dryer or clamp light to warm the repair. If rain’s forecast, don’t start. If you get caught, cover the repair with plastic sheeting taped down at the edges.
Larger patches cure faster than small patches because the chemical reaction generates heat. Don’t contaminate fresh epoxy with partially hardened epoxy from a previous batch. It speeds up the reaction and cuts your working time in half. Initial cure takes 3 to 4 hours in warm weather or overnight in cool weather before the material is firm enough to shape.
Shaping, Sanding, and Finishing Epoxy-Repaired Window Sills
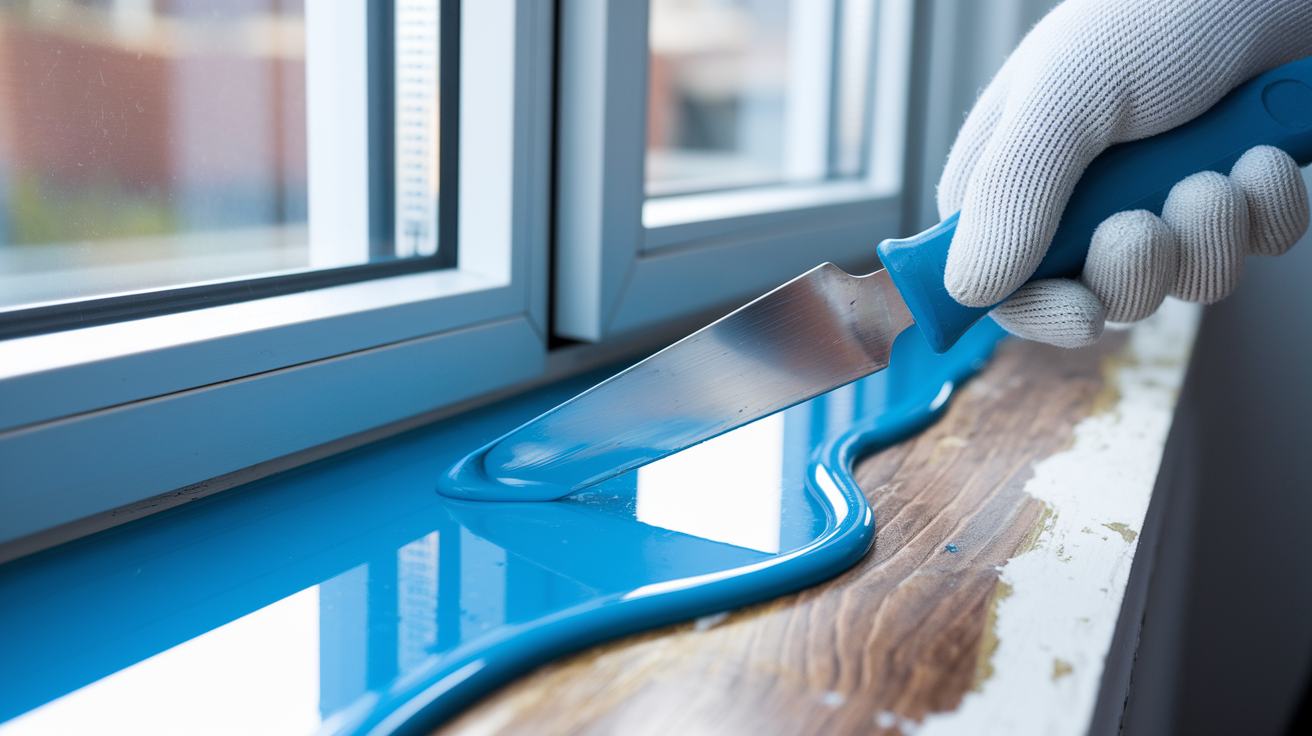
Wait until the epoxy is firm but not rock hard before you start shaping. If you try to work it too soon, it gums up your tools. If you wait too long, you’re doing harder work than you need to.
The finish sequence moves from rough to smooth in stages. Each tool refines what the previous one did.
- Rough shape with Surform plane or coarse rasp after initial cure, 3 to 4 hours warm or overnight cool. Remove bulk material and get close to final profile
- Refine details and contours using files. Flat files for broad surfaces, half round files for curves
- Sand with 80 grit sandpaper to smooth shaped surface and blend transitions between old wood and new epoxy
- Final sand with 120 grit sandpaper for paint ready finish
- Apply alkyd primer followed by two coats of quality acrylic paint
Epoxy cuts easy. You can chisel it, plane it, carve it, or sand it without the material chipping or crumbling. Match the existing sill profile by checking with your fingers as you work. If the original sill has a slope or bevel, carry that angle through the repair. Feather the edges where new material meets old wood so there’s no visible line or step.
Cost Analysis and Budget Planning for Epoxy Window Sill Repairs

Epoxy repair costs less than replacement when the damage is small to moderate. A quart kit of consolidant and filler runs $40 to $60 and handles multiple repairs. Add primer, paint, sandpaper, and incidentals, and you’re looking at $50 to $100 in materials for a typical single sill repair. Full sill replacement starts at $200 to $500 per window once you factor in materials, carpentry time, interior and exterior trim work, and finish painting.
Material quantities scale with damage size. A golf ball sized void takes a few ounces of filler. A section the size of your palm might need a cup. For large cavities, pack wood blocks coated with consolidant into the void first, then cap with filler. That strategy cuts epoxy use by half and doesn’t hurt strength.
DIY versus professional is a time and skill trade. If you’ve got the weekend and you’re comfortable with hand tools, epoxy repair is straightforward. If you’re hiring out, a handyman will charge $150 to $300 for a simple epoxy repair versus $400 to $800 for a sill replacement job that involves carpentry, trim, and paint. The repair timeline matters when you’re paying hourly. Epoxy work requires two visits minimum. One for prep and consolidant, one for filler and finish after cure time.
The long term value calculation tips toward epoxy for anything short of catastrophic rot. A properly done repair lasts as long as the surrounding wood. A cheap patch job fails in two years and you’re back where you started, except now the rot spread while you waited.
Common Mistakes and Troubleshooting Tips for Epoxy Sill Repairs

Most epoxy repair failures trace back to three mistakes: not removing enough rotted wood, applying product to wet material, or trying to coat surfaces instead of filling voids. These aren’t close calls. They’re predictable ways repairs come apart.
If you understand why epoxy fails, you can avoid the problems before they happen.
Common mistakes to avoid:
- Skim coating entire sill surface instead of filling only damaged areas. Moisture trapped under the coating pushes the whole repair off in sheets
- Using automotive body filler like Bondo on exterior wood repairs. It’s not made for wood movement or moisture exposure and will crack and pop off
- Applying epoxy to wood with moisture content above 15 percent. Wet wood won’t absorb consolidant and the bond fails
- Contaminating fresh epoxy with partially hardened material. Speeds up the reaction and cuts working time to minutes
- Not removing enough rotted wood before consolidant application. Soft wood underneath compresses and the repair sinks
- Moving to filler before consolidant fully cures. Minimum one week. The base is still changing and won’t support the filler
- Under filling repair area and needing more applications. Adds time and creates weak seams between layers
- Skipping primer before painting finished repair. Paint peels and water gets back into the repair
Water trapped beneath a surface coating will push epoxy out as it tries to escape. That’s why you fill only the voids, checks, and cracks instead of spreading a skin over sound wood. Let the wood breathe everywhere except where it’s compromised.
Long-Term Maintenance and Performance of Epoxy Window Sill Repairs

A properly done epoxy repair lasts 10 to 20 years or more, depending on exposure and maintenance. That’s the same lifespan you’d expect from a new sill installed with the same care.
Epoxy flexes slightly with the wood as it expands and contracts through seasonal moisture changes. That flexibility prevents the repair from cracking at the seam between old and new material. Once you prime and paint it, the repair blends invisibly with the original sill.
Inspect repaired sills at least once per year. Look for gaps opening up in the caulk joints, paint starting to crack or peel, or any new soft spots forming nearby. Catch problems early and you’re looking at minor touch up work instead of another full repair.
Maintain caulk joints with polyurethane caulk. It moves with the wood and holds up to UV exposure better than cheaper options. Touch up paint as soon as you see bare wood showing. Water is patient. Give it a crack to work through and it’ll be back in the wood within a season.
The most important maintenance task is addressing moisture sources. If water’s running off the roof and hitting the sill, you haven’t fixed the problem, you’ve just delayed it. Add drip edge, extend gutters, or adjust grading so water moves away from the window. An epoxy repair can’t overcome bad drainage. Document where you made repairs and check those spots first during annual inspections. Over time, you’ll forget which sills had issues unless you keep notes.
Final Words
Epoxy for window sill repair gives you a proven method to save solid wood when rot hasn’t spread too far.
Strip the damage, let it dry, saturate with consolidant, wait a week, then rebuild with filler.
The process takes patience, especially during drying periods, but you end up with a repair that flexes with the wood and lasts decades when you maintain the paint and caulk.
Skip the moisture check or rush the consolidant cure, and you’re looking at a comeback visit in a year or two.
Done right, this repair disappears and holds.
FAQ
How do you repair rotten wood window sills?
You repair rotten wood window sills by first removing all decayed material until only solid wood remains, then applying a liquid consolidant to strengthen the damaged fibers, waiting one week for it to cure, and finally rebuilding the shape with epoxy filler compound before sanding and painting.
Which is better for window sills, wood filler or epoxy?
Epoxy is better for window sills than standard wood filler because it penetrates deep into rotted wood to strengthen the structure, bonds permanently to damaged fibers, and moves with the wood to prevent cracking, while basic fillers just sit on the surface and fail outdoors.
How do you repair a damaged window sill?
You repair a damaged window sill by assessing the extent of rot with an awl, removing all soft wood, allowing the area to dry to 12-15% moisture content, applying liquid consolidant to harden remaining wood, and filling voids with two-part epoxy filler after the consolidant cures.
What does rotten wood look like on a window sill?
Rotten wood on a window sill looks soft and spongy when probed with an awl or screwdriver, may appear darkened or discolored, often shows surface cracking or delamination, and crumbles easily when scraped instead of coming off in solid chips like healthy wood.
How long does epoxy window sill repair last?
Epoxy window sill repairs last 10 to 20 years or more when properly executed, because the epoxy penetrates and bonds permanently to wood fibers, flexes with seasonal movement, and resists moisture when sealed with alkyd primer and two coats of quality acrylic paint.
Can you apply epoxy to wet wood on window sills?
You cannot apply epoxy to wet wood on window sills because moisture content must be 12-15% or lower for proper bonding. Wood must dry for at least one week after removing rotted material, and you should verify dryness with a moisture meter before starting the repair.
How do you know if window sill damage is too severe for epoxy repair?
Window sill damage is too severe for epoxy repair when rot has spread into the adjacent jams and trim, when more than half the sill thickness is compromised, or when probing reveals the entire sill is soft with no solid wood remaining to anchor the repair.
What is the difference between epoxy consolidant and filler?
Epoxy consolidant is a thin liquid that penetrates deep into rotted wood to strengthen and harden damaged fibers, while epoxy filler is a thick putty-like compound that rebuilds the sill’s shape and fills voids after the consolidant cures. Both work together in a two-part repair system.
How long do you wait between applying consolidant and filler?
You wait a minimum of one week between applying consolidant and filler to allow the liquid epoxy to fully cure and harden the wood fibers. Applying filler too early prevents proper bonding and can trap moisture that will push the repair out later.
Can you sand and paint epoxy window sill repairs?
You can sand and paint epoxy window sill repairs easily because cured epoxy sands, chisels, planes, and carves like wood. After shaping with rasps and sanding with 80-grit then 120-grit paper, seal with alkyd primer and two coats of acrylic paint for a finish that blends invisibly.
What tools do you need for epoxy window sill repair?
You need an awl for damage assessment, paint scraper or chisel, power drill with 1/4-inch bit, putty knife, Surform plane or rasp, files, 80-grit and 120-grit sandpaper, moisture meter, chemical-resistant gloves, safety glasses, organic vapor respirator, and acetone for cleanup.
Why do you drill holes in wood before applying consolidant?
You drill 1/4-inch holes spaced 1 inch apart before applying consolidant to allow the liquid epoxy to penetrate deep into damaged wood and saturate hidden rot. The holes create pathways for the consolidant to reach areas that surface application alone would miss.
What is the working time for epoxy window sill filler?
The working time for epoxy window sill filler is approximately 30 minutes at 70 degrees F before the material begins hardening. Temperature affects this window, heat accelerates curing while cold slows it down, and contaminating fresh epoxy with partially cured material reduces working time.
Should you overfill or underfill epoxy window sill repairs?
You should overfill epoxy window sill repairs because it’s better to have excess material that you sand down than insufficient coverage requiring additional applications. Press filler firmly into cavities, then build up past the original surface and shape it after initial cure.