

Most tiling guides tell you to start with floors, but that’s backwards and sets you up for water damage. Tile your walls first, then slide floor tiles underneath. This creates a shingled overlap that sends water down onto the floor instead of letting it wick behind your wall tiles where mold grows. The walls first method takes an extra step with a temporary ledger board, but it’s how pros prevent callbacks and moisture problems that show up six months later.
The Correct Bathroom Tiling Sequence Explained
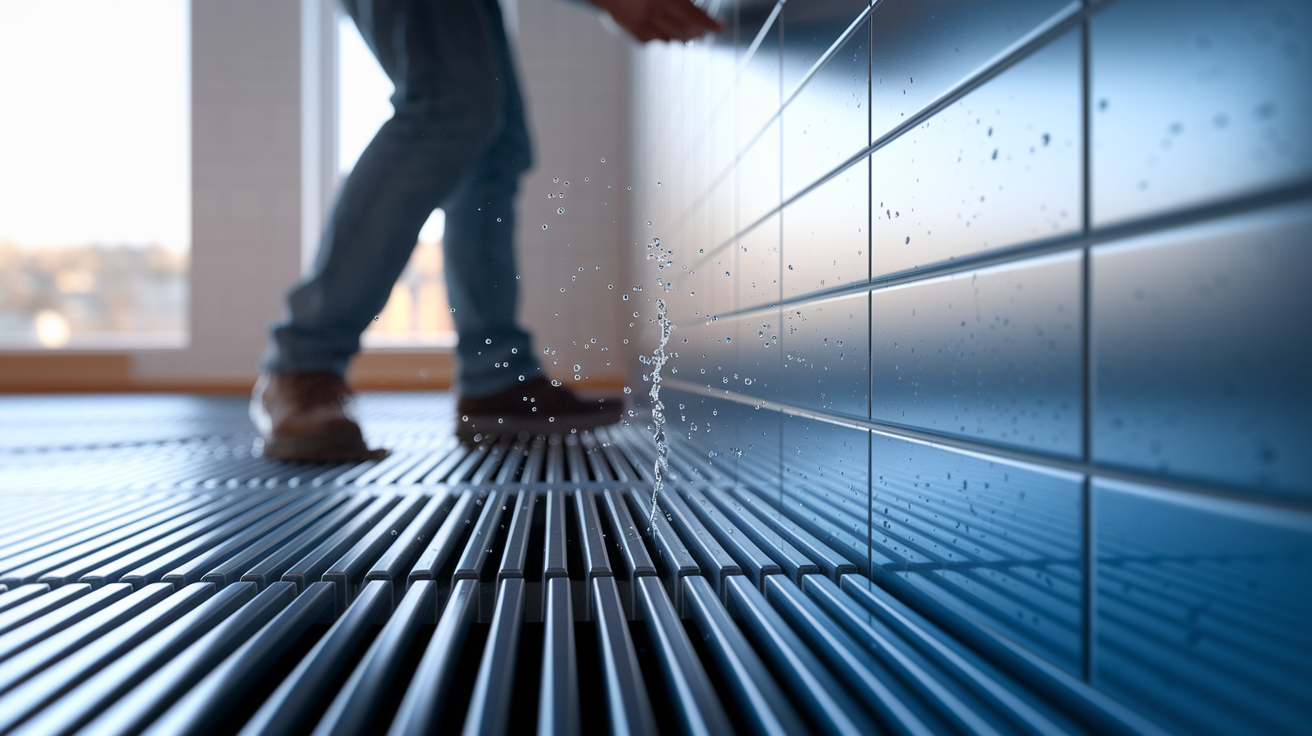
Tile walls first in bathrooms. That’s what pros do because it creates proper water drainage and stops moisture from getting behind your wall tiles. The technique is straightforward: you install a temporary ledger board one tile height above your finished floor level, tile your walls down to that ledger, let everything cure, remove the ledger, then slide your floor tiles underneath the bottom row of wall tiles.
The process breaks down into four stages. First, position your starter ledger perfectly level at exactly one tile height above where your finished floor will be. Second, tile your walls from this ledger upward, leaving that measured gap at the bottom. Third, after the wall adhesive cures (24 to 48 hours), carefully remove the ledger. Fourth, install your floor tiles so they fit snugly under the bottom edge of your wall tiles.
This walls first approach works because water runs downward. When wall tiles overlap floor tiles, water hits the wall, runs down the tile face, crosses onto the top of the floor tile, and drains away. If you reverse this and let floor tiles overlap walls, water can wick into the joint and migrate behind your wall tiles through capillary action (water wicking through tiny gaps). That trapped moisture is where mold starts.
The key reasons pros recommend the walls first approach:
Water drainage direction flows correctly from wall surfaces onto floor surfaces without seeping behind tiles. Alignment stays simpler because your floor tiles register against the already installed wall tile edges. Floor tiles stay protected during the messier wall installation work when adhesive drips and tile cuts happen. Proper overlap technique creates a shingled effect that channels moisture away from vulnerable areas. Cleaner finished appearance results from floor tiles tucking neatly under wall tiles without visible gaps.
Critical Waterproofing and Substrate Preparation Before Tiling
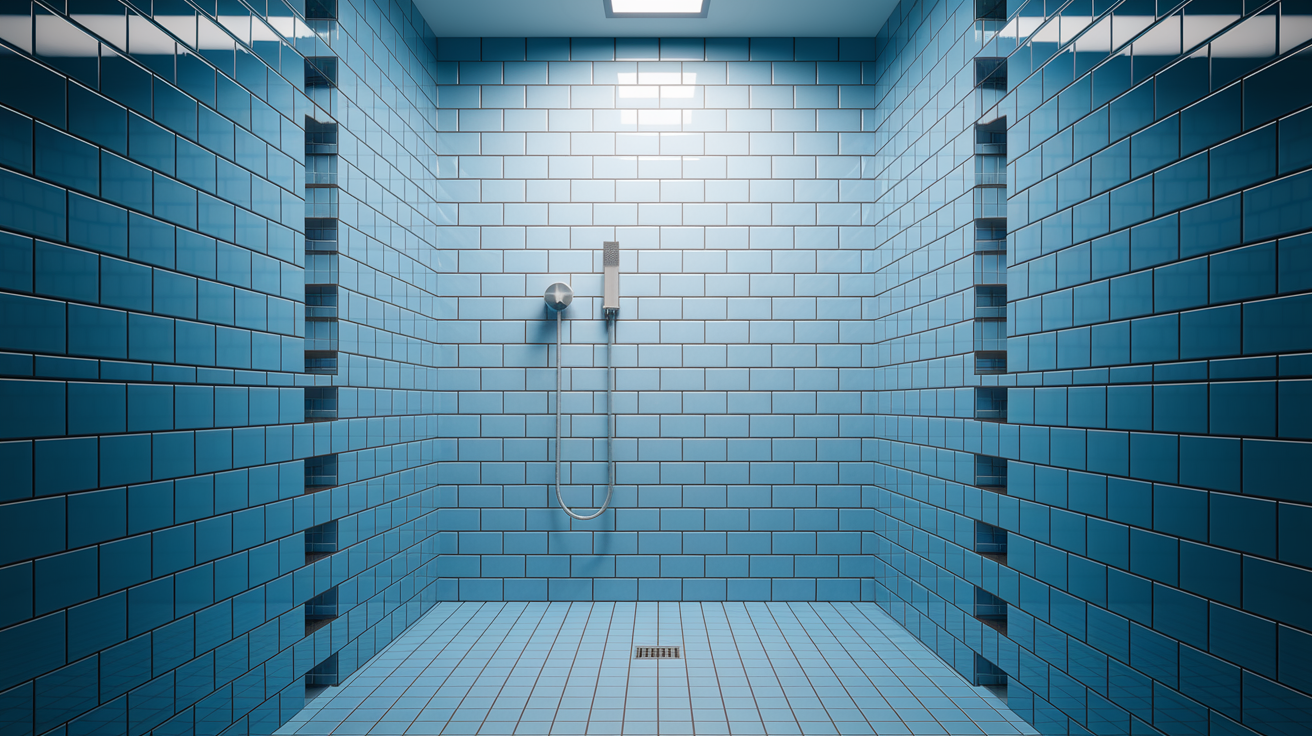
Water naturally runs down walls and must be directed onto floor surfaces, not behind your wall tiles. The tile overlap you create by installing walls first acts like roof shingles, each layer directing water to the layer below and eventually onto the floor where it drains away. But this only works if you’ve waterproofed everything correctly before the first tile goes up. Skip the waterproofing or do it wrong, and you’re just delaying the callback for mold remediation and tile replacement.
Proper substrate preparation starts with cement board installation on all surfaces that will get wet. Fasten it according to manufacturer specs, then seal every seam, corner, and fastener head. Apply waterproofing membrane to all wall surfaces, working it into corners where walls meet and where walls meet the floor or shower pan. Pay extra attention to these transition zones because they’re where most failures happen. On floors, the membrane needs to tie into your shower pan if you’re working in a shower, or extend at least 6 inches beyond the wet area in a standard bathroom. Seal around drain assemblies carefully. The membrane is your actual water barrier. The tile and grout are just the finished surface.
Let your waterproofing cure completely. Most products need 24 hours minimum, some need longer. Check the membrane for pinholes or missed spots before you start tiling.
Waterproofing steps that must be completed before tile installation:
Install cement board on all surfaces using appropriate fasteners spaced correctly. Seal all seams and fastener heads with waterproofing tape or compound. Apply liquid waterproofing membrane to all wall surfaces in multiple coats. Apply membrane to floor, ensuring proper integration with shower pan or drain. Verify proper shower pan installation with pre slope and weep holes functioning. Check all drain connections are sealed and membrane is properly tied in.
Detailed Wall Tile Installation Process for Bathrooms

Layout planning prevents expensive mistakes. Mark your reference lines before mixing any adhesive. Measure your space and do a dry layout on the floor to see how tiles will land. You want to avoid thin slivers at corners or around fixtures. If your layout puts a 1 inch cut at one end, shift everything so you get two 6 inch pieces at both ends instead. Take your time here. Fixing layout problems after tiles are set means breaking out tiles and starting over.
The starter ledger is your foundation for the entire wall installation. Install a straight board (a level 2×4 works fine) exactly one tile height above your finished floor level. This means you need to know your floor tile thickness plus the thinset bed depth. Most floor tiles with thinset end up around 3/8 to 1/2 inch thick. Mark this height around your room, then secure your ledger perfectly level using a 4 foot level. Check it in multiple spots. If your ledger isn’t level, nothing above it will be level. Screw it to studs or use construction adhesive on cement board. It needs to hold tile weight without sagging.
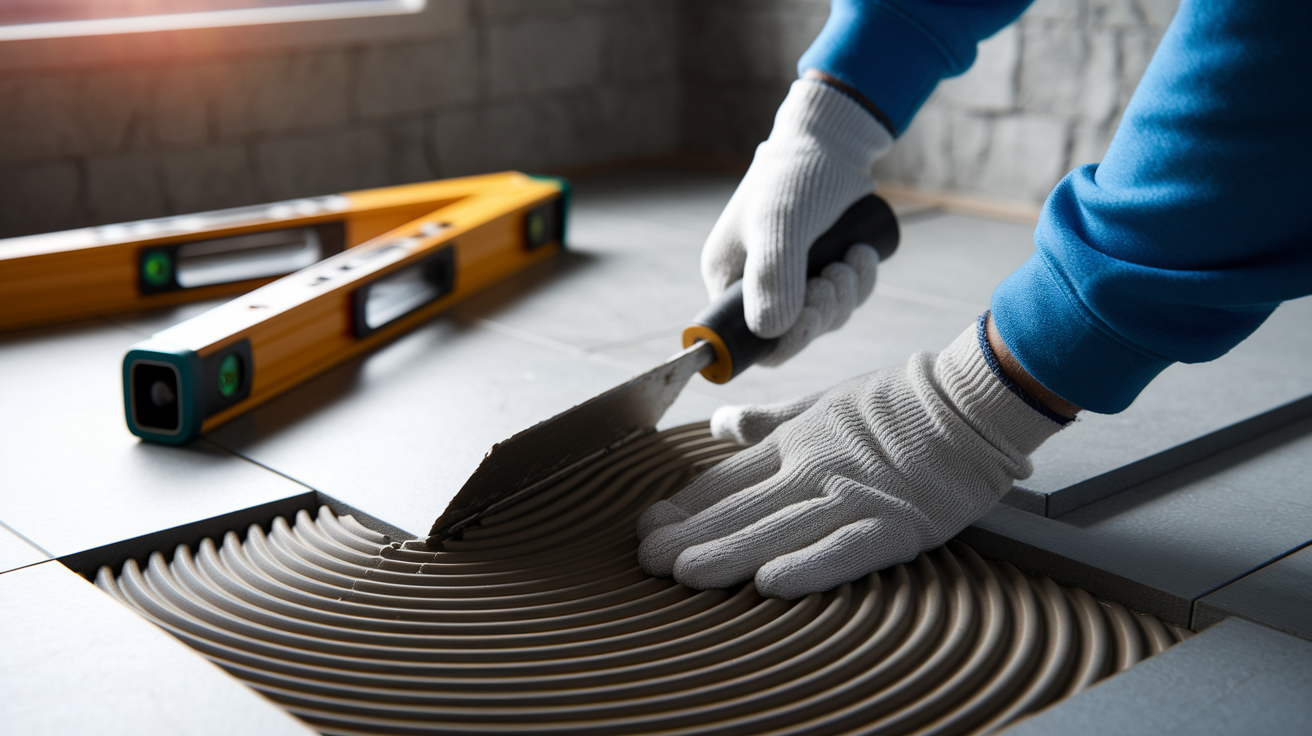
Thinset application requires attention to detail and speed. Mix your thinset to the consistency of thick peanut butter. For most wall tiles, use a 1/4 inch square notch trowel. For tiles larger than 12×12 inches, move up to a 3/8 inch notch. Apply thinset to 3 to 4 square feet of wall at a time. More than that and the adhesive will skin over before you get tiles into it. Hold your trowel at 45 degrees and pull it across the wall in straight lines. The notches create ridges that collapse when you press the tile in, spreading adhesive evenly. Work fast once you start. You have maybe 15 to 20 minutes before the adhesive becomes unworkable.
Setting tiles starts at your bottom corner, resting the first tile on the ledger. Press it firmly into the thinset with a slight twisting motion. This helps collapse the thinset ridges and ensures good contact. Insert tile spacers at all four corners to maintain consistent joints. Most bathroom installations use 1/8 inch or 3/16 inch joints. Place your second tile, insert spacers, then use a level to check that both tiles are even with each other and plumb to the wall. Check every 2 to 3 tiles as you work upward. It’s easier to adjust fresh tiles than to chip out ones that have started to set. Work upward in sections, maintaining your spacers and checking constantly for level and plumb. For more guidance on planning your renovation sequence, see our bathroom renovation planning tips.
This gap at the bottom where the ledger sits is where your floor tiles will slide in later. When you remove the ledger after the wall tiles cure, you’ll have a perfect space that’s exactly one floor tile height. Your floor tiles will fit underneath the wall tiles, creating the overlap that directs water correctly. This is the key to making the whole system work.
Allow proper curing time before moving to the next step. Most thinset needs 24 hours minimum before you remove support boards or apply stress to the tiles. Some products claim faster set times, but 24 hours is safe. Don’t rush this. If tiles shift when you remove the ledger, you’re starting over.
Complete wall installation sequence:
Mark your layout lines and plan tile placement to avoid awkward cuts. Install your level starter ledger exactly one tile height above finished floor. Mix thinset to manufacturer specifications and proper consistency. Apply thinset in small workable sections using correct notch trowel size. Set tiles with spacers starting at bottom corner, pressing firmly into adhesive. Check constantly for level and plumb, making adjustments before adhesive sets. Work upward section by section to ceiling or desired height.
Installing Floor Tiles After Bathroom Walls Are Complete

Once your wall tiles have cured for 24 to 48 hours, carefully remove the starter ledger. Pull screws slowly and watch for any tiles that might have bonded to the board. You should see clean space underneath your bottom row of wall tiles, ready for floor tiles to slide in.
Your starting point for floor layout depends on the room type. In showers, start from the drain and work outward. The drain should be your center point because it’s the most visible feature and needs to look centered. In full bathrooms, start from the most visible area, usually the doorway or the space you see when you walk in. Avoid starting in corners where walls might not be square. Do a dry layout first to check how tiles will land and adjust your starting point if needed to prevent narrow cuts at visible edges.
Fitting floor tiles underneath wall tiles requires precise measurements and careful cutting. Measure the exact gap under your wall tiles at multiple points because walls and floors aren’t always perfectly straight. Most gaps will be slightly different. Cut each floor tile to fit its specific location, leaving about 1/16 inch for the vertical grout line where floor meets wall. Slide the cut tile into place under the wall tile until it seats firmly. Apply your thinset to the floor, not the wall, to avoid disturbing the wall tiles. Maintain consistent grout line width using spacers between floor tiles. In showers and wet areas, your floor needs to slope toward the drain at about 1/4 inch per foot. Check this slope as you work using a level. If you’re working on a pre sloped shower pan, the slope is already built in. On flat floors where you’re building the slope with thinset, vary your thinset thickness to create the grade. Thicker thinset away from the drain, thinner near the drain.
Check your floor tiles at doorways to ensure they don’t create trip hazards. Floor tiles in the bathroom should be flush with or slightly below adjacent floor surfaces, not higher. If they’re higher, you’ll catch toes and create a tripping point.
Floor installation considerations:
Remove the starter ledger carefully without disturbing wall tiles. Measure exact gaps under wall tiles at multiple locations. Cut floor tiles to fit tightly under walls with proper grout joint spacing. Maintain proper slope toward drain in wet areas (1/4 inch per foot). Use spacers between floor tiles for consistent grout lines.
Common Bathroom Tiling Mistakes and How to Avoid Them
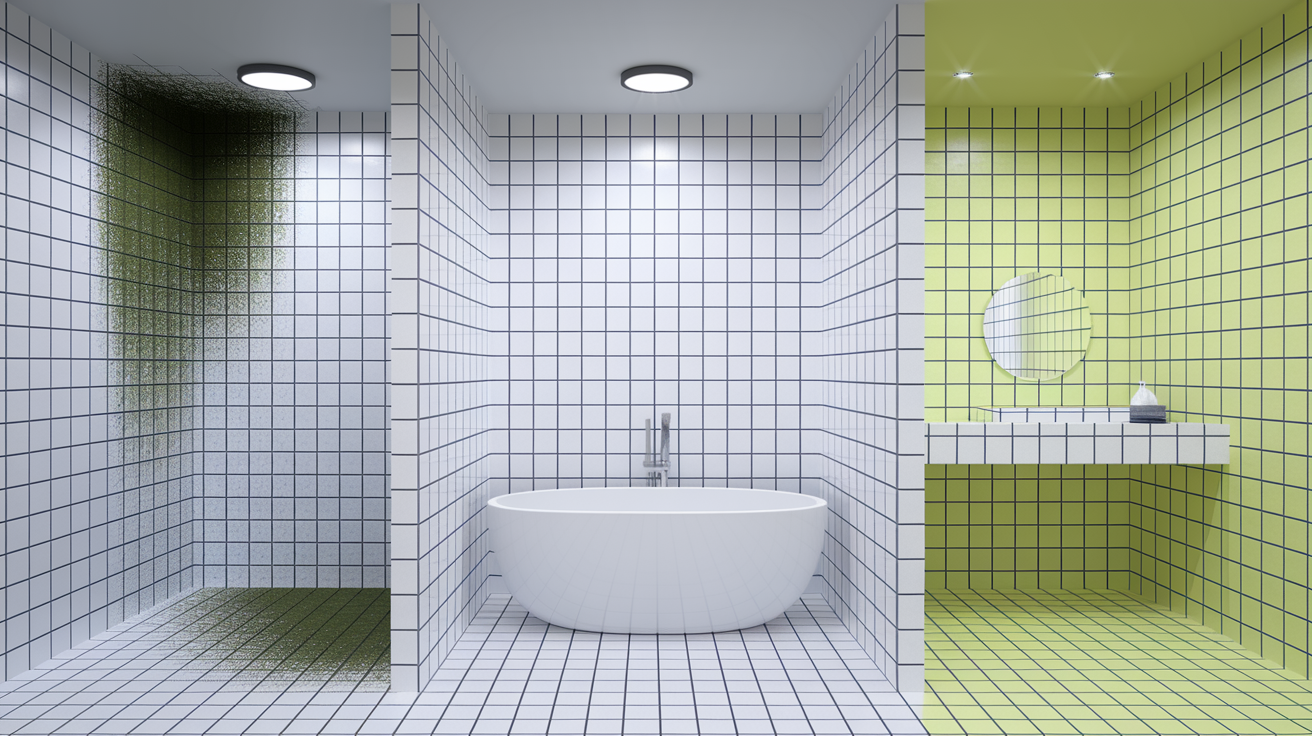
Sequencing errors are just one way tile jobs go wrong. Understanding the full range of common mistakes helps you avoid callbacks and rework. For a broader look at renovation pitfalls, check our common renovation mistakes to avoid.
The biggest error is starting floor installation first in wet areas. This feels logical because you’re working bottom to top, but it compromises waterproofing in a way that might not show up for months or even years. Water that runs down the wall meets the floor tile edge and has nowhere to go except into the joint. Even sealed grout is slightly permeable. Over time, moisture migrates behind your wall tiles and into the wall cavity. By the time you see mold or loose tiles, the damage behind the wall is extensive. The fix requires tearing out walls and starting over.
Adhesive mistakes show up fast. Applying too much area at once is the most common version. Thinset starts to skin over in 15 to 20 minutes. Once a skin forms on the surface, tiles won’t bond correctly even if the adhesive underneath is still wet. You’ll get hollow spots that eventually crack under pressure. Using the wrong trowel notch size creates similar problems. Too small a notch means insufficient adhesive coverage. Too large a notch means adhesive squeezes up into your grout joints. Match your notch size to your tile size. For most wall tiles under 8×8 inches, use a 1/4 inch notch. For 12×12 inch tiles, use 1/4 inch to 3/8 inch. For tiles larger than 12×12 inches, use 3/8 inch or 1/2 inch notches. Insufficient thinset coverage is the killer. Every tile should have at least 95% coverage on the back when you pull it off to check. Anything less leads to hollow tiles that crack.
Spacing and alignment errors create the amateur look. Inconsistent grout lines happen when you don’t use spacers or when you don’t check your work as you go. Grout lines should be uniform width across the entire installation. Failing to check for level and plumb regularly means errors compound as you work. By the time you notice a tile is off, you’ve set three more rows above it. Not accounting for out of square walls creates problems at corners and edges. Walls are rarely perfectly square or plumb. Check yours with a level before you start and plan your layout to hide these imperfections.
Inadequate surface preparation guarantees failure. Loose substrate, old adhesive residue, dust, or moisture in the substrate all prevent proper bonding.
| Mistake | Consequence | Prevention |
|---|---|---|
| Installing floor tiles first in wet areas | Water seeps behind wall tiles, causing mold and tile failure | Always install wall tiles first in bathrooms and showers |
| Letting adhesive skin over before setting tiles | Poor bonding, hollow spots, eventual tile cracking | Work in small sections (3 to 4 square feet) and move quickly |
| Insufficient thinset coverage on tile backs | Hollow tiles that crack under pressure or impact | Use correct trowel size, back butter large tiles, check coverage |
| Inconsistent grout line spacing | Amateur appearance, uneven look | Use tile spacers throughout, check alignment constantly |
| Tiling over weak or dirty substrate | Complete installation failure, tiles detaching from wall | Clean surfaces thoroughly, repair damage, ensure substrate is solid |
Essential Tools and Materials for Bathroom Tile Installation
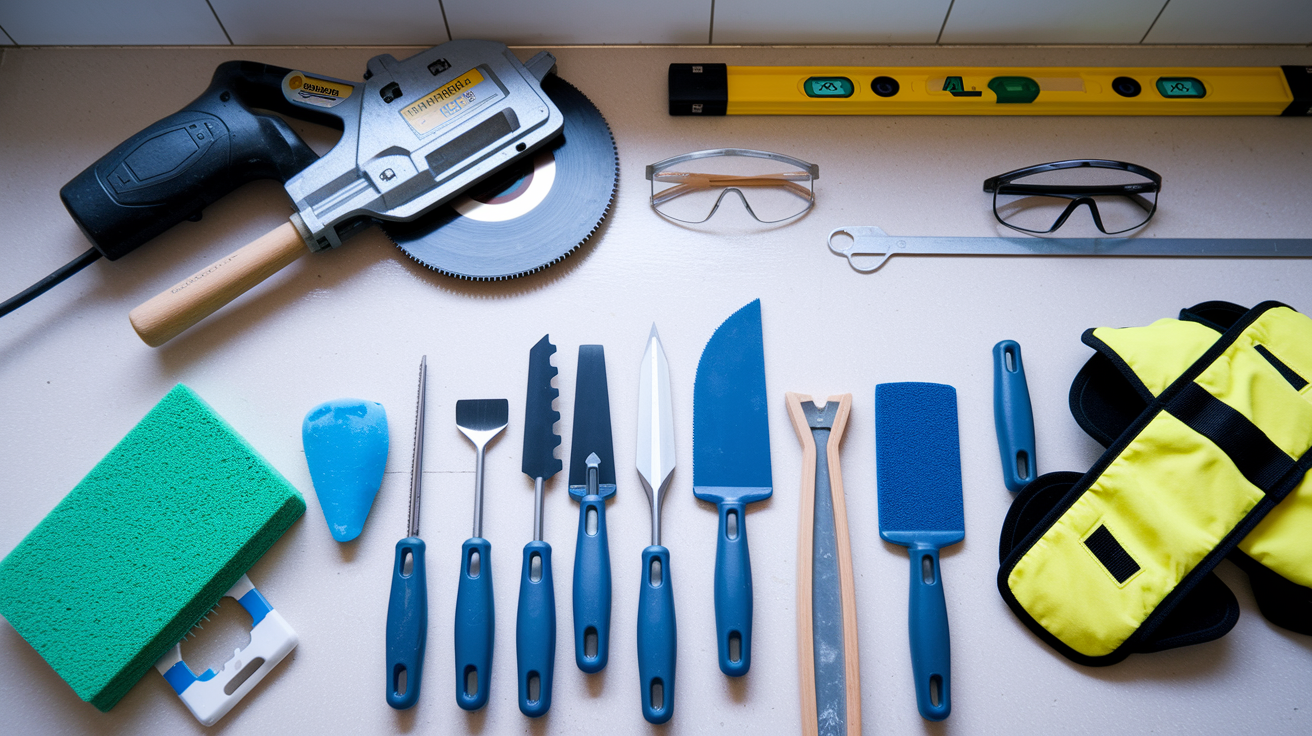
Having the right tools prevents mistakes and ensures professional results. You can’t cut tile accurately with the wrong equipment, and you can’t apply adhesive correctly with the wrong trowel.
Cutting tools make the difference between professional and amateur cuts. A wet tile saw is essential for straight cuts. The water cooled blade prevents tile from cracking due to heat and keeps dust down. For curved cuts around shower valves, toilet flanges, or other fixtures, use an angle grinder with a diamond blade. Make relief cuts first, then nibble away material gradually. Tile nippers handle small adjustments and notches. For every cut, measure twice. You can’t uncut a tile. When cutting tiles to fit under wall tiles, make your measurements from multiple points because walls aren’t always straight.
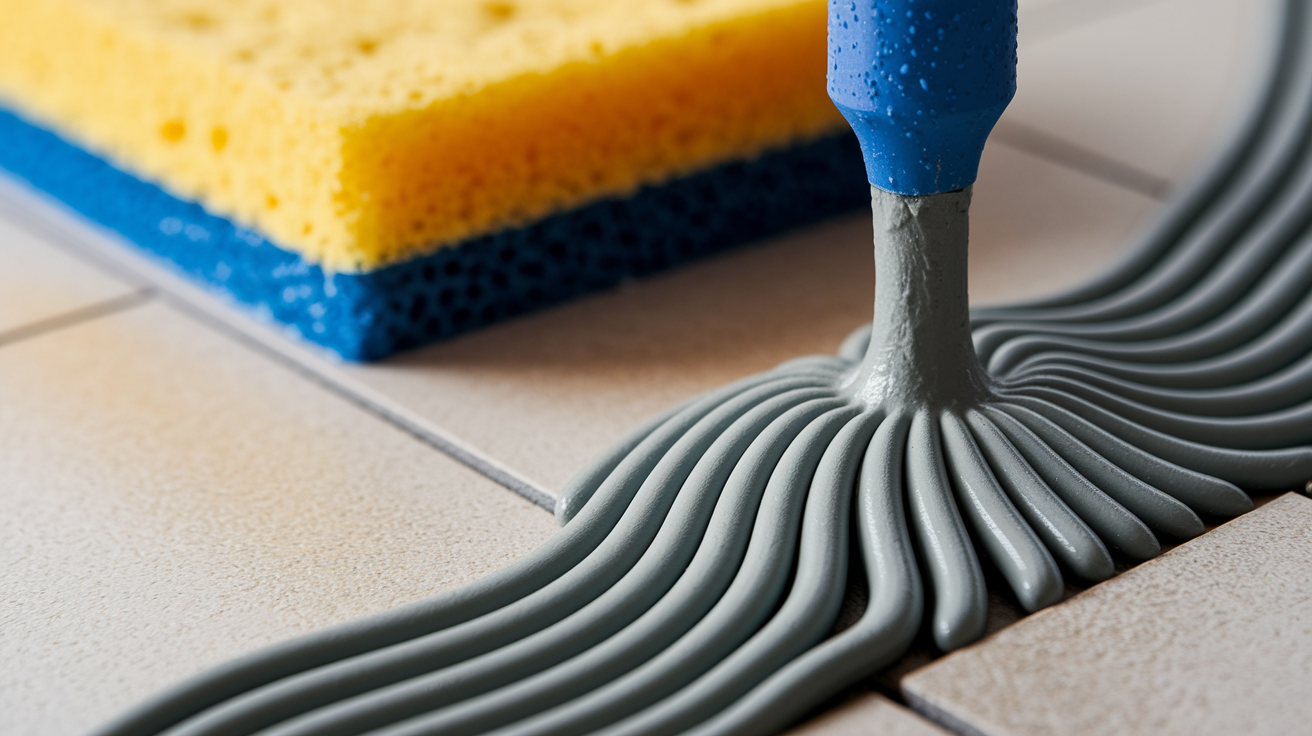
Application and finishing tools need to match your tile size and installation requirements. Notched trowels come in different sizes because different tiles need different amounts of adhesive. A 1/4 inch square notch works for most wall tiles under 8×8 inches. A 3/8 inch square notch handles most floor tiles and larger wall tiles. Keep multiple trowel sizes on hand. A rubber grout float applies grout at the right angle to pack joints full without scratching tile faces. Large sponges (bigger than a standard kitchen sponge) make grout cleanup faster and more effective. A mixing paddle that fits your drill mixes thinset and grout to proper consistency without lumps. Leveling systems for large format tiles (anything 12×12 inches or larger) prevent lippage between tiles as adhesive cures.
Safety equipment protects you during long days on your knees handling abrasive materials. Knee pads are essential. Tile work destroys knees. Safety glasses protect from tile chips when cutting. Proper ventilation matters when working with adhesives and sealers in enclosed bathrooms.
Materials need to match the application. Wall thinset is different from floor thinset. Most wall applications use a polymer modified thinset that grabs quickly and resists sagging. Floor thinset can have a longer open time because you’re not fighting gravity. Grout comes in sanded and unsanded versions. Sanded grout works for joints 1/8 inch wide and larger. Unsanded grout is for joints smaller than 1/8 inch and for soft materials like marble that sanded grout can scratch. Tile spacers need to match your desired grout line width. Common sizes are 1/16 inch, 1/8 inch, and 3/16 inch. Waterproofing membrane is non negotiable in wet areas.
Essential tools for bathroom tile installation:
Wet tile saw for clean straight cuts through ceramic and porcelain. Notched trowel in sizes matching your tile dimensions. 4 foot level for checking plumb and level across multiple tiles. Tile spacers in correct size for consistent grout joints. Rubber grout float for applying and packing grout into joints. Large sponges for grout cleanup and final polishing. Mixing paddle for drill to properly mix thinset and grout. Measuring tape, square, and marking tools for accurate layout.
Grouting and Finishing Your Bathroom Tile Installation
Grouting should only begin after tiles have cured for the manufacturer’s recommended time. Most thinset needs 24 hours minimum. Some need 48 hours, especially in cool or humid conditions. If you grout too early, tiles can shift and create uneven joints or cracks in the grout.
Grout application requires working quickly but carefully. Mix grout to the consistency of thick peanut butter. Too wet and it won’t pack into joints properly. Too dry and it crumbles. Use your rubber float held at a 45 degree angle to the tile surface. Work diagonally across the tiles, not parallel to grout lines. This diagonal motion packs grout deep into joints without pulling it back out. Press hard. You want grout completely filling the space between tiles with no voids. Work in sections about 10 square feet at a time. More than that and the grout starts to set before you can clean it.
The cleaning process starts 15 to 20 minutes after you finish grouting a section. The timing matters. Too soon and you’ll pull grout out of the joints. Too late and the grout hardens and becomes difficult to remove. Test a spot by wiping gently. If grout smears, wait a few more minutes. If it wipes clean leaving filled joints, start cleaning. Use a damp sponge, not a wet one. Wring it out thoroughly. Wipe in circular motions across the tile faces to remove excess grout without disturbing the joints. Rinse your sponge frequently and change your water when it gets cloudy with grout. Make multiple passes, each one removing more haze. Avoid pulling grout from joints. If you see low spots in joints, pack in more grout and wait before cleaning.
Final finishing focuses on joints that need flexibility, not rigidity. This is critical. Where walls meet floors, where walls meet tubs or shower pans, and around plumbing fixtures, use caulk instead of grout. These are change of plane locations where different materials meet and expand at different rates. Grout is rigid and will crack at these joints. Caulk remains flexible and accommodates movement. Use a caulk that matches your grout color or choose white or clear. Apply it in a smooth bead, tool it with a wet finger or caulk tool, and wipe away excess immediately.
Sealing grout protects your work after it fully cures. Wait 48 to 72 hours after grouting before applying sealer. Grout must be completely dry. Sealers protect grout from moisture penetration and staining. They’re especially important in showers and around sinks where water exposure is constant. Apply sealer according to manufacturer directions, usually with a small brush or applicator. Work it into the grout lines and wipe excess from tile faces before it dries.
Complete grouting sequence:
Allow tile adhesive to cure fully according to manufacturer specifications. Mix grout to proper consistency and apply with rubber float at 45 degree angle. Clean excess grout within 20 minutes using damp sponge and circular motions. Allow grout to cure completely for 48 to 72 hours before sealing. Apply grout sealer to protect joints from moisture and staining.
Professional Tiling Tips for Long Lasting Bathroom Results
Proper sequencing is just one factor in achieving installations that last decades. The difference between a tile job that fails in three years and one that’s still solid after twenty comes down to execution details most homeowners never see.
Back buttering means applying thinset to both the wall and the back of each tile. This technique guarantees coverage, especially for tiles larger than 8×8 inches or when working with uneven substrates. Wall thinset alone, even with perfect trowel technique, sometimes leaves small voids. Back buttering fills those voids. Spread a thin layer of thinset on the tile back using the flat side of your trowel, then comb it with the notched side to create ridges. When you press this tile into the thinset on the wall, you get nearly 100% coverage. Pull a tile off after setting it to check your coverage. You should see thinset across 95% or more of the back surface. Anything less means you need to adjust technique or back butter.
Working with different tile sizes and materials requires adapting your approach. Large format tiles (12×24 inches and larger) need larger notch trowels, typically 1/2 inch, to provide enough adhesive for proper support. They also benefit from leveling systems that clamp adjacent tiles at the same height while adhesive cures. Without leveling systems, large tiles easily develop lippage (one tile edge higher than adjacent tiles), which looks bad and creates a tripping hazard. Natural stone requires different adhesives than ceramic or porcelain. Standard gray thinset can stain light colored marble or limestone. Use white thinset for natural stone. Some stones are porous and need sealing before grouting to prevent grout from staining the stone surface.
Timing considerations affect everything. Don’t rush curing times even when products claim rapid set. Temperature and humidity affect curing. Cold slows it down. High humidity slows it down. Work during moderate temperatures when possible, ideally 60 to 80 degrees. Extreme heat causes adhesive to dry too fast, reducing working time. Extreme cold prevents proper curing. Plan for proper ventilation to aid curing, but don’t blast tiles with fans or heaters trying to speed things up. Forced drying creates weak bonds.
Consider hiring professionals if your project involves complex layouts, expensive tile materials, extensive waterproofing requirements, or structural repairs. A bathroom with custom shower niches, multiple valves, and intricate patterns is not a first timer project. Neither is a job requiring structural waterproofing repairs or dealing with old plaster walls.
Professional tips that make the difference:
Always back butter tiles larger than 8×8 inches for guaranteed coverage. Check for lippage between tiles constantly, especially with large format tiles. Maintain consistent trowel angle (45 degrees) for uniform adhesive ridges. Don’t tile too large an area at once, work in manageable 3 to 4 square foot sections. Keep tiles clean during installation, dried thinset on faces is hard to remove later. Document your work with photos showing waterproofing, layout, and finished installation for future reference.
Final Words
Tile walls first in bathrooms, then fit floor tiles underneath.
This wall-first sequence creates proper water drainage, prevents seepage behind tiles, and delivers professional alignment that lasts decades.
Get your waterproofing right, use a level starter ledger, and don’t rush curing times between steps.
The answer to “should you tile floor or walls first in bathroom” is clear: walls first wins for durability and moisture control. Take your time with prep and sequencing, and you’ll build a bathroom that performs right from day one.
FAQ
Do you tile floors or walls first in a bathroom?
You should tile walls first in a bathroom, then install floor tiles underneath the bottom row of wall tiles. This sequence prevents water from seeping behind wall tiles and creates proper drainage direction from walls onto the floor surface.
What are common bathroom tiling mistakes to avoid?
Common bathroom tiling mistakes include starting floor installation first in wet areas, letting adhesive dry before setting tiles, using incorrect trowel notch sizes, creating inconsistent grout lines, and skipping proper substrate preparation and waterproofing steps.
What is the 1/3 rule for tile?
The 1/3 rule for tile means you should avoid using tile cuts smaller than one-third of a full tile width, as narrow slivers look unprofessional and are difficult to install. Plan your layout so end cuts are at least one-third tile width.
In what order should you tile a bathroom?
You should tile a bathroom in this order: complete waterproofing and substrate prep first, install wall tiles starting with a level starter ledger, allow walls to cure 24-48 hours, then install floor tiles that slide underneath the wall tiles.
Why do professionals recommend tiling walls first?
Professionals recommend tiling walls first because it directs water drainage correctly onto floor surfaces, prevents seepage behind wall tiles, protects finished floor tiles during wall work, ensures proper tile overlap technique, and creates cleaner alignment at wall-floor transitions.
How long should tile adhesive cure before grouting?
Tile adhesive should cure for the manufacturer’s recommended time before grouting, typically 24-48 hours minimum. Grouting too early can shift tiles and compromise the bond, while proper curing ensures tiles are firmly set before grout application.
Should you caulk or grout between wall and floor tiles?
You should caulk between wall and floor tiles, not grout. These change-of-plane joints need flexibility to accommodate building movement, and caulk provides that flexibility while grout will crack at these locations over time.
What trowel size should you use for bathroom tiles?
The trowel size you use for bathroom tiles depends on tile dimensions: use 1/4 inch square-notch for tiles up to 8×8 inches, 3/8 inch for tiles 8×12 to 16×16 inches, and 1/2 inch for larger format tiles.
How do you prevent hollow spots under tiles?
You prevent hollow spots under tiles by using the correct trowel notch size, holding the trowel at 45-degree angle to create uniform ridges, back-buttering larger tiles with additional thinset, and pressing tiles firmly with slight twisting motion.
When should you seal bathroom grout?
You should seal bathroom grout after it fully cures, typically 48-72 hours after application. Sealing too early traps moisture in the grout, while proper curing allows the sealer to penetrate and protect against moisture and staining.
What slope should a shower floor have?
A shower floor should have a slope of approximately 1/4 inch per foot toward the drain. This slope ensures proper water drainage and prevents standing water that can lead to mold growth and cleaning problems.
Can you tile over painted drywall in a bathroom?
You should not tile over painted drywall in a bathroom wet areas. Install cement board or waterproof backer board instead, as painted drywall provides poor tile adhesion and offers no moisture protection in areas exposed to water.