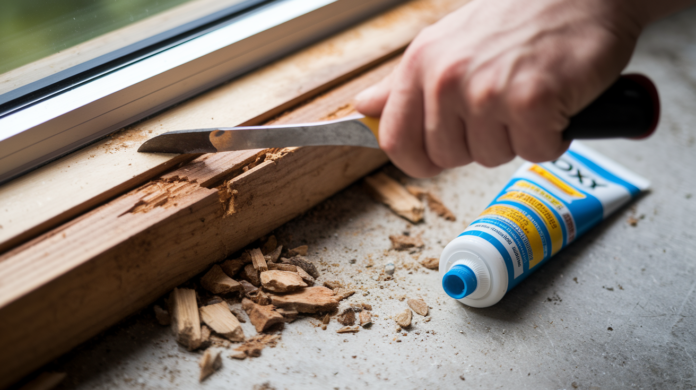

Most rotted window sills fail not because the repair was too hard, but because someone stopped halfway and called it done. You chisel out the soft wood, slap some filler in the hole, paint it, and six months later the rot’s back worse than before. That approach skips the actual fix, which is stabilizing what’s left and blocking the moisture that caused the problem in the first place. This guide walks you through the full sequence: assessment, removal, hardening, filling, finishing, and sealing. Done right, an exterior sill repair holds for years without callbacks or recurring soft spots.
Complete Repair Process: From Assessment to Finishing
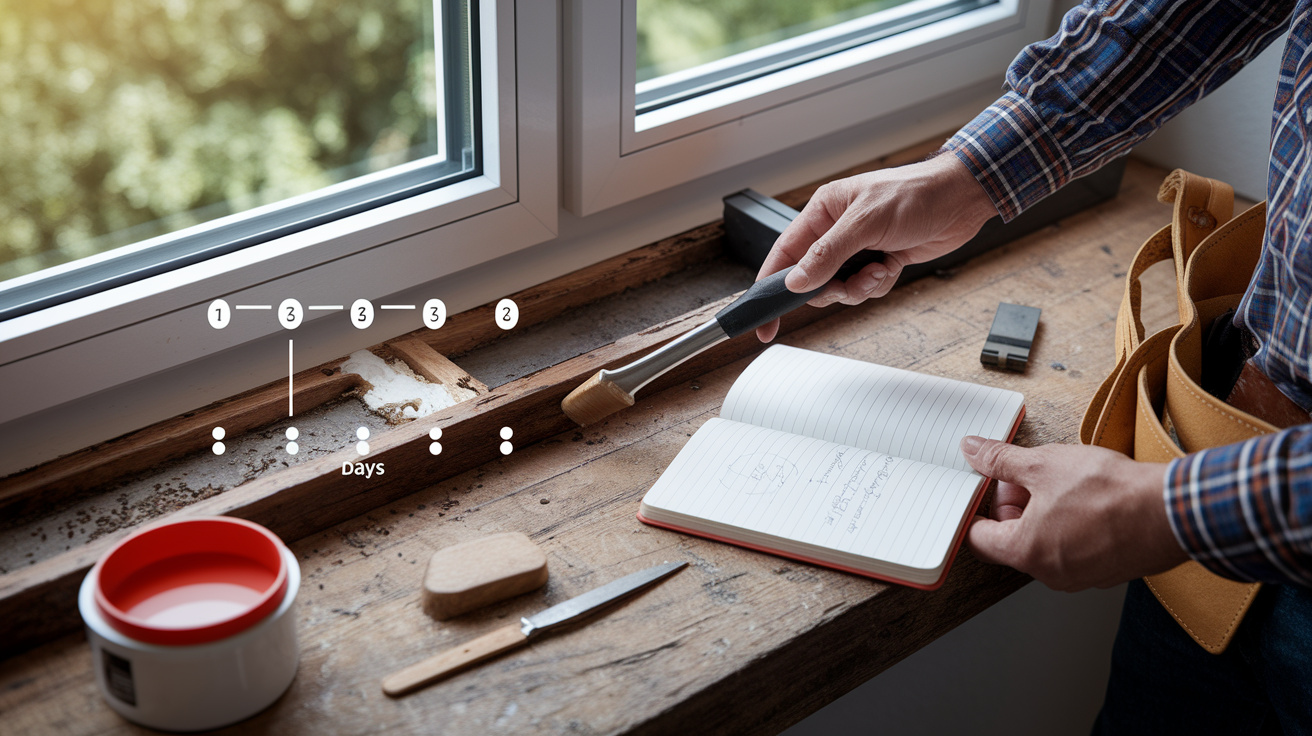
You’re looking at 4 to 6 hours of actual work spread over 2 to 3 days for a typical exterior window sill repair. The work isn’t complicated. But drying times between steps mean you can’t blast through it in one afternoon. Most beginners with basic tool skills can handle repairs where rot covers less than 10% of the sill’s total area. More than 10% damage? Structural integrity becomes questionable and you’re better off replacing the whole thing instead of patching.
Step 1: Assess and Identify Rot Damage
Press a flat blade screwdriver tip into the wood at multiple points across the sill surface. Solid wood resists penetration. Rotted wood feels soft, spongy, or lets the screwdriver sink in with light pressure. Test every few inches, paying extra attention to corners and joints where water typically collects.
Look for visual clues that confirm the screwdriver test. Peeling or bubbling paint signals trapped moisture beneath. Discolored areas, especially darker patches or sections that stay damp long after rain stops, indicate active rot. Black or green mold growth on the surface or gaps in caulking where paint has pulled away all point to moisture problems.
If you own a moisture meter, test the wood at several spots. Readings above 17% mean the wood is too wet for treatment products to absorb properly. You’ll need to dry the area first before moving forward.
Mark the extent of damaged areas with pencil. Draw boundaries around every soft spot you find. This gives you a clear map of what needs to come out. If your marked areas add up to more than about 10% of the total sill, you’re better off replacing the whole unit.
Step 2: Remove All Damaged Wood Completely
Use a sharp wood chisel held at a 15 to 20 degree angle to remove rotted material. Start from the center of the damaged area and work outward toward solid wood. Take out thin layers, checking firmness with your screwdriver probe after every few passes. Stop only when the wood feels completely solid and dry.
For extensive damage with large soft areas, a wire brush works faster to clear out punky material. For small isolated spots, stick with the chisel or a sharp scraper. Don’t leave any questionable wood behind thinking filler will stabilize it. It won’t.
When rot is widespread or deep, drill ¼ inch diameter holes spaced about 1 inch apart in a staggered pattern across the remaining solid wood around the damaged area. Drill to halfway depth or until you hit solid wood, whichever comes first. These holes let wood hardener penetrate deep into the structure where surface brushing can’t reach.
Brush or vacuum out all the dust and loose debris. Bag rotted wood for disposal instead of leaving it around the jobsite. Fungi spores spread easily.
Step 3: Apply Wood Hardener to Stabilize Remaining Wood
The wood must be dry before you apply hardener. If your moisture meter still reads above 17%, give it more time. Speed things up with a heat gun held 6 to 8 inches away, moving constantly to avoid scorching. Or tent a tarp over the window to keep rain off and let air circulation do the work over 2 to 3 days.
Once dry, use a plastic needle syringe to inject wood hardener into the drilled holes. Fill each hole until liquid starts pooling at the surface. Work the syringe tip deeper as the wood absorbs the hardener. A chip brush works for coating all exposed surfaces. Brush hardener onto the cavity walls and any remaining wood that looked questionable.
Let the first coat soak in for minimum 24 hours. In humid weather or cool temperatures, wait 48 hours. The surface should feel tacky when you touch it, not fully cured. If heavily damaged areas still feel weak after the first application dries, apply a second coat and wait another 24 hours.
The tacky state is what you want before adding filler. If the hardener fully cures to a hard finish, filler won’t bond well. Plan your timing so you can move straight to filling once the hardener reaches that slightly sticky stage.
Step 4: Rebuild with Epoxy Wood Filler
Mix two part epoxy wood filler according to the manufacturer’s ratio instructions. Abatron WoodEpox is the standard choice for exterior repairs. Avoid automotive body fillers like Bondo because they seal moisture inside the wood and accelerate rot underneath the repair.
Start at the bottom of the repair and work upward. This prevents filler from sagging or slumping as you build. For cavities deeper than ½ inch, apply multiple layers, letting each one partially set before adding the next. The filler cures faster when applied in thick masses than when spread thin.
Deliberately overfill the repair by about 1/8 inch above the surrounding surface. You’ll sand this back later, and starting high is easier than adding more filler after it hardens. Use the wood hardener as a thinner to smooth the filler surface while it’s still workable. A disposable brush dipped in paint thinner helps blend the edges.
Shape the filler to match the sill profile before it fully hardens. Once cured, it becomes hard enough to accept screws. Full hardness takes 24 to 48 hours depending on temperature and mass.
Step 5: Sand to Smooth, Paint Ready Surface
Start with 80 grit sandpaper to knock down high spots and shape the basic contour. A sanding block works best for flat sections. Hand sand curved profiles to maintain the shape. Check your progress frequently by running your hand across the repair. You should feel a smooth transition between filler and original wood.
Move to 120 grit to refine the surface and remove scratch marks from the coarse paper. Wipe the dust away with a damp cloth so you can see what you’re working on. Finish with 180 to 220 grit for a paint ready surface.
Work outdoors when possible to avoid filling your interior space with dust. Wear a dust mask regardless. Wipe the surface clean between grit changes so you’re not just grinding old dust around.
Step 6: Prime and Paint for Weather Protection
Apply a high quality exterior wood primer formulated to stick to epoxy repairs. Use a synthetic brush or small foam roller. Cover all repaired surfaces plus about 2 inches beyond onto the original wood to seal the transition zone. A thin, even coat works better than thick application that can run or sag. Let it dry completely, typically 2 to 4 hours.
Select 100% acrylic exterior paint that matches your existing color. The first coat should go on thin, building coverage without creating runs. Wait minimum 4 hours between coats. Apply the second coat perpendicular to the first for complete coverage without lap marks.
Work in temperatures between 50 to 85°F. Avoid direct sun while you’re painting because it causes the paint to dry too fast and not level properly. Check the weather forecast to confirm at least 24 hours of dry conditions after you finish.
Step 7: Seal All Joints with Exterior Caulk
Scrape out all old, deteriorated caulk with a utility knife. Don’t just caulk over existing material because the old stuff will let go and take your fresh caulk with it. Clean the joint with denatured alcohol and let it dry completely.
Cut the caulk tube tip at a 45 degree angle. Match the hole size to your joint width. Load the tube in a caulk gun and apply steady pressure while pulling the gun smoothly along the joint. You want a continuous bead with no gaps.
Wet your finger or use a caulk tool to smooth the bead within 5 minutes of application. Create a slight concave profile that sheds water instead of collecting it. Use 100% silicone or polyurethane exterior caulk. If you’re painting it, make sure you buy a paintable formula.
Wait 48 to 72 hours for complete cure before operating the window. After the first rain, check that water sheds properly off the sill instead of pooling. The repair texture won’t perfectly match old wood, but it should be close enough that paint makes it blend from normal viewing distance.
Essential Tools and Materials You’ll Need
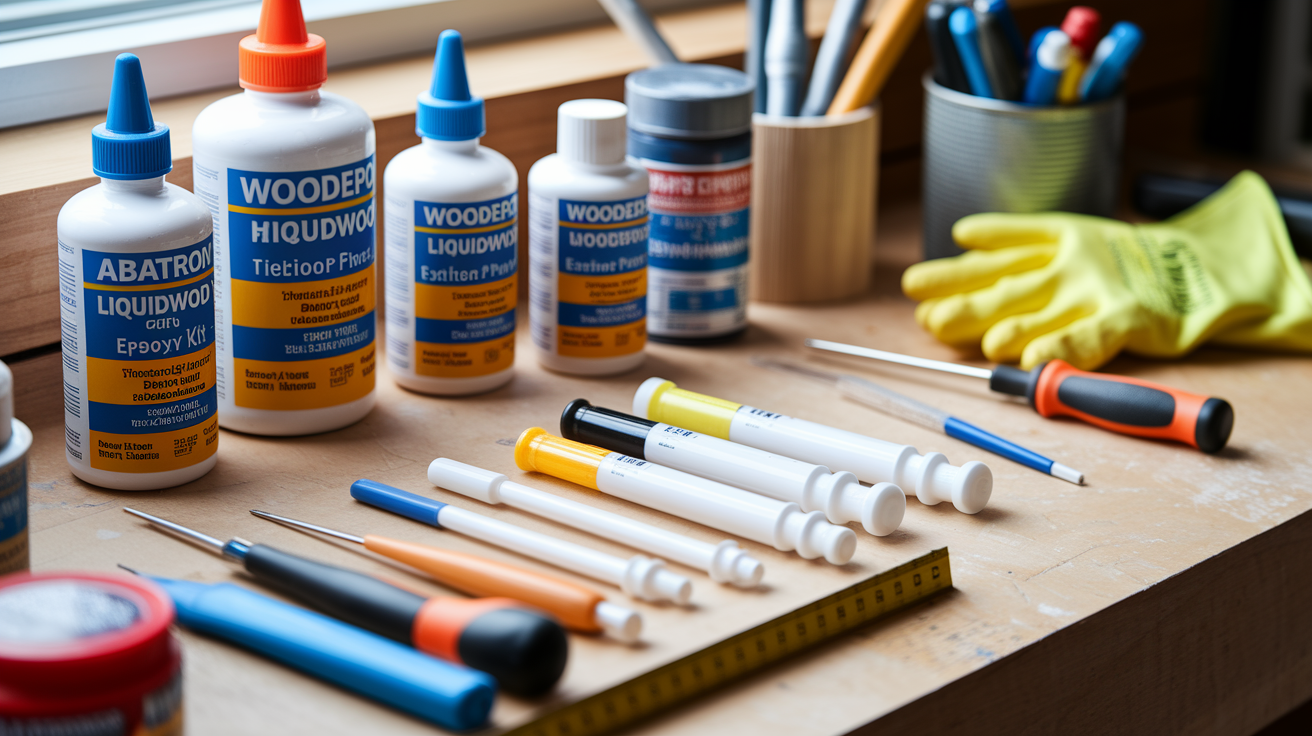
Gather everything before you start so you’re not making multiple trips to the hardware store mid project. Missing one item can force you to stop work and wait days for materials to arrive.
| Tool/Material Category | Specific Items | Purpose |
|---|---|---|
| Hand Tools | Chisels (1/2″ and 1″ widths), flat blade screwdrivers, pry bar, scrapers, wire brush, caulk removal tool | Removing rotted wood and old caulk, testing wood firmness |
| Power Tools | Drill with 1/4″ bit, oscillating multi tool (optional), orbital sander, heat gun (optional) | Drilling hardener holes, speeding sanding, drying damp wood |
| Treatment Products | Wood hardener/consolidant (Abatron LiquidWood), epoxy wood filler (Abatron WoodEpox), exterior primer, 100% acrylic exterior paint, 100% silicone or polyurethane caulk | Stabilizing wood, rebuilding sections, sealing against moisture |
| Application Supplies | Plastic needle syringes, chip brushes, synthetic paint brushes, disposable brushes, paint thinner, caulk gun, sanding blocks | Applying hardeners, fillers, primers, and finishing coats |
| Safety Gear | Dust mask, safety goggles, work gloves, drop cloths, painter’s tape, ventilation fan | Protection from dust, chemicals, and keeping work area controlled |
Product selection matters more than you’d think. Two part epoxy systems like Abatron LiquidWood and WoodEpox are specifically formulated for wood consolidation and filling. The hardener penetrates deep into damaged fibers and reinforces them. The filler bonds to the hardened wood and cures to a stable, moisture resistant mass.
Skip the automotive body fillers like Bondo even though they’re cheaper and easier to sand. They cure too fast to work into the wood properly, and they trap moisture beneath the surface. That trapped moisture accelerates rot underneath your repair. You’ll be back doing this job again in a year or two.
A basic repair kit with quality products runs $50 to 80 if you already own the tools. If you’re starting from scratch and need to buy everything, expect $150 to 200 for the full setup. Home centers rent specialized tools like oscillating multi tools for $30 to 50 per day if you don’t want to buy them.
When to Repair Versus Replace Your Window Sill
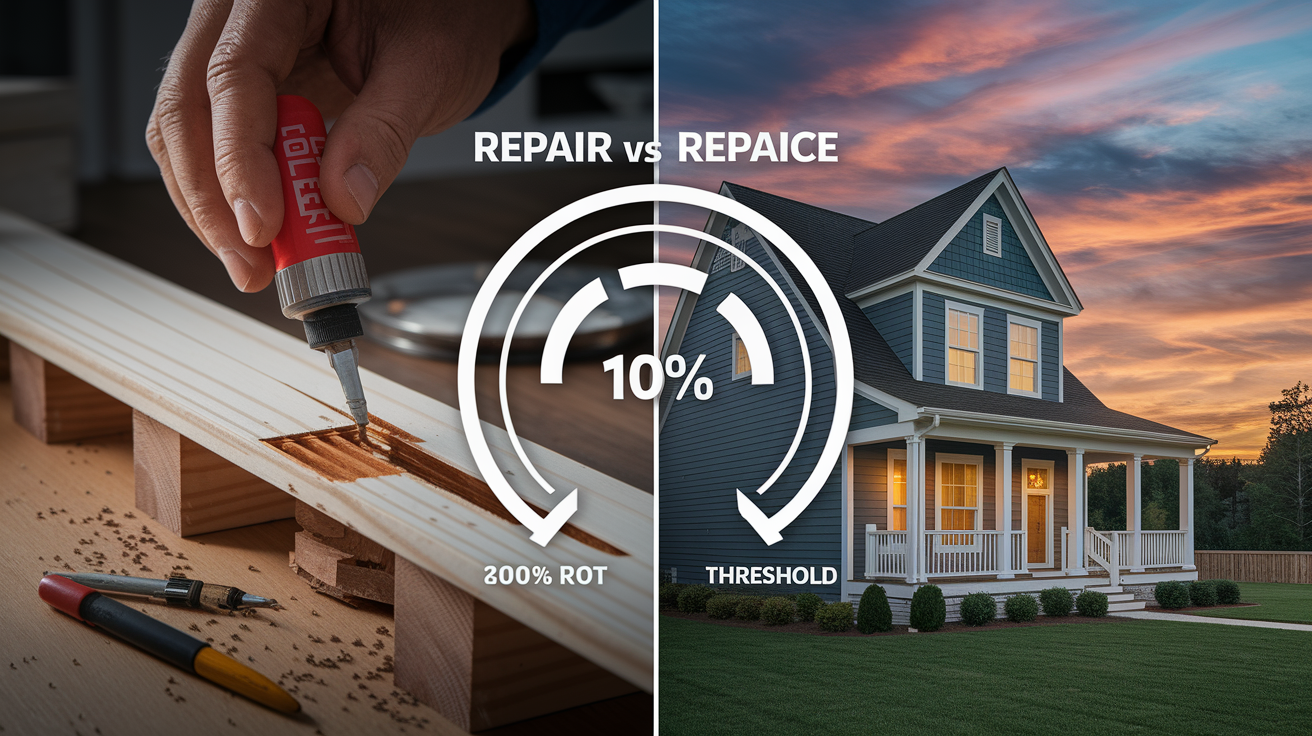
The decision comes down to how much damage exists, whether the structure is compromised, and whether repairing makes sense against replacement cost.
The 10% threshold rule provides a practical guideline. When rot exceeds 10% of the window frame’s total area, replacement becomes the better choice. Security and structural integrity are at risk when that much material is compromised. Estimate the percentage by comparing your marked damage areas to the full sill length and width. If you’re looking at more than one or two fist sized areas of rot, you’re probably past the repair threshold.
Repair works well when you’re dealing with:
Surface rot less than 1/4 inch deep. Damage confined to the sill face or front edge. Solid wood remaining on at least 90% of the sill. No structural sagging or problems with window operation. Rot caused by an identified and fixable water source. A single window or limited number of affected windows.
Replacement becomes necessary when rot extends through the full thickness of the sill. Damage is spreading to window frame jambs or wall framing. You’ve already attempted repairs that failed. Severe structural compromise with visible sagging or gaps. Widespread rot affecting multiple windows indicating a systemic moisture problem.
Partial sill replacement offers a middle option. You can remove and replace the front damaged portion while keeping the back section that’s integrated into the wall. This works when rot is limited to the exposed outer edge. Full sill replacement usually requires removing the window unit in most construction types. Material choices for replacement include exterior grade lumber like cedar or redwood, pressure treated pine, or composite alternatives. PVC and Accoya engineered wood offer superior rot resistance compared to standard lumber while maintaining the look of real wood.
Be realistic about DIY limits. Repairs fall within handy homeowner capability. Full replacements often need professional carpentry skills, especially if you’re dealing with historic homes or complex window types where fit and flashing details matter.
Preventing Future Rot in Exterior Window Sills
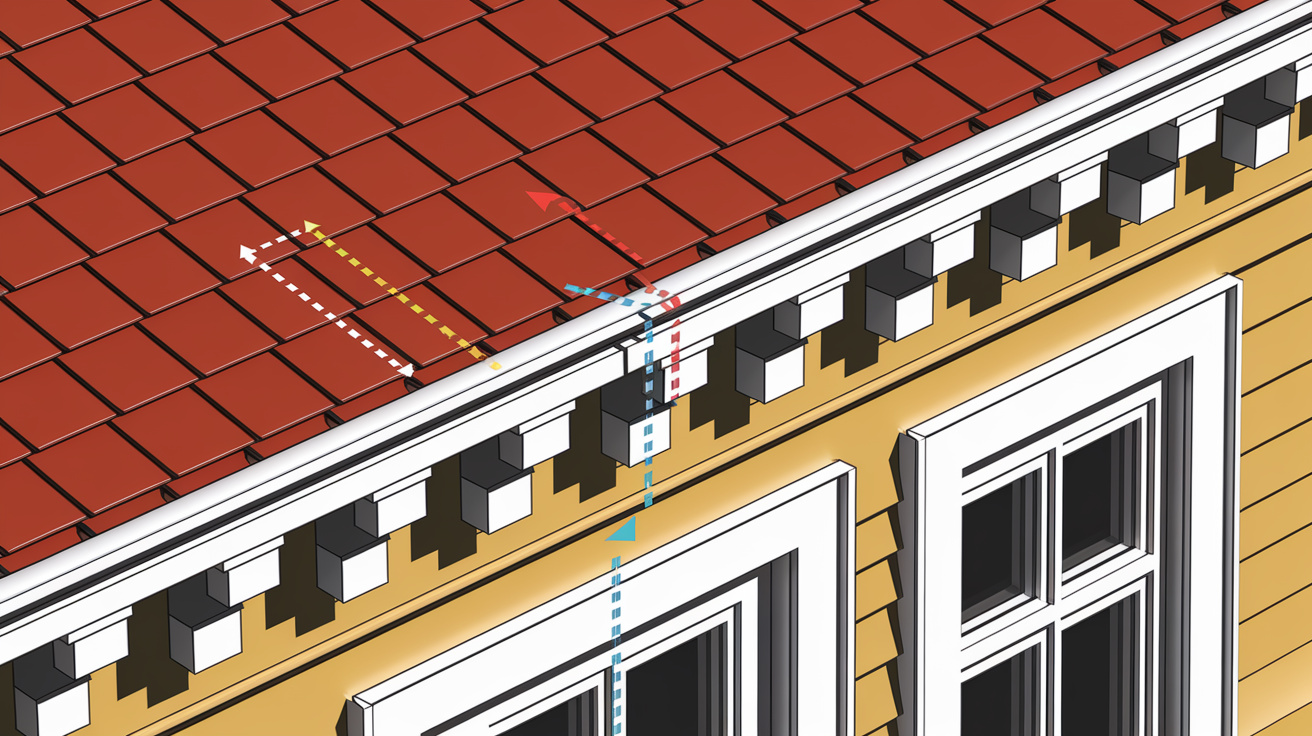
Prevention costs less than repeated repairs. Wood won’t rot if you keep it consistently dry. That’s the whole game.
Annual maintenance tasks that protect your investment: Inspect after heavy weather events (rain, snow, storms) for paint damage or caulk failure. Wipe accumulated moisture from sills during winter months and after storms. Check and clean gutters quarterly to prevent overflow near windows. Verify downspouts discharge minimum 4 feet from foundation. Repaint every 3 to 5 years before coating failure occurs. Reapply caulk every 2 to 3 years at all window sill joints. Trim vegetation touching or near sills to improve air circulation. Conduct spring and fall comprehensive inspections.
Mechanical water management matters more than any coating. A properly sloped sill sheds water instead of collecting it. You need minimum 5 degree outward pitch for gravity to move water away. Installing metal drip caps along the front sill edge helps by extending 1/2 inch beyond the face. Water drips free instead of running back under the sill.
Flashing integration between the sill and window frame bottom is critical but often skipped during original construction. Proper overlap sequencing with building wrap creates a drainage plane. Material options include aluminum, copper, or vinyl flashing products. Each layer laps over the one below so water flows down and out.
Site drainage keeps bulk water away from the foundation and windows. Grade soil away from the house with minimum 6 inch drop over 10 feet of horizontal distance. Extend downspouts and add splash blocks to direct water further away. If you have persistent moisture problems, French drains installed 3 to 4 feet from the foundation intercept groundwater before it reaches window wells.
Ventilation and indoor moisture control prevent condensation on cold surfaces during heating season. Adequate attic ventilation stops warm humid air from condensing on cold window frames. Trickle vents installed internally where condensation occurs regularly allow air flow to help wood dry. Address indoor humidity sources with exhaust fans in bathrooms and kitchens, and run a dehumidifier if needed. Maintain indoor humidity below 50% when it’s cold outside. For more comprehensive moisture prevention strategies, see Best Practices for Preventing Mold and Mildew in Your Home.
Climate specific considerations affect maintenance schedules. Freeze thaw cycles in cold regions cause accelerated paint failure as water expands in micro cracks. Plan on more frequent repainting in northern climates. Intense UV damage in southern and western exposures breaks down paint faster, requiring 3 year cycles instead of 5 year. Coastal salt exposure demands marine grade coatings that resist corrosion. High humidity climates like the Southeast need enhanced ventilation strategies because wood stays damp longer after rain events.
Common Mistakes That Lead to Repair Failure
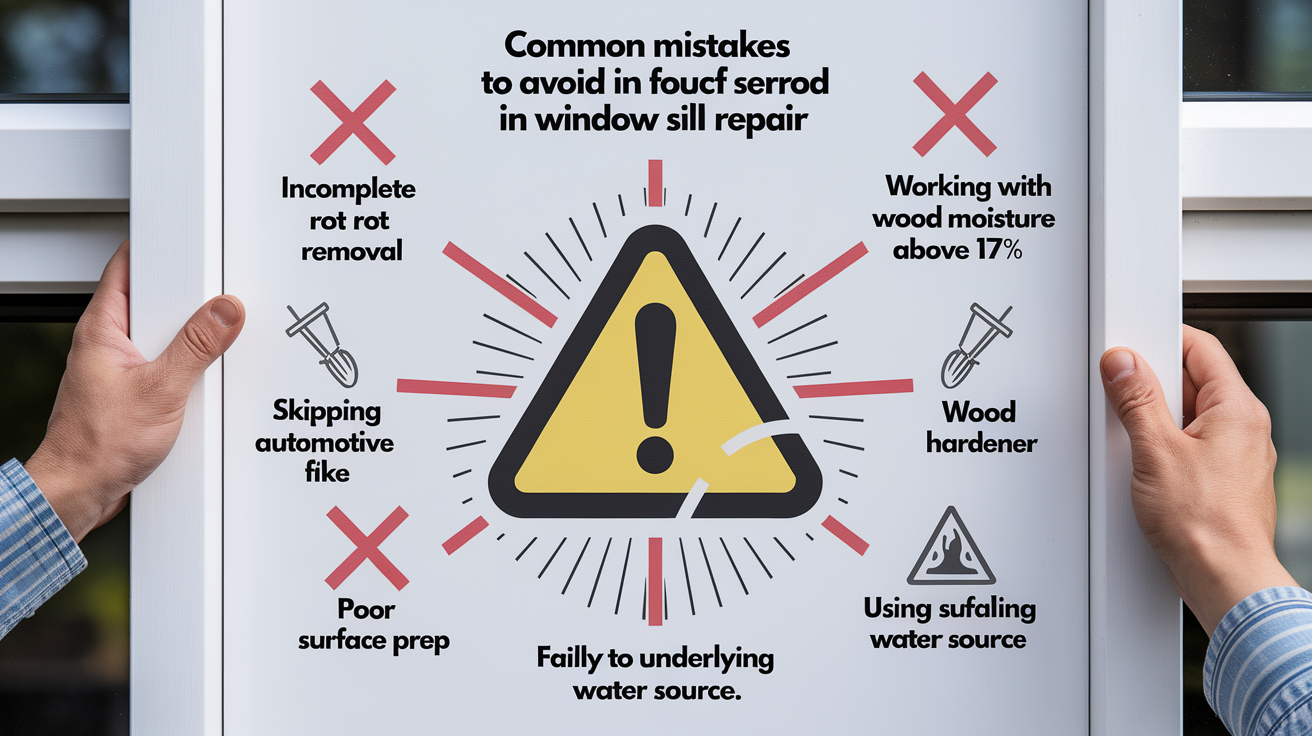
Learn from these frequent errors so you don’t waste time and materials on repairs that fail prematurely.
Critical mistakes to avoid: Incomplete rot removal leaving soft wood beneath filler that continues decaying. Applying wood hardener or filler to wet wood above 17% moisture content preventing proper absorption. Using automotive body filler like Bondo that traps moisture and accelerates hidden rot. Skipping the wood hardener step and applying filler directly to compromised wood. Inadequate surface preparation with dirt or loose paint preventing adhesion. Failing to address the underlying water source causing the original rot. Over sanding epoxy repairs creating low spots that collect water. Insufficient drying time between treatment steps. Working in unsuitable weather conditions (rain forecast, extreme temperatures, high humidity).
The moisture trapping problem with non breathable fillers deserves special attention. Products like Bondo cure by chemical reaction and form a dense, impermeable layer over the wood. Any moisture already in the wood or that migrates in from behind gets sealed inside. This creates perfect anaerobic conditions for rot fungi to thrive without oxygen. The wood continues rotting under your repair until the filler falls out.
Proper consolidants penetrate and stabilize damaged wood fibers. Two part epoxy systems designed for wood repair allow minimal moisture vapor transmission after curing. They’re not completely breathable, but they don’t create the sealed moisture trap that automotive products do.
Rushing the process causes multiple problems. If you apply filler before hardener fully penetrates and becomes tacky, the bond is weak. The filler may initially look fine but will eventually separate. Painting before filler completely cures traps solvents and prevents proper hardening. Fresh repairs need protection from rain and snow during the cure period. One unexpected storm can ruin days of work.
Follow manufacturer specifications for temperature ranges and minimum cure times. Working below 50°F or above 90°F affects cure speed and final strength. High humidity extends drying times. Check the forecast and plan accordingly.
Neglecting source correction guarantees failure. You can execute perfect repair technique, but if water continues entering from failed caulking, improper flashing, gutter overflow, or splash back from the ground, rot will return. Walk around your house and look at how water moves during a heavy rain. Fix the source first, then repair the damage. Doing it backwards means you’re repairing symptoms while the problem continues.
Professional Repair Versus DIY: Making the Right Choice
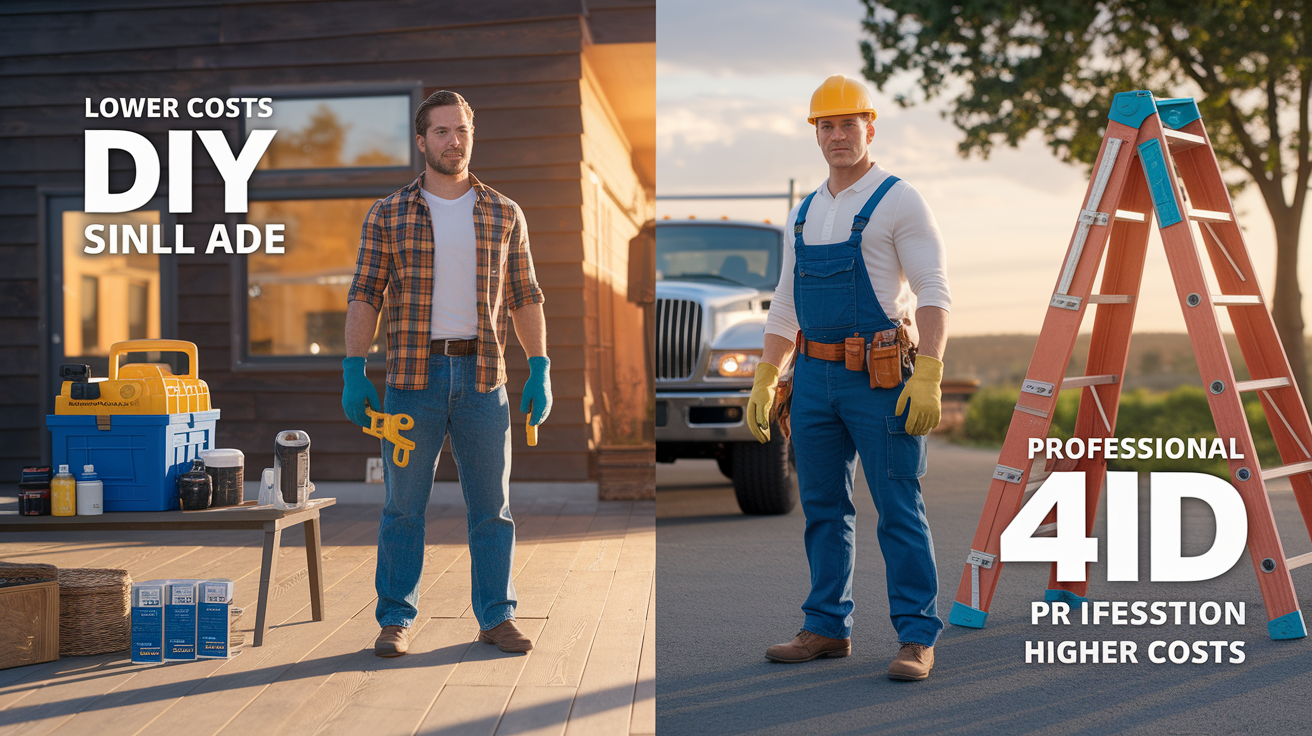
Budget and skill level drive the decision between DIY and professional repair, but damage extent and project complexity matter too.
| Repair Scope | DIY Material Cost | DIY Time Required | Professional Total Cost |
|---|---|---|---|
| Minor surface repair (epoxy filler only, small area) | $30 to 50 | 3 to 4 hours | $200 to 350 |
| Moderate damage (hardener + epoxy, partial sill) | $60 to 100 | 5 to 8 hours over 2 to 3 days | $400 to 700 |
| Extensive repair (hardener, epoxy, partial wood replacement) | $100 to 180 | 8 to 12 hours over 3 to 4 days | $600 to 1,000 |
| Full sill replacement (complete removal and new sill) | $150 to 300 | 10 to 16 hours over 4 to 5 days | $800 to 1,500 |
DIY material costs break down to: wood hardener and epoxy kit (Abatron system) $40 to 70, replacement lumber if needed $15 to 40 per linear foot, primer and paint $30 to 50, caulk and fasteners $20 to 30, sandpaper and supplies $15 to 25, tool rental if needed $30 to 50. A typical moderate repair totals $135 to 240 in materials.
Professional costs vary by region but follow predictable patterns. Contractor rates run $75 to 150 per hour. A typical repair takes 3 to 6 hours of labor. Add materials markup of 20 to 40% over retail. Total professional repair costs land between $400 to 900 for moderate damage. Full replacement runs $800 to 1,500 per window. Most contractors include a 1 to 2 year warranty on workmanship.
DIY makes sense if you’re a handy homeowner comfortable with basic carpentry and power tools. You need patience for the multi day drying periods between steps. Accessible ground floor windows are easier to manage than second story work. Single window projects work well as learning opportunities. Be honest about your skill level before committing.
Professional help is warranted when rot exceeds 10% of the window frame indicating structural concerns. Damage extends into wall framing or studs behind the sill. Multiple windows need simultaneous repair for efficiency. Second story or elevated work requires scaffolding. Historical home preservation with architectural significance. You lack proper tools or suitable workspace. You discover termite or pest damage requiring treatment. The project needs building permits or inspections.
Obtaining quotes requires some homework. Request detailed written estimates from 2 to 3 contractors. Verify licensing and insurance before letting anyone start work. Ask for references and photos of previous window repairs they’ve completed. Confirm warranty terms in writing. Check with your local building department about permit requirements, especially for full sill replacements. For more guidance on contractor selection, see Pros and Cons of Hiring a Professional Handyman for Home Repairs.
Final Words
Exterior window sill rot doesn’t fix itself, but you’ve got a clear path forward now.
Remove every bit of soft wood. Treat what’s left with hardener. Rebuild with exterior-grade epoxy. Sand smooth, prime, and paint.
The key is addressing the water source while you’re at it—failed caulk, missing flashing, or bad slope. Fix that, and your repair actually lasts.
If you hit solid wood quickly and the damage is contained, this is a manageable weekend project. Take your time between coats, and the repair will outlive most of what’s around it.
FAQ
How do you repair an exterior wood window sill?
To repair an exterior wood window sill, start by removing all soft or rotted wood with a chisel until you reach solid material, then apply wood hardener to stabilize the remaining wood. After the hardener dries, fill damaged areas with exterior-grade epoxy filler, sand smooth, and finish with primer and at least two coats of exterior paint for moisture protection.
Can you replace an exterior window sill without removing the window?
You can replace an exterior window sill without removing the window by cutting out the damaged front portion of the sill and installing a new piece, though full sill replacement requiring window removal provides better structural integration. This partial replacement approach works when damage is limited to the sill face and hasn’t spread into the window frame or wall framing.
How much does it cost to fix a rotted window sill?
Fixing a rotted window sill costs $30-50 in materials for minor DIY surface repairs, $60-100 for moderate damage requiring hardener and epoxy, or $400-1,000 for professional repairs depending on damage extent. Full sill replacement by a contractor typically runs $800-1,500 per window including labor and materials.
Can rotted wood be repaired instead of replaced?
Rotted wood can be repaired instead of replaced when damage affects less than 10% of the frame and hasn’t compromised structural integrity, using wood hardener to stabilize remaining fibers and epoxy filler to rebuild damaged sections. If rot extends through the full thickness, spreads into surrounding framing, or exceeds the 10% threshold, replacement becomes necessary for long-term durability and security.
What causes window sills to rot?
Window sills rot when moisture gets trapped in the wood through failed caulking, missing or damaged flashing, poor drainage, or inadequate paint protection that allows water to penetrate and remain. Preventing rot requires maintaining sealed joints, ensuring proper water shedding with correct slope and drip caps, and keeping protective coatings intact through regular maintenance.
How long does epoxy wood filler take to cure on window sills?
Epoxy wood filler takes 24-48 hours to fully cure on window sills depending on temperature, humidity, and repair depth, with larger masses curing faster than thin applications. Wait minimum 24 hours before sanding and 48-72 hours before window operation or exposure to weather for complete hardness and moisture resistance.
What’s the best wood filler for exterior window sills?
The best wood filler for exterior window sills is two-part epoxy systems like Abatron WoodEpox that bond permanently to hardener-treated wood and resist moisture without trapping water inside. Avoid automotive body fillers like Bondo, which harden quickly but seal moisture in the wood and accelerate hidden rot despite being easier to apply.
How often should you repaint window sills?
You should repaint window sills every 3-5 years before coating failure occurs, with south and west exposures requiring more frequent repainting due to intense UV damage. Inspect after heavy weather and repaint sooner if you notice peeling, bubbling, or bare wood showing through the finish coat.