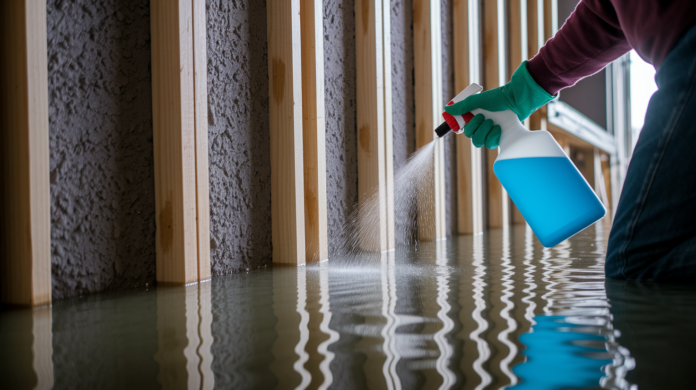

Skipping disinfection after a flood isn’t just about the smell or the stains you can see. It’s about the invisible pathogens already working their way into your wall cavities, where they’ll keep growing until the next moisture event turns them into a full-blown contamination problem. This guide walks you through the complete disinfection sequence, from the right protective gear and chemical contact times to the secondary treatments that catch what bleach alone misses. You’ll learn why sequence matters, what can’t be saved, and how to verify surfaces are actually clean, not just rinsed.
Essential Steps for Wall Disinfection After Flood Damage

Time matters when flood water recedes. You’ve got about 48 hours before mold spores and pathogens start working their way into structural materials. Once that window closes, surface cleaning won’t reach what’s already growing inside your walls.
Before you touch anything, wait for local authorities to clear the area as safe to enter. Shut off electricity and gas at the main panel. Don’t trust individual switches. Use battery operated flashlights only. Never run gas generators indoors. Floodwater carries flesh eating bacteria, E. coli from failed septic systems, storm surge salt, lawn pesticides, weed killers, and industrial runoff. Australian research linked flood mud to pathogens causing diarrhea, respiratory infections, and tetanus. Gear up with a respirator mask rated for mold and bacteria, waterproof boots that cover your ankles, heavy duty rubber gloves that reach past your wrists, and eye protection that seals around your face. Regular dust masks and latex gloves won’t cut it.
Here’s the complete disinfection sequence:
-
Wait for official clearance from local authorities before entering the flooded structure.
-
Verify power shutoff at the main electrical panel and gas shutoff at the meter, not just wall switches.
-
Put on full protective equipment including respirator mask, waterproof boots, durable rubber gloves, and sealed eye protection before touching any surface.
-
Mix bleach solution using one half cup ultra chlorine bleach per 1 gallon of water in a clean container.
-
Apply bleach solution with a low cost pumpable garden sprayer, covering all exposed wall surfaces, studs, and cavities thoroughly.
-
Let bleach sit for 5 to 10 minutes on contaminated surfaces without rinsing yet.
-
Rinse with clean water using a garden hose or bucket system, then wait at least 30 minutes before applying secondary treatment.
-
Apply separate vinegar solution (5 percent concentration or higher) after bleach has been rinsed and dried, never mixing the two chemicals together.
Following this sequence in order matters. Skipping the bleach contact time or mixing bleach with vinegar kills the disinfection effectiveness you need. Each step builds on the previous one to create a barrier against bacteria that would otherwise colonize your walls within days.
Preparing Walls for Disinfection After Water Damage
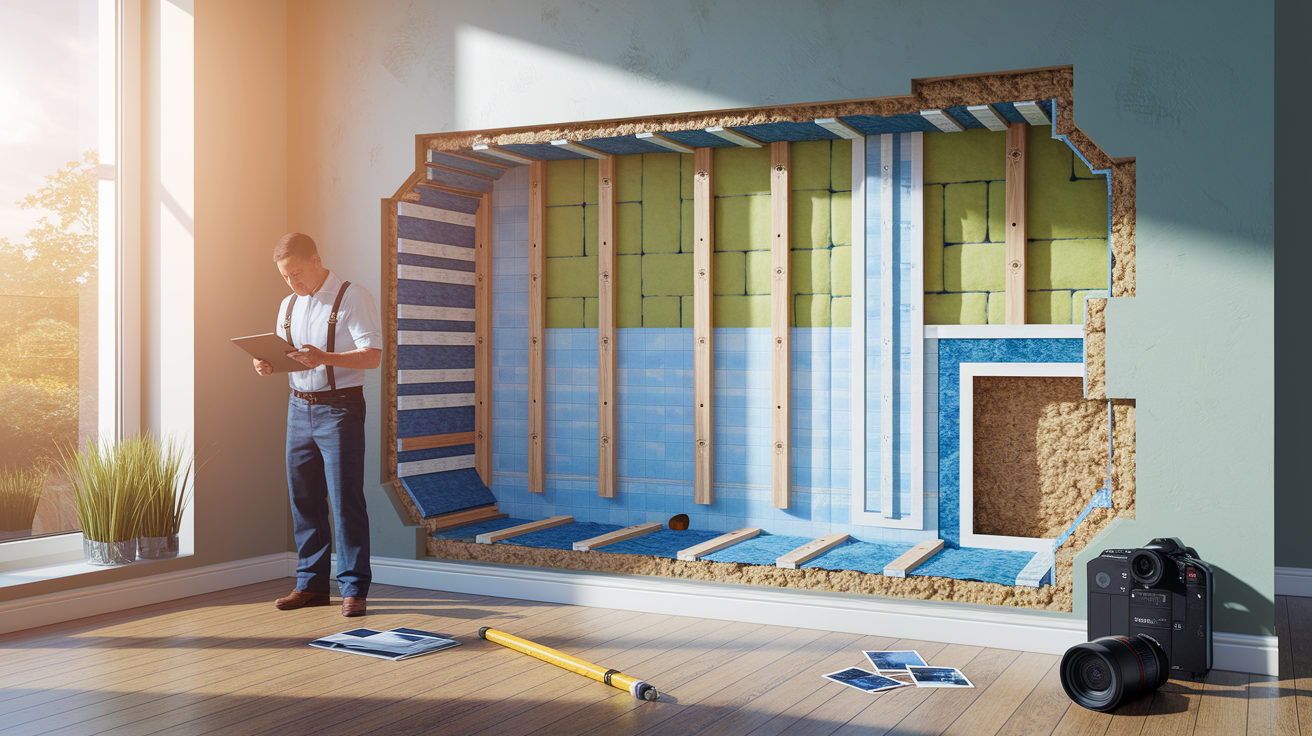
Document everything before you start tearing materials out. Take photos and video of water lines on walls, damaged items, and structural issues. Make an inventory of destroyed belongings with descriptions and estimated values. Track every expense related to cleanup. Insurance adjusters need this paper trail.
Walk through and assess what stays and what goes. All interior wallboard that touched flood water must come out, whether you have wood frame, concrete block, or poured concrete walls. Check for soft spots, swelling, or delamination by pressing on drywall with your palm. If it gives or feels spongy, that section is done. Look at wall cavities from removed sections to spot hidden water damage. Structural elements like studs and plates that show rot, mushiness, or dark staining may need replacement. Call in a professional for that evaluation.
Remove materials in this order:
-
Pull baseboard trim carefully if you want to save it, or pry it off quickly if replacement is certain.
-
Cut drywall horizontally one foot above the visible water line using a utility knife, removing the entire lower section to get rid of all soaked material.
-
Remove all porous insulation including fiberglass batts and cellulose completely. None of it can be saved after flood contact.
-
Bag and dispose of debris in heavy duty contractor bags, keeping wet materials separate from other household trash.
-
Expose wall cavities fully by removing enough material to see studs, plates, and the back side of exterior sheathing.
Consider cutting a six inch horizontal section at ceiling level to promote airflow through the entire wall cavity. This creates a chimney effect that helps moisture escape from the top while pulling drier air in from the bottom.
Inspect remaining materials for moisture by touching studs and plates with your bare hand. If they feel damp or cool to the touch, they’re still wet. Look inside wall cavities with a flashlight for standing water, wet insulation stuck to sheathing, or dark moisture stains. Everything must be dry or actively drying before disinfection works. Wet surfaces dilute chemicals and prevent contact with pathogens embedded in the material.
Cleaning Contaminated Wall Surfaces Before Disinfection

Mud and silt create a physical barrier that blocks disinfectants from reaching pathogens underneath. Think of it like trying to sanitize a cutting board without washing off the food scraps first. The bleach just sits on top doing nothing.
Wash exposed studs, plates, and concrete surfaces using phosphate free detergent mixed with water in a 5 gallon bucket. Regular dish soap works fine. Scrub with a stiff brush, working from top to bottom so dirty water runs down onto areas you haven’t cleaned yet. Pay attention to corners where studs meet plates, and the groove where drywall sat against framing. Mud packs into these spots and won’t rinse out without mechanical scrubbing. For vertical surfaces, dip your brush frequently and let the soapy water soak for a minute before scrubbing.
Rinse thoroughly with a garden hose or bucket system. If municipal water isn’t available yet, pool water or clean rainwater collection works for this step. Spray or pour water from top to bottom, making sure all soap residue washes away. Soap left behind will react with bleach and reduce its effectiveness.
Brick exterior walls need pressure washing to remove mud from the porous surface and mortar joints. Concrete block walls inside the structure can be scrubbed by hand with a brush and bucket. Blocks act somewhat like filters, which helps, but you still need to physically remove debris from the face before disinfecting. Exposed wood studs dry faster after washing, so focus scrubbing effort on removing all visible contamination rather than trying to make the wood look new. Dark stains that won’t scrub off are fine as long as mud and silt are gone.
Bleach Solution Application for Wall Disinfection
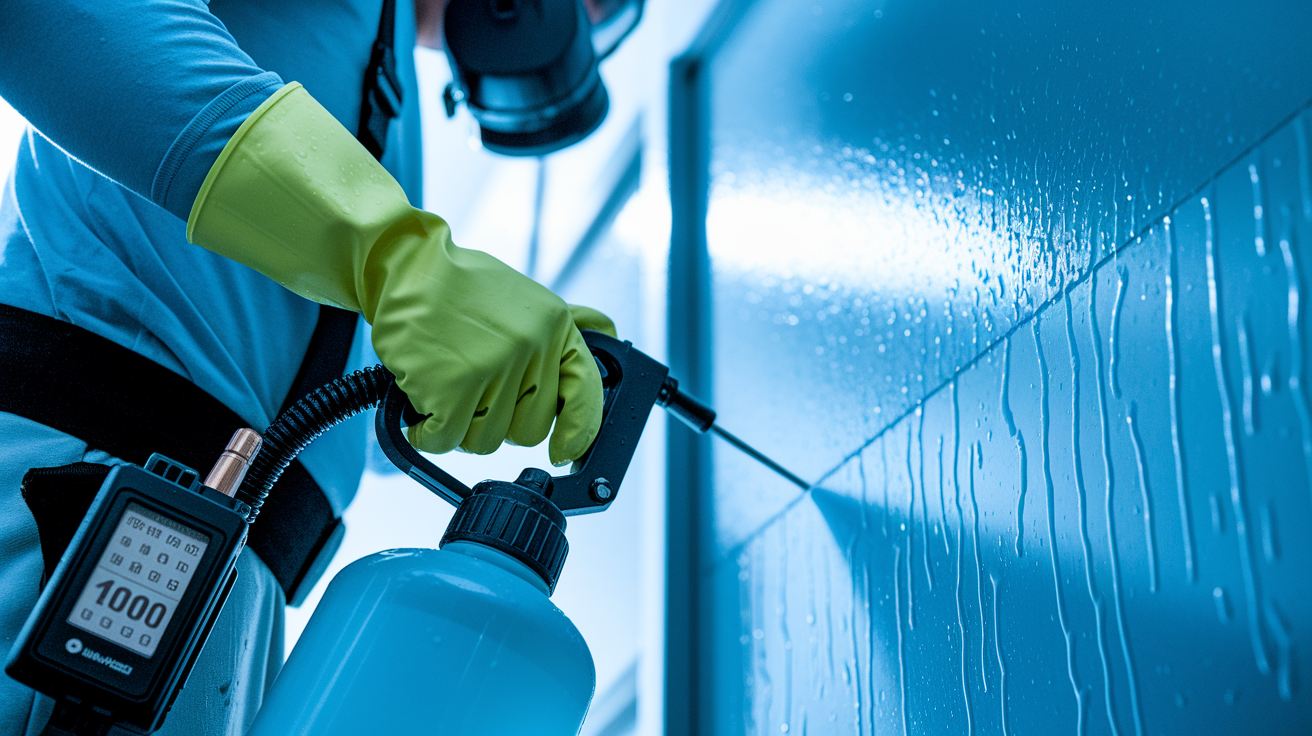
Bleach solution kills bacteria, viruses, and mold spores that survive in flood debris. EPA registered disinfectants containing sodium hypochlorite (bleach’s active ingredient) meet the standard for pathogen elimination when mixed and applied correctly.
| Solution Type | Mixing Ratio | Contact Time | Surfaces |
|---|---|---|---|
| Chlorine Bleach | ½ cup ultra chlorine bleach per 1 gallon water | 5 to 10 minutes | Wood studs, concrete, exposed sheathing |
| Commercial Antimicrobial (d Pro 3 Plus) | Ready to use, no mixing | Follow label instructions | All hard surfaces, wood, concrete, metal |
| Hydrogen Peroxide | 3% solution ready to use | 10 minutes | Surfaces where bleach is restricted |
Mix bleach solution fresh each day in a clean container. Pour the water first, then add bleach to avoid splashing concentrated chemical. Stir gently. Transfer solution to a low cost pumpable garden sprayer. The 1 to 2 gallon models sold for yard applications work perfectly. Pump the handle to build pressure, then spray contaminated surfaces until they’re visibly wet but not dripping. Start at the top of walls and work down. Cover studs, plates, the back of sheathing, sill plates, and any exposed concrete or block. Get the sprayer wand into wall cavities so you’re coating surfaces you can’t see directly.
Set a timer for 5 minutes minimum. The bleach needs contact time with pathogens to kill them. Spraying and immediately rinsing does nothing. If surfaces start drying before 5 minutes pass, spray them again. After contact time expires, rinse with clean water using a garden hose or pour water from a bucket. Let surfaces drain and begin air drying before moving to the next treatment phase.
Do not use chlorine bleach on HVAC components, metal ductwork, electrical wiring, fine wood trim you’re saving, or non colorfast painted surfaces. For these materials, use ready to use antimicrobial products like d Pro 3 Plus or 3 percent hydrogen peroxide solution. Apply the same way. Spray until wet, maintain contact time per label instructions, then rinse if required.
Secondary Disinfection Treatment for Flooded Walls
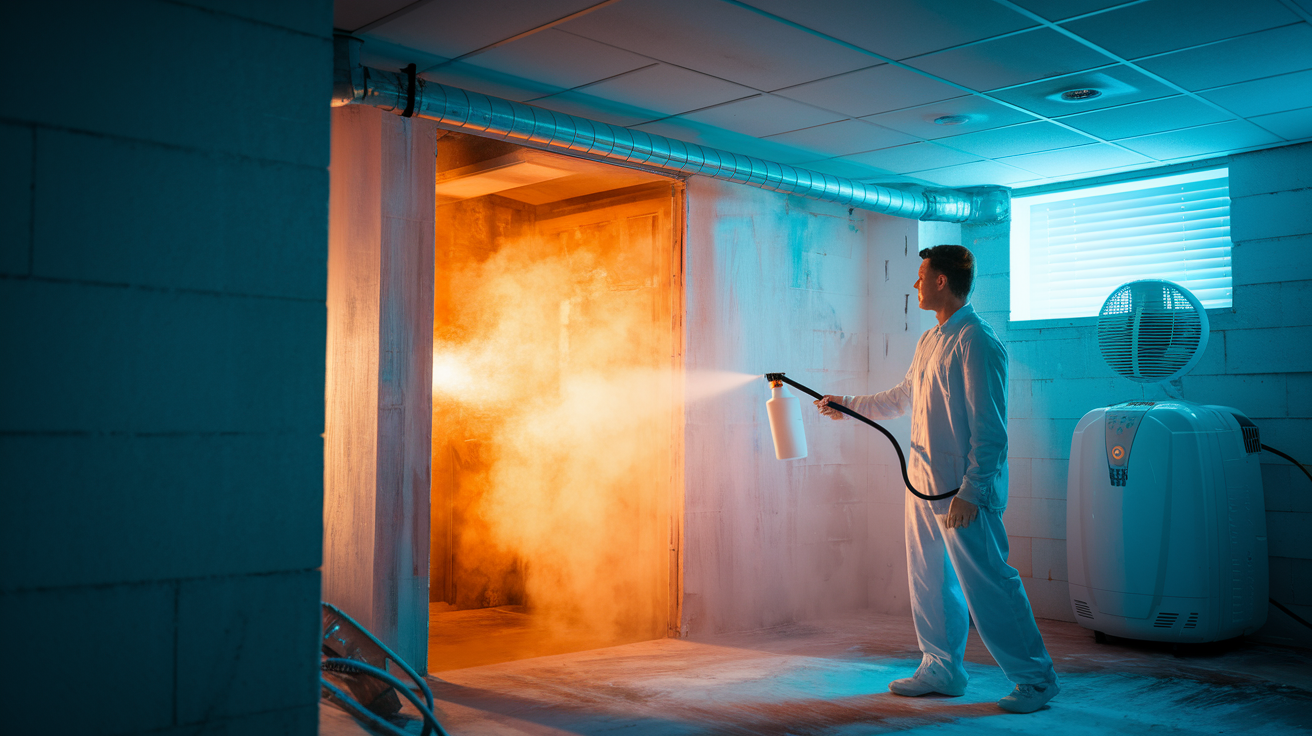
One chemical treatment leaves gaps. Bacteria and mold spores that survive bleach may still colonize your walls when humidity climbs above 60 percent, even months later.
Vinegar works differently than bleach. Where bleach attacks cell walls through oxidation, acetic acid in vinegar disrupts pH and metabolic processes. Using both chemicals in sequence catches pathogens that might resist one or the other.
Wait at least 30 minutes after rinsing bleach before applying vinegar. The surfaces need time to stop being actively alkaline. Mix 5 percent acidity vinegar with nothing else. Straight from the bottle into your garden sprayer. If you’re buying concentrated 30 percent vinegar sold at roughly $19.95, diluting it to 5 percent only saves about 17 cents per gallon, so standard household 5 percent white vinegar from the grocery store makes more sense unless you’re treating a large building.
Spray vinegar solution onto all previously bleached surfaces using the same coverage technique. Wet but not dripping, top to bottom, inside wall cavities. Let it sit for 10 minutes. The smell will be strong. Ventilate the space with fans if possible, but don’t skip this step. Rinse with clean water after contact time expires.
Never mix bleach and vinegar in the same container or spray one immediately after the other without rinsing first. The chemical reaction produces chlorine gas, which causes severe respiratory damage. This is why the 30 minute waiting period matters. You’re not just letting things dry. You’re allowing bleach to fully rinse away before introducing acid.
For homeowners who can’t work with bleach due to respiratory sensitivity or material restrictions, hydrogen peroxide at 3 percent concentration followed by quaternary ammonium disinfectant provides a non bleach two phase option. Apply hydrogen peroxide first, maintain 10 minute contact time, rinse, wait 30 minutes, then apply quaternary ammonium product per label directions.
Disinfecting Different Wall Materials After Flooding
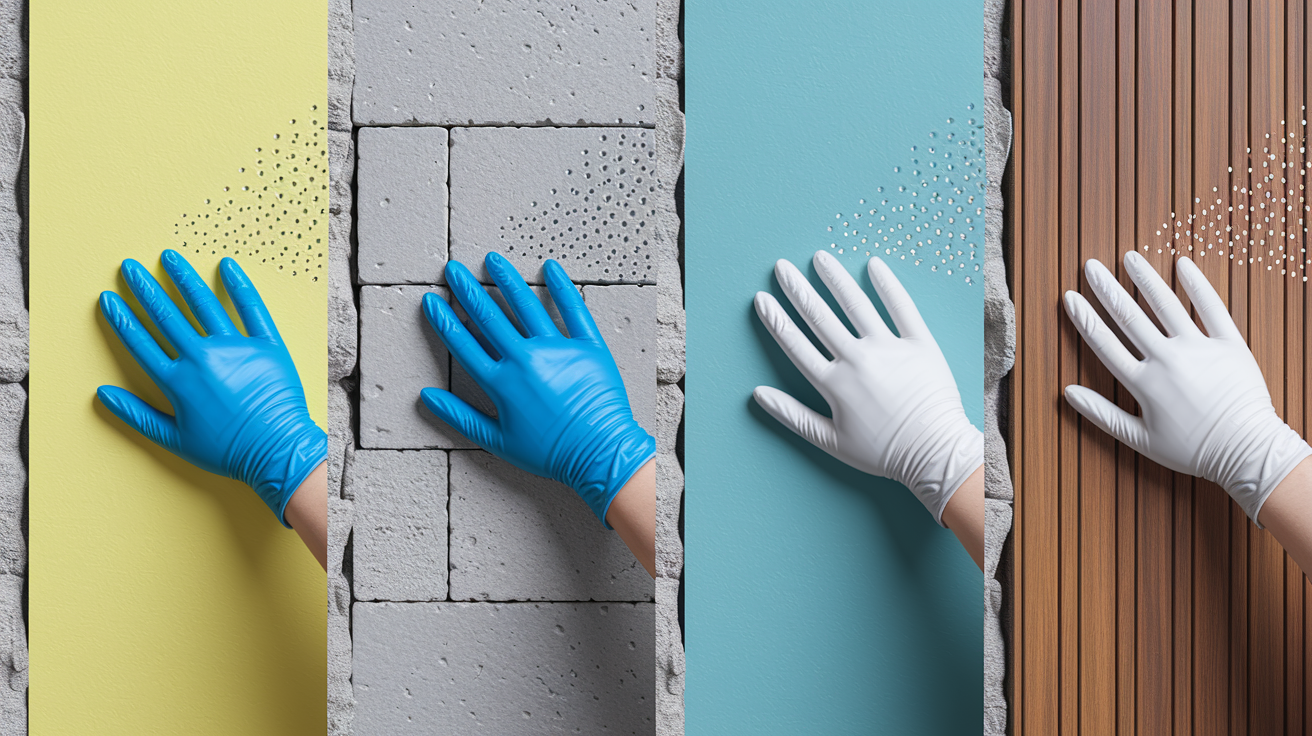
Porous materials soak up contaminated water like a sponge and hold it inside where surface spraying can’t reach. Non porous surfaces keep water on the outside where disinfectants make full contact. This difference changes your approach.
Drywall and Plaster Disinfection
All drywall that contacted flood water must be removed. There’s no save for soggy gypsum board. Cut horizontally one foot above the water line with a utility knife, pull the lower section off the studs, and discard it. The paper facing on drywall wicks contaminated moisture higher than the visible water line through capillary action (water crawling through tiny gaps), which is why you cut well above the mark.
After removal, disinfect the exposed studs and plates using the bleach and vinegar sequence described earlier. If you have plaster walls and the plaster itself stayed relatively solid without crumbling, you might save it by removing baseboard and drilling one inch diameter holes every 16 inches along the bottom to let air circulate into the wall cavity. Point fans at the openings. Disinfect by spraying solution through the holes into cavities, or remove a section of plaster to access the space directly.
Concrete and Masonry Wall Treatment
Concrete looks solid but it’s porous. Water and bacteria penetrate the surface. Interior foundation walls made from poured concrete or concrete block need complete washing and disinfection even if they “look fine.”
Scrub block and concrete with detergent and brush first to remove mud from the rough surface and mortar joints. Rinse thoroughly. Apply bleach solution liberally, making sure it soaks into the surface rather than running off immediately. Concrete will darken as it absorbs liquid. Let it sit for the full 10 minute contact time, then rinse and follow with vinegar treatment.
Brick veneer on exterior walls gets pressure washed to blast mud from the textured surface and push water out of mortar joints. You can skip chemical disinfection on exterior brick that’s exposed to weather. UV light, rain, and air movement handle that naturally. But wash it clean so contaminated mud doesn’t splash onto people or pets near the building.
Concrete block walls do filter water somewhat, preventing the worst contaminant wicking from outside to inside living space. Still, treat both sides of interior block walls that separate conditioned space from crawlspaces or unfinished basements.
Painted and Finished Surfaces
If painted drywall came down, you’re working with bare studs. Clean and disinfect the framing, then prime with stain blocking primer before hanging new drywall and repainting.
Painted plaster or wood paneling that’s staying in place needs careful handling. Test a small hidden spot first. Spray bleach solution on the painted surface and watch what happens. If paint bubbles, wrinkles, or discolors badly, you’ll need to strip it before disinfecting the substrate. If paint holds up, proceed with light application. Wet the surface but don’t soak it to the point of runoff. After disinfection and complete drying, reprime before applying finish paint.
Wood paneling rarely survives flood contact. The thin veneer warps and delaminates once wet. Masonite and particle board products dissolve into mush. Plan on replacement rather than restoration for these materials.
Drying and Mold Prevention After Disinfection
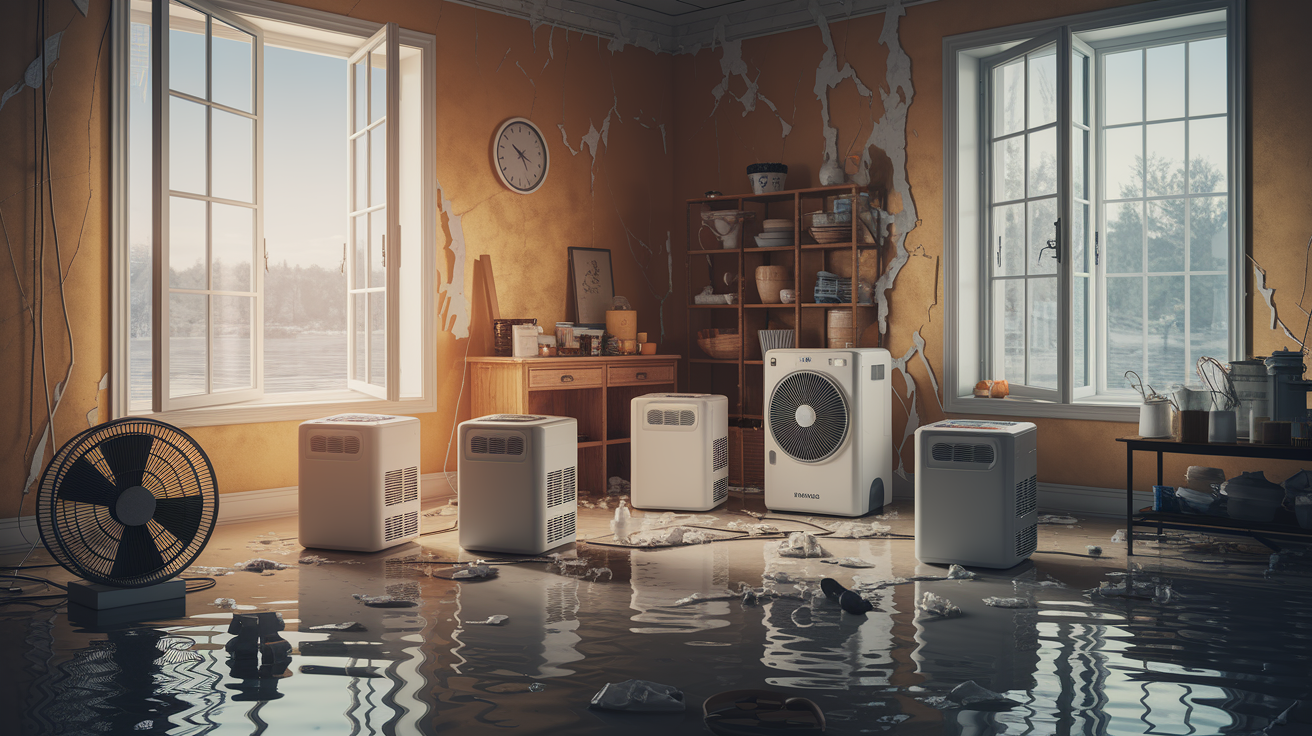
Killing pathogens only solves half the problem. Mold spores and bacteria can lay dormant for months or years, waiting for moisture to reactivate. When relative humidity inside wall cavities climbs above 60 percent, growth starts again.
Position fans to blow air directly into open wall cavities, creating cross ventilation that pulls moisture out. Run dehumidifiers sized to the square footage of affected space, emptying collection buckets frequently or running drain hoses to a floor drain. Place box fans in windows, some blowing in and others exhausting out to create airflow through the building. Target 50 percent relative humidity or lower inside the structure and maintain it for at least two weeks. Cut six inch horizontal openings at ceiling level in affected walls to let rising warm air carry moisture up and out. Plan for several weeks of drying time for thick materials like subfloors. Surface dryness doesn’t mean interior dryness. Check hidden areas with a flashlight and your hand weekly, feeling for cool or damp spots that indicate trapped moisture.
Maintaining proper humidity long term fights an uphill battle in humid climates. Outdoor humidity in southeastern regions often surpasses 90 percent during summer months. When you open windows for fresh air, you’re importing that moisture. When you run AC, you’re drying the air but creating temperature differences that cause condensation inside wall cavities if they’re not properly sealed and insulated. This is why complete wall cavity access and thorough disinfection matter. You can’t reach these spaces easily once walls close back up.
Watch for warning signs in the weeks and months following disinfection. A musty smell that wasn’t there before means mold is growing somewhere. Visible dark spots on surfaces indicate active colonies. Odor that gets stronger on humid days points to moisture dependent growth. Any of these signs require immediate investigation. Pull baseboards or remove a small drywall section to look inside the wall cavity with a flashlight.
Long term prevention starts with antimicrobial primer or paint formulated with mold inhibitors on all new drywall. Products containing EPA registered antimicrobials give you extra insurance against future growth. Seal all wall penetrations where pipes, wires, or ducts pass through to prevent humid air from entering cavities. Consider interior waterproofing paint on foundation walls if basement flooding is a recurring risk. Keep soffit and ridge vents clear and functioning to maintain attic ventilation. This pulls moisture up and out of the entire building envelope. Run bathroom exhaust fans during and after showers to remove moisture at the source rather than letting it migrate into walls.
When to Call Professional Restoration for Flooded Walls

Water damage splits into three categories based on contamination level. Category 1 is clean supply line breaks. Category 2 is gray water from appliances with some contamination. Category 3 is black water from sewage backup or outdoor flooding containing raw sewage, toxic chemicals, and dangerous pathogens. Category 3 requires certified technicians with professional equipment. Don’t attempt DIY disinfection when sewage is involved.
Call professional restoration when you’re facing:
Extensive basement flooding covering the entire foundation with standing water more than 6 inches deep. Structural damage including sagging floors, cracked foundation walls, or framing members that compress when pressed. Sewage backup or contamination from failed septic systems mixed with flood water. Large scale flooding from named storms that affected entire neighborhoods. Submerged electrical panels and multiple outlets underwater creating fire hazards that need complete system inspection. Hidden moisture behind walls or under floors you can’t access without major demolition. Pre existing health conditions like asthma or immune system compromise that make pathogen exposure especially dangerous.
IICRC certified restoration technicians bring equipment homeowners don’t own: industrial air scrubbers with HEPA filtration that pull mold spores from the air, commercial dehumidifiers that process hundreds of pints per day, thermal imaging cameras that see moisture behind intact surfaces, and moisture meters that measure exact water content deep inside materials. They follow documented remediation protocols that include testing before and after treatment, air quality sampling, and final clearance inspection to verify work meets safety standards.
Most insurance policies require professional documentation for major claims. If you file for significant flood damage, adjusters may require certification that remediation met industry standards before they’ll cover reconstruction costs. Professional invoices, lab test results, and clearance certificates provide that paper trail. DIY disinfection saves money on small jobs, but complex situations need the documentation and equipment pros provide to protect both your health and your insurance coverage.
Final Words
Learning how to disinfect walls after flooding isn’t just about spraying bleach and calling it done.
The clock starts ticking the moment water recedes. You’ve got that 24-48 hour window before mold spores dig in deep.
Safety gear goes on first. Then comes material removal, proper pre-cleaning, bleach application with correct contact time, and secondary treatment.
Skip a step, and you’re setting yourself up for callbacks when mold appears three months later.
Follow the sequence, maintain humidity below 50 percent, and watch for warning signs during drying.
You’ll end up with walls that are actually disinfected, not just rinsed.
FAQ
How do you clean walls after a flood?
To clean walls after a flood, first remove drywall at least one foot above the water line and all wet insulation from wall cavities. Wash exposed studs and surfaces with phosphate-free detergent and water to remove mud and dirt. Spray bleach solution (one-half cup ultra chlorine bleach per 1 gallon water) on all contaminated surfaces, let sit 5 to 10 minutes, then rinse with clean water. After the bleach dries completely, apply a separate vinegar solution (5 percent concentration or higher) as a second disinfection treatment. Use dehumidifiers and fans to dry wall cavities completely, maintaining indoor humidity at 50 percent or lower to prevent mold growth.
How to sanitize after a flood in your house?
To sanitize after a flood in your house, start by wearing waterproof boots, rubber gloves, eye protection, and a respirator mask before touching anything. Confirm electricity and gas are shut off, then use battery-operated lights only. Remove all water-damaged items, furniture, carpet, and bedding within 24 hours. Clean all mud from surfaces using phosphate-free detergent and water. Apply bleach solution (one-half cup ultra bleach per 1 gallon water) to all hard surfaces and let sit 5 to 10 minutes before rinsing. Follow with a separate 5 percent vinegar solution treatment after bleach dries. Never mix bleach and vinegar together.
What to spray on walls after a flood?
To spray on walls after a flood, use a bleach solution made from one-half cup ultra chlorine bleach mixed with 1 gallon of water as your primary disinfectant. Apply the solution with a garden sprayer to all contaminated surfaces, allow 5 to 10 minutes of contact time, then rinse with clean water. After the bleach treatment dries completely, spray a separate 5 percent or higher vinegar solution for secondary disinfection. Alternatively, use EPA-registered antimicrobial products like d Pro 3 Plus or hydrogen peroxide-based disinfectants on surfaces where bleach cannot be used, such as metals or fine woods.
How long does it take for walls to dry out after a flood?
Walls take several weeks to dry completely after a flood, depending on wall thickness, insulation type, and humidity conditions. Exposed wall studs and cavities dry faster than intact walls, which is why drywall must be removed one foot above the water line. Use dehumidifiers and fans continuously when power is restored, and cut a six-inch section at ceiling level to promote airflow within wall cavities. Monitor drying progress with visual checks for moisture and maintain indoor humidity at 50 percent or lower. Subfloors may require several weeks of active drying even after surface materials are removed.
Can you disinfect drywall or does it need replacement after flooding?
Drywall needs replacement after flooding because it absorbs contaminated water and cannot be effectively disinfected once saturated. Remove all interior wallboard at least one foot above the flood water line to eliminate soaked material and prevent mold growth. Drywall acts like a sponge for floodwater containing bacteria, E. coli, chemicals, and pesticides that penetrate the material. After removal, disinfect the exposed wall studs with bleach solution before installing new drywall. Plaster walls might be saved if proper air circulation reaches wall cavities for complete drying.
What safety equipment do you need before cleaning flooded walls?
Before cleaning flooded walls, you need waterproof boots, durable rubber gloves, eye protection, and a respirator mask to protect against contaminated surfaces. Floodwater contains flesh-eating bacteria, E. coli from septic systems, industrial chemicals, pesticides, and other hazardous materials that pose serious health risks. Only return after local authorities confirm the area is safe. Verify electricity and gas are shut off before entering, and use battery-operated lights only, never gas-operated generators indoors. This protective equipment prevents direct contact with pathogens that can cause diarrhea, respiratory infections, and other serious illnesses.
How long do you have before mold grows after a flood?
You have approximately 24 to 48 hours maximum before mold spores and pathogens begin penetrating structural materials after a flood. Remove all water-logged furniture, carpet, and bedding within 24 hours of water receding. Begin the disinfection process immediately after flood waters drop to prevent mold establishment. Both bacteria and mold spores can remain dormant for months or years in structural materials, reactivating when humidity exceeds 60 percent. Quick action during this critical window prevents permanent contamination and reduces the scope of material removal required.
Can bleach and vinegar be mixed for disinfecting flooded walls?
Bleach and vinegar must never be mixed together when disinfecting flooded walls because the combination creates toxic chlorine gas. Proper disinfection requires bleach application first, followed by a completely separate vinegar solution treatment after the bleach dries. Apply bleach solution (one-half cup ultra bleach per 1 gallon water) and let it sit 5 to 10 minutes before rinsing. Wait until surfaces are completely dry from the bleach treatment, then apply 5 percent or higher vinegar solution as a secondary disinfection step to target different pathogens.
What types of water damage require professional restoration?
Water damage requires professional restoration when dealing with category 3 contamination from sewage backup, extensive basement flooding, significant structural damage, or large-scale flooding beyond small rooms. Certified technicians following IICRC standards should handle situations involving submerged electrical systems, hidden moisture in wall cavities, or health complications from exposure. Professional assessment is necessary when floodwater contains sewage, industrial chemicals, or when insurance claims require documented remediation protocol. Have all water, gas, electric, and sewer lines checked professionally after any flooding event.
How do you prevent mold after disinfecting flooded walls?
To prevent mold after disinfecting flooded walls, maintain indoor humidity at 50 percent or lower using dehumidifiers and continuous air circulation with fans. Open all wall cavities by removing drywall and cutting six-inch sections at ceiling level to promote airflow. Monitor for warning signs including musty smell, visible spots, or odors in the weeks following disinfection. Remember that mold spores remain dormant and reactivate when humidity exceeds 60 percent, making long-term humidity control essential. Consider antimicrobial paint and waterproofing sealants as additional protection once walls are completely dry.