

Most shower installs fail because people get the order backwards. Install drywall or cement board before the pan and you’ve basically built a water trap. The pan goes in first, always. This isn’t preference or shortcut debate. It’s about creating overlapping layers that actually shed water instead of channeling it straight into your wall cavities. Get the sequence right and water drains where it should. Reverse it and you’re looking at mold, rot, and a costly tear out within months.
The Correct Shower Pan and Drywall Installation Sequence

Answer: No. Drywall and cement board go in AFTER the shower pan, not before.
Here’s how it actually works:
- Install shower pan and connect drain assembly
- Install cement board or approved backer board over the pan’s flange/rim
- Apply waterproofing membrane and then tile or shower surround
The shower pan has to go in first because it’s the foundation and primary waterproofing barrier for everything else. It directs water to the drain and creates a stable, level surface that lets wall materials overlap the way they’re supposed to. Without the pan in place first, you can’t get the right integration between horizontal and vertical surfaces. And that’s what stops water from getting where it shouldn’t. If you put wall materials in before the pan, you’re left with gaps and exposed edges that basically invite water behind your walls.
When wall materials overlap the pan’s rim, they create this cascading effect that works with gravity. Water runs down the walls, hits the pan’s flange, and flows into the shower instead of behind the walls. This overlap keeps water away from stuff like wood framing, standard drywall, and insulation. Reverse the order and install drywall first? Water will find that gap between the wall material and the pan, saturating materials that can’t handle constant moisture.
The spot where the horizontal shower base meets vertical wall surfaces is where most leaks happen. Proper sequencing protects this vulnerable area with multiple layers working together: the pan’s rim or flange, the overlapping wall material, sealed joints, and waterproofing membrane. Each layer only does its job when installed in the correct order. Get the sequence wrong and you’ve compromised the entire assembly.
Reversing the installation order creates real problems:
- Water gets behind walls through the gap between drywall and pan
- Drywall falls apart as gypsum and paper facing absorb moisture
- Mold grows in wall cavities where moisture sits without drying
- Framing damage as water migrates into studs and insulation
- Costly tear out and replacement of failed materials, often extending way beyond just the shower area
Tools and Materials Needed for Proper Shower Pan and Wall Installation

Get everything before you start. It prevents delays and those annoying multiple trips to the store. You’ll need items from several categories to finish both the pan installation and wall prep.
| Category | Specific Items | Purpose |
|---|---|---|
| Pan materials | Shower pan or liner, mortar bed materials, pan gaskets | Creates waterproof base and supports pan installation |
| Drain components | Two piece drain assembly, PVC fittings, plumber’s putty | Connects pan to plumbing system and allows water to exit |
| Wall materials | Cement board or backer board, corrosion resistant screws, joint tape | Provides substrate for tile or surround attachment |
| Waterproofing | Liquid or sheet membrane, trowel or roller, corner and seam reinforcement | Creates moisture barrier over wall substrate |
| Tools | Level, drill, utility knife, trowel, measuring tape | Cuts materials, ensures level installation, applies compounds |
| Sealants | 100% silicone caulk, construction adhesive if needed | Seals joints and secures materials where fasteners aren’t suitable |
Buy 10 to 15 percent extra to account for cuts, fitting adjustments, and mistakes. Running short on cement board or waterproofing membrane during installation creates delays that can stretch your timeline by days while you wait for more materials.
Shower Types and Proper Wall Material Selection

Shower type determines which wall materials you need and how they integrate with the base.
Prefabricated Shower Units
One piece and three piece fiberglass or acrylic units typically install directly to wall studs without drywall. These units include integral wall surfaces that attach using a nailing flange around the perimeter. The flange nails or screws to the studs, and the unit becomes both the shower pan and the wall surface. You don’t install cement board or drywall inside these units because the plastic or fiberglass surface already provides a waterproof finish. Outside the unit’s footprint, standard drywall works fine for the rest of the bathroom.
Tile Ready Shower Pans
Tile showers require cement board or backer board installed over the pan flange. Never standard drywall. The pan provides the base waterproofing, while the cement board gives you a stable, moisture resistant surface for tile attachment. Products like DensShield, DuraRock, standard cement board, and moisture resistant backer boards all work for this. DensShield resists mold and mildew and provides a moisture barrier between shower tile and wall structure. These boards are dense, rigid, and won’t fall apart when exposed to the humid environment behind tile.
Custom Mortar Bed Installations
Traditional mortar bed pans use a sloped concrete base covered by a waterproof membrane, with cement board or wire lath supporting the wall tile. This approach needs substrate materials that can handle moisture exposure and support the weight of a full mortar bed and tile installation. Standard drywall can’t carry this load or survive the moisture present during mortar curing and later shower use.
Standard drywall should never be used in direct shower spray zones. The material is a gypsum core wrapped in paper, and both absorb moisture easily from direct spray, condensation, or small leaks. Once moisture gets in, the gypsum becomes soft and crumbly, the paper facing delaminates, and mold starts growing. This happens fast in shower conditions.
Regular drywall can be installed and finished in the rest of the bathroom after shower walls are complete. The areas outside the shower don’t face the same constant moisture, making standard drywall fine for ceilings, walls away from the shower, and areas protected from direct water contact.
| Material Type | Shower Use | Bathroom Use |
|---|---|---|
| Standard drywall | Not suitable for shower | Acceptable for bathroom |
| Moisture resistant drywall/greenboard | Limited shower use | Good for bathroom |
| Cement board | Excellent for shower | Overkill for bathroom |
| DensShield/composite boards | Excellent for shower | Acceptable for bathroom |
| Purple board/mold resistant drywall | Not recommended for direct spray | Good for bathroom |
Step by Step Shower Pan Installation Before Wall Work

Proper pan installation creates the foundation for everything else. Getting the pan level, connected, and secured determines whether the rest of the installation succeeds.
For detailed installation guidance, see How to Install a Shower Pan: 5 Steps.
- Choose between a pre made pan or custom mortar bed system and verify dimensions fit the shower space. Pre made pans measure as small as 27 inches both deep and wide for compact spaces, while custom mortar beds work for any size.
- Prepare and level the subfloor, making sure it’s clean, stable, and properly sloped for drainage. Remove debris, check for soft spots or damage, and confirm the floor framing can support the pan and water load.
- Dry fit the pan to verify fit, drain alignment, and that the rim is level in all directions. The rim must be level even though the center slopes toward the drain, so check multiple points around the perimeter.
- Install the drain flange and weep hole assembly according to manufacturer specs. The two piece drain system connects the pan to the plumbing drain line and allows water trapped under the pan to drain out.
- Apply mortar bed or sand mixture under the pan and secure the pan in final position. The sand compound creates support that prevents flexing and cracking when you step in the shower.
Only after the pan is secured and the drain connected should wall material installation begin. Most people can install a shower pan in a few hours, but rushing this stage creates problems that take days to fix later.
Installing Wall Materials and Waterproofing Over the Shower Pan
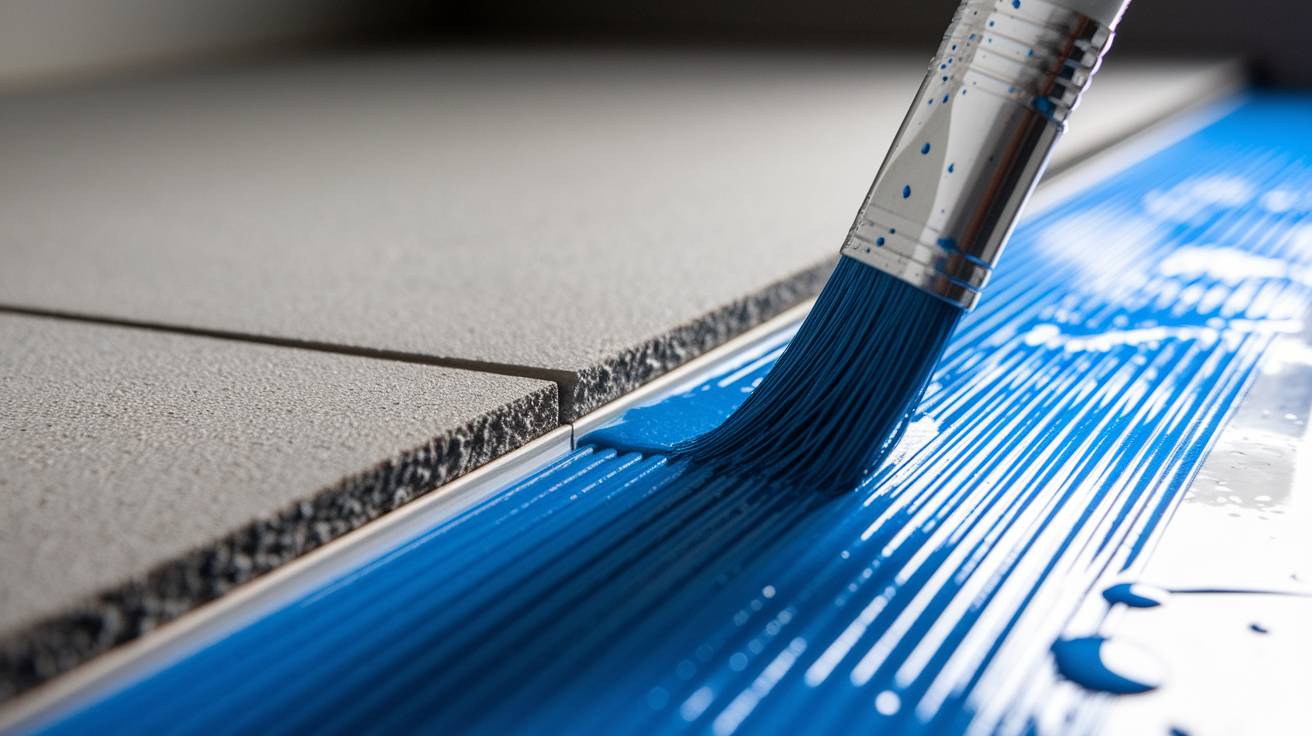
Wall materials must overlap the pan’s nailing flange or rim to create proper water protection. This overlap is why the installation sequence matters so much.
Measure, cut, and position cement board or backer board so it rests on top of the flange, creating the water shedding overlap. The board should extend down to just above the pan surface, leaving a small gap typically 1/8 to 1/4 inch above the pan. This gap allows for expansion and prevents the board from wicking water up from the pan surface. If the board sits directly on the pan with no gap, capillary action (water wicking through tiny gaps) can pull moisture into the cement board where it stays trapped. The gap breaks this connection while still maintaining the overlap that sheds water.
Drive corrosion resistant screws through the cement board into wall studs, spacing them according to manufacturer specs, usually every 8 inches on studs and 12 inches on intermediate points. Don’t over tighten screws. This cracks the board and creates weak points. The screw head should sit just flush with the board surface. Cover all screw holes and seams with mesh tape and joint compound. Use FibaTape mesh drywall joint tape over joints, applying a layer of mud underneath, pressing the tape in, then covering with more mud. Unlike drywall finishing, you don’t need to sand cement board smooth since tile will cover it.
Waterproofing provides a second line of defense after the shower pan. Even though cement board resists moisture better than drywall, it’s not waterproof on its own. Water can get through grout joints and work its way to the substrate.
Membrane systems come in two forms: sheet membranes like Kerdi or Schluter, and liquid applied membranes like RedGard. Sheet membranes install with thin set mortar, covering the entire shower area in overlapping sections. Liquid applied membranes go on with a roller or brush in multiple coats. Both systems work. Sheet membranes offer faster coverage and liquid membranes give you easier detail work around corners and penetrations.
Cover all seams, joints, and fastener penetrations with waterproofing. Extend coverage several inches beyond mud or joint compound to make sure you’ve got complete protection. Pay attention to corners where walls meet and the pan to wall transition at the bottom. This bottom edge is where the horizontal pan meets vertical walls, creating the most vulnerable leak point in the entire shower. Brush or roll waterproofing compound extending a couple inches past the edges of all mud, creating an overlapping barrier that prevents water from finding gaps.
Waterproofing must cure completely per manufacturer specs before tile installation. Rush this step by tiling too soon and you trap moisture in the membrane, preventing proper curing and reducing waterproofing effectiveness.
Common Installation Mistakes That Cause Shower Failures
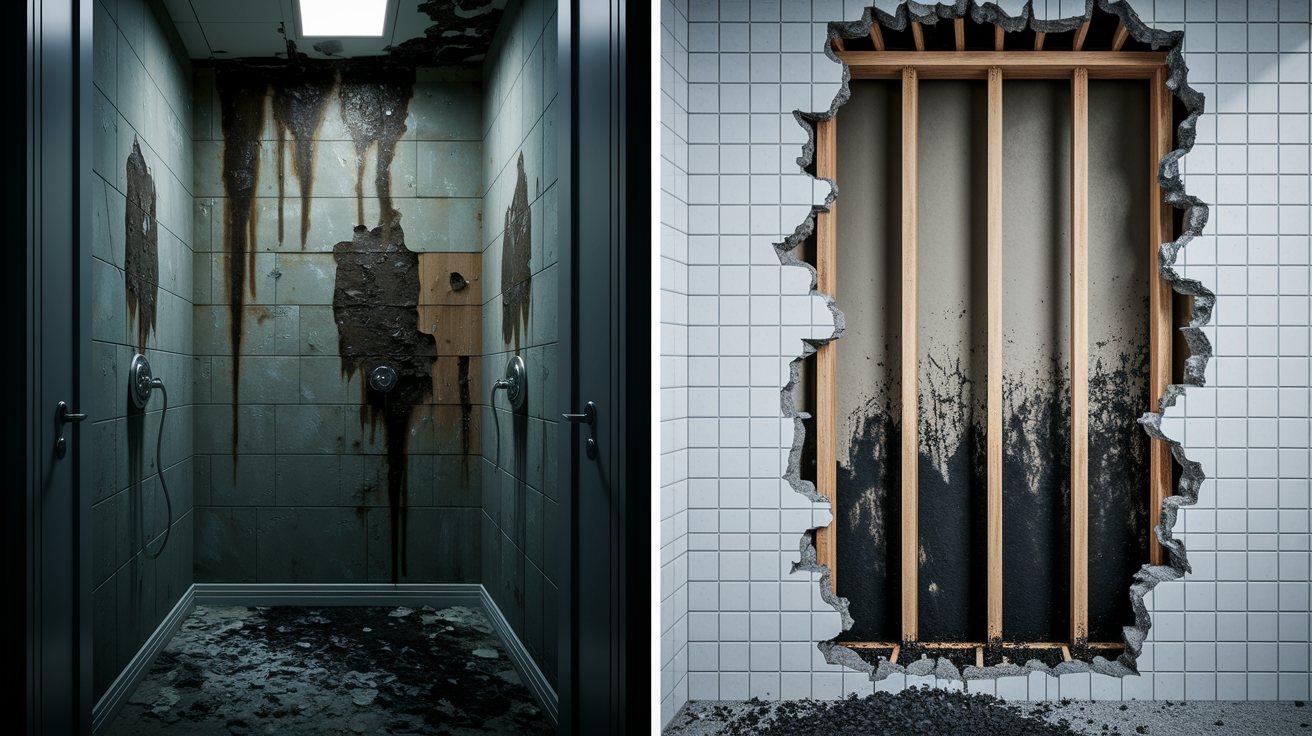
Small installation errors turn into major problems that need expensive tear out and replacement. Knowing what goes wrong helps you avoid these mistakes.
- Installing drywall or cement board before the shower pan
- Using standard drywall in shower areas
- Failing to overlap wall materials properly over the pan flange
- Not waterproofing seams and penetrations enough
- Skipping expansion gaps between pan and wall materials
- Not installing the waterproofing membrane over backer board
- Improper drain assembly connection
These errors let water get behind walls where you can’t see it accumulating. Moisture saturates framing, insulation, and drywall, creating hidden mold growth that spreads through wall cavities. By the time you notice soft or crumbly sections, bulging surfaces, or visible mold, the damage extends well beyond the shower area. Walls feel spongy or flexible under light pressure, surfaces start crumbling or bubbling, and you’re looking at a full tear out back to studs. The spot where horizontal shower base meets vertical wall surfaces is where leaks happen most, so mistakes here cause the fastest failures.
Following manufacturer instructions and local building codes prevents these problems. Each product has specific installation requirements developed through testing, and codes establish minimum standards that make sure you’ve got basic water protection. Cut corners or improvise installation methods and you’ll usually end up with callbacks and repairs.
Building Code and Inspection Considerations for Shower Installation
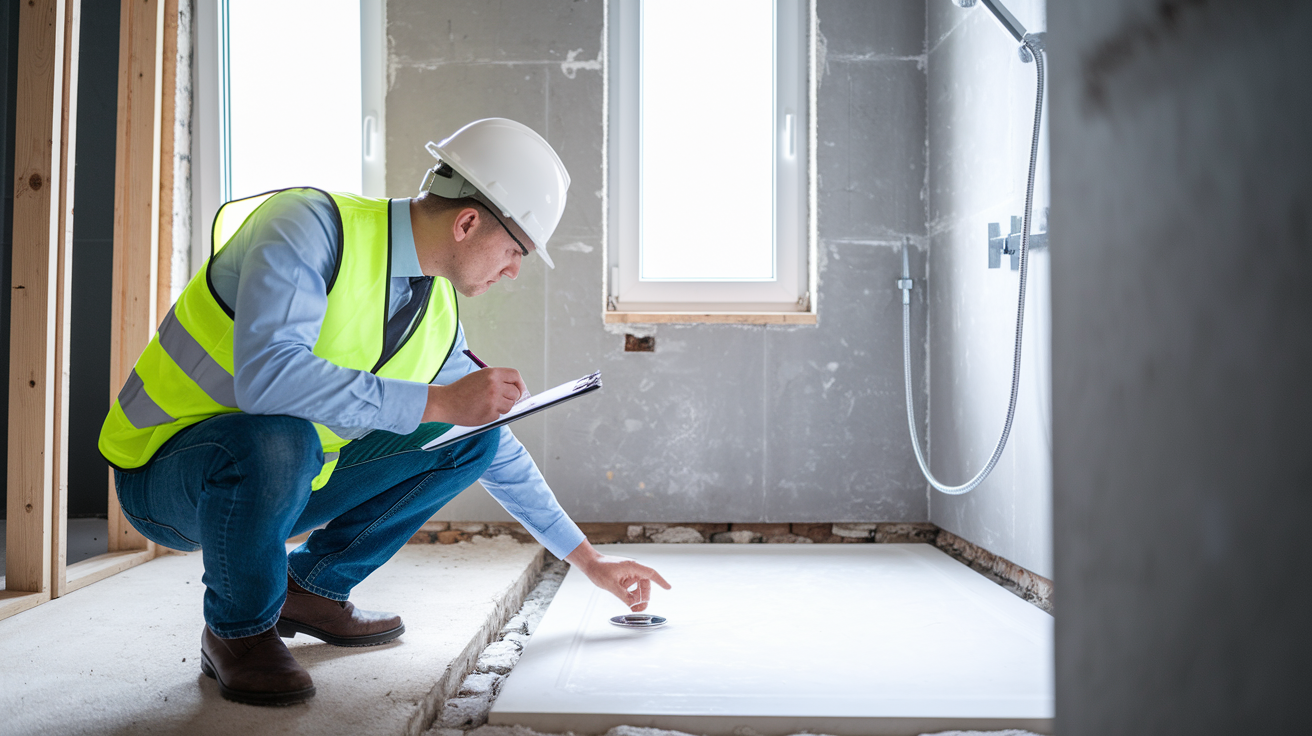
Shower installations typically need permits and inspections at specific stages of the work. Knowing when inspections occur helps you plan the sequence.
Typical inspection points include rough plumbing before walls are closed, pan installation and drain connection, and waterproofing application before tile. The plumbing rough in inspection happens after drain lines are run but before the pan is installed, letting the inspector verify pipe sizing, slope, and support. The pan inspection confirms proper installation, connection to the drain, and that the assembly is ready for wall materials. The waterproofing inspection checks membrane coverage before tile goes up, since you can’t check waterproofing after it’s covered.
Common code requirements include minimum pan slope (typically 1/4 inch per foot toward the drain), proper drain sizing (usually 2 inch minimum), blocking for grab bars and fixtures, and approved waterproofing methods. Some jurisdictions require specific waterproofing systems or installation by licensed contractors. Codes also specify acceptable backer board types and fastener schedules that ensure proper attachment and support.
Check local codes before starting work and schedule inspections at proper sequence points. Some work can’t proceed until previous stages are approved, so calling for inspection too late creates delays. If the inspector finds problems, you may need to tear out work and start over, making it worth getting inspections done at each stage rather than all at once at the end.
DIY Installation Versus Professional Contractor Work

Shower pan installation is technically doable for DIYers, but it requires precision and proper sequencing that determines whether the shower lasts five years or twenty five.
Factors that favor DIY include prior plumbing experience, simple prefab pan installation in new construction, having time to work methodically, and being comfortable with waterproofing systems. If you’ve installed a toilet, run drain lines, or worked with mortar and tile, you’ve got relevant skills. Prefab pans in new construction offer the simplest installation since you’re working with clean framing and no demo. Having time to let materials cure properly between stages matters more than rushing through the job. Understanding how waterproofing membranes work and following application instructions determines whether the system actually protects against water getting in.
Situations that warrant hiring a pro include custom tile pan installation, complex drain configurations, retrofit installations in older homes, lack of experience with waterproofing, or limited time for proper curing between stages. Custom mortar bed pans require experience building the slope, installing the membrane, and creating a structure that won’t crack or settle. Complex drain configurations with linear drains, multiple drains, or retrofitting into existing plumbing need expertise. Older homes often have non standard framing, floor slopes, or plumbing that requires creative problem solving. If you’re not confident with waterproofing systems or can’t wait several days between stages for proper curing, professional installation makes sense.
Improper installation leads to expensive water damage that often costs more to repair than professional installation would have cost initially. Water damage doesn’t stay contained to the shower. It spreads to floors, ceilings below, and adjacent rooms. Professional installation often proves worth the investment for complex projects where the risk of mistakes is high.
Final Words
Installing the shower pan first isn’t just a recommendation—it’s the foundation of a leak-free shower.
Wall materials overlap the pan’s rim to create that critical water-shedding effect, protecting everything behind your walls from moisture damage.
Skip proper sequencing or use the wrong materials, and you’re setting up for mold, rot, and a complete teardown later.
Follow the steps, waterproof correctly, and you’ll build a shower that lasts without callbacks or surprise repairs.
FAQ
Do you install shower pan or drywall first?
You install the shower pan first, before any drywall or cement board goes up on the walls. The pan serves as the waterproof foundation, and wall materials overlap the pan’s flange afterward to create proper water-shedding protection.
Do I need to put anything under a shower pan?
You need to put a mortar bed or sand mixture under a shower pan to provide level support and prevent flexing. The subfloor must also be clean, stable, and properly sloped toward the drain before the pan goes down.
What are common shower pan installation mistakes?
Common shower pan installation mistakes include installing wall materials before the pan, using standard drywall in wet areas, skipping the waterproofing membrane, failing to overlap backer board over the pan flange, and not leaving expansion gaps between materials.
Can you put a shower pan directly on plywood?
You should not put a shower pan directly on plywood without a mortar bed or sand mixture underneath. The mortar layer prevents flexing, ensures level support, and fills voids that would cause the pan to crack or shift under weight.